Emma and her wolf Koo move region by region across a ruined Japan, sealing the Nushi that rule each chapter and absorbing their power along the way. Progress in Game Freak’s action RPG follows a fixed chapter order, and most bosses reappear at higher levels within the same chapter, so pacing your upgrades matters as much as landing parries. Here is the confirmed route through the early chapters, plus the systems that decide whether each fight goes smoothly.
Quick answer: Clear chapters in order — Seedling, Creeping Tendrils, The Vessel, then Stems — and beat each chapter’s boss (or repeated boss) at the listed level before moving on. Parry to refill Koo’s FP, match enemy elemental weaknesses, and rest at Camps to save and heal.
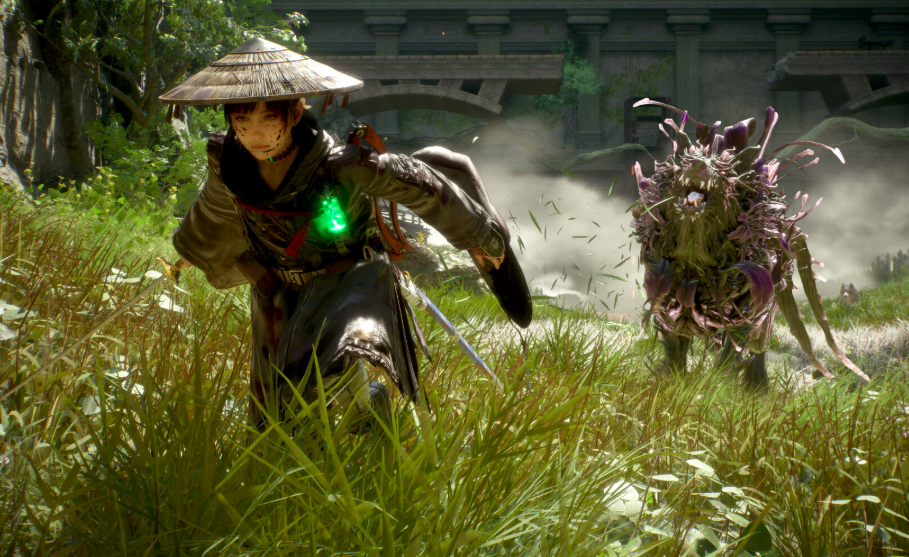
Chapter and boss order
The game splits into chapters, each tied to its own region. You can fast travel back to earlier areas at any time, so nothing is permanently missable if you push forward. Expect to fight the same boss more than once inside a single chapter, usually at a higher level each time. The Vessel is the clearest example, with Nue Malefact showing up repeatedly before a final paired fight.
| Chapter | Boss fights (in order) |
|---|---|
| 1: Seedling | Rangifer (Lv. 9), Nue Malefact (Lv. 16), Rangifer (Lv. 12) |
| 2: Creeping Tendrils | Lacerta (Lv. 13), Lacerta (Lv. 16) |
| 3: The Vessel | Nue Malefact (Lv. 16) three times, then Nue Malefact (Lv. 20) with Male Purifier (Lv. 20) |
| 4: Stems | Taurus (Lv. 26), Taurus (Lv. 29) |
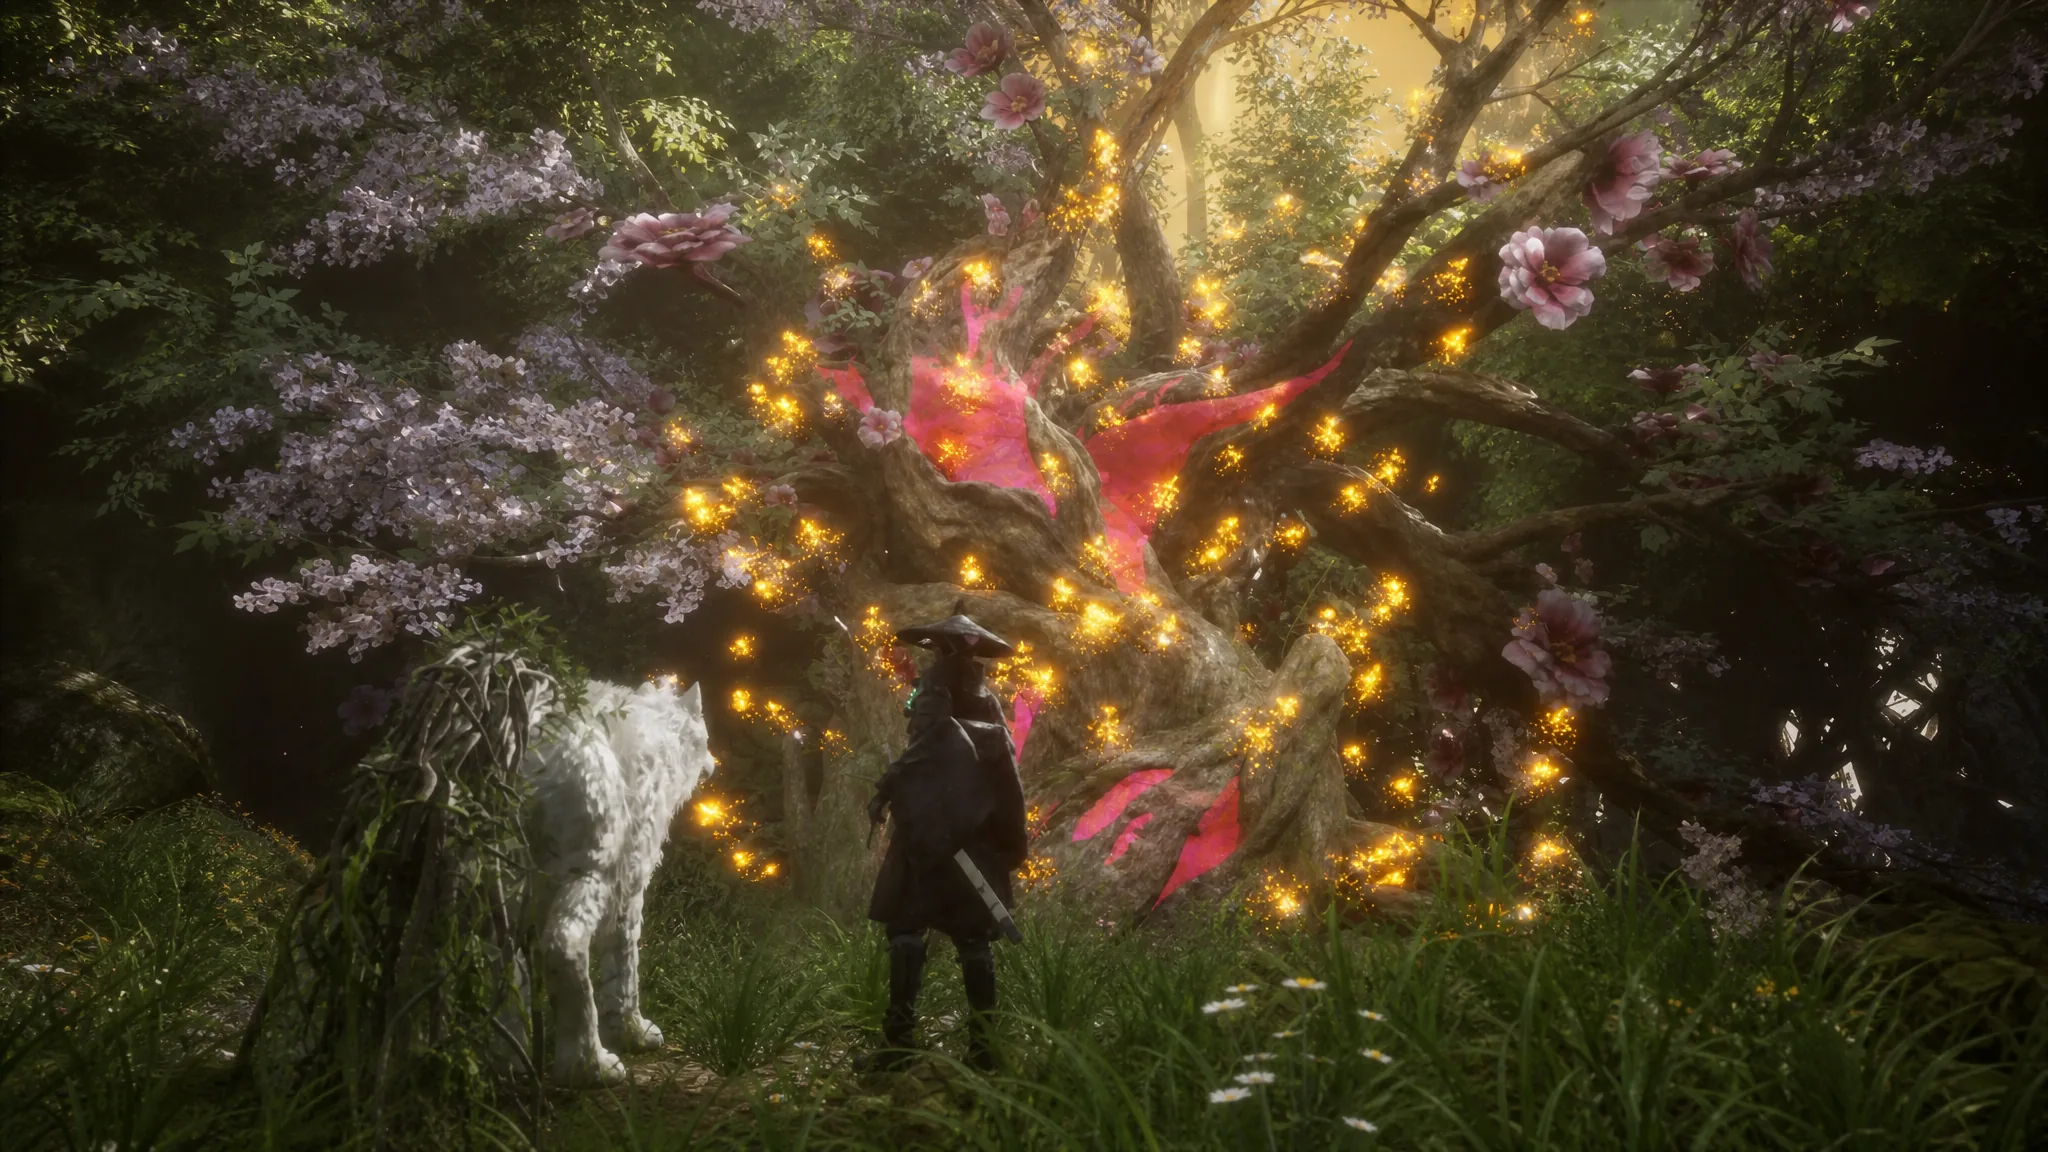
Chapter 1: Seedling opening route
The Prologue is a short combat tutorial you cannot lose. Leave the Cleanse Walker, break apart the Malefacts using Blade Arts and Koo’s follow-up attacks, then shoot flying enemies with your crossbow before a scripted clash with a rival named Shidou. The game then rewinds to the real start of Emma’s journey.

Combat: parrying, FP, and Bloom Arts
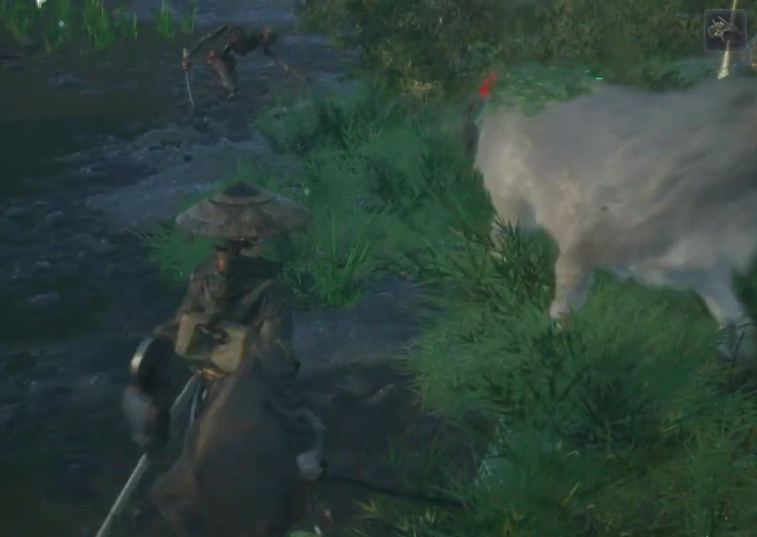
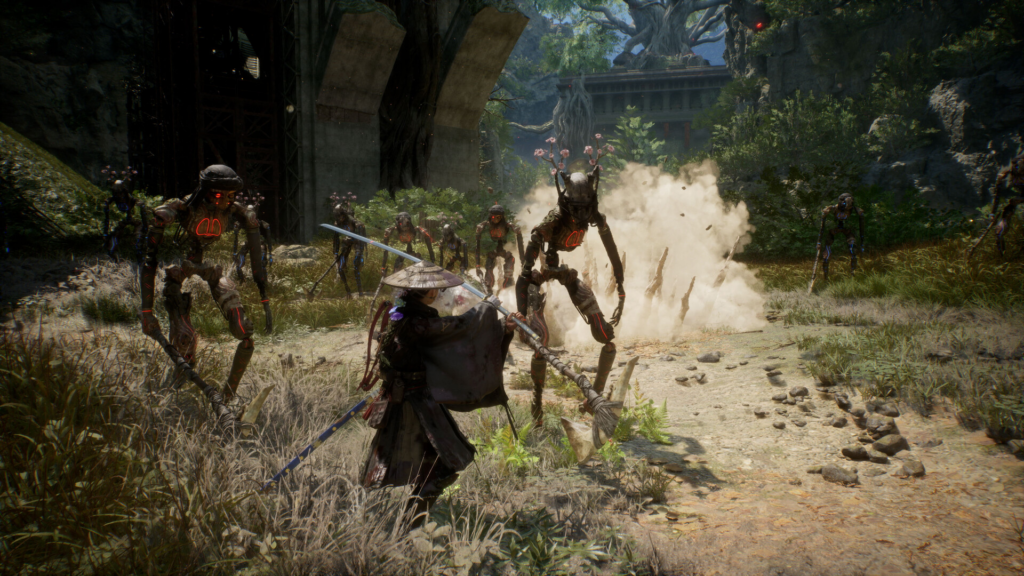
Parrying is the core of every fight. Each clean deflection refills Koo’s Fluorescence Points (FP), which power his Bloom Arts, and those Arts are what break through the game’s tougher threats. The parry window is fairly generous and stays consistent across boss fights, so learning an enemy’s attack rhythm lets you time deflections reliably.
Two rules shape how you spend FP. You cannot use the same Koo Bloom Art twice in a row, so open with the Art an enemy is weak to, then rotate to a second Art while FP rebuilds. Enemies also show an elemental weakness symbol beside their health bar. Swords, arrows, Blade Arts, Bloom Arts, and Skill Ambers all let you match those weaknesses, and a weaker weapon that hits a boss’s weakness beats a stronger one that ignores it. When you cannot counter a weakness directly, Fire is a safe fallback.
Emma’s own Blade Arts gauge fills from successful parries and deals heavy damage. Every enemy also has a stagger meter called the Down Gauge, which fills fast from parries and Koo’s skills. Fill it, then hit the Lethal prompt for an instant kill.
Three difficulty settings — Story, Normal, and Hard — can be changed at any time. Story mode trivialises most combat, so Normal suits anyone comfortable with parry-heavy action.
Builds: stats, skills, and Spirit Stones
Progression rests on three pillars you upgrade separately for Emma and Koo. Leveling stats happens at set checkpoints once you bank enough experience, and there are only three to choose from.
| System | What it does |
|---|---|
| Strength | Raises Attack and Defense |
| Vitality | Increases HP |
| Florescence | Boosts Skill Power |
| SP on skill trees | Unlocks and upgrades moves for Emma and Koo |
| Spirit Stones | Equippable accessories granting buffs such as damage while unseen or better homing accuracy |
Because you can build Emma and Koo independently, the two can complement each other — an aggressive parry-focused Emma feeding a Koo loaded with the right Bloom Arts, for example. Mix Spirit Stones to suit a ranged, stealth, or melee-heavy playstyle.
Exploration, Camps, and finding gear
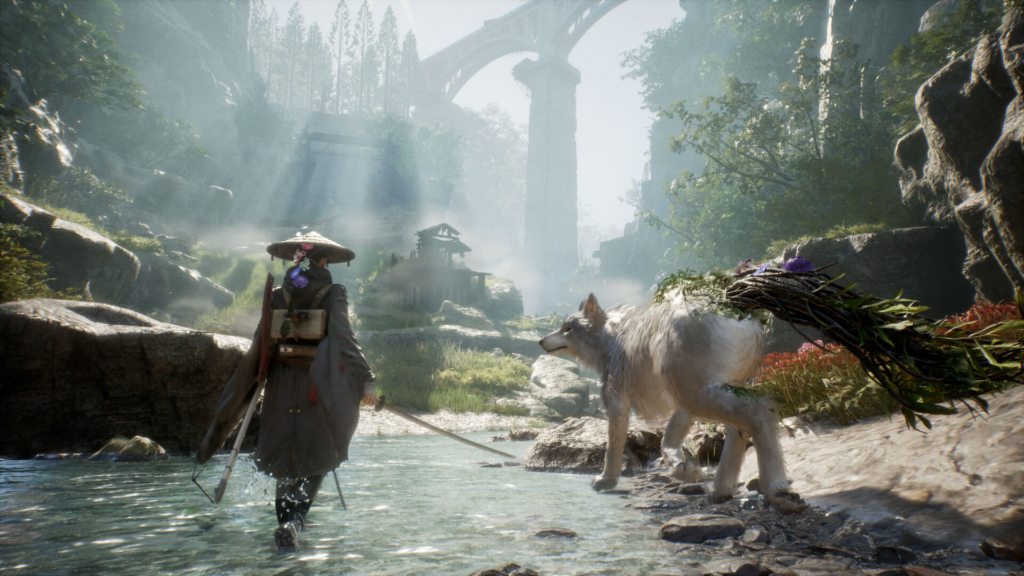
Koo does most of the scouting. His scent points you toward objectives — blue means far, red means close — and he flags nearby enemies, Strongboxes, and valuable items including Manuals. Watch for his notifications so you are not caught by surprise attacks and do not walk past useful loot.
- Keeper Golems: Speak to these before leaving any zone. Each reveals one objective or resource on the map, which is the reliable way to catch Elite Enemies that drop Skill Ambers, strongbox codes, weapons, and Manuals.
- Orange butterflies: Koo will not flag these. Each one gives a small amount of Amber, the game’s currency, and they usually hover in high spots you reach by climbing and jumping through.
- Camps: Rest to save, upgrade skills, and enhance equipment. Enemies respawn after a rest, and you can fast travel between unlocked Camps.
- Merchants: Brad trades aboard the Cleanse Walker, and Merchant Golems appear across zones. Sell spare Spirit Stones and Ancient Books to buy weapons, Skill Ambers, Crop Seedlings, and other supplies.
If a section feels too hard, look for another route. Traversal skills open higher paths that often bypass the obstacle entirely.
Hunger, food, and the Cleanse Walker
Emma and Koo each have a Hunger meter that is easy to overlook. As long as neither is hungry, they auto-restore HP outside of combat, which saves Stimpacks and Bloom Arts between fights. Refill Hunger by eating from your Pack at a Camp or by having a meal aboard the Cleanse Walker overnight, and check both meters every time you rest.
Malefact Meat is the field solution. Bears and deer drop raw meat that cooks automatically when you rest at a Camp, so a quick hunting trip keeps both characters fed without a trip back to base. Kagura handles your main meals, and her cooking improves as you invest in the Cleanse Walker.
Upgrade the Incubator and Grow Chamber to raise chickens and grow crops, feeding Kagura the ingredients for stat-boosting meals. Interacting with Koo and Kagura also raises their Rapport. Higher Koo Rapport unlocks more skill slots, and resting at Camps raises it too, while Kagura’s Rapport sharpens her cooking. If Koo falls in battle his Rapport drops, but it never falls a full rank.
Beyond Stems, the road continues west toward the Capital and further Nushi, with each seal expanding Emma’s movement and combat options. Keep matching weaknesses, keep Koo fed and leveled, and clear Keeper Golem objectives before each chapter boss to stay ahead of the level curve.