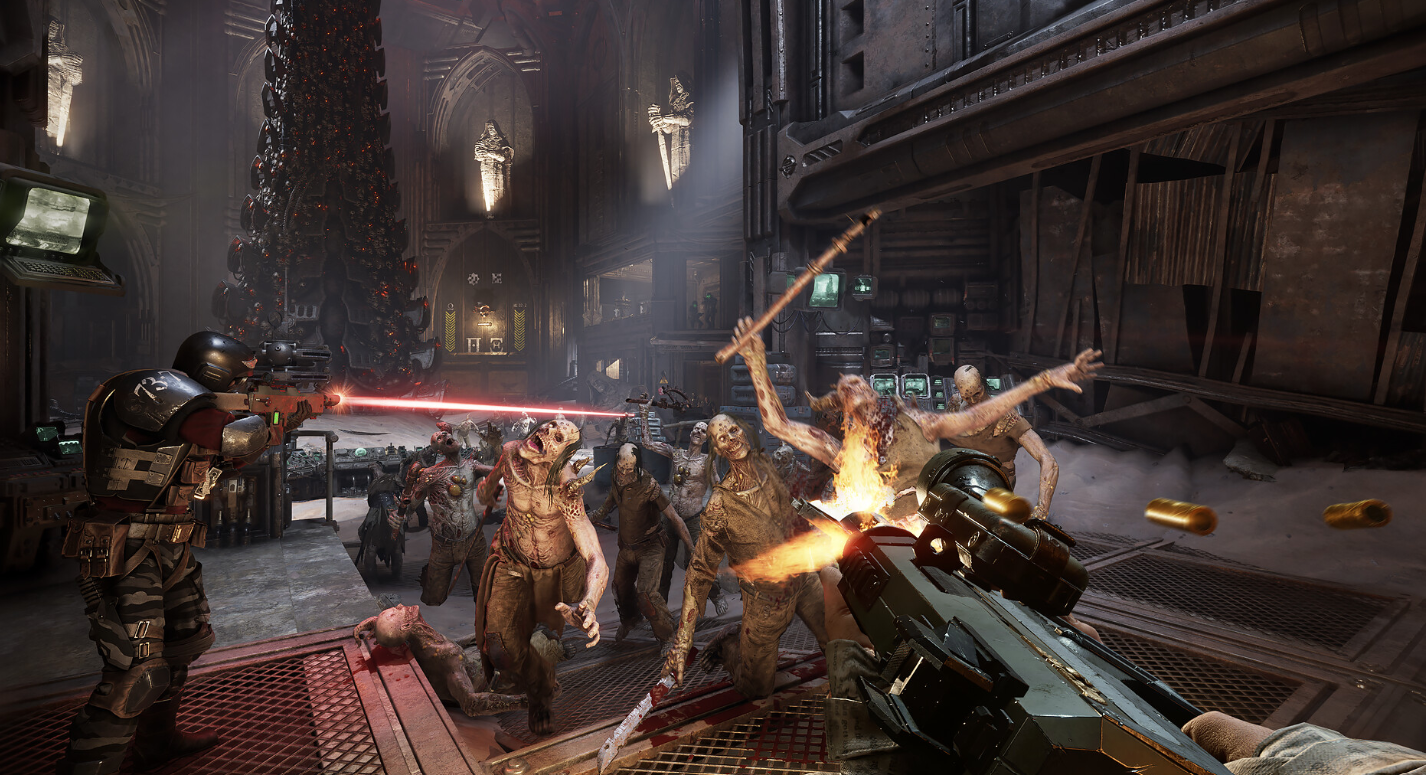
The Skitarii runs on Capacitance and electrical pressure, and the strongest setups all funnel charge generation into one win condition. There is no single loadout that beats every mission, so the practical answer is to learn one stable foundation first, then specialize into the damage route that fits your team and your difficulty.
Quick answer: Level with a Commander / Redline route built around Capacitance generation and Redline Capacitors, run two Toughness curios plus one Stamina, then specialize into the full-crit Arc Rifle build for the highest single-target and elite damage.
Skitarii build options compared
Pick the route by the problem you are solving right now, not by which build looks strongest in isolation. If you are still leveling, start with Commander / Redline. If your group stays together, Power Overload pays off. If you want ranged burst, go Arc Rifle. If you want melee pressure, go Chordclaw. If you need safer objective play, the shield route fits.
| Build | Core route | Weapons | Best for |
|---|---|---|---|
| Commander / Redline | Capacitance generation, Redline Capacitors, Surge-Extension | Phosphor Blast Pistol or Galvanic Rifle, Arc Maul | Leveling and learning the class |
| Full-crit Arc Rifle | Redline into Voltaic Arcs, Electro-Strike Conduit, Flux Conduit Build-Up | Arc Rifle plus any primary | Single-target and elite damage |
| Power Overload | Coherency kills feed a team buff | Stable ranged weapon, Arc Maul | Groups that stay together |
| Chordclaw / Flensing melee | Chordclaw Strike, Flensing Protocols, Probing Strikes | Paired Transonic Blades | Melee burst |
| Integrated Refraction Emitter shield | Shield route for objective stability | Galvanic Rifle or Arc Rifle | Safer ranged play |
| Servo Skull support | Medicae or Purgator Servo-Skull on top of a charge route | Reliable ranged weapon | Rescues and area denial |
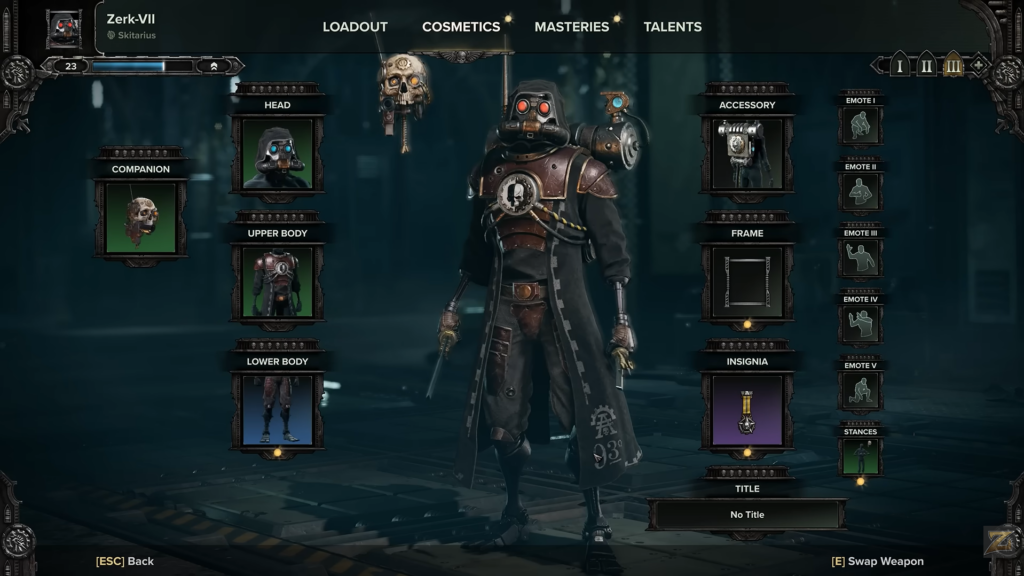
Commander / Redline starting route
The best first build is the one that stops Skitarii from feeling empty after every ability spend. That means a working Capacitance engine, Redline Capacitors as the anchor, practical toughness, and Servo Skull utility kept online before you chase a narrow damage route. The Cog Tree is radial, so treat your progression as named checkpoints rather than a fixed straight line.
This route is comfortable in Heresy and still works in Damnation. For Auric, tighten toughness recovery, weapon rolls, reload discipline, and rescue timing before bringing it.
Curio setup
Keep curios simple. Skitarii needs room to reload, dodge, reposition, and survive while charges rebuild, so the default shape is two Toughness curios and one Stamina curio. Only test a single Health curio after toughness already feels stable.
- Curio 1: Toughness
- Curio 2: Toughness
- Curio 3: Stamina
Full-crit Arc Rifle build
This is the meta damage specialization. It stacks crit chance from talents and weapon rolls, electrocutes enemies with the Arc Rifle, and then converts that electrical state into bonus damage. The result deals heavy damage to hordes, elites, and bosses.
Secondary weapon: Arc Rifle
The Arc Rifle is the main damage dealer. Charge it before firing. Take crit over a headshot bonus, because you do not aim for the head with this weapon and crit returns far more damage.
| Slot | Choice | Effect |
|---|---|---|
| Perk | +25% Damage vs Flak Armoured Enemies | Improves armor damage |
| Perk | +5% Ranged Critical Strike Chance | Feeds the crit loop |
| Blessing | Cavalcade | +5% Critical Chance for every 10% of magazine spent during continuous fire, stacks 5 times |
| Blessing | Charmed Reload | 1 bullet loaded from reserve on a Critical Hit, once per crit; the shot does not need to hit |
Reload speed on the Arc Rifle is poor, so Charmed Reload at near-max stats lets you keep firing without being trapped in long reload windows.
Primary weapon
The primary weapon is flexible, so run whatever you prefer. The blessings below lean into the electrocution theme and help you one- or two-tap enemies that are already shocked.
| Slot | Choice | Effect |
|---|---|---|
| Perk | +25% Damage vs Carapace Enemies | Covers heavy armor |
| Perk | +5% Melee Critical Chance | Feeds crit on swaps |
| Blessing | High Voltage | +25% Damage vs Electrocuted enemies |
| Blessing | Skullcrusher | 4 stacks of +10% Damage if the target is already Staggered, up to 8 stacks, lasting 5 seconds and refreshable |
Talents and curios for the crit build
Take Piercing Sight and Last Stand Relay for a very high crit ceiling across your kit. Calculated Priority adds damage after elite kills, which the Arc Rifle makes easy, and it pairs with Galvanic Marking Array for a large damage boost. Retribution Conduit rewards charging your weapon at the start of combat to raise your output.
For curios on this version, the recommended set is Herald’s Seal (Reliquary), Guardian Gloriana (Casket), and Blessed Bullet (Reliquary). Blessed Bullet rolls toughness alongside combat ability regeneration and ally revive speed, which supports the crit-and-ability loop.
Arc Rifle blessing priority
If you are pushing the Arc Rifle as your ranged identity through the Voltaic route, the current blessing order favors committed firing windows. Blaze Away grants Strength for every 10% of magazine spent during continuous fire and stacks 5 times, which matches how the weapon wants to be played.
| Blessing | Status |
|---|---|
| Blaze Away | Recommended first chase |
| Cavalcade | Acceptable temporary roll |
| Enhanced Voltaic Arcs | Needs more confirmation |
| Overwhelming Fire | Not recommended until the full setup proves it |
Note: the Arc Rifle is heavier and slower than the Galvanic Rifle. Its reload windows and low mobility become dangerous in Damnation and Auric, so keep enough toughness and reload safety to survive its rhythm.
Power Overload team build
Power Overload is the coherency keystone. Kills made while you and allies stay grouped build stacks, and reaching the cap fires a short team buff. It scales hard when the squad sticks together and loses value when players split into separate lanes.
| Trigger | Result |
|---|---|
| Normal kill by you or an ally in coherency | 1 stack |
| Elite or specialist kill | 2 stacks |
| Stack cap | 30 stacks |
| Reaching max stacks | Triggers overload and resets stacks |
| Overload buff | +15% Damage and +15% Toughness Damage Reduction for 8 seconds |
In mixed fights, 30 stacks comes faster than it sounds. A small wave plus a few elite or specialist kills builds it quickly when the team holds together, which makes this strong in public Heresy and early Damnation groups.
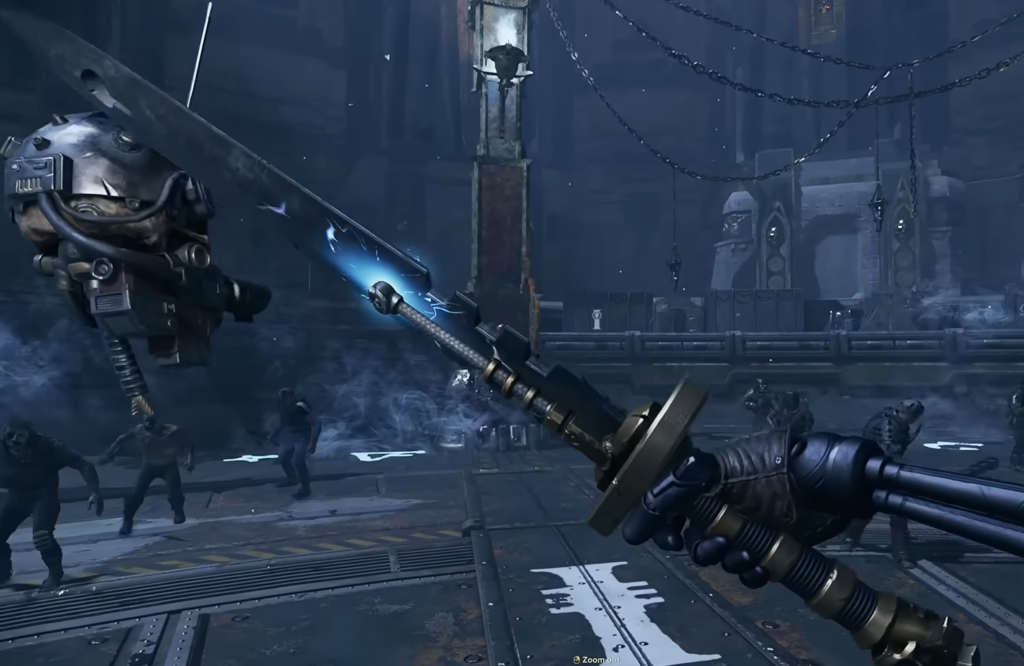
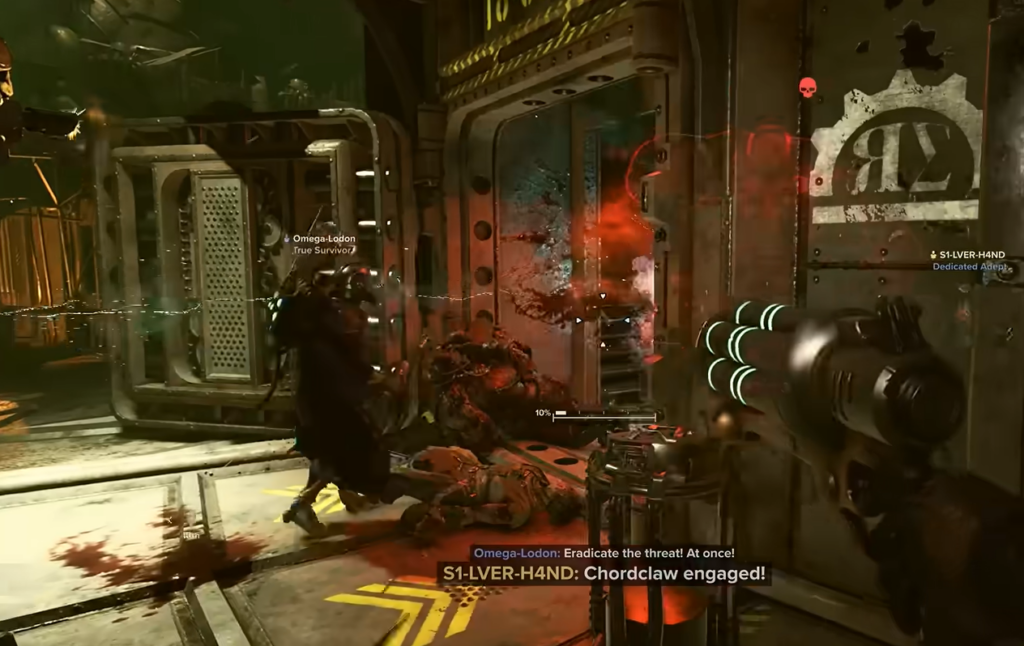
Chordclaw melee build with Transonic Blades
The melee specialization pairs the Branx Mk XI Paired Transonic Blades with Chordclaw Strike, Flensing Protocols, Probing Strikes, crit support, and enough toughness recovery. It puts out high melee damage, but Crusher overheads, the wrong blade mode, and greedy Chordclaw chains punish mistakes, so it is the riskiest route in hard missions.
| Blessing | Effect |
|---|---|
| Riposte | +16% Critical Chance for 4 seconds on a successful Dodge |
| Superiority | +10% Melee Strength for 5 seconds on an Elite or Specialist kill, stacks 3 times and deteriorates one at a time |
Shred and Perfect Strike are also strong rolls on the blades if you want a crit-leaning melee profile. The Arc Maul stays the safe early melee fallback while you learn Capacitance and the radial tree.
Shield and Servo Skull support options
The Integrated Refraction Emitter shield route trades repeated melee dives for safer ranged play and objective stability, running either the Galvanic Rifle or Arc Rifle. It is steadier than greedy melee in hard missions, though it still needs more testing before it becomes a main recommendation.
For utility, add a Medicae Servo-Skull for rescues or a Purgator Servo-Skull for area denial once your charge route works. This shines in public Heresy and Damnation. In Auric, failed targeting, blocked line of sight, or poor resource timing can cost rescue windows, so do not sacrifice all damage for support.
Start with the Redline foundation, lock in two Toughness curios and one Stamina, then commit to the full-crit Arc Rifle build for raw damage or the Chordclaw blades for melee pressure. If your group sticks together, layer in Power Overload, and reach for Servo Skull support when public runs keep collapsing around downs.