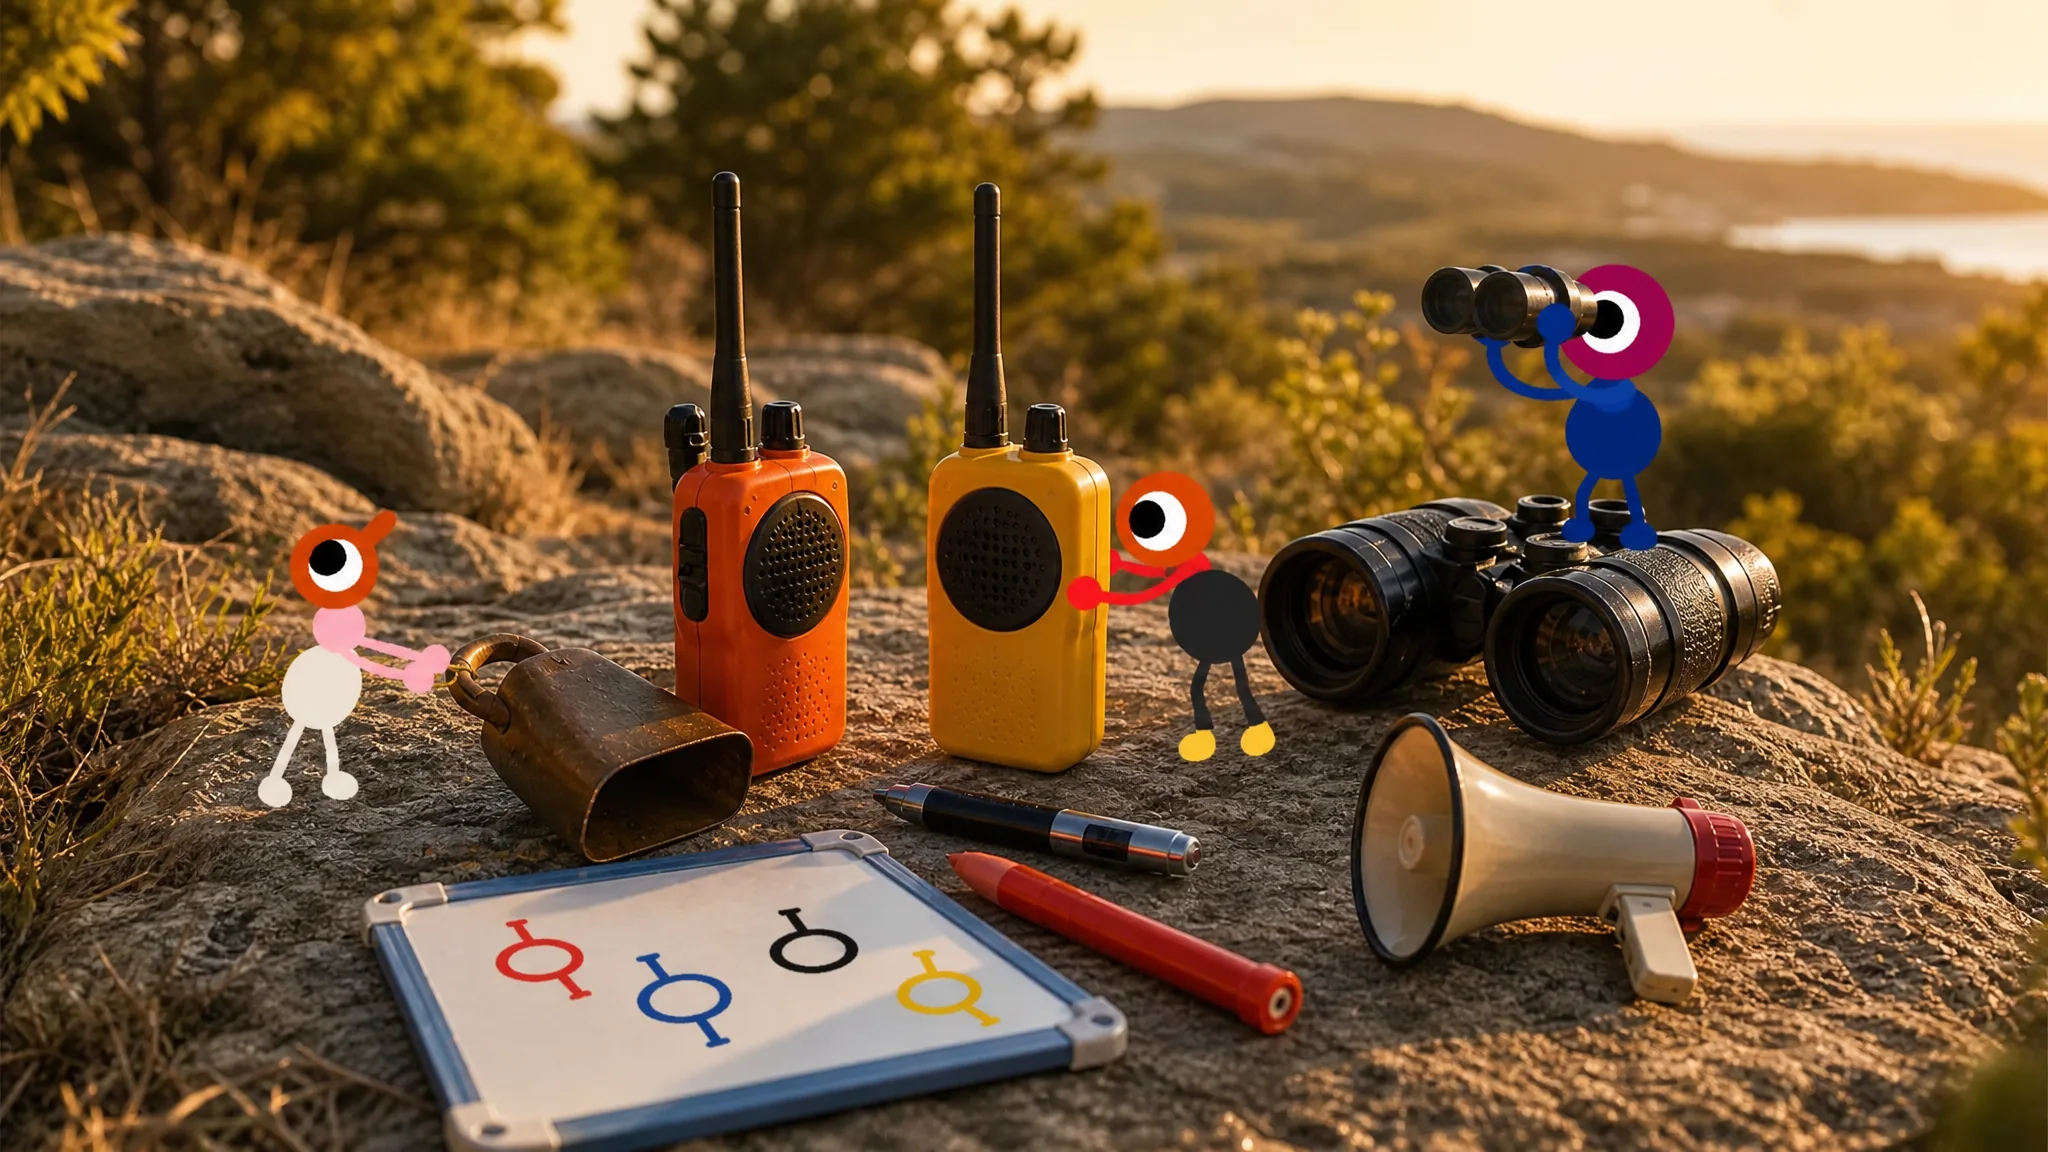
Big Walk hands you almost nothing at the start and hides the rest across the island. Tools are not permanent upgrades tucked in a menu. They sit inside buildings, on top of towers, along bridges, and near puzzle rooms, waiting for someone in your group to grab them. Each one solves a specific problem, whether that means carrying an extra item, spotting a distant landmark, or reaching a teammate who wandered off.
Quick answer: Most gear falls into four jobs. Backpacks and waist bags add carry slots, maps and compasses handle navigation, walkie-talkies and megaphones cover communication, and the key cutter shapes keys for tower challenges. The Map Room below the Red Tower holds the map, compass, laser pointer, and whiteboard in one spot.
Every tool in Big Walk and where to find it
| Tool | What it does | Where to find it |
|---|---|---|
| Backpack | Adds one item slot that holds items of any size | Round blue buildings around the island |
| Waist bag (belt / hip bag) | Adds a slot for small items like maps, radios, and walkie-talkies | Round blue buildings around the island |
| Map | Shows the island layout, landmarks, and colored tower locations | Map Room, on a table |
| Compass | Shows cardinal directions for precise callouts | Map Room, on a table |
| Binoculars | Zooms in on distant areas from your current spot | Every control panel tower |
| Telescope | Closer view of distant puzzle targets from viewing platforms | Reddish viewing platforms in mountain areas |
| Flashlight | Steady light source for night exploration | Left of the red bridge past the drawbridge; tops of most towers |
| Ball lamp | Small light you can pick up and kick around | Scattered around the island |
| Walkie-talkie | Talk to teammates anywhere, beyond proximity chat range | Platform below the Red Tower; red tunnel beneath it |
| Radio | Plays music teammates can follow back to you | Along the red bridge, past the flashlight |
| Megaphone | Amplifies your voice and extends proximity chat range | Yellow shapes north of the Yellow Tower; woods east of the Green Tower |
| Flare gun | Fires a flare skyward to reveal your rough location | Near several puzzle solution areas |
| Laser pointer | Projects a beam to point at distant spots | Map Room; tops of every colored tower |
| Whiteboard | Leave written messages, hints, and routes for others | Wall inside the Map Room; near a few puzzles |
| Key cutter | Shapes keys into usable form for tower challenges | Near the relevant tower puzzle areas |
Inventory tools: backpacks and waist bags
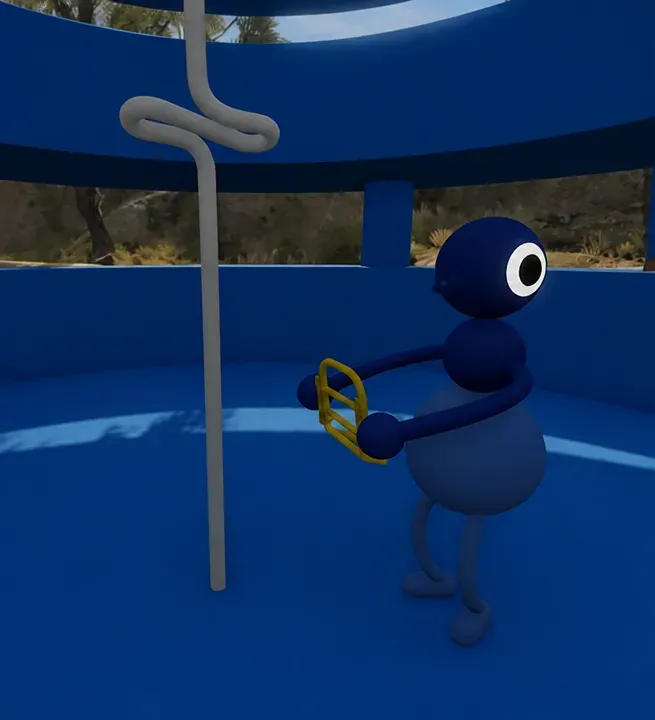
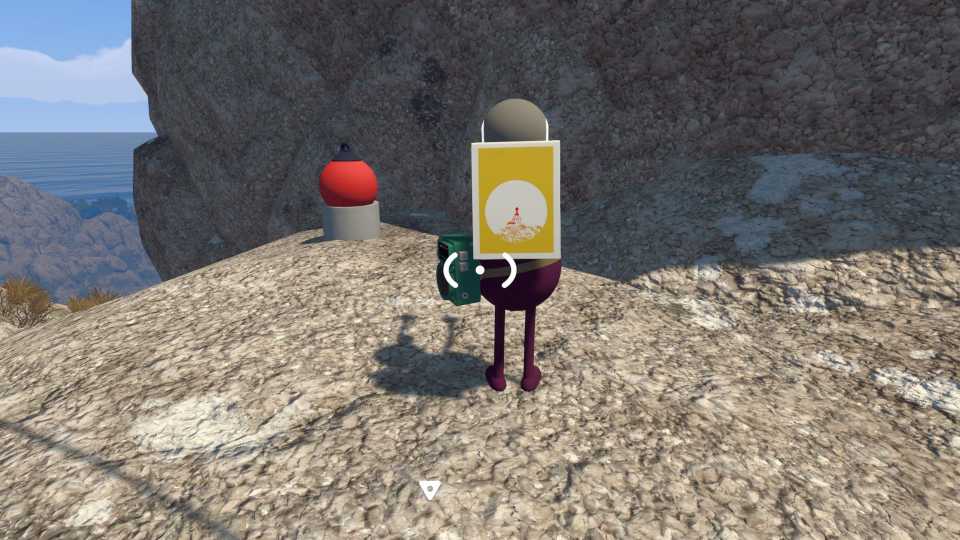
Each character normally carries one item at a time. Backpacks and waist bags break that limit. A backpack attaches to a teammate’s back and lets them hold an extra item of nearly any size, so it works for bulky puzzle pieces as well as gear. A waist bag does the same for smaller objects only, like a handheld map or a walkie-talkie.
Both come from the round blue buildings dotted across the map. There are several backpacks in different colors, so more than one person can gear up. When your group runs low on space, look for the nearest blue structure before backtracking.
Navigation tools for finding your way
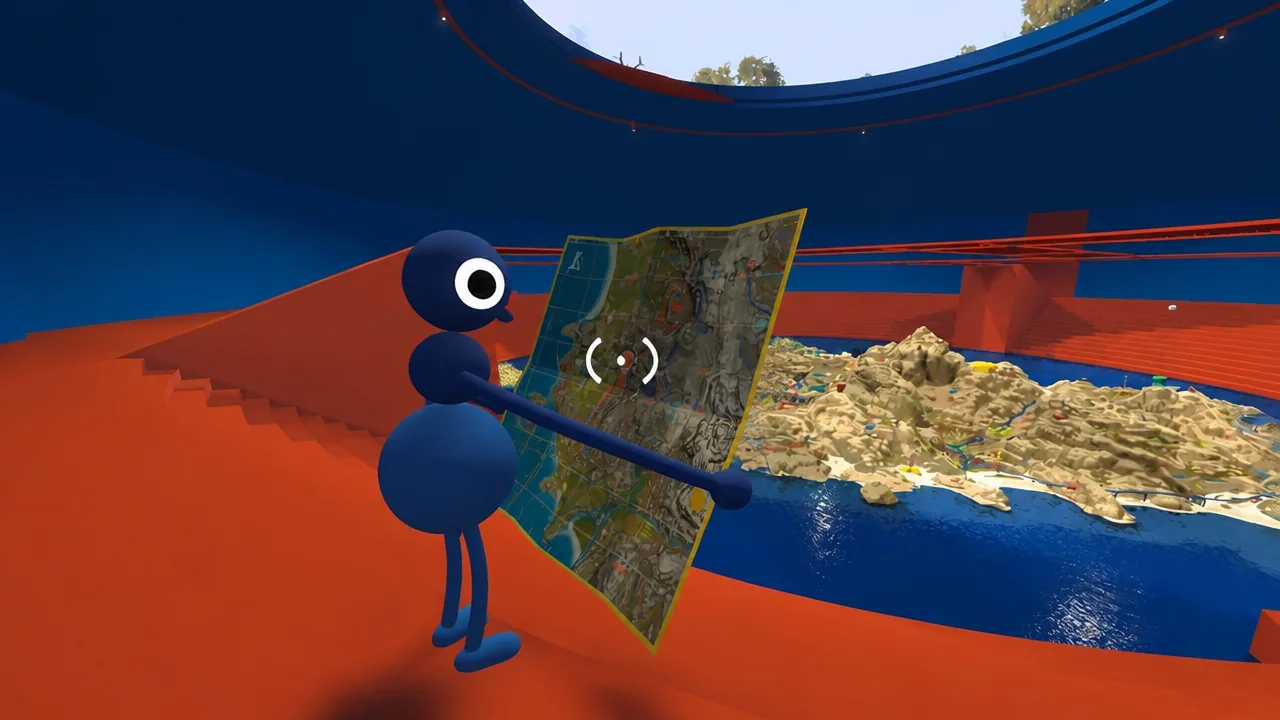
The Map Room is the single richest stop for navigation gear. It’s a blue building below the Red Tower, and inside you’ll find the map, compass, laser pointer, and whiteboard together, plus a larger wall map that shows the whole island.
The handheld map marks key landmarks and points you toward the colored structures tied to tower puzzles. Pair it with the compass so callouts stay precise. Instead of a vague “over there,” a teammate can head due north with confidence.
For distance, you have two options. Binoculars sit on top of every control panel tower and zoom your view from wherever you’re standing. Telescopes are fixed to the reddish viewing platforms in the mountains and give a closer look at faraway objects, and they’re used mainly for solving puzzles. The laser pointer, found in the Map Room and on the tops of the colored towers, throws a visible beam so you can single out an exact spot for the rest of the group.
Light sources for dark areas and night
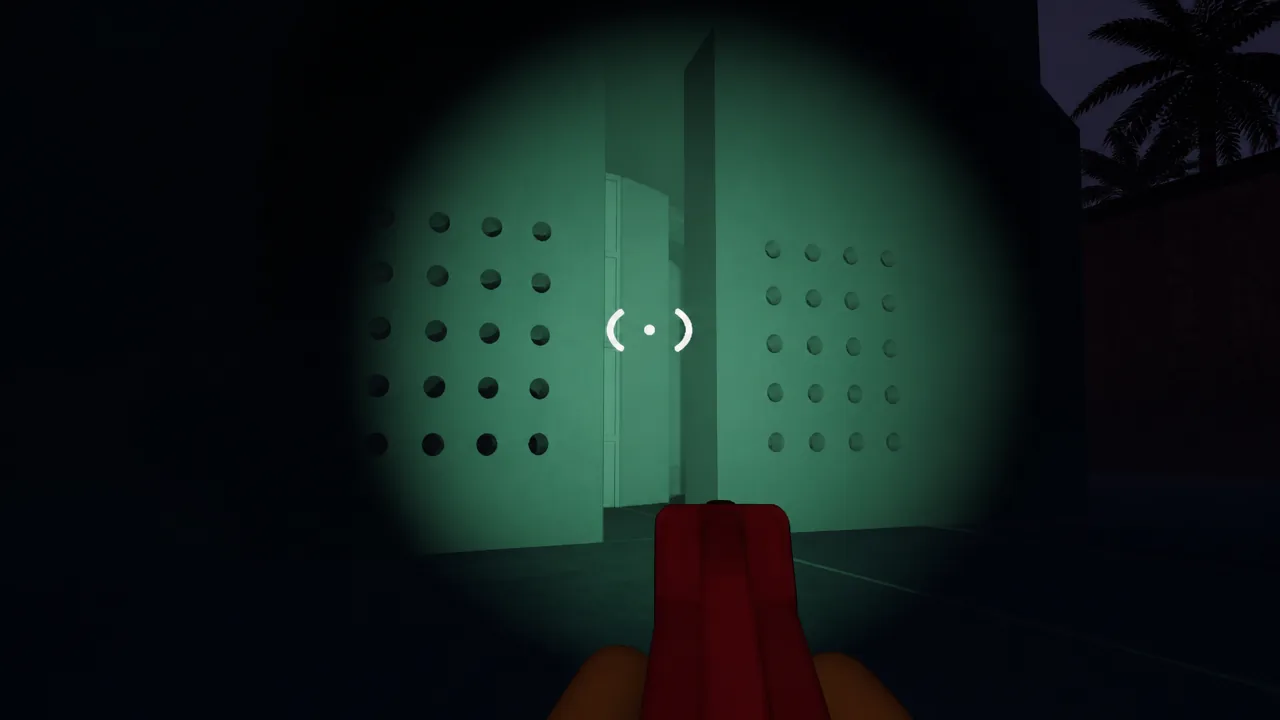
The flashlight is the reliable option after dark. Toggle it on for a steady beam that makes nighttime travel smooth. Your first one sits to the left of the red bridge from the starting area, just past the drawbridge that drops when you finish the tutorial, and copies turn up at the tops of most colored towers.
Before you reach a flashlight, the ball lamp fills in. It’s a round light you can pick up and even kick across the ground to light a small patch. It stays handy later too, since each person needs their own light and flashlights are scarce. For puzzles at night, having one lit object nearby can be the difference between progress and stumbling.
Communication tools for a spread-out group
Big Walk uses proximity chat, so voices fade once players split up. Several tools push past that limit, each in its own way.
| Tool | Best moment to use it |
|---|---|
| Walkie-talkie | Direct talk across the whole map once you have more than one; attaches to a belt |
| Megaphone | Reaching teammates who are nearby but out of normal chat range |
| Radio | Letting a lost teammate follow music straight back to you |
| Flare gun | Marking your rough position in the sky before you have precise tools |
| Whiteboard | Leaving hints, routes, or clues for players passing through later |
Walkie-talkies are the standout for staying in touch. You’ll find them on a platform below the Red Tower and in the red tunnel beneath it, and they only work in pairs, so grab at least two. The radio sits along the red bridge just past the flashlight, and its music doubles as a homing signal. Megaphones rest on yellow shapes north of the Yellow Tower and in the woods east of the Green Tower. Flare guns turn up near puzzle solution areas and are best for a quick “here I am” when nothing else is set up yet.
Puzzle tools: key cutter and beyond
The key cutter is the one tool tied directly to progression. It shapes raw keys into the exact form needed to finish the Red, Yellow, Blue, and Drawbridge challenges, and you’ll find it near those tower puzzle areas. Without it, the keys those challenges require stay unusable.
Telescopes count here too, since their main role is spotting distant puzzle targets and lighting them up so they’re easier to track on the map. Sound shrines work differently again. Walk in circles around one to change its pitch, which is how you solve the audio puzzles built around them.
Which tools your group should actually carry
Carrying everything at once slows the group down. Split the load instead. Equipment is shared gear in a co-op game, so dividing it between players is the point.
- Give one person a backpack so the group has a spare slot for puzzle items.
- Keep a map and compass on hand whenever you travel together.
- Hand out walkie-talkies the moment players plan to separate.
- Make sure at least one person holds a flashlight for night stretches.
One player loaded with the right gear does more for the team than four people all carrying the same basic item. Watch for the round blue buildings as you explore, keep the Map Room in mind as your central stock of navigation and communication tools, and pick up the key cutter before you commit to a tower challenge.