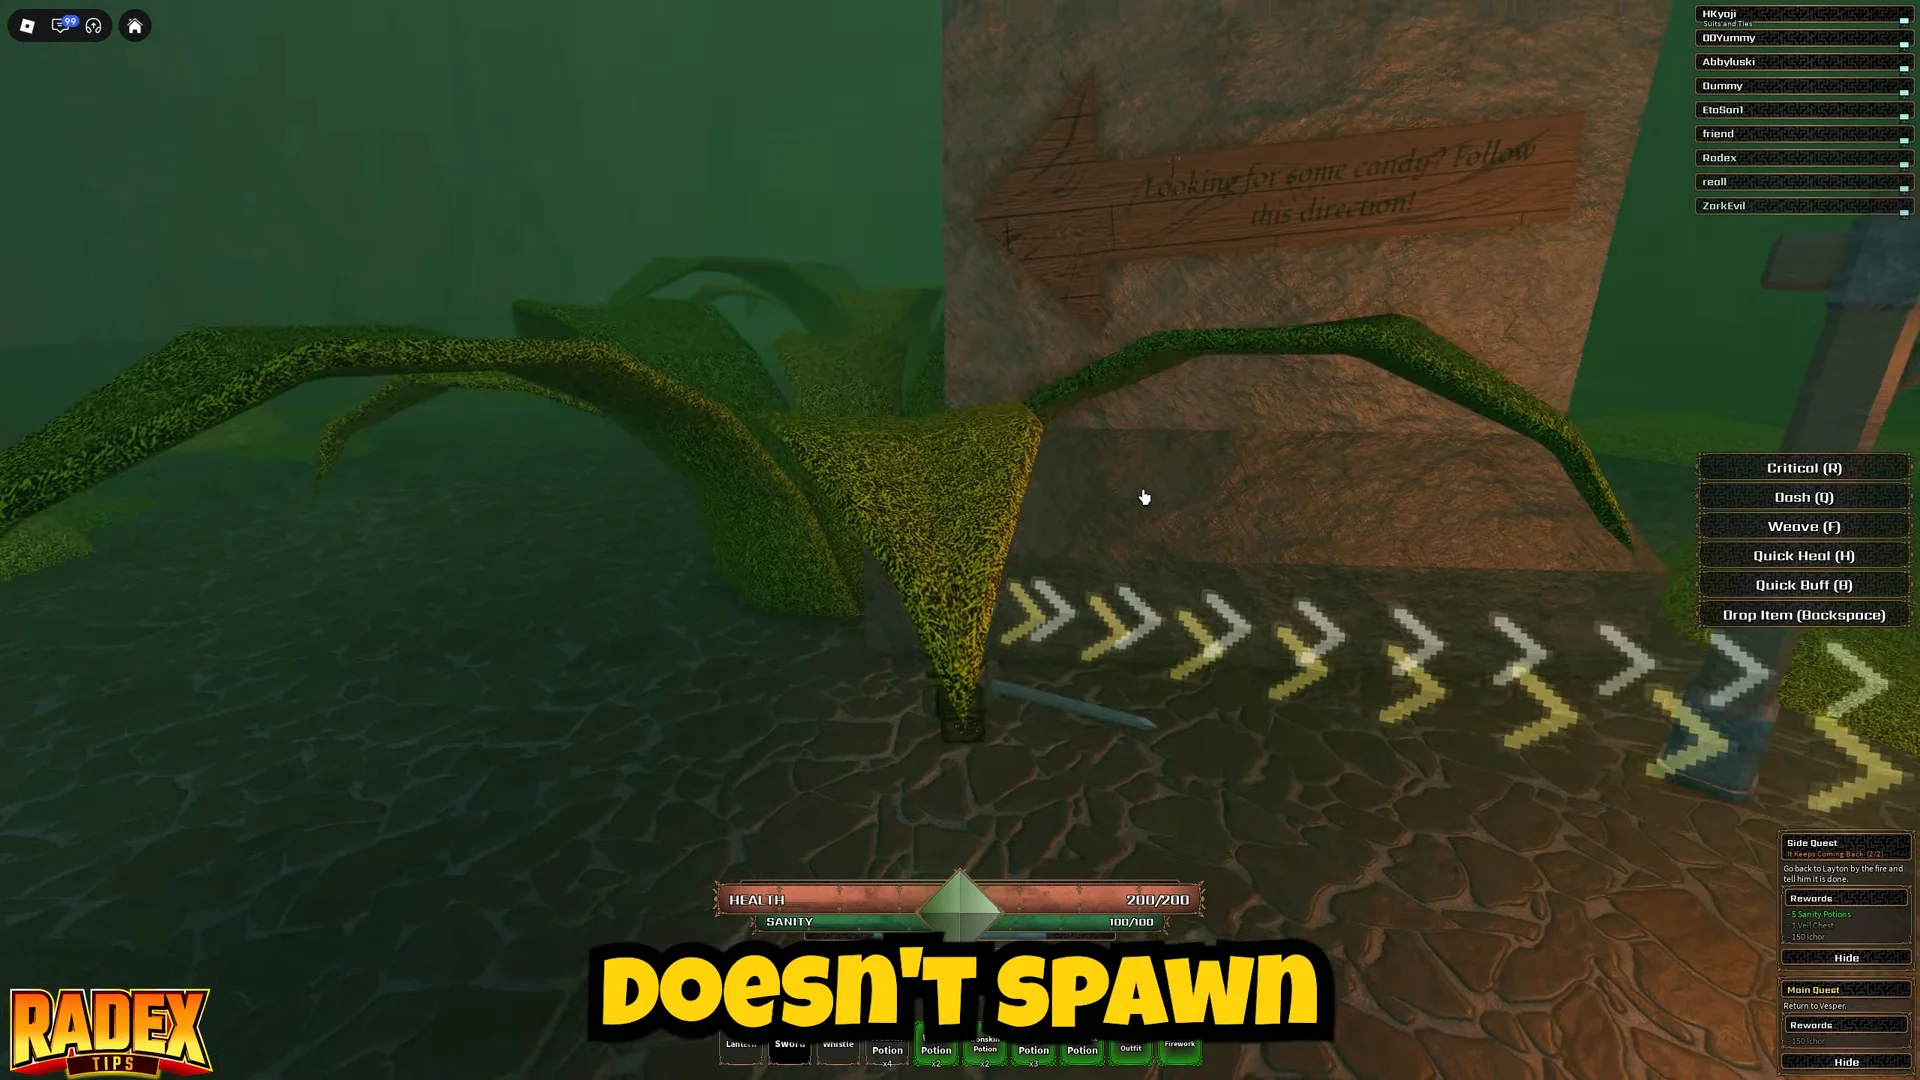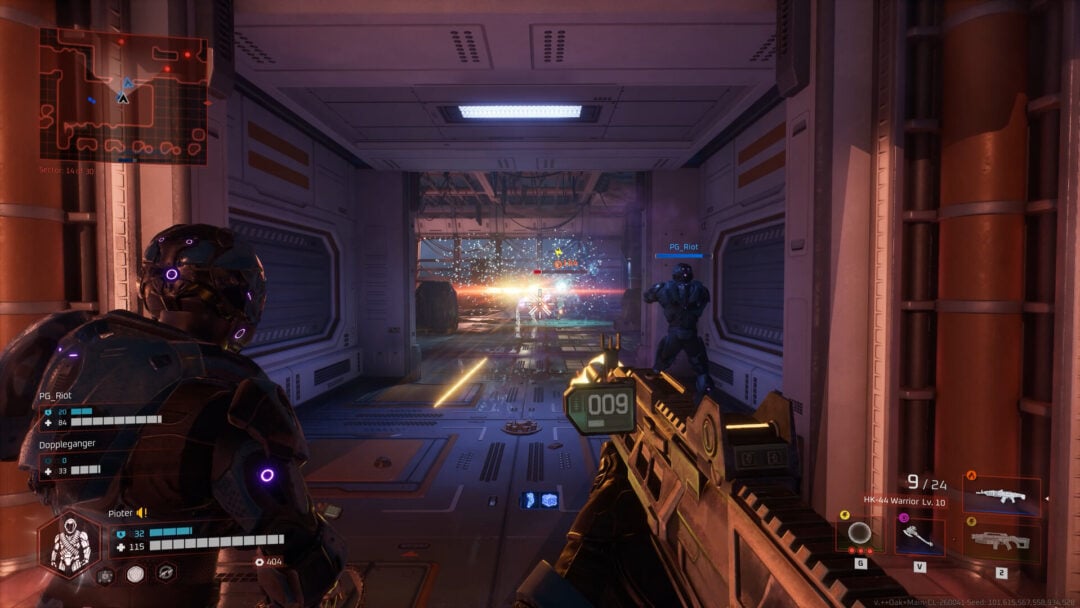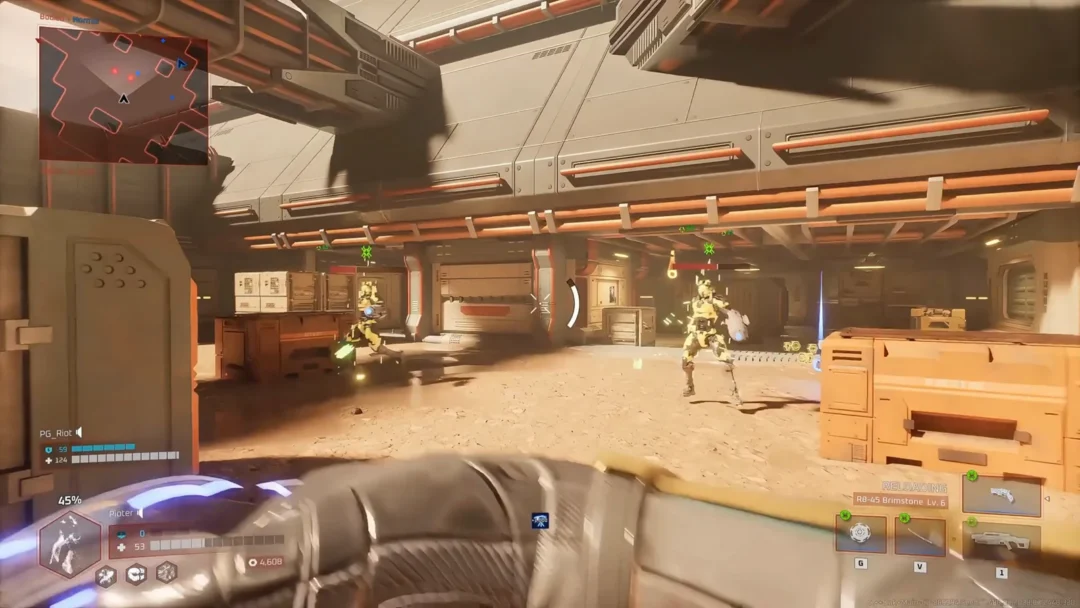
Coins buy everything in Bunker vs Verity, the Roblox wave-defense game from Beyondd Games where up to six players dig out bunkers and hold the surface hatch against smiley-faced Verities. Farms and missions add up over time. The quickest money comes from one long raid that your turrets fight for you while you stand somewhere the enemies can’t reach.
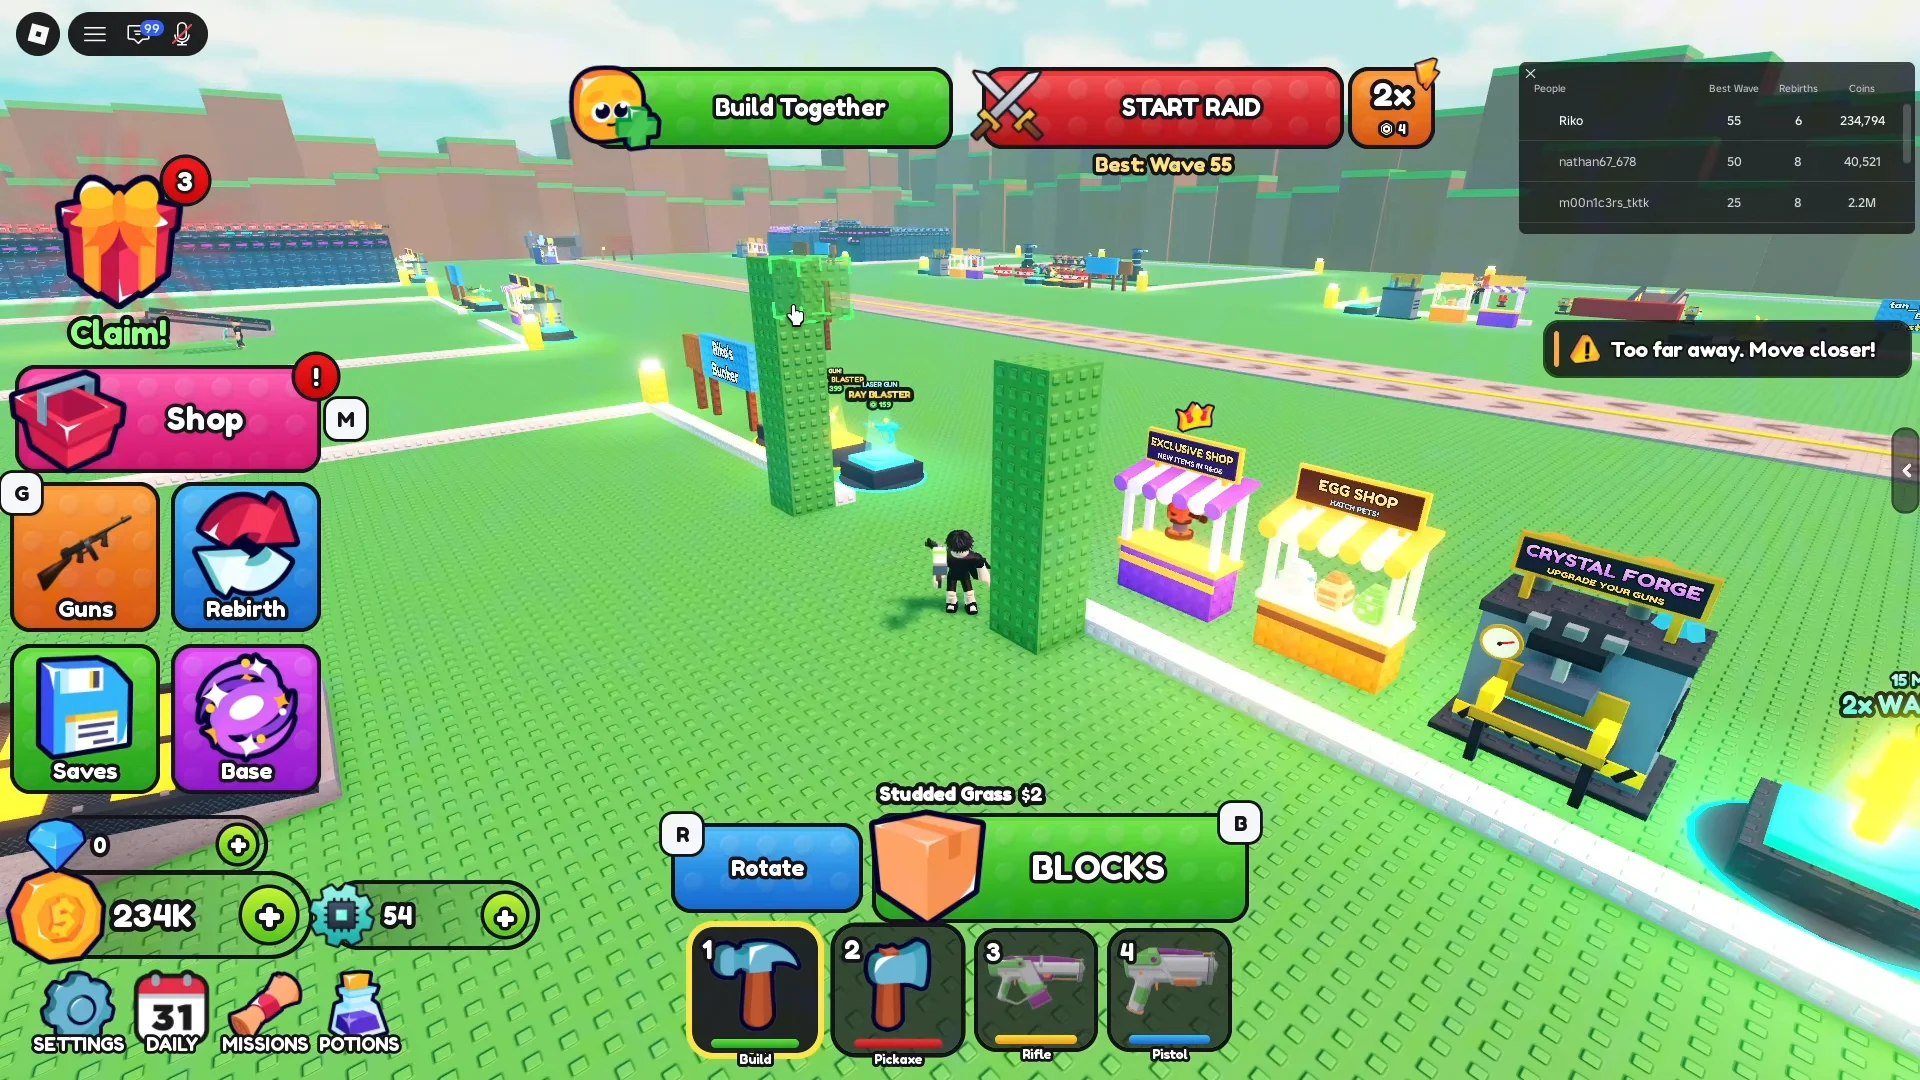
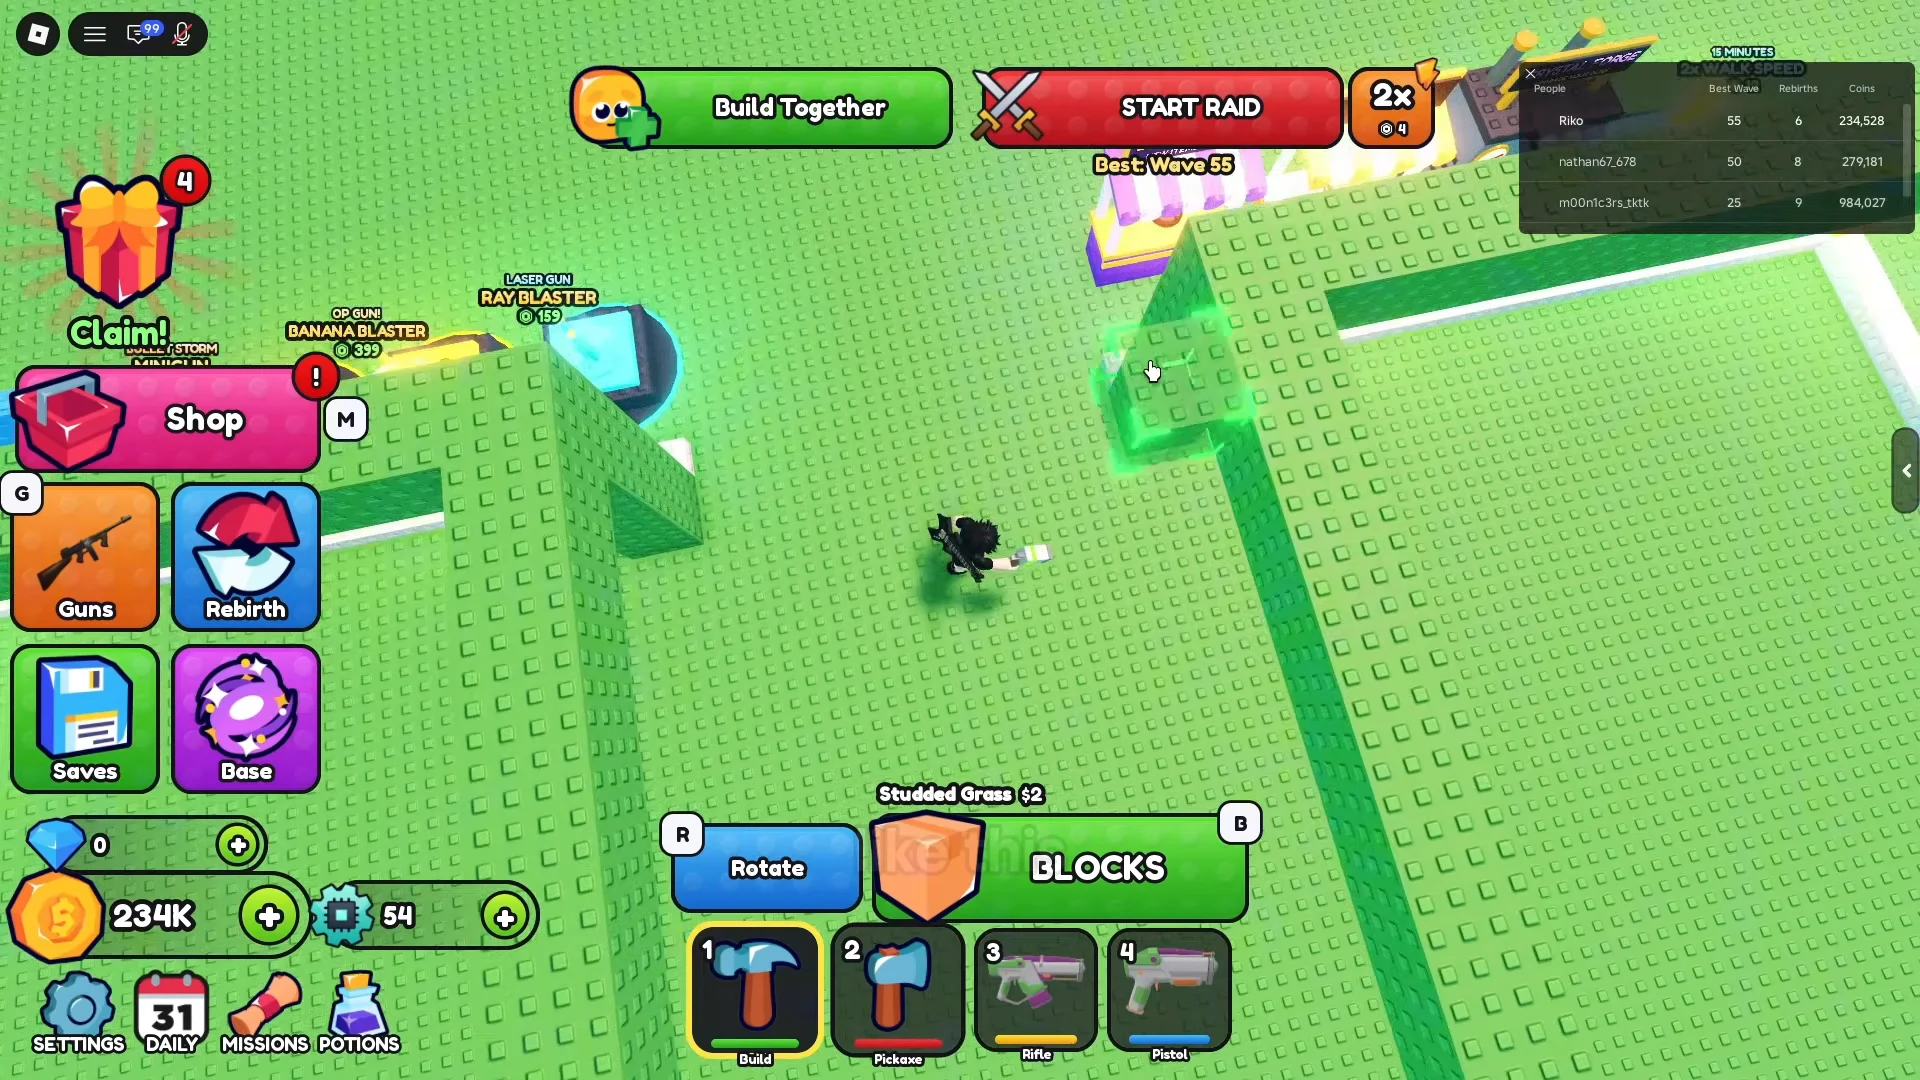
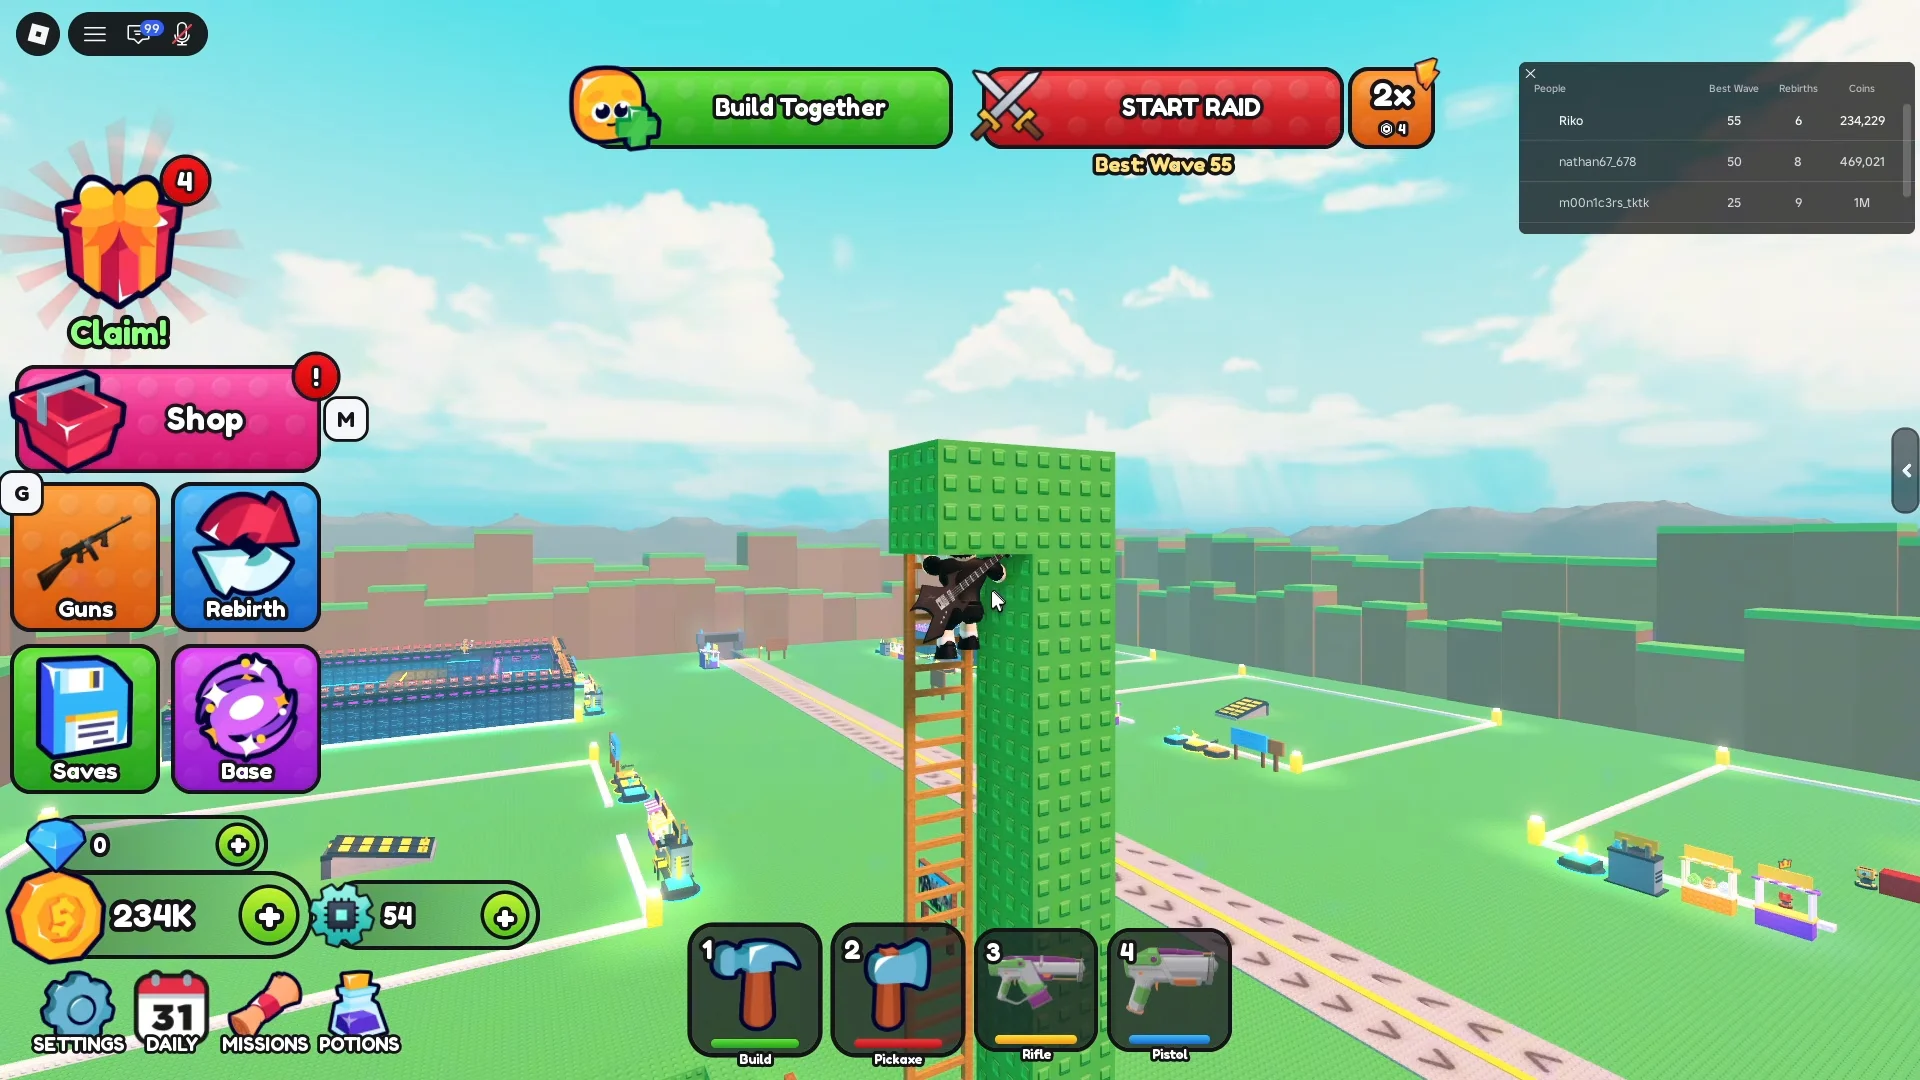
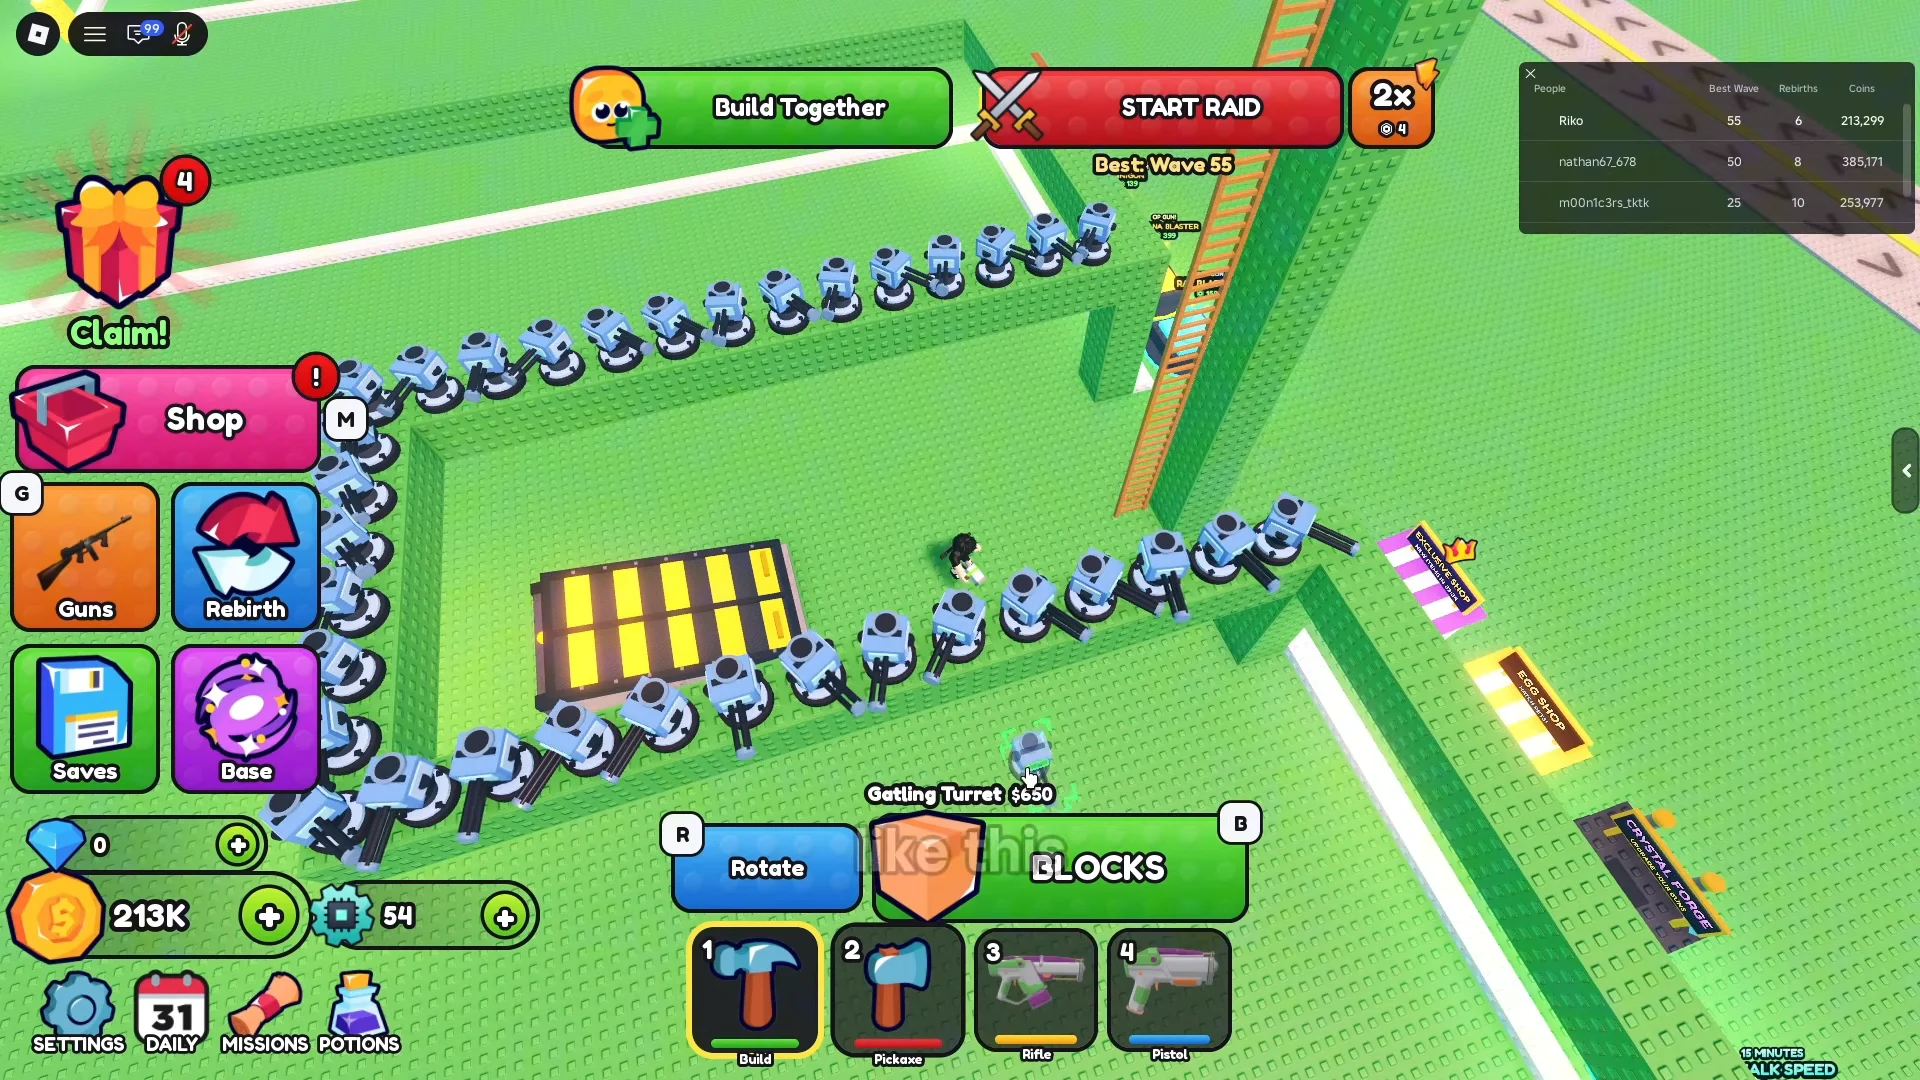
Quick answer: Wall your plot with 2-coin Studded Grass, line the walls with Gatling and Sniper Turrets, put Plasteel in front of the hatch, start the raid at Wave 25, climb a ladder pillar, and go AFK. Then press End Raid.
What the AFK coin farm costs
The build needs only five item types. Most of the plot is cheap filler blocks. Your coins go into turrets and a few high-durability blocks around the hatch. All of these are in the Build menu, in the Blocks, Utilities, and Turrets tabs.
| Item | HP | Cost | Job in the farm |
|---|---|---|---|
| Studded Grass | 20 | 2 Coins | Walls and pillar |
| Ladder | 20 | 15 Coins | Climb to the perch |
| Gatling Turret | 200 | 650 Coins | Main damage on walls |
| Sniper Turret | 140 | 950 Coins | Front-edge damage |
| Plasteel | 1,200 | 2,500 Coins | Shield the hatch |
The Sniper Turret unlocks at Rebirth 1. If you haven’t rebirthed yet, use Gatling Turrets on the front edge too. The farm works for two reasons. First, Verities and the Giants that show up in later waves walk straight to the bunker instead of hunting you. Second, a perch high on a pillar keeps both ground enemies and other players away from you.
How to build the Bunker vs Verity AFK farm
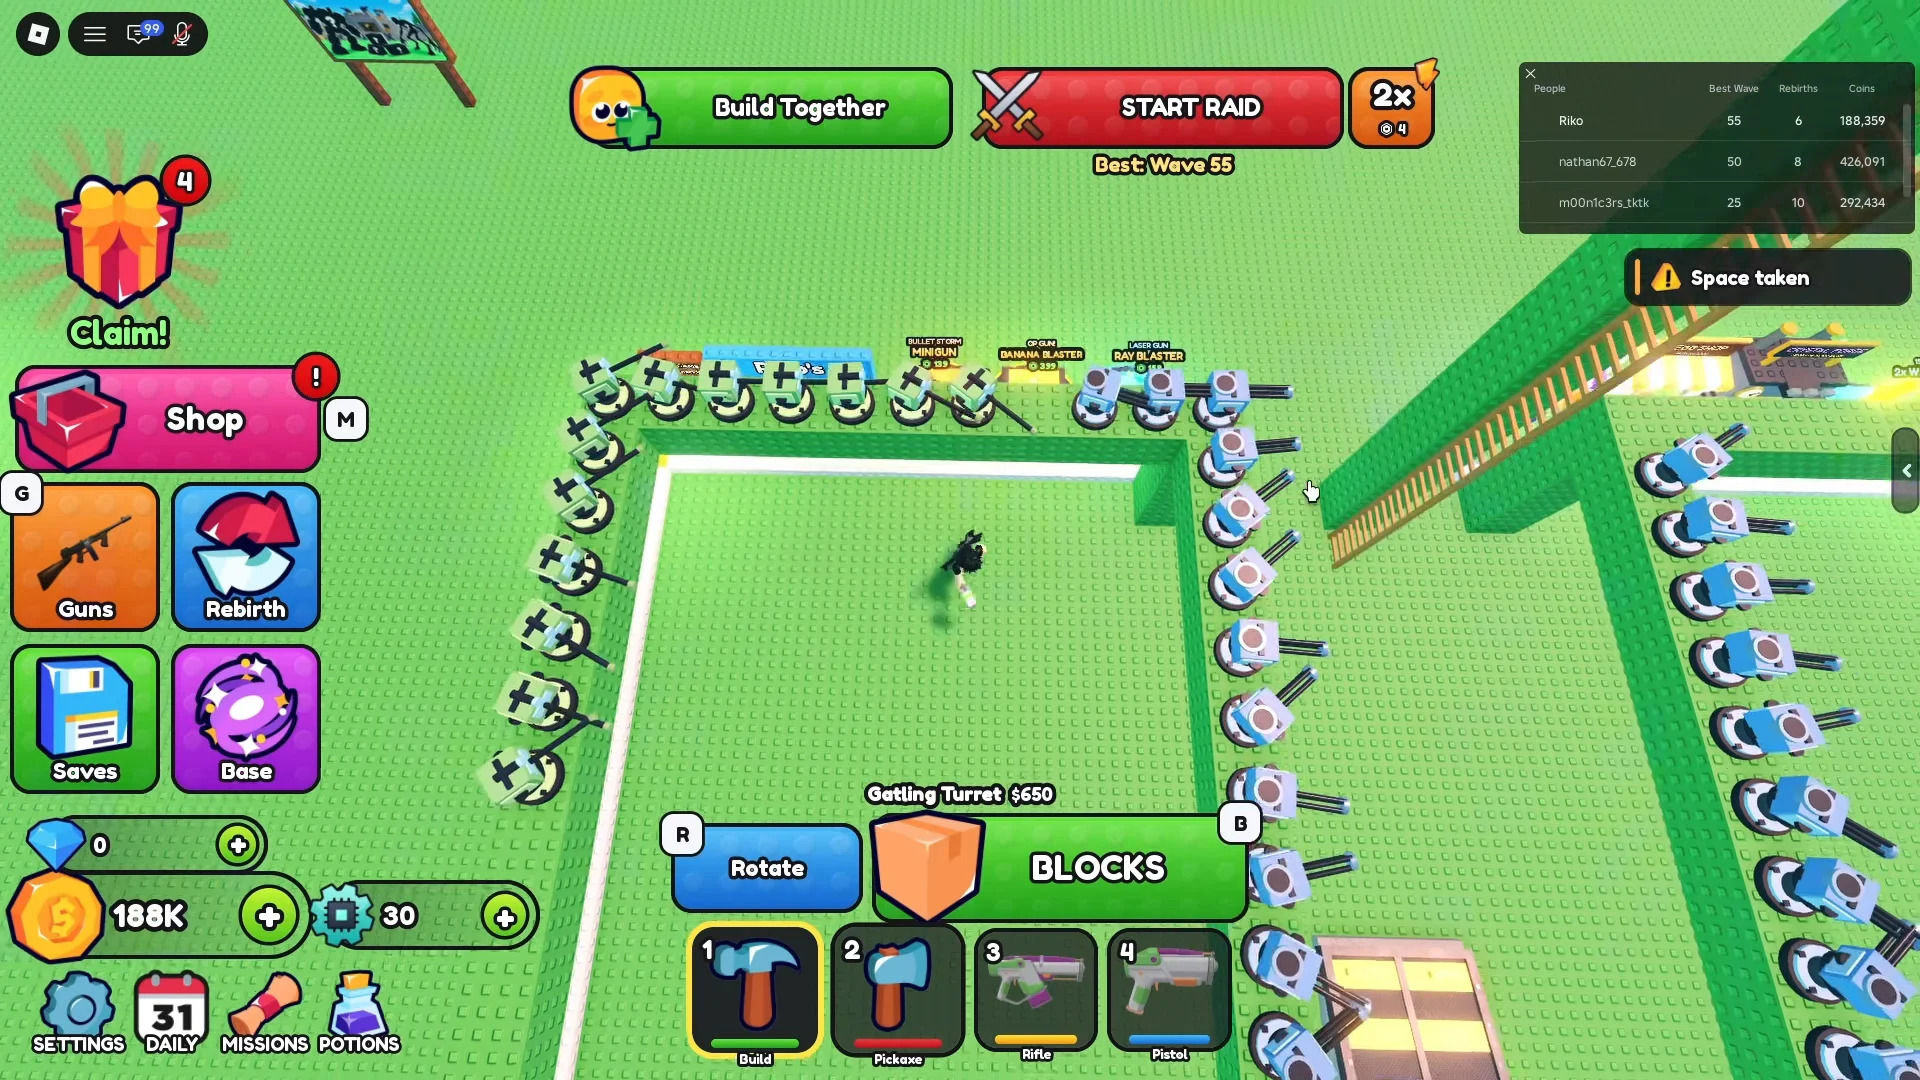
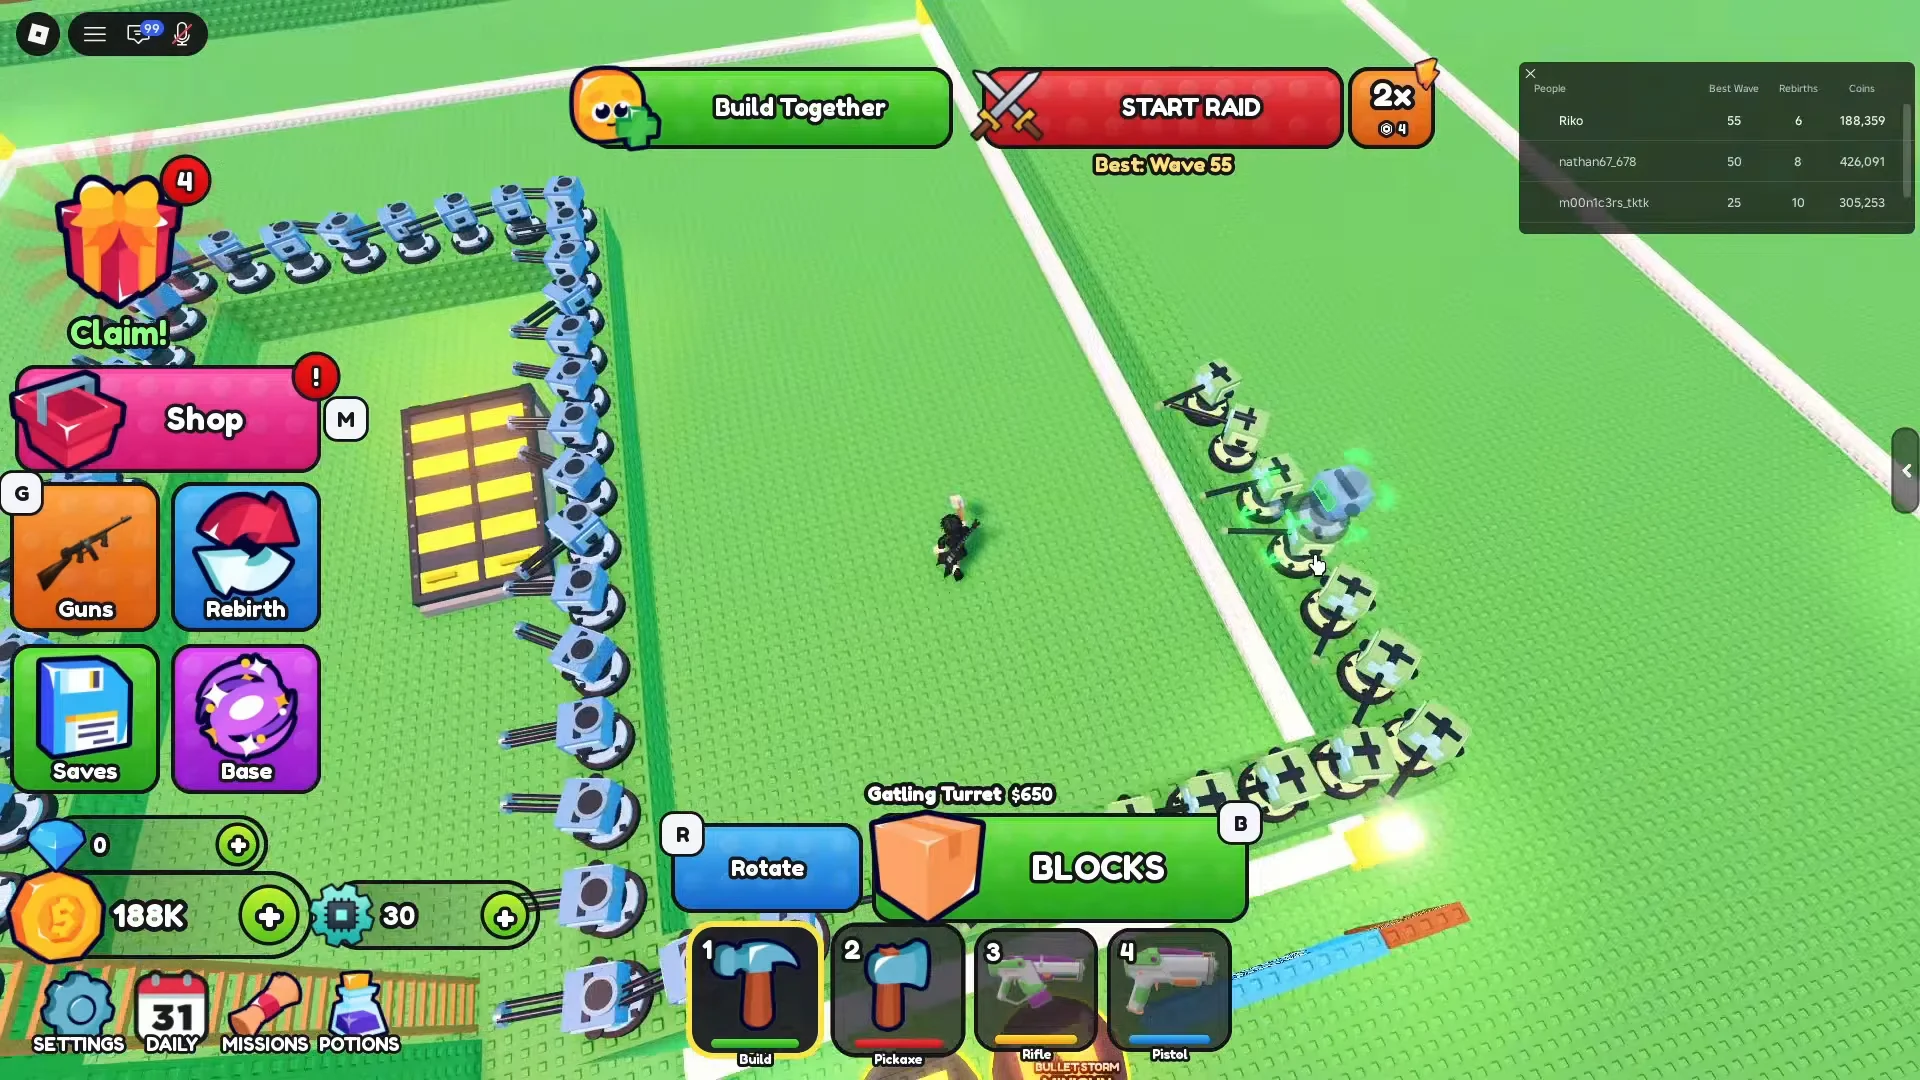
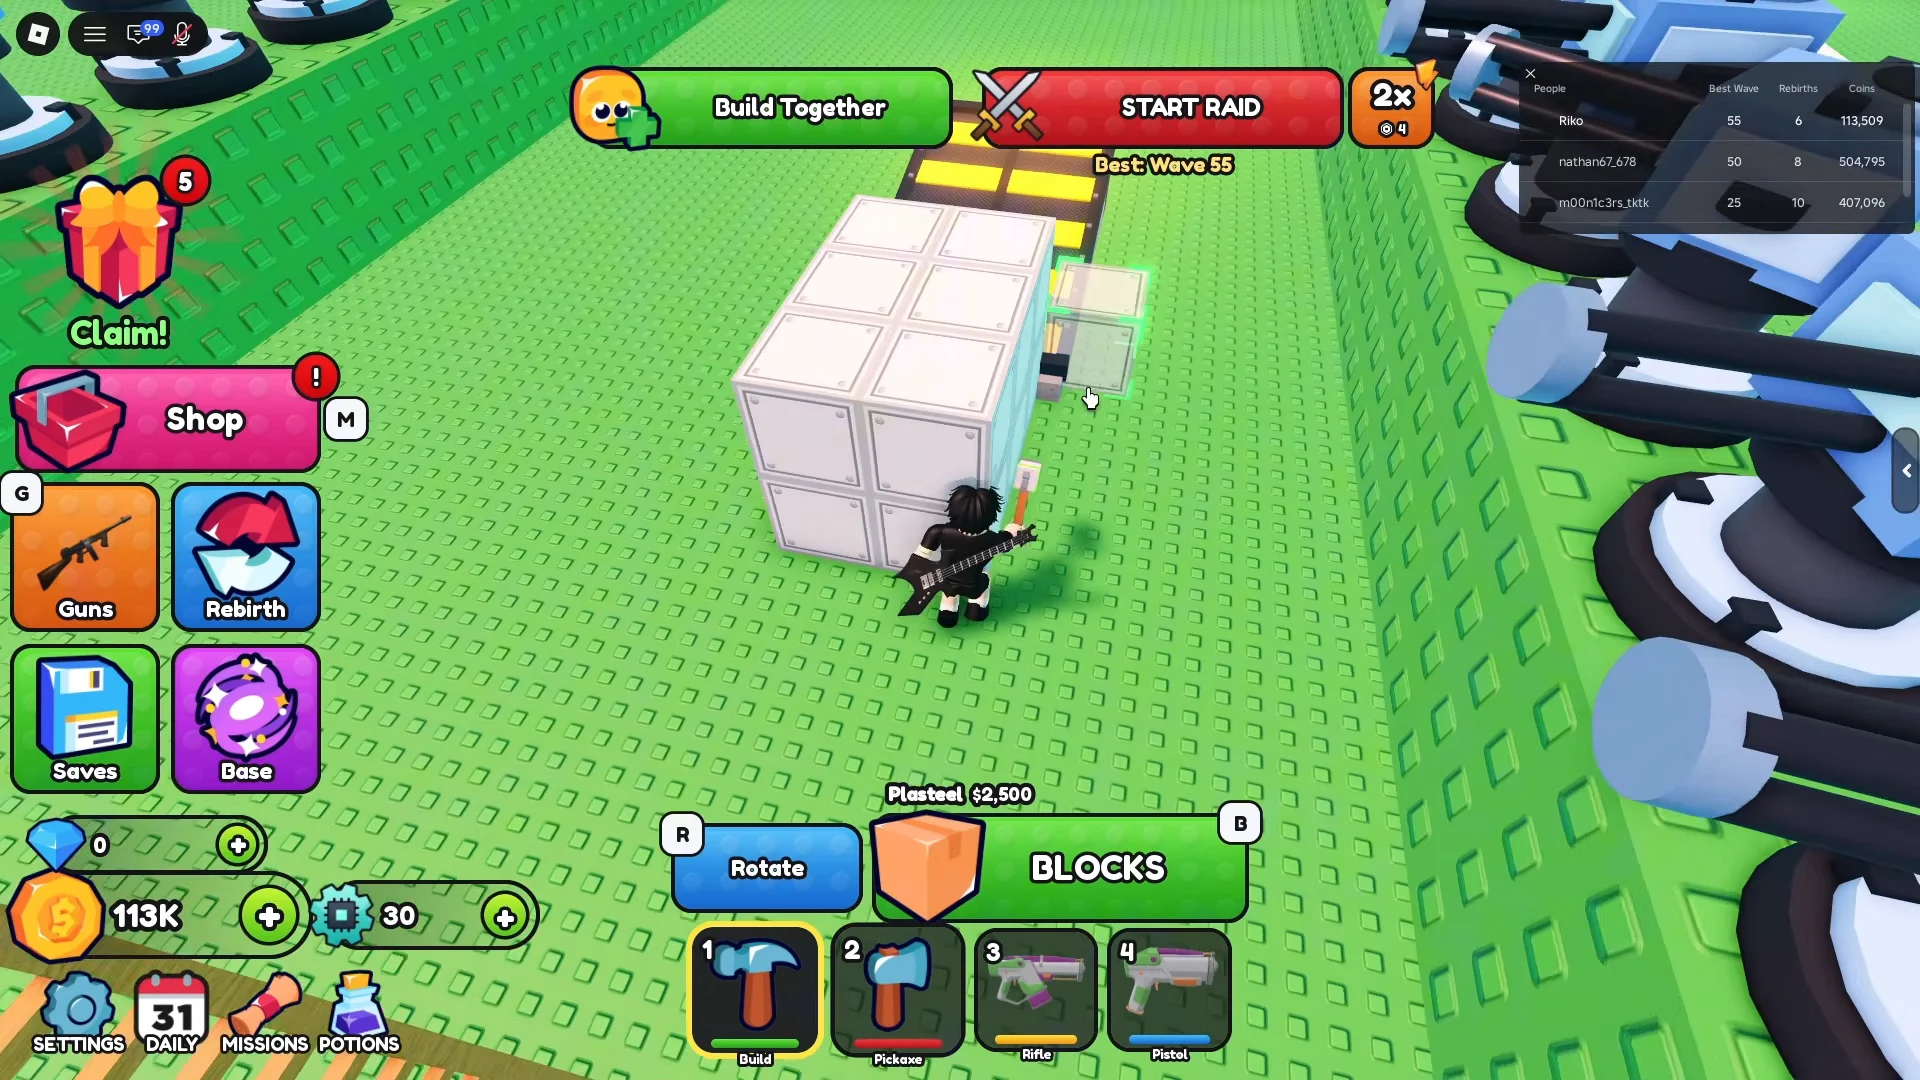
Running the raid and cashing out
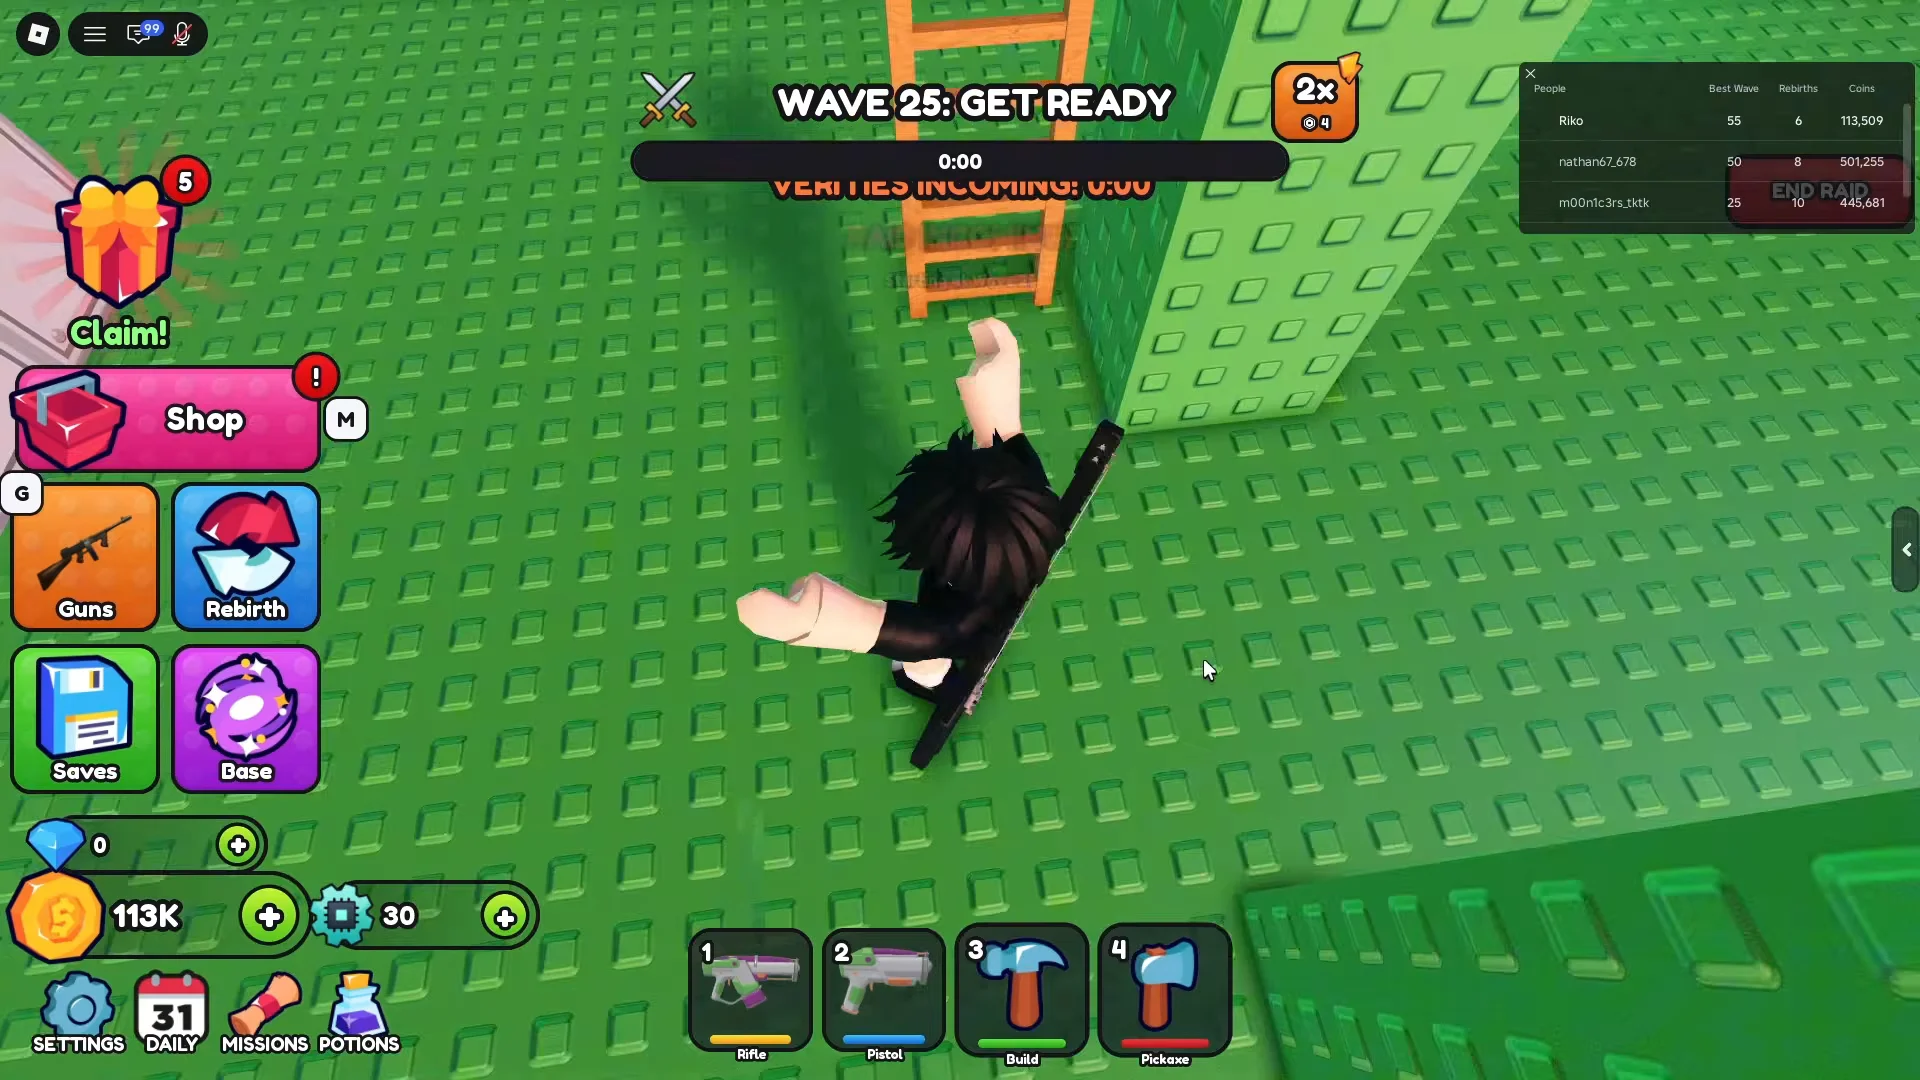
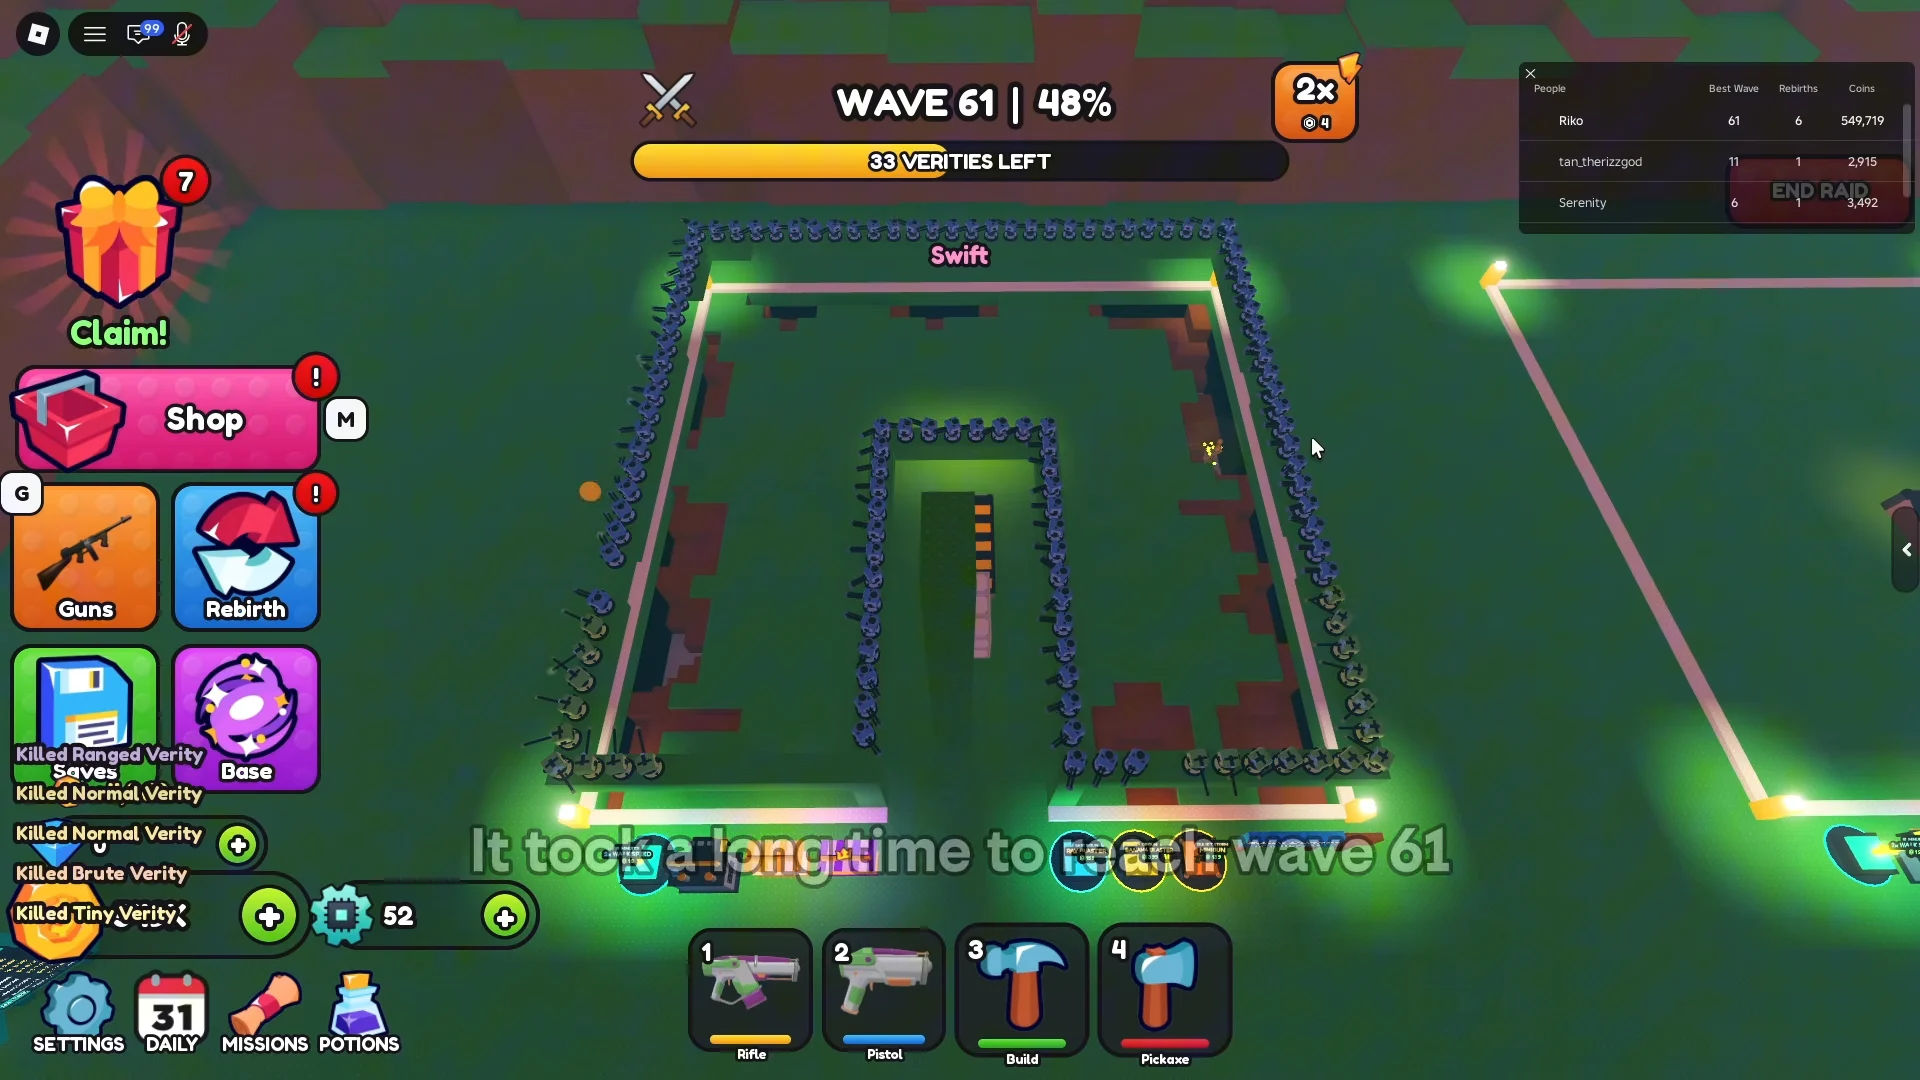
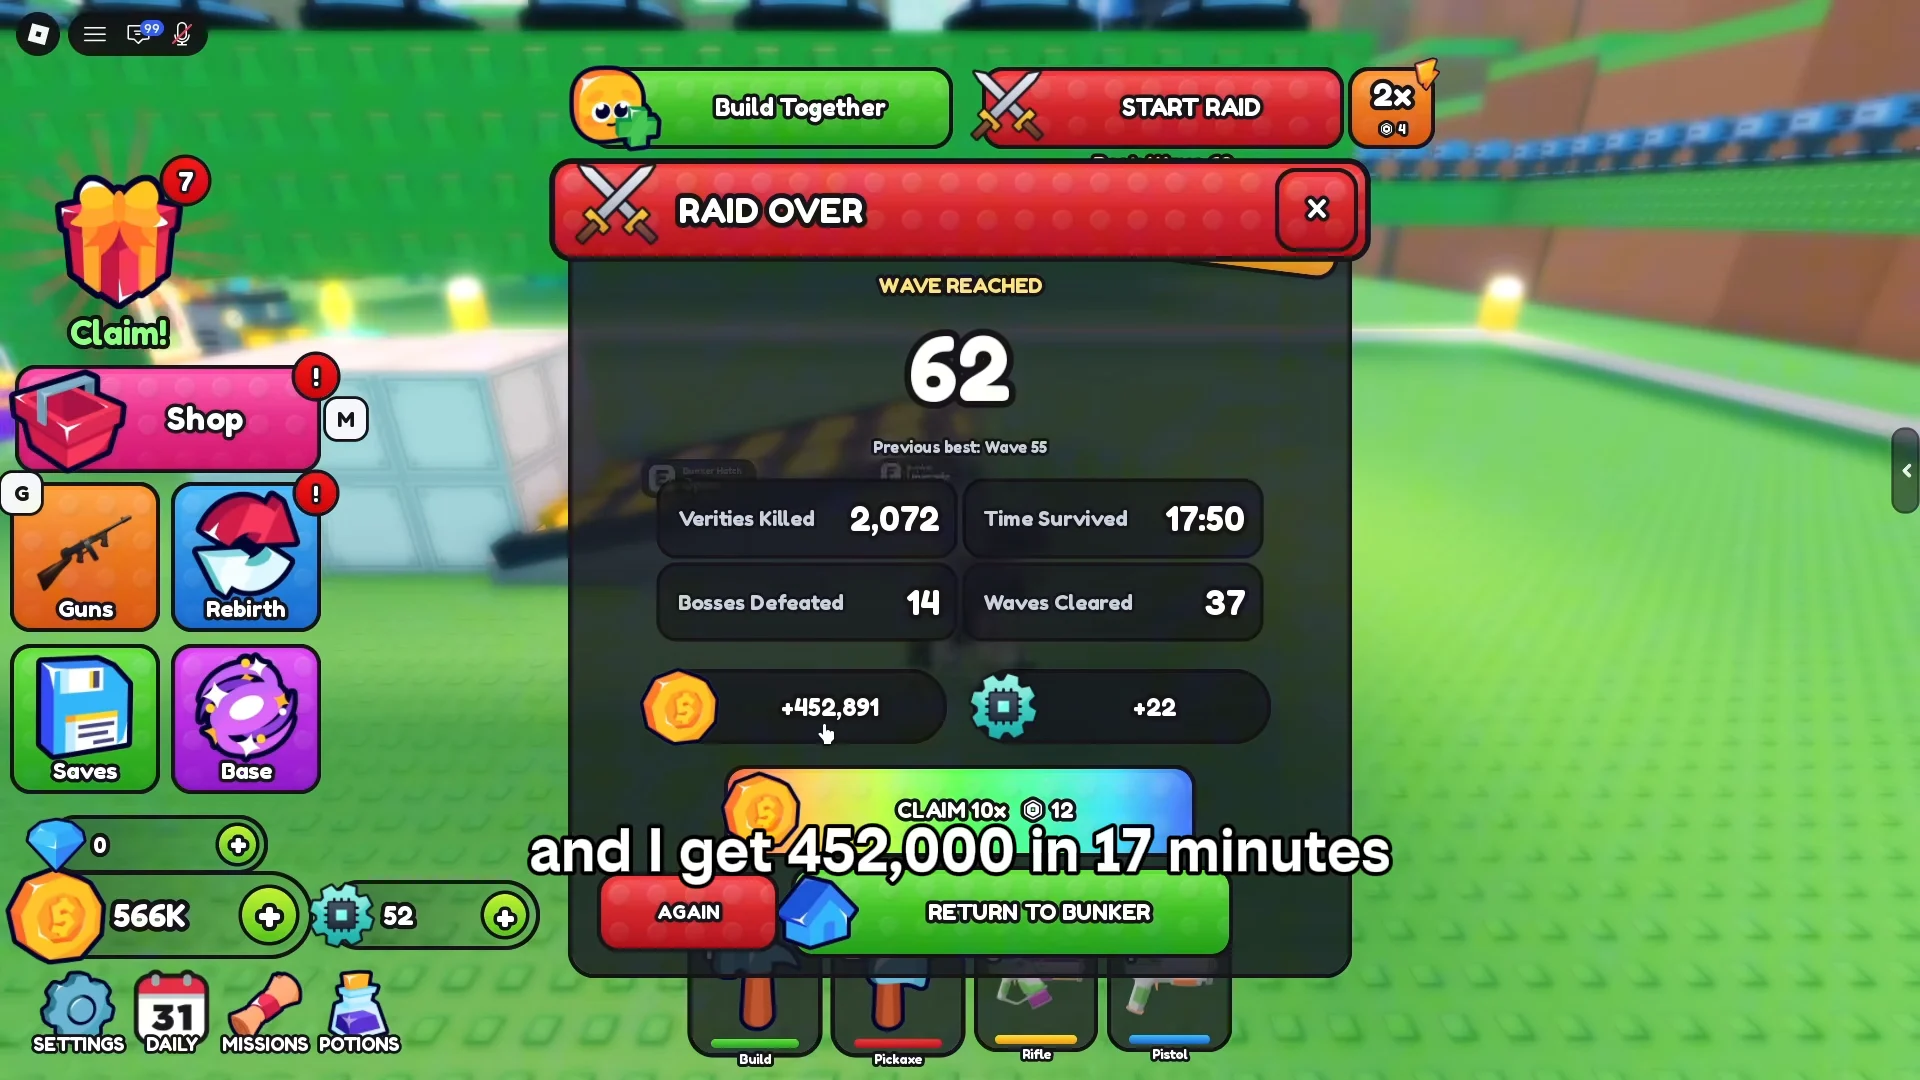
You know it worked when the RAID OVER screen lists your wave reached and a positive coin and gem total. Here is what the demonstrated run returned:
| RAID OVER stat | Value |
|---|---|
| Wave reached | 62 (previous best 55) |
| Waves cleared | 37 |
| Verities killed | 2,072 |
| Bosses defeated | 14 |
| Time survived | 17:50 |
| Reward | +452,891 Coins, +22 Gems |
The same screen also has a “CLAIM 10x” button next to the normal claim.
Raid payout rules that affect your coins
Defeated Verities drop coins during a raid. None of it is banked until you press END RAID. If your run is wiped out before you cash out, you lose that run’s earnings. This is the main reason the AFK farm ends the raid by hand instead of waiting for the bunker to fall.
- Your loadout is one rifle slot plus one pistol slot, and it is locked once a raid starts.
- Wave 5 brings a mini-boss, a huge Brute that comes from the South.
- In Wave 10, a full boss appears: a large red unit that strikes the bunker itself.
- The Bunker Hatch opens and closes with E. Verities beat on a closed hatch until it breaks.
- Beginning in the middle waves, enemies make directly for the hatch rather than roaming.
Put your strongest gun in a slot before you press START. You can’t swap weapons until the raid ends.
Passive coins and gems from bunker farms
Farms from the Farms tab make currency on a timer while you play, including during raids. Put them in the dug-out space underground, where they are protected.
| Farm | Output | Cost | Unlock |
|---|---|---|---|
| Mushroom Farm | +5 / 10s | 250 | — |
| Carrot Farm | +14 / 10s | 700 | — |
| Glow Berry Bush | +28 / 10s | 2,000 | — |
| Gem Grower | +1 gem / 15s | 5,000 | — |
| Gold Drill | +60 / 10s | 30,000 | Rebirth 1 |
| Coin Press | +150 / 10s | 75,000 | Rebirth 2 |
| Money Tree | +400 / 10s | 400,000 | Rebirth 3 |
The Gem Grower is the only passive gem source. Raids pay gems too, with 22 for the Wave 62 run above. Everything else on the list makes coins, and the rebirth-locked tiers produce far more than the starter crops.
Rebirth and the coin multiplier
Rebirth raises a permanent coin multiplier that applies to every later raid and farm. The first rebirth costs 5,000 coins. You can also skip it with Robux. It takes you from x1.00 to x1.25. Rebirth 2 costs 15,000 coins and takes you to x1.50.
| Rebirth | Cost | Multiplier | Notable unlocks |
|---|---|---|---|
| 1 | 5,000 | x1.25 | SMG, Shotgun, Breecher, Sniper Turret, Gold Drill |
| 2 | 15,000 | x1.50 | Assault Rifle, Hornet, Marksman, Sniper, Coin Press |
Rebirth spends only its coin price. You keep the rest of your coins, plus your guns, items, and bunker. Blocks placed on the plot are cleared. Multiple save slots under Saves let you keep a farming layout separate from a test layout.
Do your rebirth before you build the AFK farm. Otherwise you’ll lose the placed walls and Plasteel.
Free coins from missions, daily rewards, and gifts
The DAILY, MISSIONS, and Claim! buttons pay out lump sums that don’t depend on how far you get in a raid. Missions cover routine tasks like defeating 10 Verities with guns (2,500 coins), having turrets defeat 5 Verities (500), digging 10 stone blocks (200), and defeating a Brute Verity (400).
The daily calendar runs 35 days. The first week and the milestone days pay out like this:
| Day | Reward |
|---|---|
| 1 | 2,500 Coins |
| 2 | Frost Turret (exclusive) |
| 3 | 3,000 Coins |
| 4 | TNT Mine x4 |
| 5 | 4,000 Coins |
| 6 | Rocket Turret x2 |
| 7 | Assault Rifle + 15K Coins |
| 14 | Vindicator + 25K Coins |
| 28 | Rocket Launcher + 50K Coins |
| 35 | Storm Cannon + 100K Coins + 25 TP |
Free Gifts unlock on playtime timers within a session. They include 500 and 1,000 coins early, then a Desert Eagle, 2x Gatling Turret, 4x TNT Mine, an Uzi, 2x Rocket Turret with 3K coins, 12,000 coins, and 12x Tech Parts with 5K coins. The last gift is an SMG plus 20K coins at about 1 hour 7 minutes. A long AFK raid also runs those timers down.
Turret, trap, and gun prices
Turret prices have changed between game versions. These are the current shop values:
| Turret | HP | Cost |
|---|---|---|
| Basic Turret | 100 | First one free |
| Gatling Turret | 200 | 650 |
| Shotgun Turret | 120 | 800 |
| Sniper Turret | 140 | 950 (Rebirth 1) |
| Flame Turret | 200 | 1,200 |
| Rocket Turret | 150 | First one free |
| Laser Turret | 250 | 2,000 |
| Tesla Turret | 350 | 3,500 |
Flame, Rocket, Laser, and Tesla Turrets are locked behind later rebirths. Traps are cheap and sit in front of turrets to thin out groups. Mines vanish after they go off, so restock them before each run.
- Spike Trap: first free, then 30
- Bear Trap 120, Hidden Spikes 150, Glue Trap 180
- Landmine 150, TNT Mine 200 (single use, high burst)
- Electric Floor 250
- Heavy Spikes 200 (Rebirth 1)
| Gun | Rarity | Cost | Unlock |
|---|---|---|---|
| Pistol | Common | Starter | — |
| Rifle | Common | 500 | — |
| Carbine | Uncommon | 700 | — |
| Desert Eagle | Rare | 1.5K | — |
| Uzi | Uncommon | 3.8K | — |
| SMG | Rare | 9K | Rebirth 1 |
| Shotgun | Rare | 14K | Rebirth 1 |
| Breecher | Rare | 18K | Rebirth 1 |
| Assault Rifle | Rare | 70K | Rebirth 2 |
| Sawed-Off | Rare | 70K | Rebirth 2 |
| Hornet | Epic | 100K | Rebirth 2 |
| Marksman | Epic | 160K | Rebirth 2 |
| Sniper | Legendary | 240K | Rebirth 2 |
| Vindicator | Legendary | 1.2M | Rebirth 3 |
| LMG | Legendary | 2.8M | Rebirth 3 |
| Rapid Sniper | Legendary | 18M | Rebirth 4 |
Three Robux-only guns sit outside this progression: the Banana Blaster (600 Robux), Ray Blaster (320), and Bullet Storm Minigun (1,500). The AFK farm needs none of them, since the turrets do the damage.
Bunker health upgrades
The bunker upgrades in this order: Wood, Steel, Reinforced, Titanium, Obsidian, and Void, which tops out at 50,000 HP. Each tier raises the bunker’s health and cuts the damage Verities deal to your ground structures. Going from Steel to Reinforced doubles HP and drops ground damage from 100% to about 70–75%, depending on the game version. The lower tiers’ exact HP values have also shifted between builds, so check the Base menu before you buy. Bosses hit the bunker directly, so moving up a tier matters before you push into long raids.
Bunker vs Verity codes
No codes are confirmed active right now. When one appears, open the code panel from the Shop. Enter the code with its exact capitalization and no extra spaces, then submit it. A confirmation message means the reward was granted. If no message appears, check the spelling and spacing and try again from the current panel. Until then, the Wave 25 turret farm is still the quickest way to stack coins in Bunker vs Verity.