The Clock Tower in Castlevania: Belmont’s Curse spreads its pickups across dozens of rooms, and 21 of its 36 Secret Areas hold nothing. The Master’s Quarters, the final stretch of Dracula’s Castle, is much smaller and has one relic. Knowing which walls hide something saves a lot of backtracking before you face Dracula.
Quick answer: The Clock Tower holds 5 relics, 4 weapons, 6 Heart Fragments, 3 stat books, 14 XP statues and 9 pieces of meat. The Master’s Quarters adds one relic, Gloomstone, in the Sanctuary of Solitude.
Master’s Quarters collectibles in the Sanctuary of Solitude
You reach the Master’s Quarters from the Clock Tower over the Master’s Bridge. Everything worth collecting here sits in one district, the Sanctuary of Solitude. It holds the area’s only Mirror of Life, a Ferryman’s Wharf, and three Secret Areas, all hidden passages. One of them holds Gloomstone. The other two are empty.
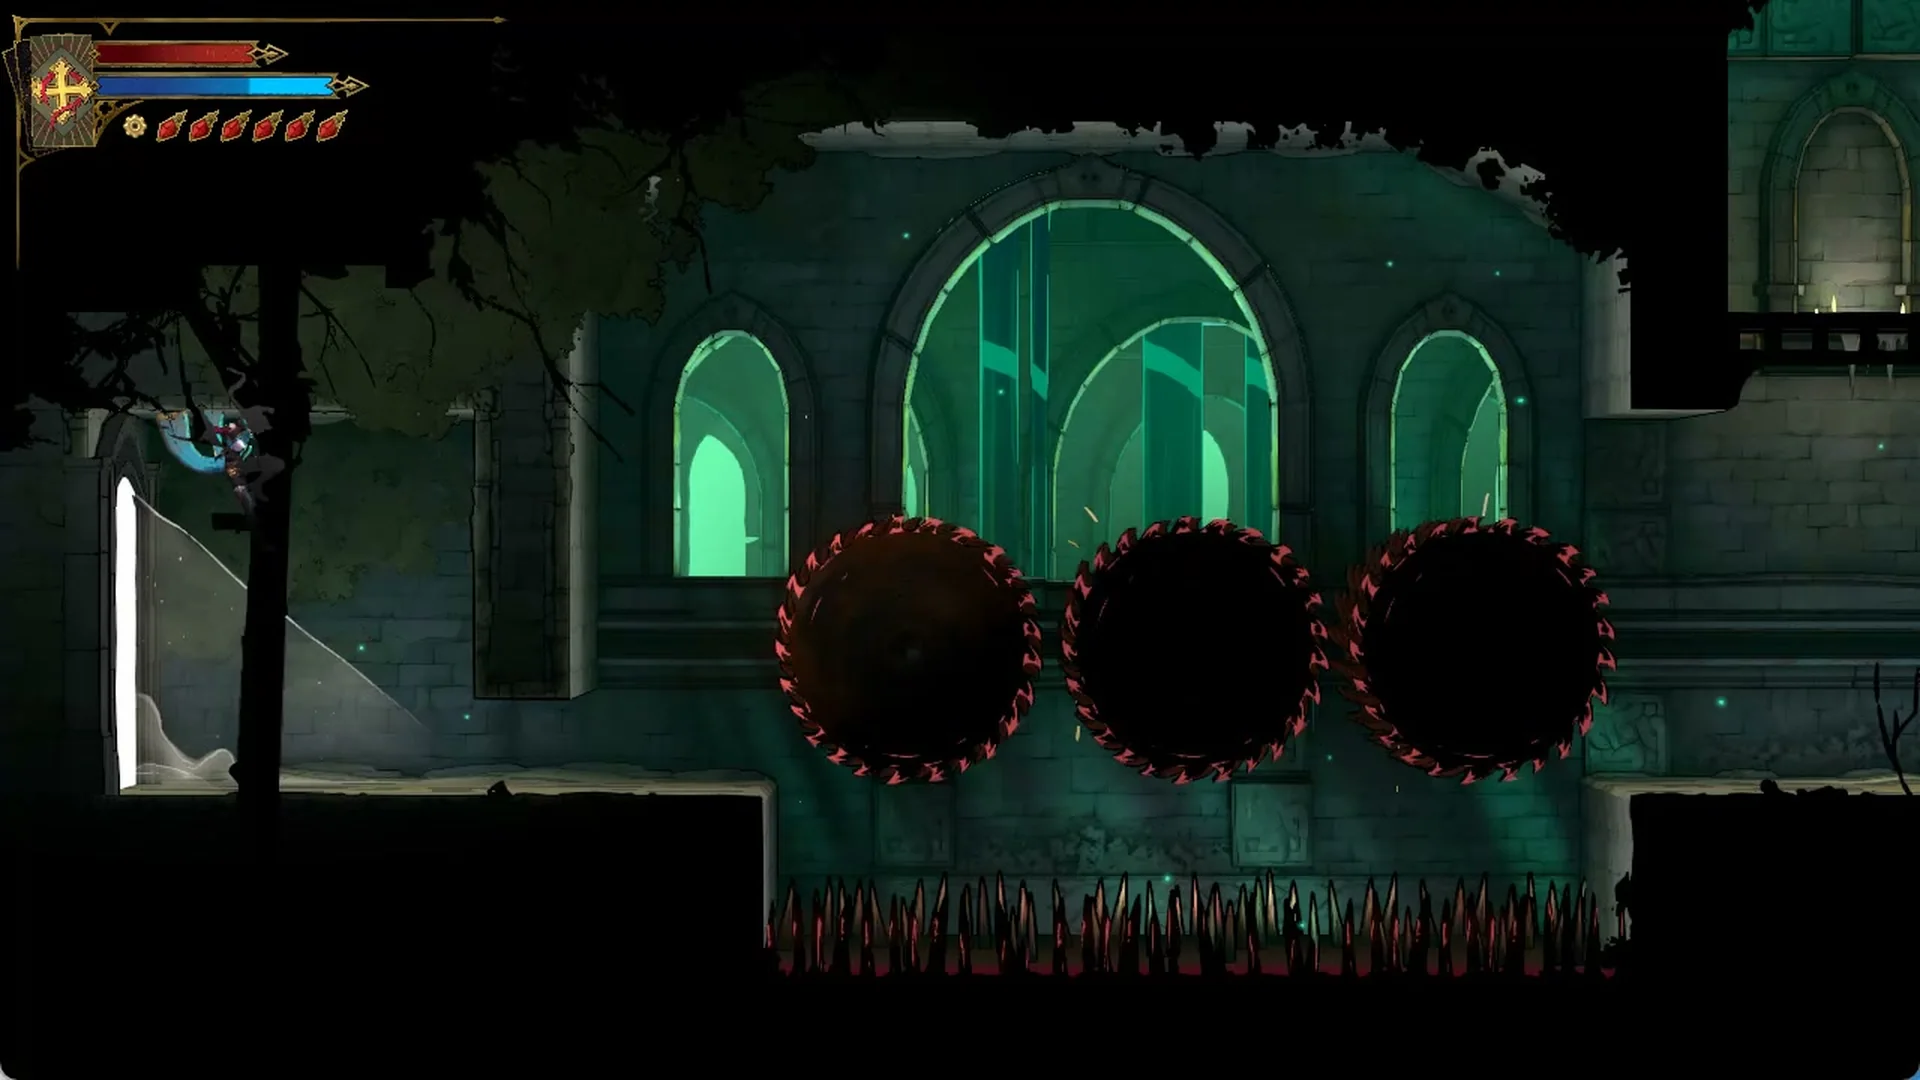
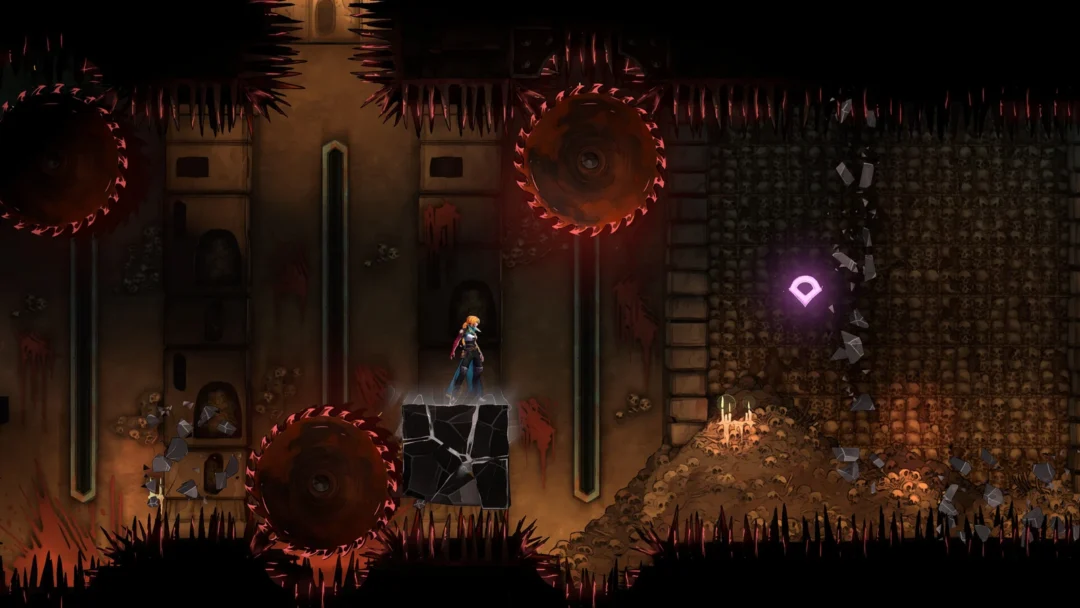
The route in is rough. Expect moving sawblades and vertical spike traps that you clear by jumping between safe ledges and wall-sliding. A corridor with two heavily armored shield-and-spear enemies follows. They hit hard, but you can dash past them instead of fighting. The red-walled Grand Staircase beyond has a floating spiked eye waiting.
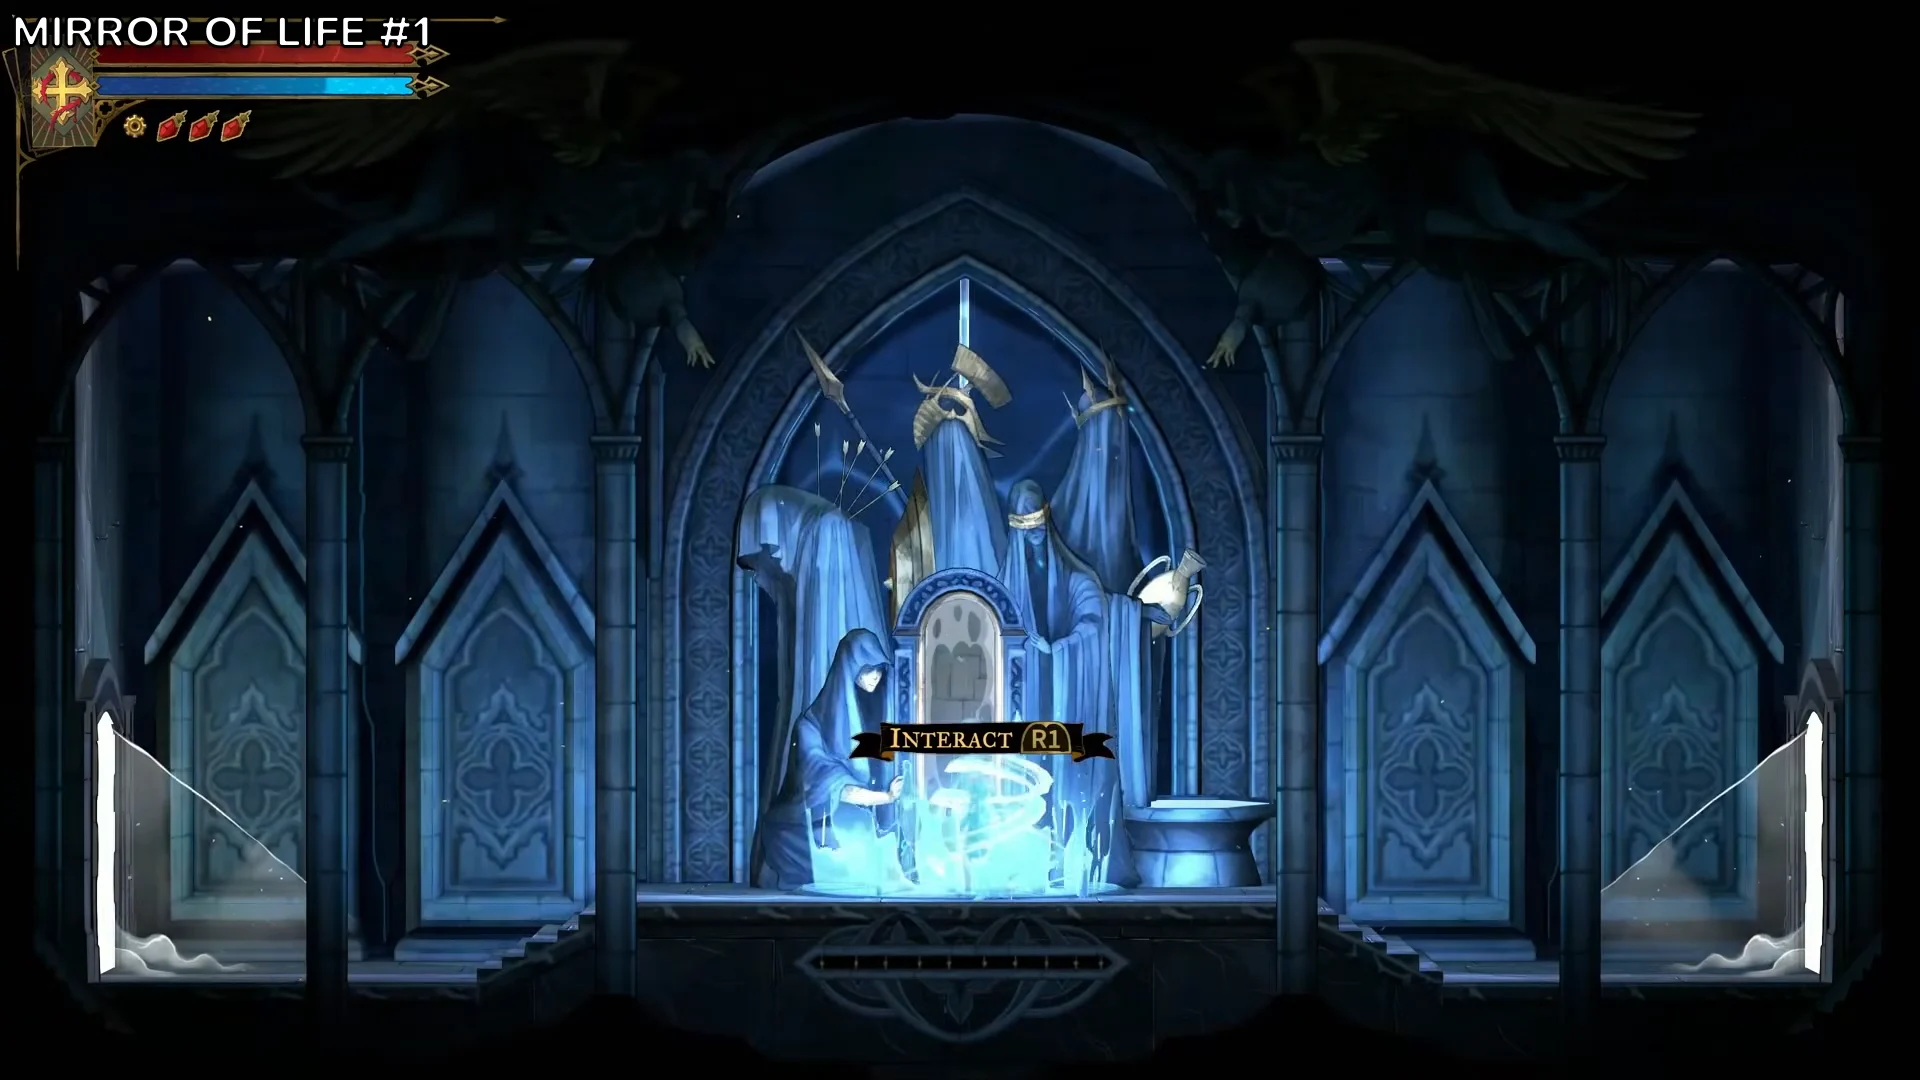
Mirror of Life #1
In the Sanctuary of Solitude, run through the doorway at the bottom left into a small shrine chamber. Interact with the mirror there (R1 on PlayStation, E on PC). A “MAP UPDATED” message confirms it worked, and the mirror now works as a save, heal and fast travel point. It’s also the nearest Mirror of Life to both Dracula fights.
How to get the Gloomstone relic
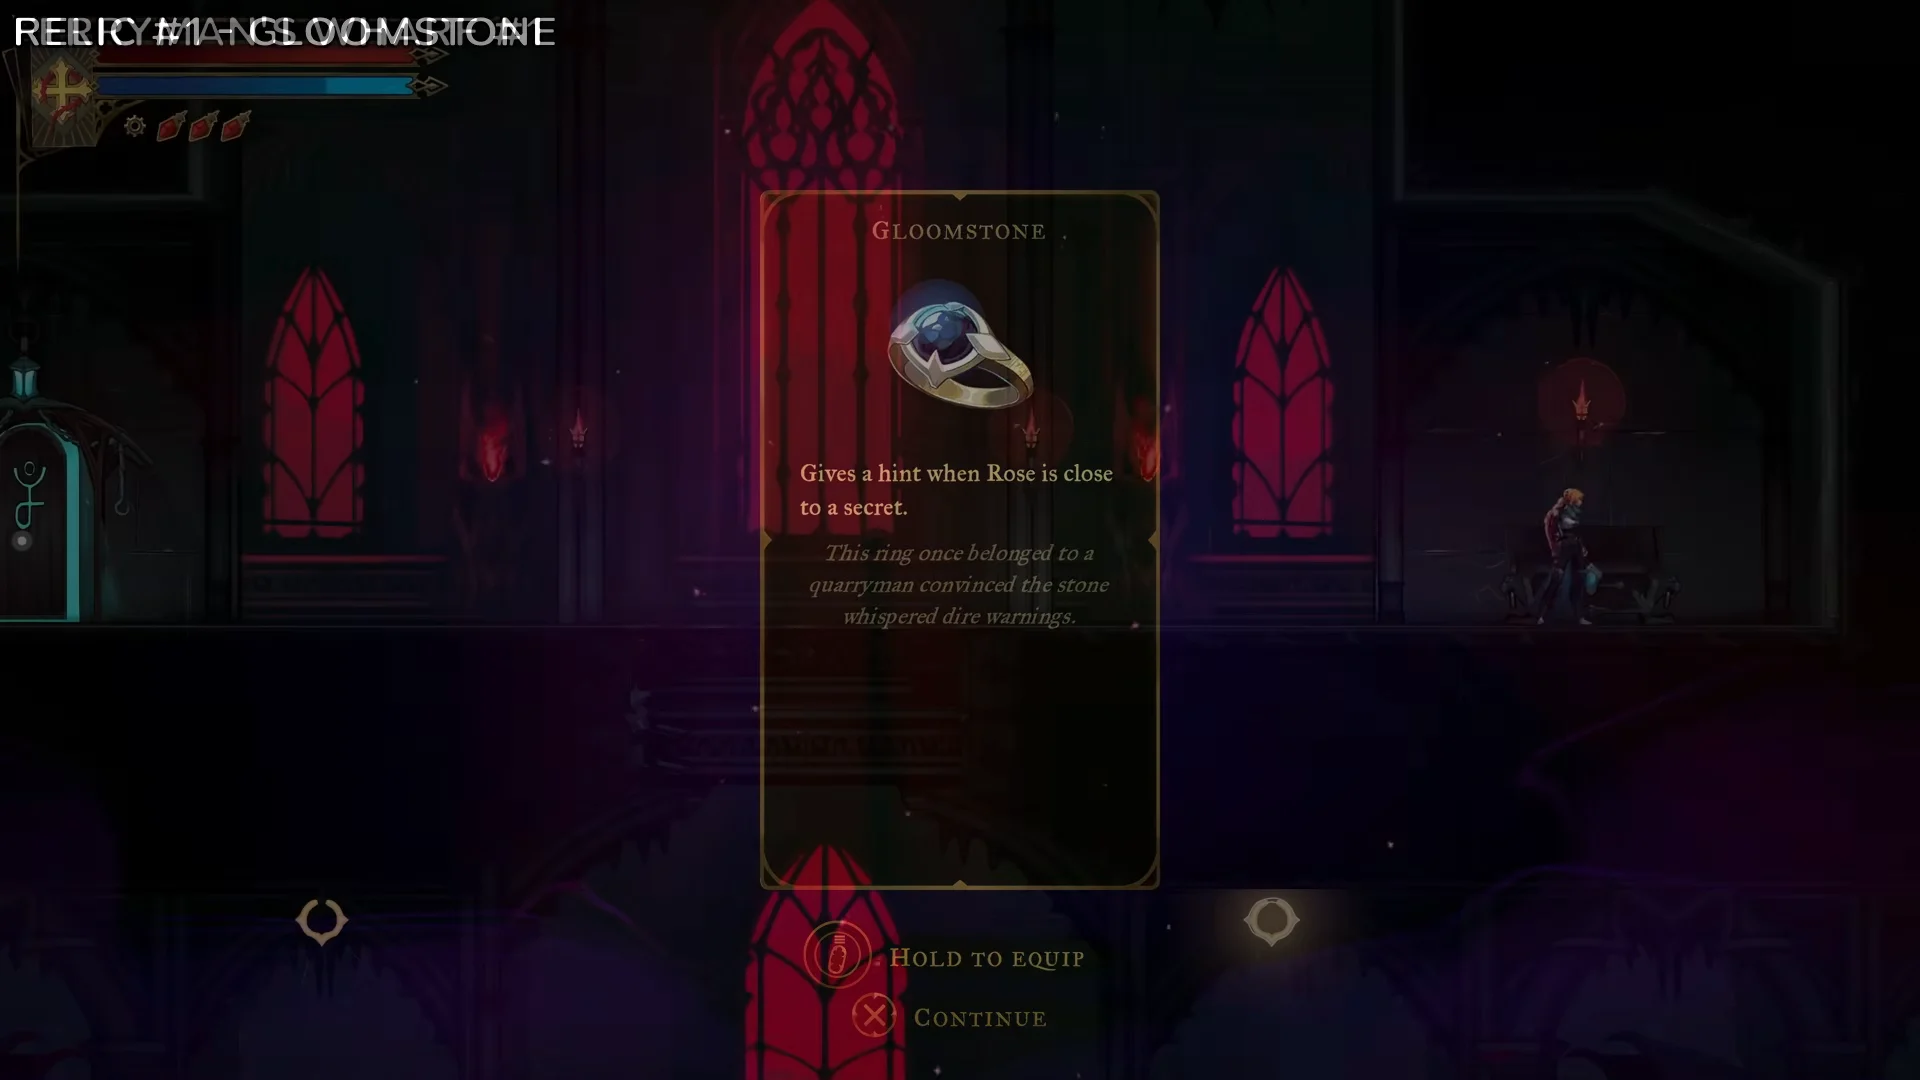
Gloomstone warns you when Rose is near a secret. Equip it before you go back for the Secret Areas you missed elsewhere in the castle.
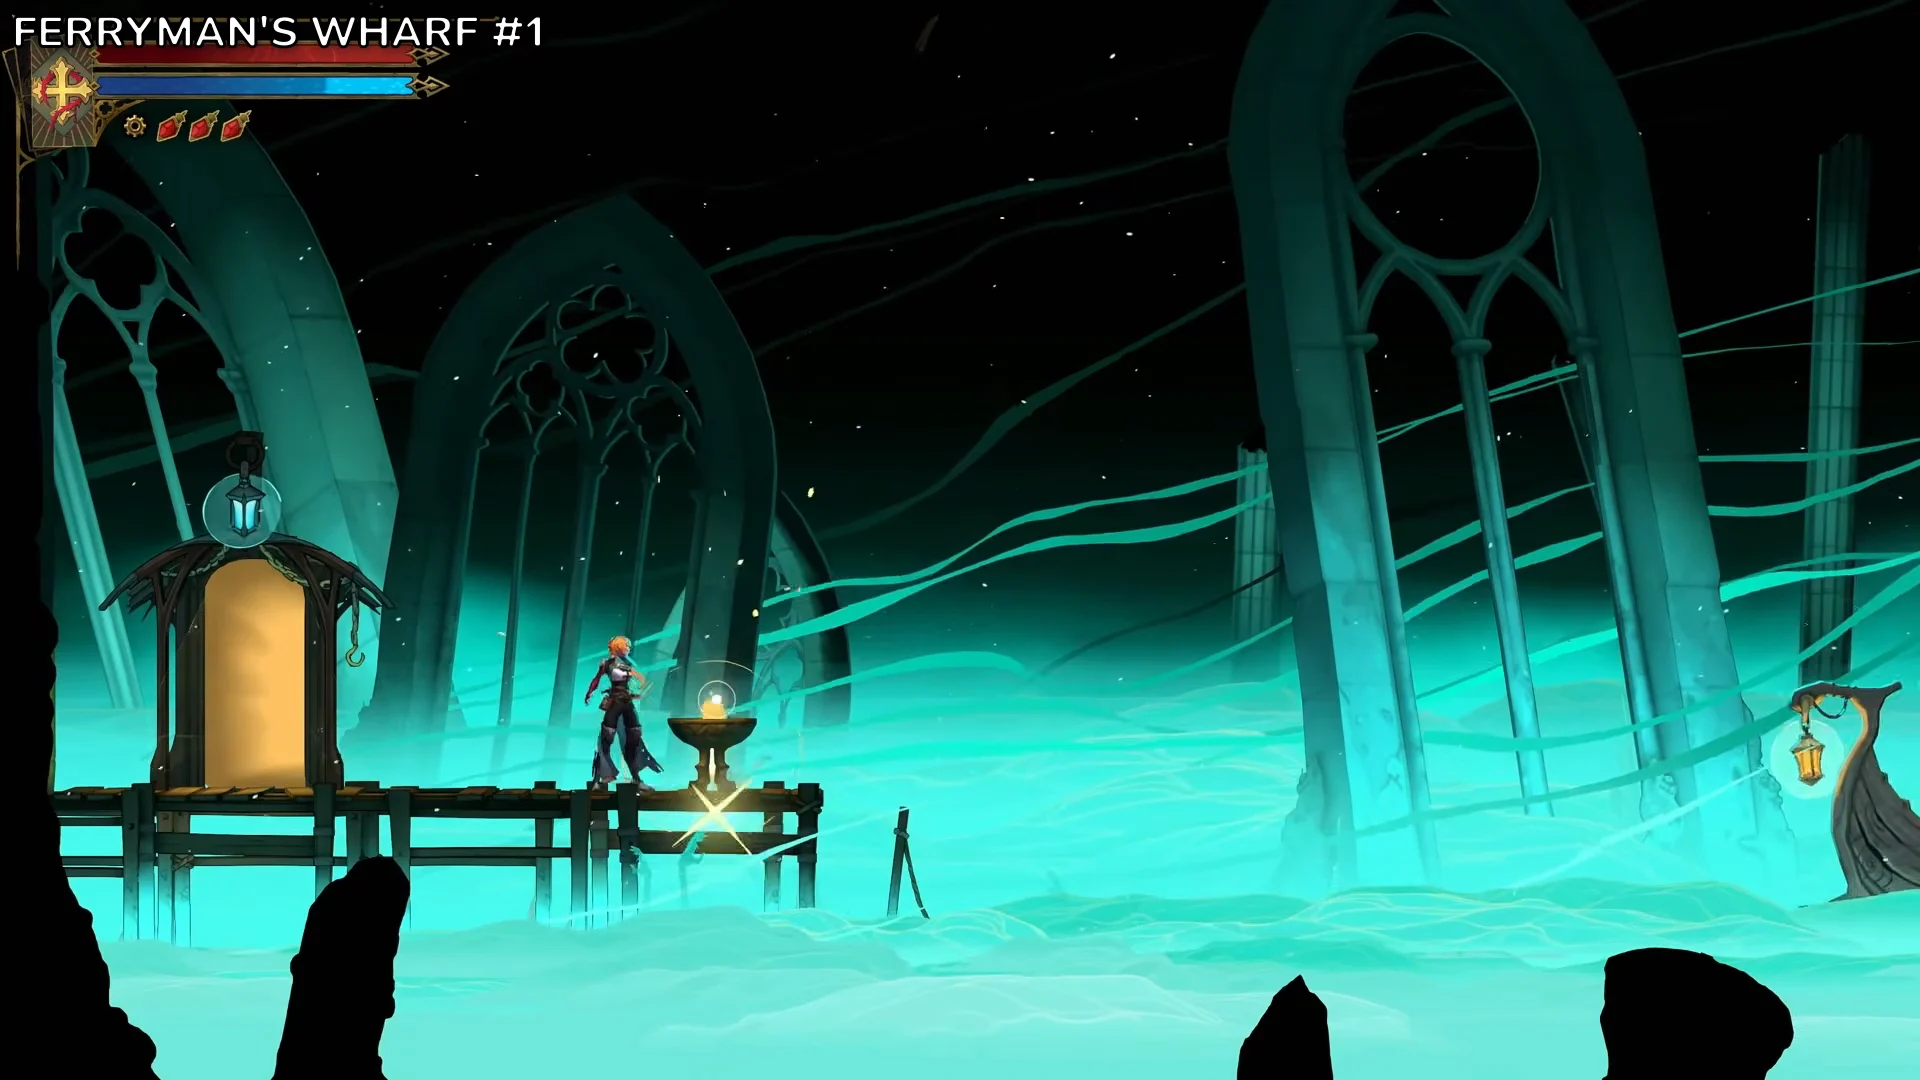
Ferryman’s Wharf #1
Look for the glowing cyan runic door on the upper floor above the main hall, close to the Gloomstone chest. It leads to a dock shrouded in green mist. Interact with the bowl on the stand, and the hooded ferryman rows across to pick you up.
Master’s Quarters districts
| District | Area | Boss or feature |
|---|---|---|
| Master’s Quarters Approach | Clock Tower | — |
| Master’s Bridge | Master’s Quarters | Link to the Clock Tower |
| Grand Staircase | Master’s Quarters | — |
| Sanctuary of Solitude | Master’s Quarters | Mirror of Life, Ferryman’s Wharf, Gloomstone |
| Throne Room Antechamber | Master’s Quarters | — |
| Court of the Night | Master’s Quarters |  Dracula |
| Castle Rooftops | Master’s Quarters | Dracula |
There is no meat, no XP statues, no stat books and no Heart Fragments anywhere in the Master’s Quarters.
The Castle Rooftops hold an Arcanic Resonance. Equip Absolution, The Self’s spell, before Dracula’s second form falls there if you want the true ending.
How Clock Tower Secret Areas open
Every Clock Tower Secret Area opens in one of three ways:
- Hidden passage: the entrance is concealed in the wall itself, with no lever or cracks. Watch and listen for clues.
- Breakable wall: a fractured section that yields after repeated weapon strikes.
- Lever gate: a gate that opens when you pull a nearby lever.
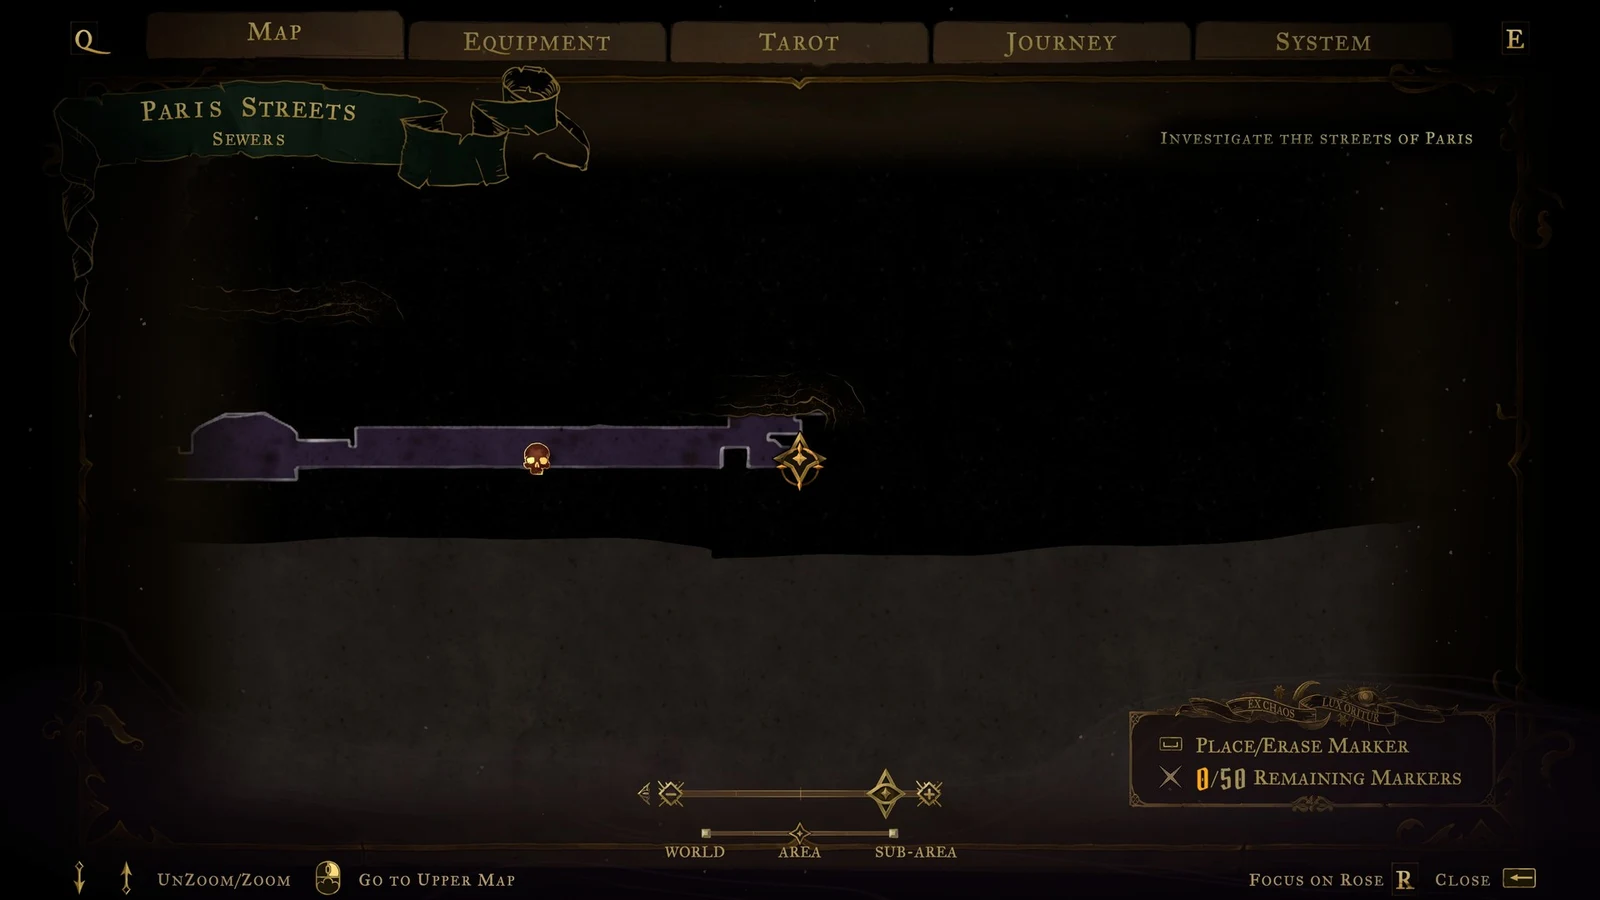
Pull levers with INTERACT, which is R1 on PlayStation and E on PC. The same input works everywhere in the game, including the sewers under Paris.
None of the Clock Tower’s Secret Areas use Smash floors. You actually earn Smash here, in the Final Trap after the Talos fight. It’s a fast dive from midair, performed with Move Down plus Jump, that hurts enemies below and shatters destructible blocks. That opens Smash floors in other parts of the castle.
Clock Tower relic locations and effects
All five Clock Tower relics come from chests. Two are in Daedalus Crossing, and the Vile Trinket chest is the only one that sits behind a hidden passage.
| Relic | Sub-area | Chest location | Effect |
|---|---|---|---|
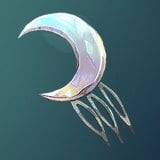 Moonlit Shard | Path of the Builder | Unlocks after an enemy wave | +20% XP from kills at full life |
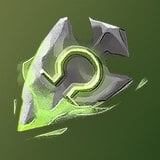 Sinister Rune | Eastern Access Shaft | On a stone pillar | +40% damage on full-health enemies |
 Phantom Ring | Western Ascent | Lower-left alcove behind rotating gears | Enemies return once you exit the room, not when you save. |
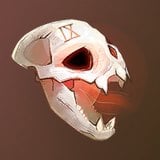 Vile Trinket | Daedalus Crossing | High up, inside a hidden-passage Secret Area | +25% damage from behind |
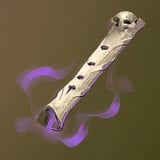 Hollow Bone | Daedalus Crossing | Far left of the slamming-block room | +35% movement speed after whipping an anchor, 5 seconds |
Moonlit Shard only pays out while Rose is undamaged, so it suits players who rarely take hits.
Sinister Rune boosts your opening hit on an untouched enemy, which pairs well with heavy single strikes.
Phantom Ring resets enemies whenever you step out of a room, not only after you save. That makes it the relic to equip for XP farming.
Vile Trinket rewards getting behind enemies, something the whip’s grapple-and-pull movement makes easy.
Hollow Bone triggers from whip anchors, so it helps most in traversal-heavy stretches full of grapple rings.
Clock Tower weapon locations and stats
| Weapon | Sub-area | How you get it |
|---|---|---|
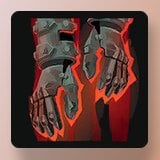 Fists of Talos | Builder’s Bureau | Chest on the far right |
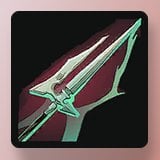 Halberd | Mechanic’s Ascent | Chest on a raised platform in a lever-gate Secret Area |
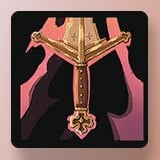 Claymore | The Way of the Fist | Golden ornate chest in the puzzle room |
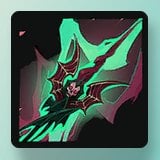 Chauve-Souris | Heart of the Clock | Chest after you defeat Isaac |
| Stat | Fists of Talos | Halberd |
|---|---|---|
| Weapon type | Fists | Spear |
| Rarity |  Masterpiece | Refined |
| Tier | 3 | 2 |
| ATK | 75 | 50 |
| Attack power | 21 | 28 |
| Stagger power | 30 | 30 |
| Mana per hit | 2 | 3 |
| Combo finisher | Uppercut | Push |
Fists of Talos is a quick weapon whose damage keeps climbing as long as you keep landing hits on enemies.
Halberd keeps enemies at a distance. Hold Attack to aim it, then let go to throw it.
Clock Tower Heart Fragments and stat books
The Clock Tower has three Brave and three Wise Heart Fragments, plus one ATK UP book and two DEF UP books.
| Pickup | Sub-area | Location |
|---|---|---|
| Brave Heart Fragment | Serpent Pinion | In the sub-area |
| Brave Heart Fragment | Eastern Steps | Inside a hidden-passage Secret Area |
| Brave Heart Fragment | The Gauntlet | On a pedestal at the far end of the sawblade-lined corridor |
| Wise Heart Fragment | Central Fuel Reservoir | In the sub-area |
| Wise Heart Fragment | West Tower Base | High wall alcove, left of the elevator |
| Wise Heart Fragment | Upper Gallery | In the sub-area |
| ATK UP book | Counterweight Chamber | Alcove behind a crushing block, upper-right niche |
| DEF UP book | Daedalus Crossing | Inside a hidden-passage Secret Area |
| DEF UP book | Eastern Summit | In the sub-area |
Clock Tower Secret Areas, XP statues and meat by sub-area
Only 15 of the 36 Secret Areas hold a pickup. Use the empty count to decide which rooms are worth a second look. Sub-areas without Secret Areas, XP statues or meat are left out.
Foundry Apex
| Sub-area | Secret Areas | Empty | XP statues / meat |
|---|---|---|---|
| Central Fuel Reservoir | 4 (3 hidden, 1 wall) | 3 | Meat 1 (in Secret Area) |
| Eastern Access Shaft | 4 (2 hidden, 1 lever, 1 wall) | 4 | XP 5 |
| Final Trap | 1 (hidden) | 1 | — |
| Path of the Builder | 5 (4 hidden, 1 wall) | 2 | XP 1, meat 2 (in Secret Areas) |
| Serpent Pinion | 2 (hidden) | 0 | XP 1, meat 1 (both in Secret Areas) |
| Smelting Room | 1 (lever) | 1 | — |
Mechanic’s Ascent
| Sub-area | Secret Areas | Empty | XP statues / meat |
|---|---|---|---|
| Daedalus Crossing | 6 (5 hidden, 1 wall) | 4 | XP 3 (in Secret Areas) |
| Mechanic’s Ascent | 2 (1 wall, 1 lever) | 0 | XP 1, meat 1 (both in Secret Areas) |
| Middle Gallery | 1 (wall) | 0 | Meat 1 (in Secret Area) |
| West Tower Base | 1 (hidden) | 0 | Meat 1 (in Secret Area) |
| Western Ascent | 2 (hidden) | 1 | Meat 1 (in Secret Area) |
| Western Maintenance Shaft | 1 (hidden) | 1 | — |
Eastern Summit
| Sub-area | Secret Areas | Empty | XP statues / meat |
|---|---|---|---|
| Clock Keeper’s Atrium | 2 (hidden) | 2 | XP 1 |
| Eastern Steps | 1 (hidden) | 0 | — |
| Eastern Summit | None | — | XP 2 |
| The Way of the Fist | 3 (2 hidden, 1 wall) | 2 | Meat 1 (in Secret Area) |
Clock Tower bosses, Mirrors of Life and travel points
| Feature | Sub-area | Notes |
|---|---|---|
 Talos (boss) | Throne of the Builder | The Builder Arcana, Fist of Talos spell; nearest Mirror in Foundry Apex |
 Isaac (boss) | Heart of the Clock | The Zealot Arcana, Chronomantic Dive spell; nearest Mirror in Eastern Summit |
| Mirror of Life | Foundry Apex | Save, heal, refill potions |
| Mirror of Life | Mechanic’s Ascent | Save, heal, refill potions |
| Mirror of Life | Eastern Summit | Save, heal, refill potions |
| Ferryman’s Wharf | Forgotten Bridge | Boat to other areas |
| Glowing clock (Arcanic Resonance) | Clock Tower Bridge | Needs Soul Harvest equipped |
| Clock switches (7) | Clock Keeper’s Atrium (2), Eastern Summit (2), Bridge of Haste, The Gauntlet, Steps of Time | — |
Equip Soul Harvest before you use the glowing clock on the Clock Tower Bridge, or it drops you into Death’s trap.
Five elevators connect the tower. They run from Daedalus Crossing to Steps of Time, from Daedalus Crossing to Mechanic’s Ascent, from Mechanic’s Ascent to West Tower Base, from Builder’s Secret Elevator to Foundry Apex, and from Final Trap to Foundry Apex.
Three Arcana clues are also tucked away here. “Blueprints for the Clock Tower” for The Builder is in Daedalus Crossing. “Isaac waits in the Clock Tower.” for The Zealot is in Mechanic’s Ascent. “A Sketch from Talos” for The Sage is in Builder’s Bureau. Once you’ve collected all of them and the Gloomstone is in your inventory, the only thing left between the Sanctuary of Solitude’s mirror and the credits is Dracula himself.