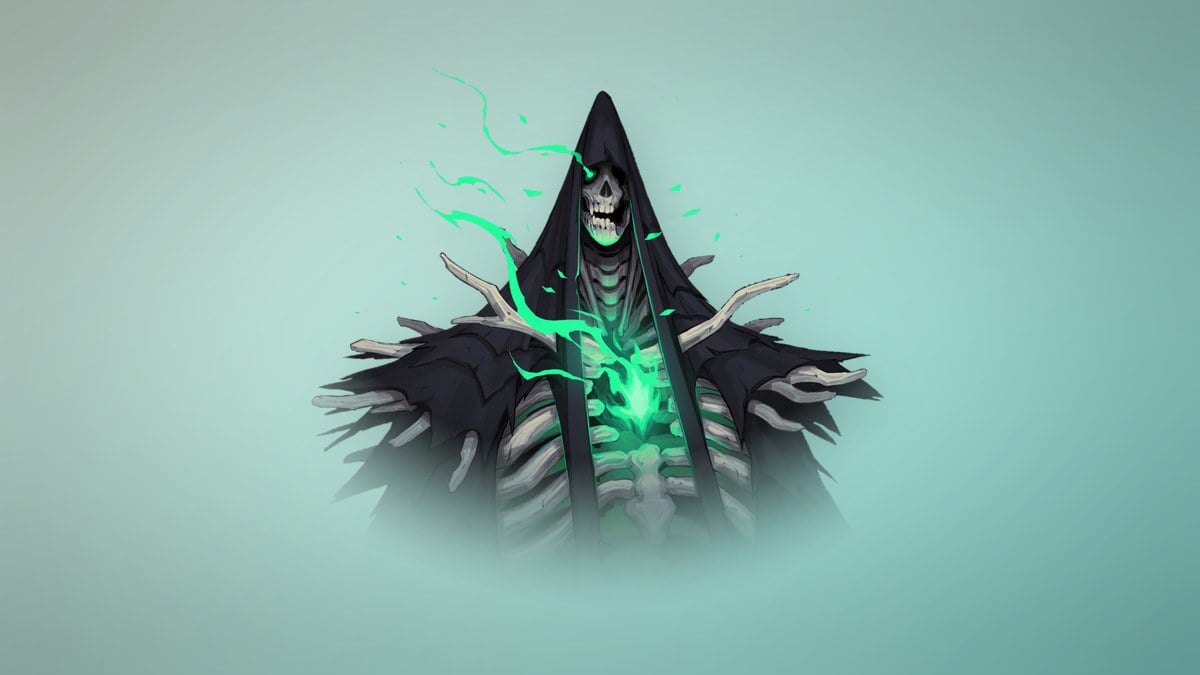
Death fights Rose Belmont twice in Castlevania: Belmont’s Curse. The first meeting, deep in the Catacombs of Paris, is a story battle that ends on a cutscene however well you play. The second, in the Choir of Notre-Dame, is a real boss fight. It has three distinct stages of attacks, and winning it gives you the Soul Harvest spell and Double Jump.
Quick answer: Survive the Catacombs fight until it ends on its own. In the Notre-Dame Choir, stay close to Death, jump his floor sweeps, keep to the center platforms during laser grids, and slash his blade rings apart.
Death boss stats: health, immunities and rewards
These are Death’s figures for the winnable fight in Notre-Dame. His immunity list is long, so status-effect builds have little to work with here.
| Stat | Death (Notre-Dame) |
|---|---|
| Location | Choir, Notre-Dame |
| Health | 8,444 |
| Attack | 40 |
| XP | 1,000 |
| Arcana card |  The Shadow |
| Reward |  Soul Harvest |
| Immune to | Bleed, freeze, petrify, launch, slam down |
| Spell effects that fail | Chronomantic Dive slow, Freezing Path link, Infernal Pyre launch |
Burn does not appear on his immunity list. Neither does the root or stun from Chains of Justice. Those are the two status tools worth bringing if you have them.
Catacombs of Paris: the Death fight you can’t win
You meet Death for the first time near the bottom of the Catacombs of Paris, at the end of the Stairway to Hell route. Nothing you do here kills him, and nothing he does ends your run. Treat it as a free look at his scythe attacks.
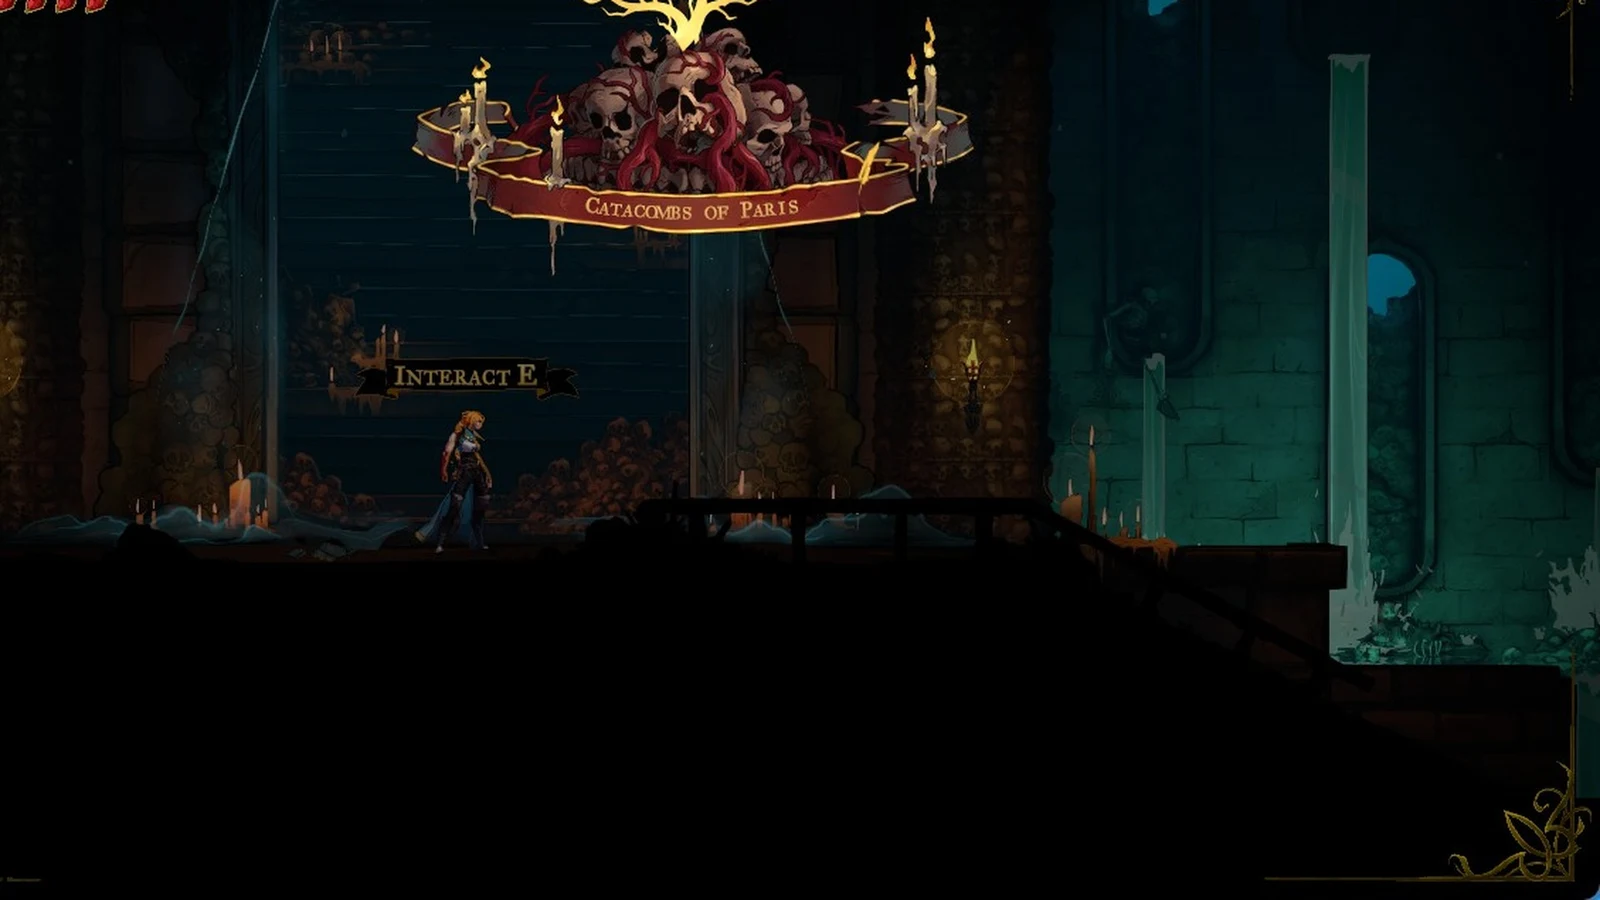
Reaching the ritual chamber
The arena is a flat stone floor in front of a huge green portal ringed with bones. On the right side there is a narrow raised stone ledge. Standing on it keeps you above his attacks that travel along the floor.
Death’s Catacombs attacks
| Attack | Tell | Counter |
|---|---|---|
| Overhead scythe chop | Scythe raised behind his head | Slide under, hit his back |
| Low dash slash | Scythe pulled back near the floor | Slide through the charge |
| Green crescent wave | Scythe held high, then he crouches | Jump it or stand on the ledge |
| Teleport slash | He disappears, and a dark blue orb materializes next to Rose. | Dodge as he appears |
| Death Touch | Small green spark on Rose | Expect the burst, then reposition |
The teleport slash is the attack that catches people. He comes out of the orb next to Rose, not from where he was standing, and swings a wide green arc downward. He often follows it straight into the crescent wave, so be ready to jump right after you dodge. Death Touch lands on the marked spot no matter how far away you are. It is rarer than his other moves, but he sometimes opens the fight with it.
Holy Cross connects even when he stays on the far side of the arena. That makes it a safe way to chip at him between his attack strings.
How the first Death fight ends
Once you take a small slice off his bar, runes light up around the portal and Death sweeps a final reaping chain across the floor. The fight ends when that chain lands. A hit that would kill Rose also ends it early, and so can a close-range Death Touch while his bar is still nearly full. Either way, Rose loses, Death speaks to her, and a long cutscene moves the story on. There is no reward and no kill in this encounter.
Notre-Dame Choir: how to beat Death’s attack patterns
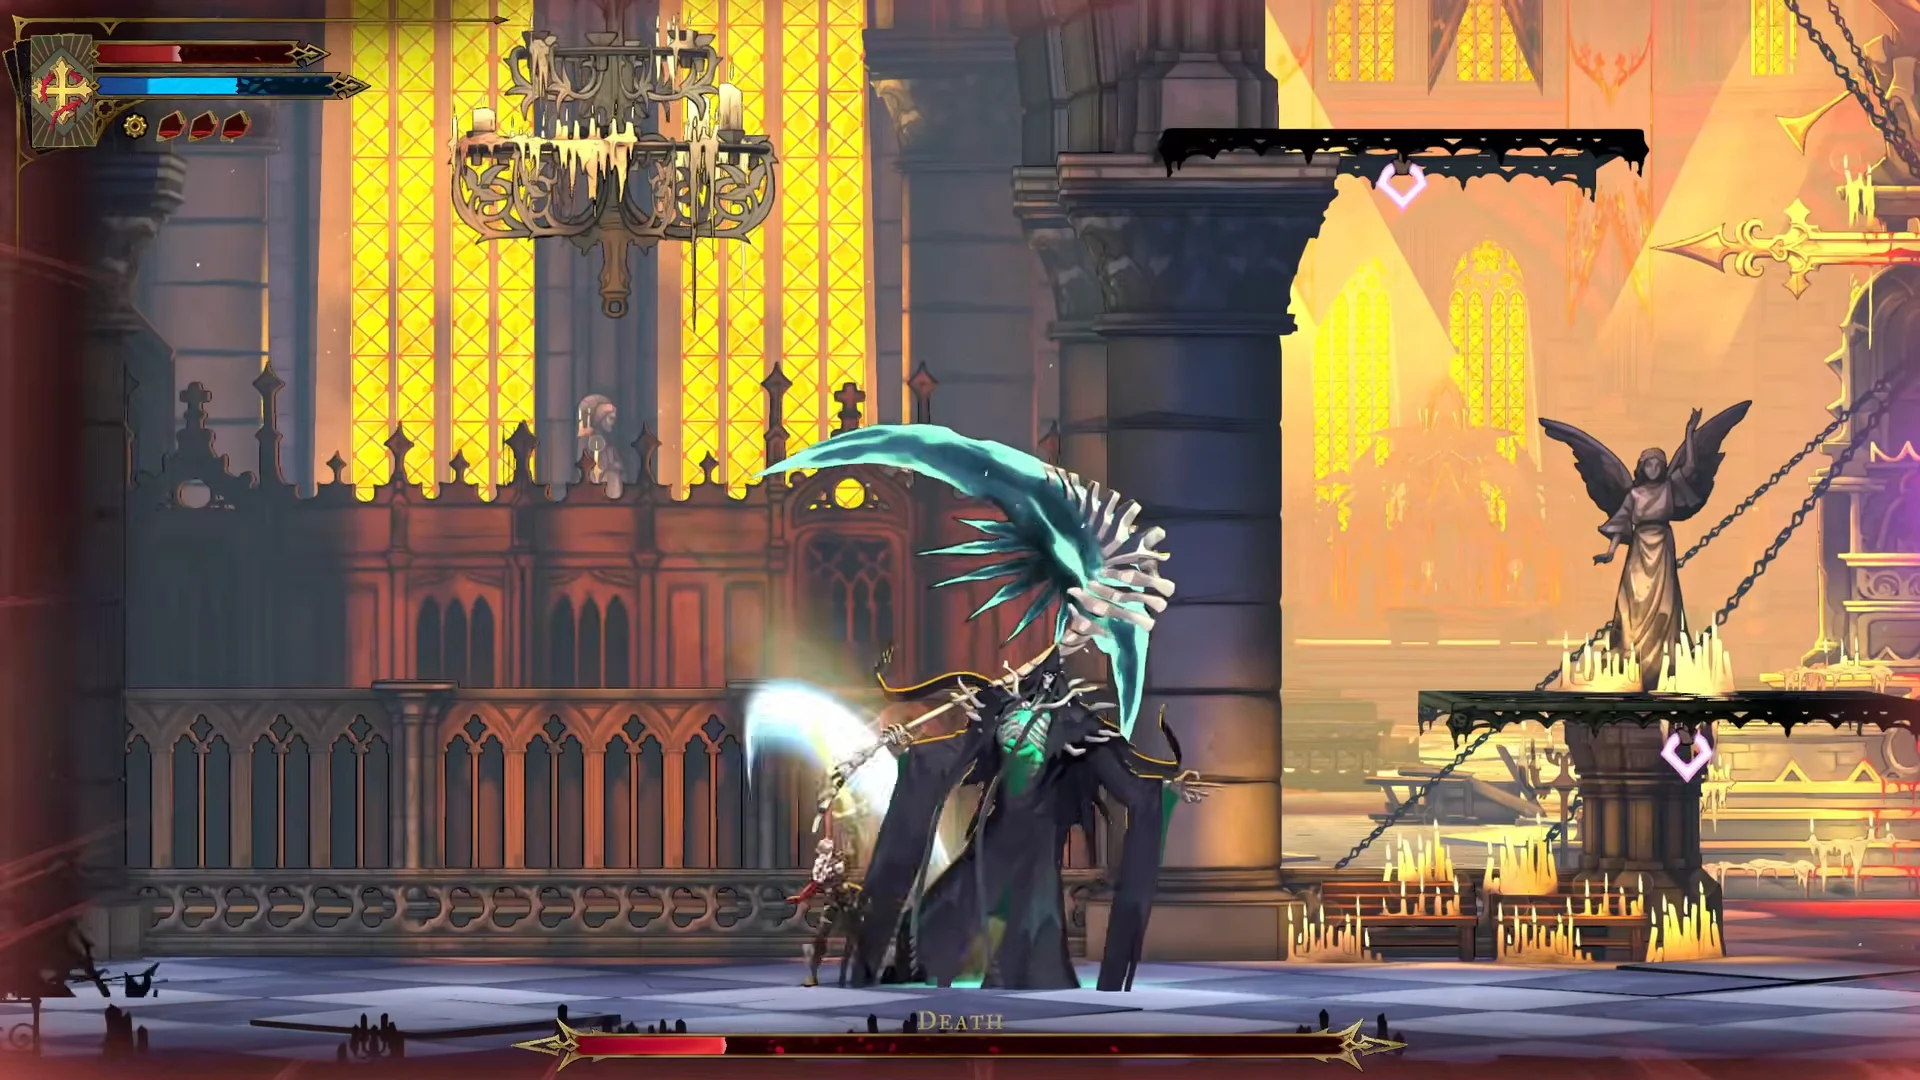
The rematch begins with Death speaking as Trevor dangles from a gold cross, suspended over a dark purple sphere. After the screen fades to black, the “Death” bar appears at the bottom. Two angel statues stand in the cathedral arena, and candles line the floor. A dark platform bearing a purple heart floats on each side of the center; both will be useful throughout the fight.
Any weapon works. A single sword at around level 50 is enough. What matters is reading the scythe’s windup and listening for the sound cue that comes just before each swing.
Scythe reaps, teleports and Death Touch
- Heavy reap: he lifts the scythe overhead, leaving a teal trail. Slide past to his back and attack once the string ends, since he can chain several swings.
- Horizontal reap: a long sweep across the room after he pulls his arm back. Jump it instead of trying to outrun it.
- Teleport reap: triggered when you stand far from him. He reappears beside you, so dash toward him to slip the swing and land hits.
- Death Touch: a dark aura, a glowing hand, then a slow reach toward Rose. Slide or air dash out of range and punish the miss.
Distance works against you in this fight. Standing far away only invites the teleport reap. Staying near him keeps his options predictable and gives you more chances to hit him.
Laser grid: where to stand
When Death says a voice line and vanishes, the laser grid is coming. Thin teal lines mark the screen horizontally, vertically and diagonally, then turn into wide energy slashes. The lines track your position, so where you stand decides where they land. Keep to the area around the central platforms. Read the lines, find a gap, and move between the floor and the floating platforms to reach it. Never let yourself get pinned against a far wall.
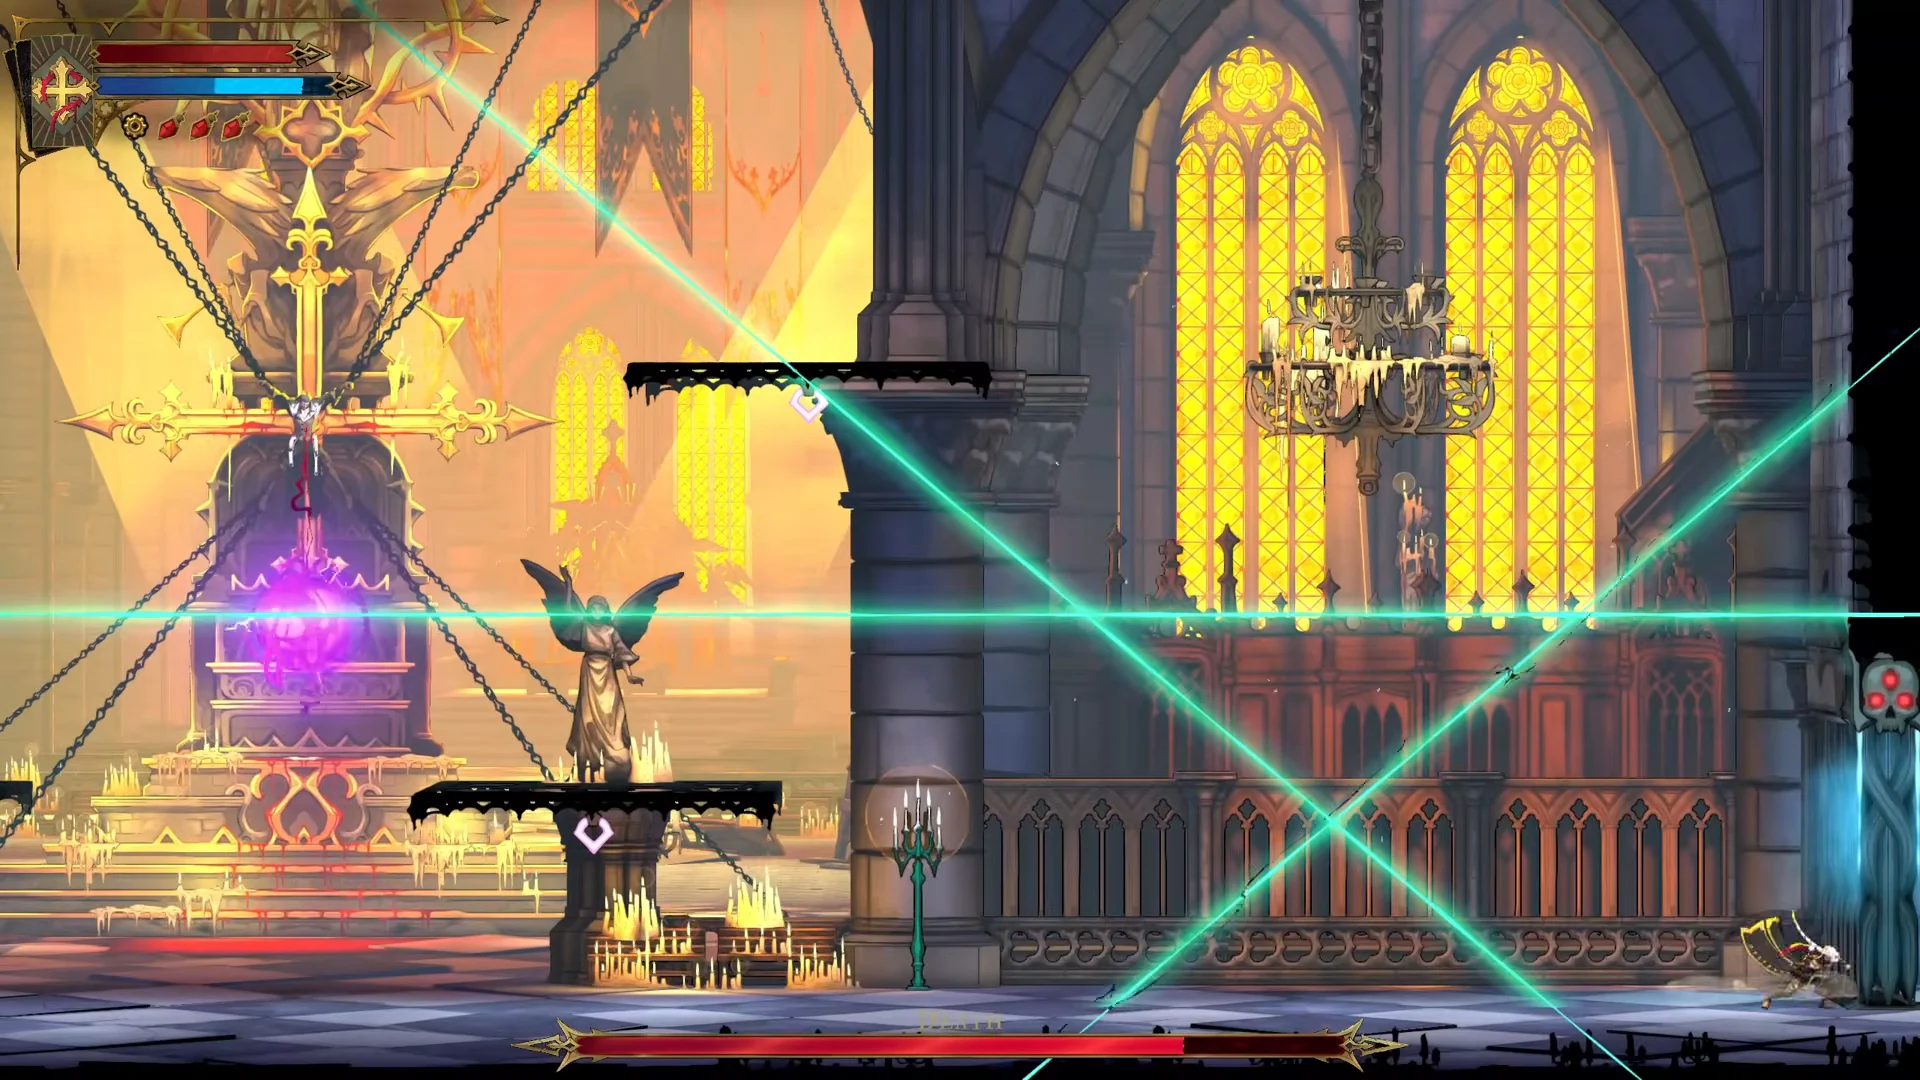
The grid comes back several times: early in the fight, around the midpoint and close to the end. Each time it covers more of the room. In the later grids, use jumps and air dashes to stay off the floor-level beams. The beams hit a wider area than they look, so give them plenty of space.
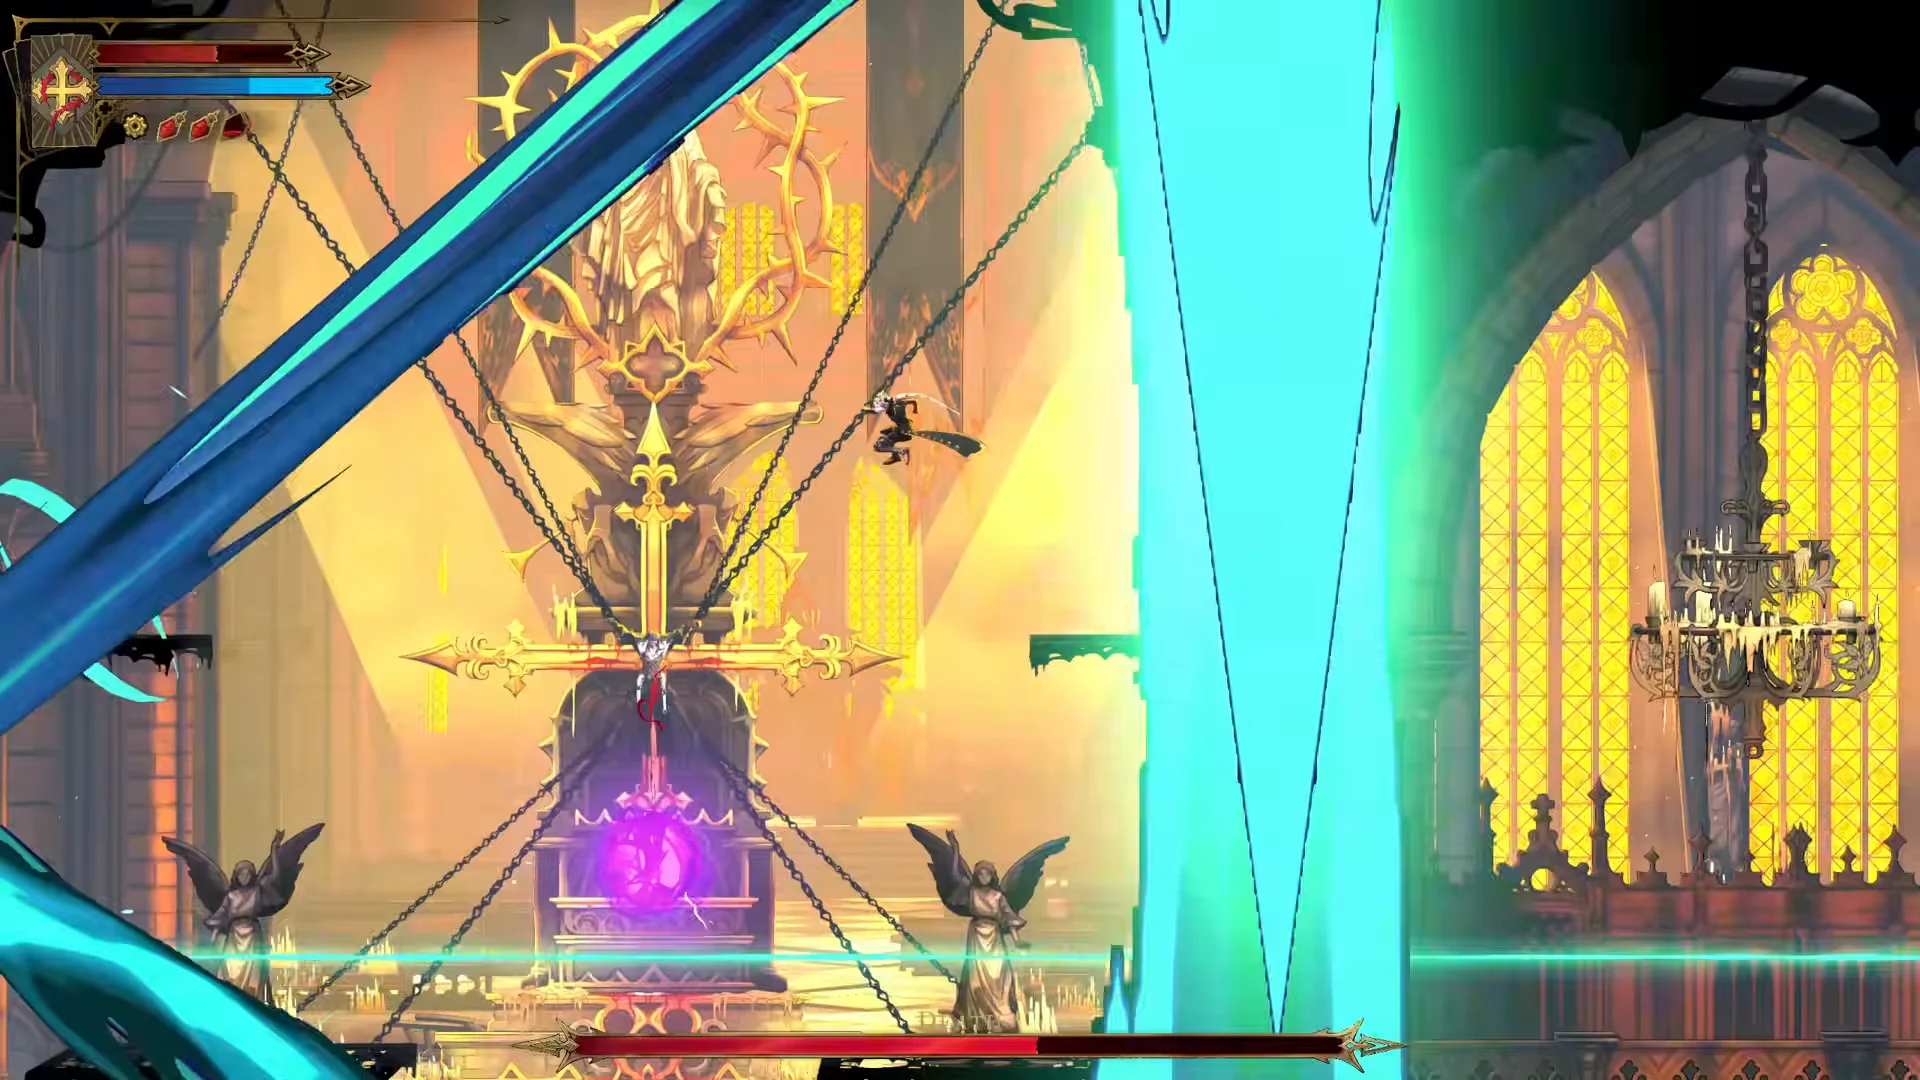
Right after the last beam fires, Death teleports next to you and swings. Dash toward him rather than away to avoid the hit and get a counterattack in.
Second phase: thrown scythe and green blade rings
At about half health, Death changes his moveset. His horizontal reap becomes an enormous spinning scythe that travels the full length of the room, then returns to him. Avoid its route on the return, too. Next comes an even lower slash. Don’t duck beneath it; jump over it instead.
He also starts throwing two-hit scythe combos that end in ground-level energy waves. Jump each wave as it rolls toward you.
Rotating rings of green blades now fly around the arena and track Rose. You can destroy them. A normal weapon slash breaks a ring before it reaches you, so clear them as they come instead of trying to weave through them.
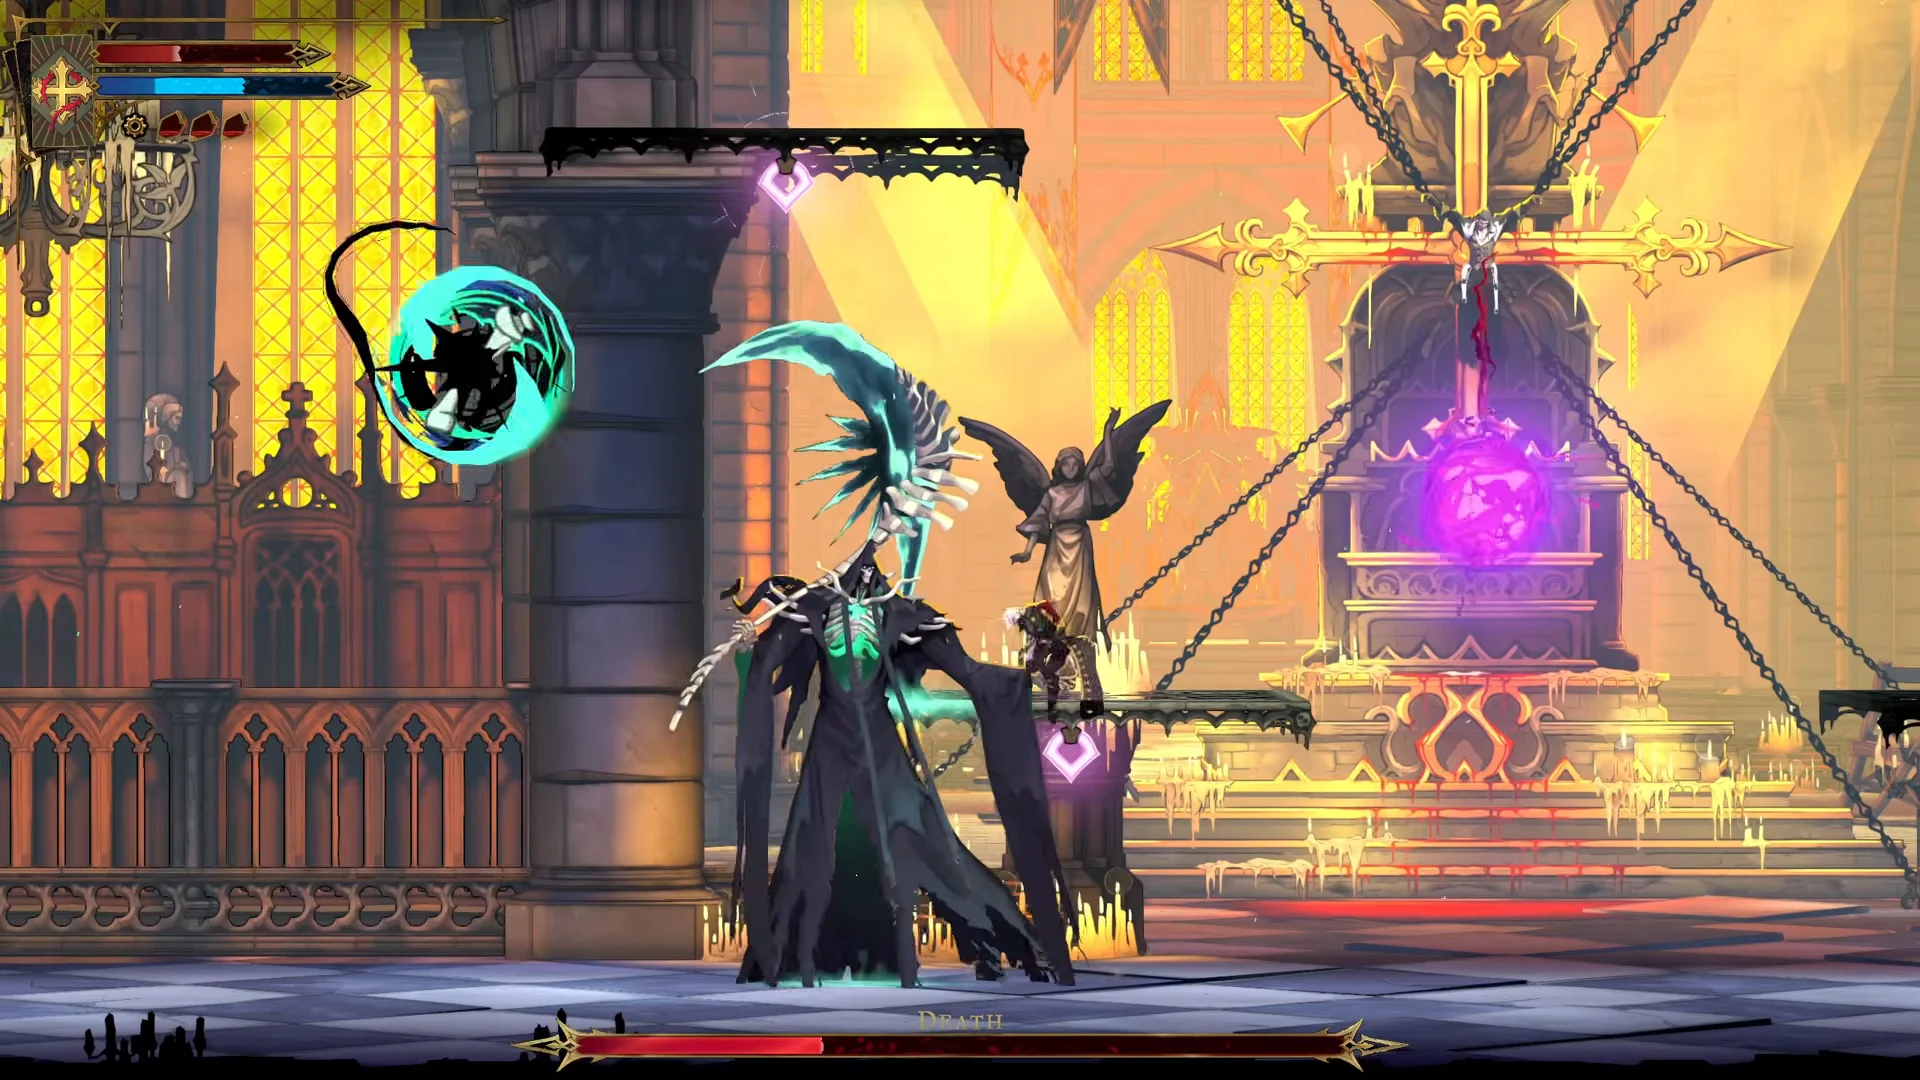
The third laser grid lands during this phase and is noticeably denser than the first two. Move to a platform early and hold your position while you read the gaps.
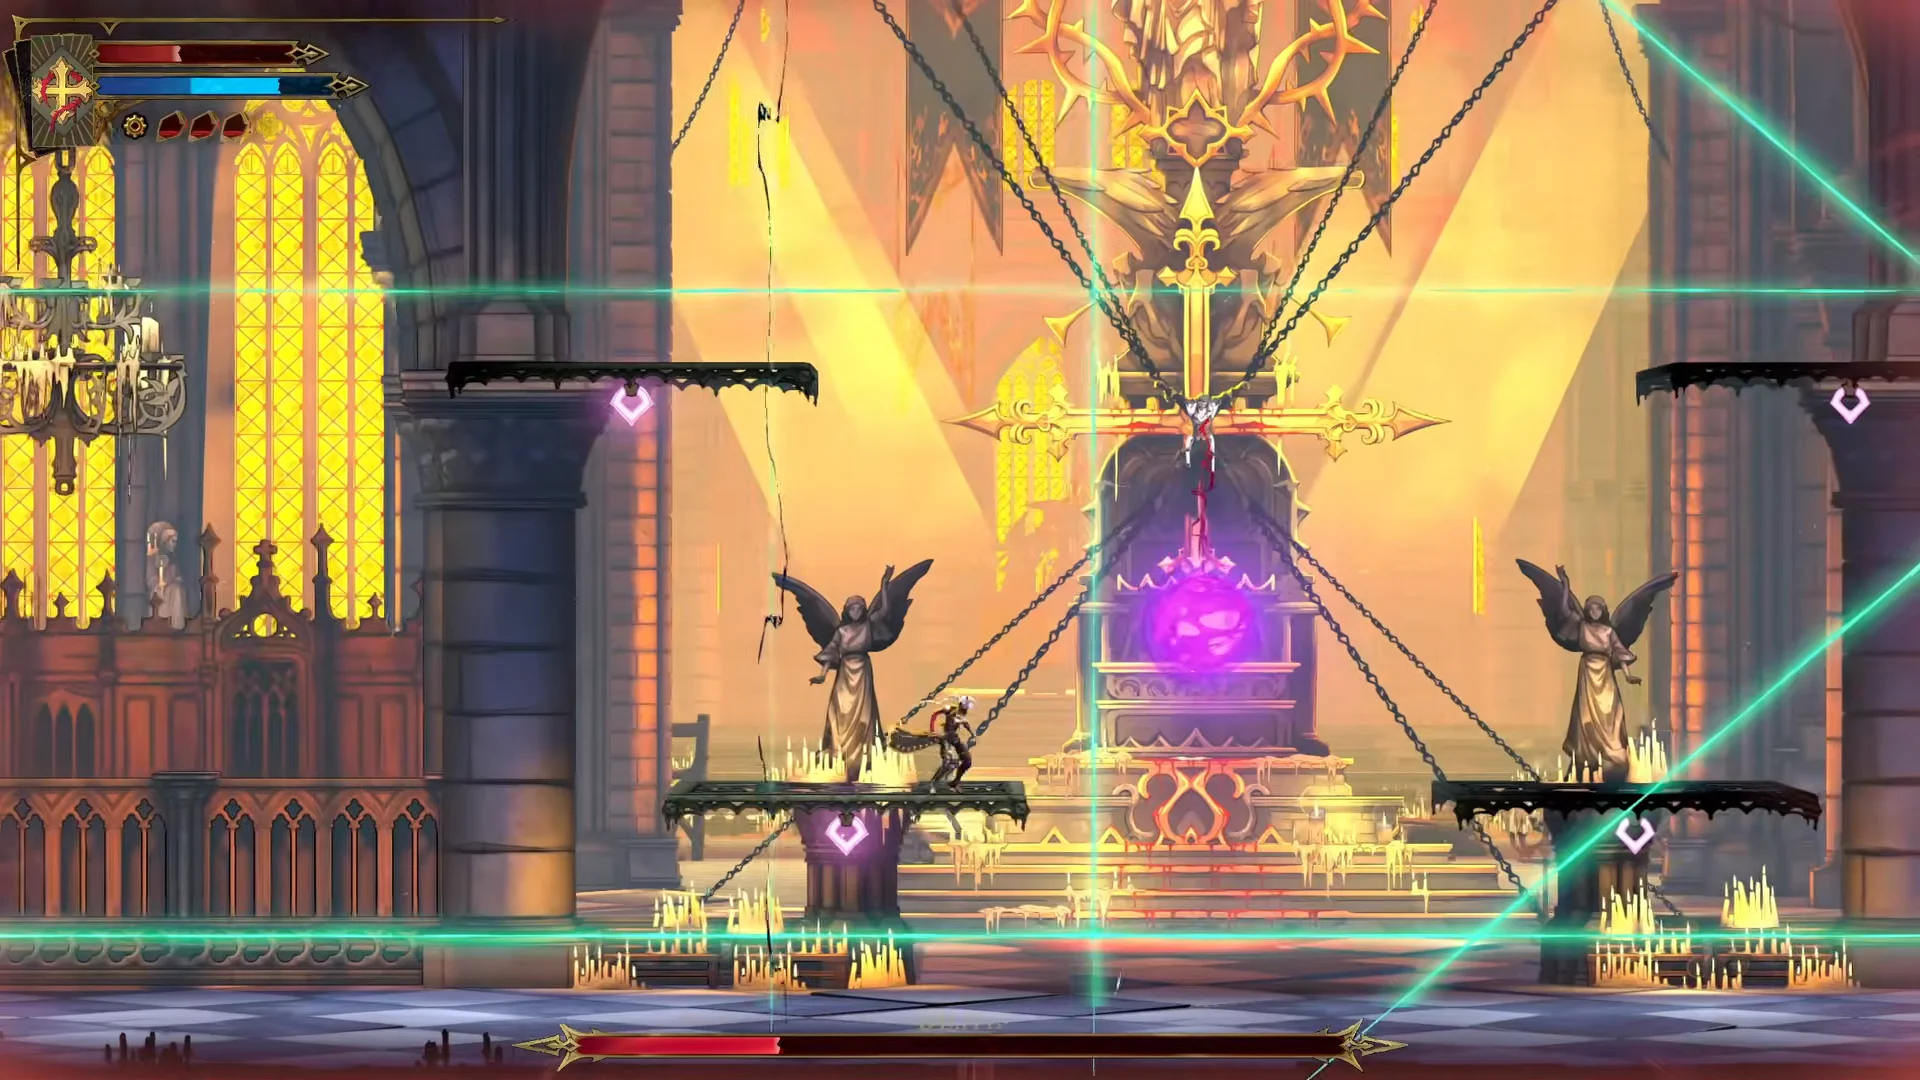
Final stretch: soul barrages and green orbs
Near the fight’s end, Death teleports to the upper center of the room, shields himself with dark wings, and gathers green light. He unleashes small projectiles in a bullet-hell pattern, sending out three waves at a time in this phase. Retreat toward the arena’s edge to give yourself more time to react. Jump over incoming shots, and throw Holy Cross from a distance until he lands again.
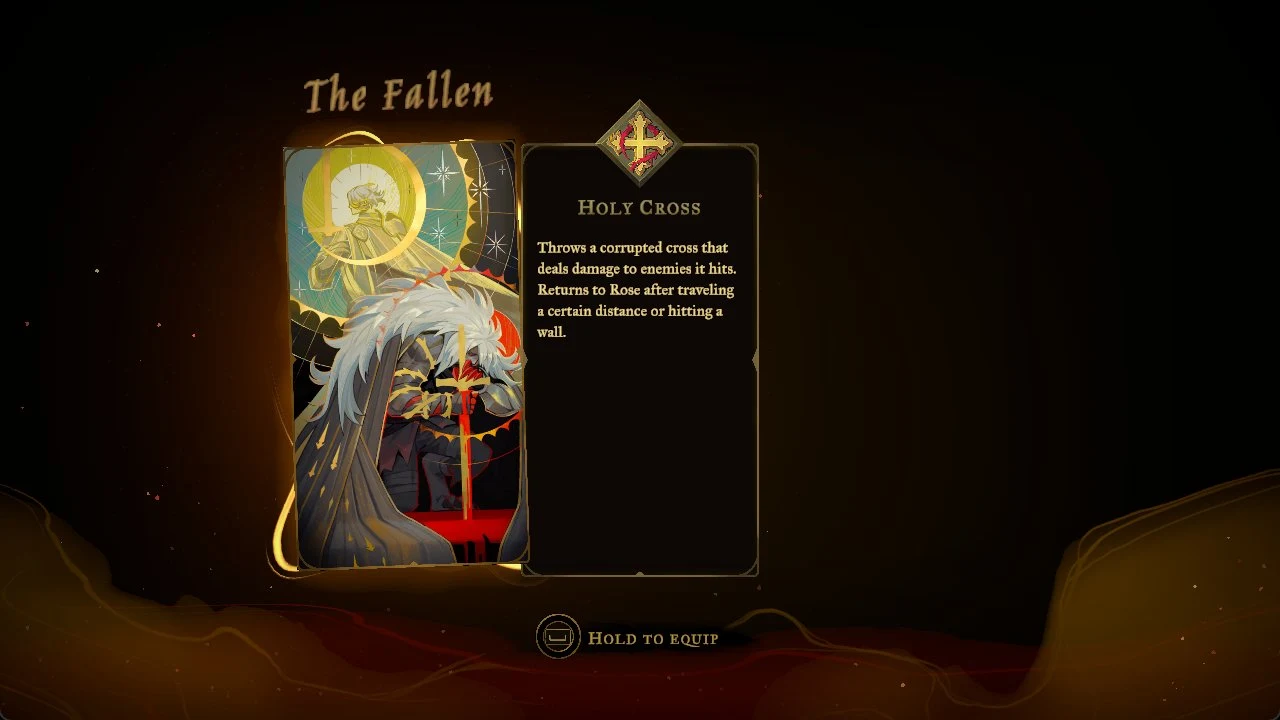
Near the very end, he mixes scythe swings with green orbs that circle around him. Stay behind him and keep attacking as the orbs pass. When his bar runs out, finish him with melee hits.
Best loadout for Death: Holy Cross and relics
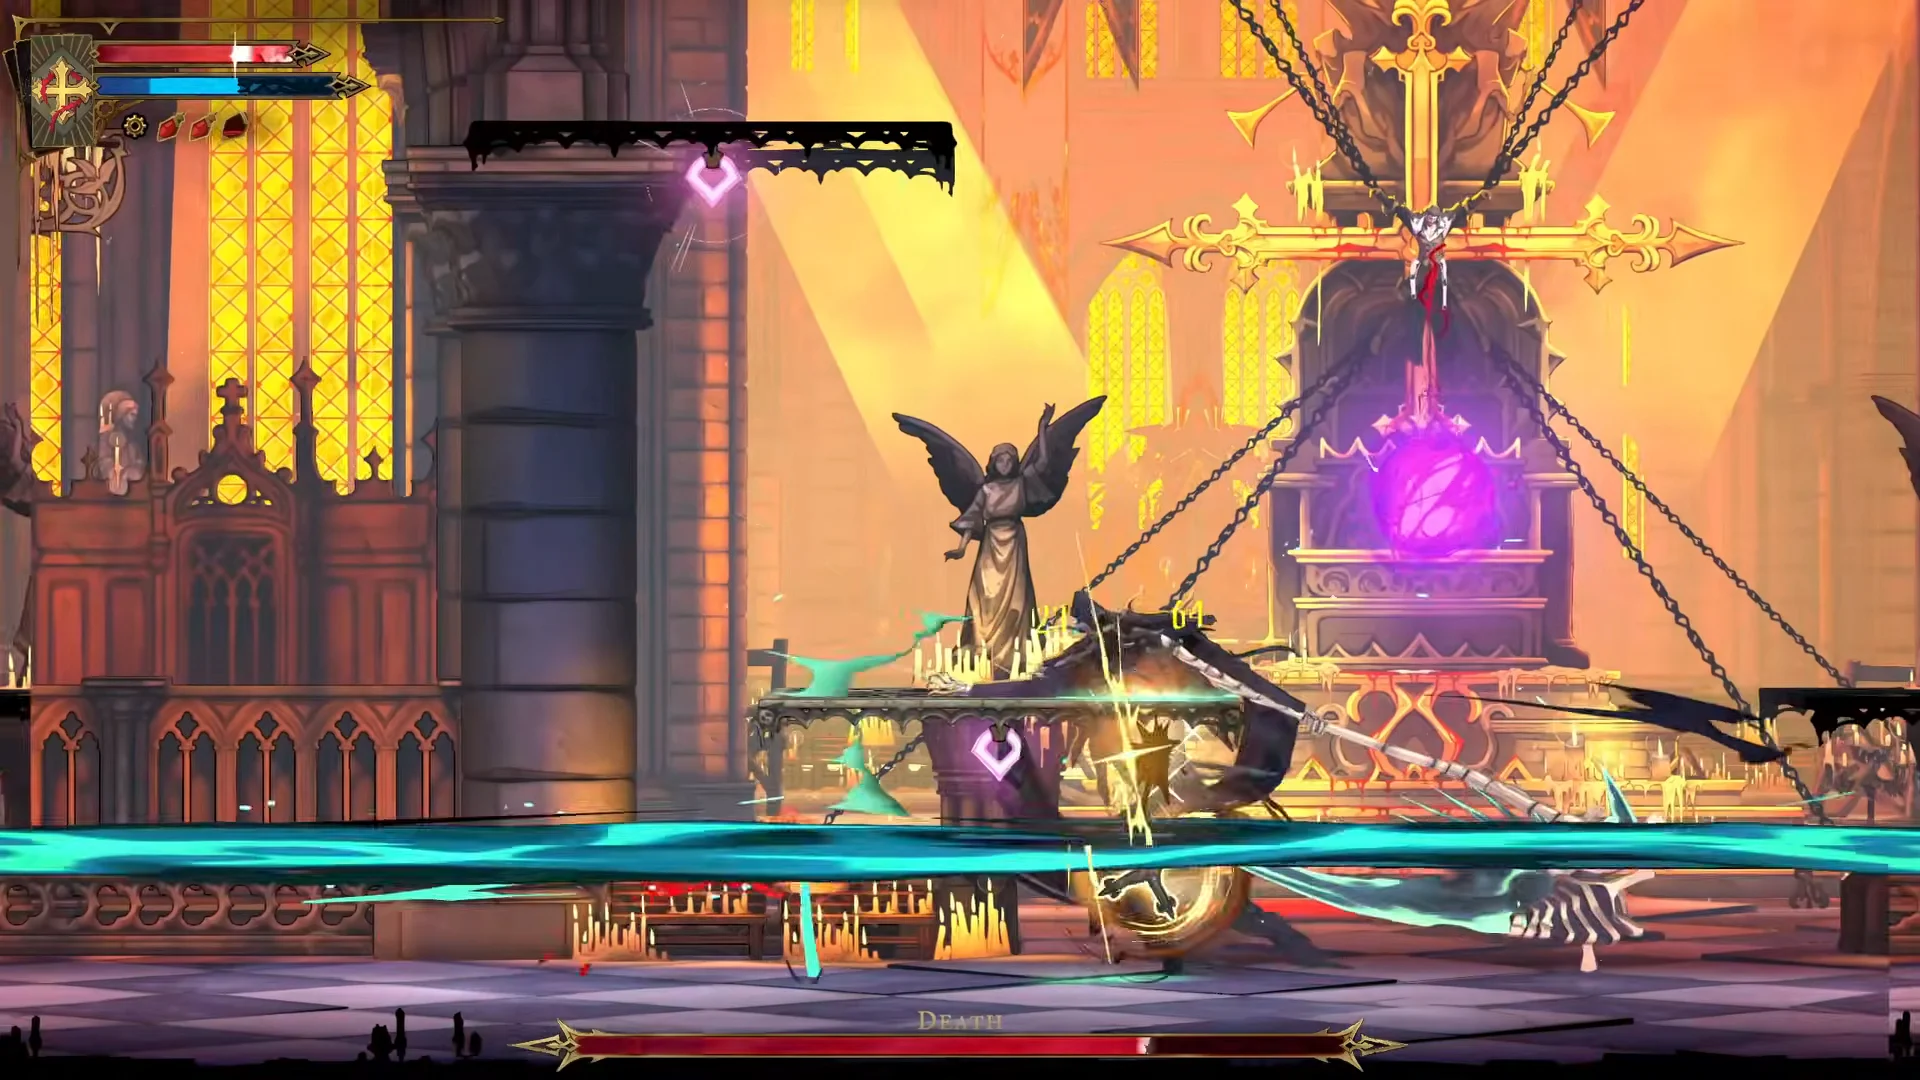
Holy Cross covers the moments when Death is out of melee range, especially during his soul barrages from the upper center. Casting it before you go in for melee also sets up any relic that raises Rose’s damage after she uses a spell. In the clip below, a melee hit lands while that boost is active.
| Option | Type | Key figures | Source |
|---|---|---|---|
 Holy Cross | Spell (The Fallen) | 30 attack power, 50 mana | Leon, Paris Streets |
 Cursed Coin | Relic | +30% damage for 3s after a parry | Main Hall |
Holy Cross upgrades help a lot in this fight. One lets you throw a second cross. Another makes the cross deal more damage the farther it travels from Rose, which suits the long gaps between you and Death. Catching the cross on its way back also refunds 10% of its mana cost for each enemy hit, up to 60%. Cursed Coin only triggers on a parry, so it rewards a parry-heavy style. Death’s scythe reaps and Death Touch cannot be parried, which limits how often it activates here.
Absorbing The Shadow: Soul Harvest and Double Jump
When Death’s bar empties, a black-and-white slash splits him down the middle and the trophy “Death… killed?” pops up. He turns into a glowing golden orb, speaks one last time and leaves through a green rift.
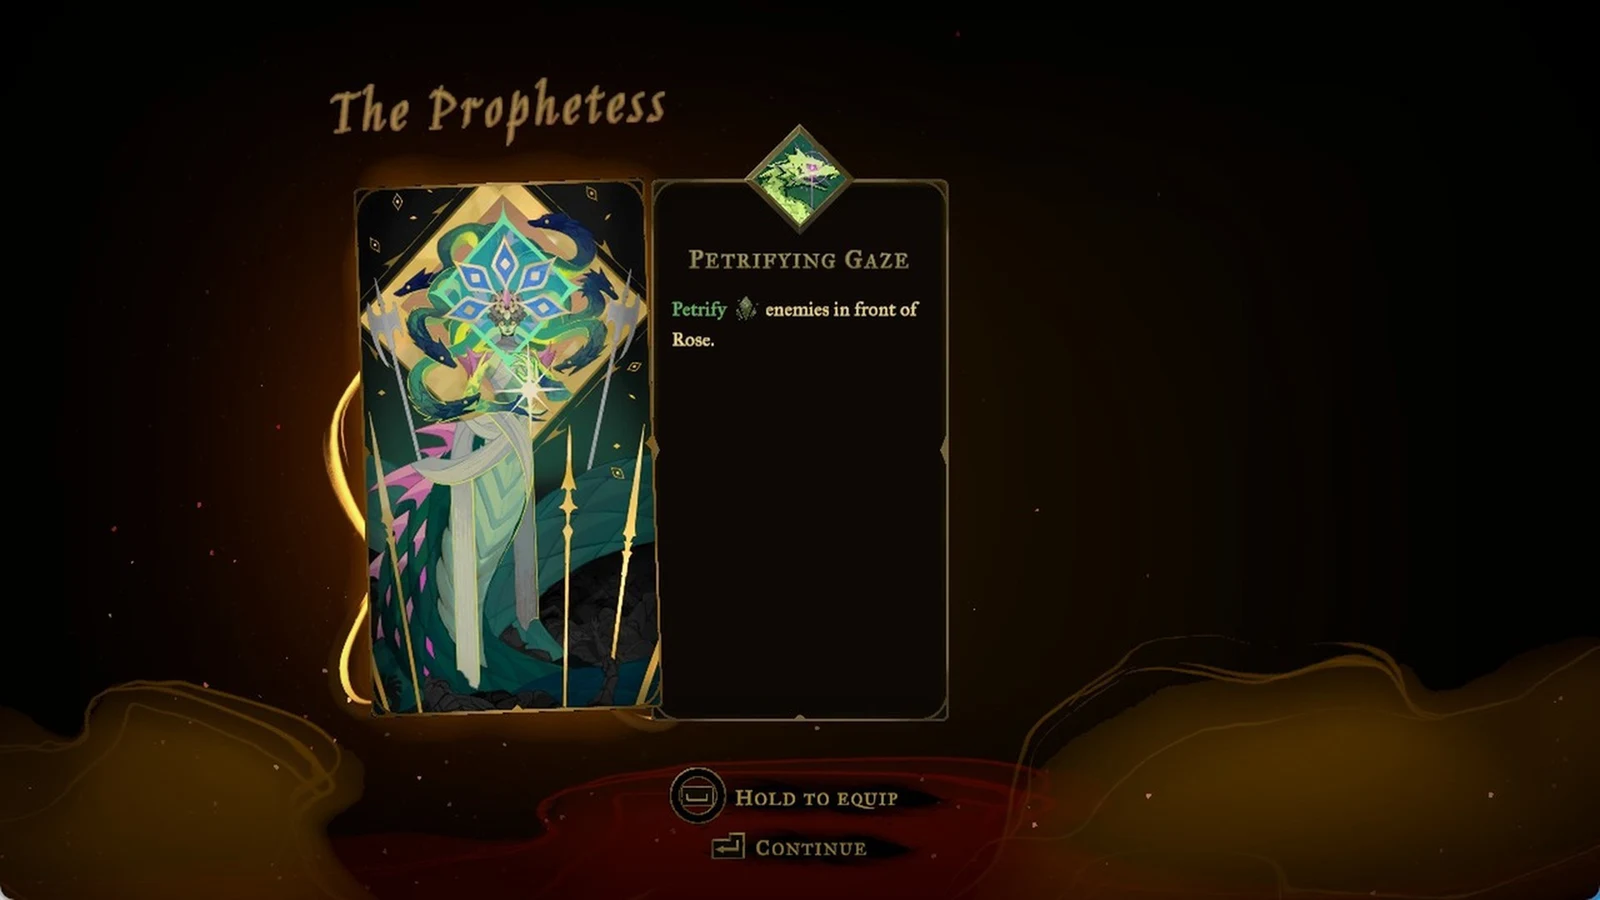
Shadow is Arcana 8 and is linked to six clues. It grants Soul Harvest and Double Jump, allowing Rose to leap again midair.
Soul Harvest spell stats and Works of Mercy
Soul Harvest is a slow, heavy scythe swing. Any enemy it kills bursts into four sickles that fly in different directions. It has 35 attack power and costs 60 mana.
| Gift | Effect |
|---|---|
| Single target | Heals Rose 4% of max health |
| Sickle kills | Sickle splits into 4 more |
| Sickle hits | Each refunds 25% of mana cost |
Gifts are unlocked by completing The Shadow’s Works of Mercy:
- Solve the hidden puzzle in Notre Dame.
- Kill 44 skeletons of any type.
- Kill 4 enemies with a single cast of Soul Harvest.
The skeleton count comes quickly in the Catacombs of Paris. Its enemy list includes Skeleton Soldiers, Red Skeletons, Leaping Skeletons, Skeleton Archers, Boomerang Skeletons and Beam Skeletons.