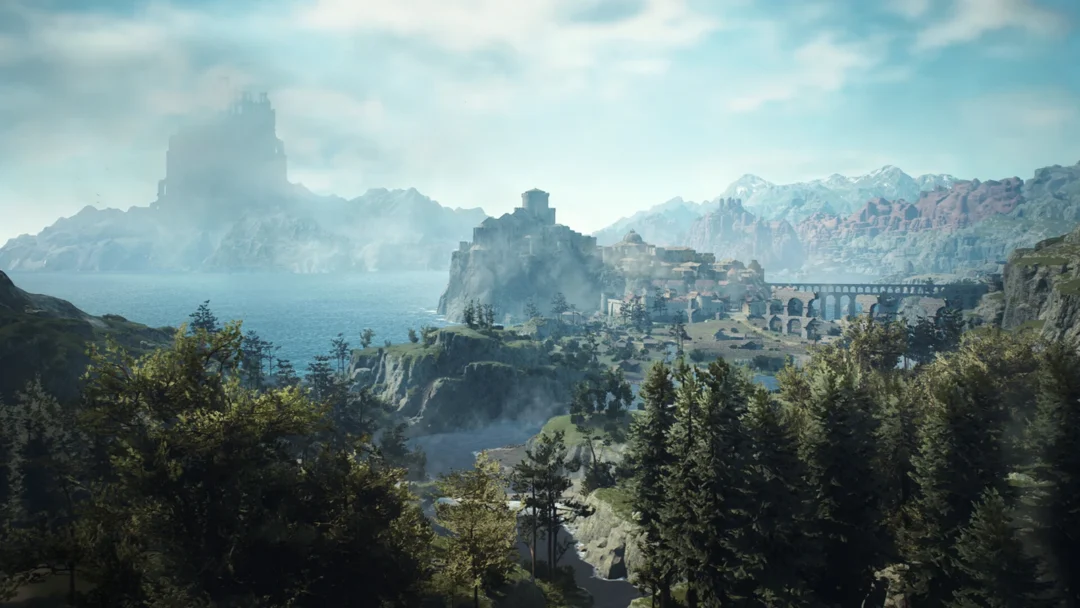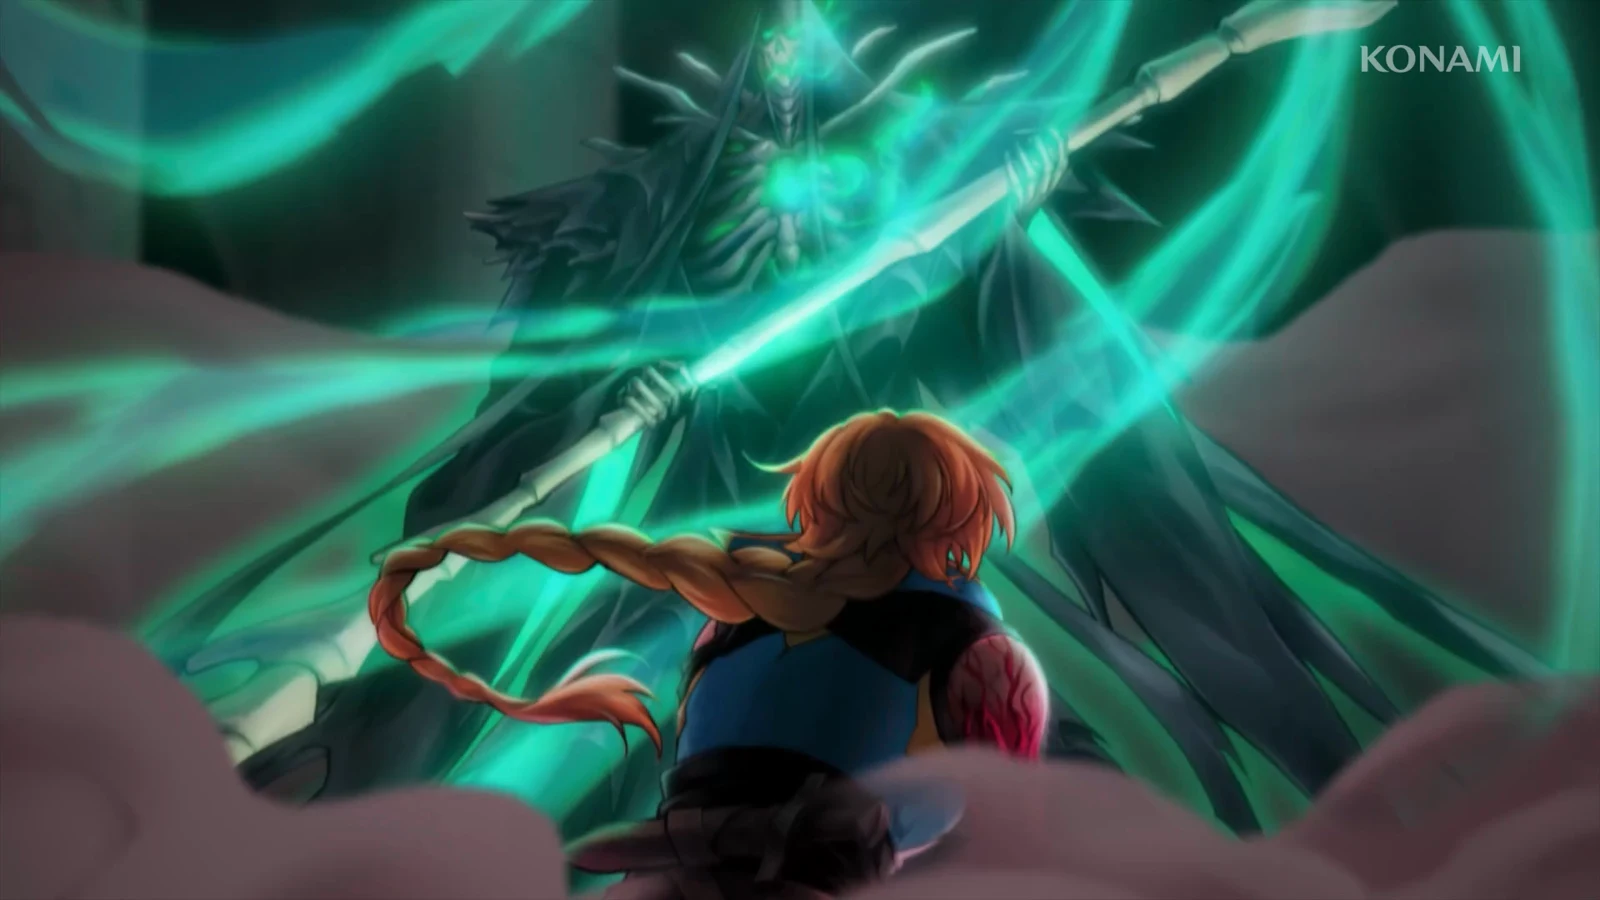
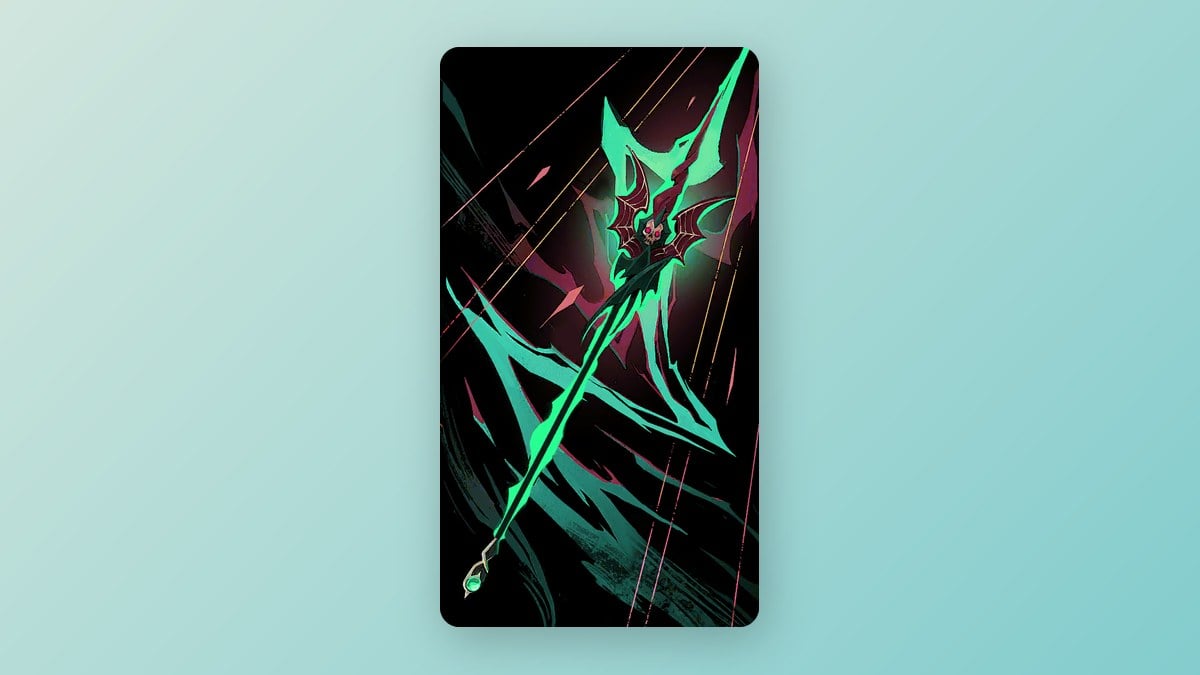
In Castlevania: Belmont’s Curse, Rose faces Dracula’s devil Forgemaster, Isaac, in two separate battles. The encounter on the stone bridge outside Dracula’s castle is a fake; the genuine Isaac waits in the Clock Tower’s Heart of the Clock district. Rewards come only from that second battle: The Zealot Arcana, the Chronomantic Dive spell, and Isaac’s spear, Chauve-Souris.
Quick answer: During the bridge encounter, slide or dash around Isaac and strike him from behind. For the genuine battle, equip Soul Harvest from Death, then activate the glowing clock on the Clock Tower Bridge. Drop to the lower floor when you need to avoid his beams.
Isaac’s two fights compared
The two fights share most of Isaac’s spear patterns. The Clock Tower version adds time magic on top of them, along with clones and a two-level arena.
| Detail | Bridge fight | Heart of the Clock fight |
|---|---|---|
| When | After the scripted loss to Death | After beating Death at Notre-Dame |
| Arena | Stone bridge, red sky | Iron bridge over a lower floor |
 Isaac | An illusion | His real body |
| Phases | One health bar | 5 |
| Rewards | None, only progression | The Zealot, Chronomantic Dive, Chauve-Souris |
Best loadout for the bridge fight
Rose has neither Double Jump nor the air dash yet, leaving her to fight almost entirely from the ground. A straightforward ranged loadout works well, letting her stay on the move and deal damage from a safe range.
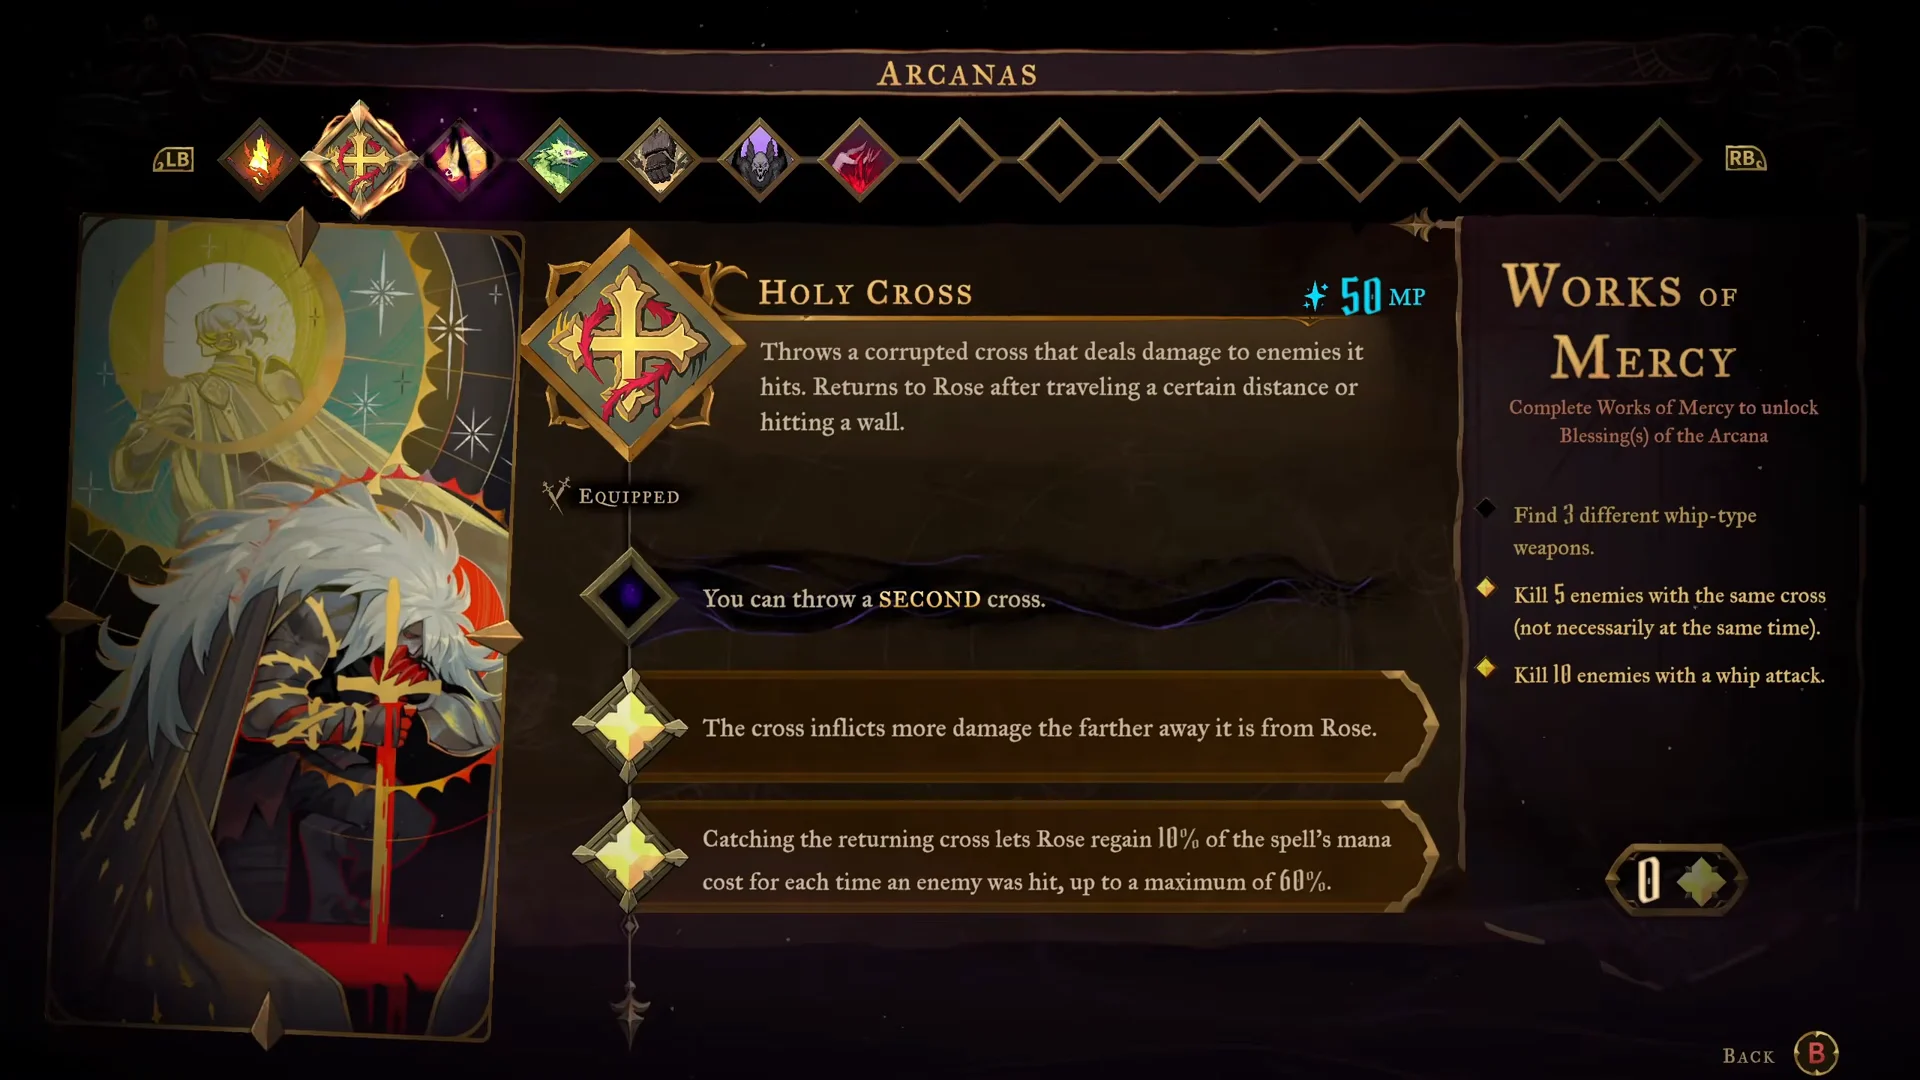
- Arcana: Holy Cross, from Leon (The Fallen). It throws a corrupted cross that returns to Rose and hits harder the farther it travels.
- Weapon: the standard Whip. The tip of each swing deals extra damage, and its combo finisher is Whip Drag.
- Relic: Twilight Gem, found in Paris Streets. It raises Rose’s damage by 30% for 3 seconds after she casts a spell.
The three pieces work together. Each cross throw activates the Twilight Gem bonus, and the follow-up whip hits land inside that window. If you catch a returning cross, Rose gets back part of the spell’s mana cost for every enemy it hit. You can also throw a second cross before the first one returns.
Isaac bridge runback route
The bridge before Isaac’s arena is long and crowded with enemies. You’ll cross it again after every failed attempt, so it’s faster to skip the fights along the way than to clear them.
If you haven’t lowered the drawbridge yet, the route continues through the air.
Above the final hook, a concealed nook contains chicken that replenishes Rose’s health. If you were hit on the way, collect it before you enter the arena.
How to beat Isaac on the bridge
The fight begins after a cutscene with Isaac and Carmilla. Rose declares herself Trevor Belmont’s daughter, Carmilla leaves, and Isaac attacks. You see a single red ISAAC bar at the bottom of the screen.
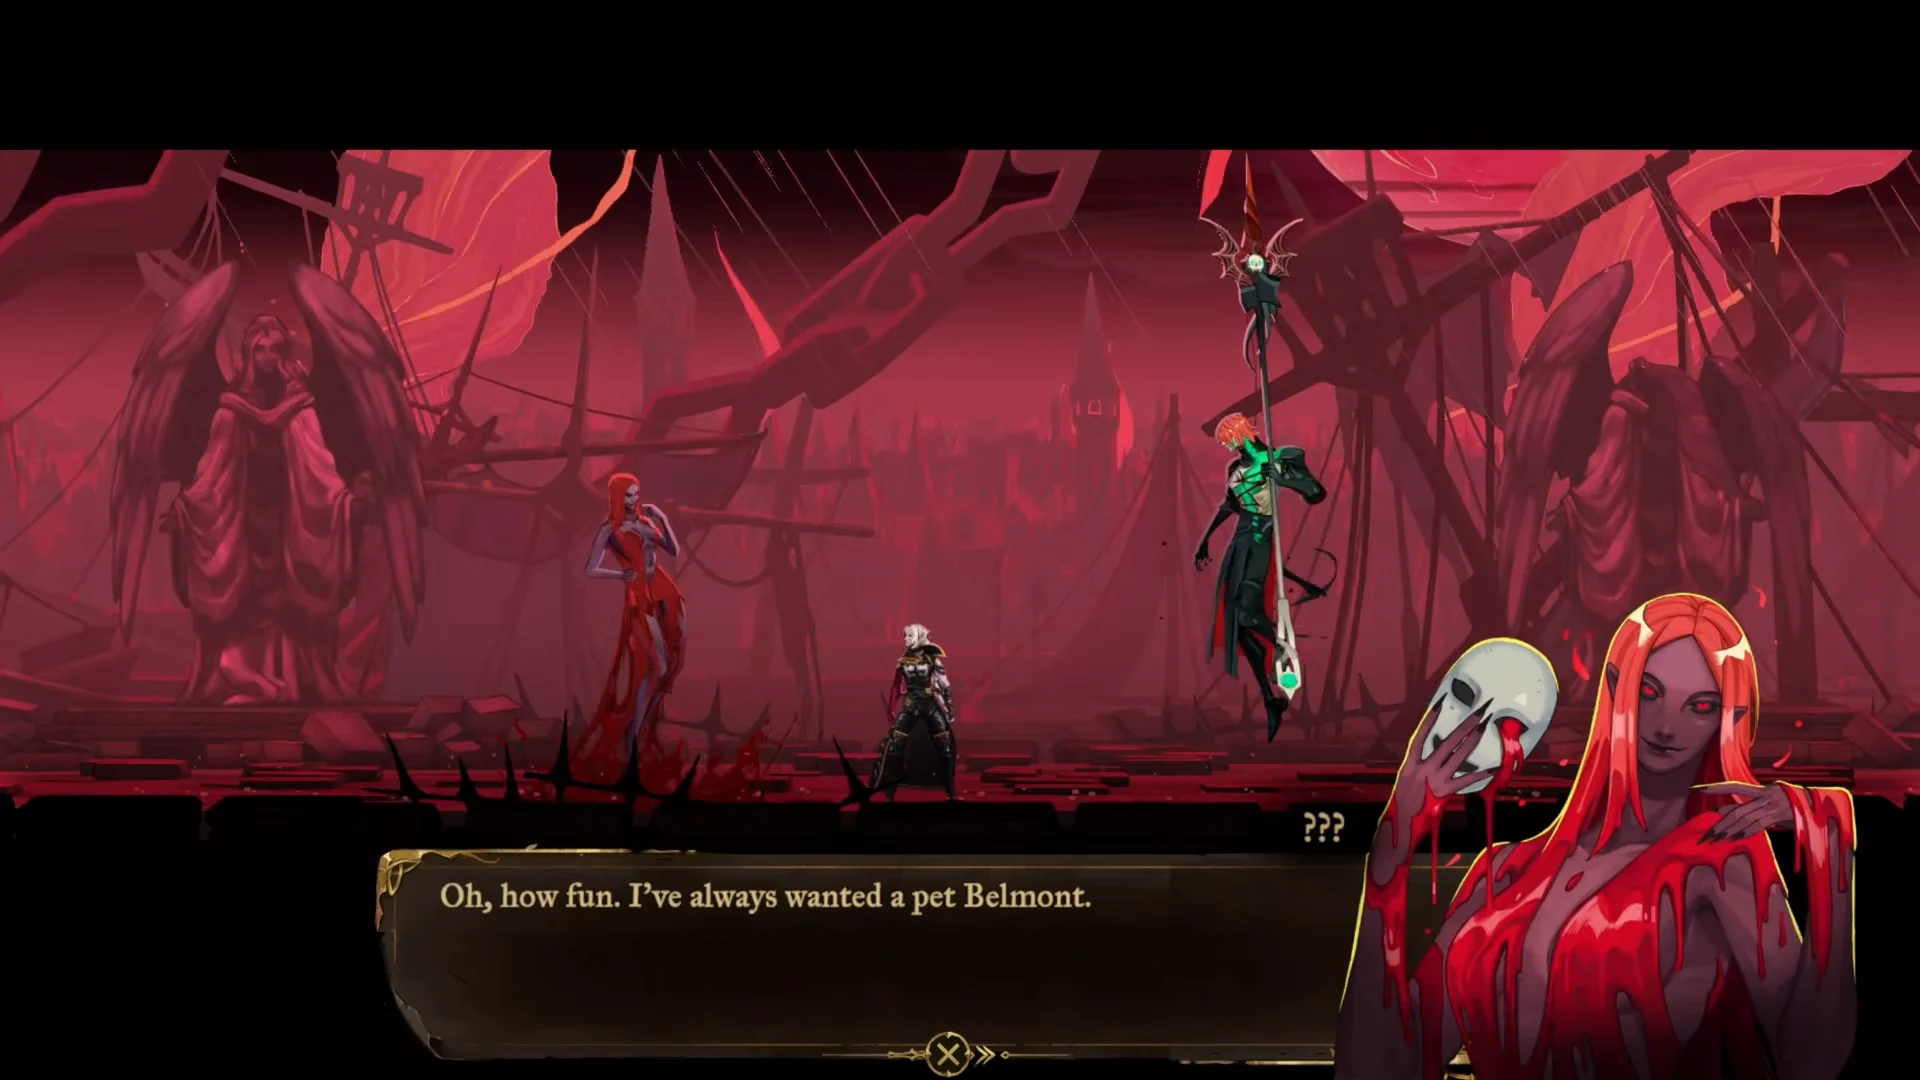
Every attack Isaac uses here has a clear wind-up. The basic rule is to get behind him whenever he commits to a spear attack. Most of his strikes keep going in their original direction, so his back is open while he recovers. Use short combos and space them so the tip of the whip connects. Throw Holy Cross whenever you’re already out of melee range.
| Attack | Tell | Counter |
|---|---|---|
| Dash thrust | Spear pulled back, green after-images | Slide or jump past, hit his back |
| Low sweep | Lifted leg, spear held overhead | Slide under or jump over |
| Teleport forward | Green after-images rush past Rose | Slide under and attack from behind |
| Spear throw | Spear spins along the ground | Jump it, cast while he’s unarmed |
| Teleport throw | Black rune appears above Rose | Crouch or slide under the green disc |
| Green wave slash | Wide swing, green crescent | Jump it or back off |
| Spinning spear | He rises and throws a spinning spear | Strike it at each stop, or dodge each pass |
| Dive thrust | He hovers, spear aimed down | Slide clear or whip-grapple onto him |
The spinning spear stops at three points before it returns to Isaac. You can hit it at each stop as it reaches you to counter it. The safer choice is to slide or jump past each pass depending on the spear’s height, then wait for it to return to him before moving in. When he floats high and lines up his diagonal plunge, jumping and whip-grappling straight onto him avoids the hit completely. If he pins you near the edge barriers, wall jump out and reposition behind him.
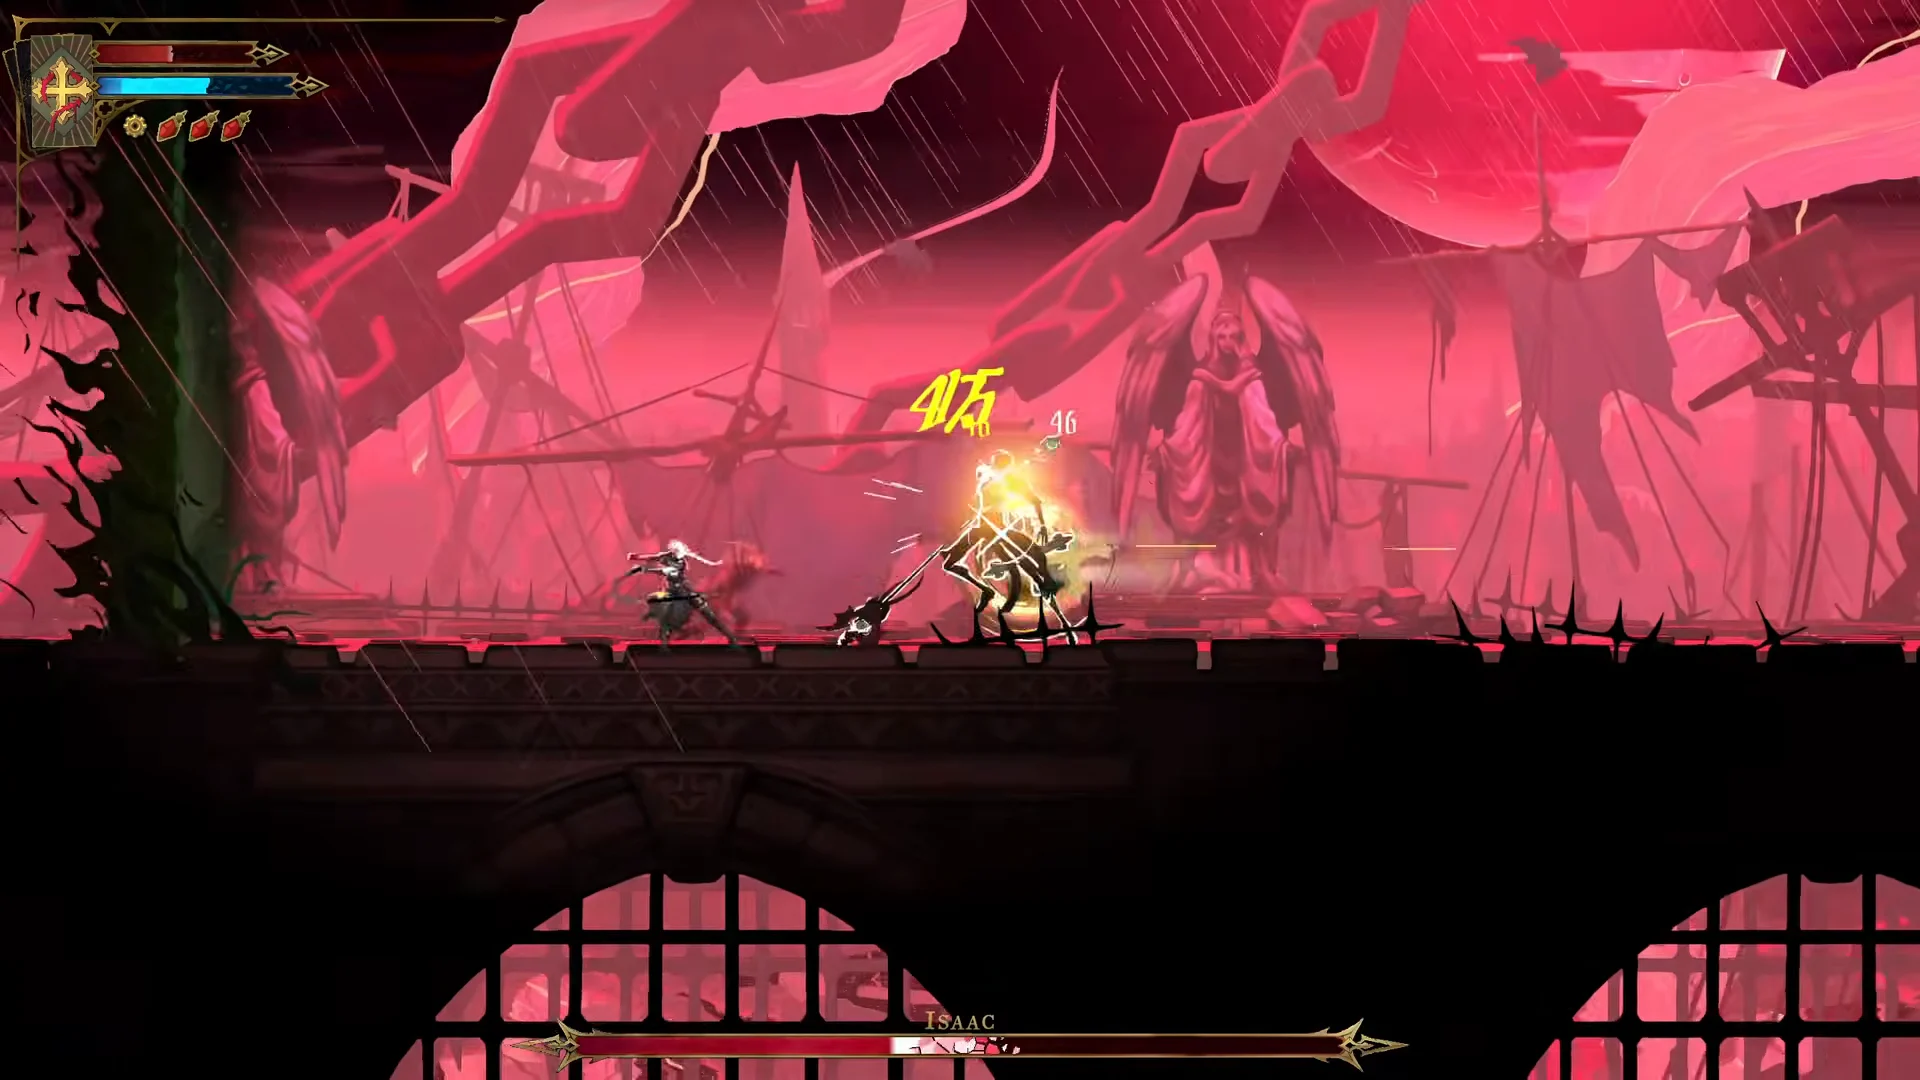
Dive thrust: Isaac pauses in midair over the bridge, close to the screen’s upper edge, before attacking. He streaks diagonally toward Rose in green and touches down next to her within a dark thorn circle. He starts each run of spear attacks this way and goes straight from the landing into a spear attack, so be ready to move the moment he lands.
Teleport forward: Isaac can rush past Rose two or three times consecutively, trailing green after-images on each pass. He appears on her far side within the black thorn ring, readying another thrust. He ends up at your back; immediately pivot to face him.
Dash thrust: He pulls the spear behind him until it sits even with his shoulders, pausing briefly. Next comes a forward charge, marked by a green trail at chest level, which closes the distance; stay clear of his front during the wind-up.
Low sweep: Balancing on a single raised leg, Isaac cocks the spear above his head before slashing downward; a lengthy green curve skims across the bridge at low height in front of him. At a glance, this can pass for another thrust; watch for his lifted leg and spear held overhead to identify it.
Green wave slash: He holds the spear vertically before his body, then sends out two broad green crescent slashes in quick succession. Stay out after the opening crescent; its partner comes immediately afterward.
Spinning spear: Isaac ascends with the spear raised, then hurls it toward the green rings that form around the arena; it first reaches a ring along the arena’s perimeter. It then stops at a ring on the floor near Rose and at one up high, for three stops in all, before dropping straight down and going back up to him. After Isaac catches the spear again, he repeats the dive thrust, restarting the cycle roughly every twelve seconds.
After the meter runs dry, Isaac rises into the air and mocks Rose with remarks about Death. He then vanishes, exposing himself as a fake; his real body is stationed at the Clock Tower. No Arcana or items are dropped here. Defeating him simply unlocks the route farther into Dracula’s castle.
How to reach the real Isaac in the Heart of the Clock
Begin the route to the real battle at the glowing clock on the Clock Tower Bridge. It transports you to Isaac only if Soul Harvest is equipped. The Zealot’s clue at Mechanic’s Ascent alludes to this, describing a trap passable only by Death. Meet these requirements before equipping Soul Harvest:
- You must have access to the Clock Tower in Dracula’s castle.
- Defeat Brauner in the Main Hall to obtain The Artist Arcana.
- Brauner’s Paintbrush, which Carmilla took and which you pick up in the Library.
- You need The Artist and the Paintbrush to enter Notre-Dame.
- The Shadow Arcana and its spell Soul Harvest, from beating Death in the Choir district of Notre-Dame.
You’ll know you’re in the right place when Isaac greets Rose with “The prodigal daughter returns.” She answers, “How are you still alive, Isaac?” When the dialogue ends, the red ISAAC bar appears and the fight begins.
Isaac boss stats and immunities
| Stat | Value |
|---|---|
| Arcana card |  The Zealot |
| Area | Clock Tower |
| District | Heart of the Clock |
| Health | 2500 |
| Attack | 50 |
| XP | 1000 |
| Phases | 5 |
| Rewards | Chronomantic Dive, Chauve-Souris |
Isaac cannot be frozen, petrified, lifted into the air, or slammed down. Chains of Justice cannot root or stun him; Freezing Path’s link, Infernal Pyre’s launch, and Chronomantic Dive’s slow are also ineffective. Bleed and burn can still affect him, making Blood Spikes and Infernal Pyre’s flames useful choices to equip.
How to beat Isaac in the Heart of the Clock
Iron railings border the bridge arena, which stands before an enormous purple clock marked with Roman numerals. An open level sits below the bridge. Drop down and jump back up as needed; moving between these floors lets you evade most of Isaac’s beams.
Whenever his health reaches zero, Isaac reverses time and restores it completely. This happens four times, making five phases altogether. His attacks grow fiercer throughout the battle: he strings them together more quickly and brings out clones, clock sigils, and the floating dial more frequently. Conserve mana and your most powerful attacks for the later phases.
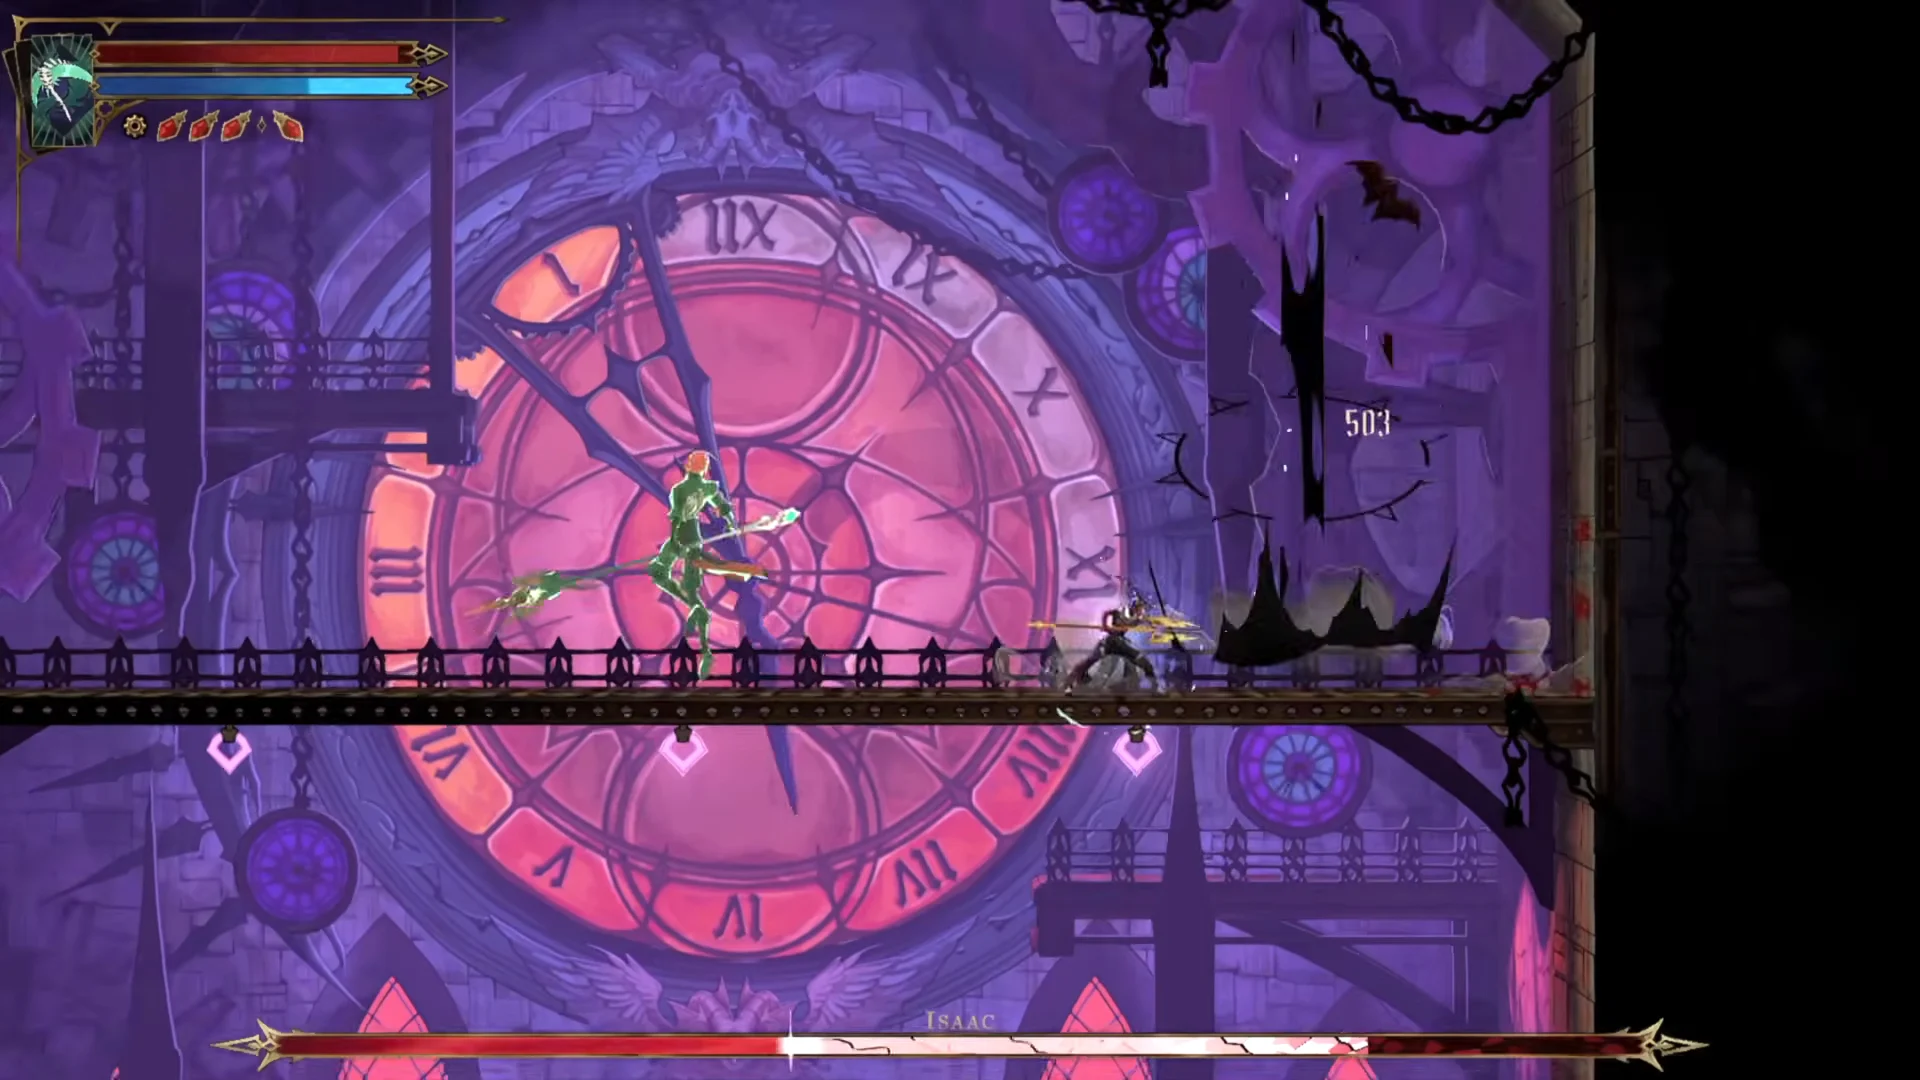
Leave Isaac alone while he holds his parry stance. An attack against him provokes a devastating counter, which sliding cannot evade.
| Attack | Tell | Counter |
|---|---|---|
| Spear dash | Dark green aura, sometimes clones | Dash through or jump over, hit his back |
| Thrown spears | Volleys of small spears | Parry them; dodge the larger late-phase ones |
| Tethered throw | Spear flies straight, thin line behind | Jump the line, punish the pull-back |
| Clones | Green copies from black rifts | Dash or slide through, target the real Isaac |
| Needle fan | Hovers in a clock ring | Move through gaps or drop down |
| Dial and cocoon | Big dial, black tendrils, sphere | Stay outside the dial, jump vines, hit the sphere |
| Clock shield | “You shall not pass!” | Back off until it drops |
| Shadow sphere | Giant dark pendulum | Stay clear of its swing |
| Grab | Close-range lunge | Keep your distance; no slide-through |
The larger spears in later phases are easier to dodge than the small volleys, but they do far more damage if they hit Rose. During the needle fan, move through the gaps between waves rather than trying to outrun them.
Dodging the clock-sigil cross beams
Isaac’s signature move is signaled by a stationary black ring marked with Roman numerals; no other warning appears. A green ray drops vertically through it, followed by a second beam sweeping across the bridge from side to side. Move out of the first beam’s line, then, when the horizontal attack crosses the upper walkway, head down to the lower level. Close to the wall, leap over it instead. Once it has passed, climb to the upper level again.
After firing beams or charging with his spear, Isaac leaves a short opening. These are the best moments to deal damage, particularly when you can get behind him. Focus your attacks on the real Isaac rather than his clones.
Claiming The Zealot and Chauve-Souris
The Finish Hector’s work trophy unlocks the moment Isaac falls, which confirms the kill counted. Both rewards are waiting in the arena.
After the battle, HEART OF THE CLOCK appears on the Clock Tower map, with the Master’s Quarters Approach opening to its right. Chauve-Souris is the Heart of the Clock district’s sole item; collect it before departing.
Chronomantic Dive and Chauve-Souris stats
| Chronomantic Dive | Value |
|---|---|
| Type | Spell |
| Arcana card | The Zealot |
| Attack power | 55 |
| Mana cost | 50 |
| Gifts | Longer time slow; bigger explosion from height |
| Works of mercy | Kill 20 enemies in slow motion; explore all Clock Tower rooms |
Chronomantic Dive sends Rose into the air, then drops her back down, damaging anything in her path. She leaves a cross of green fire on landing and slows time for a moment. Bosses are immune to the slow, including Isaac and every other boss listed with that immunity. The spell is most useful against regular enemies, and that’s also how you complete its slow-motion work of mercy.
| Chauve-Souris | Value |
|---|---|
| Weapon type | Spear |
| Rarity / tier | Legendary / 4 |
| ATK | 100 |
| Attack power | 38 |
| Stagger power | 30 |
| Mana per hit | 3 |
| Combo finisher | Push |
Isaac made Chauve-Souris himself through devil forgery. Hold Attack to aim it and release to throw. The thrown spear chases up to two targets in a row and pierces every enemy along the way, which makes it good for clearing groups. Its ATK matches the other tier 4 Legendary weapons, Vampire Killer and Excalibur, at 100.