
The default yellow folders in Windows 11 File Explorer can quickly blend together, making it difficult to spot critical files and keep your workspace in order. Customizing folder icons not only improves visual structure but also speeds up file access and reduces time spent searching for important items. The following instructions detail the most effective ways to change folder icons in Windows 11, along with tips for maintaining your customizations and troubleshooting common issues.
Change Folder Icons Using Folder Properties
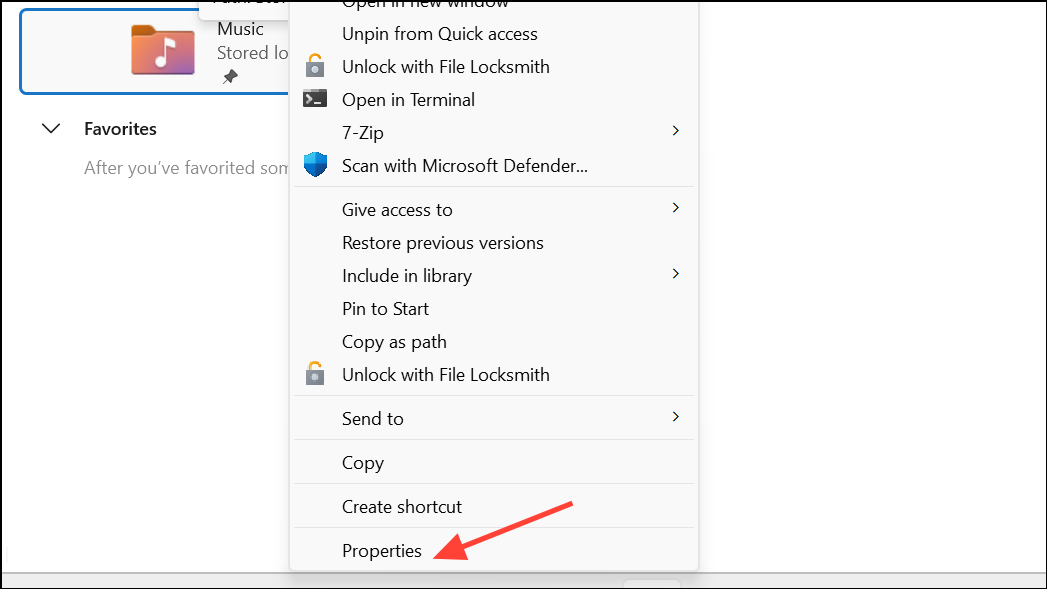
Step 1: Locate the folder you want to customize in File Explorer. Right-click the folder and select Properties from the context menu.
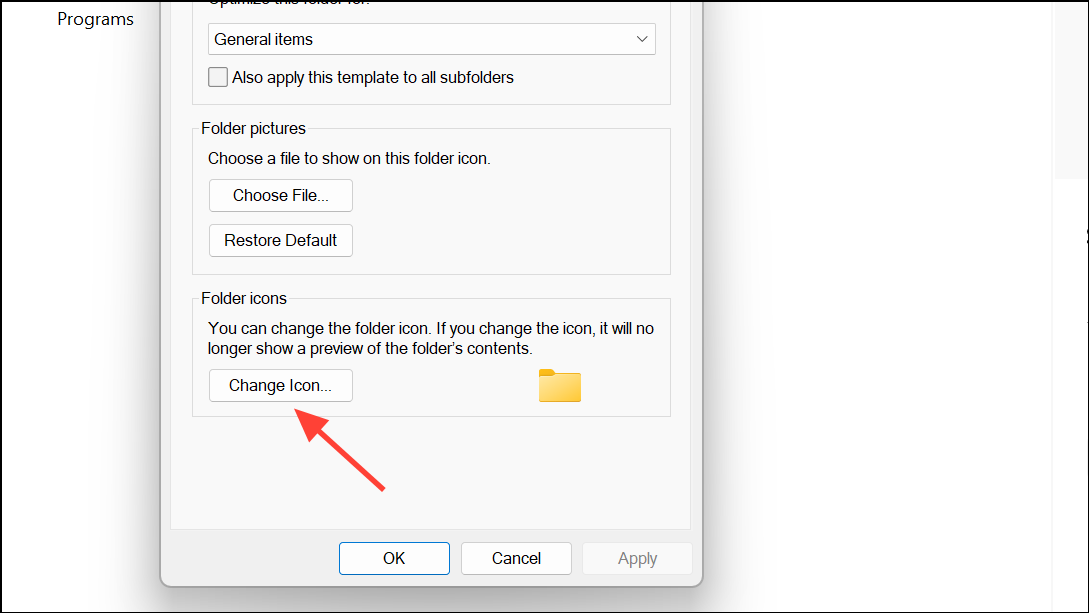
Step 2: In the Properties window, switch to the Customize tab. At the bottom, click the Change Icon button. This opens a selection of built-in Windows icons, but you can also browse to a custom icon file if you have one.
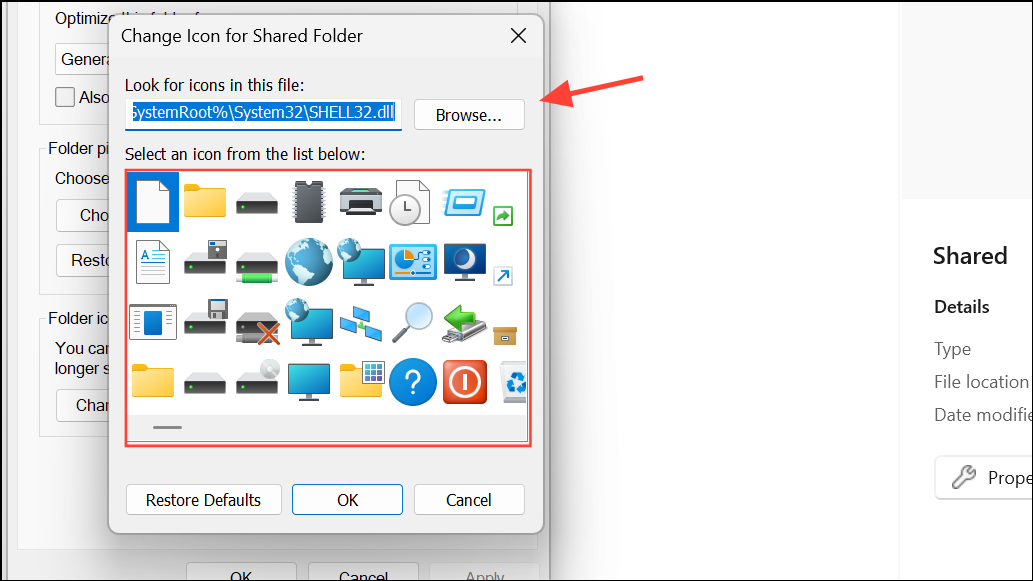
Step 3: Browse through the available icons or select Browse to locate a .ico file you’ve downloaded or created. Select your preferred icon and click OK.
Step 4: Click Apply and then OK to confirm. The folder icon updates immediately. If it doesn’t, use the refresh button at the top of File Explorer to reload the view.
To revert to the original icon, repeat these steps and select Restore Defaults in the Change Icon dialog.
Apply Custom Icons System-Wide or to Multiple Folders
Windows 11 does not offer a native feature for changing all folder icons at once. However, you can streamline the process by preparing a set of .ico files and applying them individually to each folder using the steps above. If you need to update many folders, third-party software such as Folder Marker can accelerate the process by allowing bulk icon changes and providing a library of ready-made icons and color options. This approach saves significant time for users managing extensive file structures.
- Folder Marker enables you to right-click multiple folders and assign colors or icons in just a couple of clicks.
- It also provides sorting and filtering by icon or color, which further improves file retrieval efficiency.
Keep in mind that using third-party tools may introduce additional features, but always review software sources to avoid unwanted programs.
Change Folder Icons Using the desktop.ini File
For advanced users who want more granular control or need to script icon changes, editing the desktop.ini file inside a folder is another option. This method allows you to specify a custom icon path and is particularly useful for portable folders that may be moved between systems.
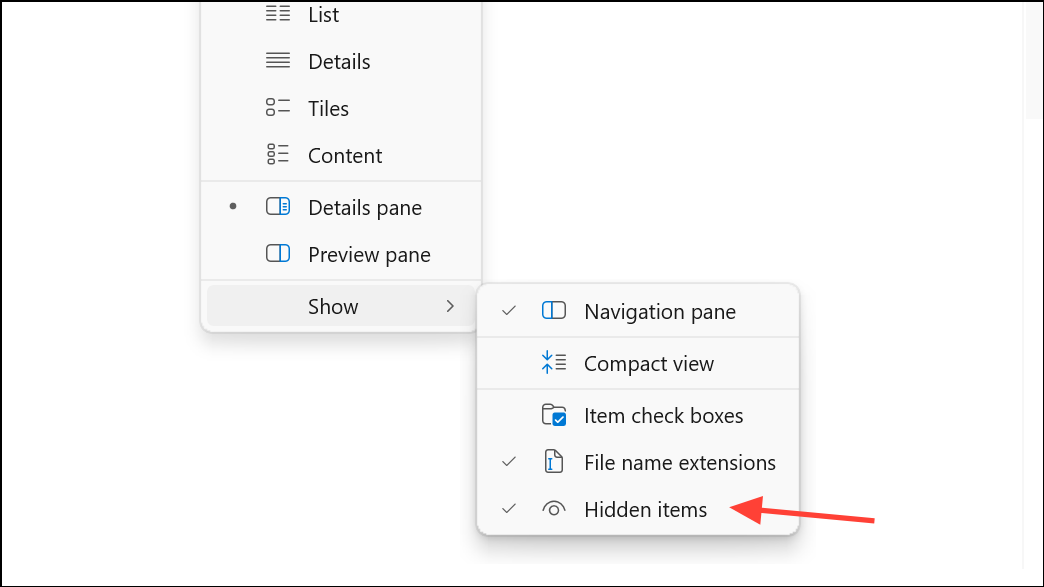
Step 1: Ensure hidden files and protected operating system files are visible in File Explorer. Click the three-dot menu, select Options, go to the View tab, and adjust the settings to show hidden and system files.
Step 2: Place your .ico icon file in a stable, non-temporary location. Note the full file path, such as D:\Icons\myicon.ico.
Step 3: In the target folder, create a text file named desktop.txt and open it. Add the following lines, replacing the path with your actual icon location:
[.ShellClassInfo]
IconResource=D:\Icons\myicon.ico,0
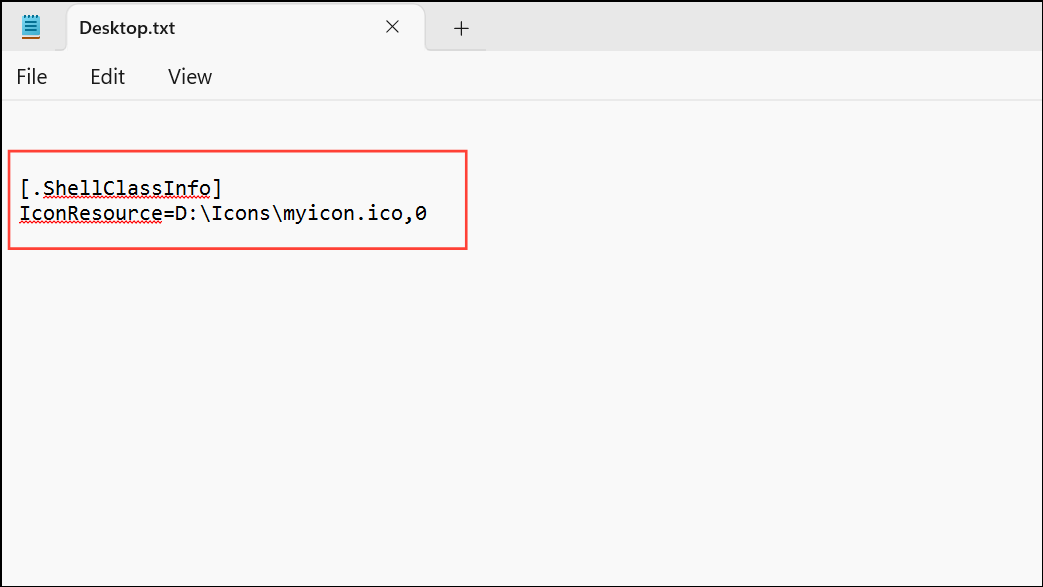
Step 4: Save the file and rename it to desktop.ini. Do not name it desktop.ini from the start, as Windows may block direct creation of system files.
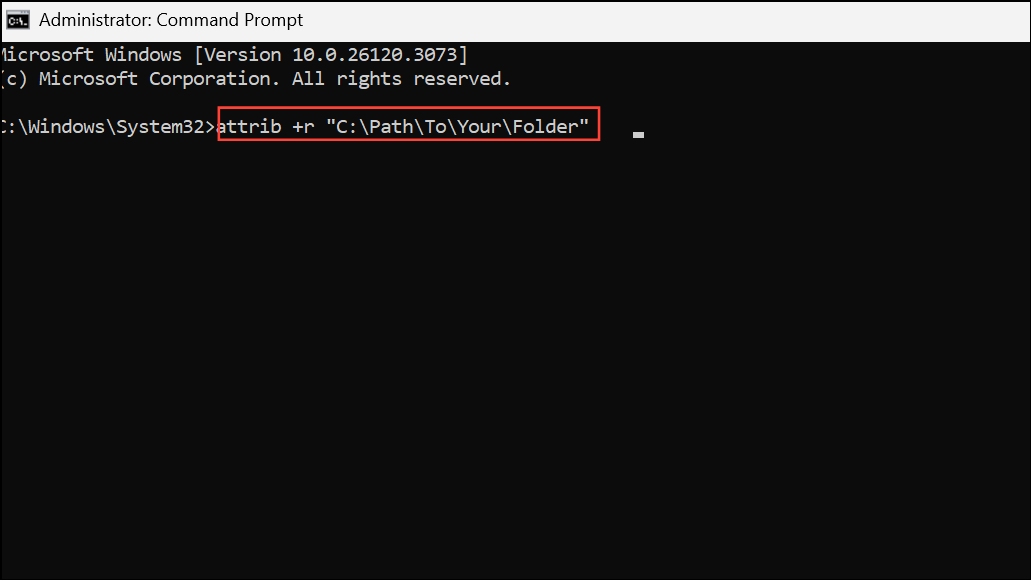
Step 5: Set the folder as read-only so Windows recognizes the desktop.ini settings. Open Command Prompt (Win+R, type cmd, press Enter) and run:
attrib +r "C:\Path\To\Your\Folder"
The folder icon should update to your custom design. If not, refresh File Explorer or restart your computer for changes to take effect.
desktop.ini, the folder will revert to its default icon. To avoid this, store icons in a permanent location and avoid renaming or relocating them.Using Custom Icons and Icon Sources
Windows 11 includes a set of built-in icons under %SystemRoot%\system32\SHELL32.dll, but these can feel outdated or generic. For more variety, you can download .ico files from reputable icon repositories such as Flaticon, Iconfinder, IconArchive, or DeviantArt. Always choose icons in .ico format for best compatibility; converting from .png to .ico is possible using online tools, but original .ico files maintain higher clarity at all sizes.
- Store your custom icons in a dedicated folder that you don’t plan to move or delete, as folder icons reference their location. Moving the icon files will cause customized folders to revert to default icons.
- When applying icons to folders that may be transferred between systems, include the .ico files within the same parent directory and reference them with relative paths if possible. This practice keeps customizations consistent across devices.
Tips for Maintaining Folder Organization
Changing folder icons can significantly improve how quickly you locate files or projects, especially when dealing with a large number of directories. For users who frequently change screen resolutions or rearrange desktop icons, third-party utilities such as Desktop Restore or Fences can help preserve icon positions and layouts. While these tools do not affect folder icons themselves, they maintain the visual arrangement of folders and shortcuts, preventing accidental reordering after system changes.
- Disabling
Auto arrange iconsandAlign icons to gridcan give you more control over desktop layout, but layout persistence is not guaranteed after resolution changes without external tools. - Regularly backup your custom icon folder and export desktop layouts if you rely on visual cues for organization.
Customizing folder icons in Windows 11 streamlines navigation and reduces visual clutter, making daily file management faster and more intuitive. With a few adjustments and the right tools, you can create a workspace that matches your workflow and keeps important files just a glance away.