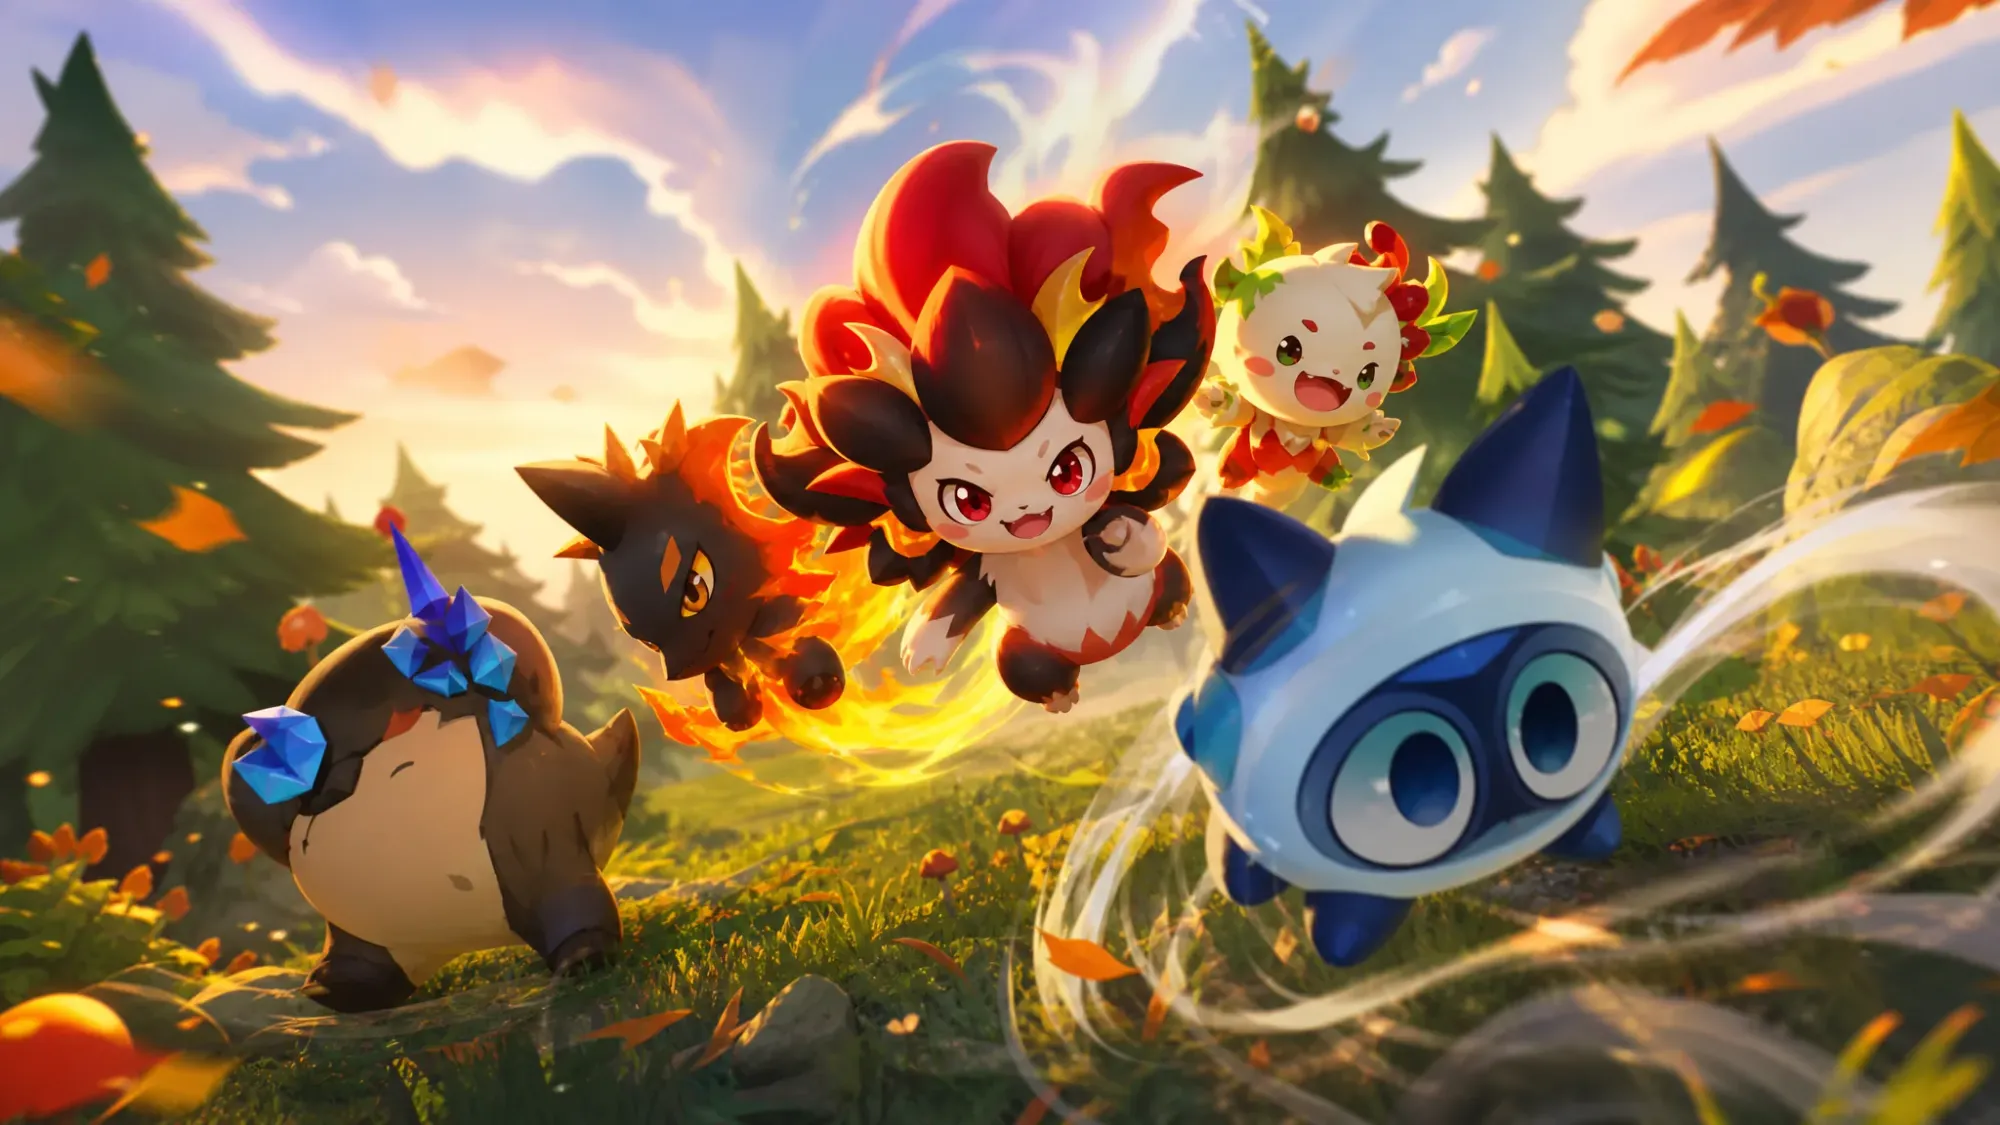
Picking the wrong Tatari to evolve in Clash of Critters wastes duplicates and materials that take real time to collect. Because evolution scales with a creature’s star level and each line ends in a very different final form, the smart move is to funnel resources into the few stage-one Tatari whose evolved versions carry battles. The ranking below sorts every stage-one Tatari by how much its full evolution line is worth pursuing.
Full Clash of Critters Tatari tier list (May 2026)
The tiers reflect each line’s final evolved form, not just the base creature. A stage-one Tatari in D tier means its whole line underperforms, so it stays on the bench unless you want it for collection.
| Tier | Stage-one Tatari |
|---|---|
| S+ | Buddi, Dewgrub, Punchimp, Taptail, Voltfawn |
| S | Ashlarva, Droppit, Frugling, Goonbug, Manteeny, Maskfry, Pyropup, Zappur, Zaplet |
| A | Cactobud, Cheerling, Frostnip, Pandaroo, Sealing, Souphog, Waddledo |
| B | Cribbler, Gibber, Hootlet, Sackling, Shardsnail, Sparkeet, Sparkit, Shrimpyro, Tindercub |
| C | Blueflick, Drilleroo, Dumbopus, Flameow, Fluffle, Fumekit, Funglet, Gopher, Humbug, Kittazap, Lollama, Rubblet, Volkit, Zapuni |
| D | Joeyo, Lullelly, Sinklet |
S+ tier: evolve these Tatari first
These five lines pull well above their weight once fully evolved, which makes the duplicate grind worth it. Buddi turns into a top-end healer, Dewgrub scales into high water damage, and Punchimp covers all three lanes with rock damage and frontline disruption. Taptail is a flexible damage dealer with good range, while Voltfawn brings electric burst.
| Tatari | Element / Role | Why it leads |
|---|---|---|
| Buddi | Grass Healer | Consistent healing with attack and defense buffs |
| Dewgrub | Water DPS | High damage scaling for faster clears |
| Punchimp | Rock DPS | Three-lane coverage and frontline disruption |
| Taptail | DPS | Versatile damage with strong range |
| Voltfawn | Lightning DPS | Piercing lightning that paralyzes enemies |
S tier: best alternatives when S+ duplicates run dry
If your boxes aren’t dropping S+ creatures, this group still carries you through tougher content. It blends damage, tanks, support, and control. Ashlarva works as a versatile flame-ring fighter that heals and buffs, Maskfry anchors defensive formations as a water tank, and Zappur doubles as a guardian that boosts ally damage with Thunder Roar.
| Tatari | Role | Standout trait |
|---|---|---|
| Ashlarva | Support / DPS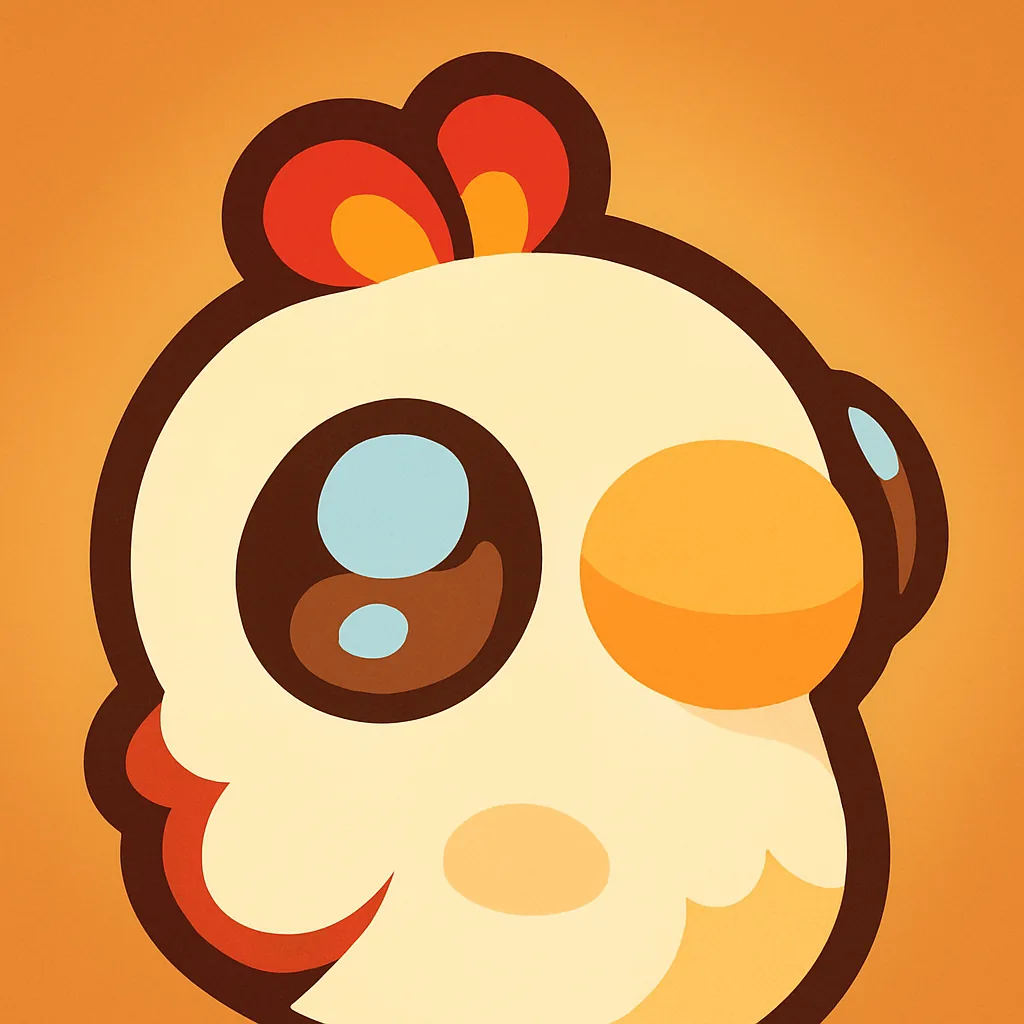 | Flame ring damages, heals, and grants an attack boost |
| Droppit | Water control | Mist applies Slow and Fragile together |
| Frugling | AoE DPS | Repeating Bramble Bomb explosions with Slow |
| Goonbug | Earth utility | Invincible dash with Fragile and Knockback |
| Manteeny | Tanky DPS | Inflicts Fragile to raise team-wide damage |
| Maskfry | Water Tank | Solid frontline anchor for defense |
| Pyropup | Fire DPS | Burst flame damage with the Weak debuff |
| Zappur | Lightning Guardian | AoE damage plus a team damage boost |
| Zaplet | Lightning DPS | Chain lightning damage |
A tier: stable early and mid-game picks
These are perfectly usable, especially while you’re still building a roster, but their final forms don’t hit as hard as the tiers above. Plan to replace them once stronger options appear. Frostnip is the standout here for crowd control, slowing enemies and splitting into piercing ice shards, while Cheerling heals and buffs as a strong protector.
| Tatari | Role | Standout trait |
|---|---|---|
| Cactobud | Grass buffer | Defense support |
| Cheerling | Support | Area damage, healing, and ally buffs |
| Frostnip | Ice DPS | Slows and pierces multiple targets |
| Pandaroo | CC / DPS | Slow shots that scale up in longer fights |
| Sealing | Water AoE | Bouncing projectiles apply Weak |
| Souphog | Debuffer | Mix of debuffs and buffs |
| Waddledo | Water tank | Ice shield that converts into damage |
B tier: situational backups
Nothing here is dead weight, but pouring duplicates into these lines while S and A options sit in your collection is the wrong call. Cribbler and Sparkit do reasonable area damage, yet they lean on specific conditions to shine. Treat this tier as roster depth rather than a main investment.
| Tatari | Notes |
|---|---|
Cribbler | Wide claw swings that need a healer to trigger its attack boost |
| Gibber | Shields allies while its spinning shell pierces enemies |
| Hootlet | Minor debuffs |
| Sackling | Basic damage |
| Shardsnail | Basic tank |
Sparkeet | Only useful in coordinated team setups |
Sparkit | Strong burst but no control or utility |
Shrimpyro | Depends on allies applying Burn first |
| Tindercub | Basic fire damage |
C and D tier: skip these evolution lines
C tier is the biggest group and the easiest to overlook because some of these creatures look great. Lollama in particular tempts collectors, but its battle output doesn’t justify the materials. D tier sits at the very bottom with Joeyo, Lullelly, and Sinklet. Leave all three on the bench unless you’re chasing collection completion.
| Tier | Tatari |
|---|---|
| C | Blueflick, Drilleroo, Dumbopus, Flameow, Fluffle, Fumekit, Funglet, Gopher, Humbug, Kittazap, Lollama, Rubblet, Volkit, Zapuni |
| D | Joeyo, Lullelly, Sinklet |
How Tatari evolution works in Clash of Critters
Evolution runs on duplicates, and the number you need scales with a Tatari’s star level. A silver star creature at level 12 needs five duplicates to reach stage two. After that, reaching stage three requires completing evolution trials, which can include feeding your Tatari, shooting a set number of pinballs, or collecting event currencies.
Wish Boxes are a rare currency that can grant star levels and effectively act as duplicates. Save them for your S+ and S-tier lines, since that’s where the power spikes pay off most. Candy and lunch boxes, which you earn through gameplay and redemption codes, feed directly into upgrading your Tatari, so funnel them into the few creatures you actually plan to evolve.
Stacking your duplicates and materials behind the S+ five gives you the strongest foundation heading into the mid-game, and the S tier covers you whenever those top pulls are slow to arrive.