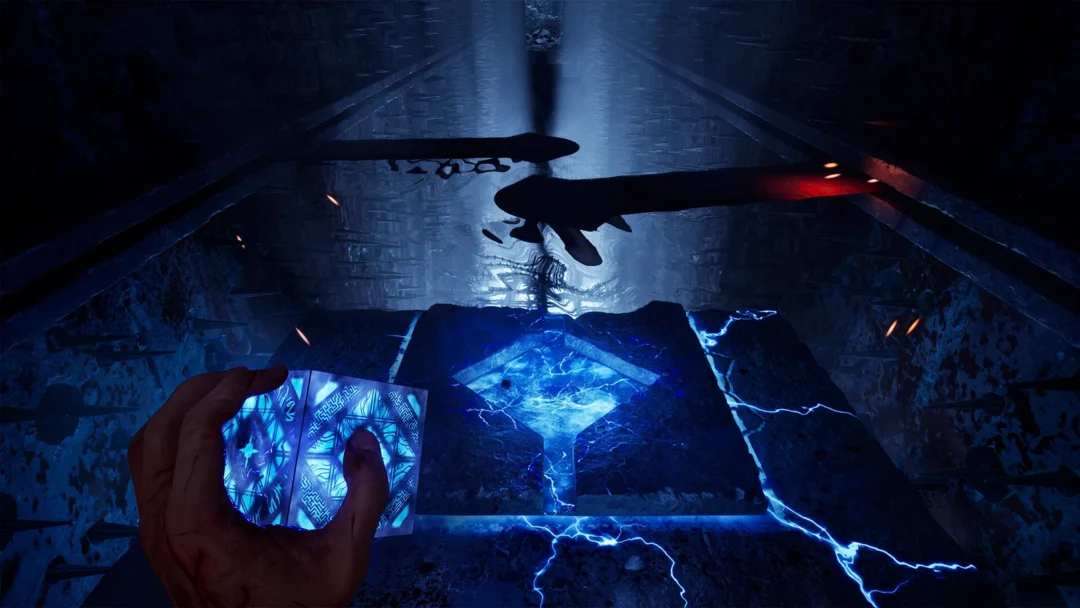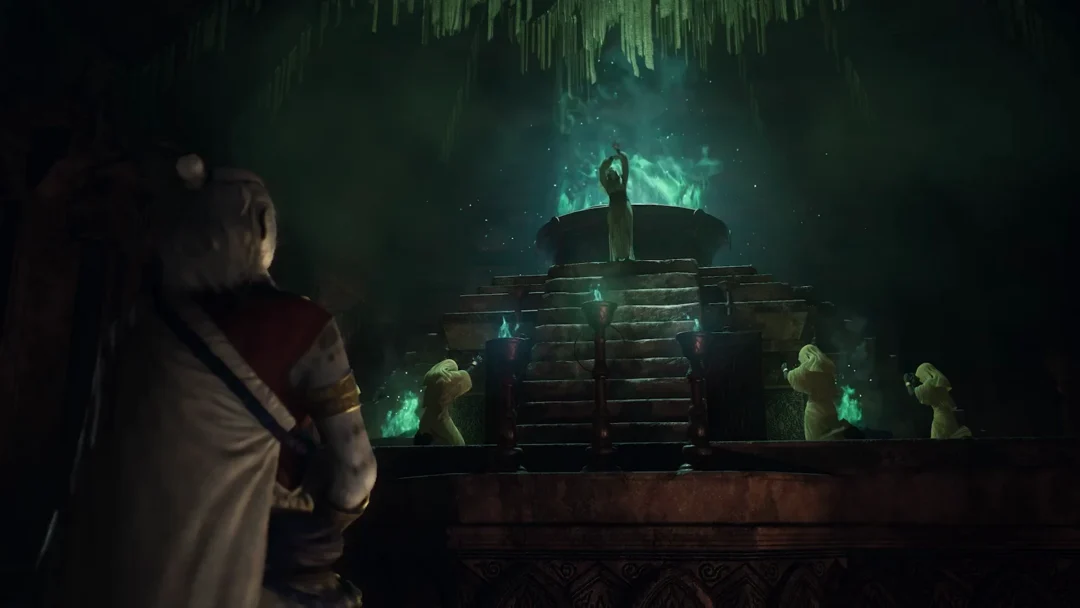
Clive Barker’s Hellraiser: Revival has five Suffering Pillars scattered across its Labyrinth sections, each providing a permanent upgrade. Activating one increases the Configuration’s maximum Suffering capacity, shown by the blue gauge at the lower-left of the screen and used to lift and throw objects. Collect all five to unlock the Pain and Pleasure, Indivisible trophy.
Quick answer: There are 5 Suffering Pillars. Use the Configuration on each glowing pillar to trigger the Increase Suffering prompt before leaving its area, since the game has no chapter select for a missed one.
All 5 Suffering Pillars by story objective
The pillars appear across four different Labyrinth visits, tied to the objectives below. Check your current objective in the journal rather than relying on how one corridor looks against another, because many of them repeat.
| Pillar | Story objective |
|---|---|
| Suffering #1 | Free Sunny’s Soul |
| Suffering #2 | Free Sunny’s Soul |
| Suffering #3 | Give Charlotte’s Heart to Sunny |
| Suffering #4 | Exit the Labyrinth |
| Suffering #5 | Hunt Marlowe |
Seeing a pillar is not enough. The upgrade only registers once you interact with it and trigger Increase Suffering, so activate each artifact before moving on.
Suffering Pillars 1 and 2: Free Sunny’s Soul
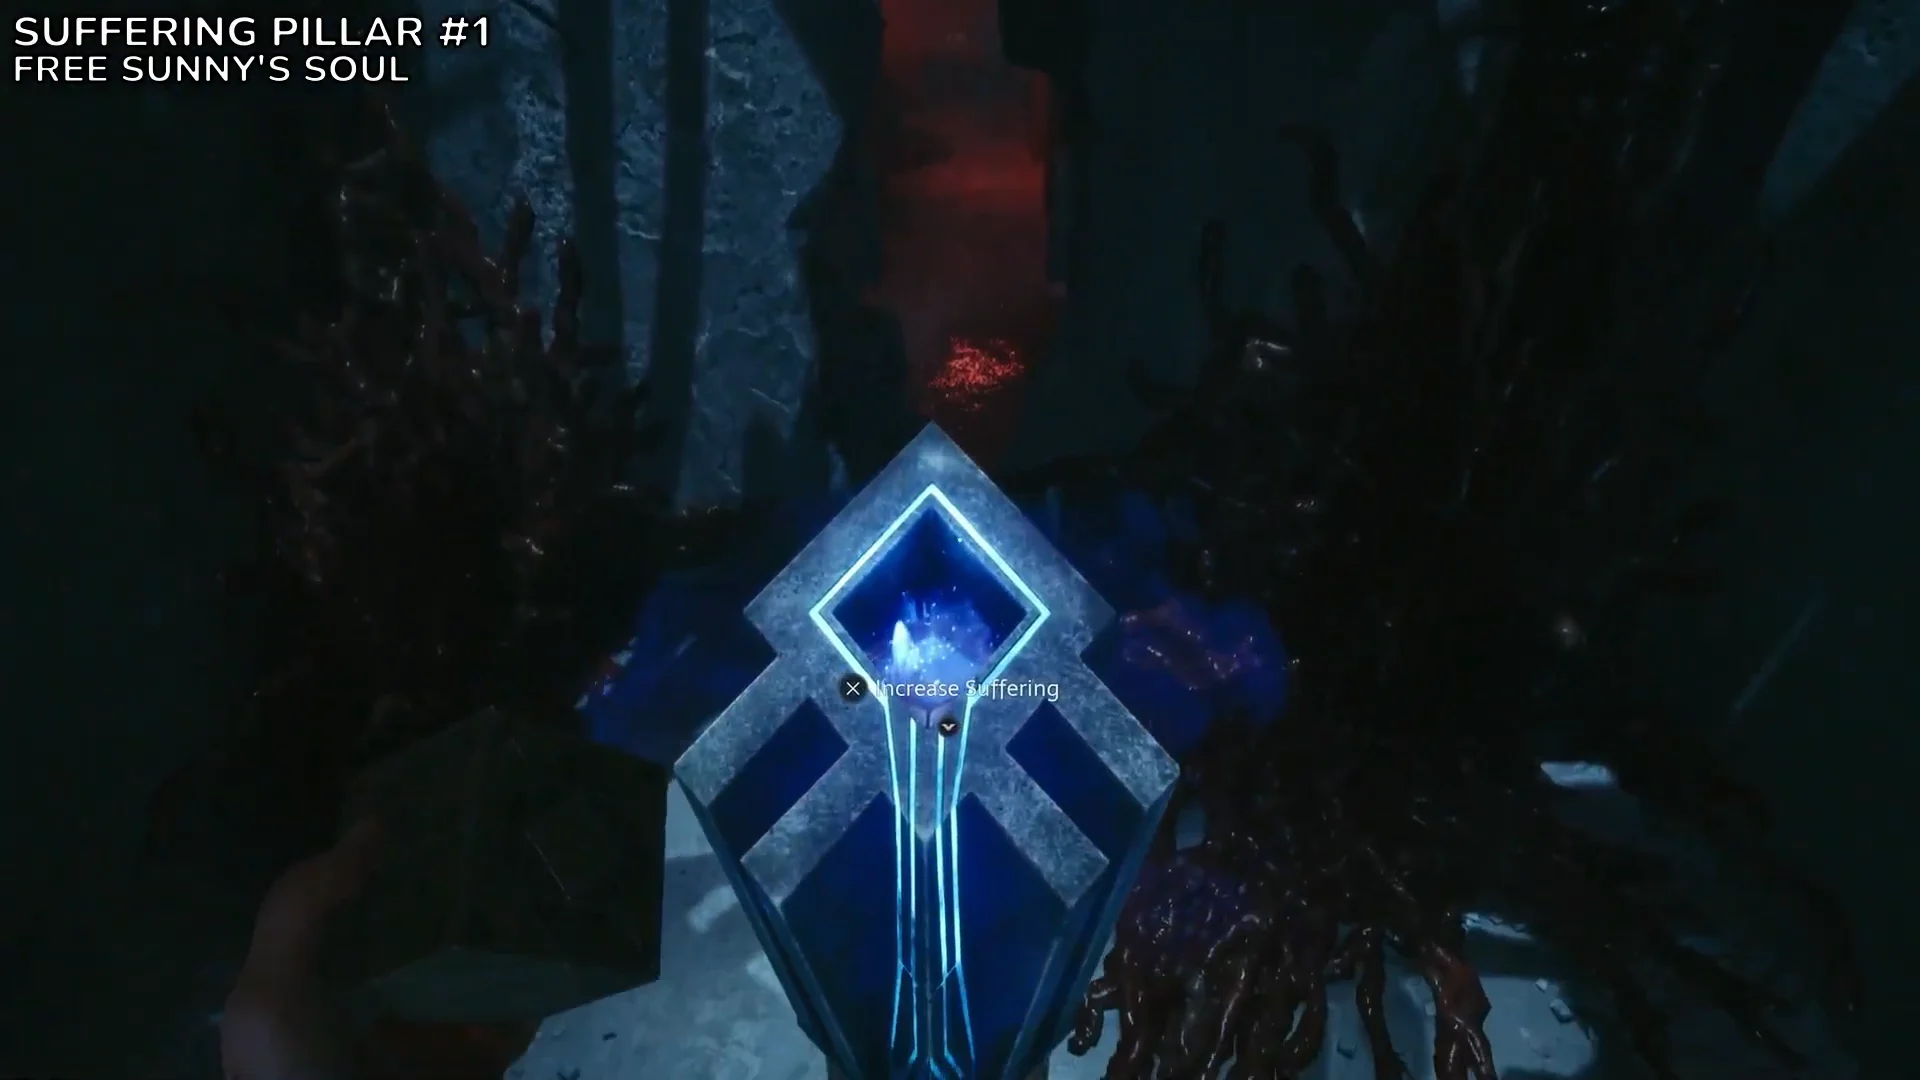
Suffering Pillar #1
In the first Labyrinth section, make your way through a passage where spiked walls flank you and the ceiling drops lower. At the junction, take the left-hand route toward the red light. The pillar is ahead, past hazards circling counterclockwise on a circular path. Activate it before moving on.
Suffering Pillar #2
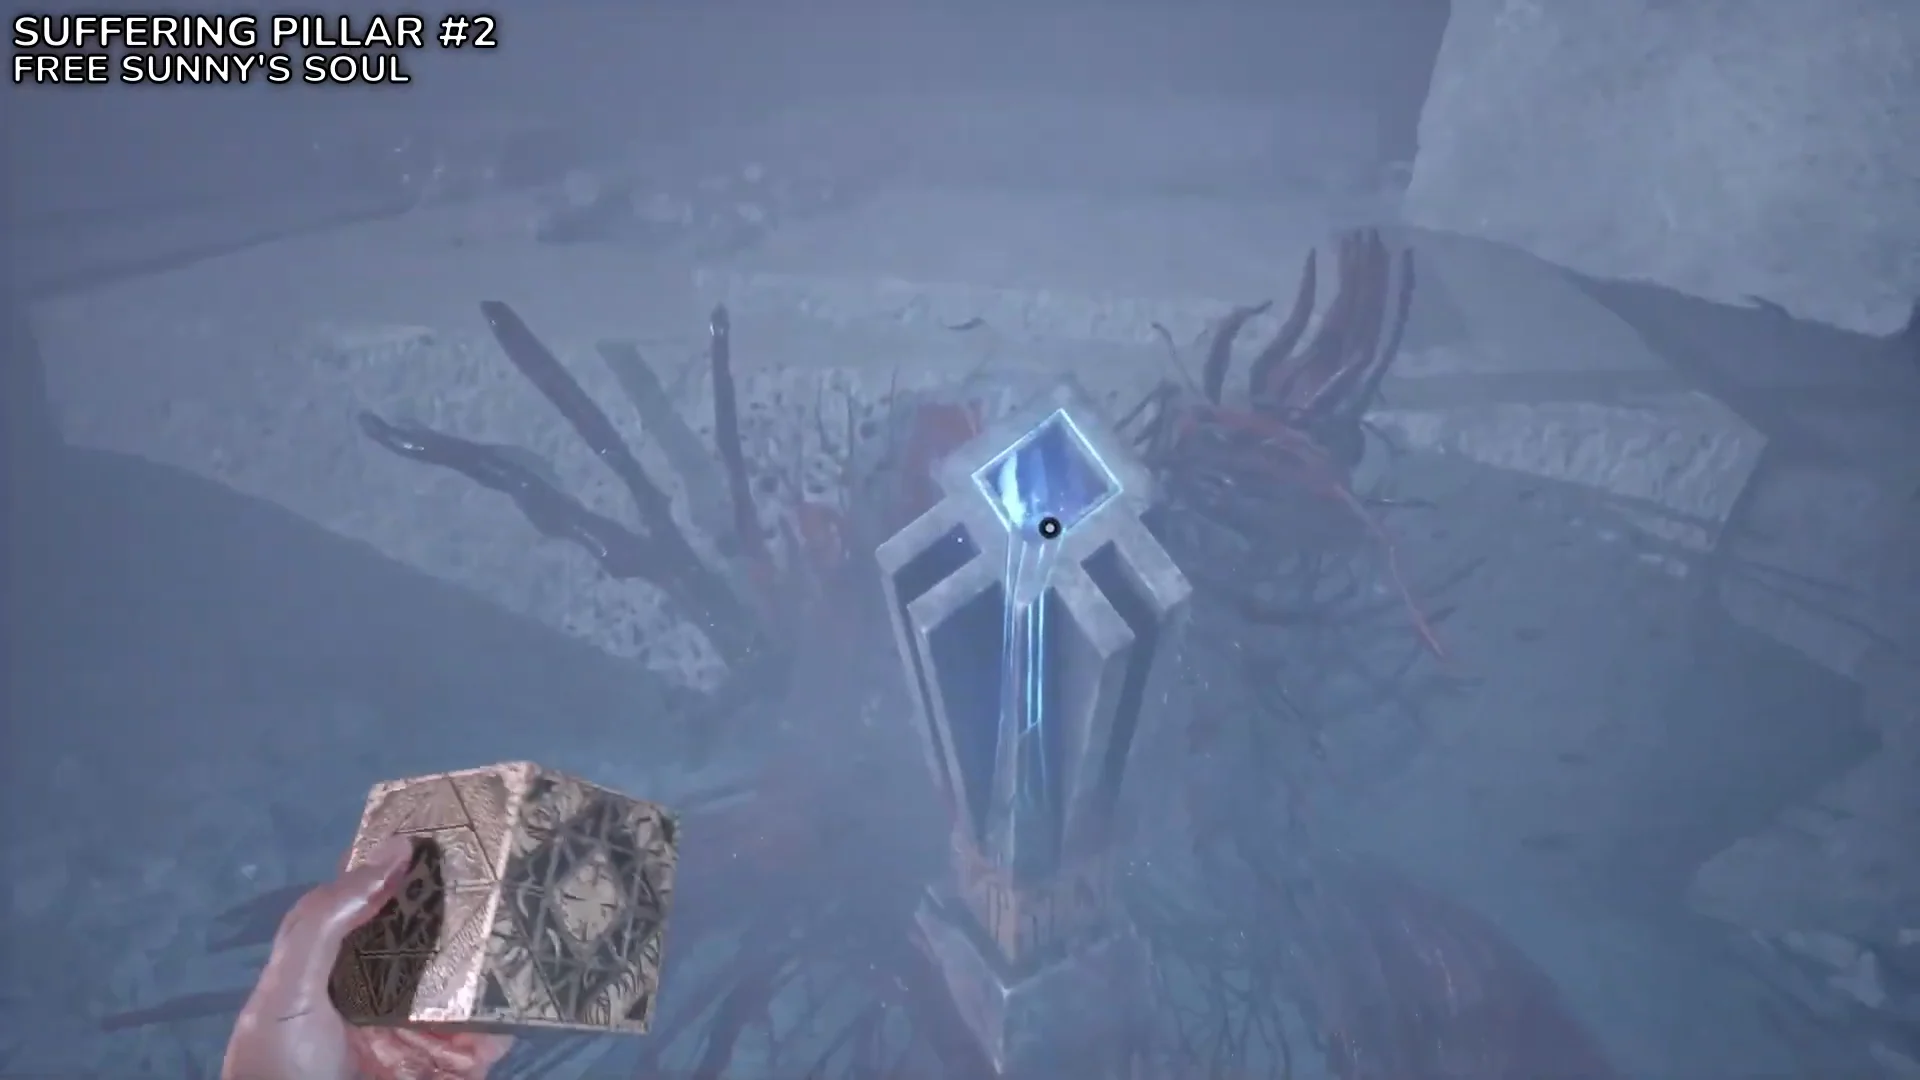
Advance through the stretch with Leviathan visible in the distance and the Chatterer repeatedly returning. Shortly before the arches, turn back; the pillar is behind you. If you reach an arch marked with a pair of blue flames and gold trim, you’ve gone too far, so retrace your steps.
Suffering Pillar #3: Give Charlotte’s Heart to Sunny
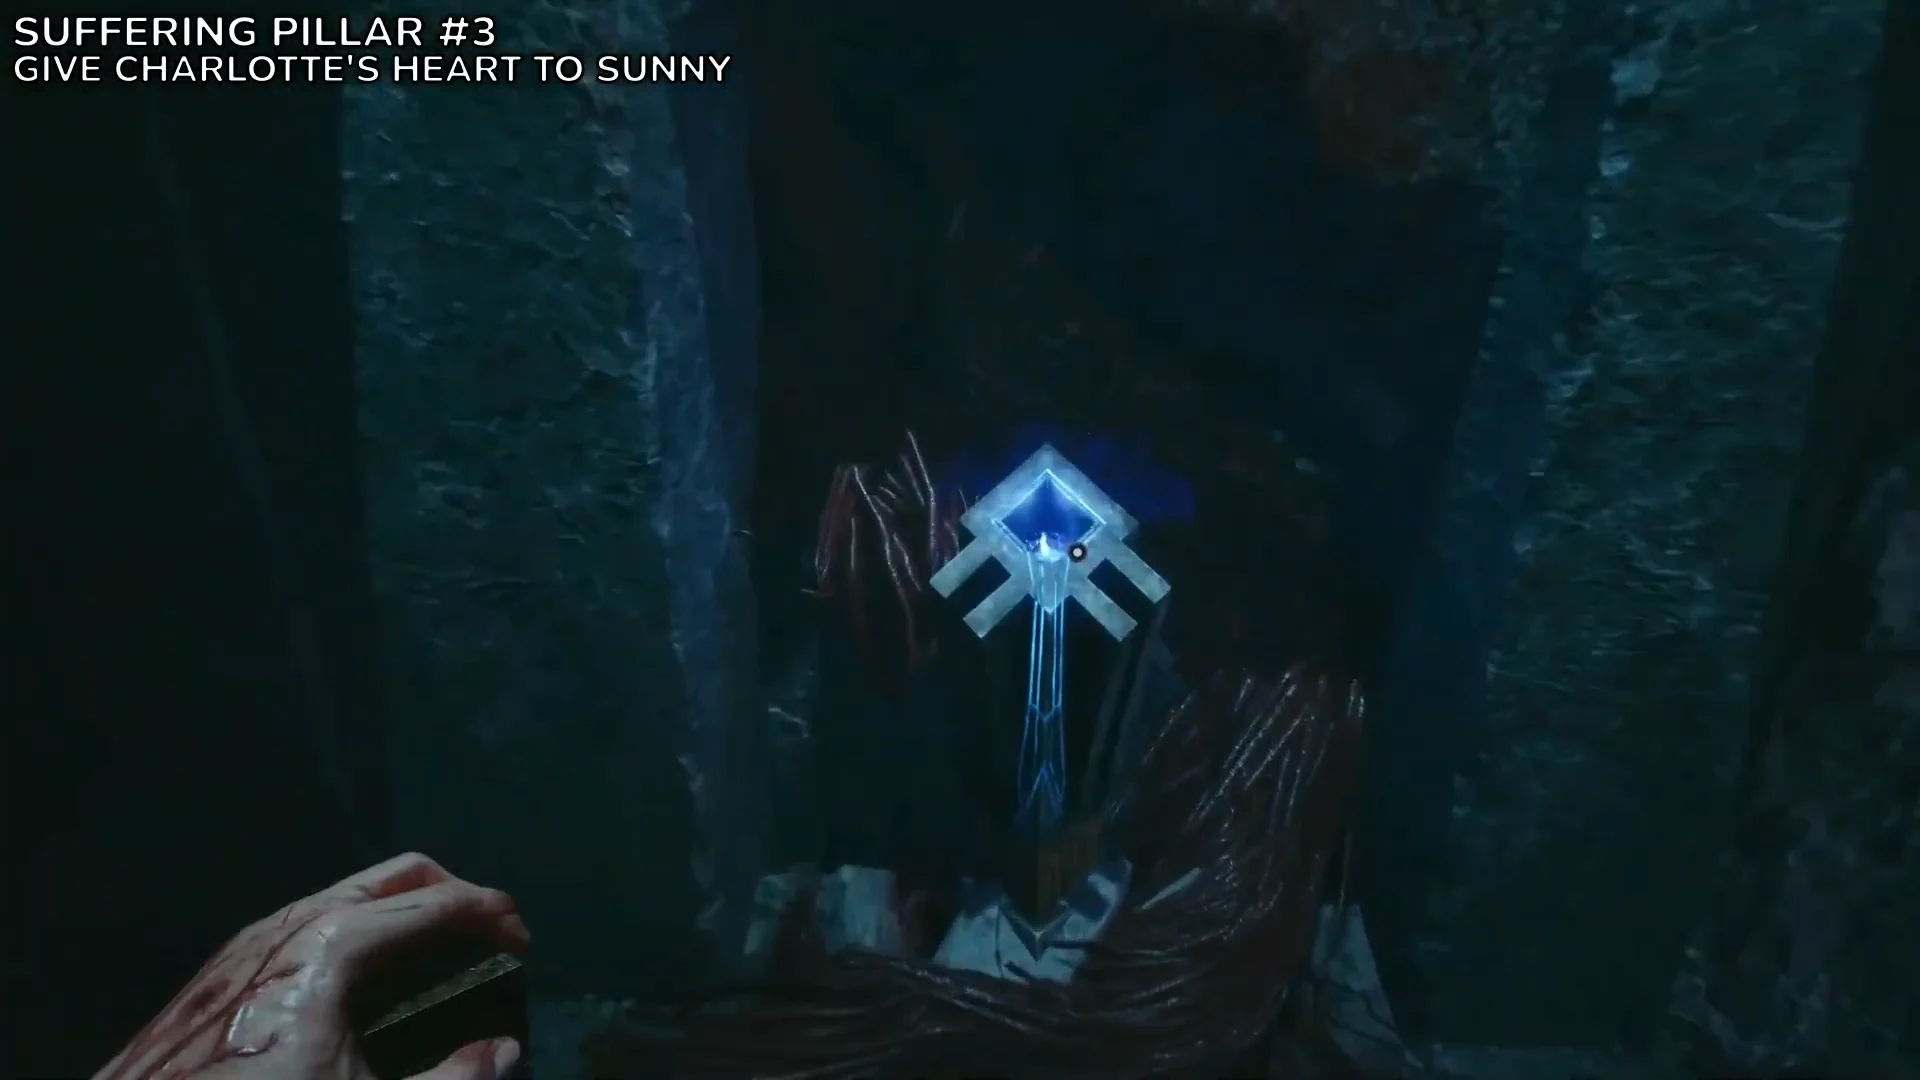
Once the Charlotte encounter ends, return to the Labyrinth during Give Charlotte’s Heart to Sunny. Continue beyond the save point, then descend the stairs beside the wrecked police cars. No puzzle blocks access to this pillar; interact with it to secure the upgrade.
Suffering Pillar #4: Exit the Labyrinth
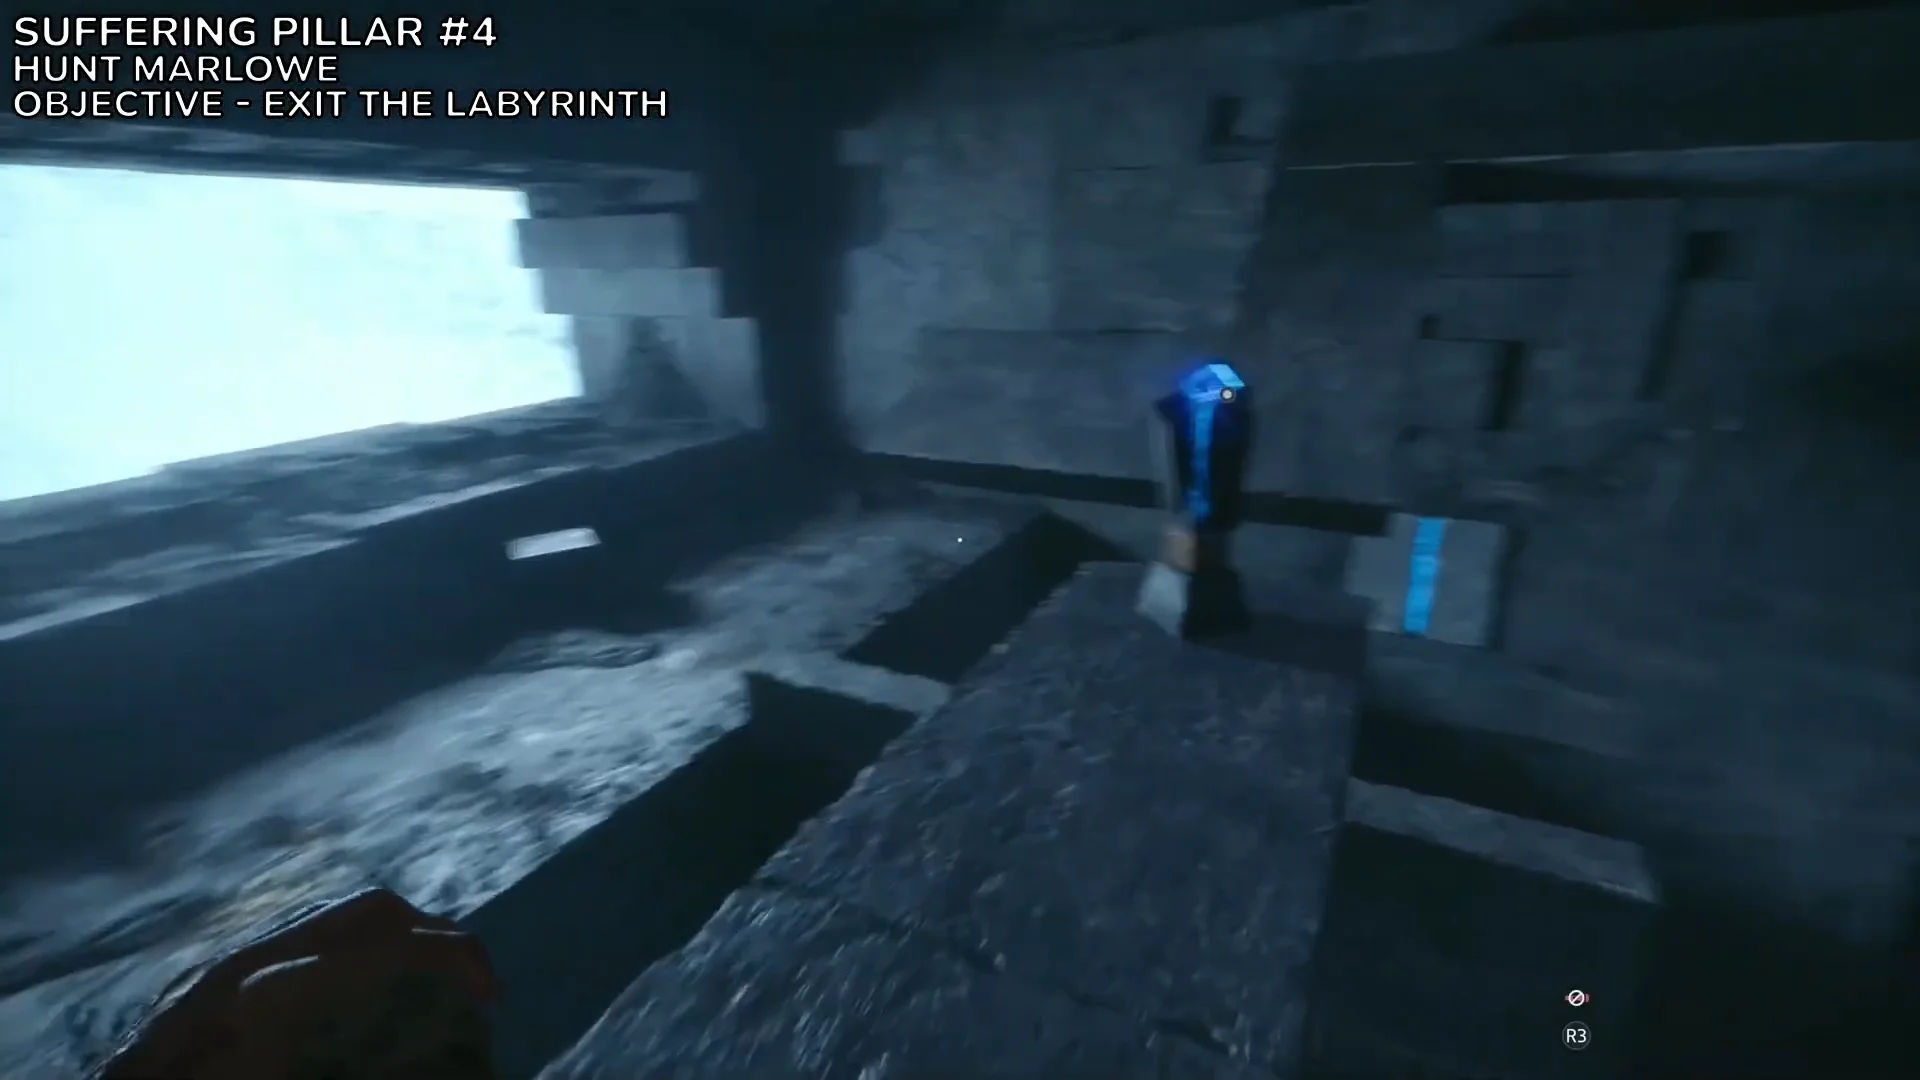
During Exit the Labyrinth, you’ll enter a chamber of rotating octagonal floor sections and glowing blue cube platforms. The pillar is on the third section. Turn the second and third sections until they form a traversable connection to it. Activate the artifact, then continue through the exit.
Suffering Pillar #5: Hunt Marlowe
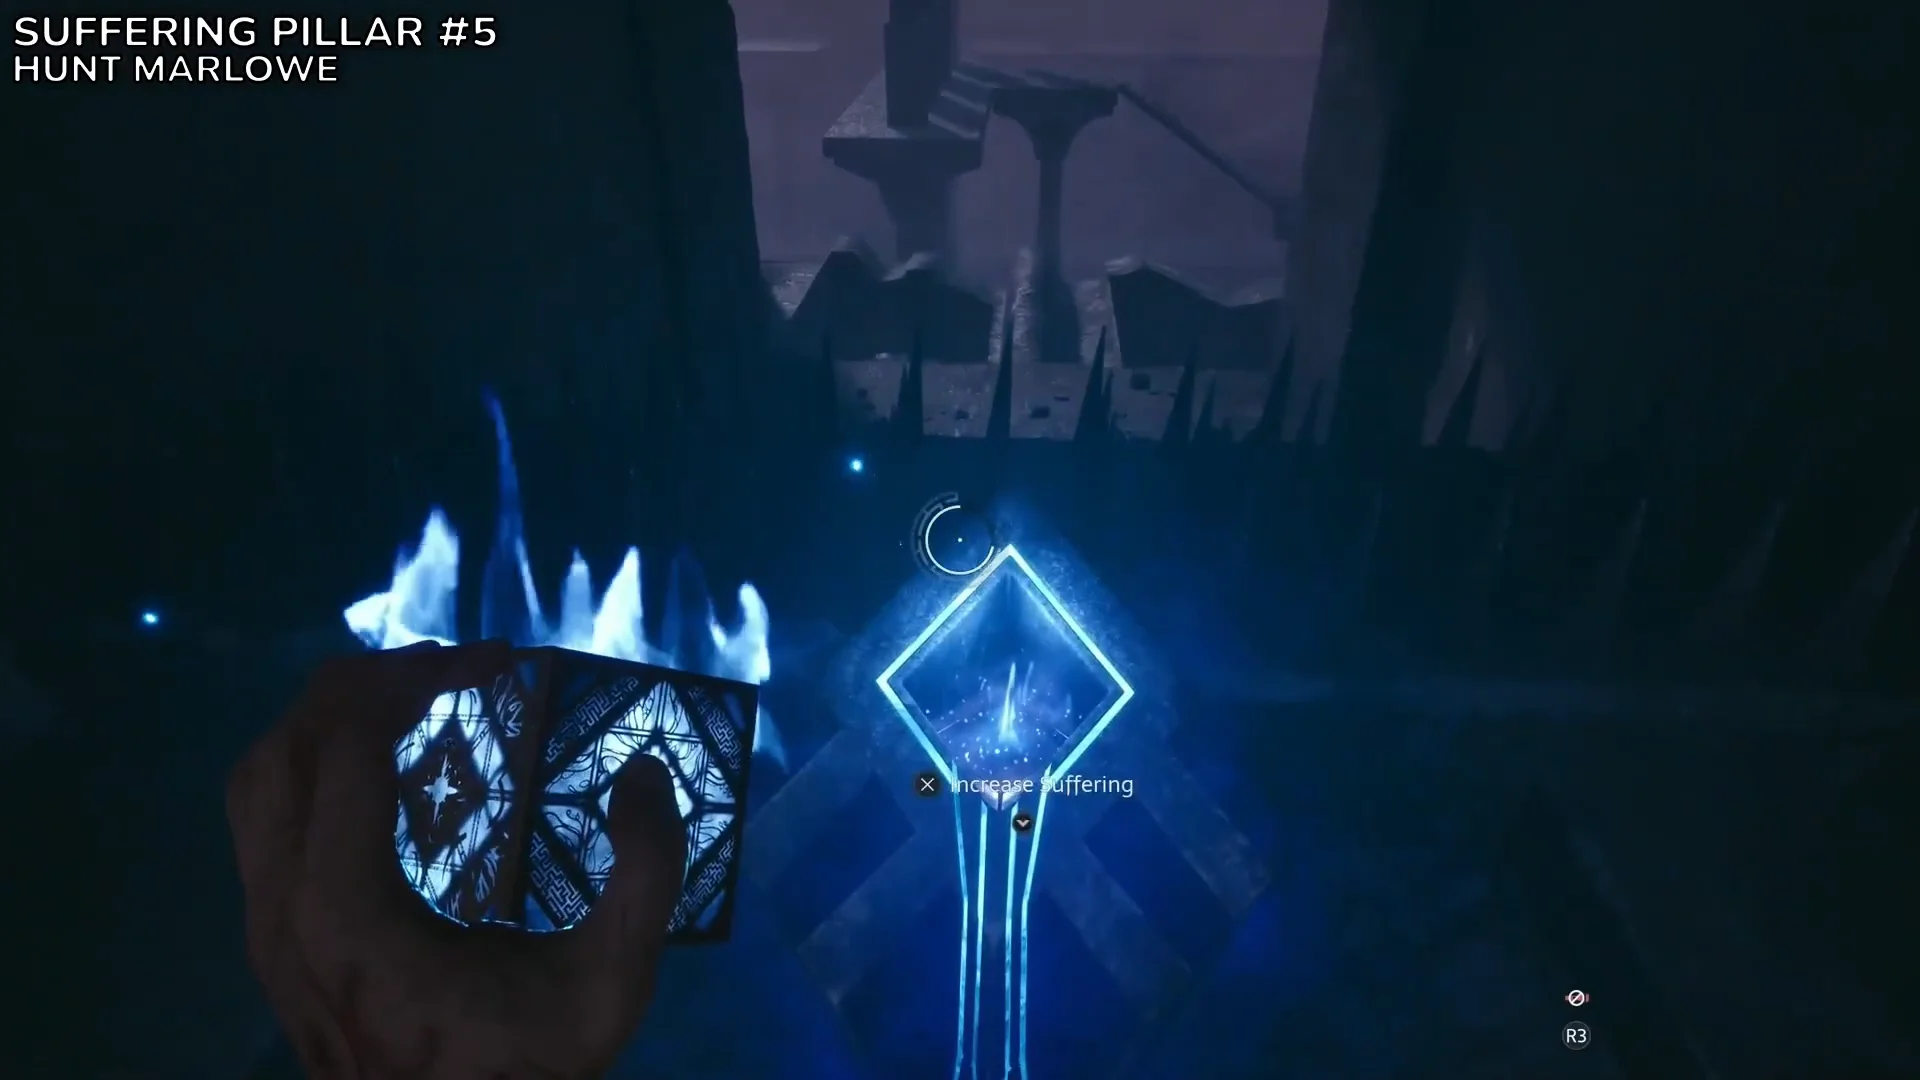
While hunting Marlowe, you enter an open misty ruin swept by Leviathan’s beam. Near the front, grab the flame and shoot it at the movable block on the right. Step into that side space, raise the block, and activate the pillar it reveals. Afterward, collect the flame again and aim it at the mechanism that opens the route onward.
A death in the beam room may reload an earlier manual save, so save before entering. The visible exit doesn’t confirm you’ve collected the pillar; it’s concealed behind the movable block.
How to confirm the Pain and Pleasure, Indivisible unlock
Each pillar only counts after the Increase Suffering interaction completes, which extends the blue Suffering meter in the bottom-left corner. The first pillar you ever reach, whether Pain or Suffering, also awards The Further Regions of Experience. Once all five Suffering Pillars are active, Pain and Pleasure, Indivisible unlocks.
Because there is no chapter select, a missed pillar means loading an earlier manual save or starting another playthrough. Keep a save before each major transition, especially the rotating-platform room and the Leviathan beam chamber, and verify the objective name against the list above before you leave a Labyrinth section.