In Control Resonant, Dylan Faden lands in a distorted Manhattan where melee is quick and numerous mechanics receive little explanation. Rushing through the opening hours without enough power is harshly punished, so avoiding a cycle of repeated deaths depends on choosing the right early priorities.
Quick answer: Take Strike and Crush as your starting Forms, level every zone for Talent Points, grab Health and Power upgrade crates in sets of three, and keep Dylan’s power ahead of enemy levels before challenging any Resonant.
Pick Strike and Crush as your starting Aberrant Forms
The Aberrant is Dylan’s shapeshifting melee weapon. Early on you choose one Primary and one Secondary Form, and each has its own skill tree. Strike works best as your Primary because it attacks quickly and carries a 30% critical chance, which keeps damage steady against fast enemies. Crush is the strongest Secondary pick, a slow, heavy hit that knocks enemies down and can be charged for even more damage.
| Form | Type | Damage | Notes |
|---|---|---|---|
| Strike | Primary | 30-60 Raw | Fast, 30% crit chance |
| Cleave | Primary | 65 Raw | Bonus damage from behind |
| Glaive | Primary | 70-90 Raw | Wide hit, pushes enemies away |
| Crush | Secondary | 127-222 Blunt | Knockdown, charge for Falter |
| Drill | Secondary | 95-280 Sharp | Charge to keep drilling a target |
| Extend | Secondary | 63-127 Raw | Long range, may hit several enemies |
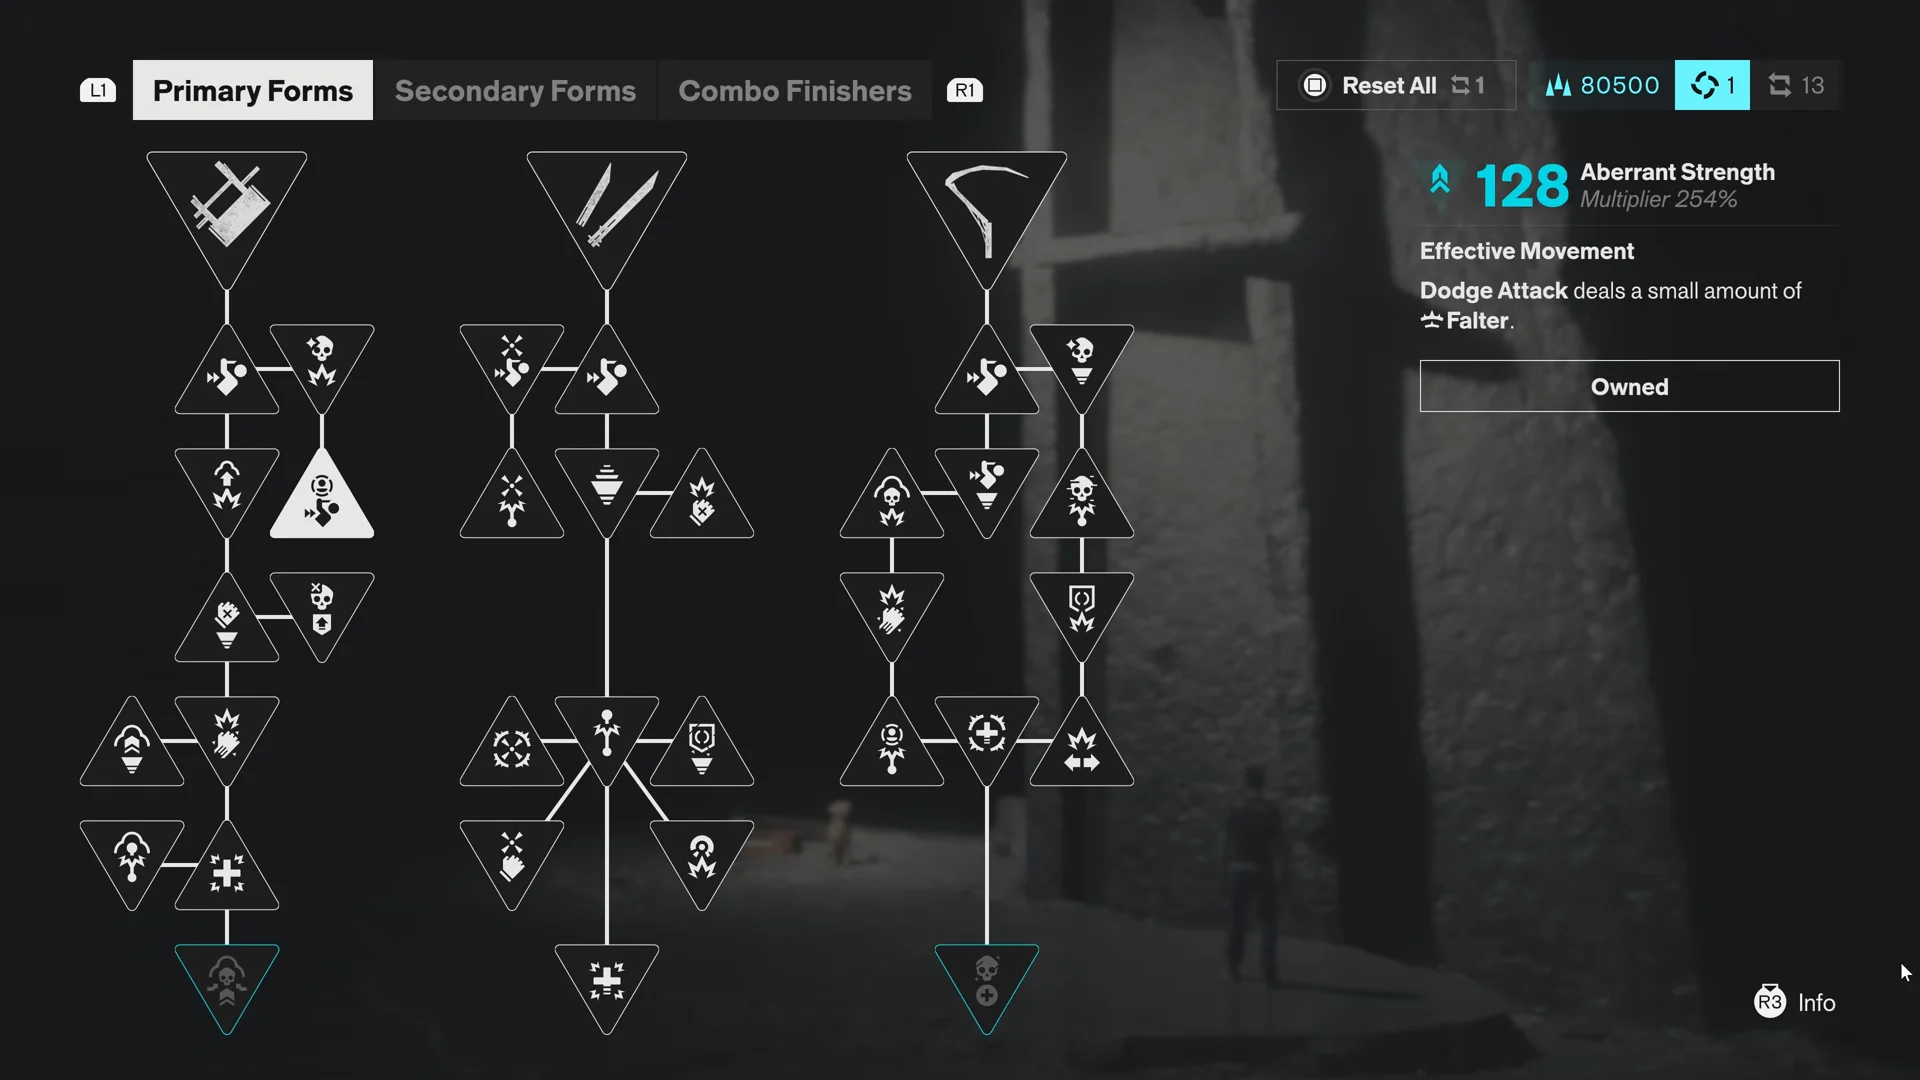
Think carefully before locking in your picks. You won’t have the resources to unlock the other Forms early, and upgrades for your equipped Forms are cheaper, so pour points into what you actually use first.
Keep Dylan’s power ahead of enemy levels
A level appears beside every enemy’s health bar. If it changes to red and displays a skull, that foe is far above your level, and fighting it can leave you dying over and over. Early on, make sure your strength stays above the level of the zones you visit.
Several systems combine to determine your build power: equipped Artifacts, Aberrant upgrades, spent skill points, and combat abilities you have unlocked. In the Aberrant menu, purchasing or unlocking any Form or upgrade increases your overall Aberrant Strength, the value that determines your damage. Keep developing your active Forms, though putting points into any Form is a quick way to raise total damage. Open Loadout, then choose Stats & Effects, to see your current position.
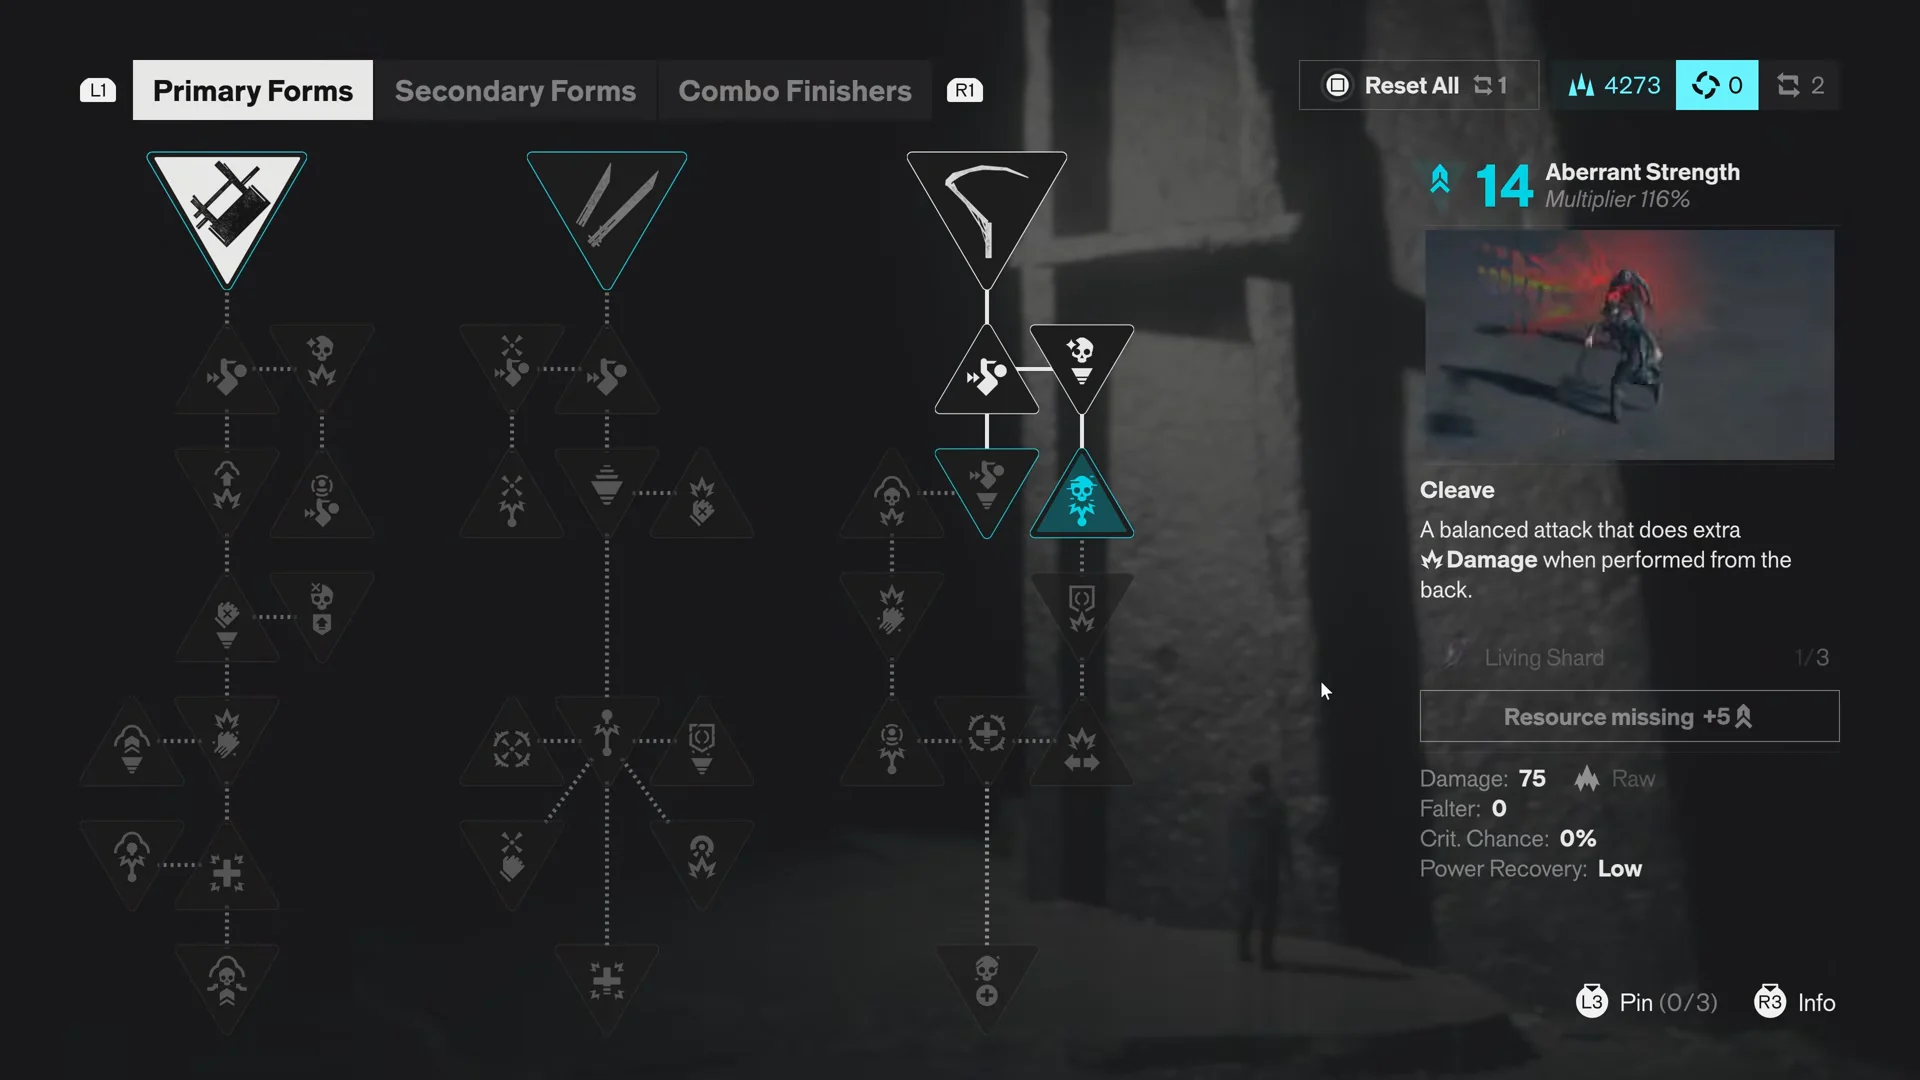
All of this spending happens in The Gap, an otherworldly hub you reach by holding Down on the D-Pad while out of combat. There you spend collected materials, unlock Forms, buy skills, allocate Talent Points, and equip Artifacts. Reset items bought from vendors let you respec a build in The Gap if you change direction.
Match damage types to enemy defenses
Attacks deal one of three damage types, and matching them to an enemy’s defense saves a lot of frustration. Blunt in particular cracks open heavily armored foes so they can be staggered, hit with status effects, and juggled.
| Damage type | Source | Best against |
|---|---|---|
| Raw | Glaive, Cleave, Strike | General, balanced damage |
| Sharp | Drill, Split finishers | Shielded enemies |
| Blunt | Crush, concussive finishers | Stripping armor |
Dealing damage also fills the yellow Falter bar under an enemy’s health. Fill it and Dylan can gravitize into the target for an Execution, which triggers Dominance. Dominance doubles melee damage for eight seconds and guarantees health drops on kills, so chaining executions into weaker enemies keeps you topped up during a fight.
Combine Burn and Infected for explosions
Status effects do heavy lifting once you learn to stack them. Burn applies Falter over time on enemies, Infected (Mold) deals damage over time, and Astralized speeds up and strengthens both. The key combo is simple: apply Burn and Infected to the same enemy and they detonate for a large burst of damage.
Burn also affects Dylan. On him it drains Power over time, and it explodes the same way if you are also Infected, so watch your own status bars in Mold-heavy fights.
Level zones for Talent Points and better loot
Manhattan’s districts each earn their own XP: defeating foes, completing World Feats, and finishing missions in a zone all contribute to that zone instead of Dylan. Although it may seem like a side route, increasing a zone’s level is one of the main ways to become stronger. Every level grants a Talent Point, while the zone also improves its rewards with more quest XP, better container resources, more frequent health drops, and additional vendor stock.
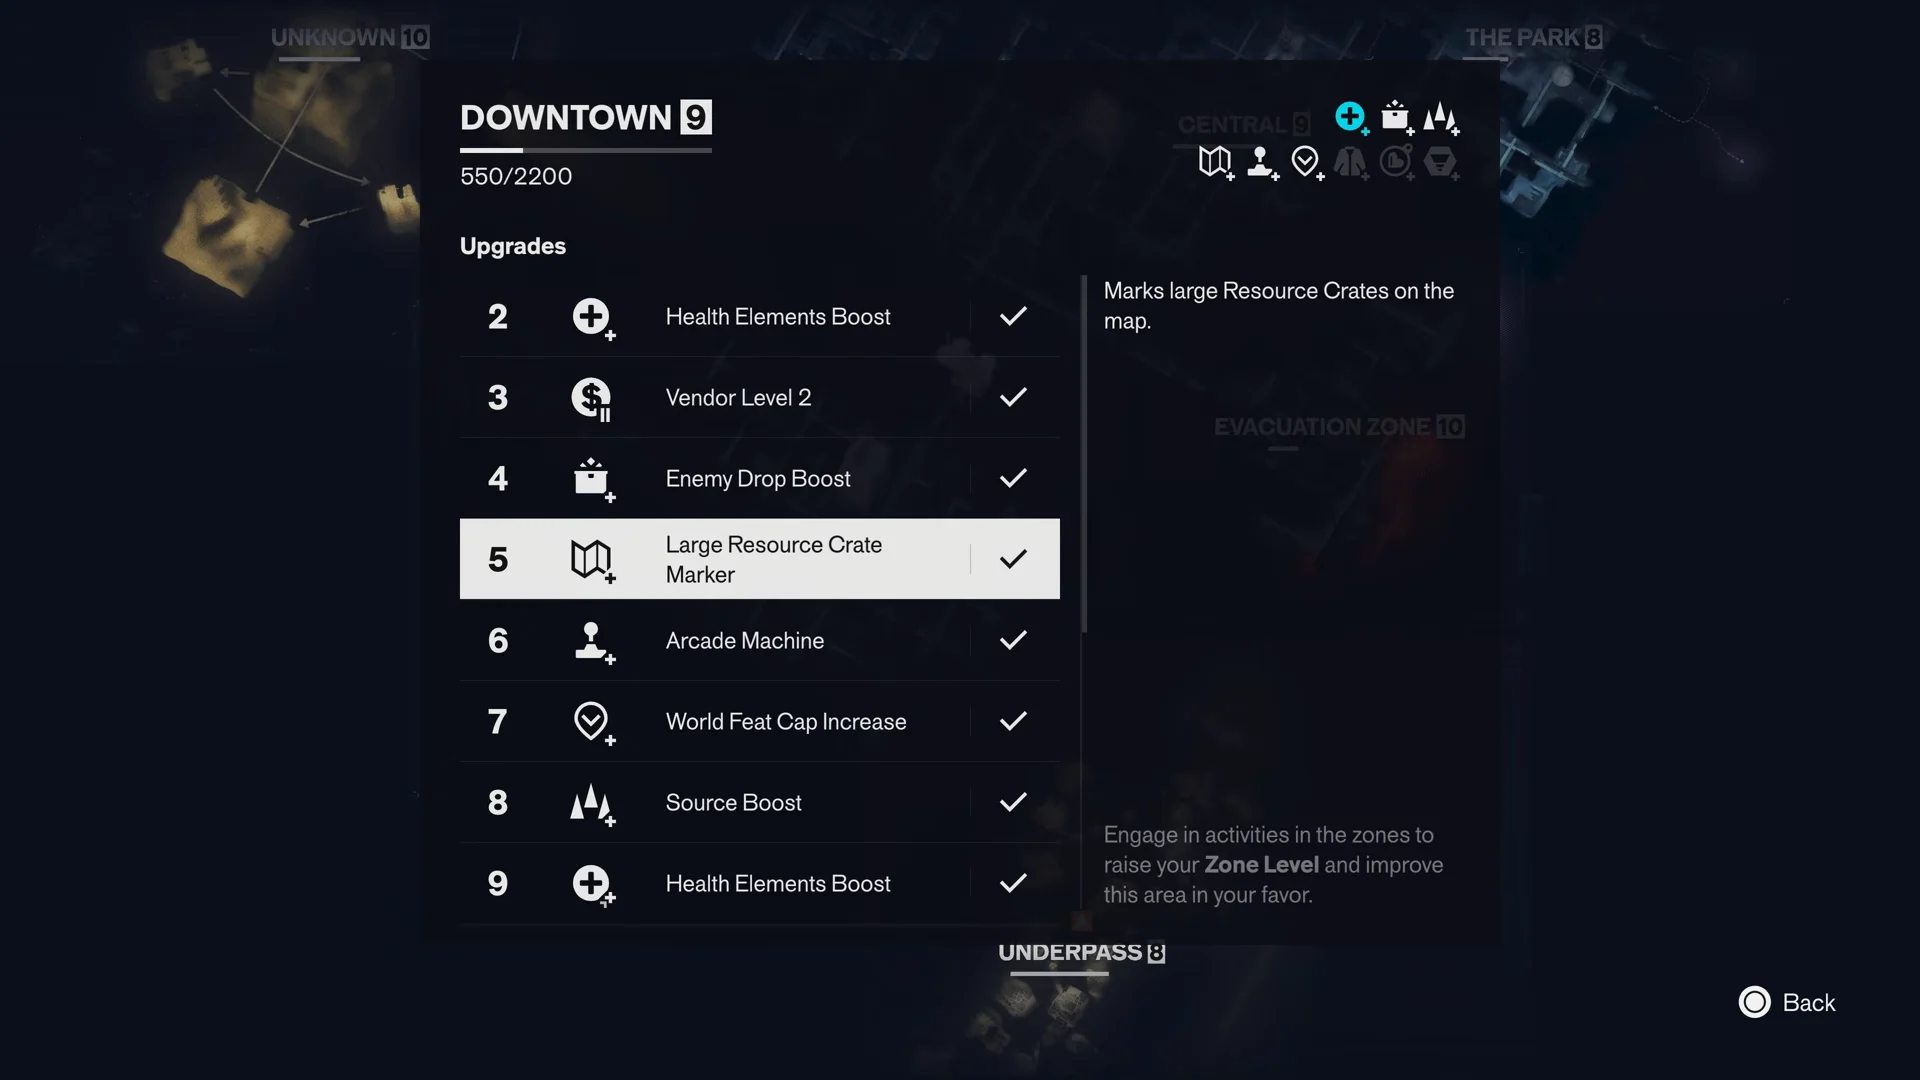
Optional activities feed the same track while handing over extra Source and rare materials. Look for roaming mini-boss kills, airdrops to open, and caches to defend alongside FBC troopers. Playing the SHÜM arcade machines scattered around each zone also grants large chunks of zone XP.
Best early Talents to unlock first
Because Talent Points are limited early on, use them for skills that strengthen your basic combat performance instead of specialized options. The useful starting choices are on the tree’s left, so build that way first. Its right branch supports a Summon-centered style, which you can ignore if you want to fight directly.
- Perfect Dodge
- Retribution
- Agile Response
- Decisive Step-Up
- Reactive Detonation
Unlock traversal abilities through Faults
Movement abilities let you enter blocked map sections, handle platforming puzzles, and access places that cannot be forced open. Most come from completing Faults, the main objectives that send Dylan through broken landscapes while he follows clues about his sister. During the early main quest, pursue these objectives instead of circling around routes that remain locked.
| Ability | Where to unlock | What it does |
|---|---|---|
| Rush | Early Fault ritual | Lets Dylan sprint fast |
| Extended Rush | Talent tree skill | Triples Rush duration |
| Shift | Parking Garage, West Incursion Zone | Walk and run on gravity-marked walls |
| Reach | Evacuation Zone, near Railyard Street Station | Grapple to floating gravitational orbs |
Make Extended Rush an early goal: tripling sprint duration speeds up map crossings, combat chains, and movement puzzles. Shift deserves particular attention because it unlocks the way to Gravity Town in the starting district. Reach opens up after Dylan is stopped in the Underpass and must go through the Metro Fault.
Clear radars to open the map
Crossing the huge map without guidance is tedious. On entering a zone, locate its mapping station and the three small dish nodes; each flashes red before activation and green afterward. For a node that is difficult to locate, go back to the central station and follow the direction its dish faces. Interacting with the station or node removes the fog from that section and exposes underground sewer and subway routes.
While exploring you will also run into strange items and situations that show a Report prompt. Selecting it flags the location to Zoe, Dylan’s handler, which often starts a rewarding quest and fills in world lore.
Collect Health and Power upgrades in threes
Upgrade points are the only way to increase Dylan’s Health and Power gauges, and raising either gauge requires three of each. Greater Health and Power improve your chances against both the Hiss and the Mold, making these points worth pursuing.
The first upgrade points in a new area are generally close to its vendor, because a Health Upgrade Point crate is always near the ice-cream truck. More can be found in uncommon storage crates inside shops opened by small puzzles, including cash-register code inputs behind retail stores, or in isolated enemy-guarded locations. After a zone reaches a sufficient level, Large Resource Crate markers become visible on the map, and those crates may contain health or power upgrades. Each of the seven zones also has an unmarked chain in which you take a dragon soft toy to a dog.
Buy exact materials from district vendors
An ice-cream truck marks the vendor in every district, where upgrade materials can be exchanged for Source. The same vendor offers Dylan cosmetics and items that reset skills for respecing. Its complete inventory is locked at first; raising the district’s world level unlocks more stock. These vendors are most useful when you are short by only a few materials for a skill or Artifact, since they provide the precise item rather than forcing you to farm enemies for random drops. Purchase only the needed materials, as gathering them becomes easy in the endgame.
Don’t skip Side Stories
Side Stories give you plenty of reason to explore beyond the main route. Alongside leveling zones, they provide some of the best opportunities to obtain new Artifact recipes and exclusive outfits, while their branching dialogue distinguishes them from the main story’s linear structure. Clearing main missions unlocks some of them, but most are found throughout the open world. A handful break from normal design entirely, including a karaoke setup that sends Dylan across dimensions. Finishing one is generally worthwhile once it appears in your Quest Log.
Prepare before every Resonant fight
Spread through the zones, Resonants are major bosses, with about one in each region, and most can be challenged in whatever order you choose. Beating one grants a strong combat ability, including the power to set yourself alight for fire damage or blast enemies backward with force. Fire is particularly valuable later against Mold enemies because they are weak to it.
The catch is the Resonant Cycle. Defeating a Resonant resets the world, respawning every enemy and refreshing World Feats at higher levels. Beat one too early, without clearing enough feats, and ordinary enemies come back badly over-leveled, leaving you stuck in a death loop against fodder. Level Dylan, clear plenty of side content, and stock up before you commit to a Resonant.
Swap defensive Artifacts for damage as you grow
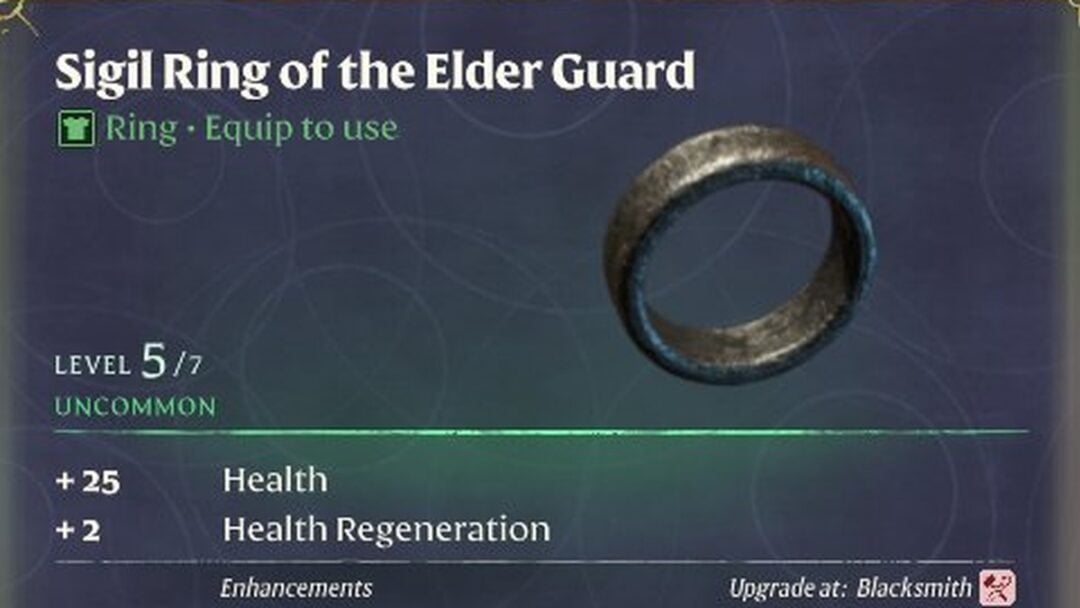
Craft and equip Artifacts in The Gap. During the opening hours, defensive effects and healing are the most useful traits on early Artifacts because survival is the immediate concern. In areas dominated by Mold, for instance, use one that slows Infected build-up.
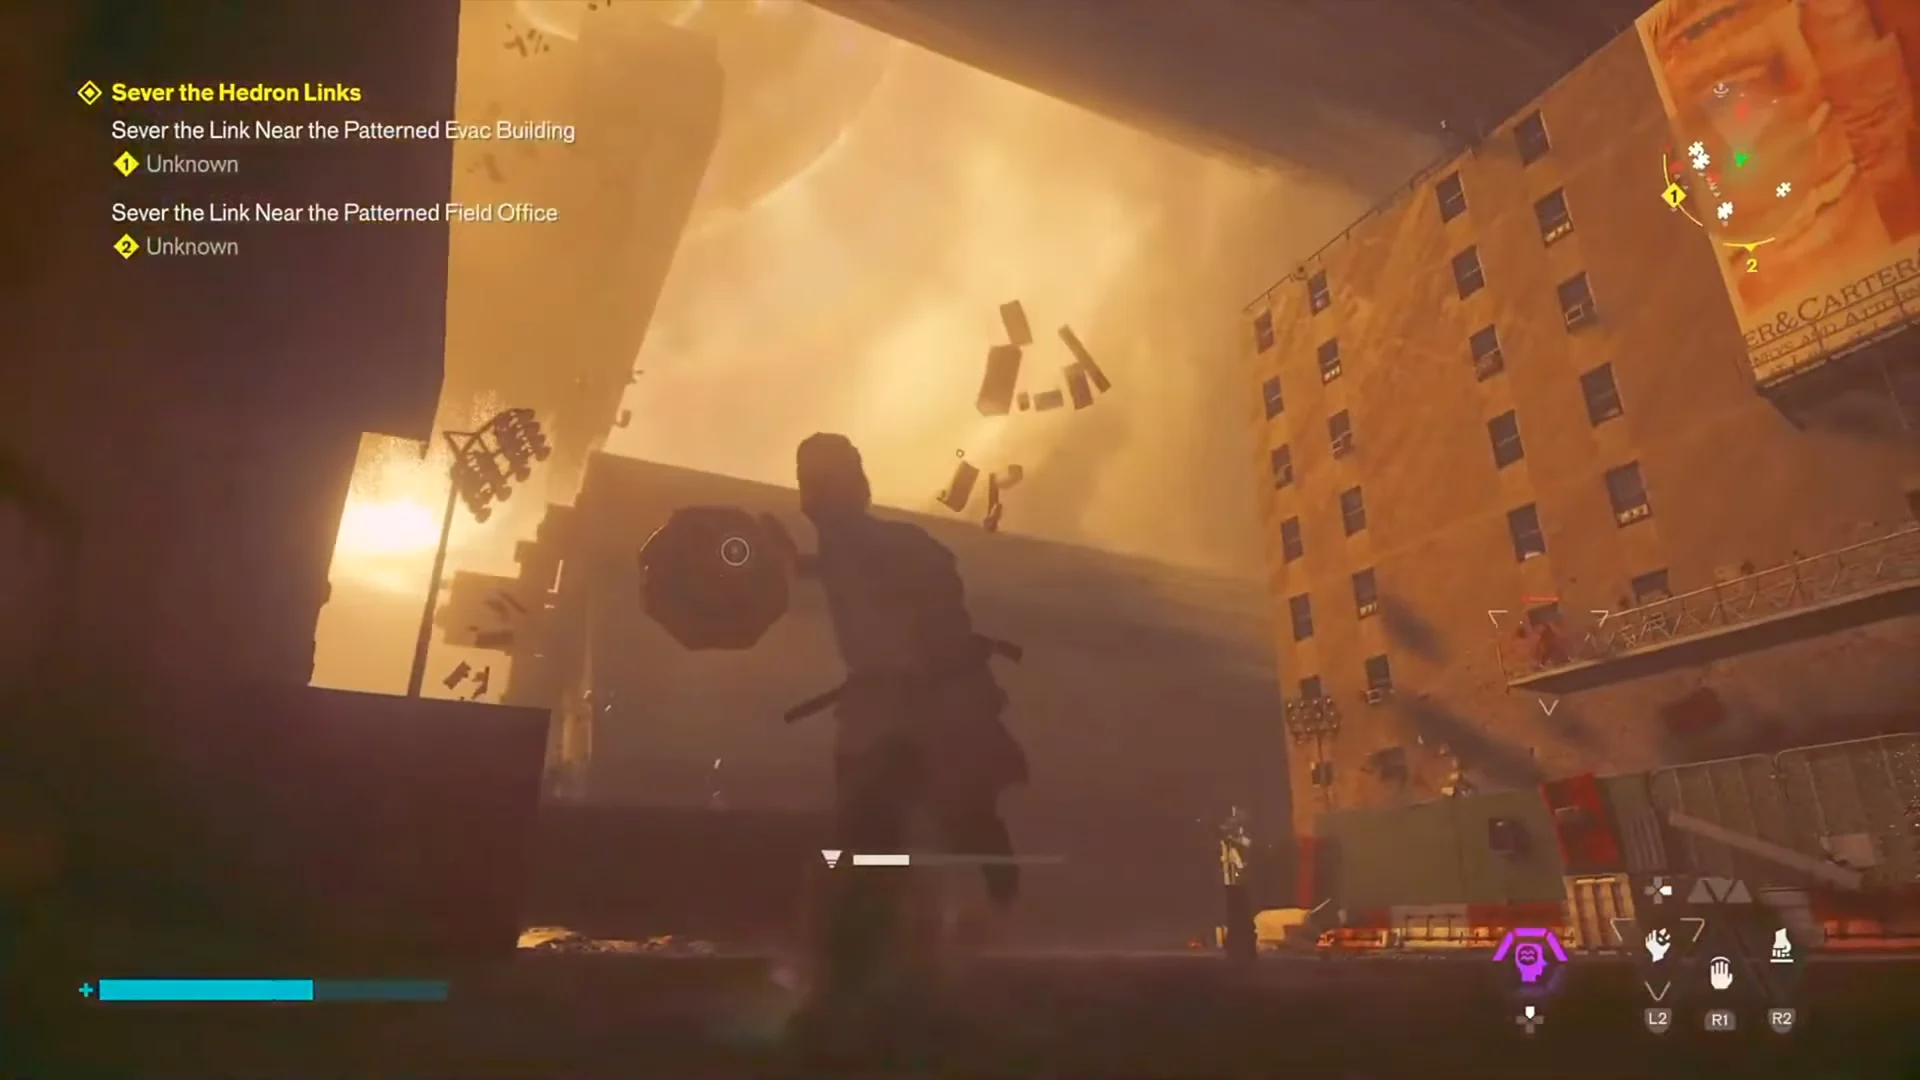
Later, as enemies develop much larger health pools, replace those choices with damage-focused Artifacts that let you eliminate foes faster. Combine that change with keeping your power above the zone level, directing district XP toward Talent Points, saving Health and Power crates, and entering every Resonant properly prepared. These practices make the tougher Resonant Cycles later a challenge you can meet instead of a progression blocker.