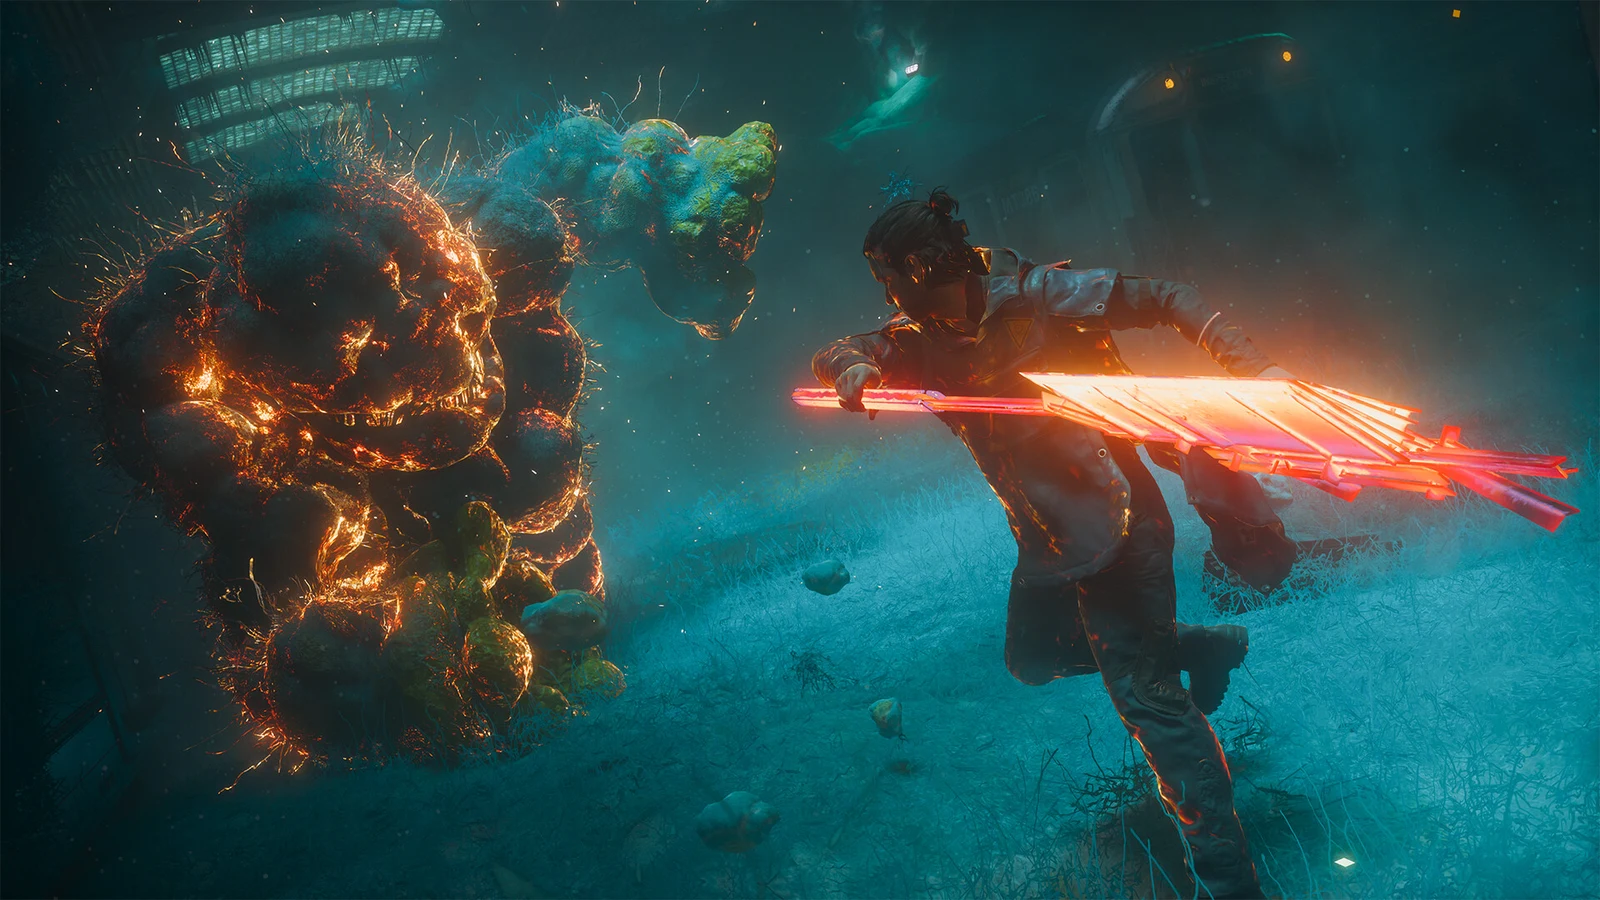
The Collective is one of the Resonant bosses in Control Resonant, and it is the only one the game treats as fully optional. It sits behind the Mold Gate in The Park, a flooded, mold-choked cavern where Dylan faces a towering organic mass covered in faces, glowing nodes, and thrashing pillars. A clean, no-damage run through the encounter shows exactly how the fight is structured, which attacks it throws out, and how it ends.
Quick answer: The Collective is an optional Resonant fought behind the Mold Gate in The Park. Clearing it hands Dylan a choice between the Growth or Spore Burst ability, plus the Face Mask artifact.
What The Collective is and where it appears
The Collective is the Resonant tied to The Park zone in Remedy’s Control Resonant, which released on September 24, 2026 for PlayStation 5, Xbox Series X|S, and PC. The quest log names it as The Park Resonant, while the on-screen objective reads Kill the Resonant Behind the Mold Gate and the boss health bar simply shows THE COLLECTIVE.
Unlike the Resonants that gate story progress, this one can be skipped entirely, and it reaches the arena through a Mold scavenger hunt rather than a fixed story beat. It plays less like a single duel and more like a fight against a mold colony, with the boss constantly spawning pillars and reinforcements around a central cluster of faces.
Inside the no-damage run
The fight opens with a short cinematic that pans across glowing tendrils before revealing the many-faced entity and dropping the health bar into view. Dylan then wades into the flooded chamber and closes on the central mass. Throughout the run his health bar in the bottom-left corner stays full, which underlines that every attack the boss uses is telegraphed and avoidable.
Much of the damage comes from tearing down the tall mold node pillars that keep erupting around the room. Dylan uses explosive melee strikes to break each column, and destroying an active pillar pays out currency, with reward pop-ups reading +22 Source and +18 Source as they fall.
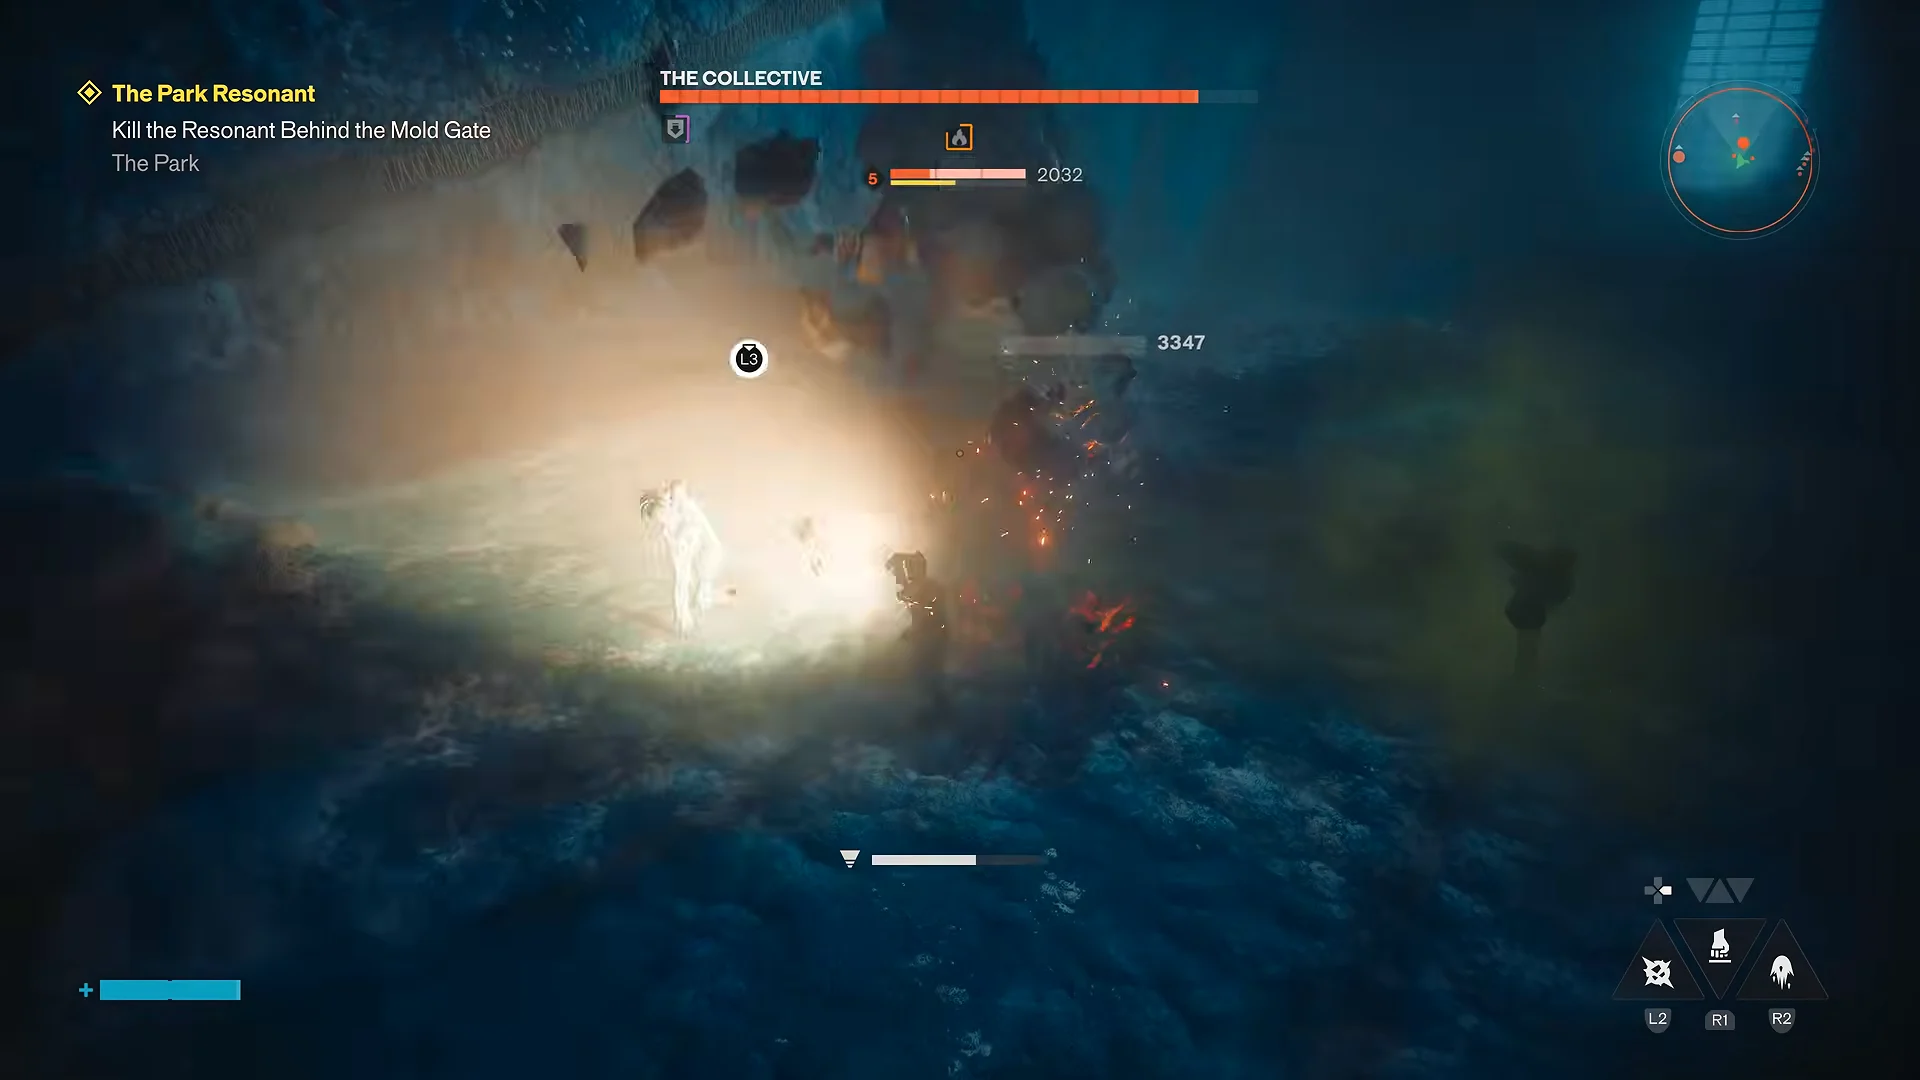
Between pillars, the real chip damage lands on the boss itself. Dylan slashes directly into the glowing weak points embedded across the creature’s facial flesh, chaining melee combos into the exposed fibers beneath its brow.
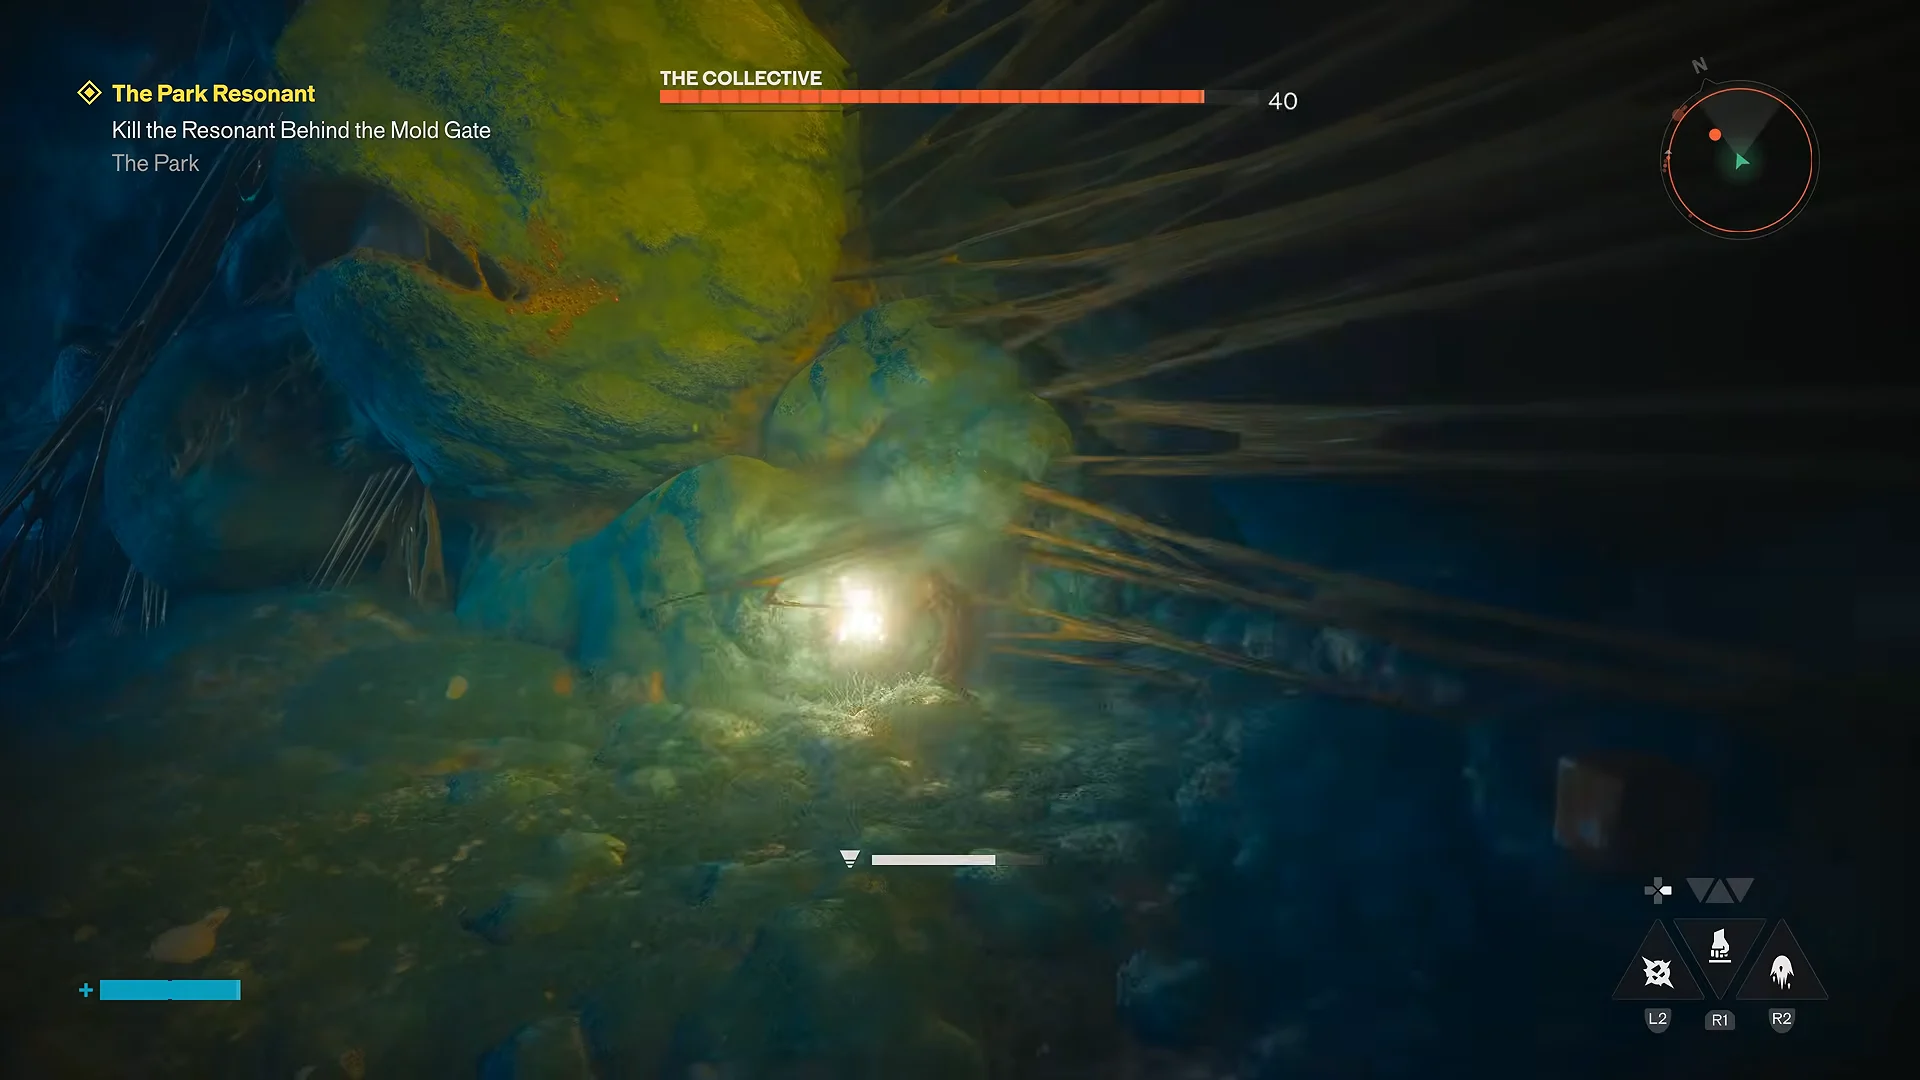
The body also carries large pale spherical nodes along its sides. Popping these swollen orbs drains a chunk of the shared health pool, so the run alternates between clearing pillars and rupturing whichever nodes are currently exposed.
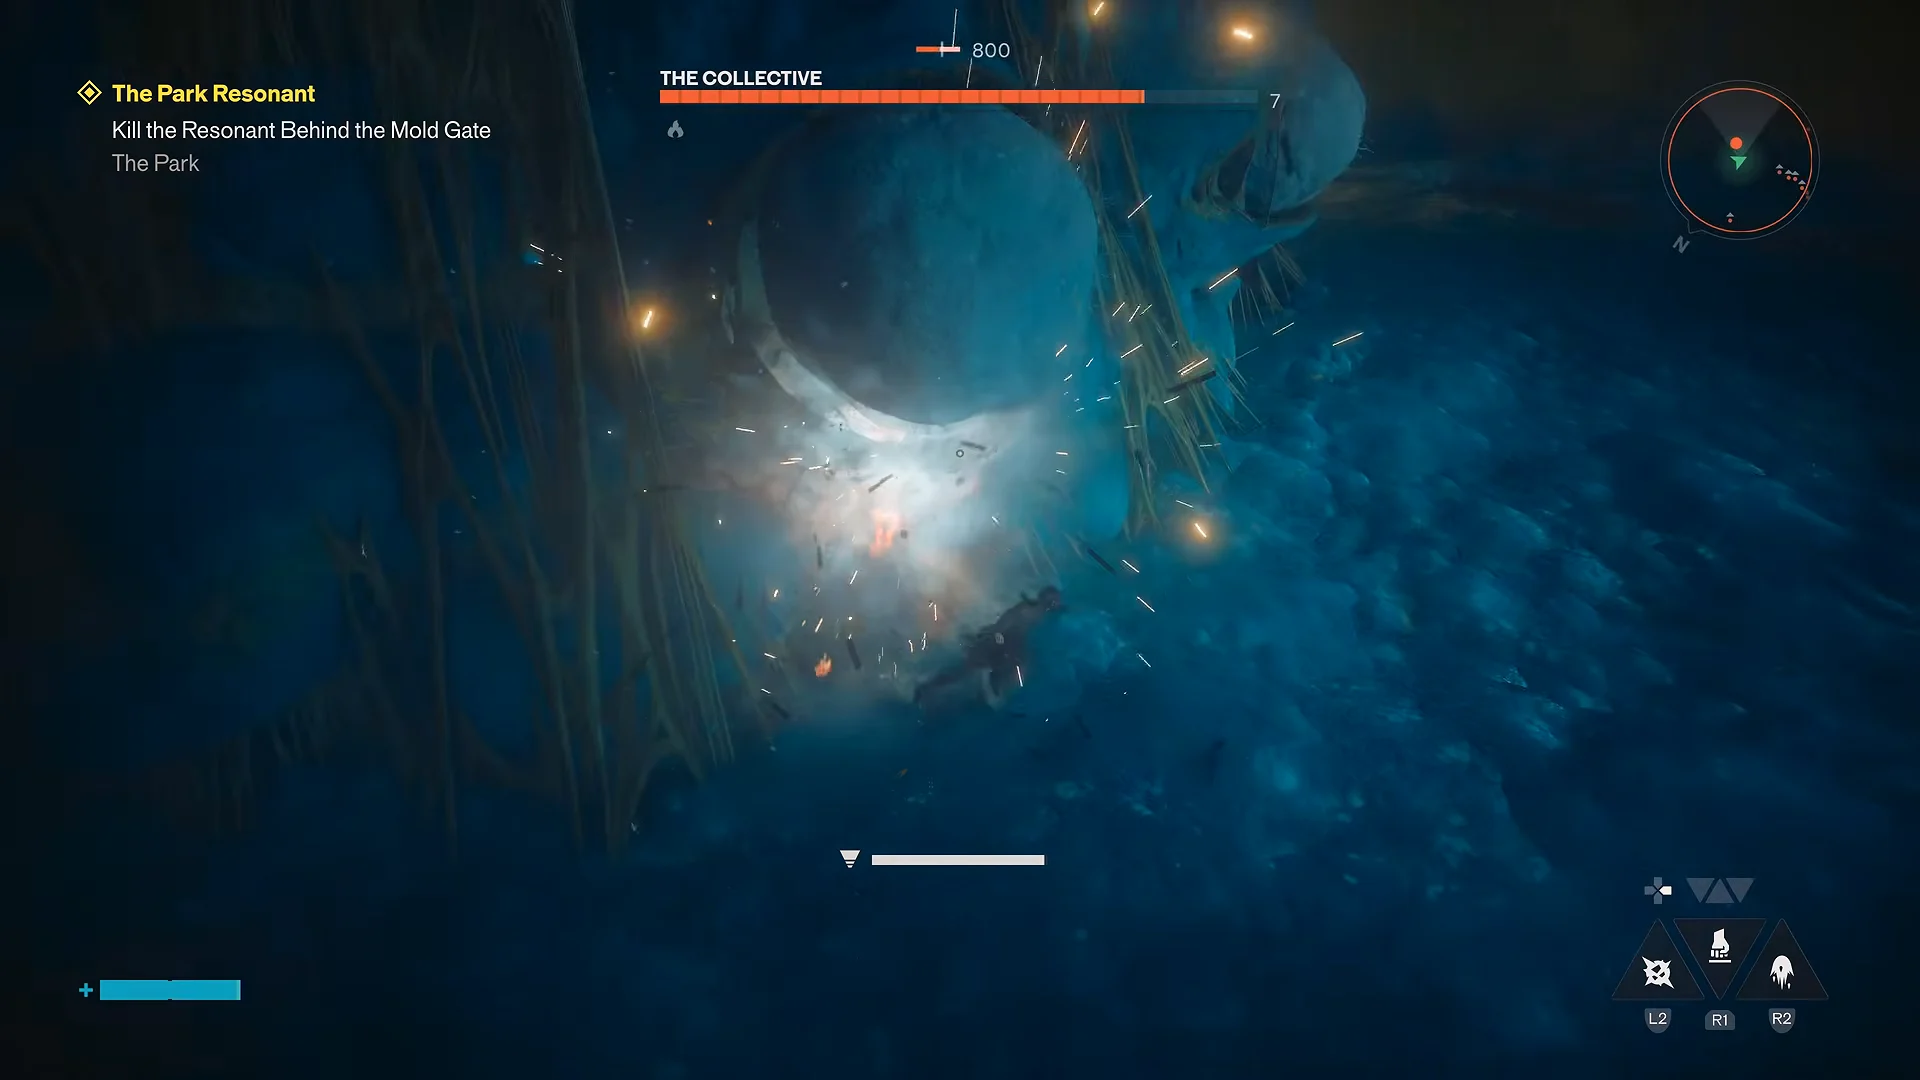
The Collective defends the arena with yellow energy barriers that section off the space, and it erupts a central mold column that has to be worn down between the walls. Damage numbers climb steadily through these exchanges, with one heavy pillar combo landing more than 5,000 damage before it shatters.
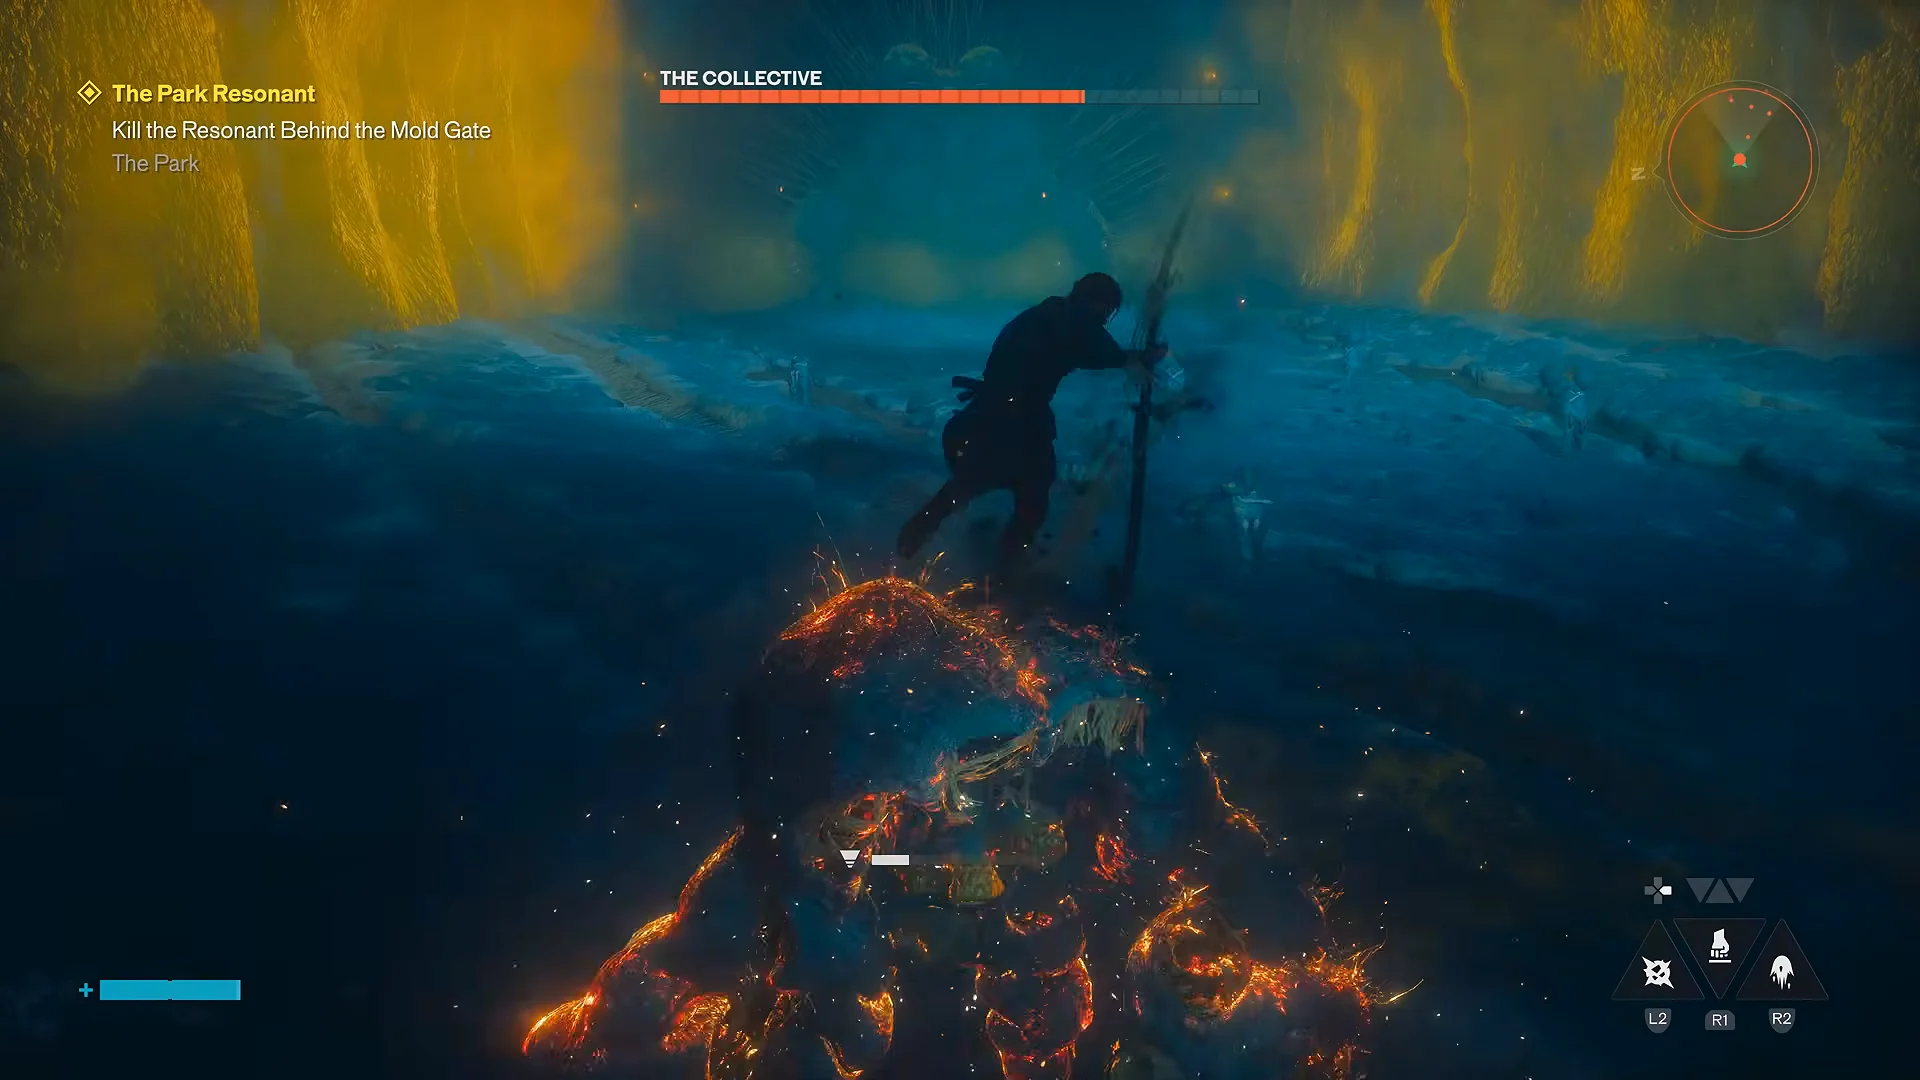
On offense, the boss fires volleys of yellow homing darts that track Dylan across the water, and it periodically relocates to a new spot in the cavern. Sprinting and dashing between the projectiles keeps the no-damage run intact while he repositions to close distance again.
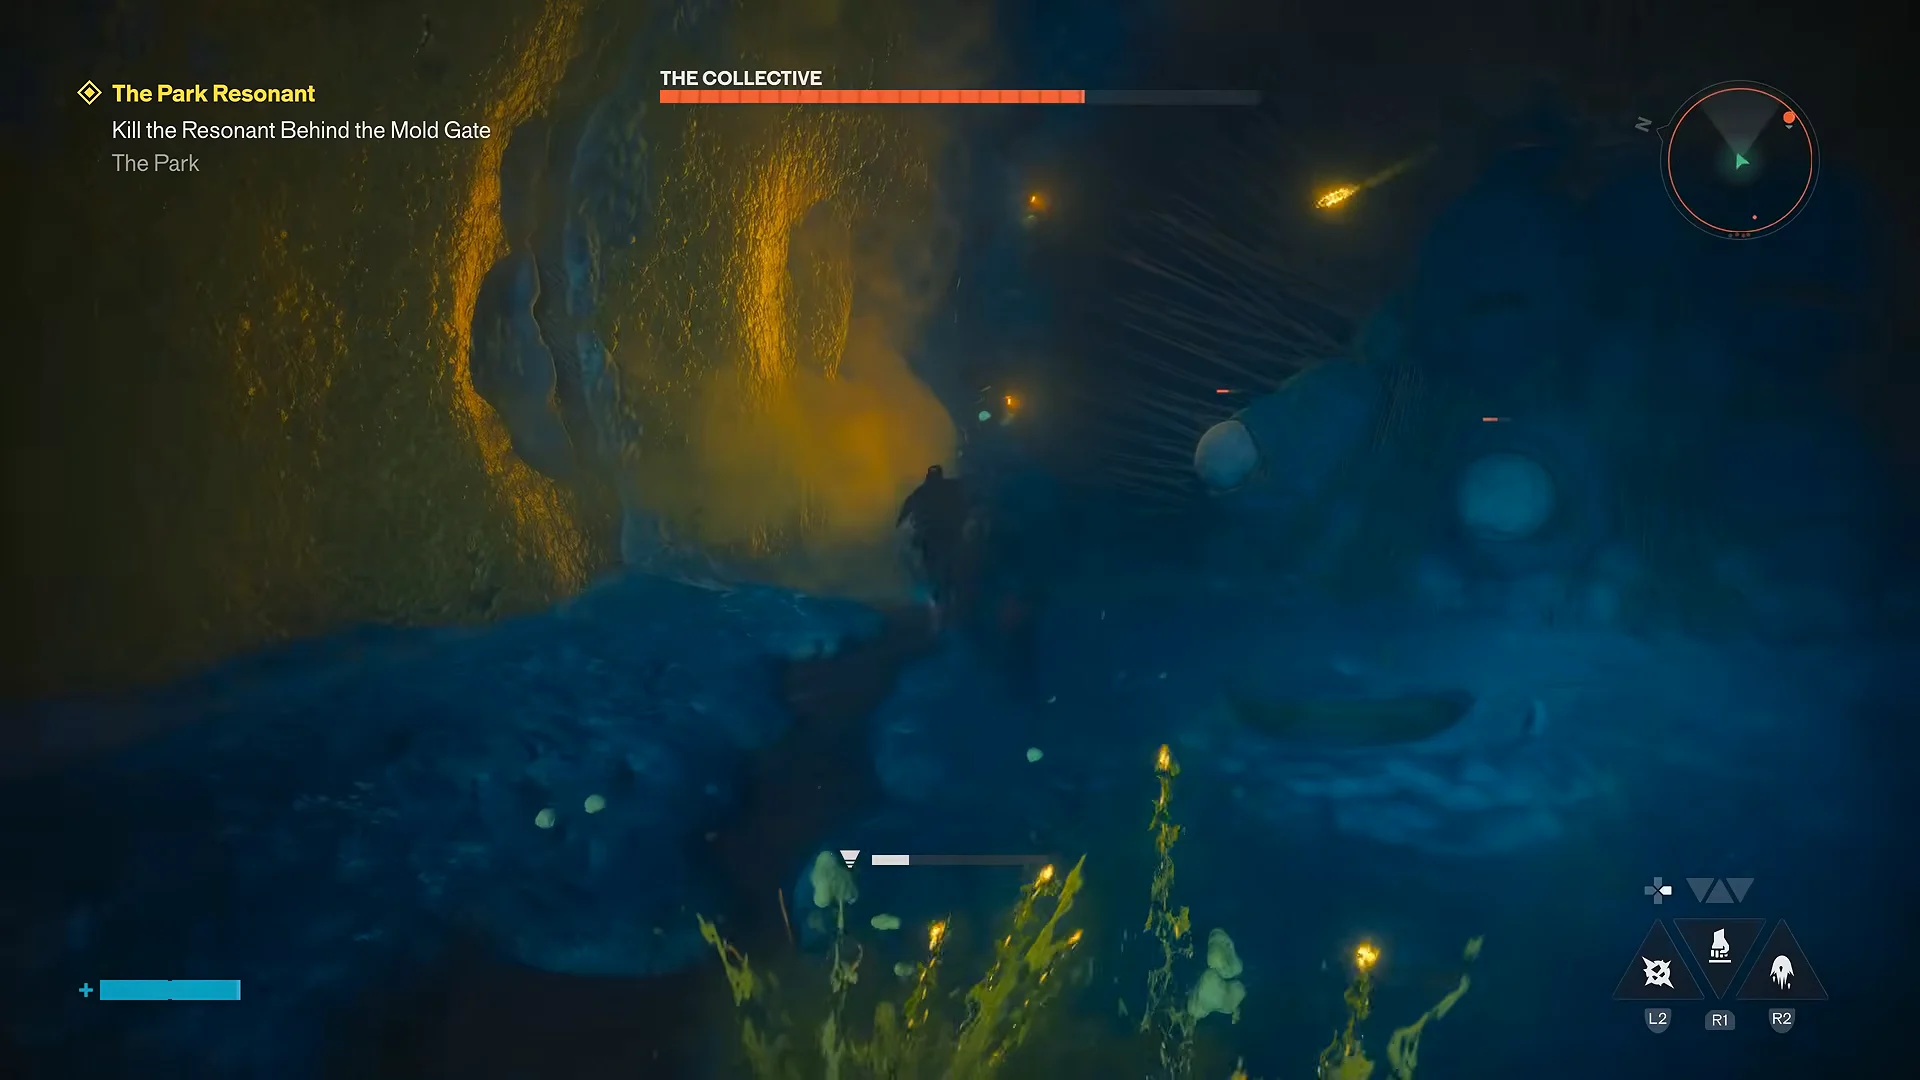
Late in the fight the HUD flashes a No Power warning as Dylan’s ability energy runs dry, so the closing stretch leans on sustained melee against the last exposed nodes. He bursts a bulbous growth on the right side of the face, tears down the final pillar, then lands the finishing hit on the last glowing white node to empty the bar.
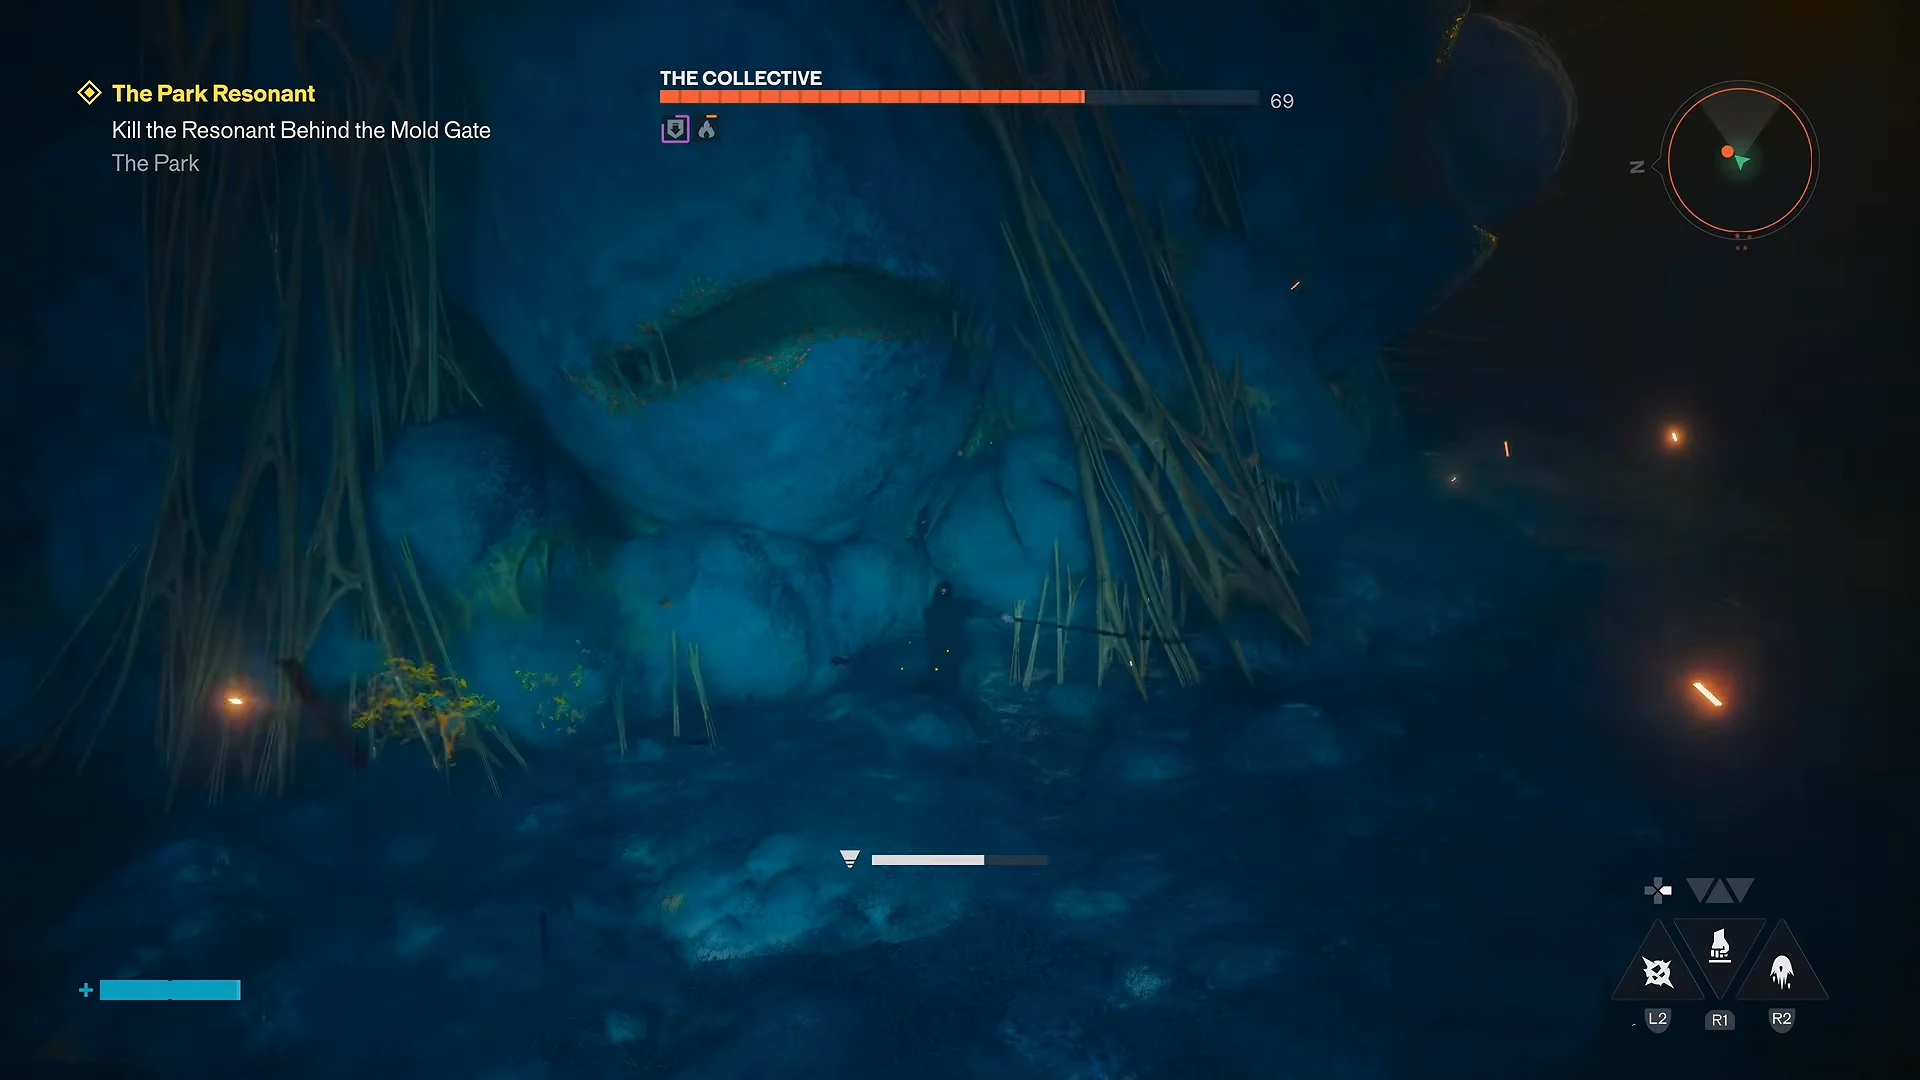
With the bar drained, a defeat cutscene triggers: Dylan leaps forward, drives a blade into the entity to set off a burst of spikes, and drops to the floor below. He then stands over the silent creature, says “It’s done. It’s over,” and an L1 Talk prompt appears, marking the encounter as complete.
What beating The Collective unlocks
Clearing the boss lets Dylan pick between two mold-themed Combat Abilities. Growth places a Mold turret that attacks on its own and builds the Infected status on enemies, while Spore Burst lets him fire fast mold projectiles at whatever is in front of him. The kill also awards the Face Mask artifact, which reduces how quickly Mold enemies build Infected on you.
The encounter is much smoother with fire damage in hand. Beating The Deserter first unlocks Ignite, which both outputs heavy damage against the mold and instantly cleanses the poison the boss stacks on you. A Build Power of around Aberrant Strength 65 keeps the damage windows short, and traversal tools like Gravity Anomaly and Reach are used to run across walls and cross the arena quickly.
If the poison meter fills during the fight, activating Ignite clears it immediately, so a fire loadout doubles as your poison cure.
Every Resonant boss in Control Resonant
The Collective is one of six Resonants in Remedy’s game, each tied to a zone and each handing Dylan a choice of new Combat Ability, alongside The Hedron as the final story boss that sits outside the Resonant list.
| Resonant | Zone and arena | Ability choice |
|---|---|---|
| The Artist | Downtown, Gallery | Barrage, Volatile Anomaly, Shield |
| The Dancer | West Incursion Zone, Theater | Push, Ground Slam |
| The Deserter | Central, Patterned Factory | Ignite, Inferno |
| The Collective | The Park, Mold Gate | Spore Burst, Growth |
| The Physicist | The Underpass, The Spire | Spike, Astral Rebuke |
| The Co-Director | The Unknown, Field Office | Command (no choice) |
| The Hedron | The Unknown, Far West | None (final boss) |
Beyond The Artist, which is locked to a fixed point in Orientation, the order is flexible. Fire damage from The Deserter is the strongest reason to slot The Collective in afterward, since The Park is full of Mold enemies.
The Collective in the fan-made Dreams campaign
A separate project shares the name and can cause confusion. Control: Resonant in Dreams is a fan-made campaign built on PS4 and PS5 by creator Rubhen925 (PSN ID Dummy925), with fully voiced dialogue, custom quest markers, and PlayStation-style trophies implemented inside Dreams rather than by the system. It runs about half an hour and splits play between Dylan Faden in a grey P6 sweatshirt and FBC agent Zoe in a green Bureau jacket.
In this version, Zoe battles The Collective instead of Dylan. Beyond the Mold Gate, she enters a cavern overrun with mold and faces a huge, blue-green, bulb-shaped creature bristling with eyes and tentacles. The campaign’s briefest boss fight takes less than two minutes; Zoe climbs the creature and plunges a blade into its central eye to defeat it. This completes the quest titled The Park Resonant and unlocks the Insidious Growth trophy. The bosses, trophies, and ending from this project are separate from Remedy’s commercial game.
All Dreams campaign bosses and the ending
The Dreams campaign features seven named Resonant entities across the Oldest House and the Astral Plane. The protagonists trade off during the fights instead of tackling separate character-specific stretches, and a trophy award appears in four battles. Dylan fights with melee strikes and telekinetic throws; Zoe carries a firearm and uses that same telekinetic pull.
| Boss | Played by | Quest | Trophy |
|---|---|---|---|
| The Artist | Dylan | Orientation | — |
| The Deserter | Zoe | The Central Resonant | Thermal Termination |
| The Danger | Dylan | The West Incursion Zone Resonant | Curtain Fall |
| The Collective | Zoe | The Park Resonant | Insidious Growth |
| The Co-Director | Dylan | Kill the Resonant | — |
| Hedron Parallel | Zoe | The Hedron Link | — |
| The Physicist | Dylan | The Underpass Resonant | Astral Reconfiguration |
The Artist is a giant stone head that Dylan climbs and stabs through the eye, setting the climb-and-stab finisher used for most of the campaign. The Deserter is a flaming, multi-limbed construct Zoe climbs and stabs in the core. The Danger is a slender, many-armed humanoid and the fastest boss in the set. The Co-Director, a floating figure ringed by bodies on a helipad, transitions into a Zoe segment rather than ending outright. Hedron Parallel is the odd one out: a floating spiked sphere destroyed by throwing objects and shooting, with no climb. The Physicist, a shifting stone sphere on a flat astral plane, is the longest single fight and the last trophy before the finale.
The Co-Director and Hedron Parallel award no trophy, so nothing pops after them. The fight still registered if the quest name resolves or the game switches phase or character.
Once The Physicist is dead, Zoe finds Dylan in the astral plane, under the Hiss’s control. He asks her to switch on a containment device and jolt him loose. This triggers a flashback in which Dr. Darling outlines the Mobile Containment Device to a young Dylan, identified as P6. The rescue works, and Dylan comes to in a dark hallway with the quest “Fight to the Core” marked complete. From a quiet apartment, he talks to Zoe by radio about his new role as an FBC contractor; the objective then changes to “Visit Jesse in the Oldest House.” The final scene shows Emily Pope in a medical room beside Jesse Faden, still comatose. Dylan has escaped the Hiss, but his sister has not awakened, and he vows to find a way to bring her back. THE END appears on-screen before THE BEGINNING.