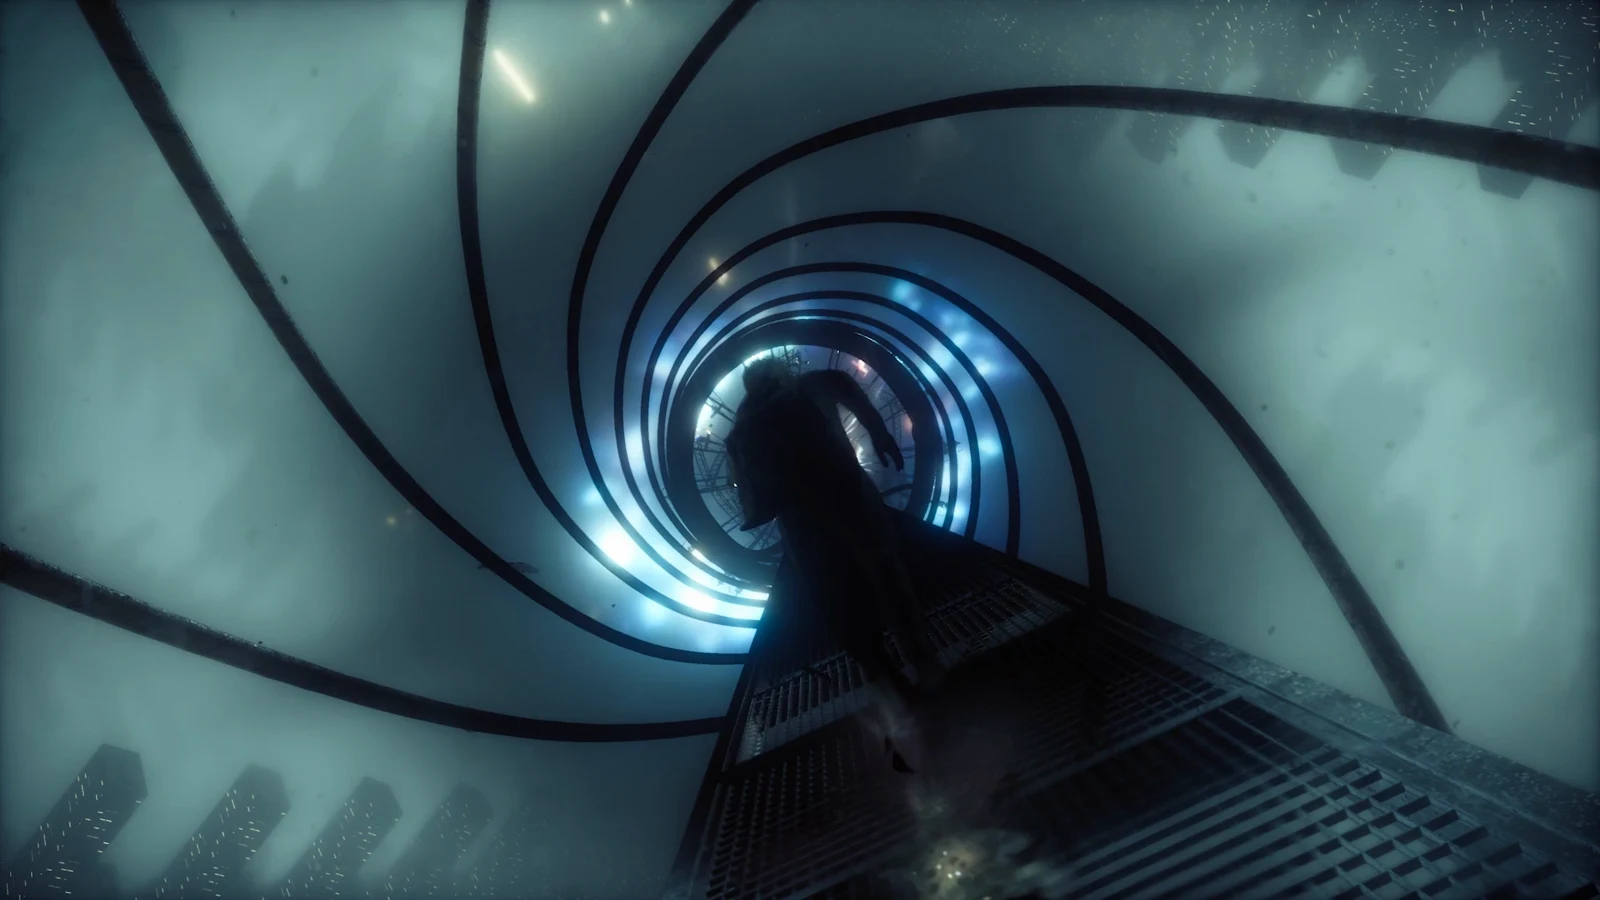
Into the Sinkhole is the fourth main mission in the Contain the Crisis chain of Control Resonant, and it sends Dylan Faden below the Oldest House to help build the anti-Hiss weapon Chief Arish is planning. That weapon, the Cancellation Field Device, needs the high Pattern resonance sitting at the bottom of a collapsing shaft, so Dylan rides an FBC diving bell down to bedrock, plants a set of probe relays, and then has to claw his way back to the surface after the descent falls apart. The Part 4 session carries that story straight into the follow-up mission, The Central Resonant, where a furnace boss called The Deserter waits.
Developed and published by Remedy Entertainment, Control Resonant follows Dylan, Jesse Faden’s brother, as he works with FBC personnel during the Hiss outbreak. His constant companion here is Zoe, a liaison who talks him through the descent over the radio and, later, over building loudspeakers.
What Into the Sinkhole is and why Dylan descends
The mission opens above ground in Manhattan, where FBC Rangers are pinned down defending a supply cargo. Clearing that fight completes the world feat Hold the Line and opens the way toward the Evacuation Zone, where the diving bell hangs over the pit.
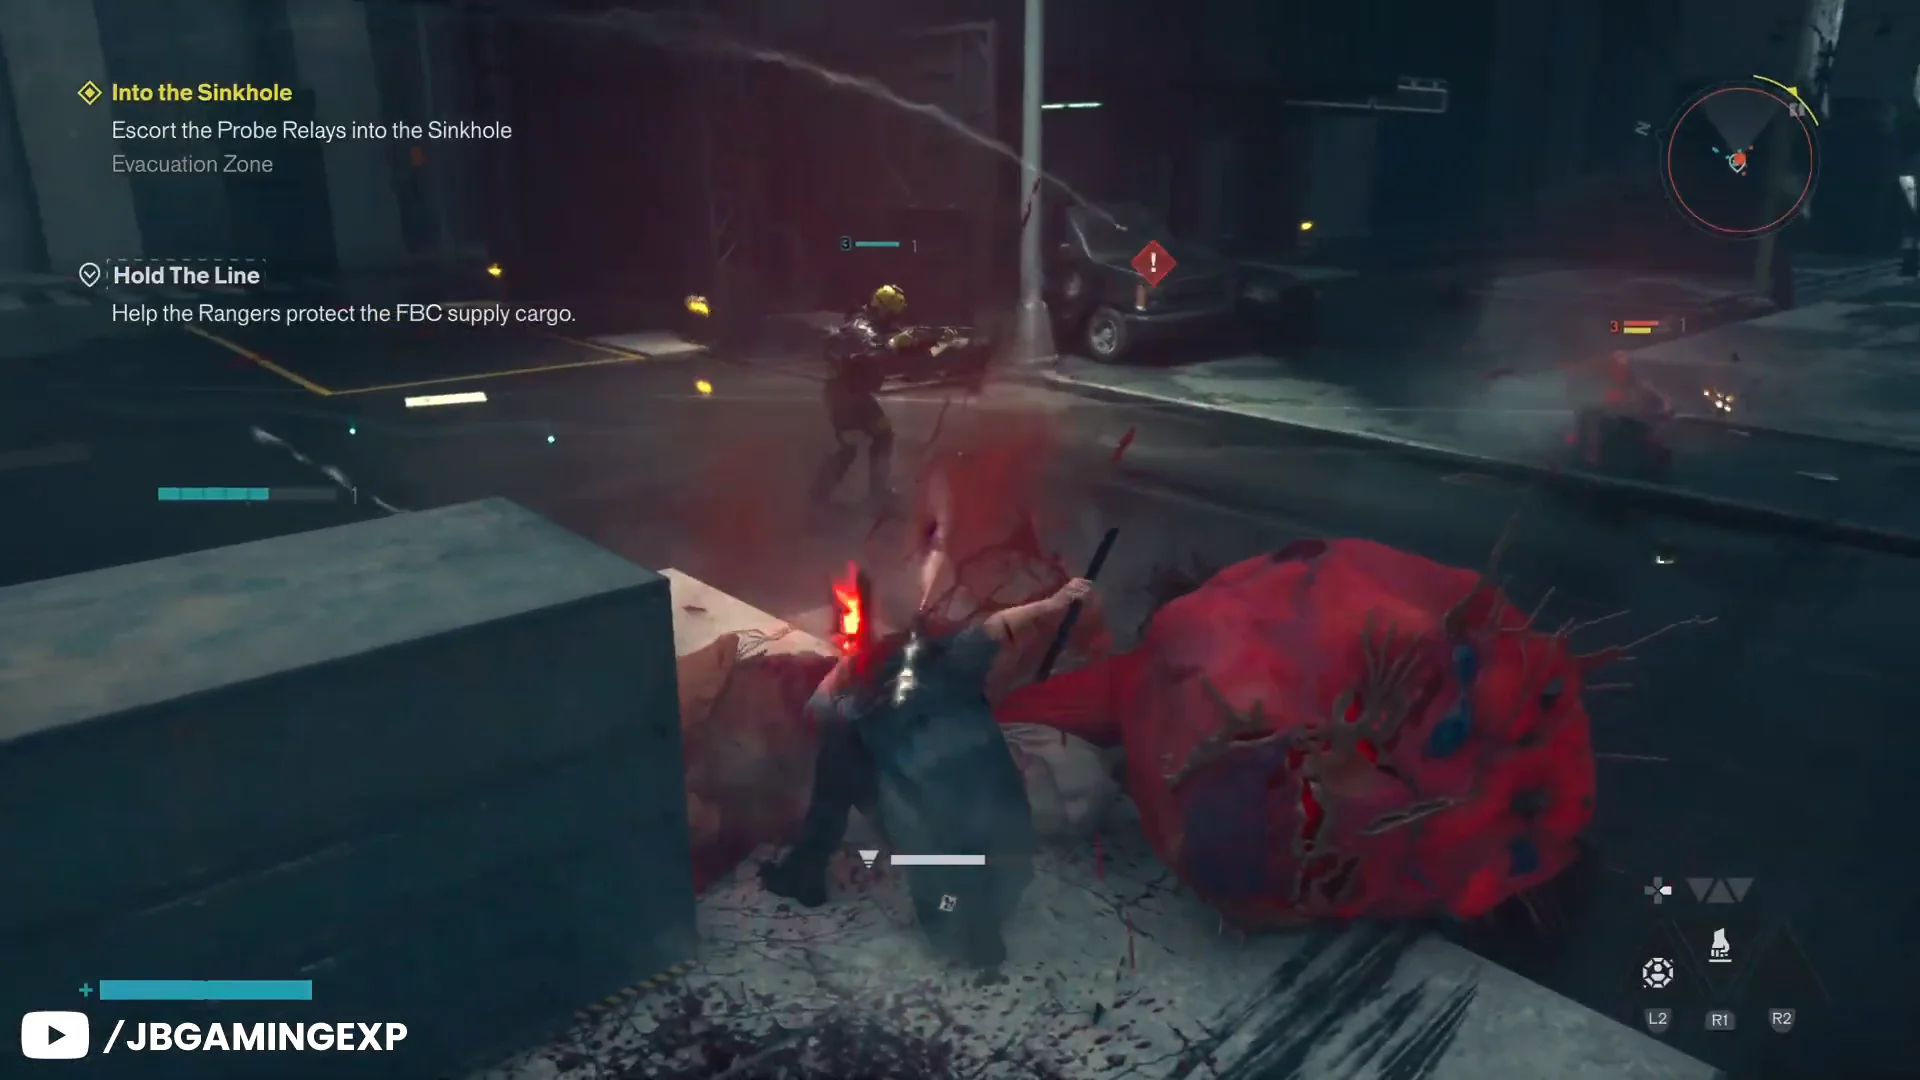
The mission consists of five objectives that must be tackled in sequence; you cannot skip one or begin a later one early. Returning to solid ground is not the finish, either—the way out still requires a lengthy climb.
| Objective | Starts | Ends |
|---|---|---|
| Escort the Probe Relays | Boarding the bell in the Evacuation Zone | An alert halts the descent |
| Find and Defeat the Hiss | The mid-shaft alert triggers | The floating-furniture room is cleared |
| Install the Probe Relays | The bell reaches bedrock | The last relay is activated |
| Escape the Sinkhole | All relays go live | Dylan inspects the severed cable |
| Follow the Music | The cable trail ends | Dylan pushes out of the laundromat |
The diving bell descent and its combat stops
The bell does not drop straight to bedrock. It halts twice on the way down, and each stop drags Dylan off the platform for a fight. The first is a tremor-hit floor washed in red light, cleared with a straightforward wave of Hiss enemies before the bell resumes.
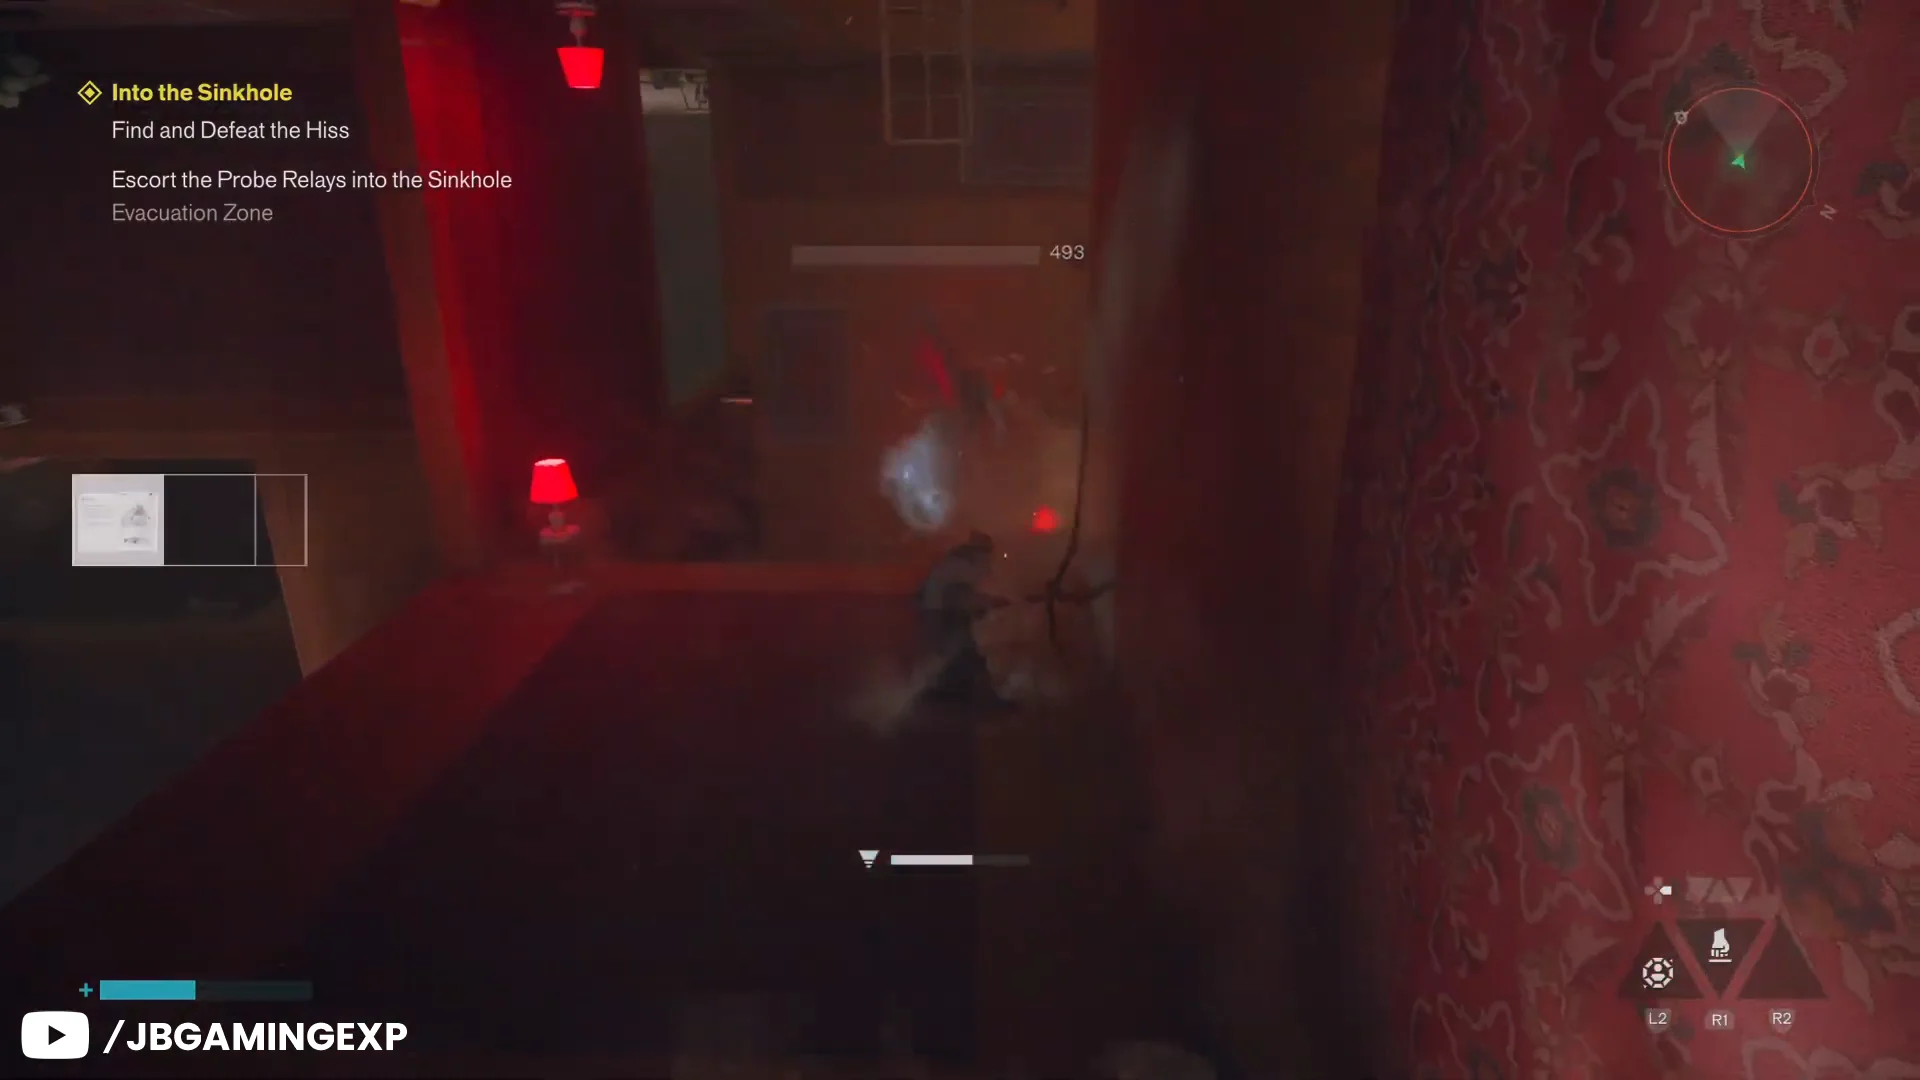
The next stop is an odd one: the bell gets stuck in an apartment block suspended in warped gravity, where several Distorted Hiss must be defeated. One lurks beneath a shadowy cloak that prevents target lock. Red-glowing lamps mark its trail, and Dylan must jump into the Hiss to break the cloak before it can be hurt.
Once that floor is clear, the bell descends through a vast shaft lined with hundreds of levitating, motionless human bodies before it settles on bedrock and the objective flips to Install the Probe Relays.
Probe relays and the Hiss Ruiner ambush
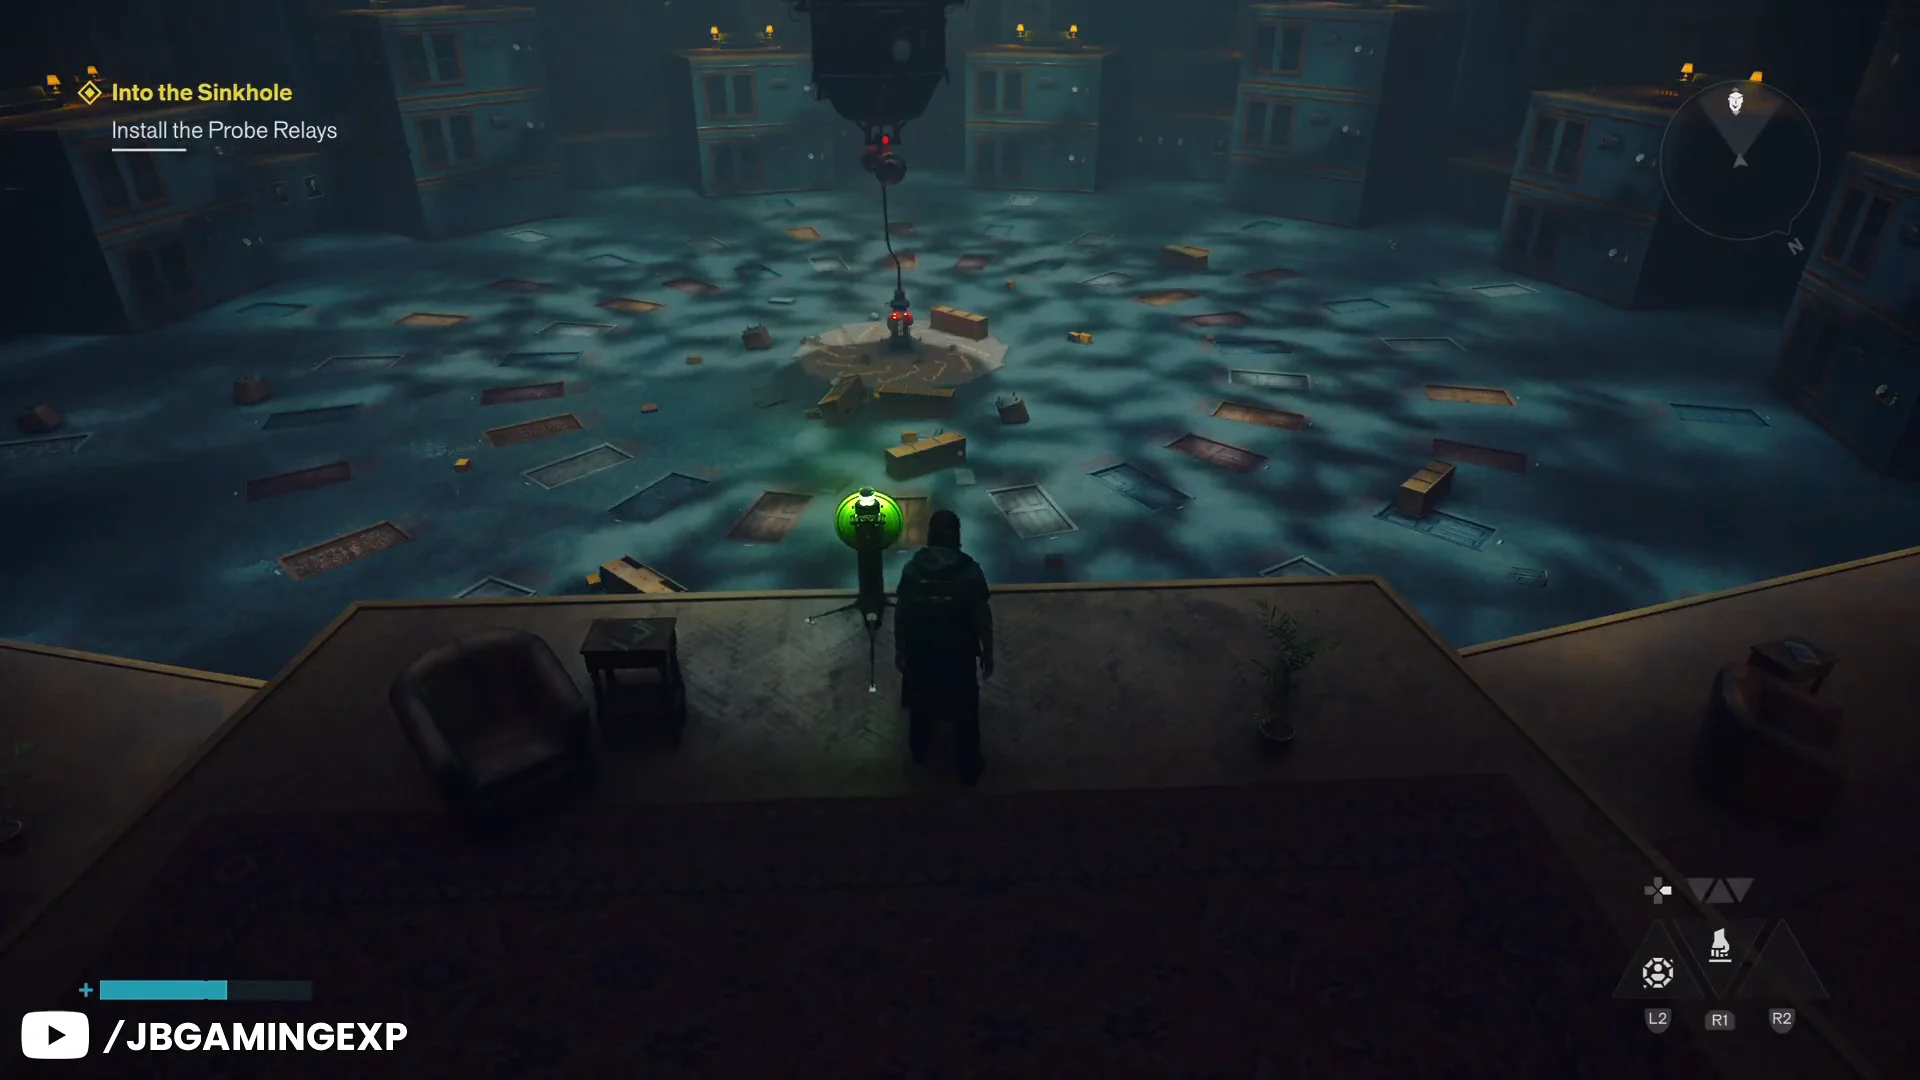
At the bottom, a central dispenser hands out the relays one at a time, so they cannot be carried together. Each of the four probe relays is tied to a specific rooftop across the floating structures, and the radar in the top-right corner points to the correct building for whichever relay Dylan is holding. Setting a relay down and activating it makes the next one appear, and each unit flashes green when it powers up.
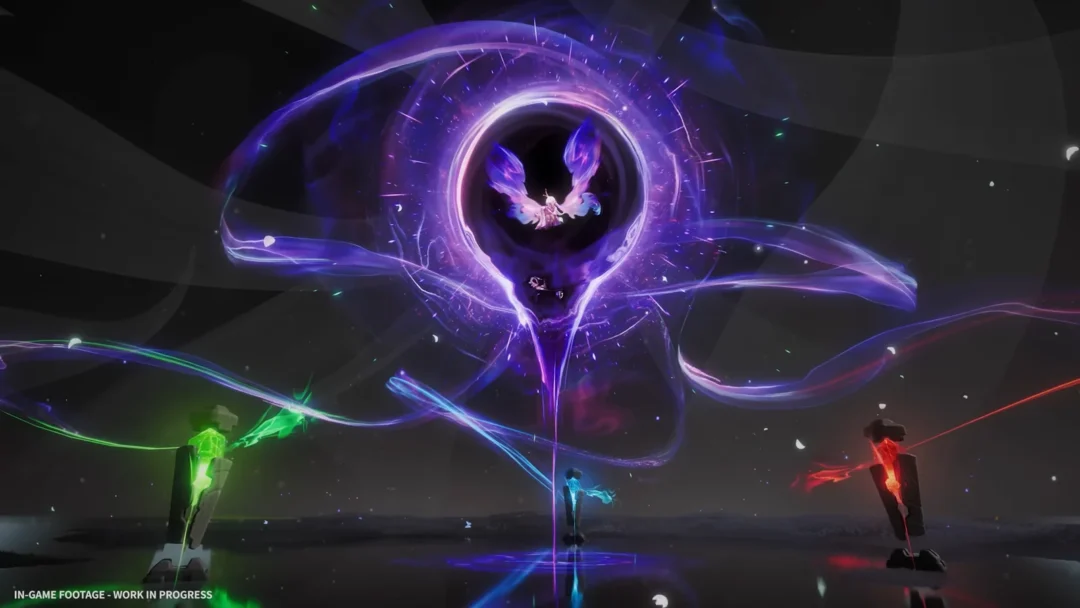
As soon as the full set activates, a red resonance wave washes through the chamber and Hiss swarm the arena. Focus on the larger foes first, since they keep producing smaller enemies. When that opening assault is over, a huge winged Hiss Ruiner mini-boss arrives and attacks with lasers. It staggers multiple times; use each opening to climb onto its back and hit the flower-bud-shaped heart. Defeating it brings the lights back and grants a Talent Point.
Escaping the Sinkhole: the cable, then the music
Once the ambush ends, the shaft becomes unstable and the diving bell cable breaks, leaving no route back up. Getting out means climbing through a structure that continually shifts around you. Dylan descends slowly, letting him survive long falls and cross wide gaps. Use the lighting to find the way instead of relying on the compass: head upward along the glowing bell cable, then pass through a rotating ring of desks and chairs during its brief opening. The cable eventually stops at a dead end, where Dylan tells Zoe he cannot go any farther along it.
That is where the mission’s centerpiece begins. Zoe starts playing the song “Another World” over the PA, lighting up random TV screens to steer Dylan through a looping apartment maze. The screens glow blue until he reaches each one, then turn yellow, and a child’s singing voice marks the correct direction whenever the rooms repeat.
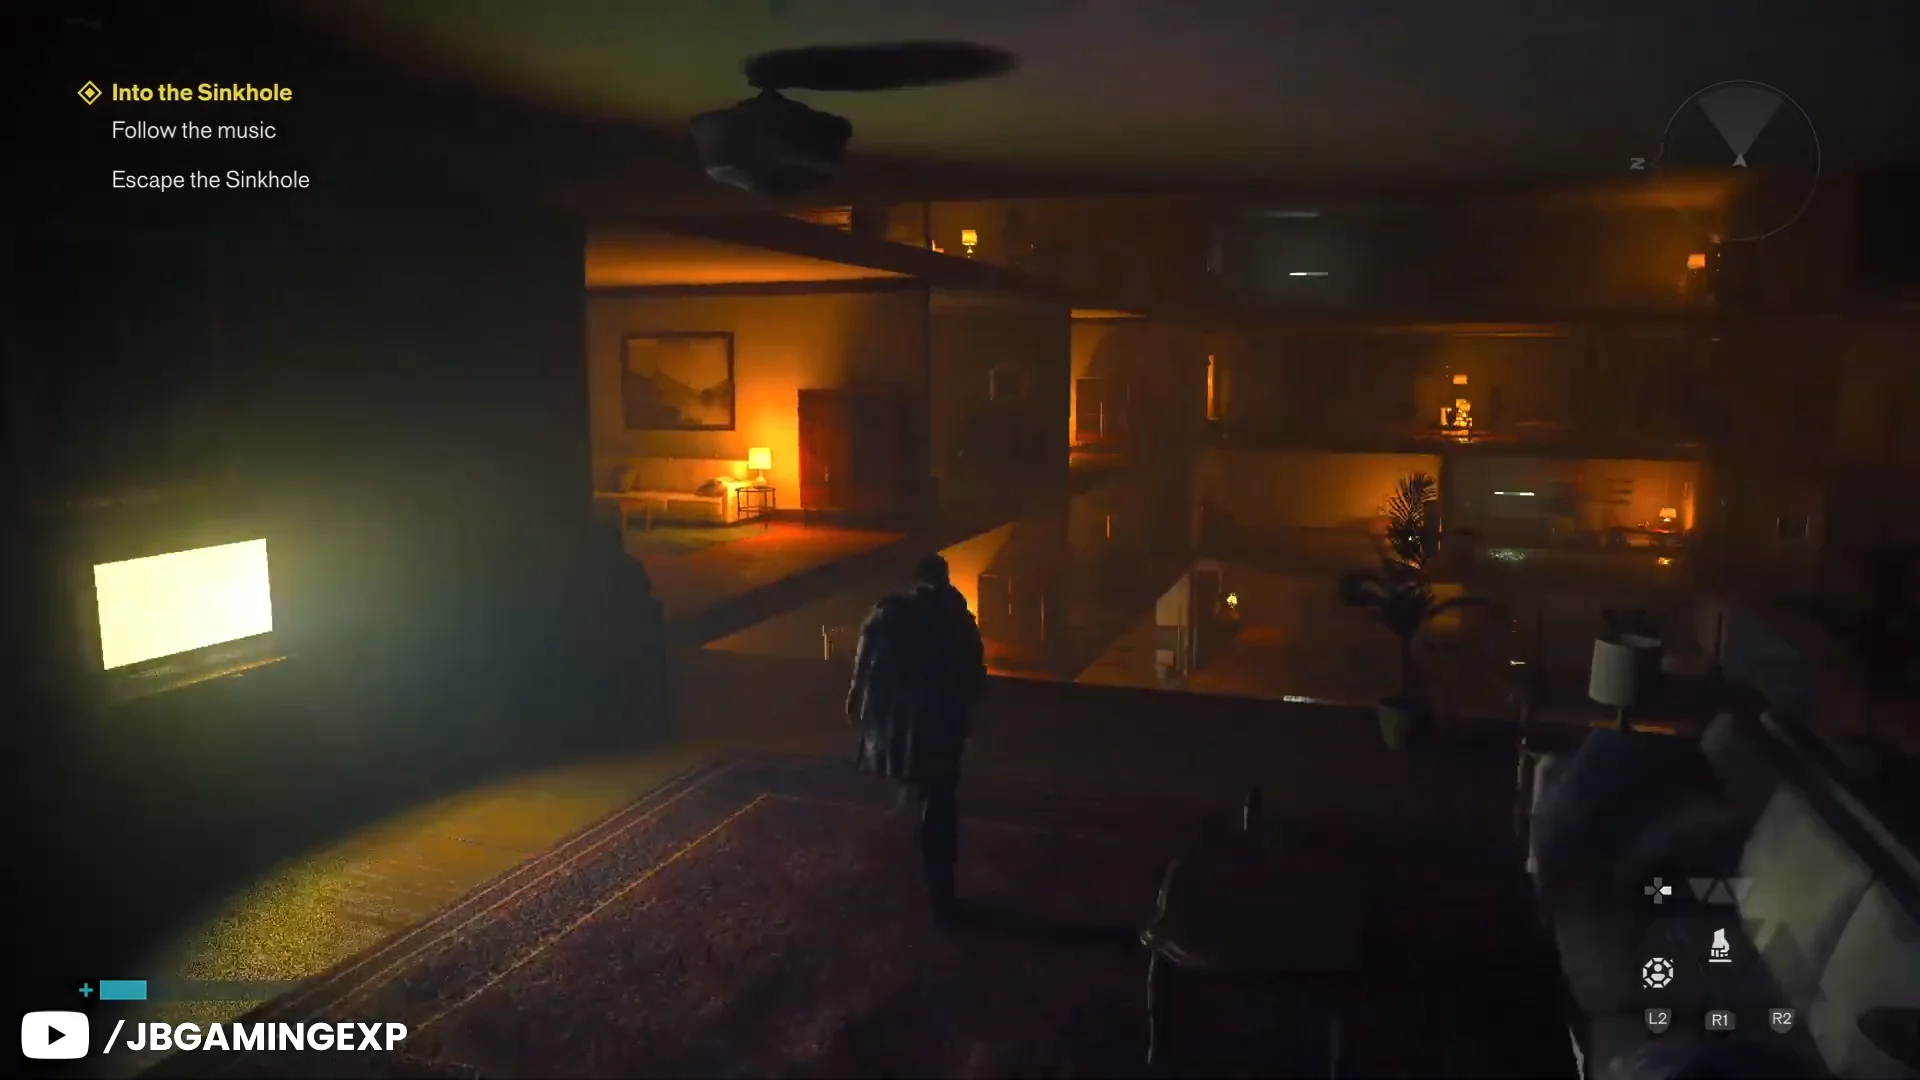
Avoid using Shift and Reach in this section. If Dylan is aligned with the tilted apartments, the next TV becomes almost impossible to see; double jumps and the Elevate ability will get you across all the gaps.
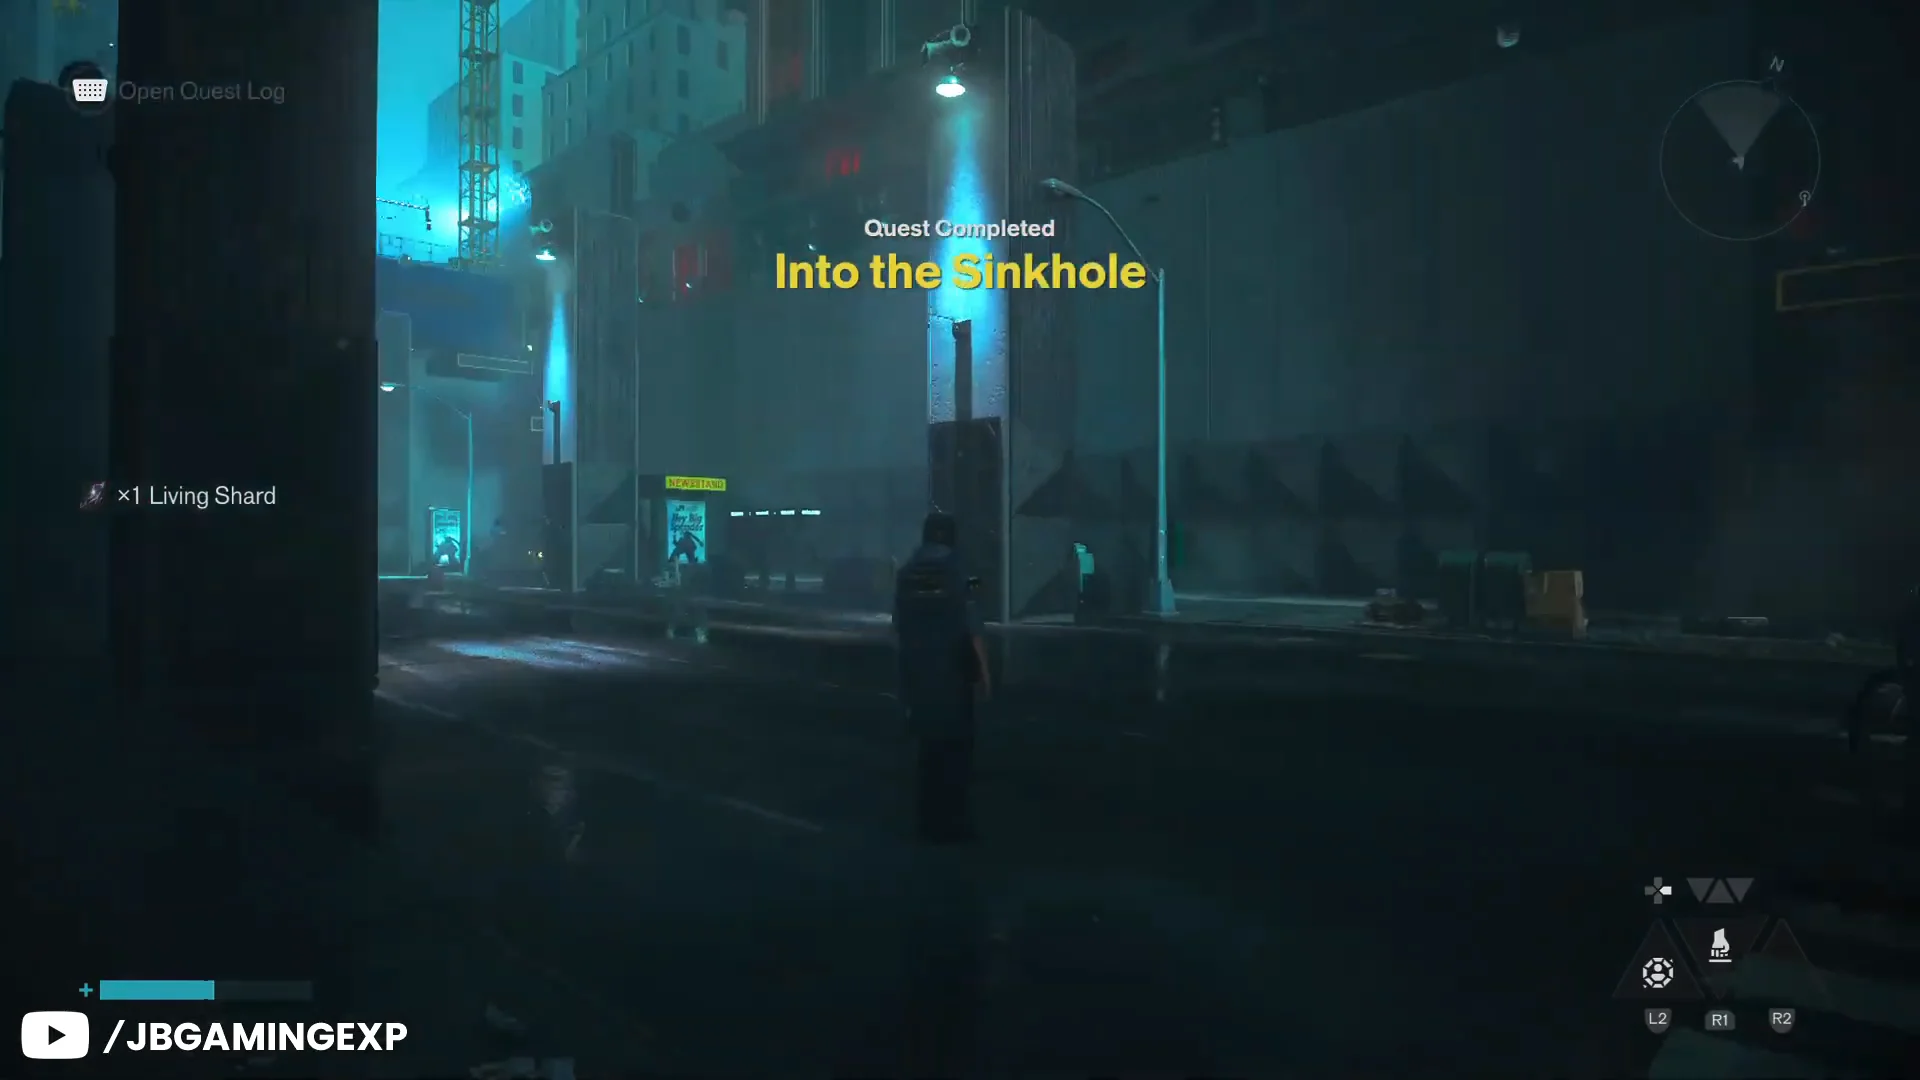
Follow the maintenance passage marked by orange strip lighting, climb the concrete stairs, cross the tiled break room, and exit through the blue-lit laundromat. Zoe presents dialogue options in the break room; they alter the conversation, but not its result. When Dylan steps onto the foggy, rain-soaked street, the Quest Completed banner appears and grants 1x Living Shard, unlocking new Aberrant forms and combo finishers. The maze is not complete until that banner appears.
The Central Resonant: the Factory furnace
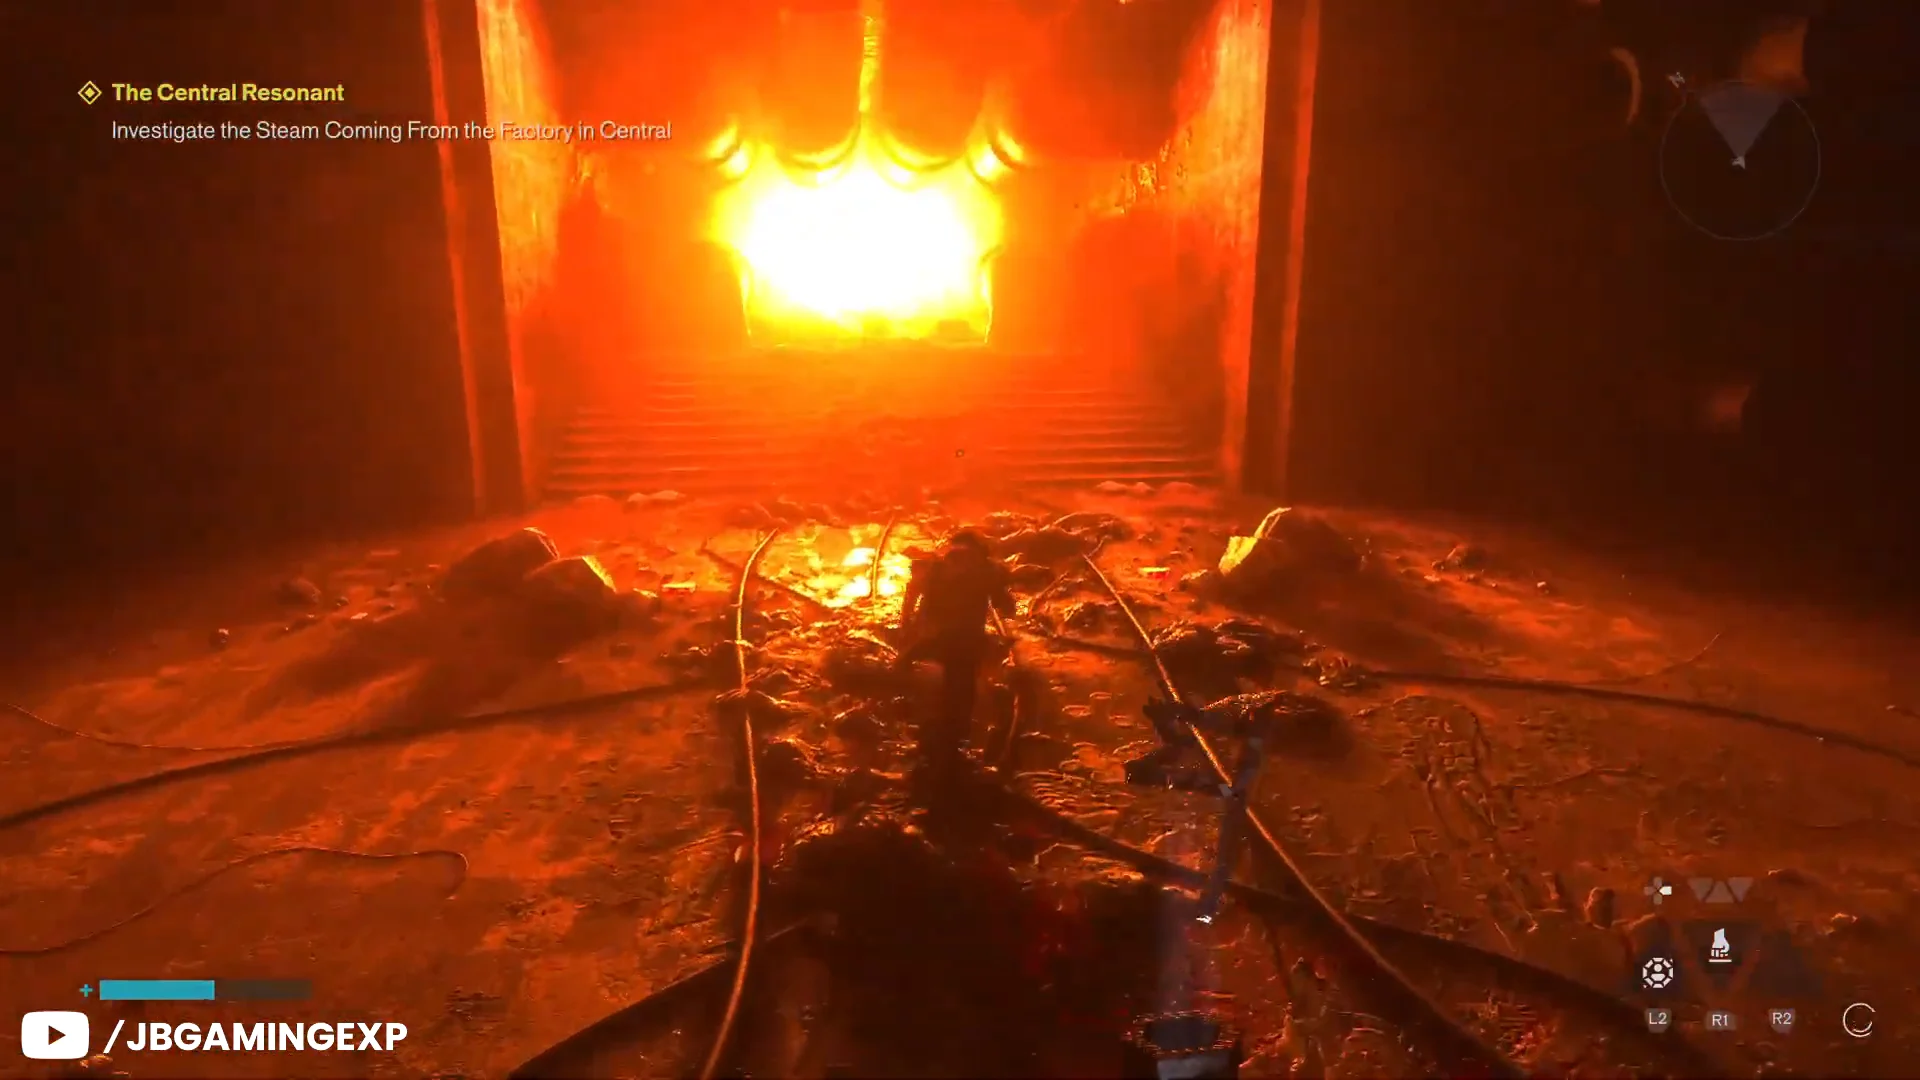
Back on the surface, the session picks up the mission The Central Resonant, which tracks steam pouring out of the Factory in Central. An industrial lift carries Dylan down into the furnace infrastructure, a network of fire-filled pipes and flaming chambers where corrupted blocks are choking the cooling system.
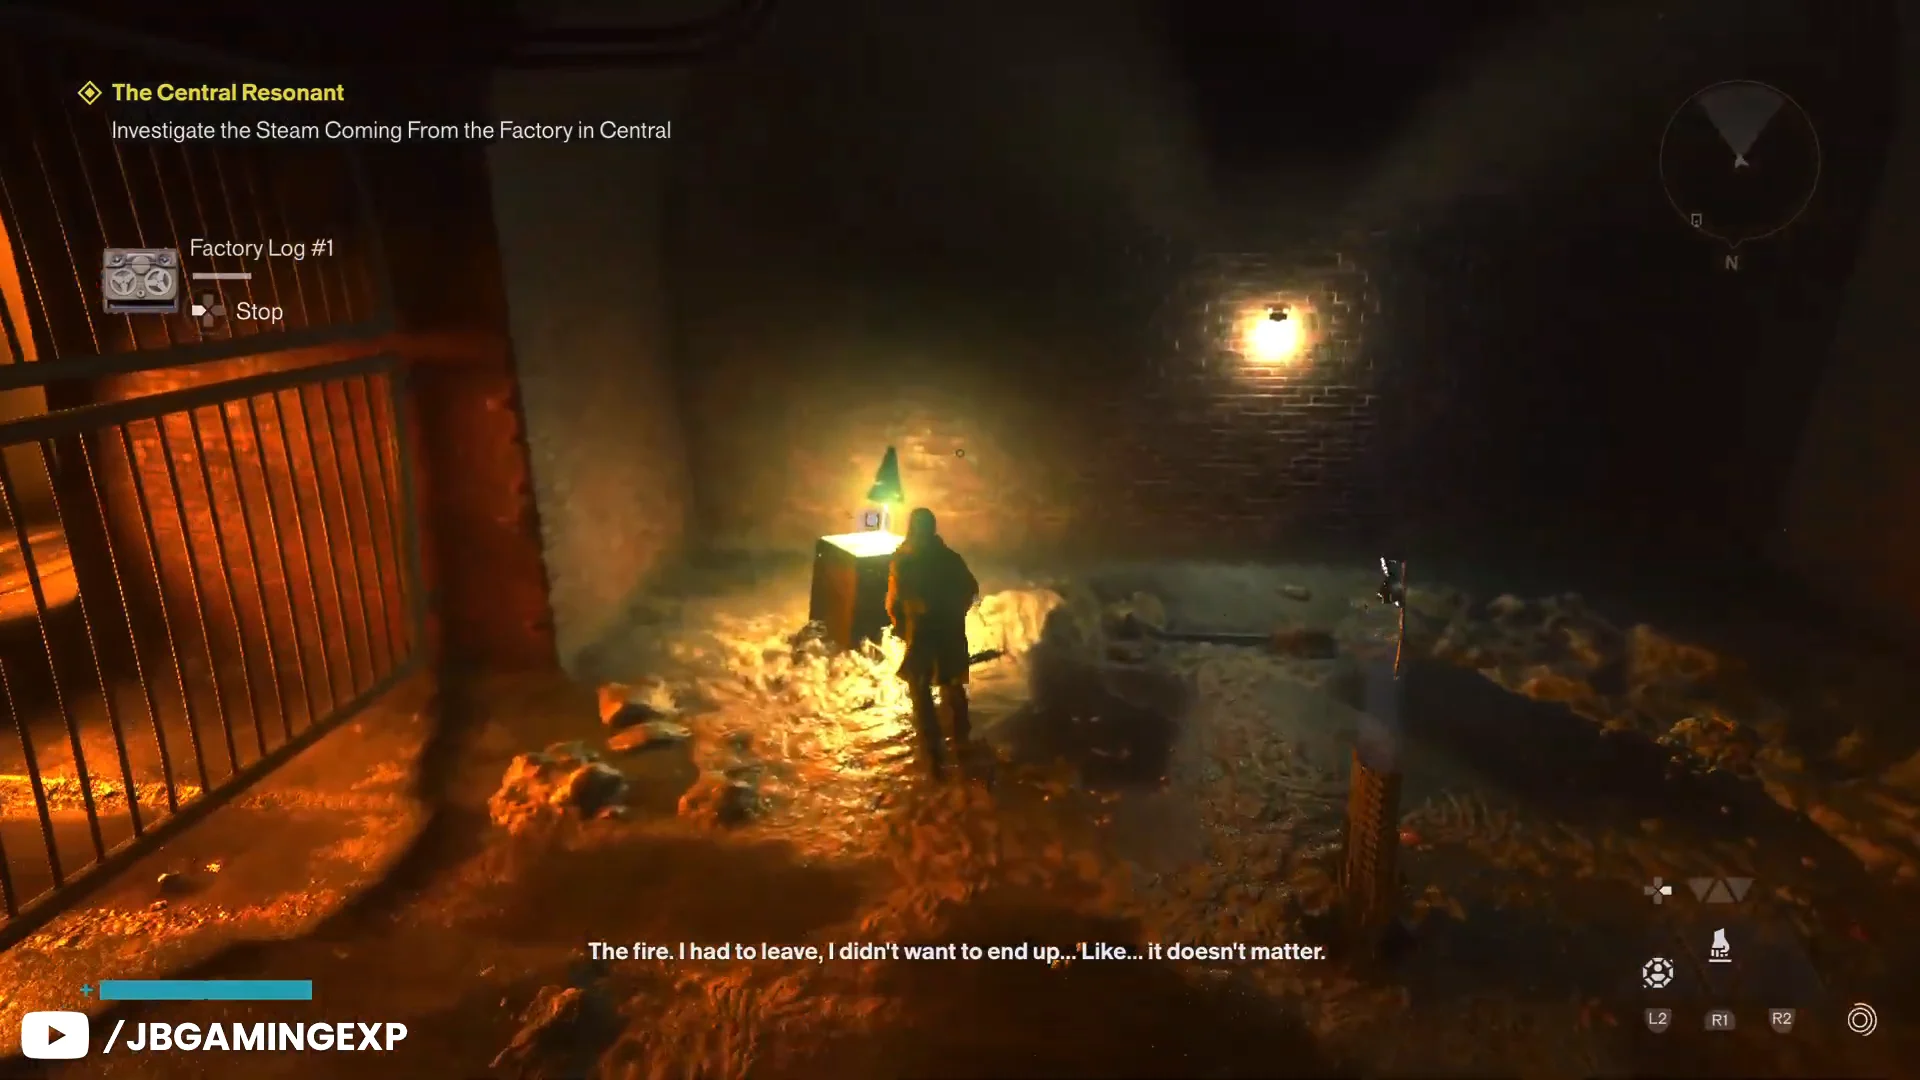
The tunnels double as a small collectible hunt. Factory Log audio recordings, an old journal, dead FBC workers and a Health Upgrade Point are scattered through the flooded, fire-lit pipe sections while ambient Hiss wander the halls.
Clearing the steam comes down to destroying pulsating, fiery Resonant Cores wedged inside the exhaust vents and large pipes. Melee strikes and abilities break them apart, which restores cooling and reopens the blocked tunnels toward the central combustion chamber.
The Deserter and the Inferno ability
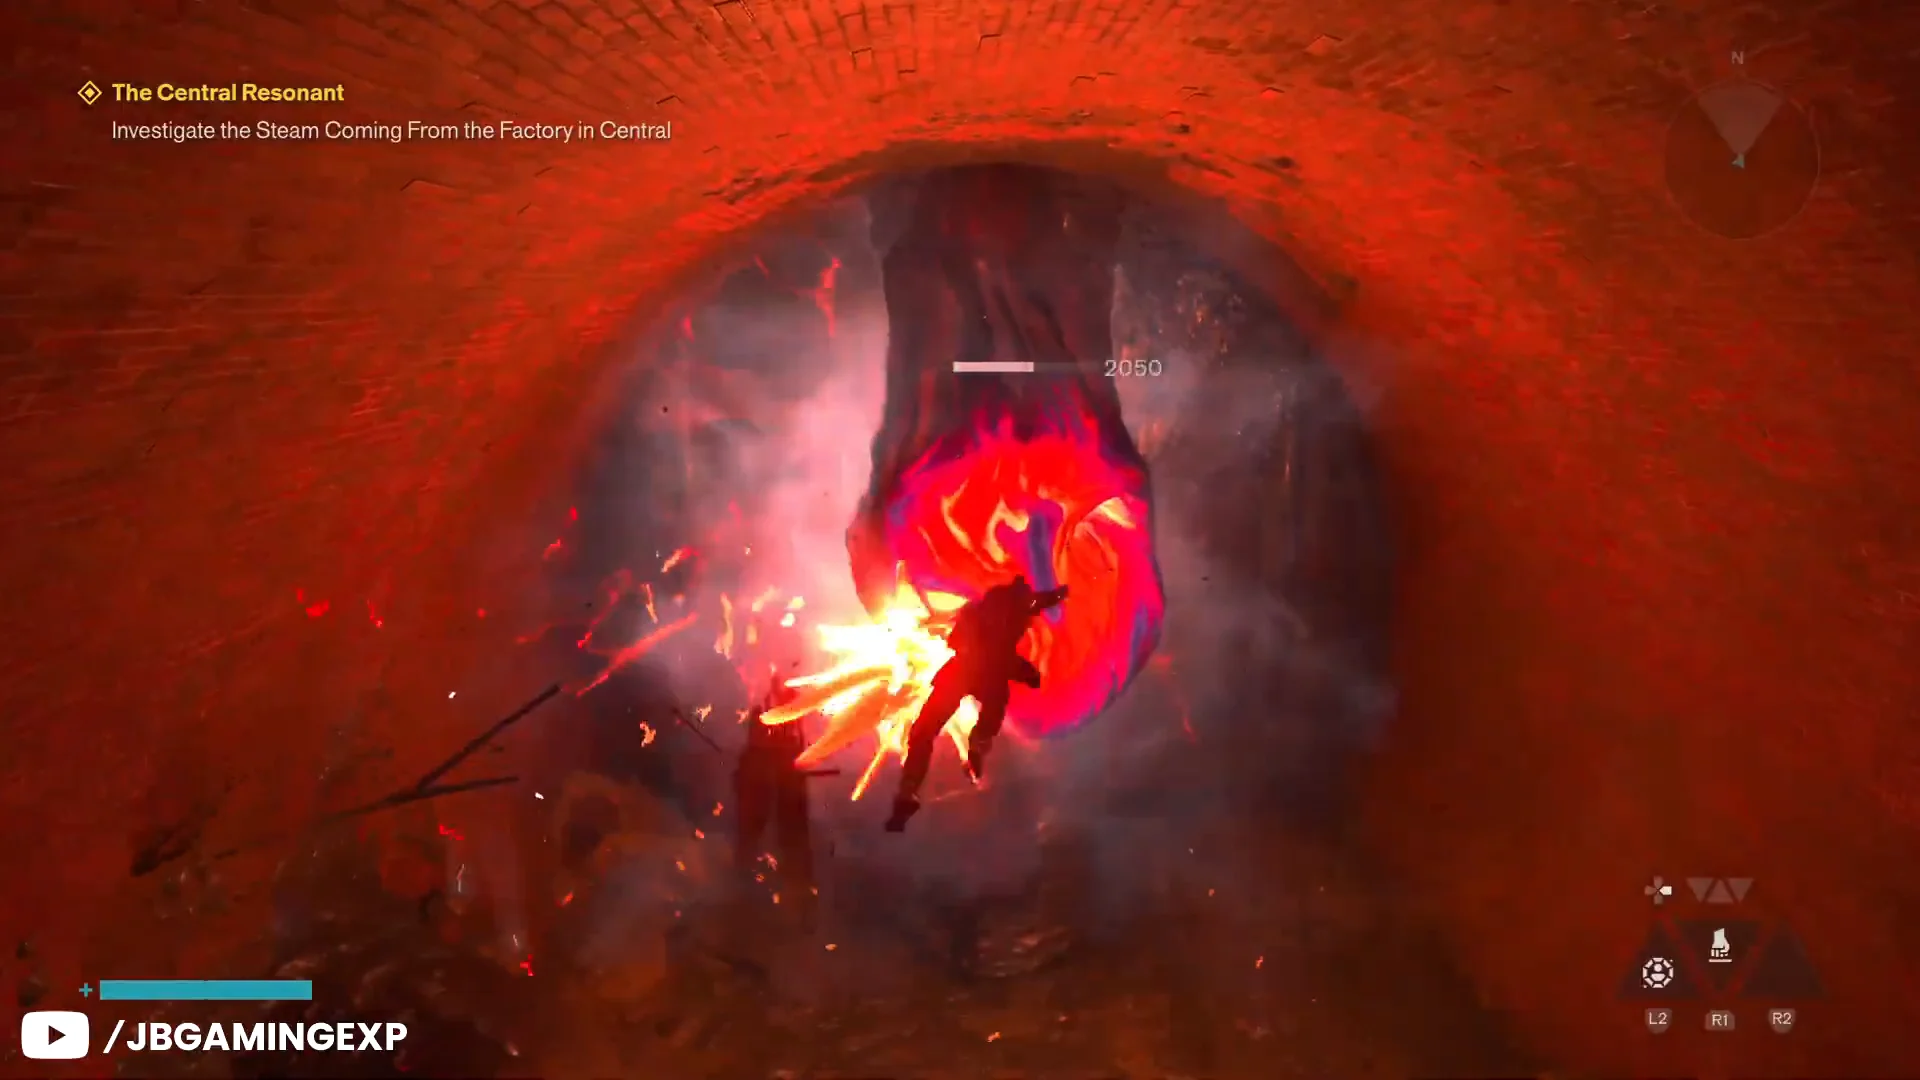
After the pipes are cleared, the central furnace starts a boss cutscene: The Deserter, a huge magma-fused resonant being fixed inside the chamber. Fire bands rake the floor, lava geysers erupt around the circular arena, and several tentacles crash down. Stay clear of the fire trails left behind, leap over expanding shockwaves, and strike the glowing purple-red joints whenever a limb hits the ground. Once it staggers, its central core is exposed; cleanse it directly to deal massive damage.
Defeating The Deserter opens a combat ability choice between Ignite and Inferno. The Part 4 run takes Inferno, an active cone-of-fire attack that inflicts the Burn status. On enemies, Burn deals Falter over time; on Dylan, it drains Power; and in both cases it explodes when combined with Infected. Subsequent taps of the ability come out faster.
Defeating The Central Resonant grants the Untapped Lighter reset item, +3000 Source, and an FBC ID badge for Oscar Brook. The badge leads into the next mission, Enemy of My Enemy: report to Emily Pope at the Field Office, where she explains the CFD situation and Arish’s fixation. This is a good break to spend Talent Points and upgrade weapon forms before continuing with the main missions.