Control Resonant: How to Find the Source of the Tremors
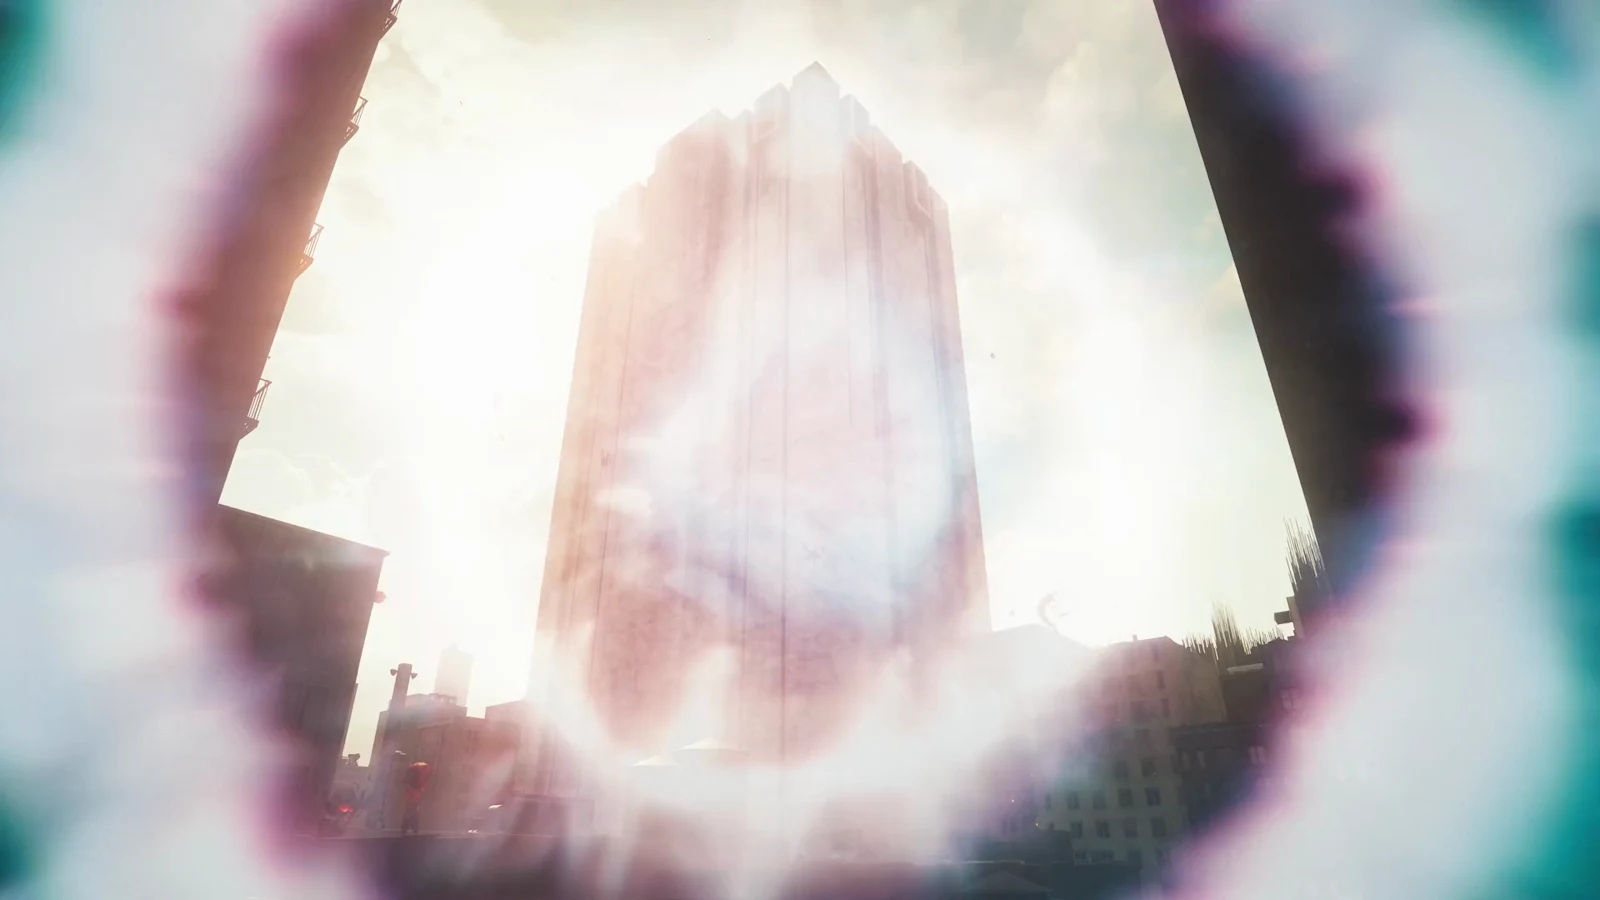
The Evacuation Procedures objective runs from the rooftop power core puzzle outside 1065 Lexington Avenue up to the 15th floor.
The Evacuation Procedures objective runs from the rooftop power core puzzle outside 1065 Lexington Avenue up to the 15th floor.
by AllThingsHow Staff
Image: Remedy Entertainment
The ground shaking under the Evacuation Zone is the mid-point beat of Evacuation Procedures, the Control Resonant story mission that ends with Dylan pulling Arish out of a collapsing federal building. The objective itself is vague on purpose, and the route splits into two very different halves — an outdoor power puzzle that opens the way into 1065 Lexington Avenue, then a vertical climb through the building’s floors until the tremors resolve into something else entirely.
Quick answer: Trace the yellow cable to the rooftop generator, feed it a power core from the street-level Power Core Station, then take the elevators inside 1065 Lexington Avenue up to the 15th floor. The objective flips to “Locate the survivor” there.
Where this objective sits in Evacuation Procedures
Evacuation Procedures starts at the Watchtower in Central and sends Dylan east into the Evacuation Zone, the one zone in the game that has no Resonant boss waiting at the end of it. Before the tremor objective appears, you need to have cleared these earlier steps:
Reach the Evacuation Zone from the Central checkpoint.
Reach the Evac Building at 1065 Lexington Avenue.
The Hiss Barrier falls once you eliminate both Hiss Nodes.
Enter the Evac Building.
Everything after that — the cable, the generator, the elevator rides and the visions — sits under the tremor objective until the game swaps it out. The mission then continues into “Locate the survivor,” “Get Arish out alive” and “Escape the building.”
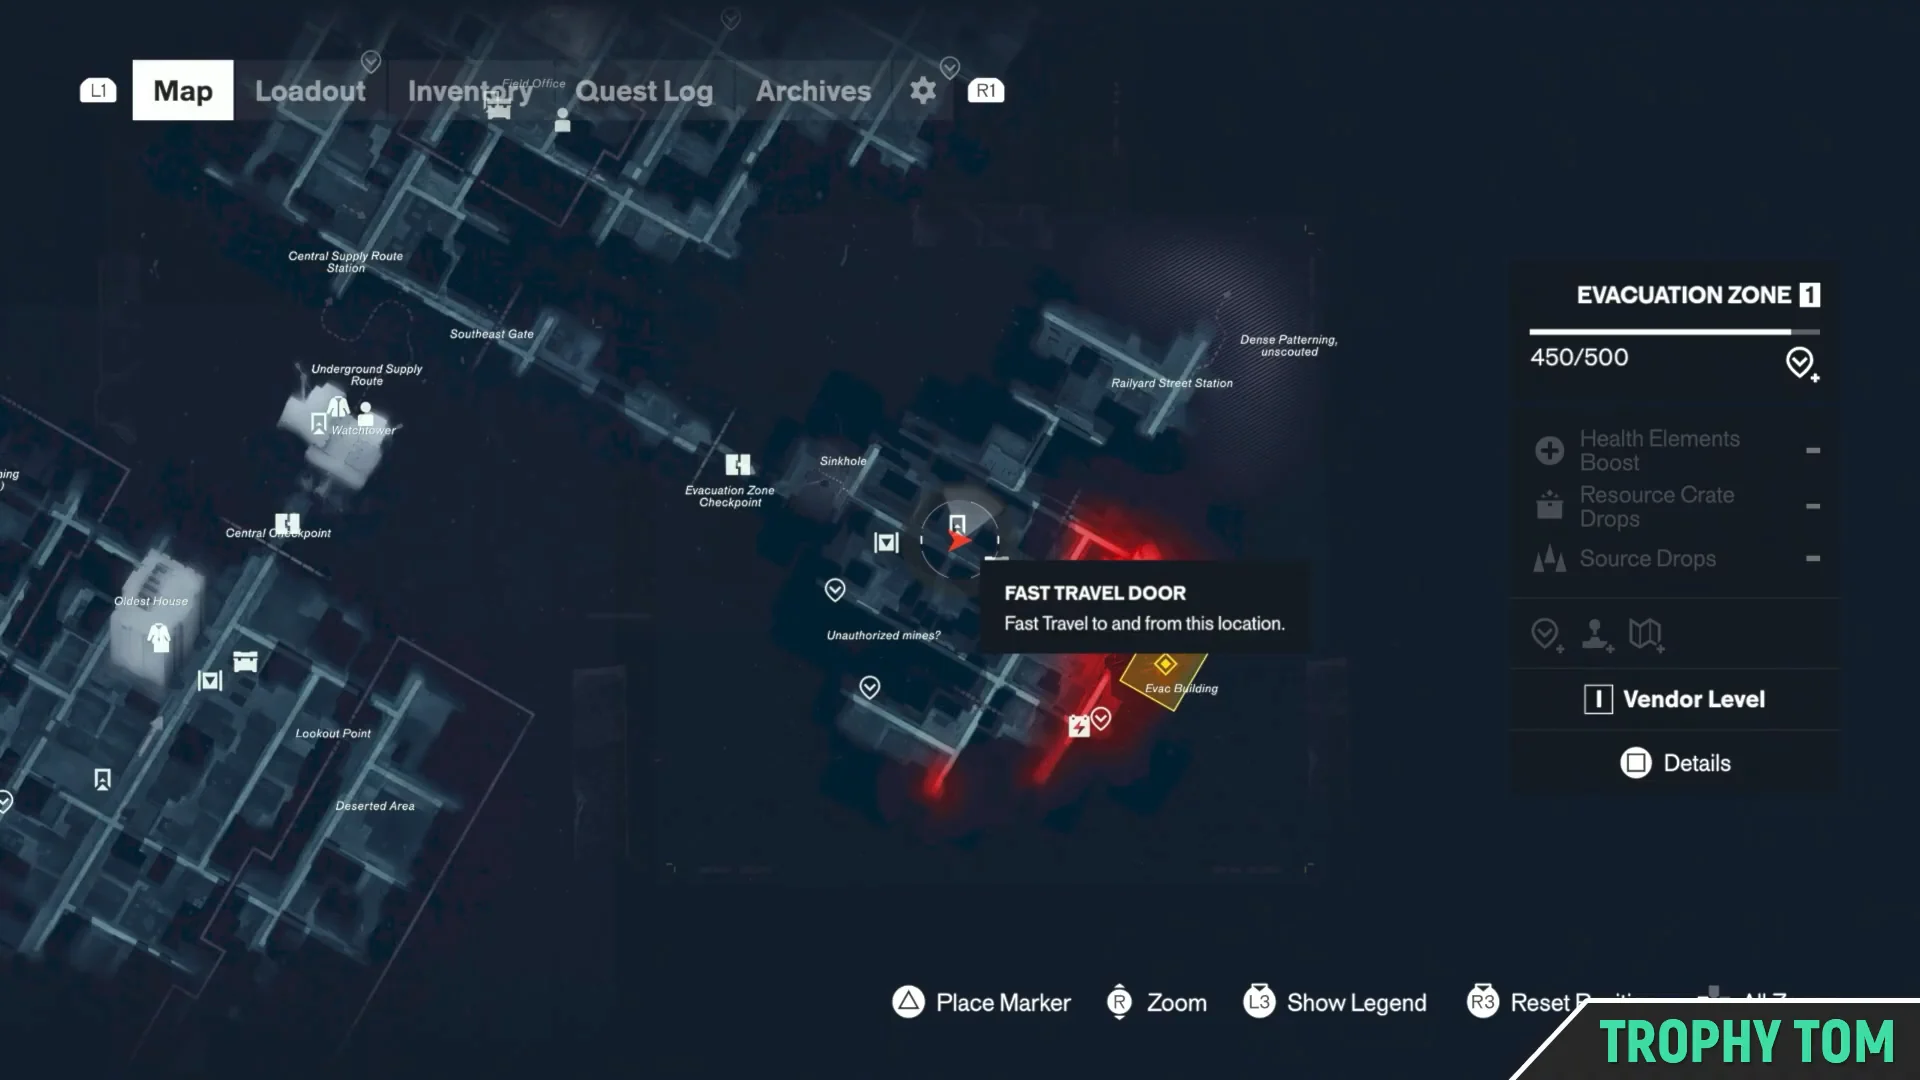
Unlock the Evacuation Zone 1 map before you go hunting
This part is optional, but doing it first saves a lot of blind wandering. The fog in Evacuation Zone 1 is thick enough that the street is easy to get lost in, and the sector map is what puts the Power Core Station marker on your screen later.
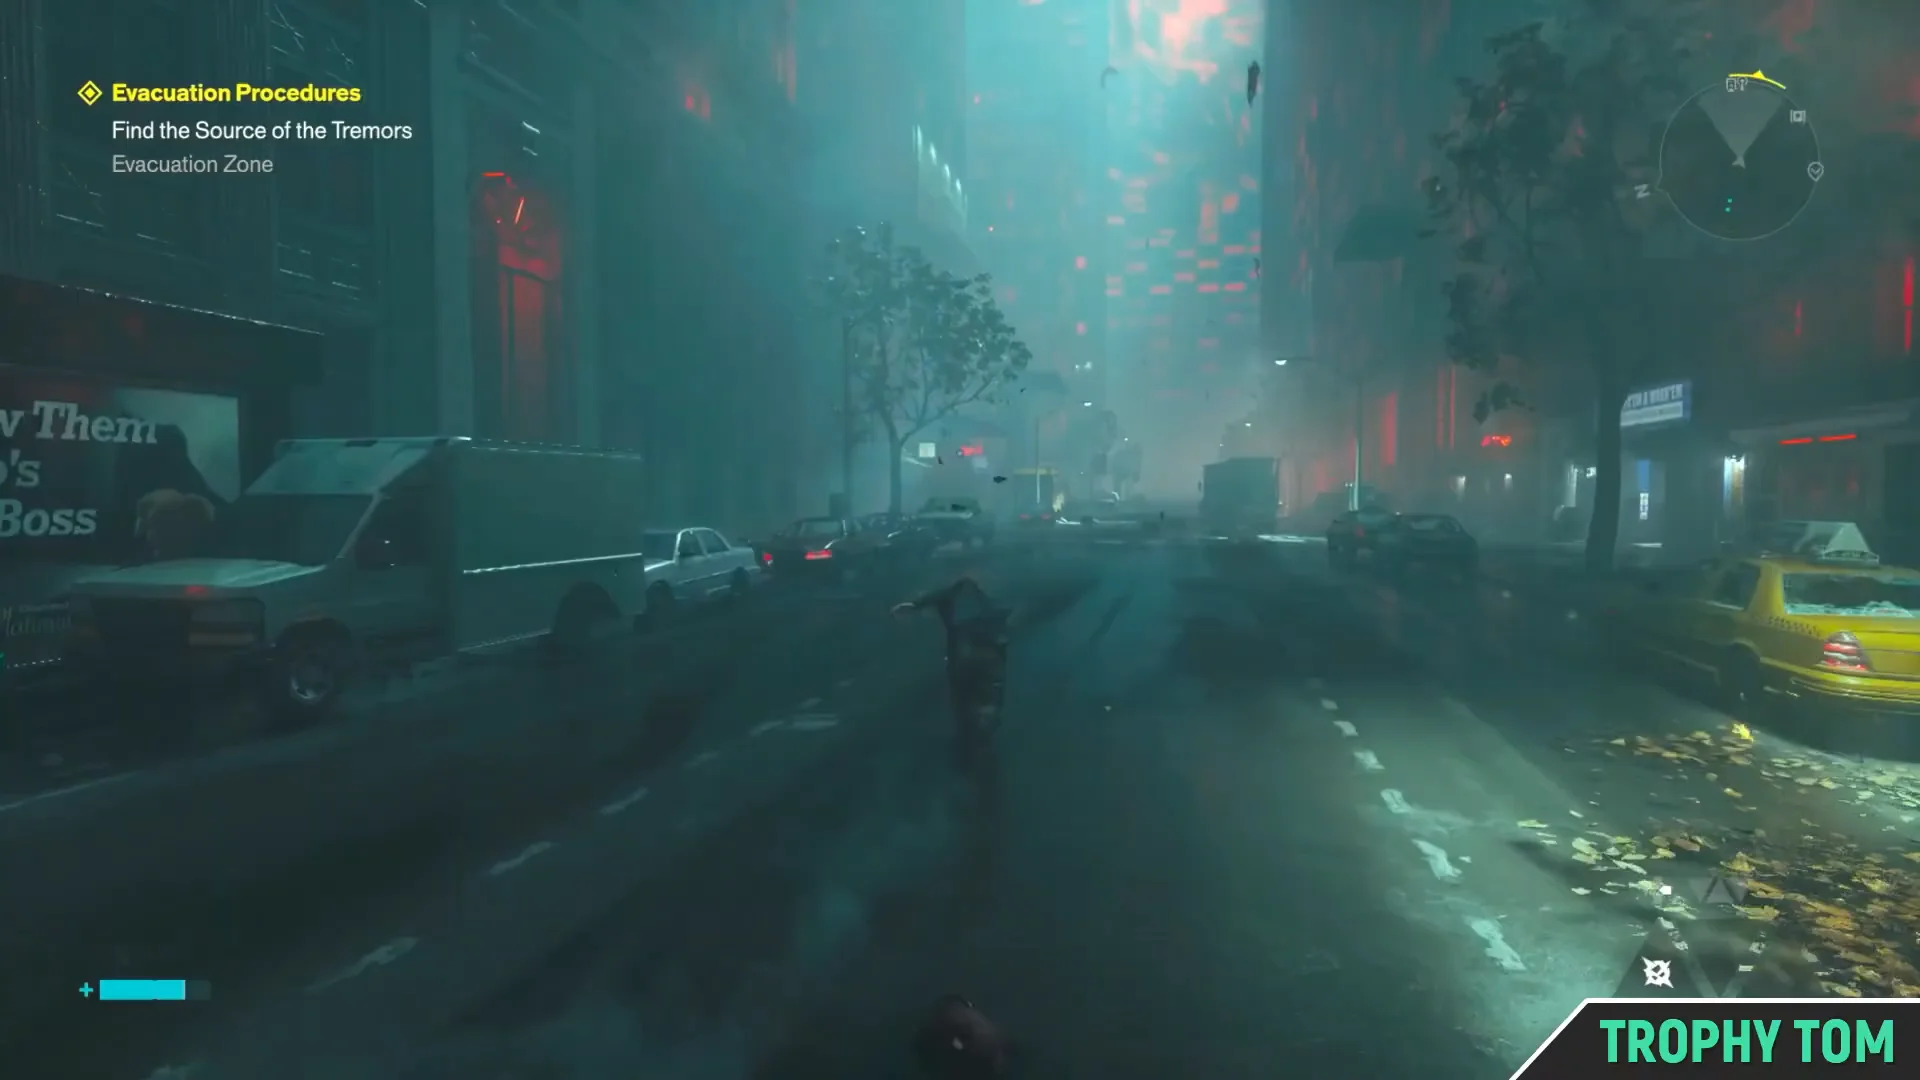
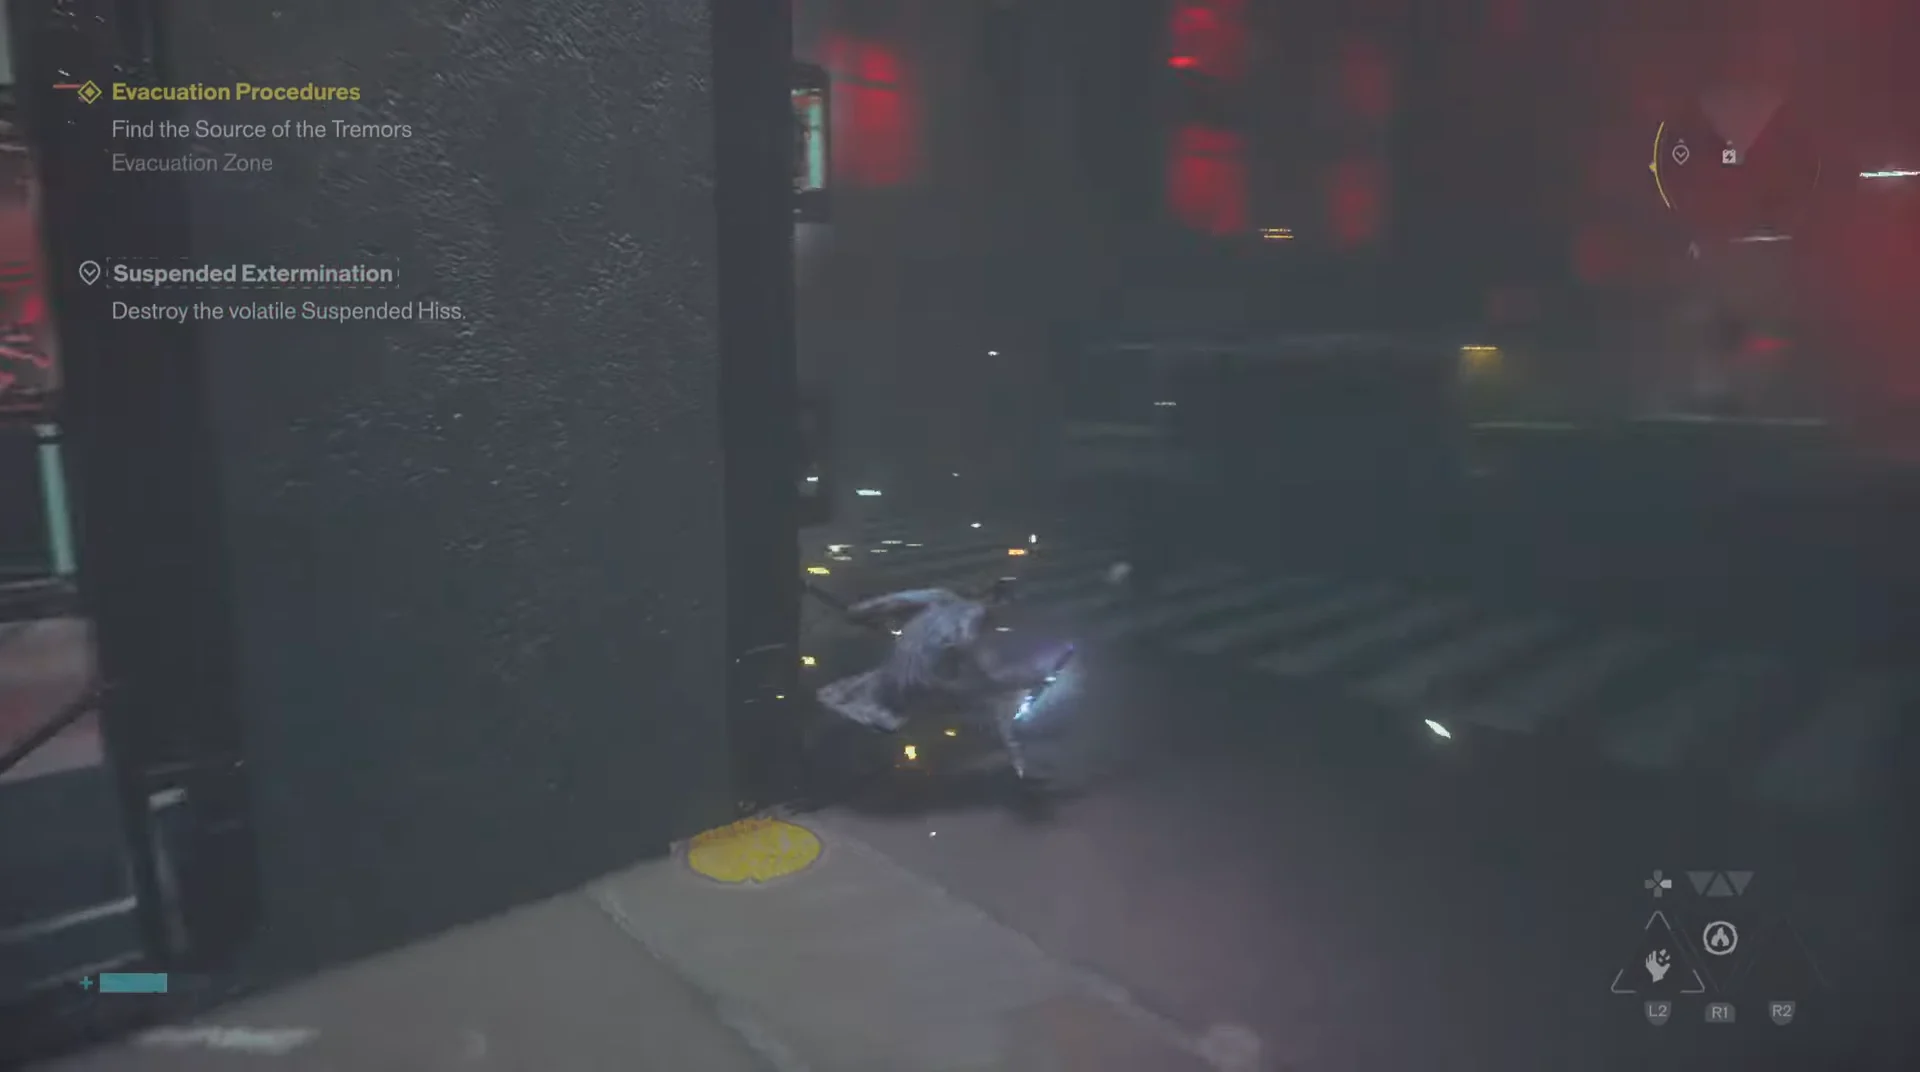
Drop down from the checkpoint landing into the street below. A tutorial about breakable enemy parts fires as you land, and there is hostile fire waiting, so clear the immediate area before you start looking up.
00:44Street Level DescentStreet level in Evacuation Zone 1, where the descent from the checkpoint drops you. Shown at 00:44 in Trophy Tom’s video. Image: Remedy Entertainment
Climb the building awnings and the yellow metal platforms to reach the rooftop radio relay station. Activate the main relay tower first — it comes online offline, and the three dishes around it need to be aligned before it does anything.
Rotate each of the three satellite dishes until its light turns green. One sits beside the tower, the second is on the neighbouring roof, and the third is a short rooftop hop past that.
Go back to the central relay tower and use the console. The Evacuation Zone 1 sector map unlocks immediately, filling in the street layout and the marked points of interest.
The tremor objective tracks a yellow power cable. Follow it and it leads to a dead electrical socket on a roof and, in the other direction, down into a ground-floor garage. Nothing opens until the socket has a core in it.
Find the unpowered socket on the rooftop first so you know where the core has to end up. It sits at the end of the gantry where the yellow line terminates, and interacting with it does nothing while it is empty.
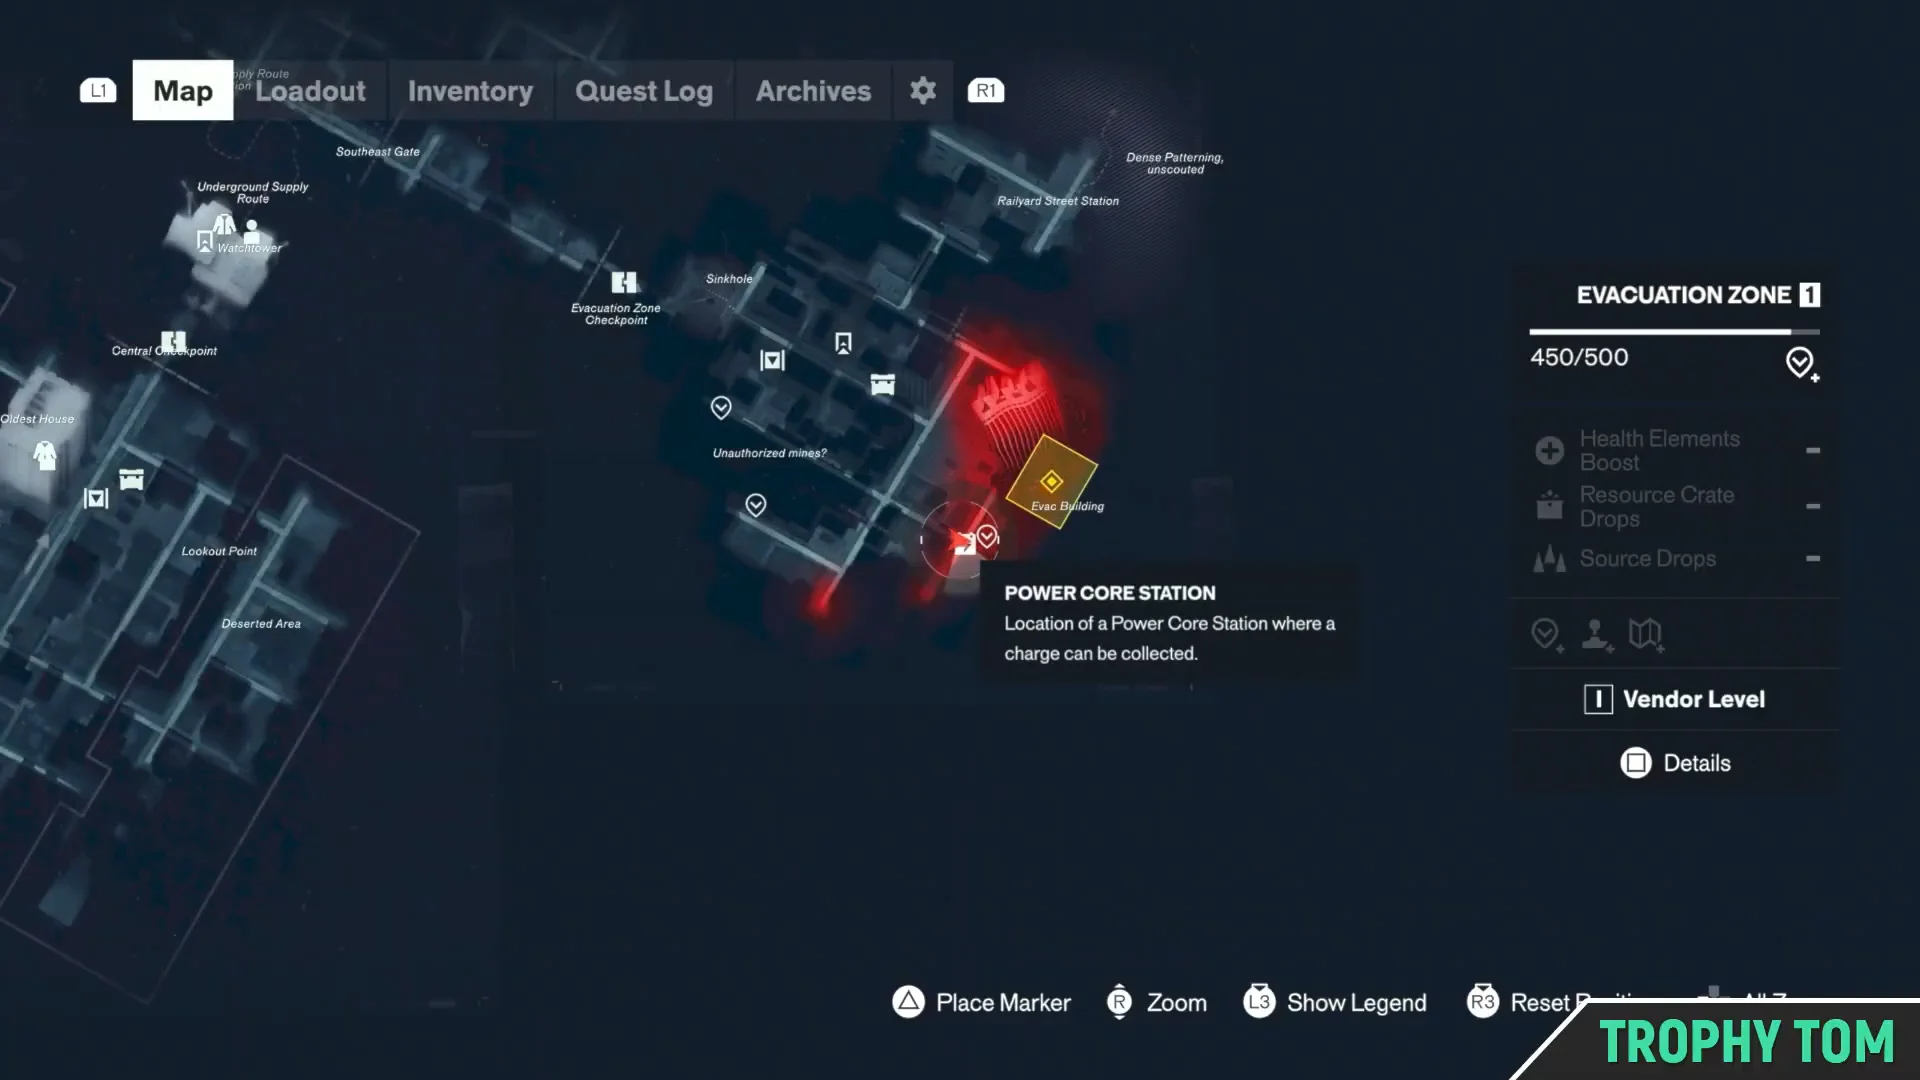
Drop back to street level and open your map. The Power Core Station is a marked street-side unit, sitting past a row of parked buses on the main thoroughfare.
Clear the Hiss hanging around the climb route before you pick anything up. Suspended enemies hover over the street and the interior spaces here, and fighting while carrying a core is a good way to lose it.
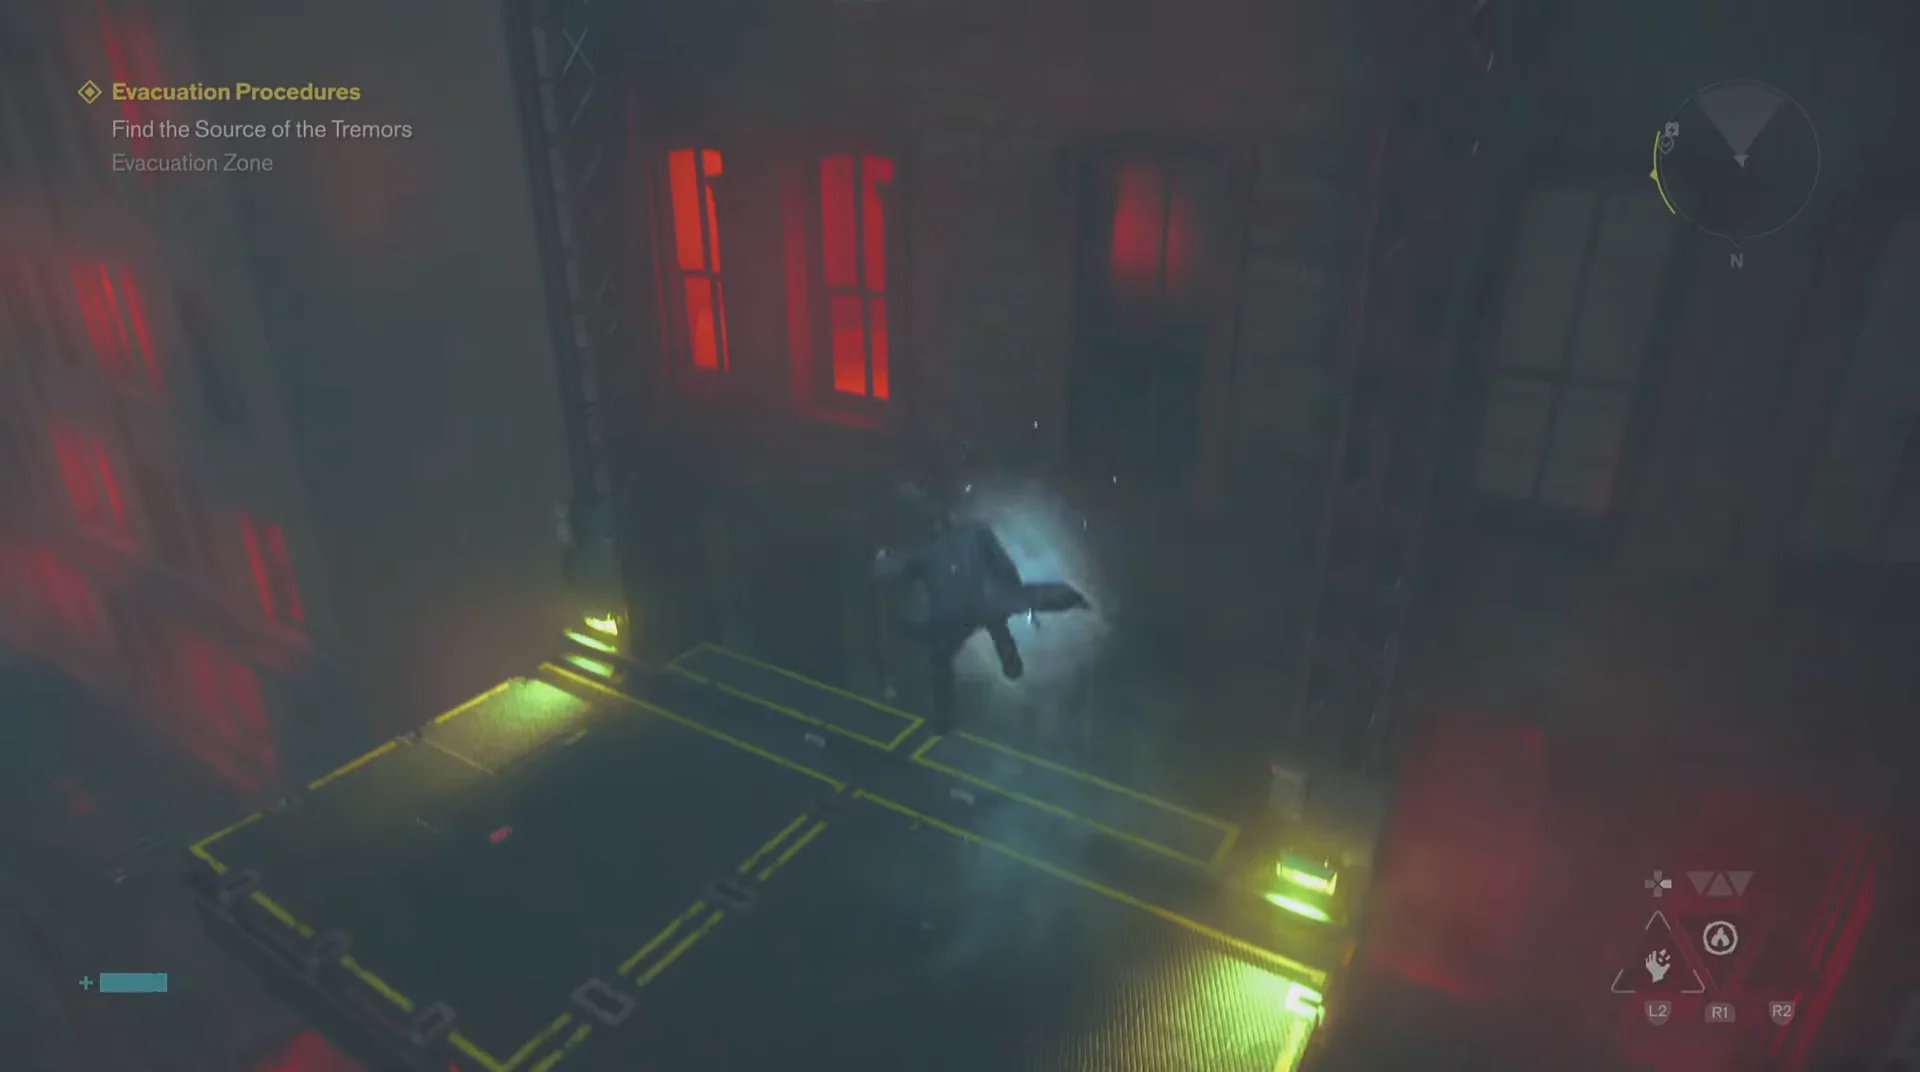
Take the core from the station and carry it up. The climb runs along the red-lit side of the building — awnings, fire escapes and exterior scaffolding — before a jump across the metal gantry to the generator platform.
Plug the core into the socket, then follow the newly live cable down to the ground-floor garage where it terminates. There is an enemy holding that space — kill it, then push through the alley beyond.
The alley is coated in the red substance. Destroy the obstruction blocking it and keep moving toward the red-lit front entrance of the federal building, past the security checkpoints and the looping evacuation announcements.
Yellow shipping containers and rooftops run parallel to the street outside 1065 Lexington Avenue. Using them lets you skip the barricades and the creatures patrolling below.
Climb 1065 Lexington Avenue to the 15th floor
Inside, the route is an elevator chain broken up by a construction atrium and a stretch of Hiss-infested offices. You will pass at least one door reading Insufficient Clearance Level — that is normal at this point, since the Level 2 Keycard is handed out later in the mission.
Continue along the caution tape beyond the blood-marked walls until you reach the expansive indoor atrium. Use the yellow scaffolding platforms to ascend toward the upper offices; a corner office contains a glowing cat statue with Health Upgrade Point 2/3, so collect it as you pass.
Take the red corridor, where bodies hang suspended along the route. Entering it begins the first vision: a flashback shows a prisoner dressed in a P6 uniform sprinting through the Oldest House, sending you into Evacuation Zone 2.
Push through the offices full of Hiss Distorted enemies to the elevator lobby on floor 14, call the elevator, and select the 15th Floor. Another vision plays during the ride.
Step out into the dim, blood-splattered hallway on floor 15 and walk toward the distant cries. The interrogation flashback with Arish plays out behind glass, then hands control back to Dylan in a large red chamber.
How to confirm the objective is complete
There is no boss and no prompt to confirm it. The tracker on the right of your screen simply changes from the tremor objective to Locate the survivor as Dylan walks into the cavernous red chamber past the floor 15 hallway. If it has not changed, you have not reached that chamber yet — keep following the cries.
From there the mission runs to its end: find Arish, get him out alive, and escape the building. Finishing Evacuation Procedures hands over a few things worth knowing about.
Reward
When you get it
Level 2 Keycard
During the mission
Living Shard
On completion
Agent Uniform
On completion
Once you are clear of the building, Arish’s Briefing opens back at the FBC Field Office in Central, which is where the Contain the Crisis chain picks up again.