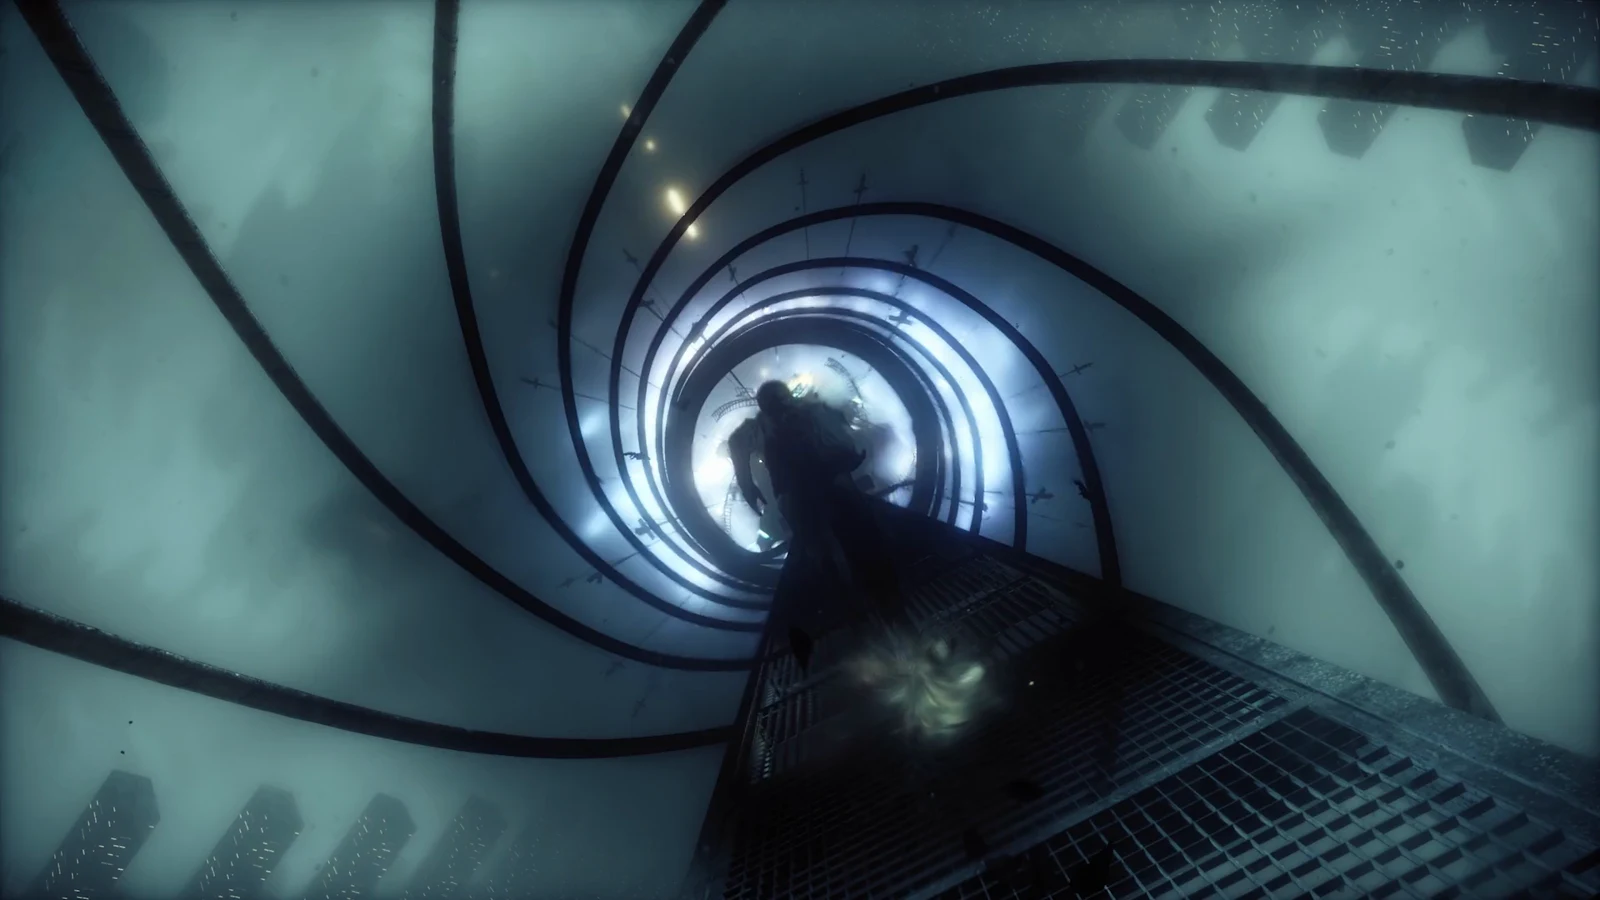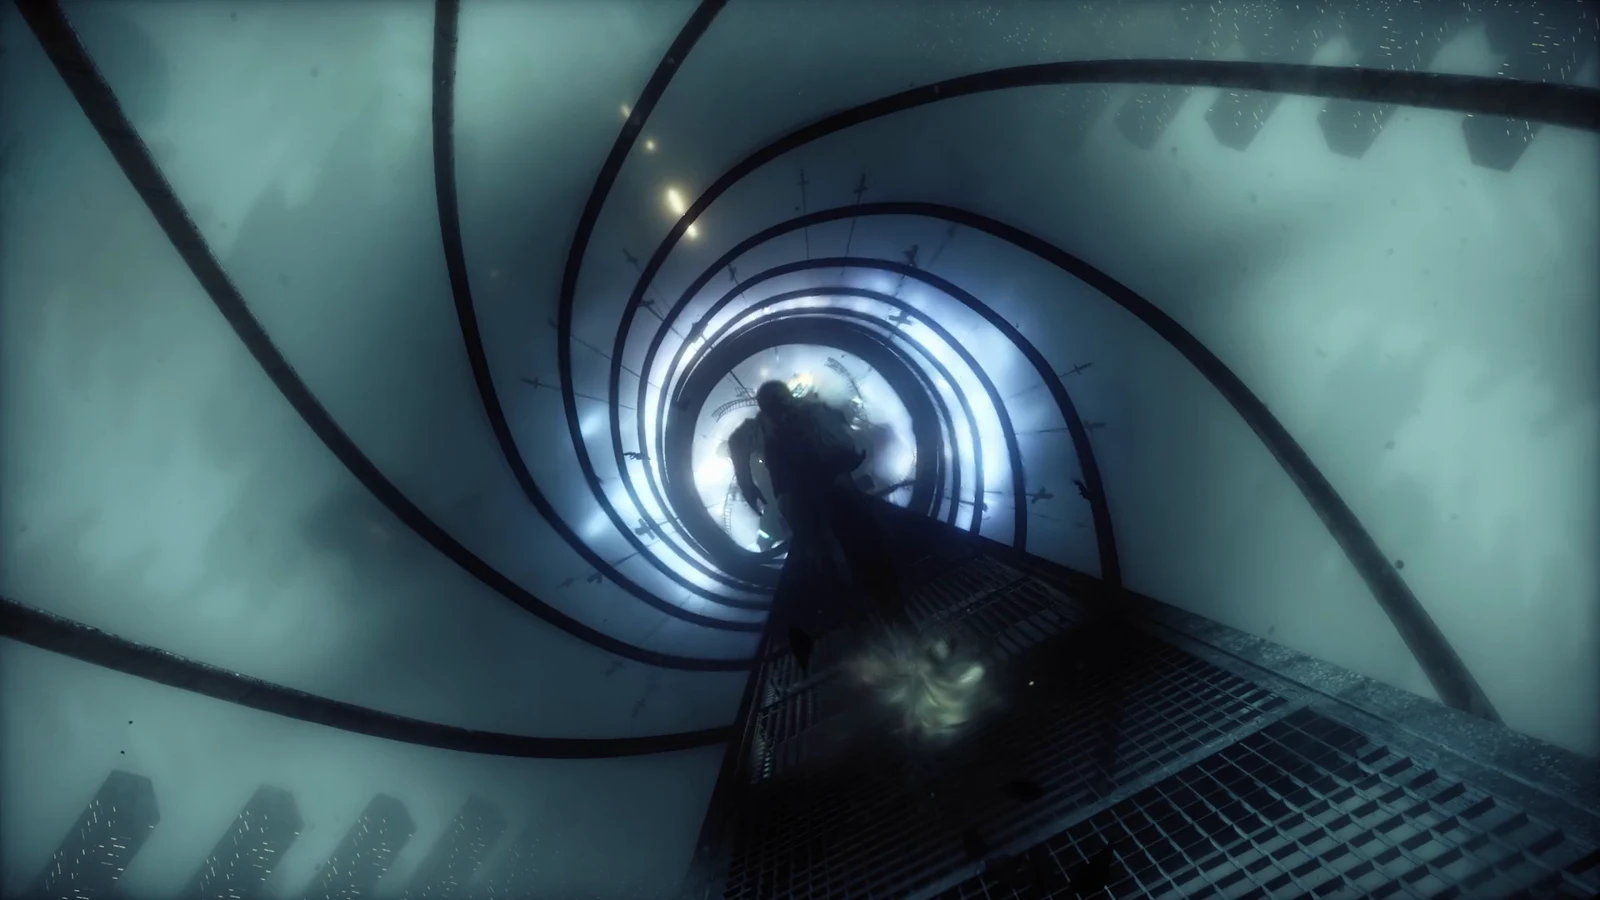
Late in Recursions and Iterations, Dylan’s search for the missing research team turns into a traversal puzzle. After the Cross the Chasm objective, the Underpass stops giving you a single waypoint and instead strings a line of flashing red beacons across a collapsed stretch of concrete. Those beacons are the path to Grist, and the route only reads clearly once you know which ledges are load-bearing and which are scenery.
Quick answer: Activate the relay machine on the platform after crossing the chasm, then move from red beacon to red beacon — ledges, pillars, green-foamed pipes, the desk platforms — until Dylan calls out to Grist at the lit workstation.
What you need before the relay route unlocks
This objective sits deep inside a mission that is gated by Jesse’s Fault chain. If the Underpass looks impassable long before the chasm, the blocker is almost always a traversal ability you have not picked up yet rather than a hidden door.
- Shift, unlocked by completing The Incursion Fault in the West Incursion Zone.
- Reach, unlocked by completing The Subway Fault in the Evacuation Zone.
- The Underpass Fault, approached from The Spire once you have Reach.
- The earlier Recursions and Iterations beats: restoring the power, locating Grist, and defending the transmission tower.
- The time fluctuation at the cable car, which feeds directly into Cross the Chasm.
Recursions and Iterations is the mission where Control Resonant stops running one quest at a time. If your log still shows an unfinished Fault, finish it first — the chasm route expects both traversal abilities.
The full route to Grist, beacon by beacon
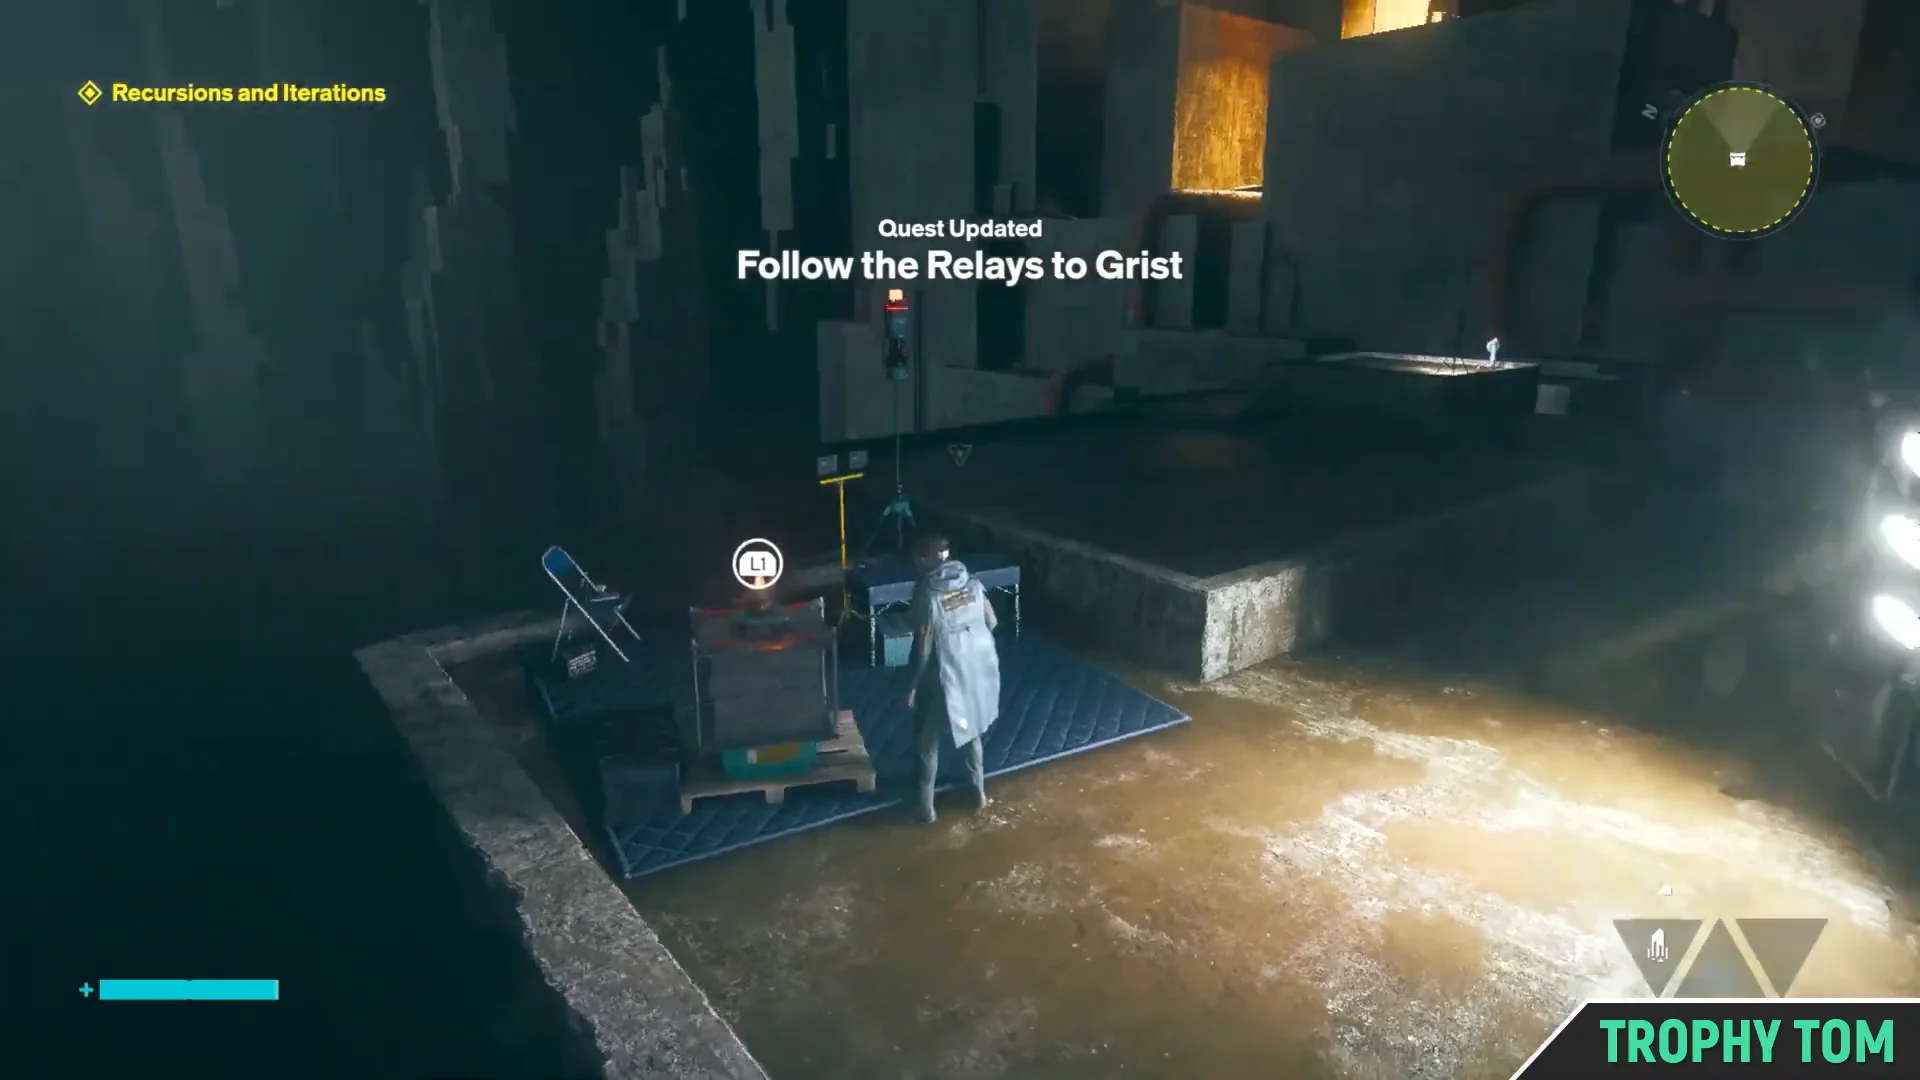
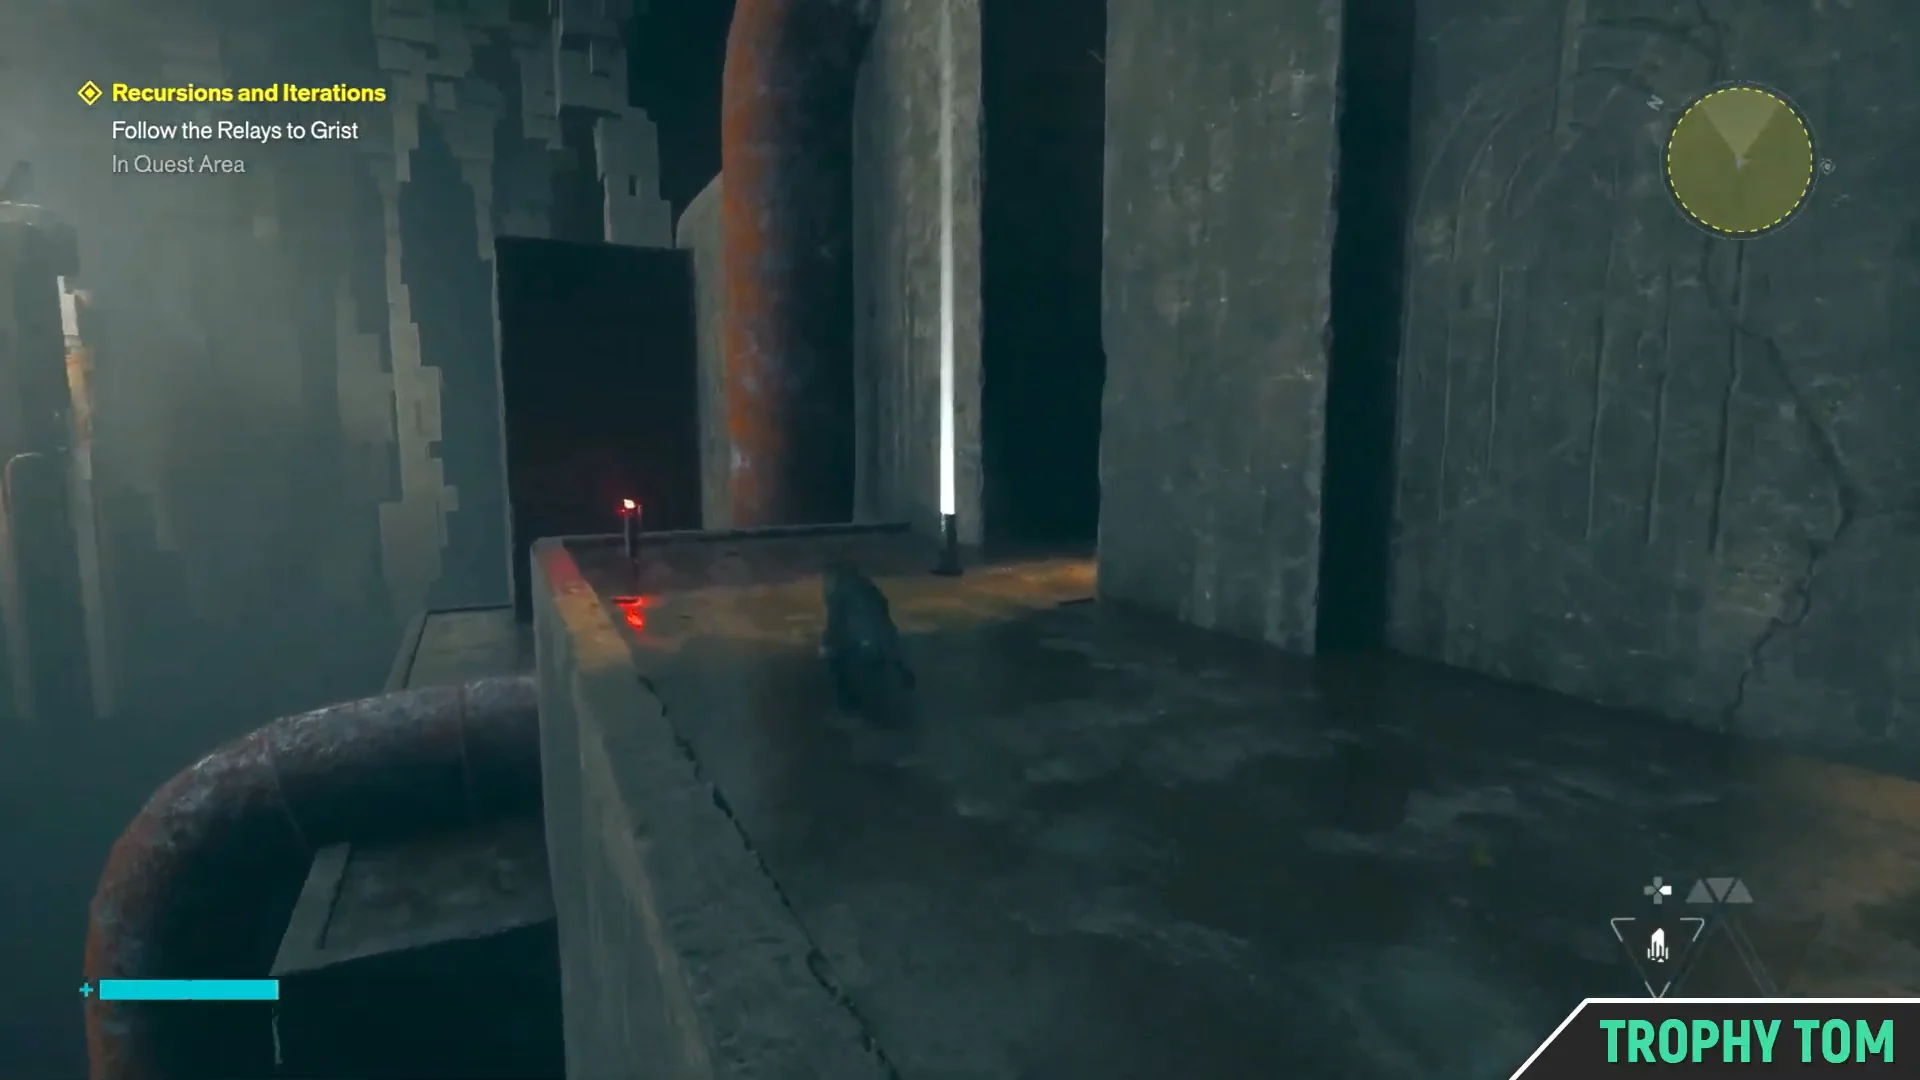
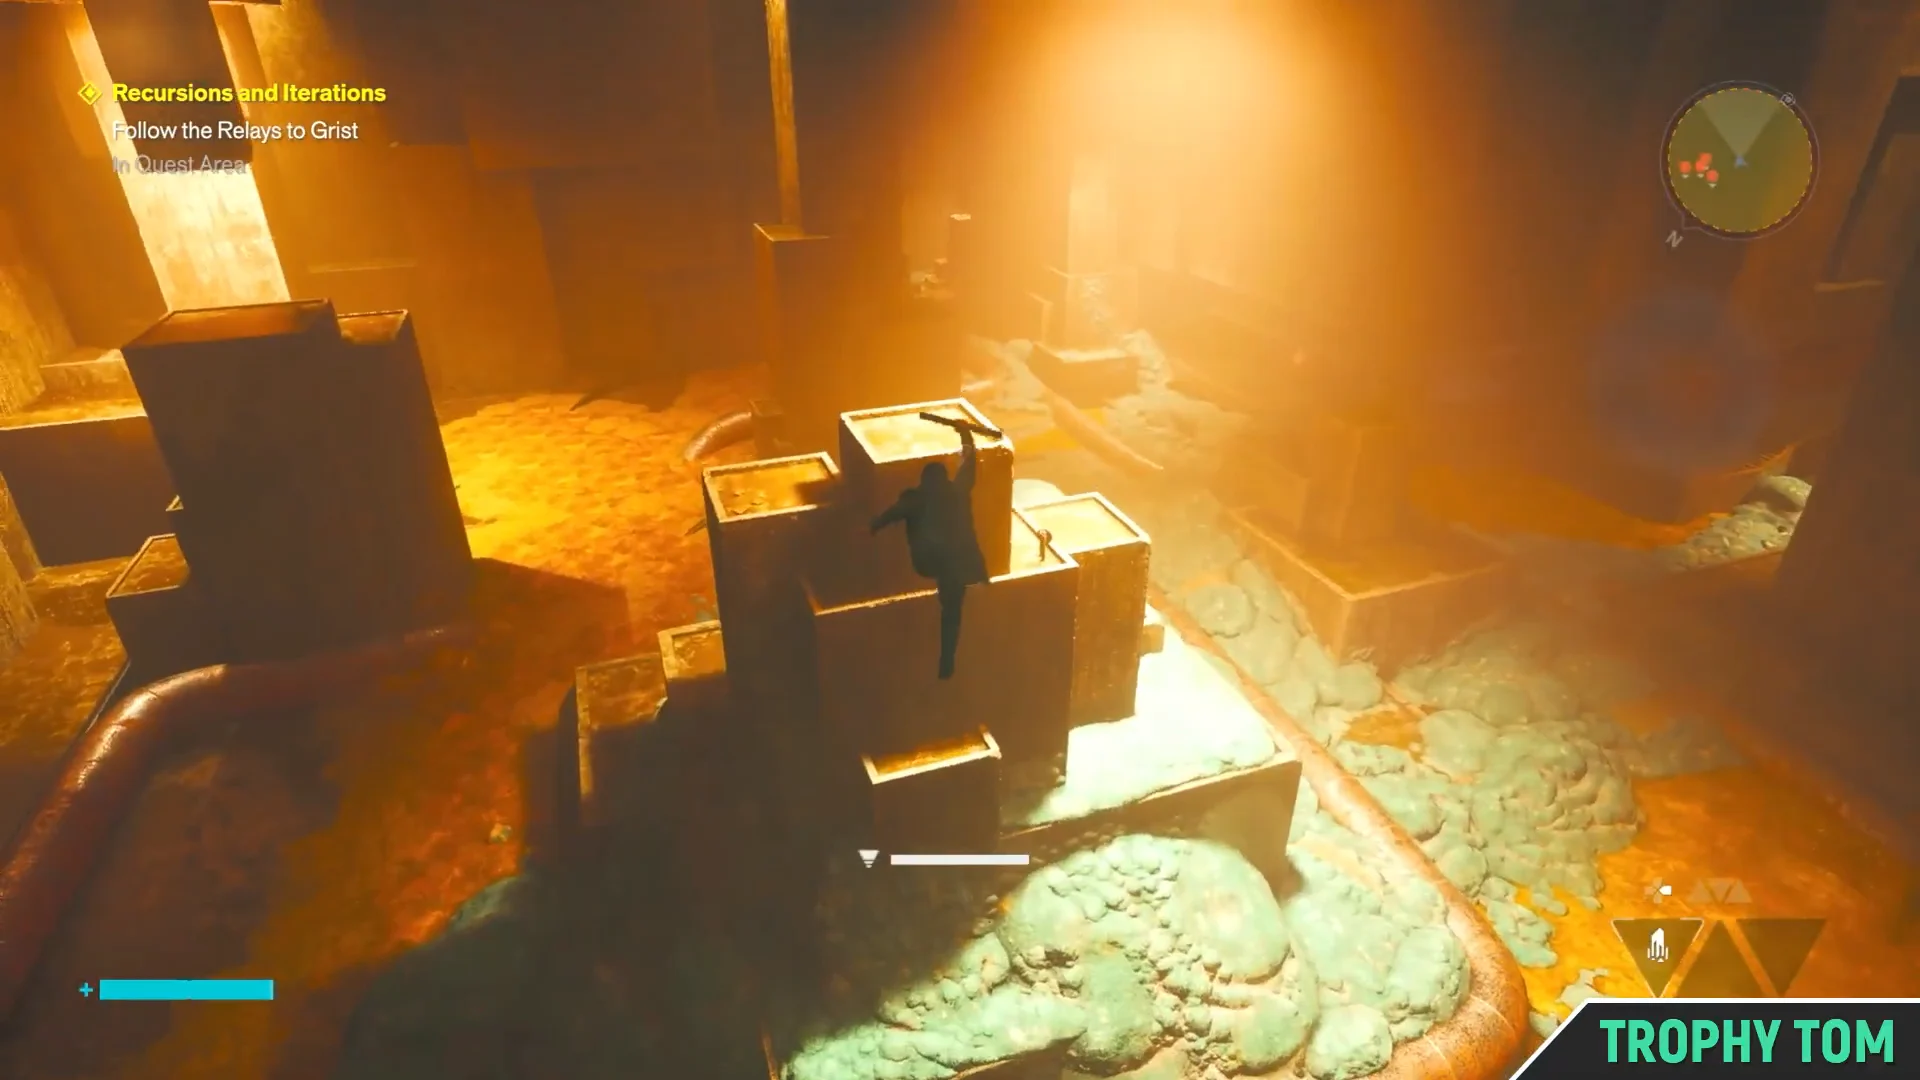
Landmarks in order, if you have lost the beacon line
The route never doubles back on itself. Use these markers to check whether you are ahead of or behind where you think you are.
| Order | Landmark | Note |
|---|---|---|
| 1 | Relay machine on the platform | Triggers the objective |
| 2 | Orange pipes and block climb | Power Upgrade Point 3/3 |
| 3 | Underpass 3 ledges | First red beacon |
| 4 | Chasm pillars | Jumps over orange mist |
| 5 | Green-foamed pipes | Second red beacon |
| 6 | White growth corridor | Dylan’s Corpse |
| 7 | Misty cavern | Head for the concrete blocks |
| 8 | Desk and typewriter rooms | Climb to the red wall |
| 9 | Lit workstation alcove | Chalkboard drawing, doorway to Grist |
How to confirm the objective is complete
There is no boss or arena at the end of this stretch. The confirmation is the quest tracker itself: once Dylan reaches the workstation alcove and moves through the doorway calling for Grist, the Recursions and Iterations objective rolls over to Place the final probe relay. If the tracker still reads Follow the Relays to Grist, you have stopped short of the doorway past the chalkboard.
Why the final probe relay matters
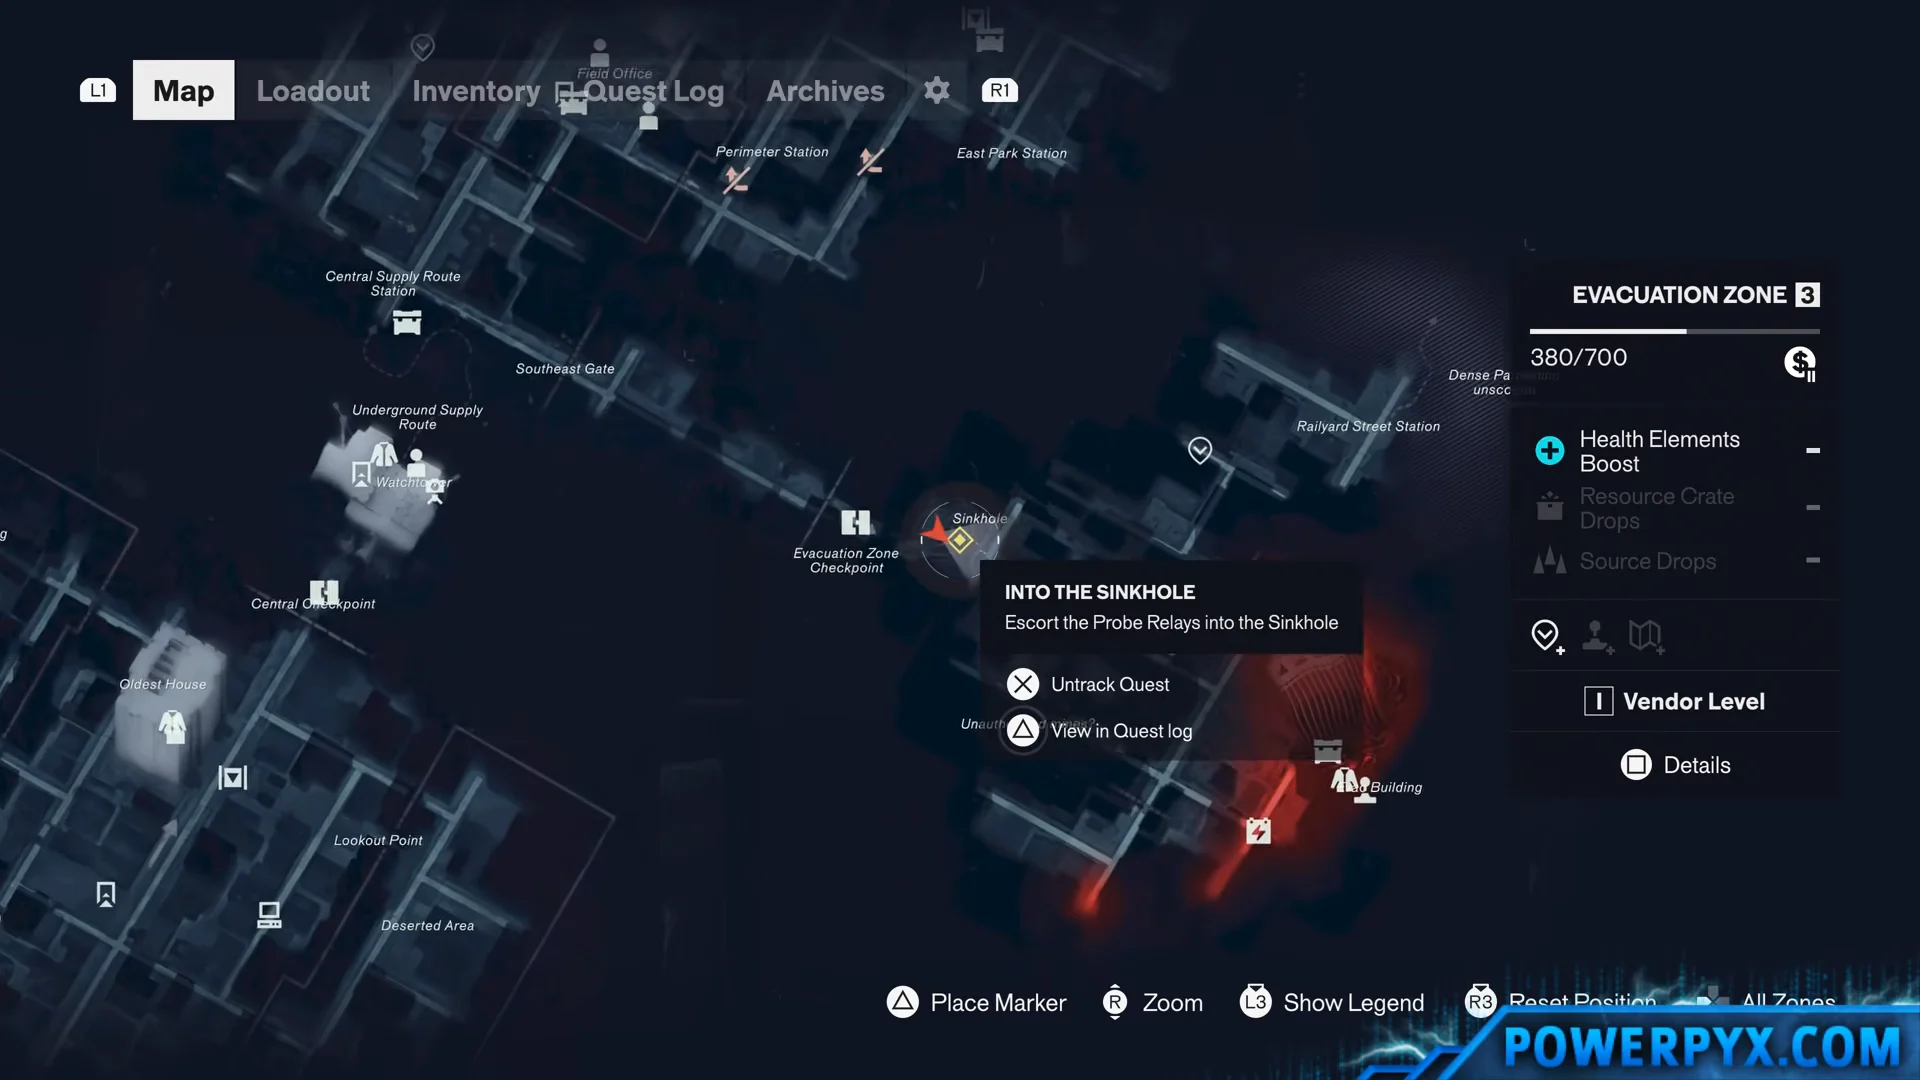
The relay placement that closes out Recursions and Iterations is the last piece of the probe array the FBC has been building since the descent under the Evacuation Zone. That work began with Into the Sinkhole, where Dylan escorted the relays down by diving bell.
At Bedrock, the relays are pulled one at a time from a central unit and carried out to marked terminals across floating platforms and elevated ledges. Four of them complete that array, after which the area turns hostile and the diving bell cable snaps.
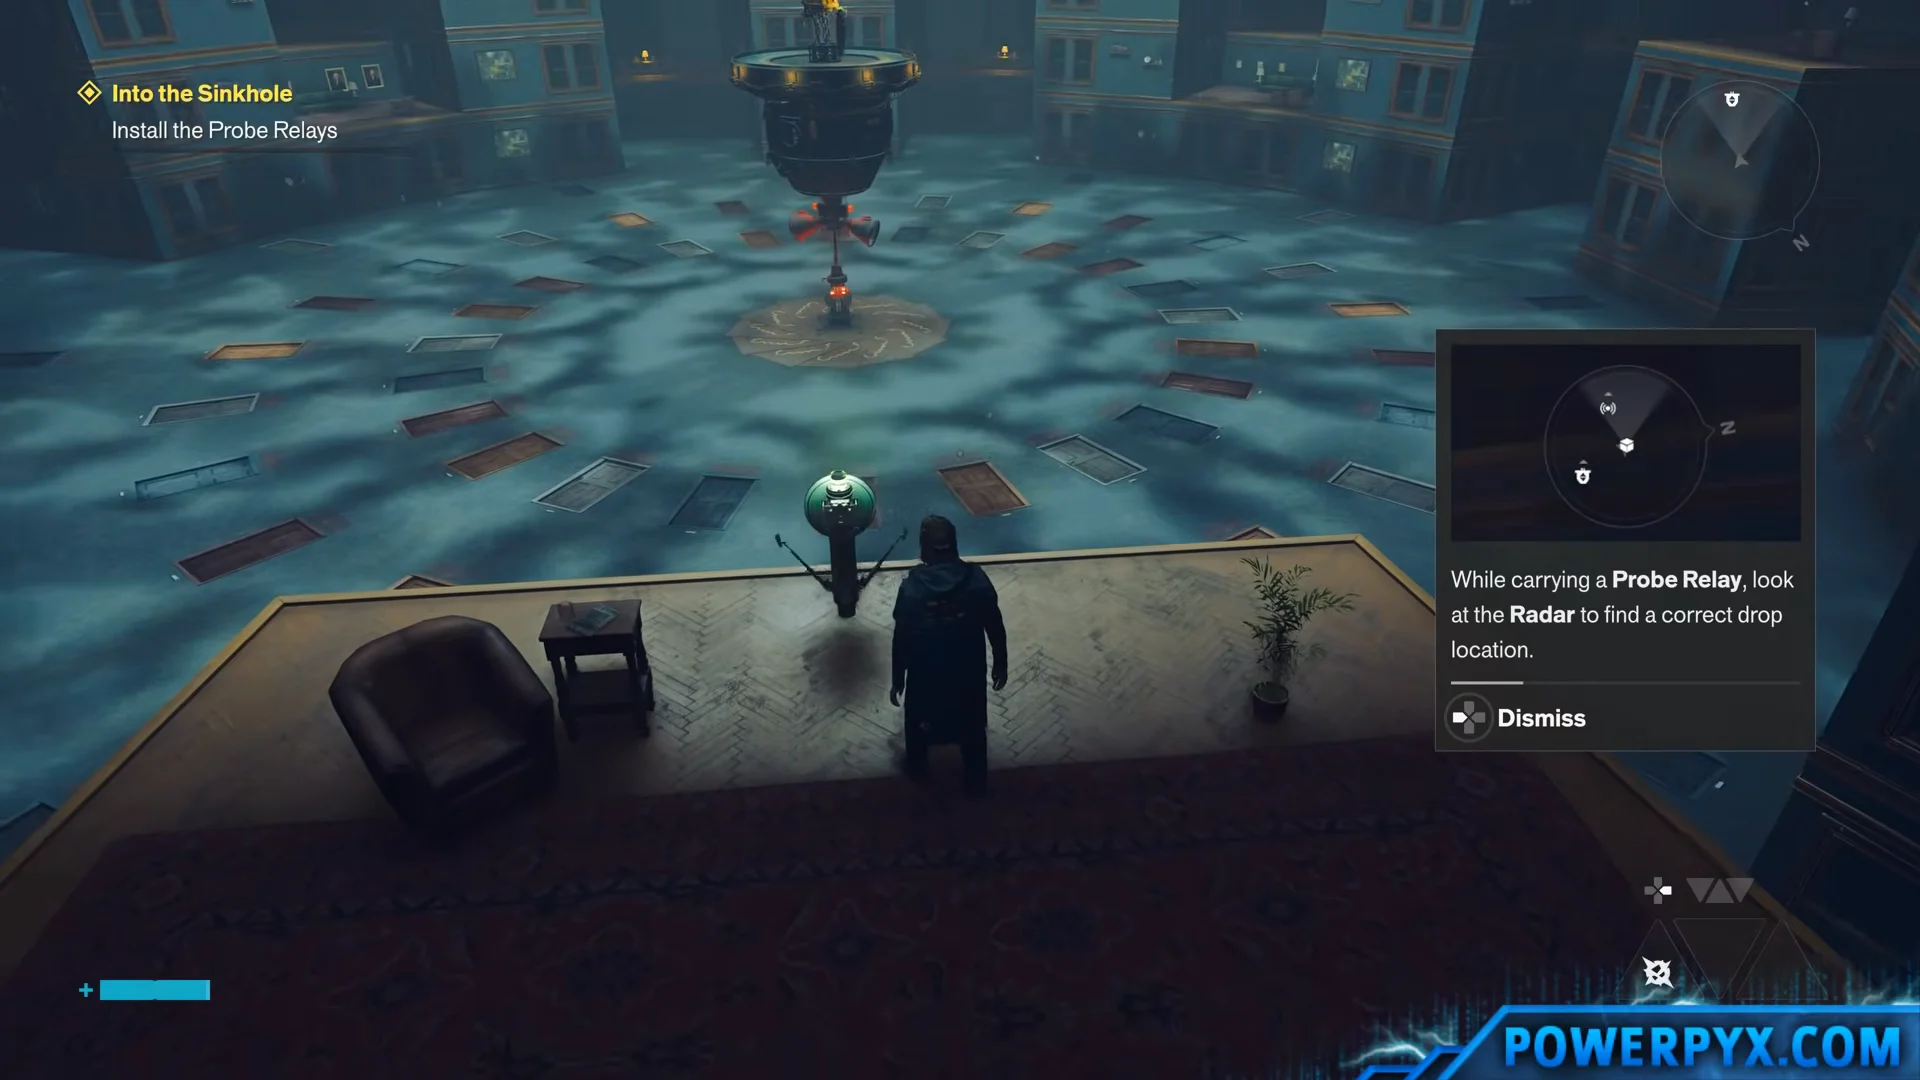
Knowing that pattern is useful when the Underpass asks for the last one, because the interaction is the same kind of carry-and-activate job rather than a new system.
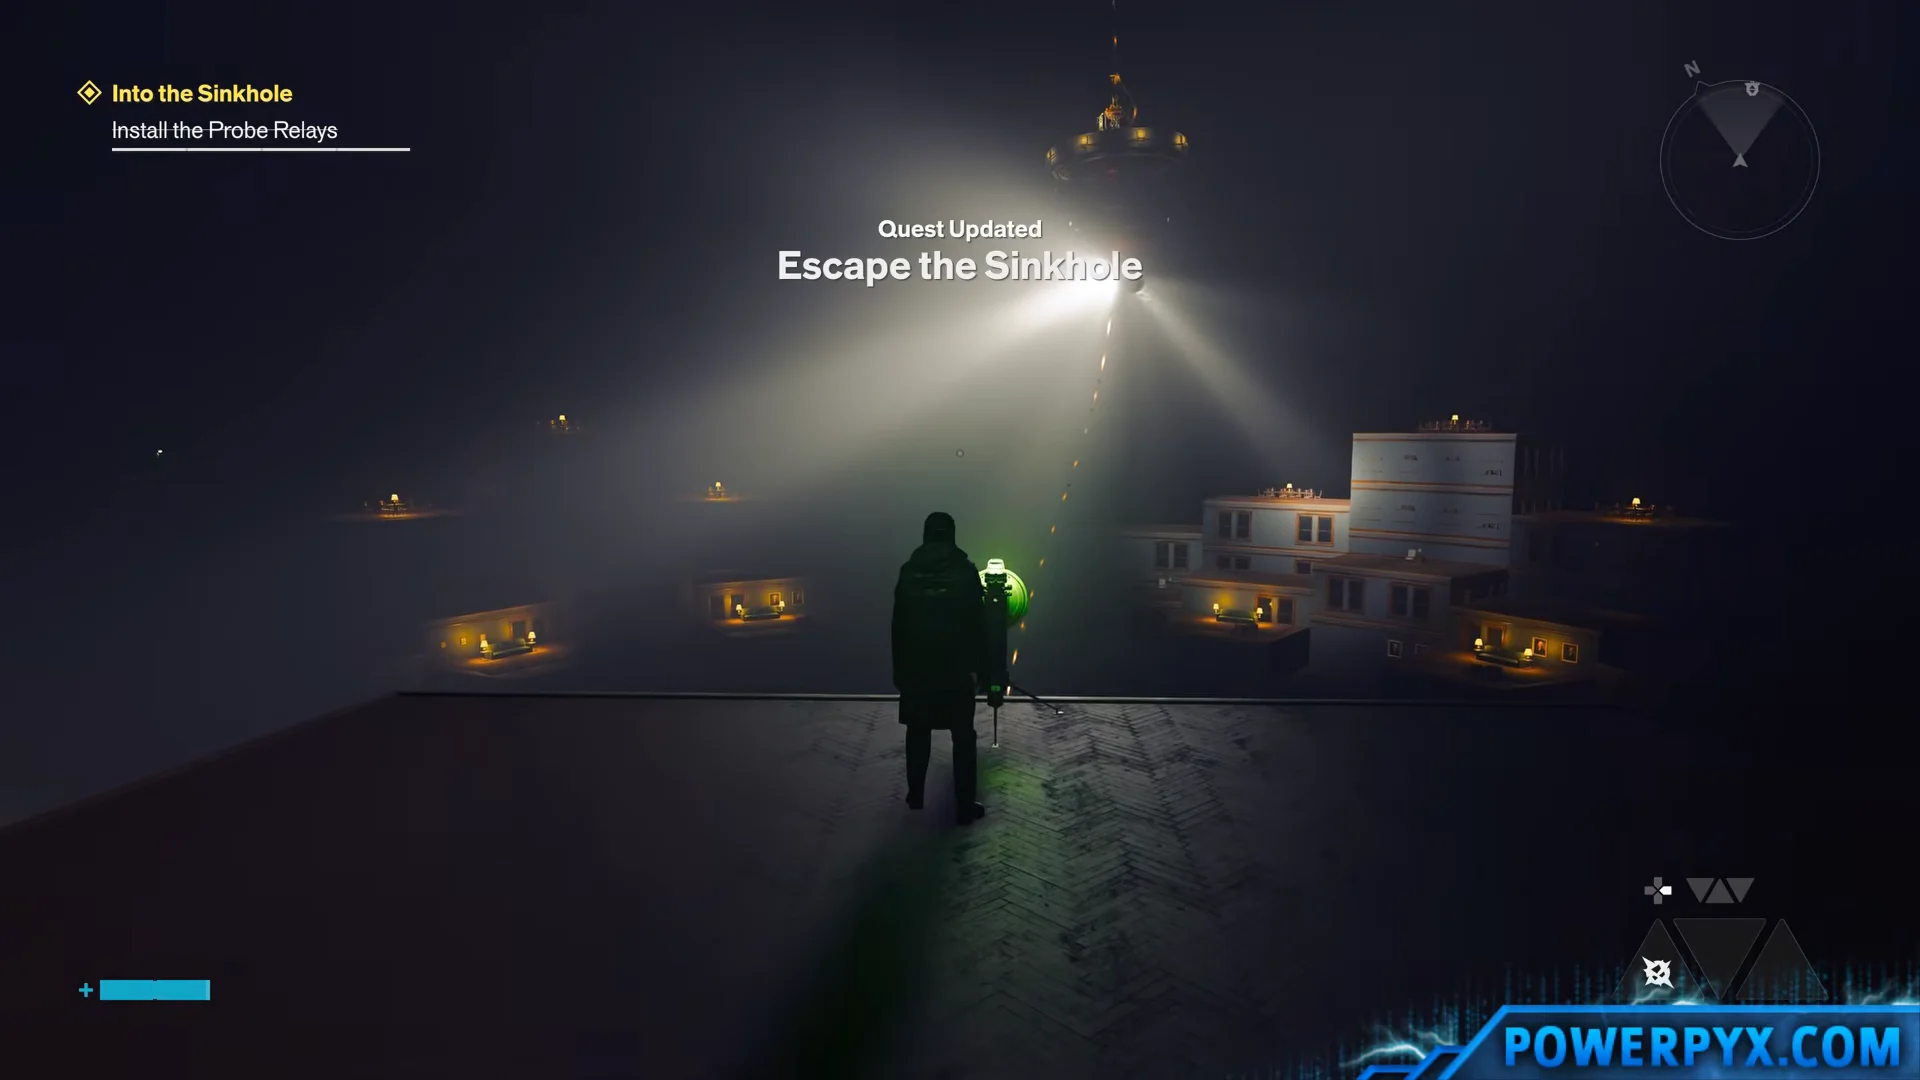
With Grist found and the relay chain finished, Recursions and Iterations wraps up and the campaign turns back toward the Oldest House for The House in Distress. Before you go, the Underpass is worth another pass for upgrade points — the next Resonant Cycle brings everything you have killed back a little stronger.