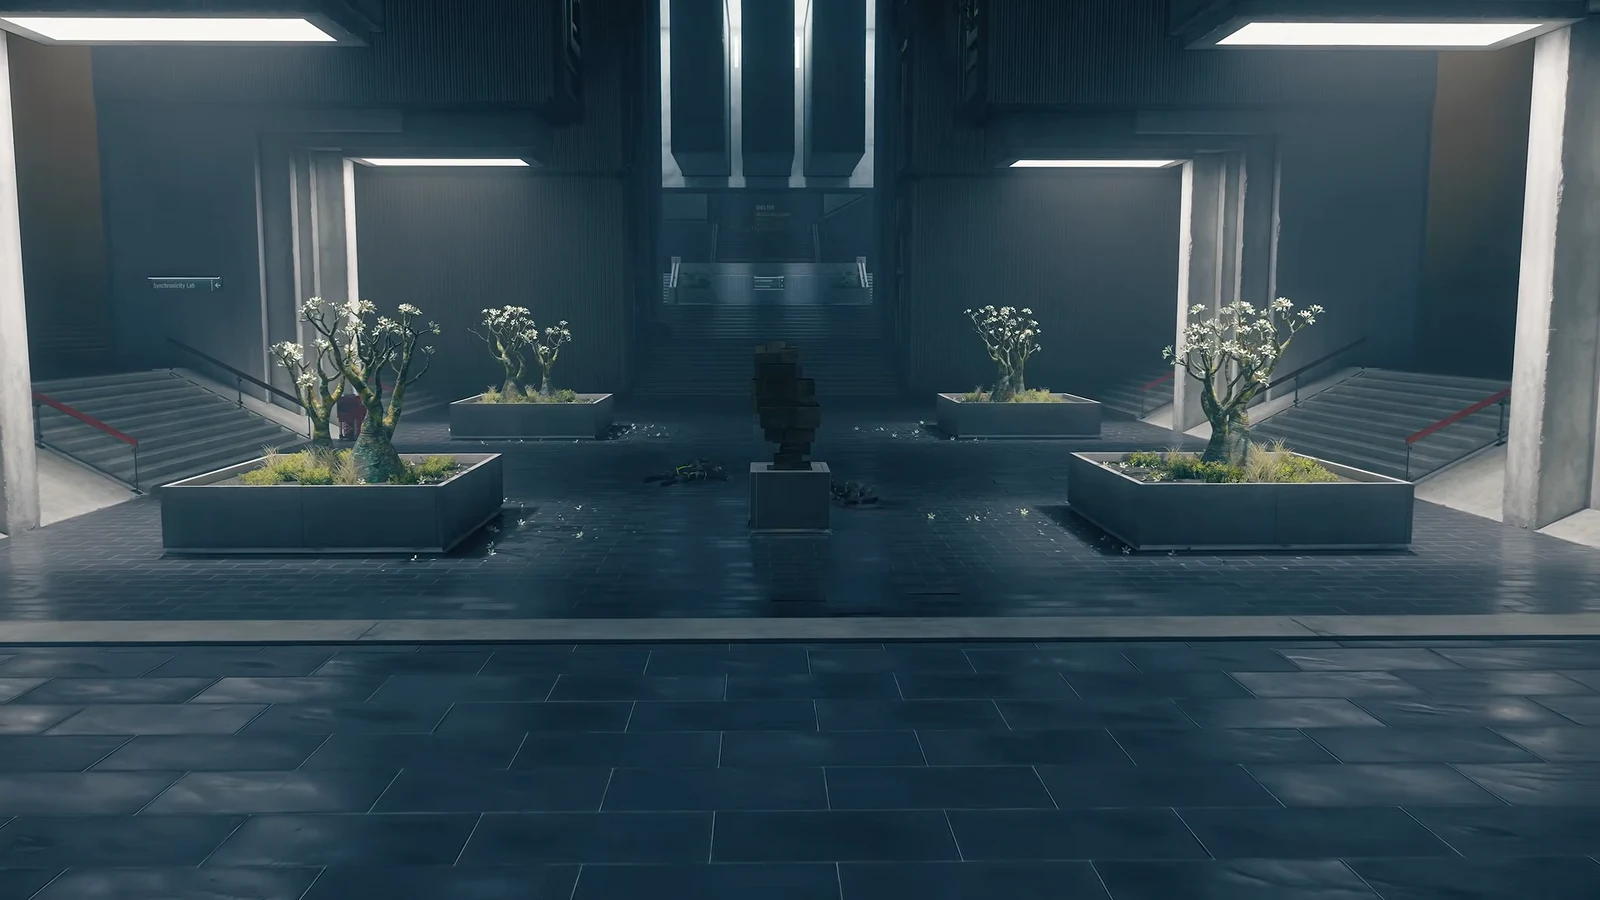
“Reach the Oldest House Fault” is an objective in the main quest The House in Distress, and it sends Dylan Faden back inside the Oldest House alongside Zoe. The route runs from Central Executive down through Executive Research, past Main Observation, and into a testing wing that is running on emergency power. One mandatory puzzle sits in the middle of it, and the Fault itself is a TV Object of Power waiting in a maximum security chamber at the end.
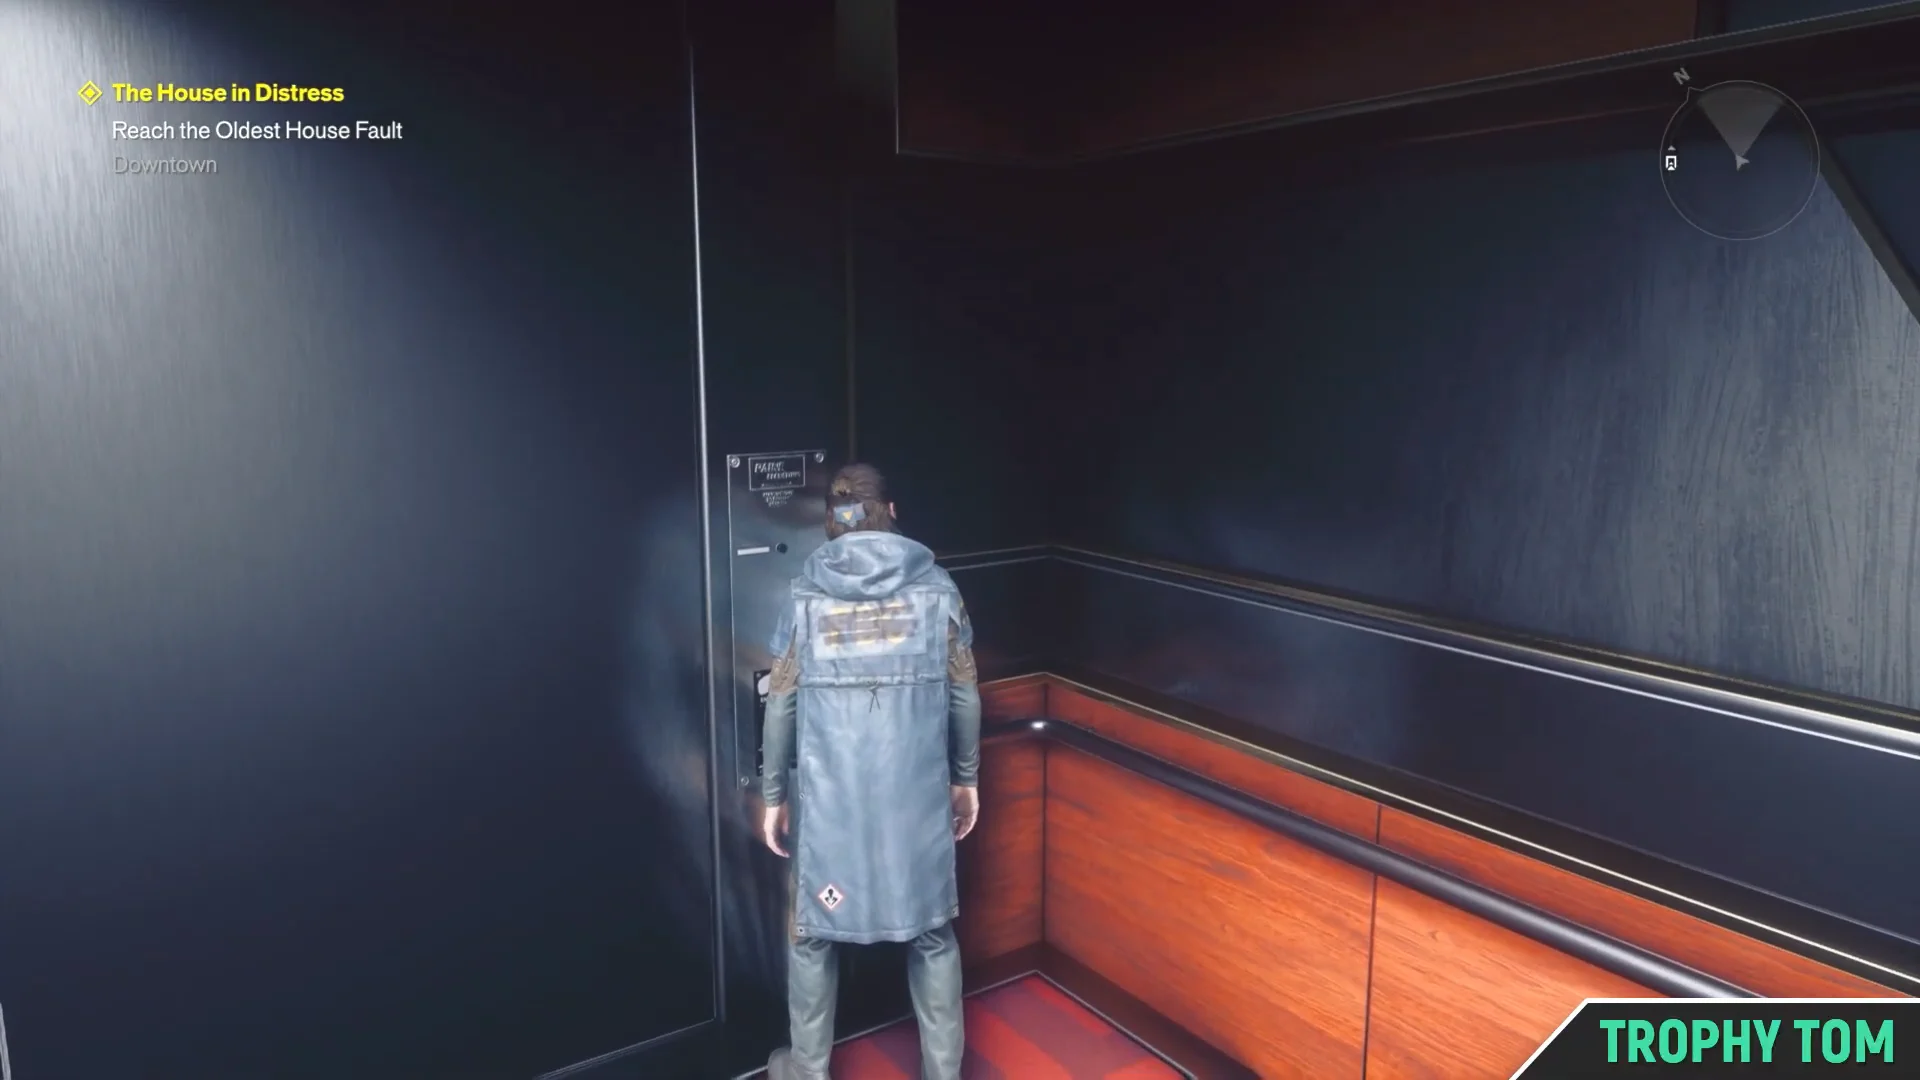
Quick answer: Fast travel to Oldest House: Central Executive, ride the Executive Research elevator, meet Zoe at Main Observation, solve the Electrokinesis Test, then enter Main Test Chamber V-E2 and interact with the TV.
Getting back into the Oldest House
The fastest way in is the Fast Travel menu rather than walking the Downtown streets. Downtown lists two points, and the one you want is the interior entrance.
Opening the electrokinesis testing room
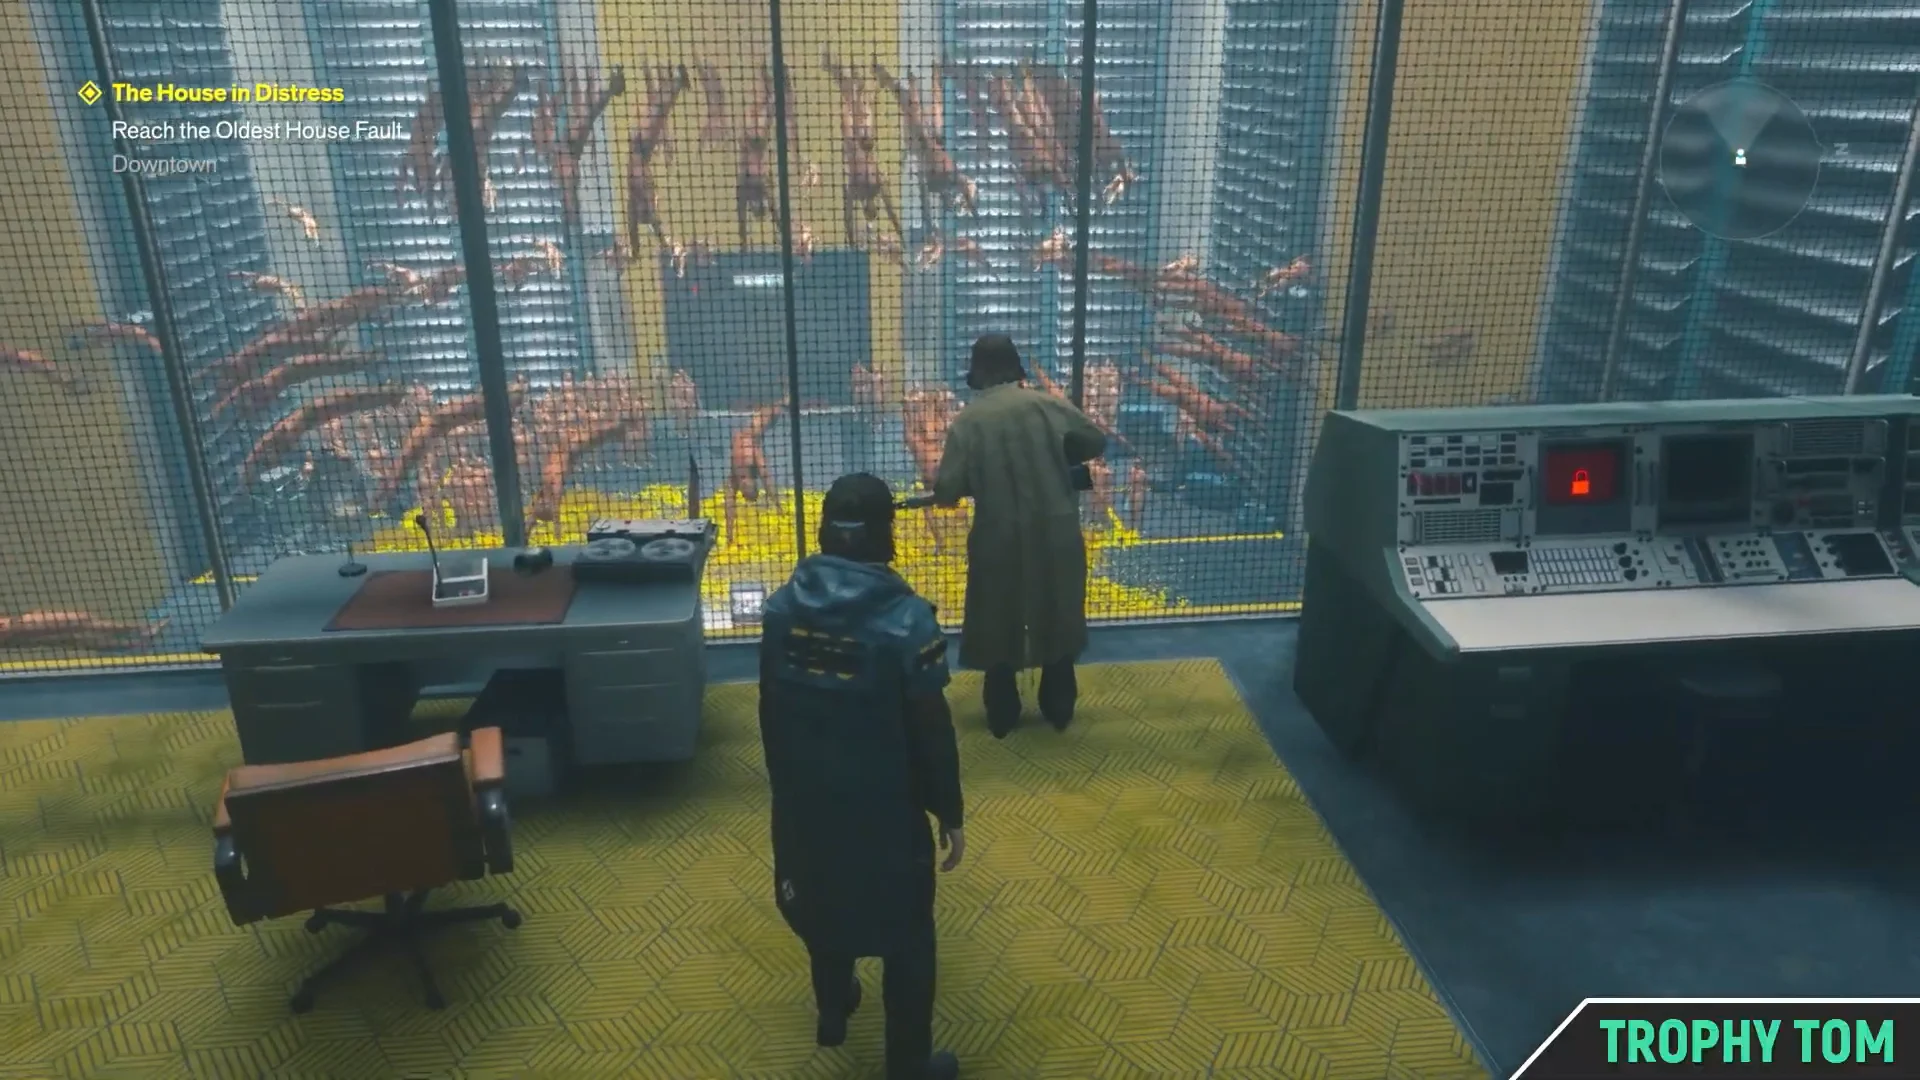
Nothing in the wing works until you move the electrical charge around by hand. Only one Power Core is live when you arrive, and the current travels with Dylan’s weapon once he strikes it.
Striking any core inside the testing room seals the doors behind you. You cannot leave until all three patterns are solved.
Electrokinesis Test solution: all three patterns
The chamber is a grid of Power Cores on the wall, with televisions mounted above them. Those screens show the shape the current is supposed to form, and your job is to light only the matching nodes. Cores stay lit until you hit them again, so deactivating a node is part of the answer as often as activating one.
| Test | Shape | Nodes to power |
|---|---|---|
| 1 | Triangle | Top left, top right, bottom middle |
| 2 | Square | Four corners (turn off bottom middle) |
| 3 | Cross | Entire middle column and middle row |
Each correct input flips the televisions to the next pattern. When the cross is complete, every screen turns green, the facility reports “Test number 82: Success!”, and the doors unseal. You can then pull the charge from the cores again and carry it back down to the breaker room.
Power Upgrade Point 1/3 in the side offices
Completing the test opens a side room on the second floor. Inside is a chest holding Power Upgrade Point 1/3, one of three you need to collect to improve Dylan’s Power. If the room is hard to spot among the dark offices, look for the solid red light marking the doorway.
Several files are scattered through the surrounding offices as well. None of them are required to continue.
Restoring the breaker room and reaching the High Risk Chamber
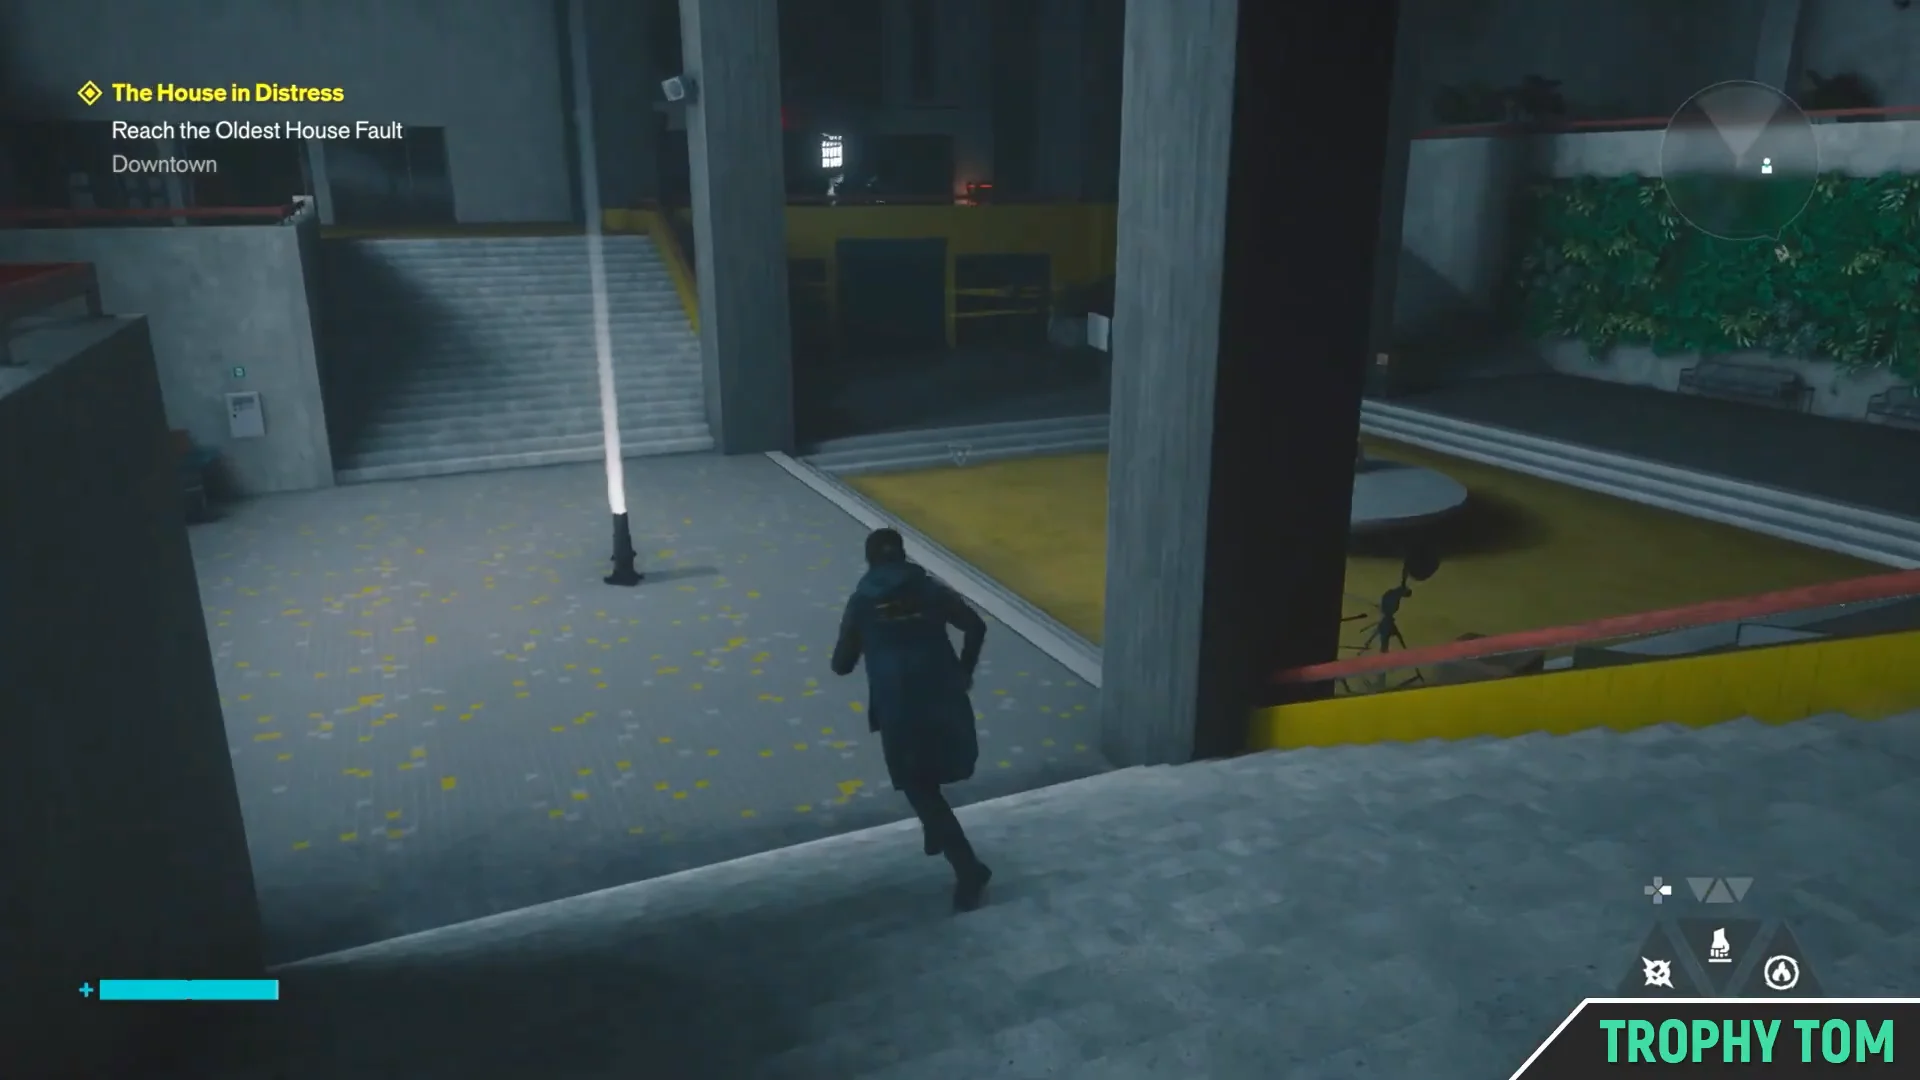
With the testing room finished, carry the remaining charges into the wall sockets in the breaker room below. Filling them restores power to the wing and unlocks the doors upstairs.
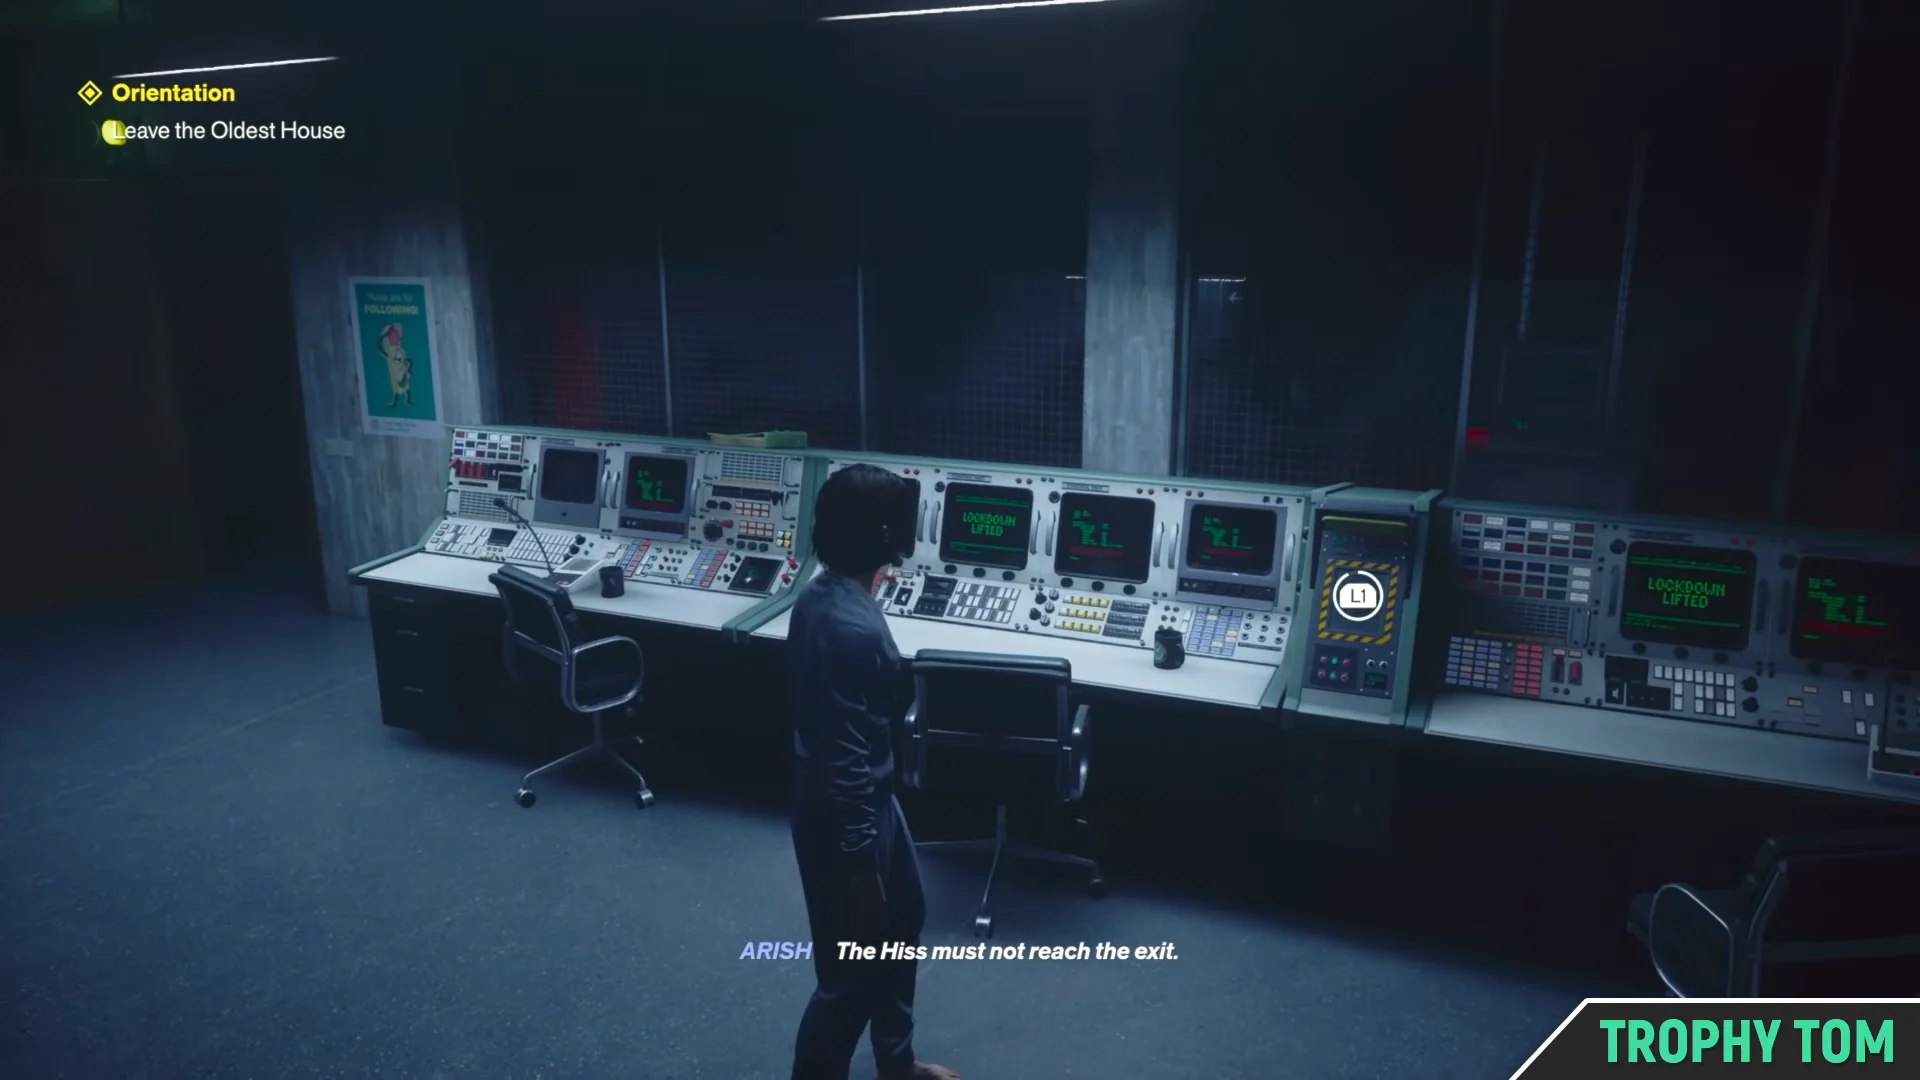
Power coming back also unlocks the “Perfect” Dr. Darling film and plays his broadcast on the control room screen to the left as you pass. When you are done listening, take the stairs up and go through the door marked High Risk Chamber.
Director Training, the dialogue choice, and the balcony fight
Past the sign, a ribbed metal corridor leads to the Director Training area, which is Dylan’s former containment space. The room announces a P6 Mobile Containment Device and fills with red alarm flashes, triggering a scene with Zoe.
You are given two dialogue options here, “I blame me” and “I lost control”. Either reply moves the conversation along.
Leaving the chamber puts you on a balcony overlooking the Central Executive sector, where Hiss enemies spawn. Clearing them awards Talent Point +1 and opens the path onward.
Main Test Chamber V-E2 and confirming the Fault
The final door is labelled MAIN TEST CHAMBER V-E2 and requires Clearance Level 18, which Dylan does not have. Talk to Zoe at the gate and she opens it for you.
Walk into the middle of the maximum security room and you will find the TV Object of Power tied to the Board. Interacting with it is what completes the objective, and the quest tracker in the corner updates the moment it registers, so if the marker is still sitting on the chamber, you have not moved far enough into the room to trigger the interaction prompt.