The Könstig art gallery in Control Resonant’s Evacuation Zone hides one of the game’s Secret Organization puzzles. Instead of a keypad or a switch sequence, it asks you to aim the room’s spotlights at the right paintings. Get all four correct and a hidden wall slides open, revealing a basement stuffed with lore and a Health Upgrade Point.
Quick answer: Read the counter note listing Journey, Windows, Thunder, and Tides, then light the one painting on each wall that matches each word. The secret door opens once all four are lit correctly.
Where to find the Könstig gallery in the Evacuation Zone
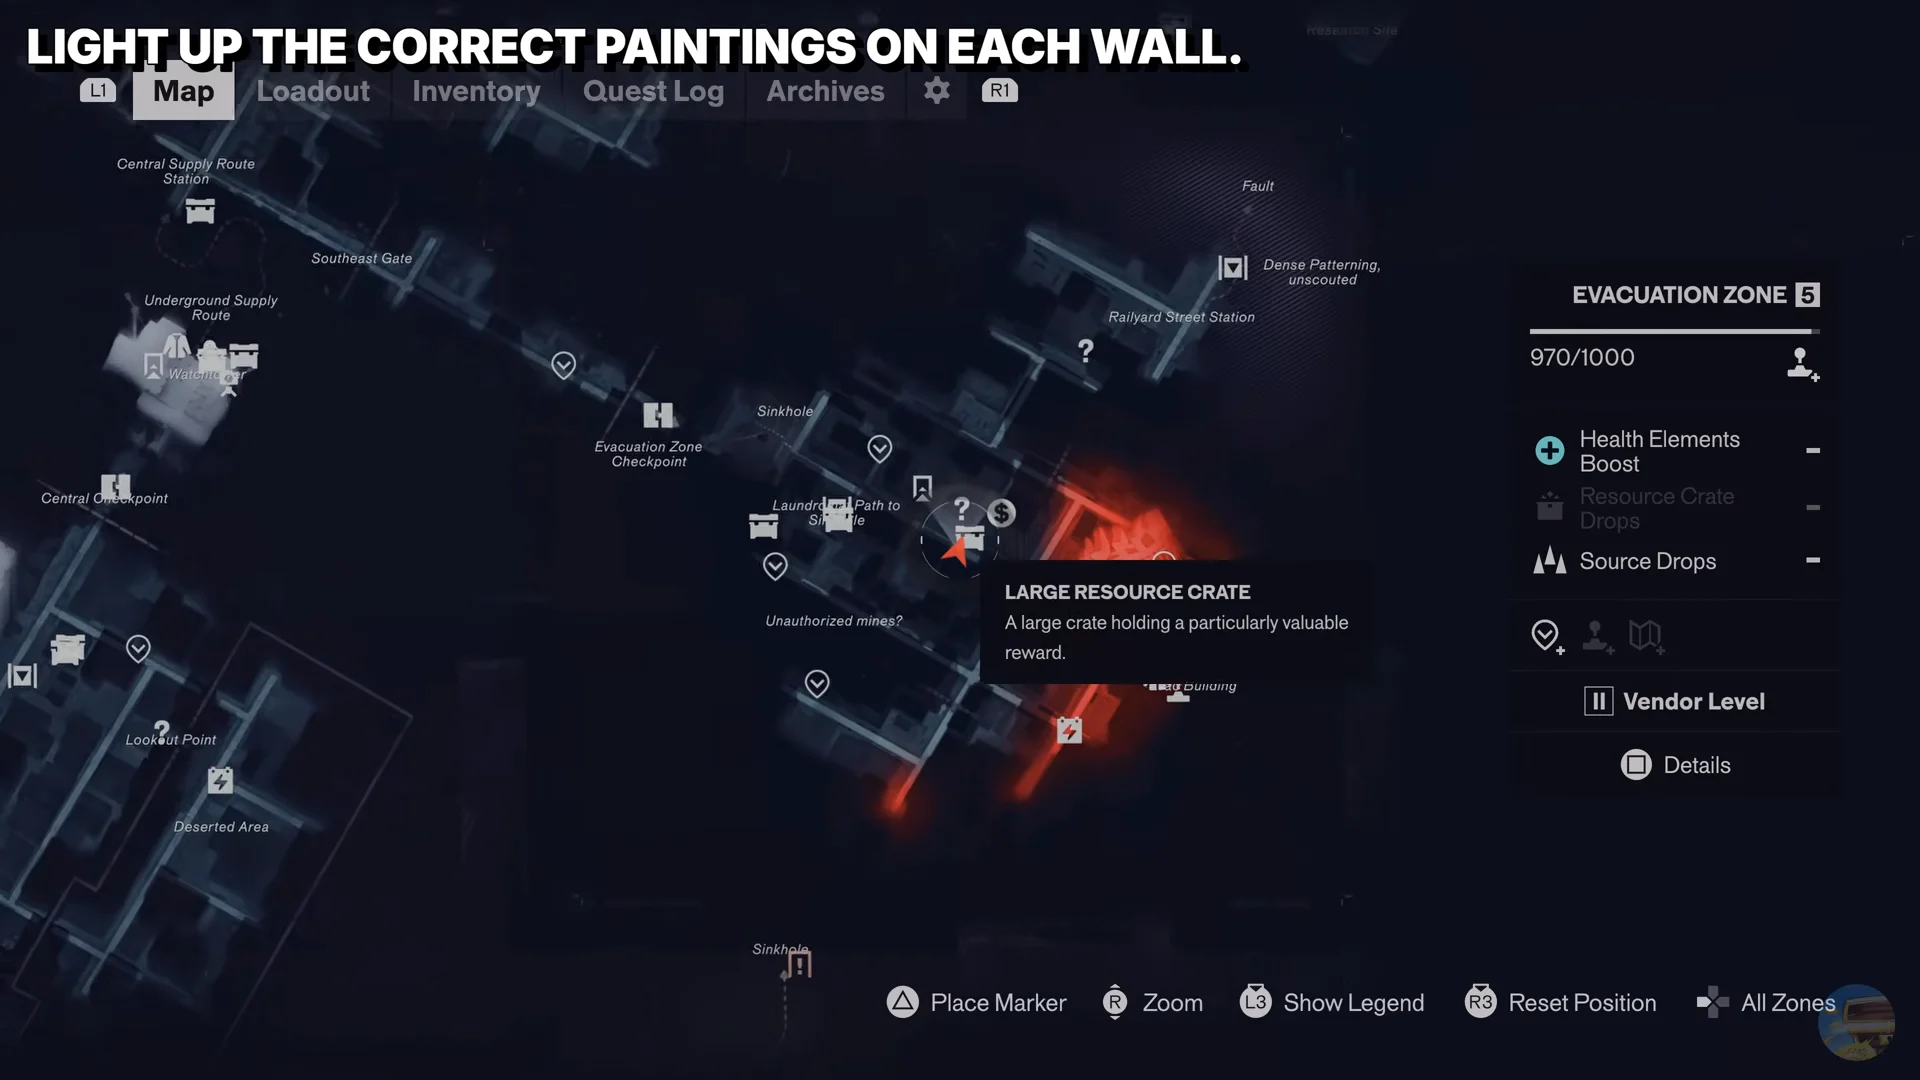
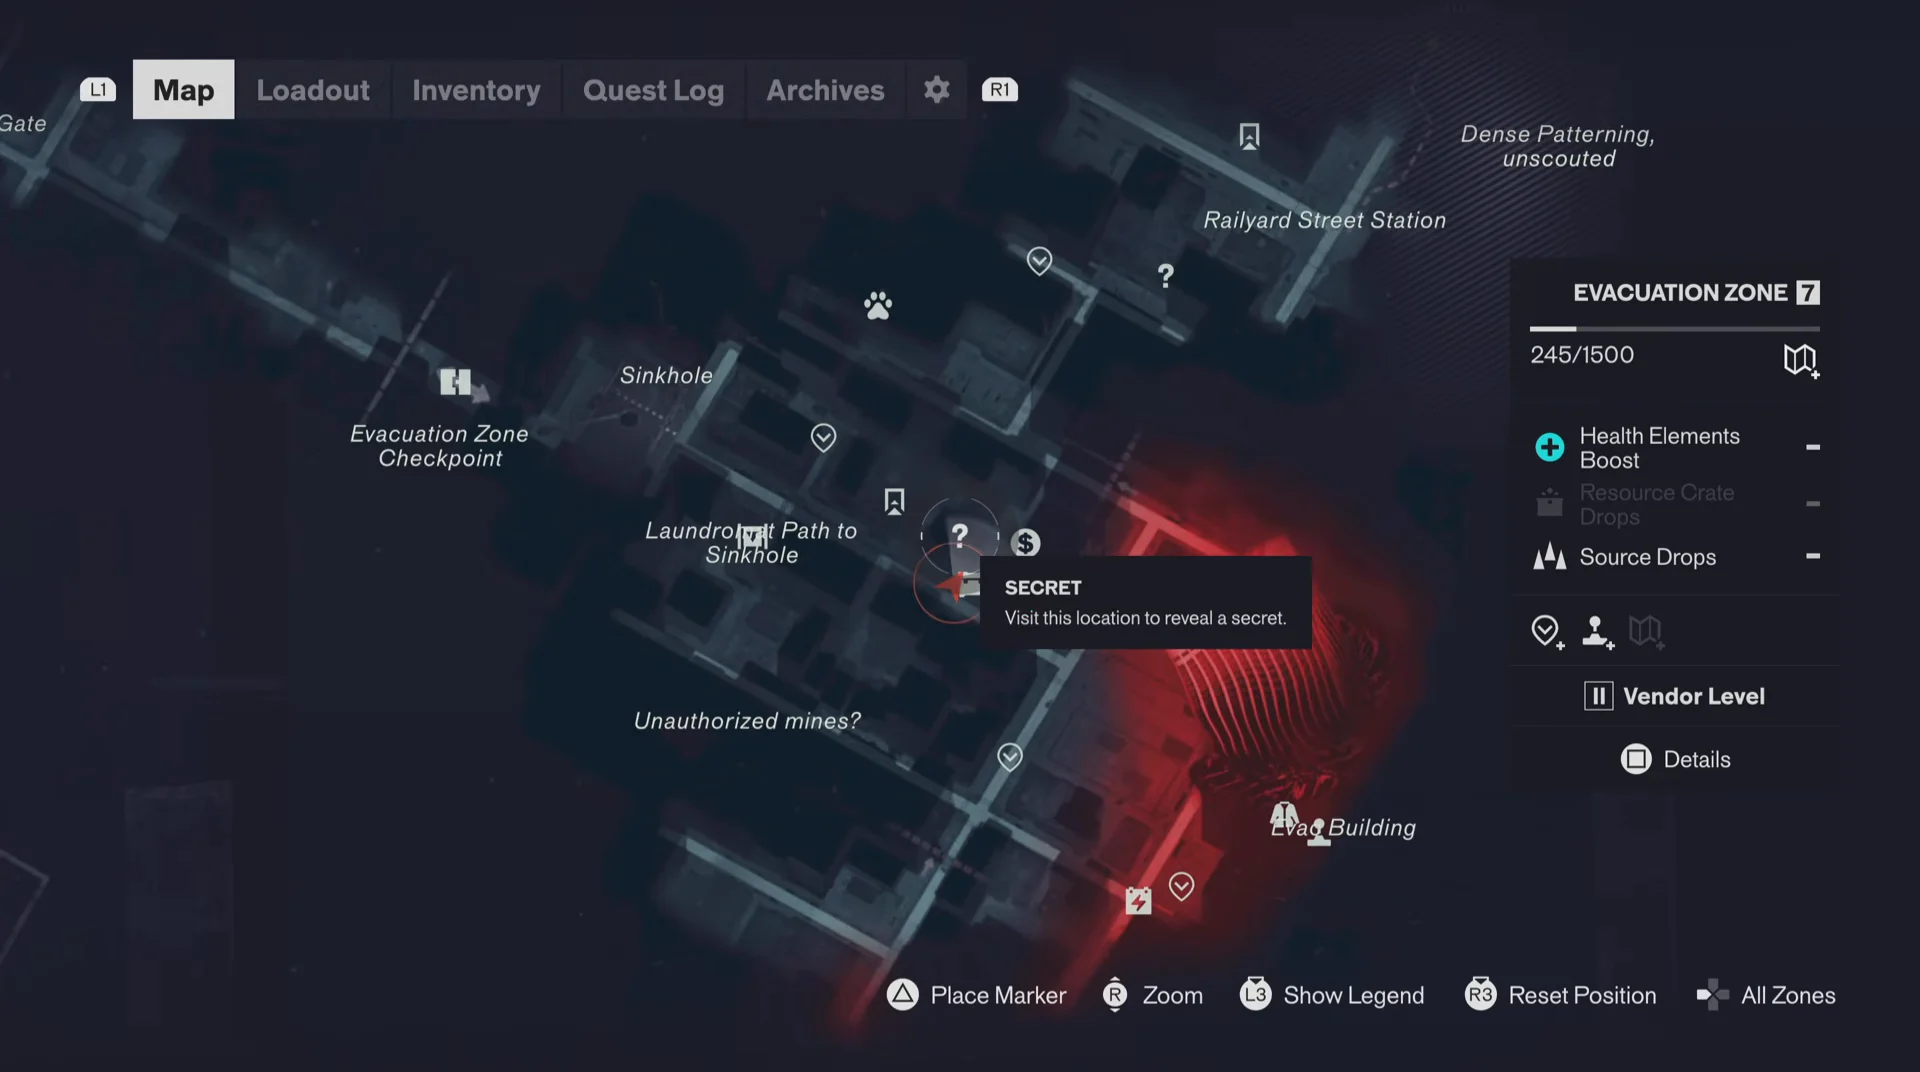
The gallery sits in the Evacuation Zone, just south of the Main Street fast travel door and near the Railyard Street Station. On the map it appears as a SECRET marker with a “Visit this location to reveal a secret” prompt, so head toward it and step inside the storefront.
Read the counter note first
A note on the desk near the entrance lists the paintings sold that month. It names four works, and each one corresponds to a single painting on one of the gallery’s four display walls.
- Journey
- Windows
- Thunder
- Tides
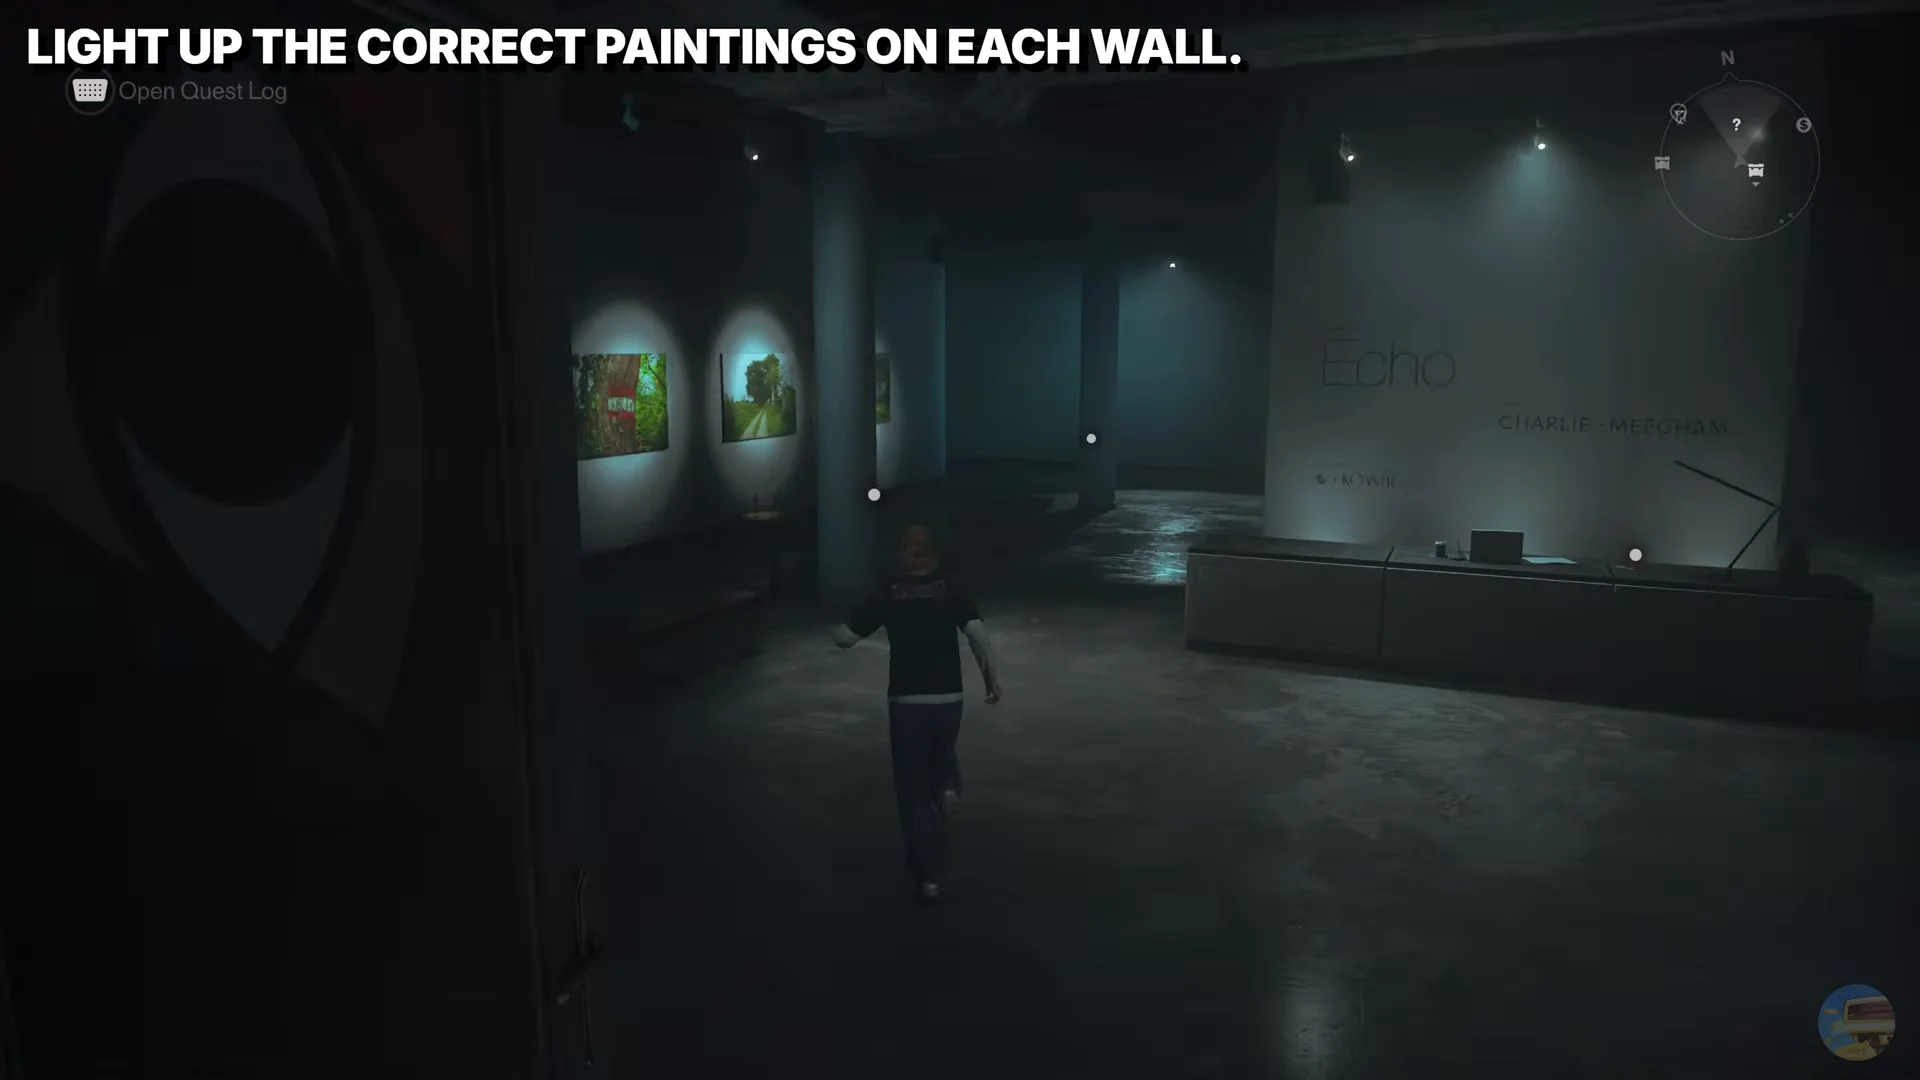
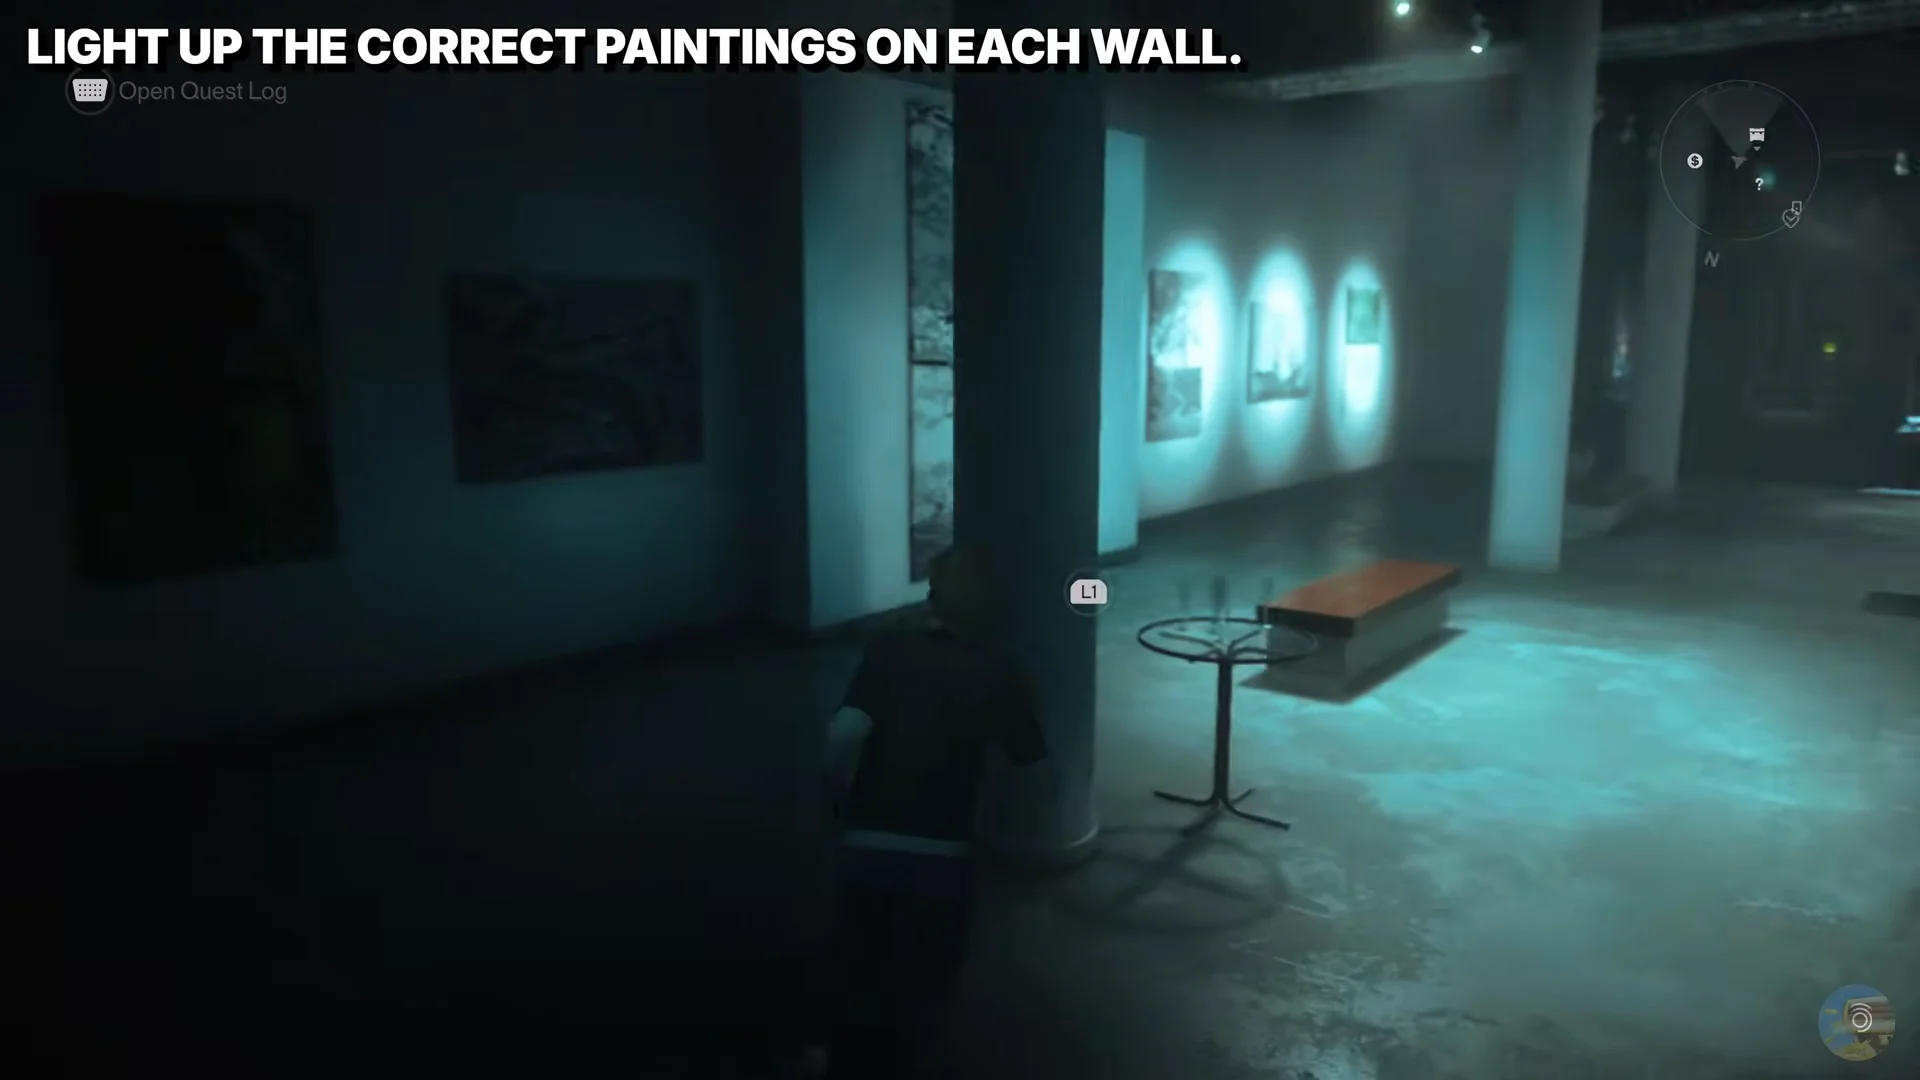
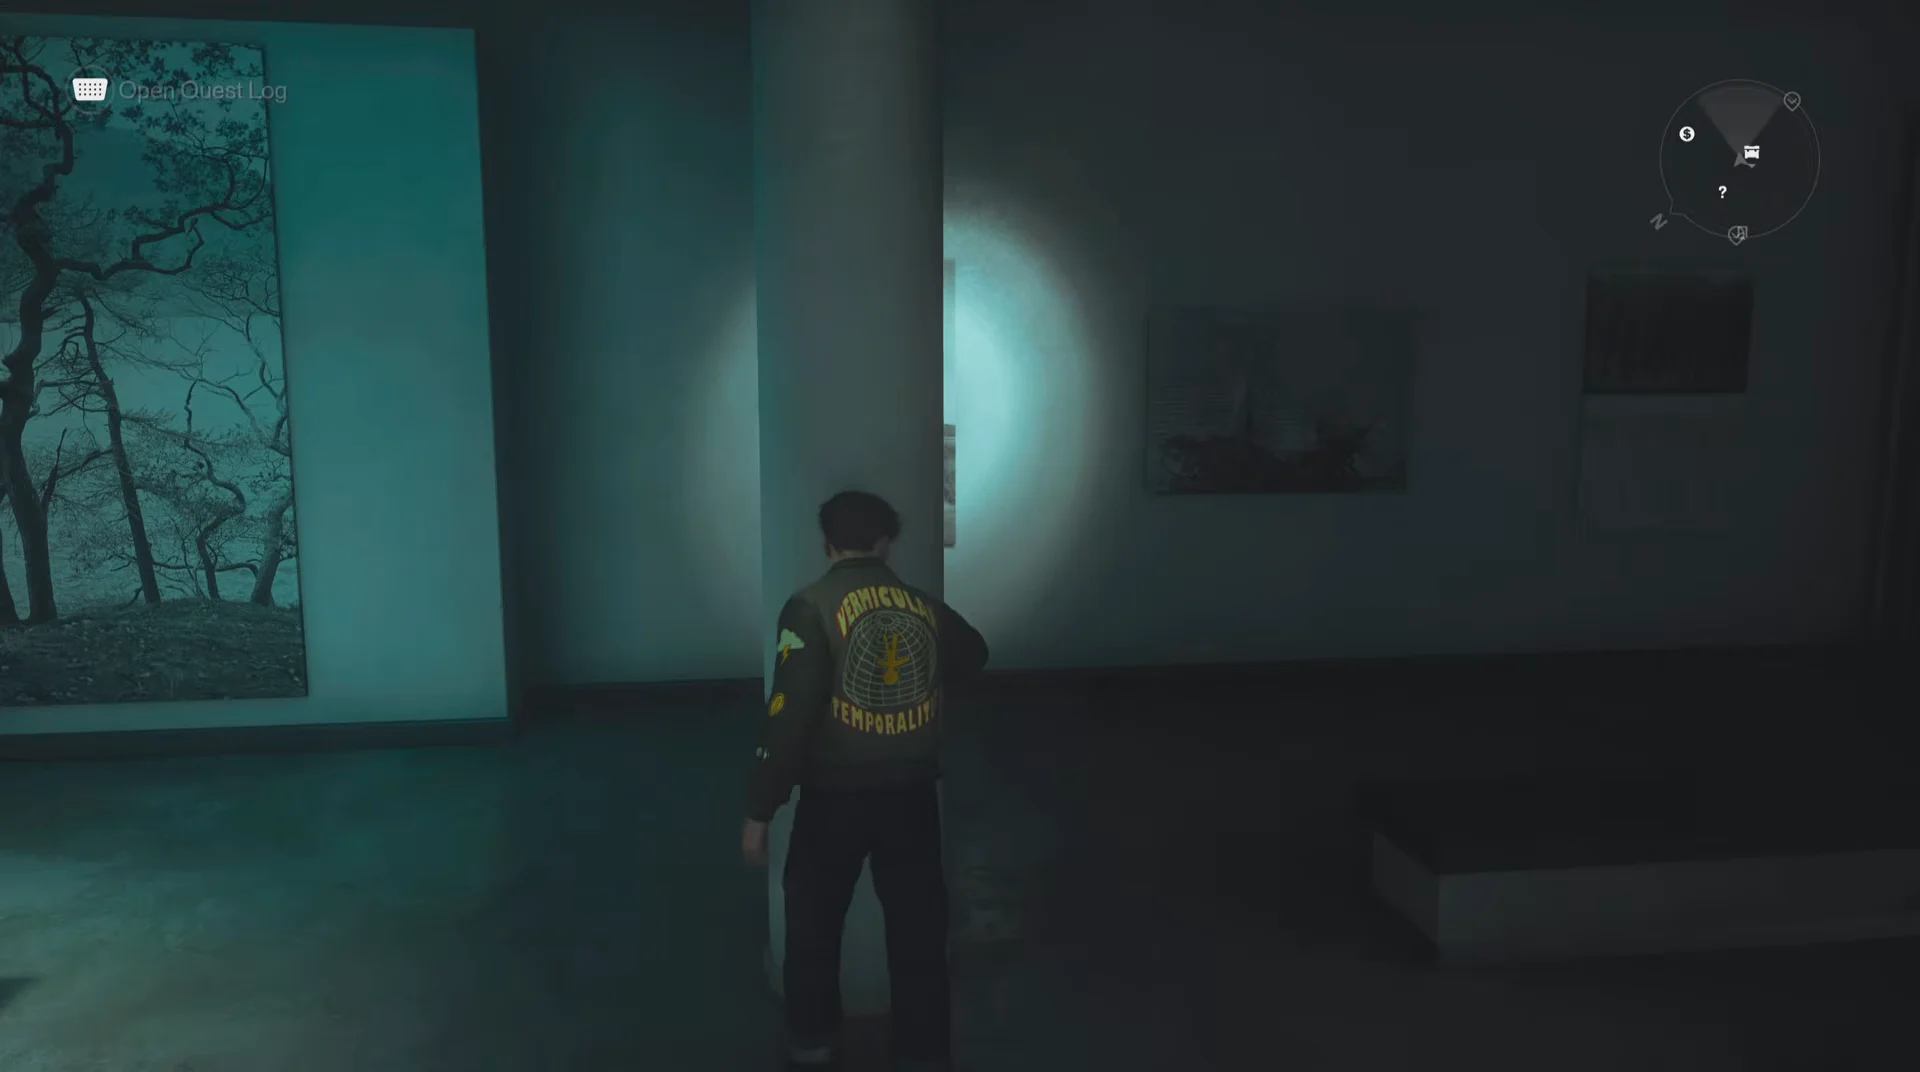
Each wall holds three paintings and a light switch you interact with using L1. Pressing the switch moves the spotlight to a different painting on that wall. Your job is to leave the light on the one image that best represents the matching word.
Art gallery puzzle solution
Work through the four words and light the painting that matches each. The table below pairs each word with the correct image so you can skip the trial and error.
| Word | Painting to light |
|---|---|
| Journey | The middle painting showing a road running through the frame |
| Windows | The left painting with looped, circular branches |
| Thunder | The left painting with a large tree centered in a field |
| Tides | The middle painting showing water beneath fallen trees |
Move around the room and set each spotlight one wall at a time. Nothing locks in until all four correct paintings are lit at the same moment.
Lighting each painting
How to know it worked and claim the reward
When the four paintings are illuminated correctly, a chime rings and an opening appears in the gallery’s back-left wall. Go through it, descend the stairs, and enter the green-lit storage room below.
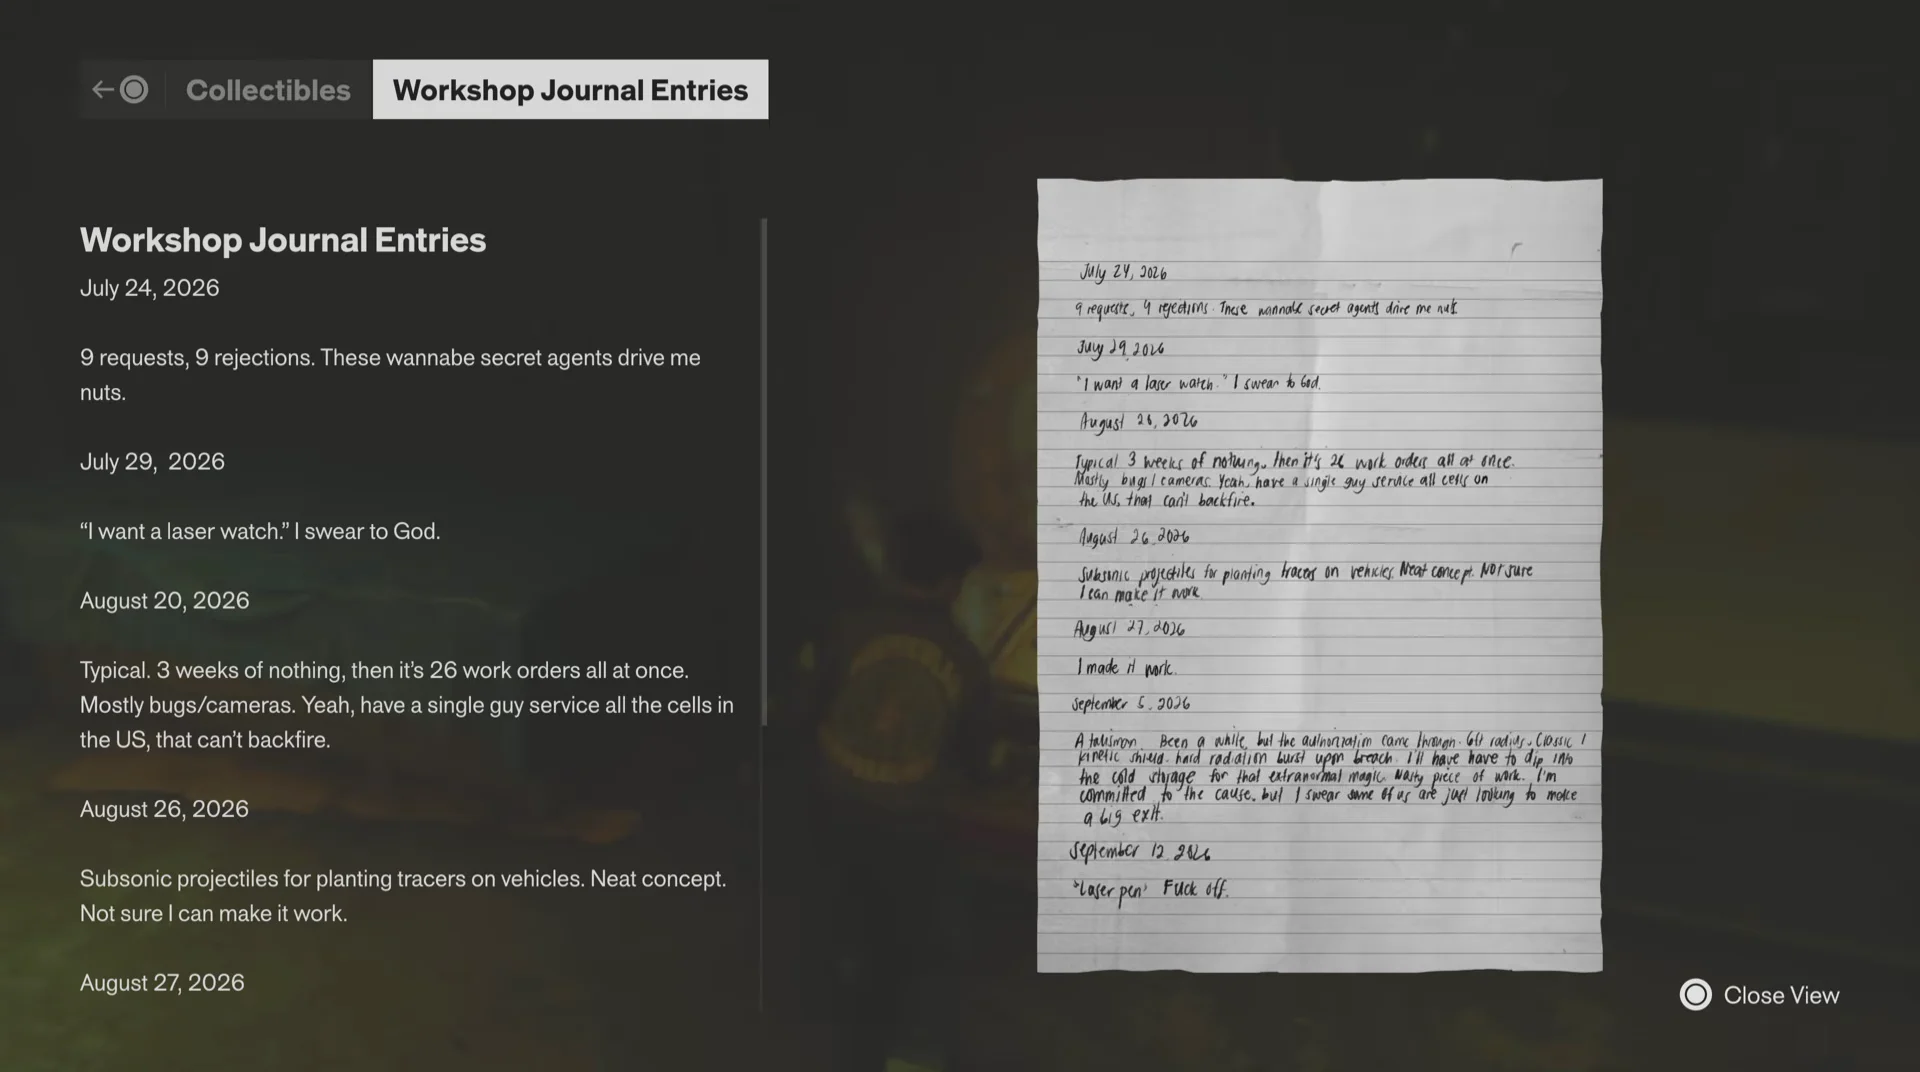
Inside, open the container and interact with the locker to collect a Health Upgrade Point. Collect three of these across the city to increase your maximum health. The basement also holds lore documents, including the Workshop Journal Entries.
This gallery is one of six Secret Organization hideouts in the game. Clearing all six of these puzzles unlocks the Backroom Espionage trophy and achievement, so it is worth tracking down the rest once you have this one.