The Atlantis Cafe in The Park hides a locked cash register that seals off a basement storage room. The register needs a four-letter code, and that code comes from matching the drinks ordered at the reserved tables with the letters printed on the coffee menu. There is also a second Atlantis location in Downtown that uses a completely different puzzle, so it helps to know which one you are standing in.
Quick answer: Enter B, D, A, C on the Park cafe register. Read the reservation note (Tables 1, 5, 4, 2) and translate each table’s drink into its menu letter in that order.
Where to find the Park Atlantis Cafe
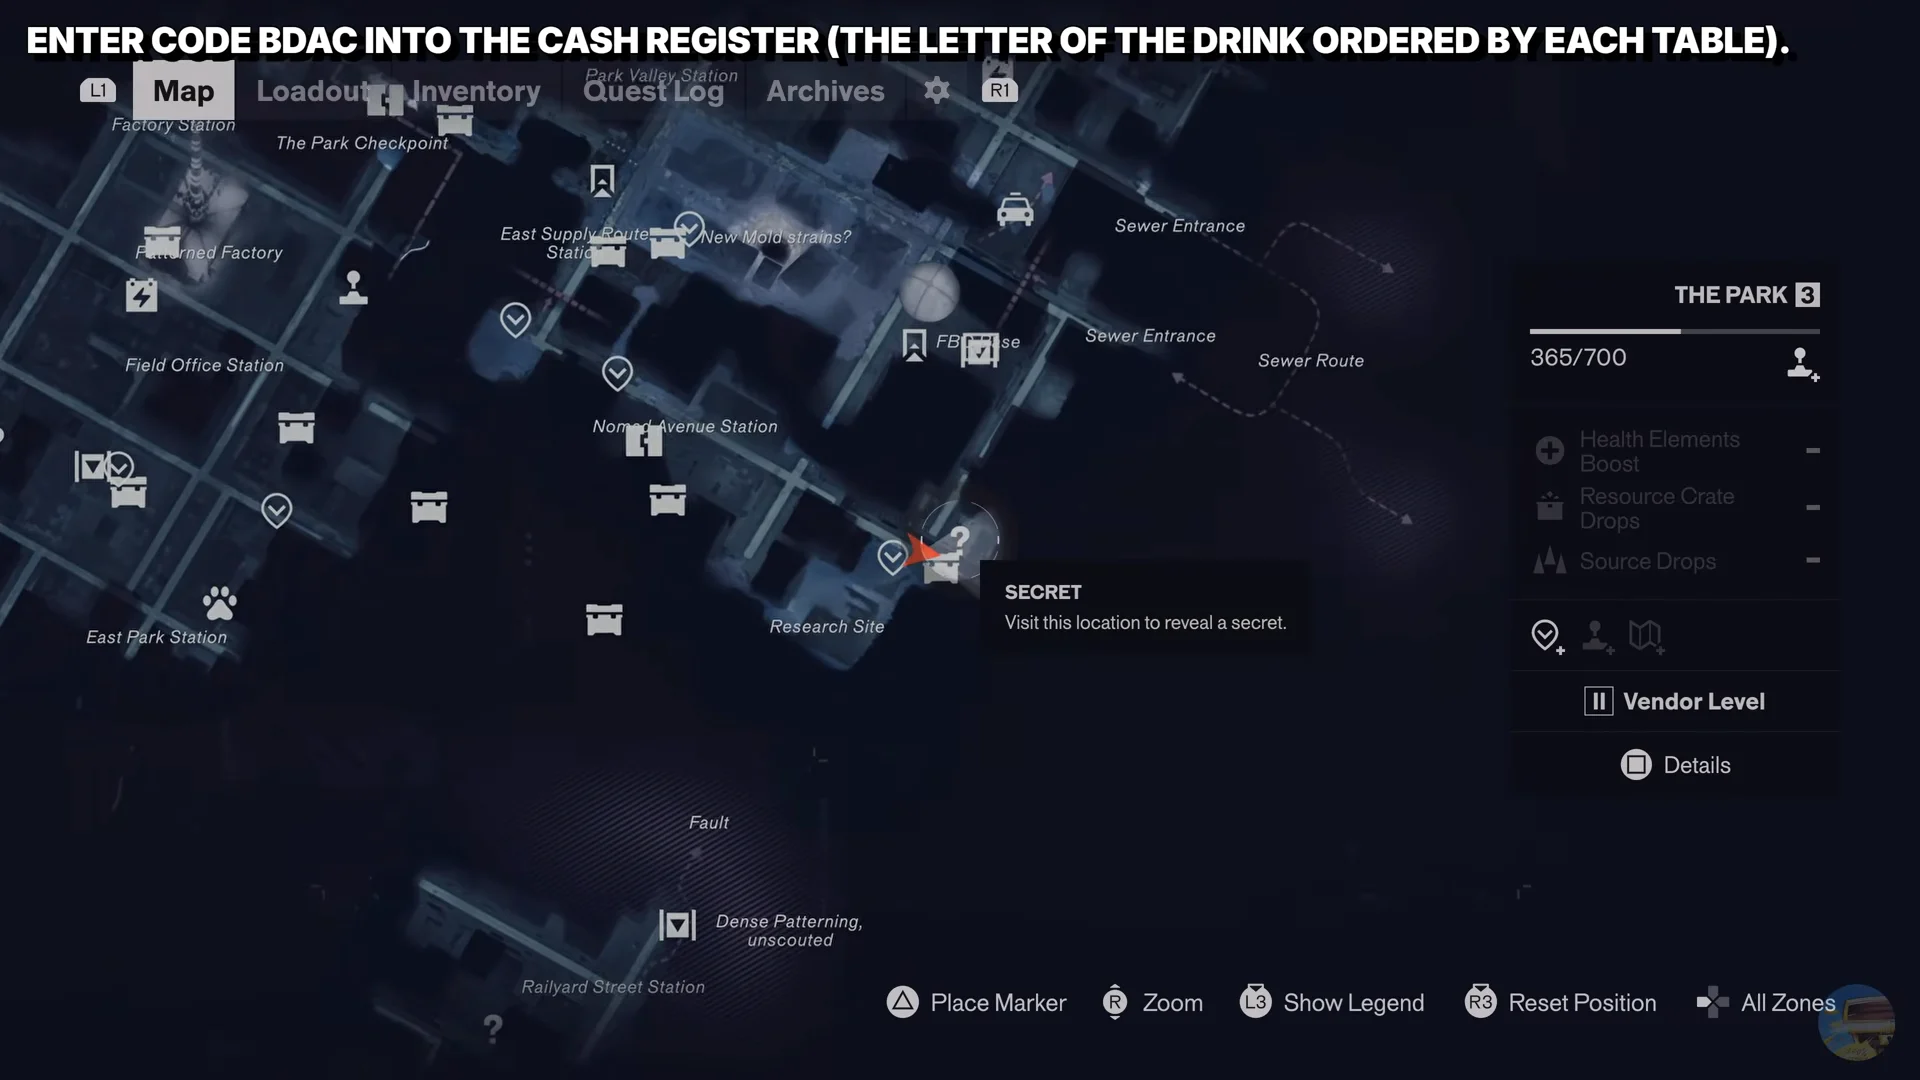
At The Park’s southeast end, the cafe faces the Research Site. It’s the block’s only storefront with its lights on, so it’s easy to spot. Get close to add a Secret marker, shown as a question mark, to your map. Mold enemies patrol outside, so clear them before settling in.
Enter through the front doors and go behind the counter. Interact with the cash register terminal to bring up the Atlantis logo and the “ENTER CODE 1” prompt.
The two clues behind the counter
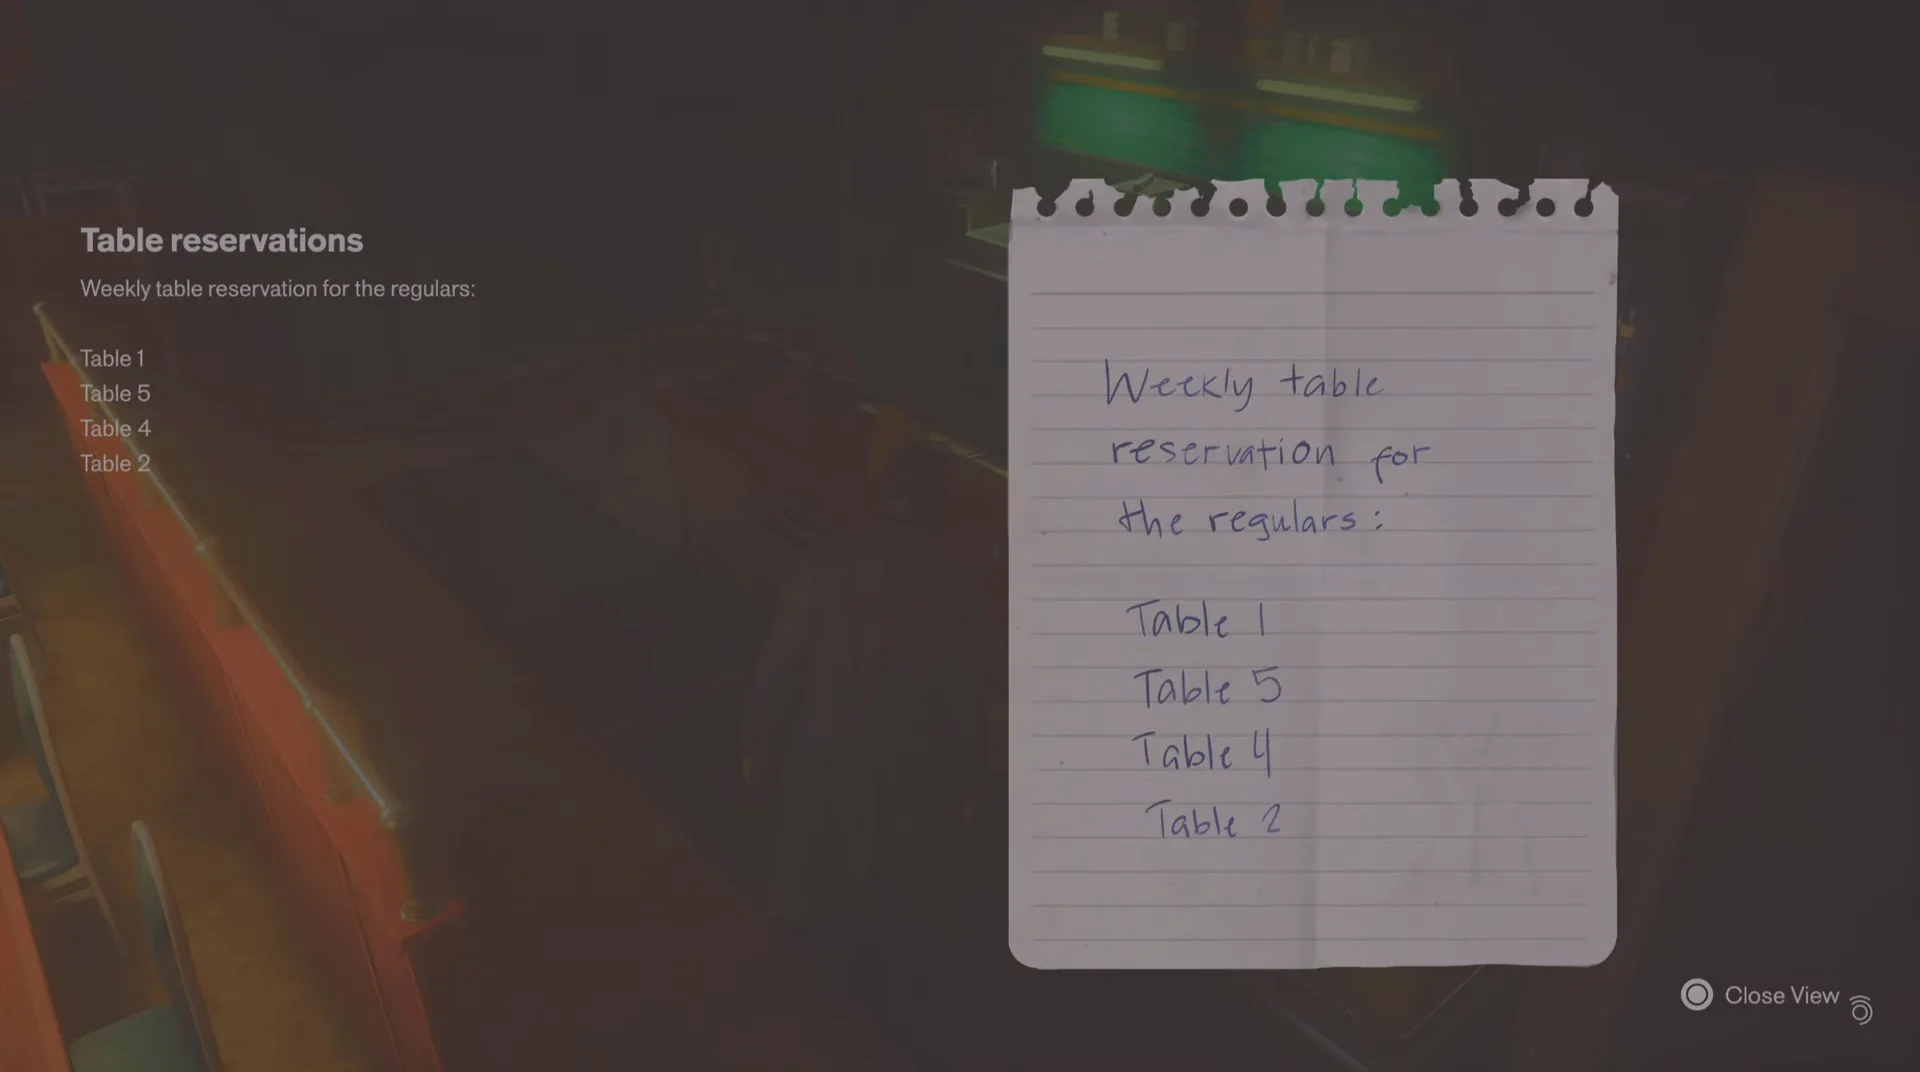
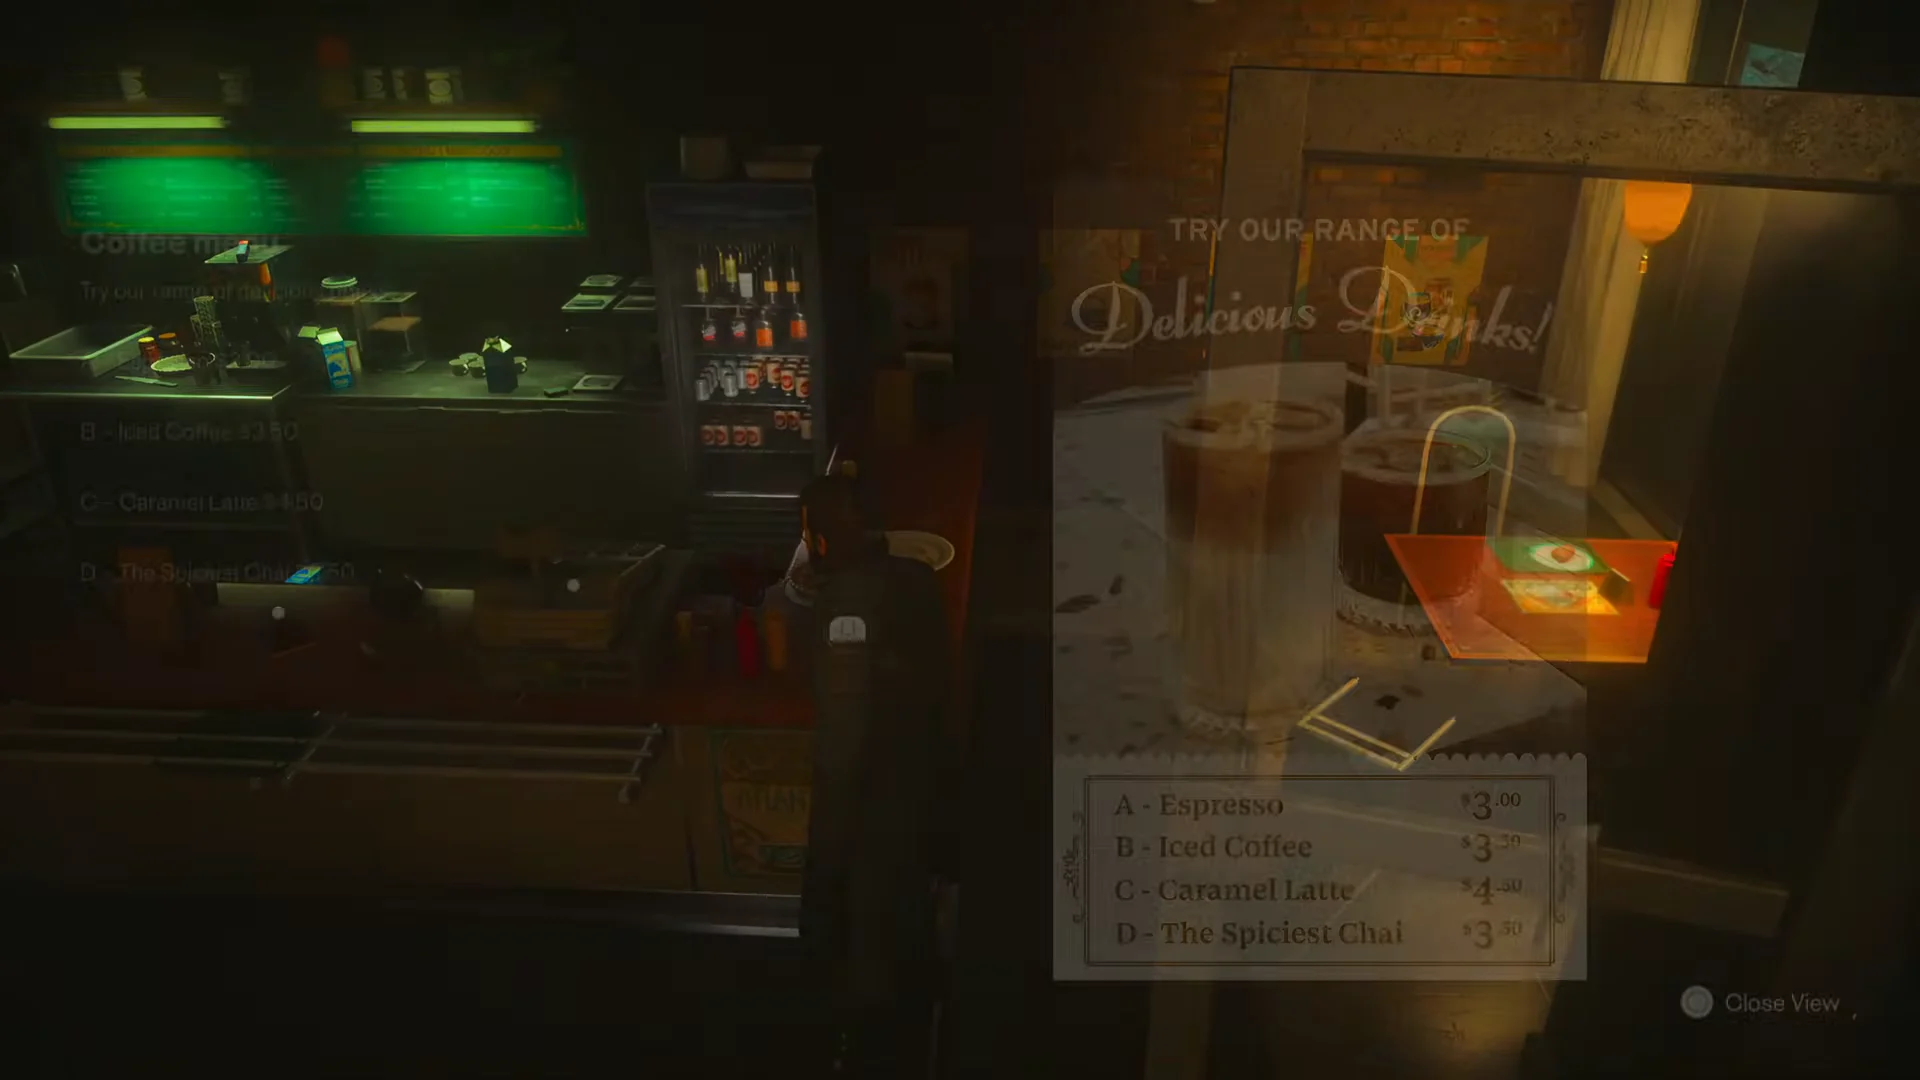
Two documents on the counter hold all the clues. A handwritten note names the four tables reserved for regulars and gives the sequence to follow. The coffee menu pairs each drink with a letter. Find the letter for the drink at each reserved table, then join the letters in the note’s order.
The coffee menu pairs each drink with a letter and a price. Espresso is A, Iced Coffee is B, Caramel Latte is C, and The Spiciest Chai is D.
Visiting Tables 1, 5, 4, and 2 and reading each drink card produces this mapping, in the exact order the register expects:
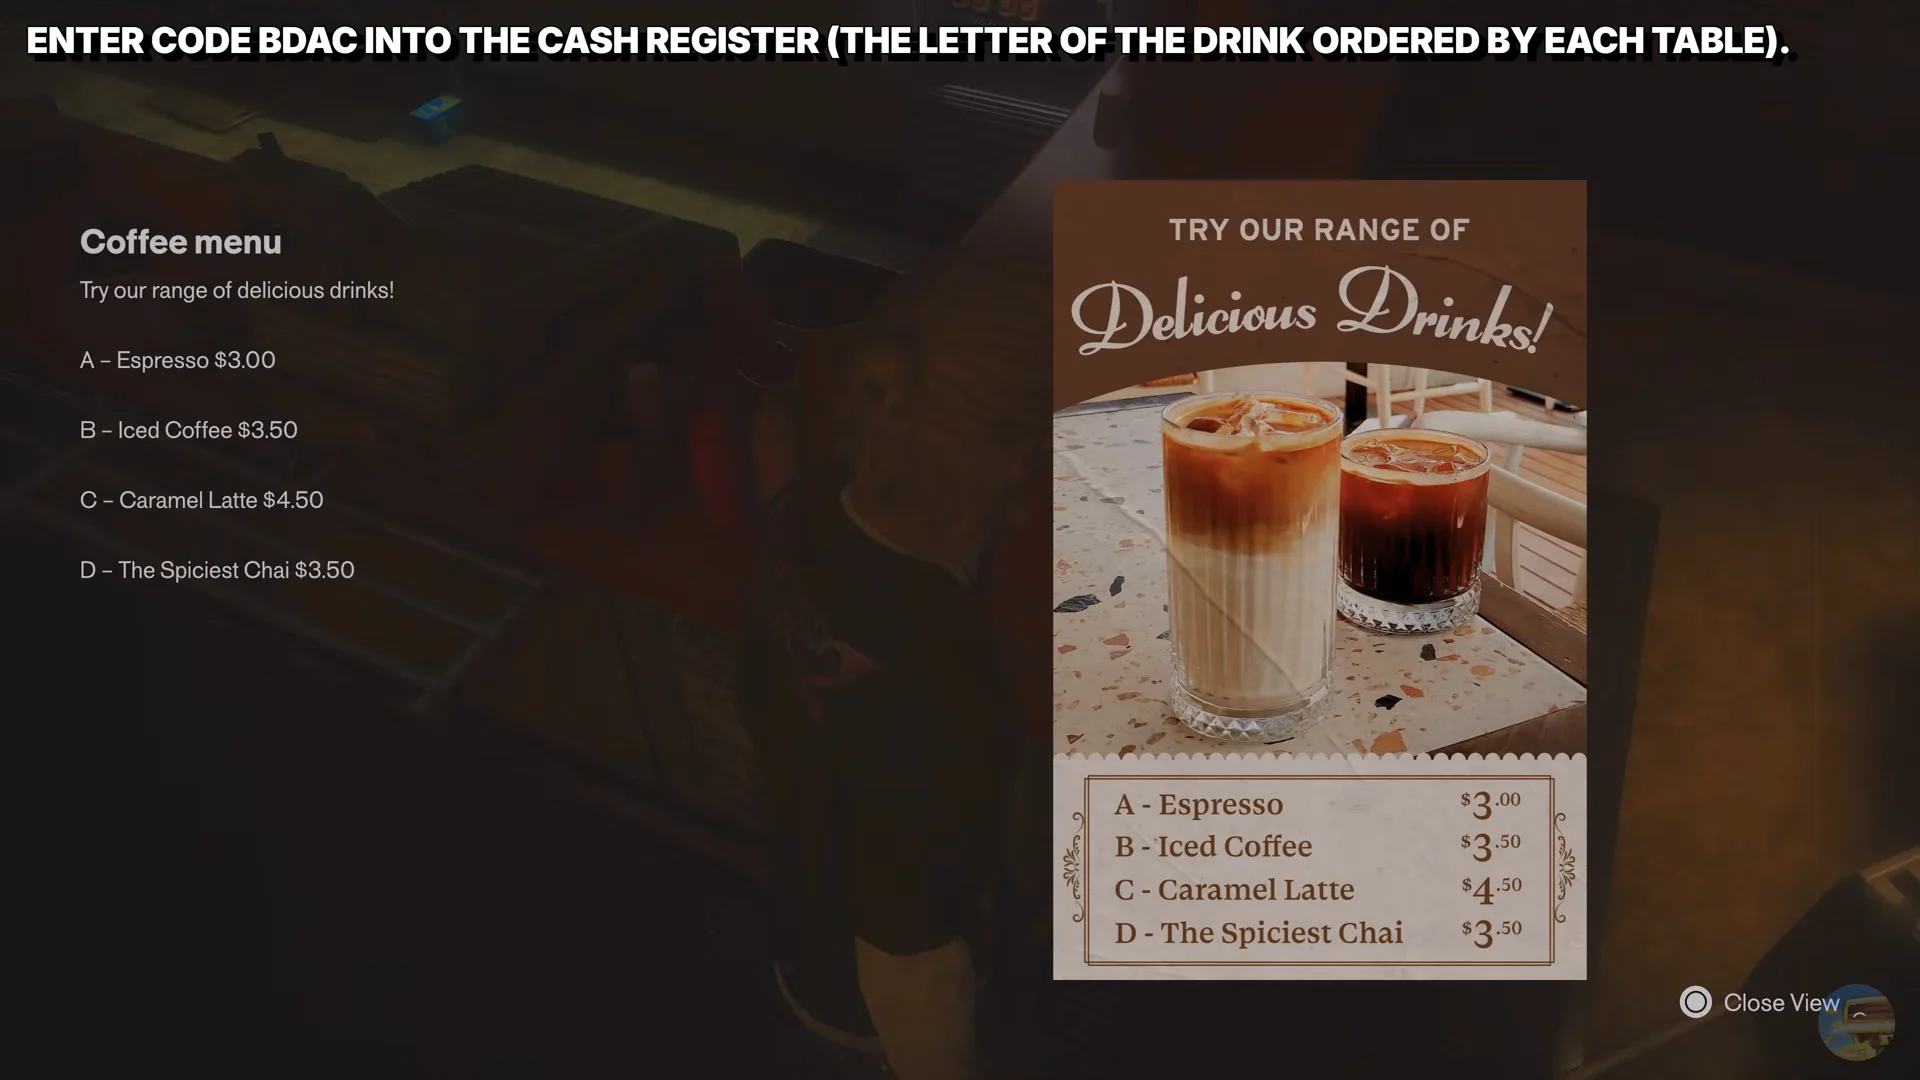
| Order | Table | Drink | Letter |
|---|---|---|---|
| 1 | Table 1 | Iced Coffee | B |
| 2 | Table 5 | The Spiciest Chai | D |
| 3 | Table 4 | Espresso | A |
| 4 | Table 2 | Caramel Latte | C |
Table 3 also has a card, but it is not on the reservation list. Ignore it, since only Tables 1, 5, 4, and 2 feed the code.
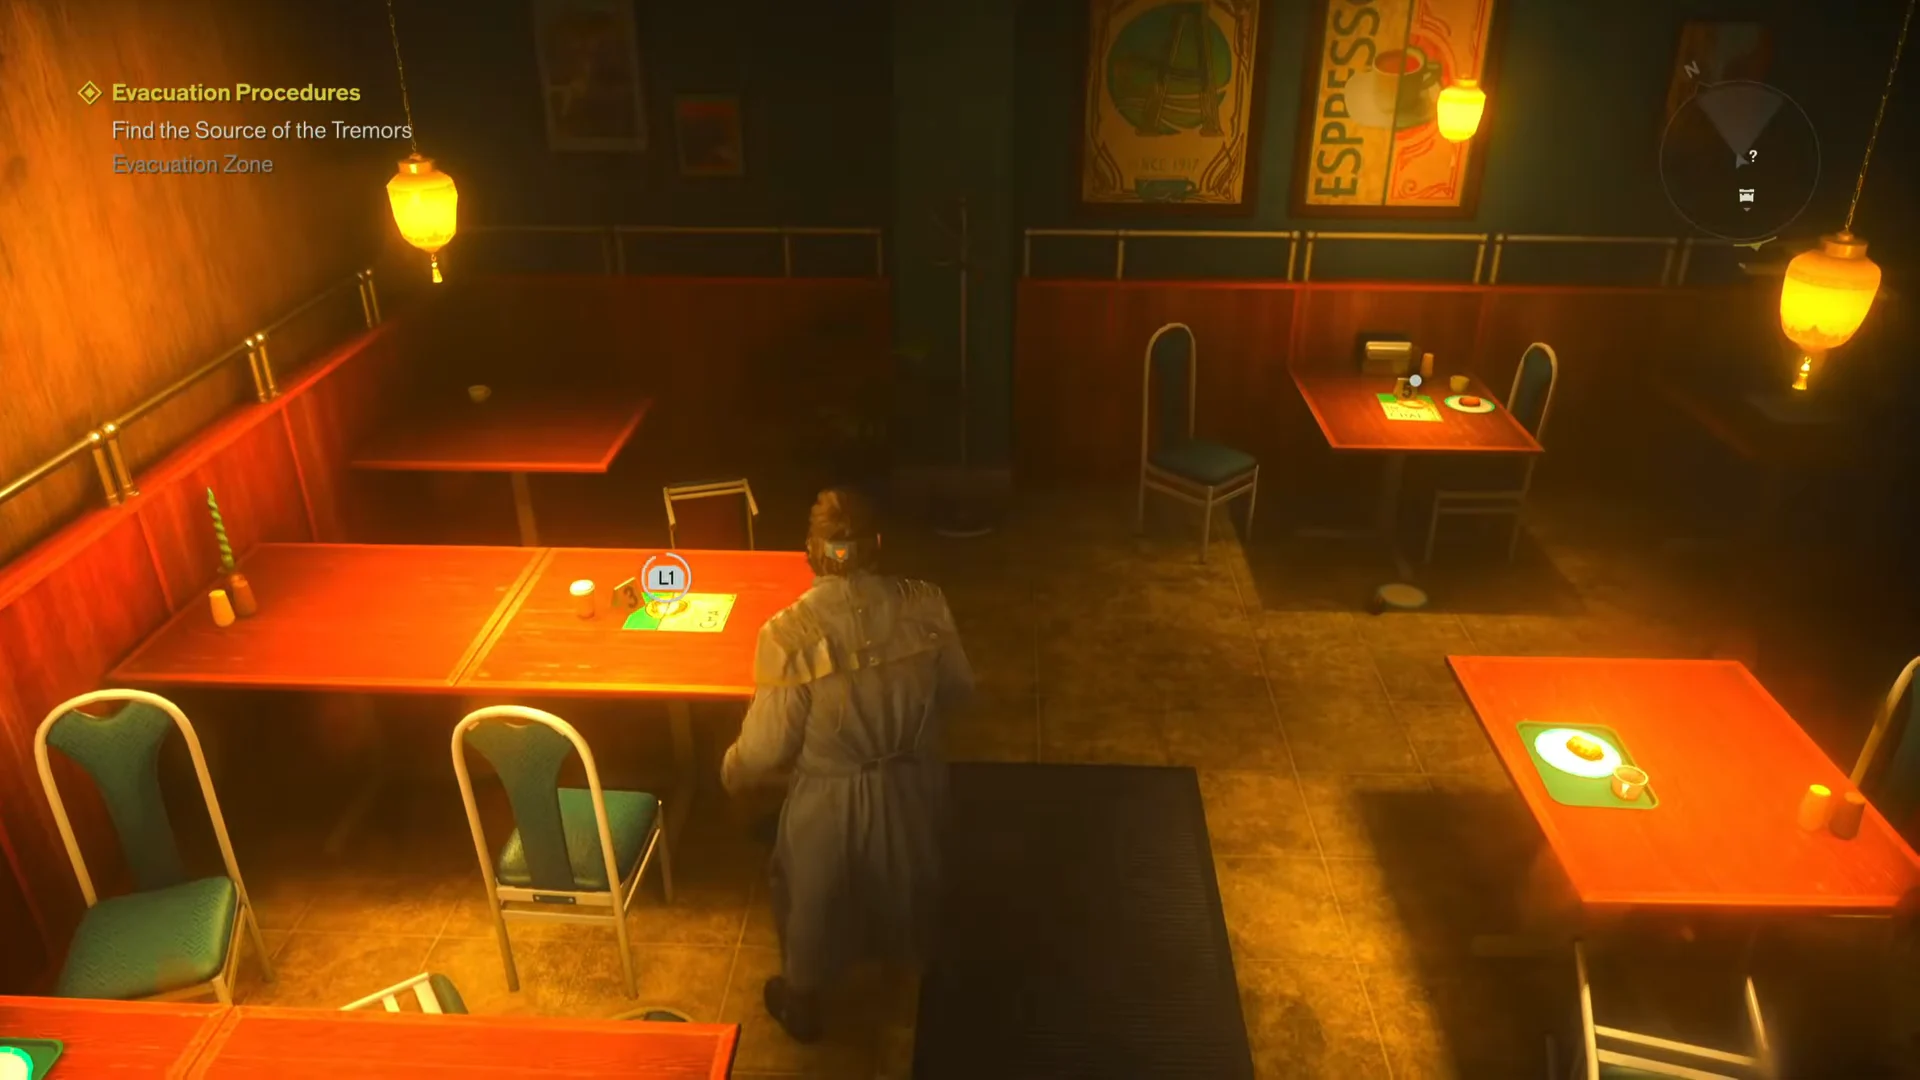
Enter the BDAC code and open the door
The Downtown Atlantis Cafe uses an appliance order, not a code
There is a second Atlantis Cafe in the Downtown zone, northwest of the Oldest House and only about a street away from its entrance. An electronic road sign out front cycles through messages and makes the building stand out. Reaching it means using Shift to clear a raised section of road. This location has no register code. Instead, you switch on the appliances from smallest to largest.
Pick up the note on the counter first. It explains that Becky starts her morning by switching on each appliance in order of size. Restore power before activating anything by flipping the breaker box just to the counter’s left. Then turn on the six devices in this exact sequence.
- Radio — positioned on shelving across from the counter.
- Coffee machine — set behind the counter, immediately before reaching the refrigerator.
- White coffee brewer — beside the refrigerator on its left
- Soda machine, beside the coffee brewer
- Microwave
- Refrigerator
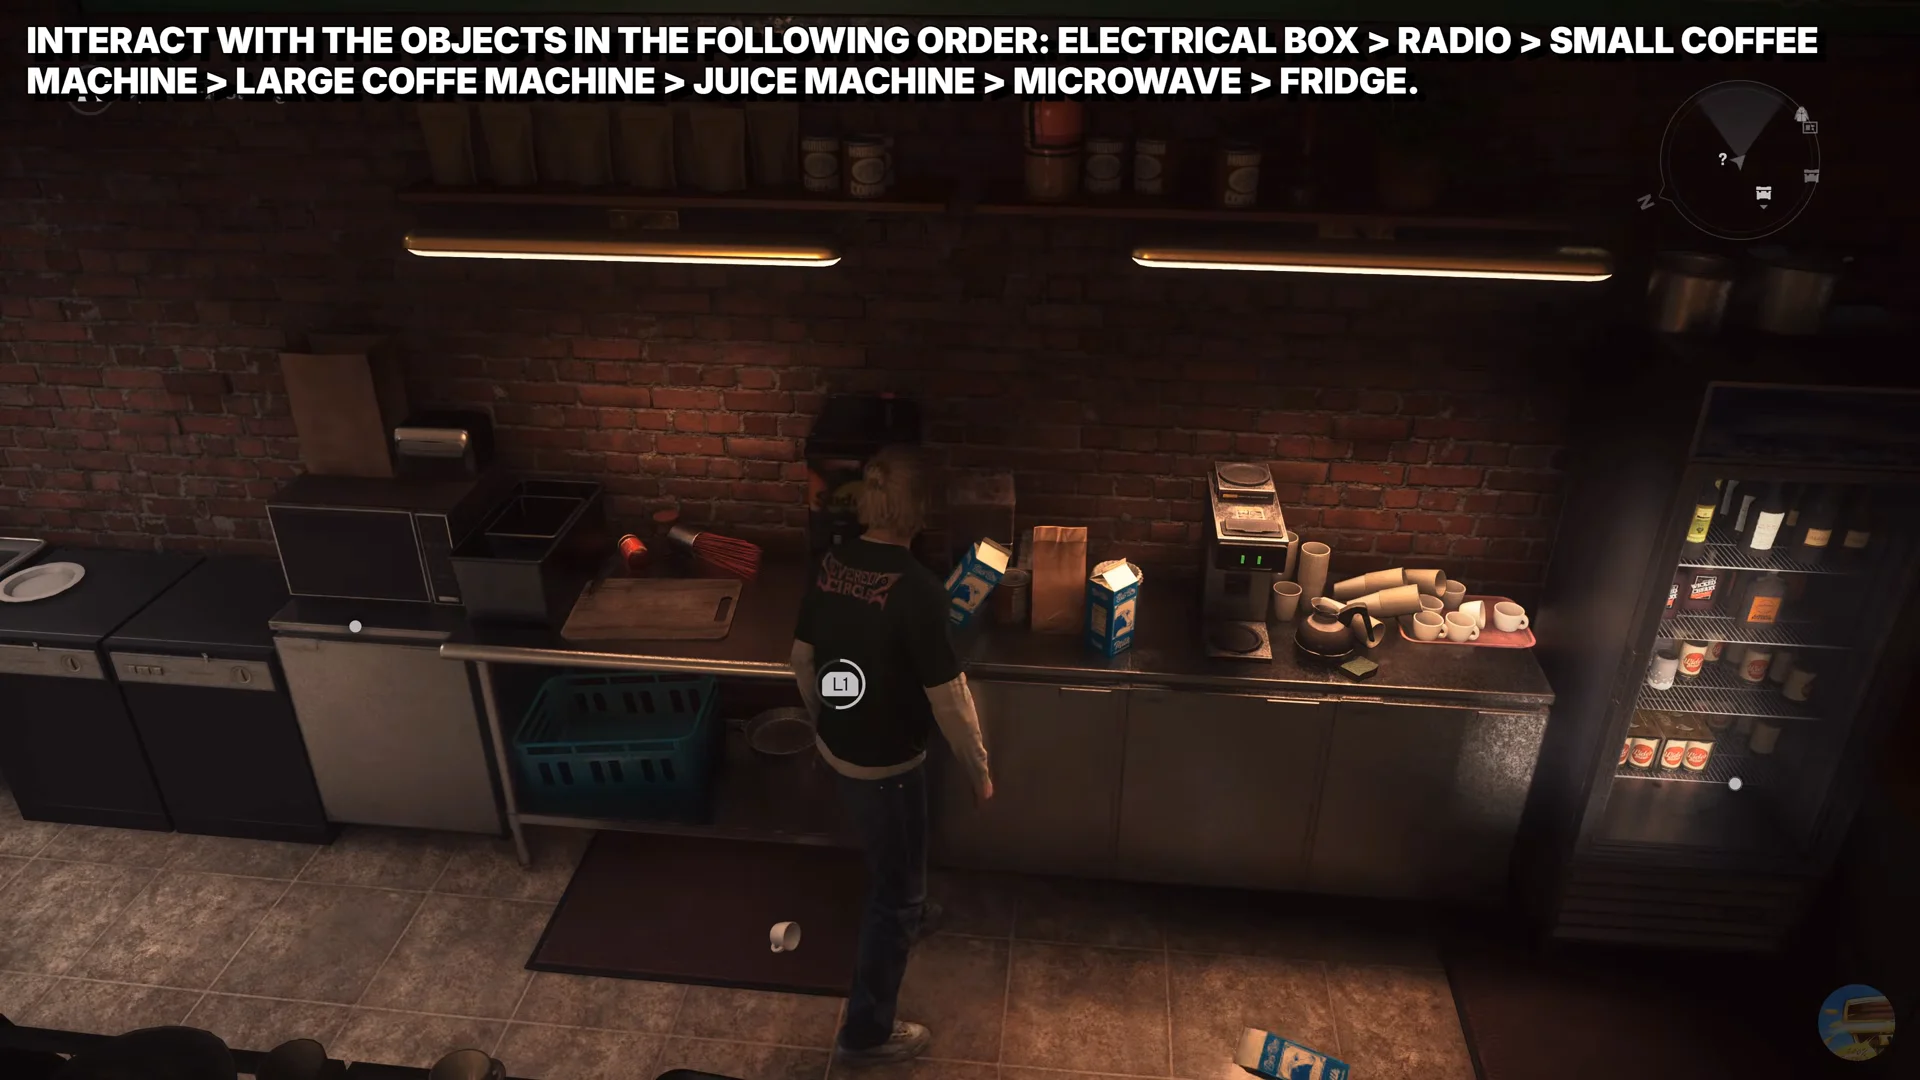
Activate all six appliances in the listed order to open a concealed door leading down to a hidden hideout. Inside are a further Health Upgrade Point and lore documents, so search the room before leaving.