Gaming Guide

Control Resonant: Restore the Power Walkthrough in Recursions and Iterations

Follow the yellow tape to link three outlying generators back to the central hub and finish the Underpass power puzzle.

Follow the yellow tape to link three outlying generators back to the central hub and finish the Underpass power puzzle.

Image: Remedy Entertainment

The “Restore the Power” objective lands partway through the Recursions and Iterations main quest, after Dylan drops below the sinkhole and into the Underpass. Ayad, the team’s engineer, needs power back online so the research data can reach the surface, and the whole task comes down to reading the yellow markings painted across the environment. There is no code to enter and no hidden switch, just a route to follow.

Quick answer: Follow the yellow tape from Ayad’s console to three outlying generator rooms, strike the orange generator in each, then return each time and hit its matching unit in the central hub. When the last one is struck, the quest updates to “Return to Ayad.”


Where the power puzzle begins

The objective starts at Ayad’s control console in the Underpass. He points out the tape markings on the ground, and those markings are the only navigation aid you need. Before chasing anything, follow the yellow power cables running out of the console area toward the central power hub. They lead to a room holding four generator units, three of which are dead.

Opening the Underpass map shows the quest radius and the objective markers, which is useful for orienting yourself in an area that twists back on itself. Keep the map as a backup, but treat the painted floor lines, yellow arrows, and cables as your primary guide.
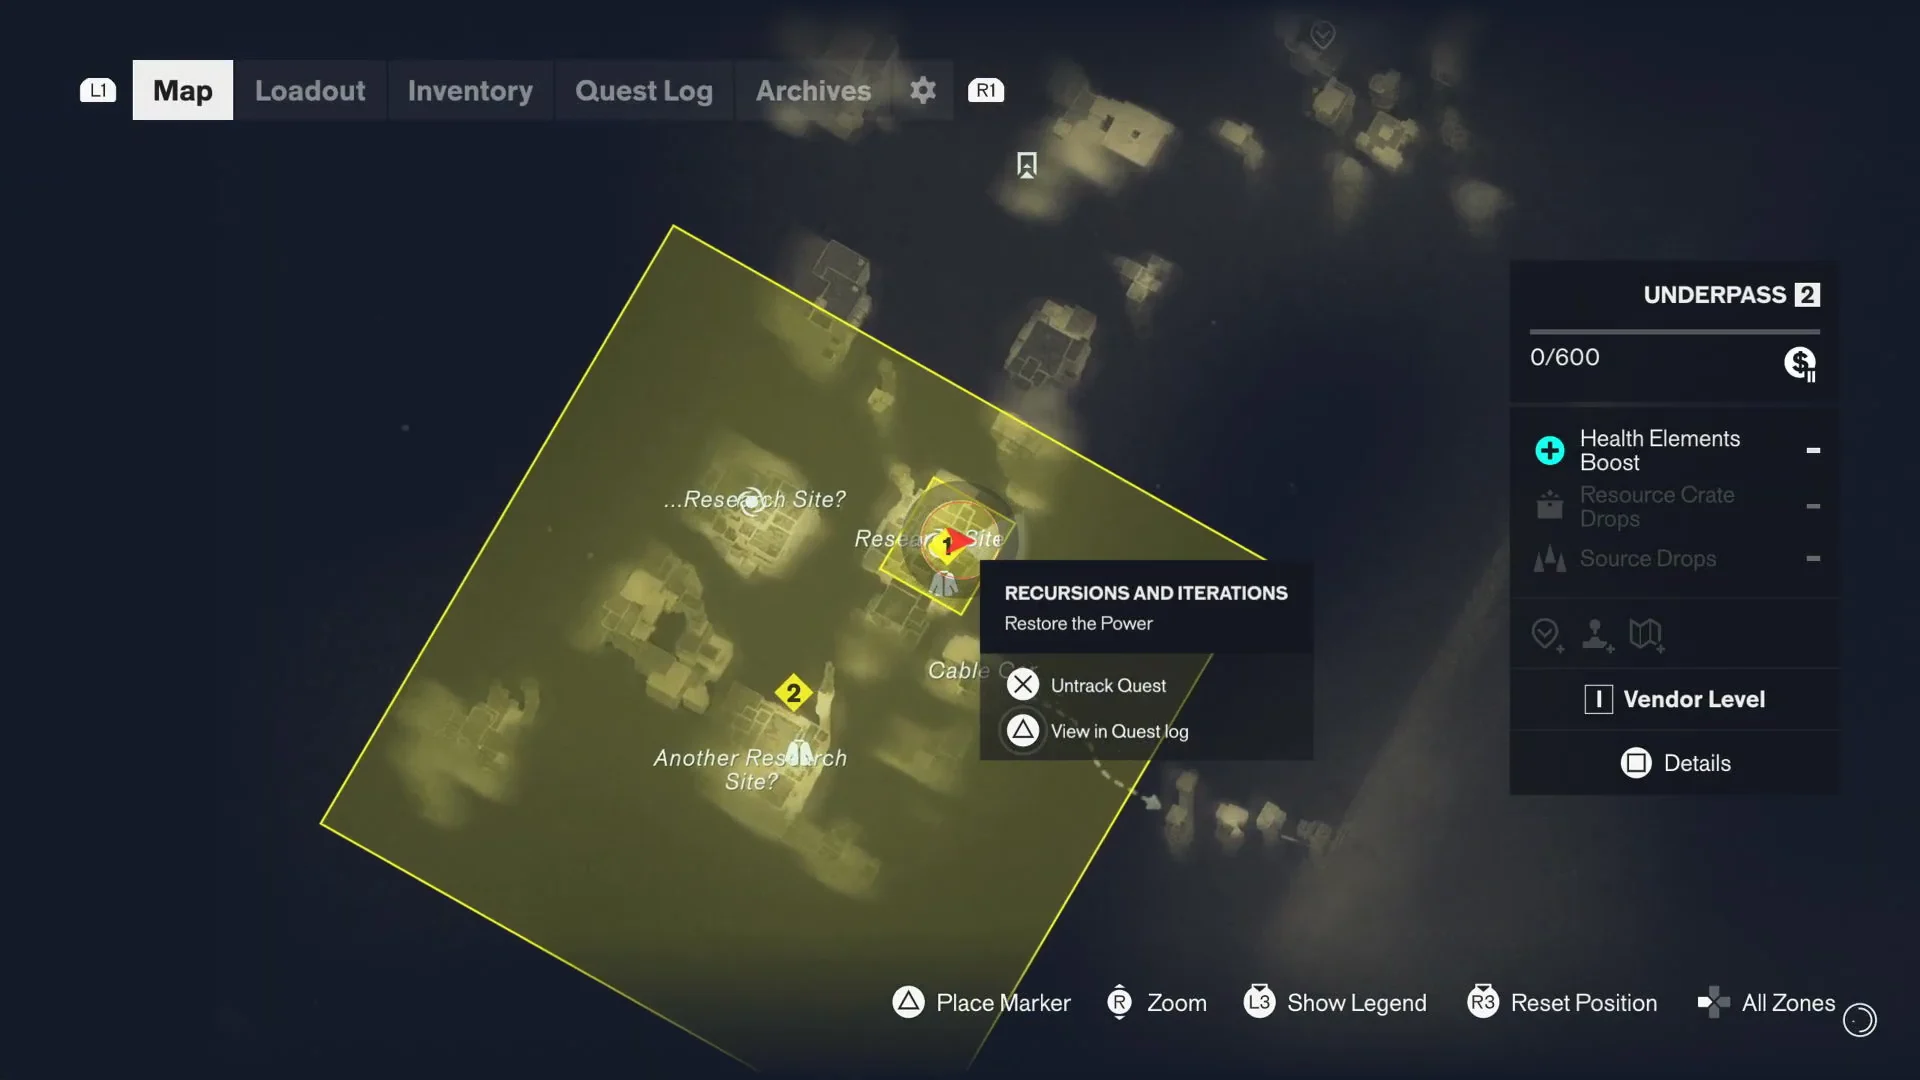
Map Screen00:08Map Screen
The Underpass map with the quest radius and objective markers, handy for reorienting between generator runs. Shown at 00:08 in WoW Quests’s video. Image: Remedy Entertainment

How the generator linking works

Three outlying generator rooms sit around the central hub, each connected back to one of the dead units by cable. The pattern repeats three times: reach an outlying room, hit its orange generator with a melee strike to pick up the charge, then trace the same cables back to the hub and strike the matching unit there.

Dylan can only hold the electrical charge for a short time, so speed matters once you grab it. Move straight back along the marked route instead of exploring. Several trips also call for the Reach ability, which reshapes parts of the environment as you go, so lean on the yellow lines rather than trying to memorize landmarks.

Take the charge to the room where the yellow cables meet, not to a different generator room. The room at that junction is the required destination.


Restore the power step by step
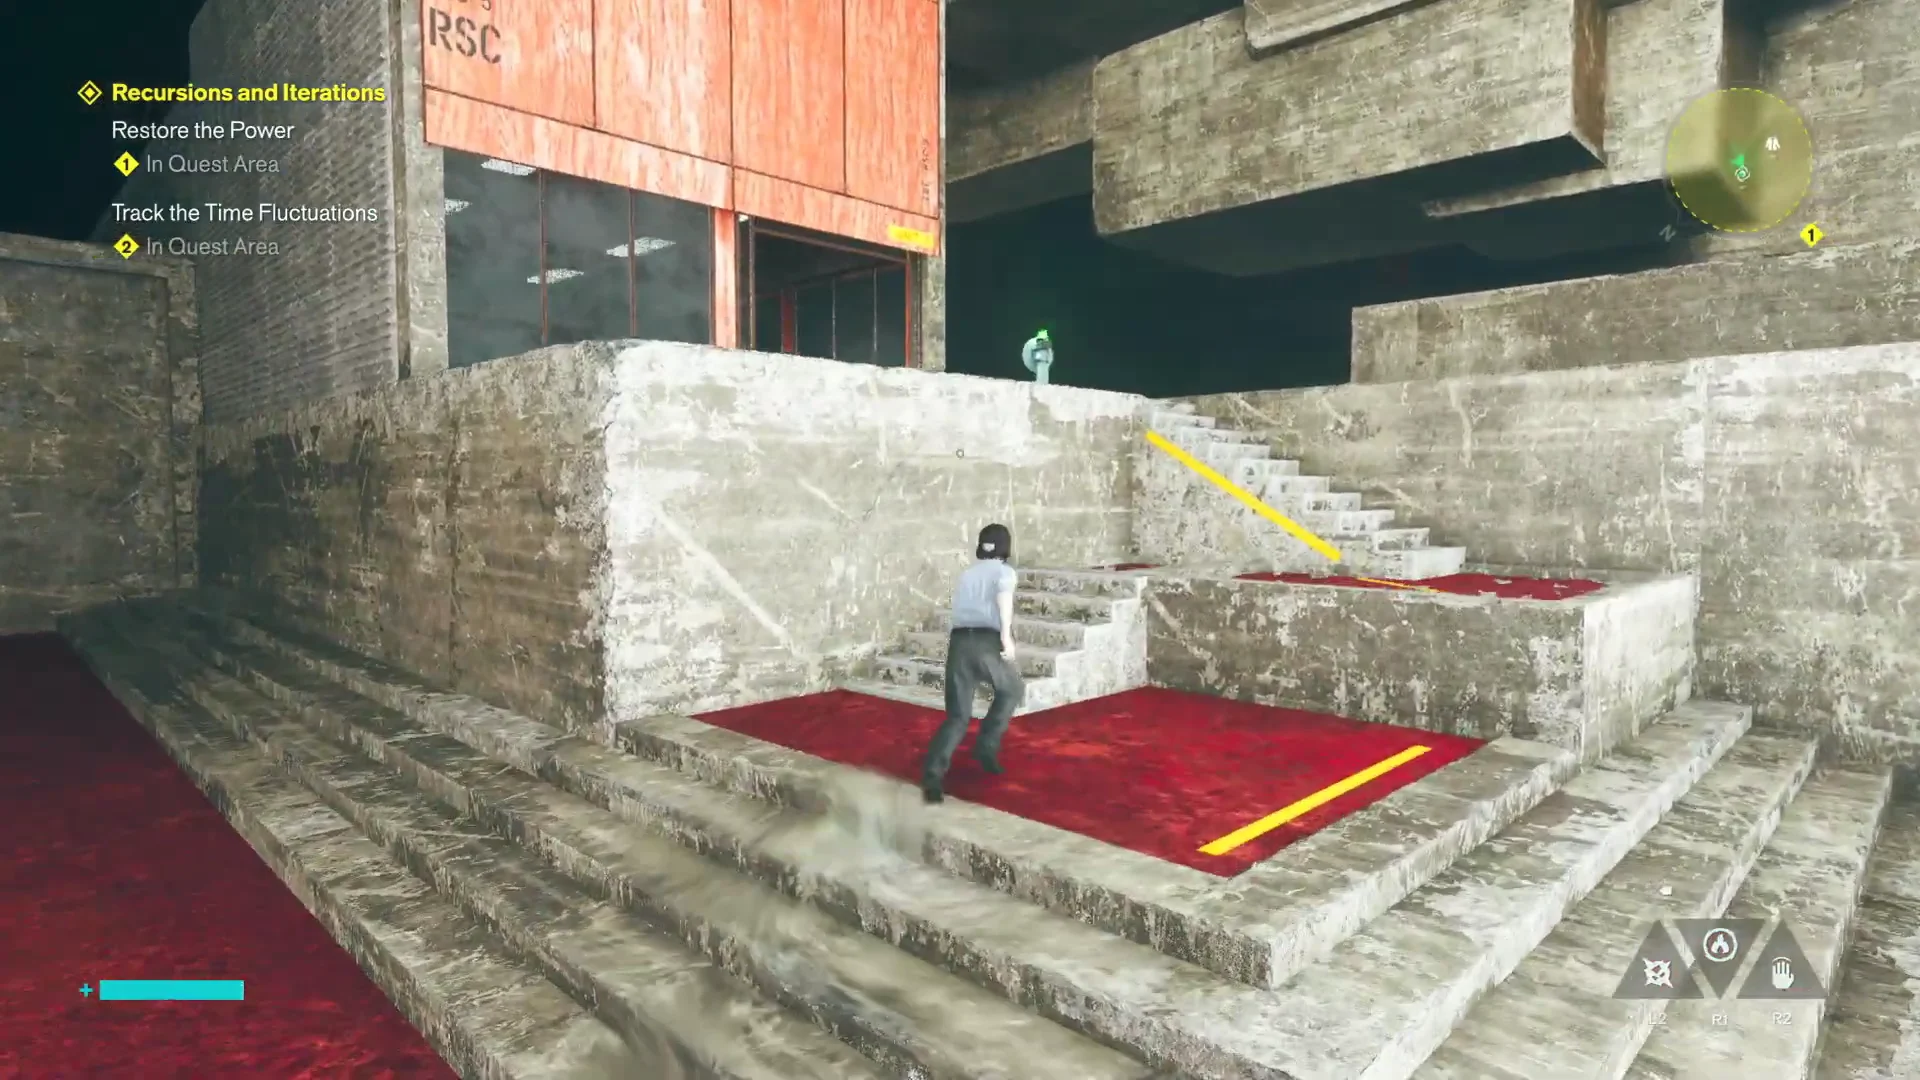
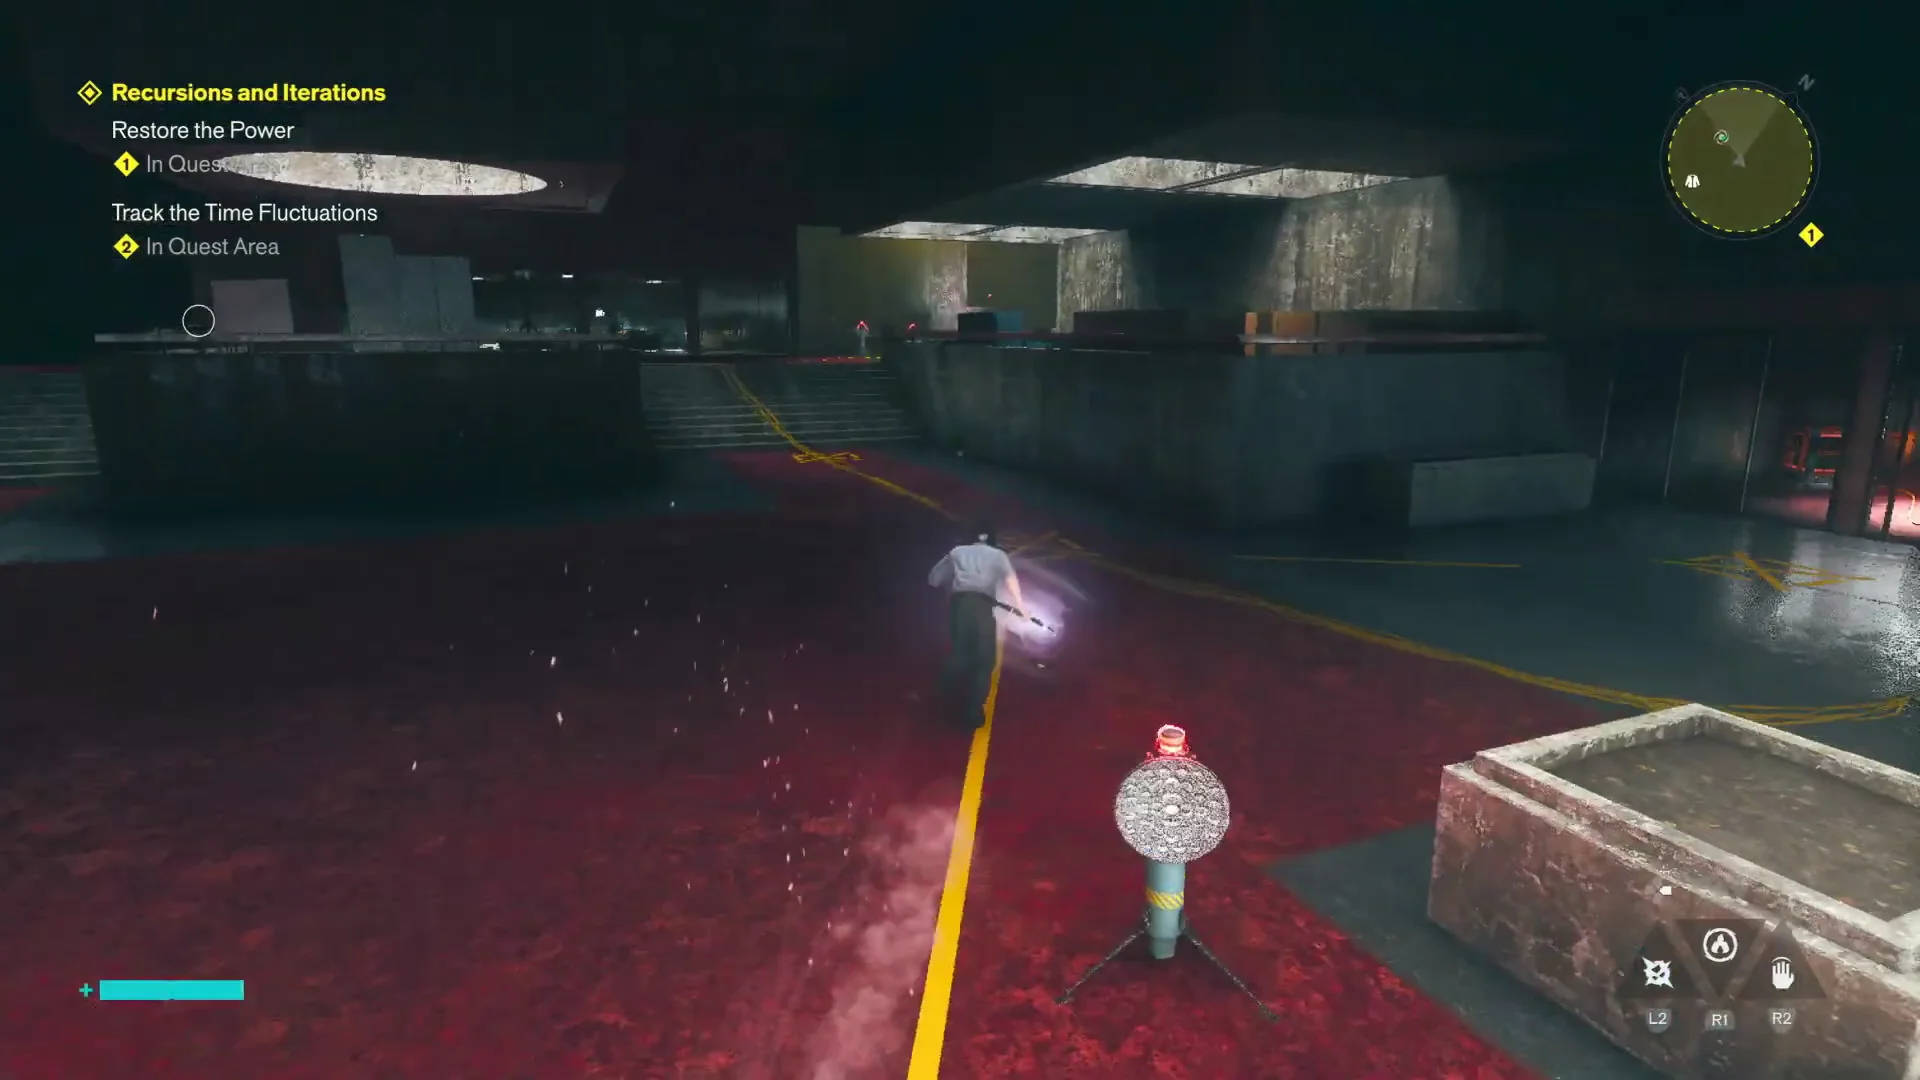
Exit the console area and use the yellow floor markings and cables to reach the central power hub. Then follow the red beacons and painted yellow arrows along the platforms to the Unit 1 building.
Traversing to Unit 100:27Traversing to Unit 1
The red platforms and yellow arrows mark the path down to the Unit 1 generator room. Shown at 00:27 in WoW Quests’s video. Image: Remedy Entertainment
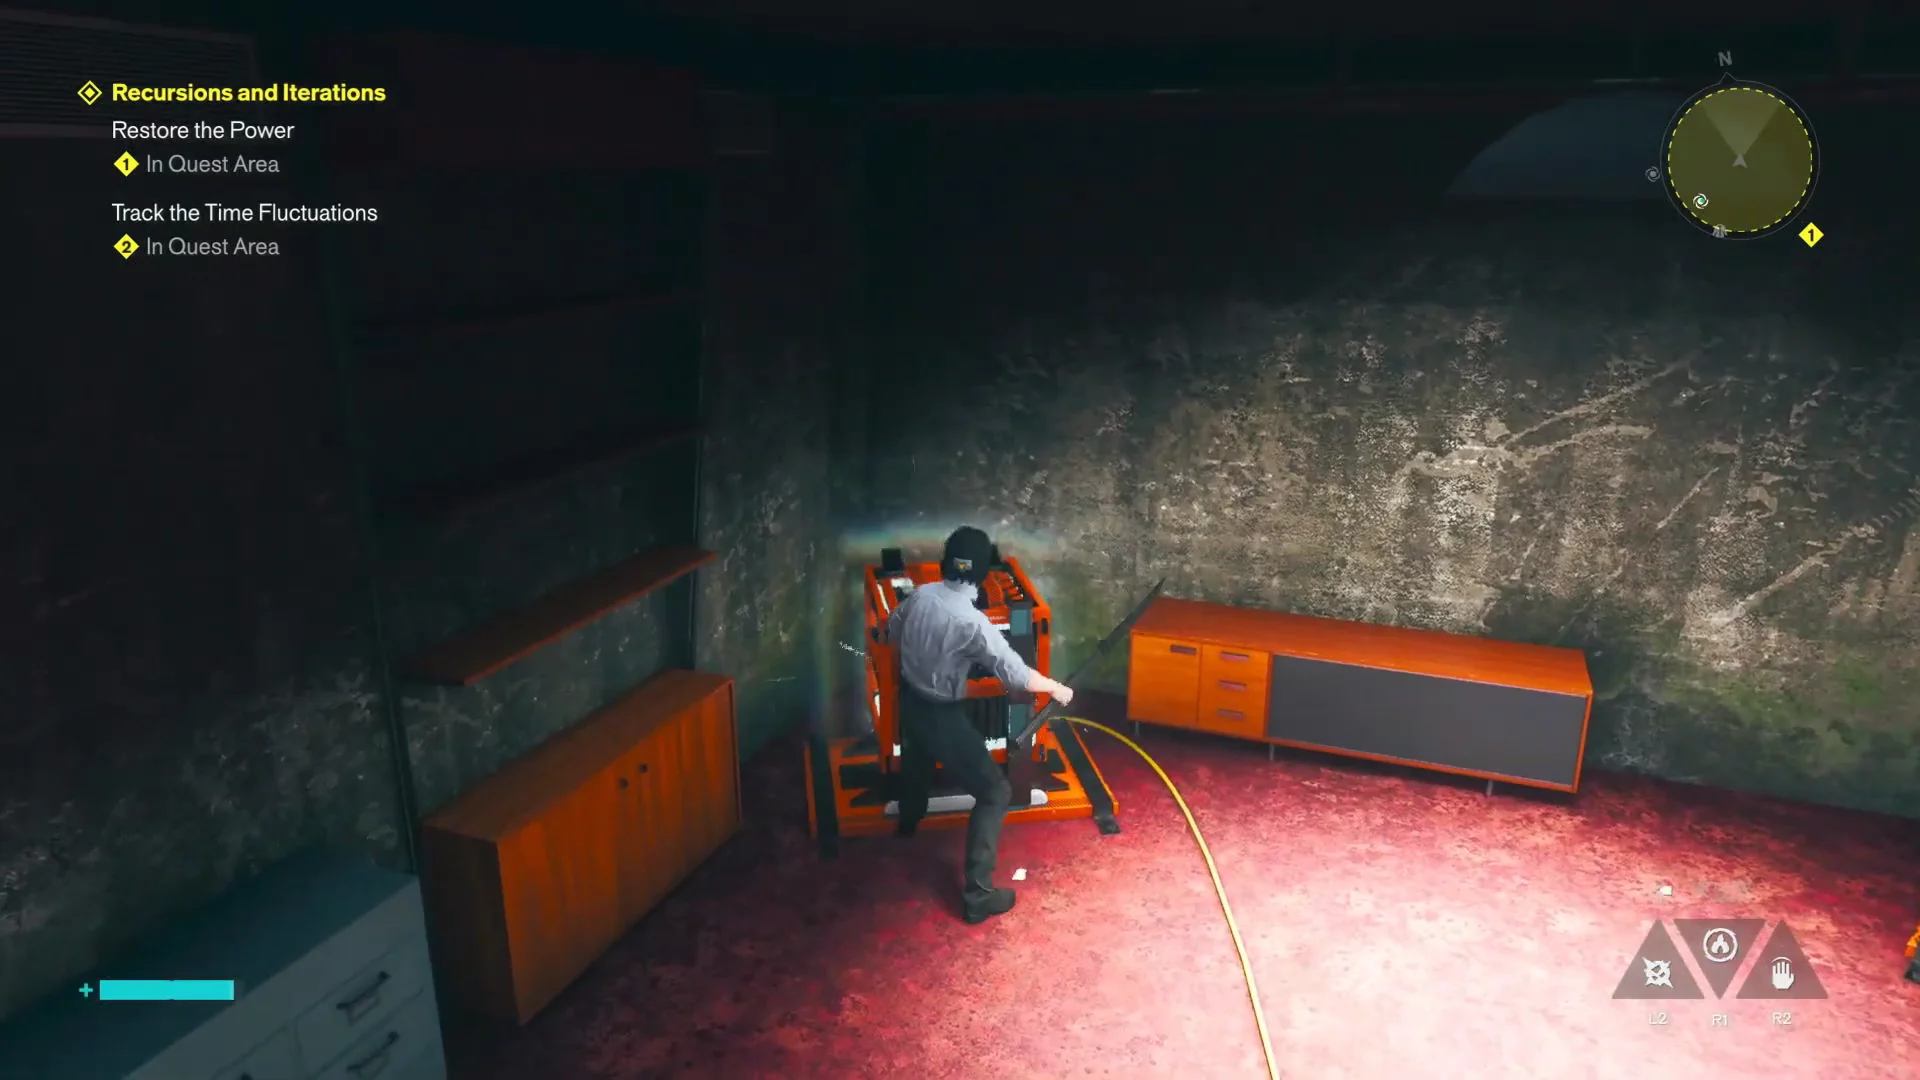
Enter the Unit 1 room and hit the orange generator with a melee attack to activate it and grab the charge.
Retrace the platforms back to the central power station and strike the first matching unit. Ayad calls out when you connect it, confirming the first link is done.
Returning to Central Hub00:48Returning to Central Hub
The central hub chamber where every charge must be delivered to its matching unit. Shown at 00:48 in WoW Quests’s video. Image: Remedy Entertainment
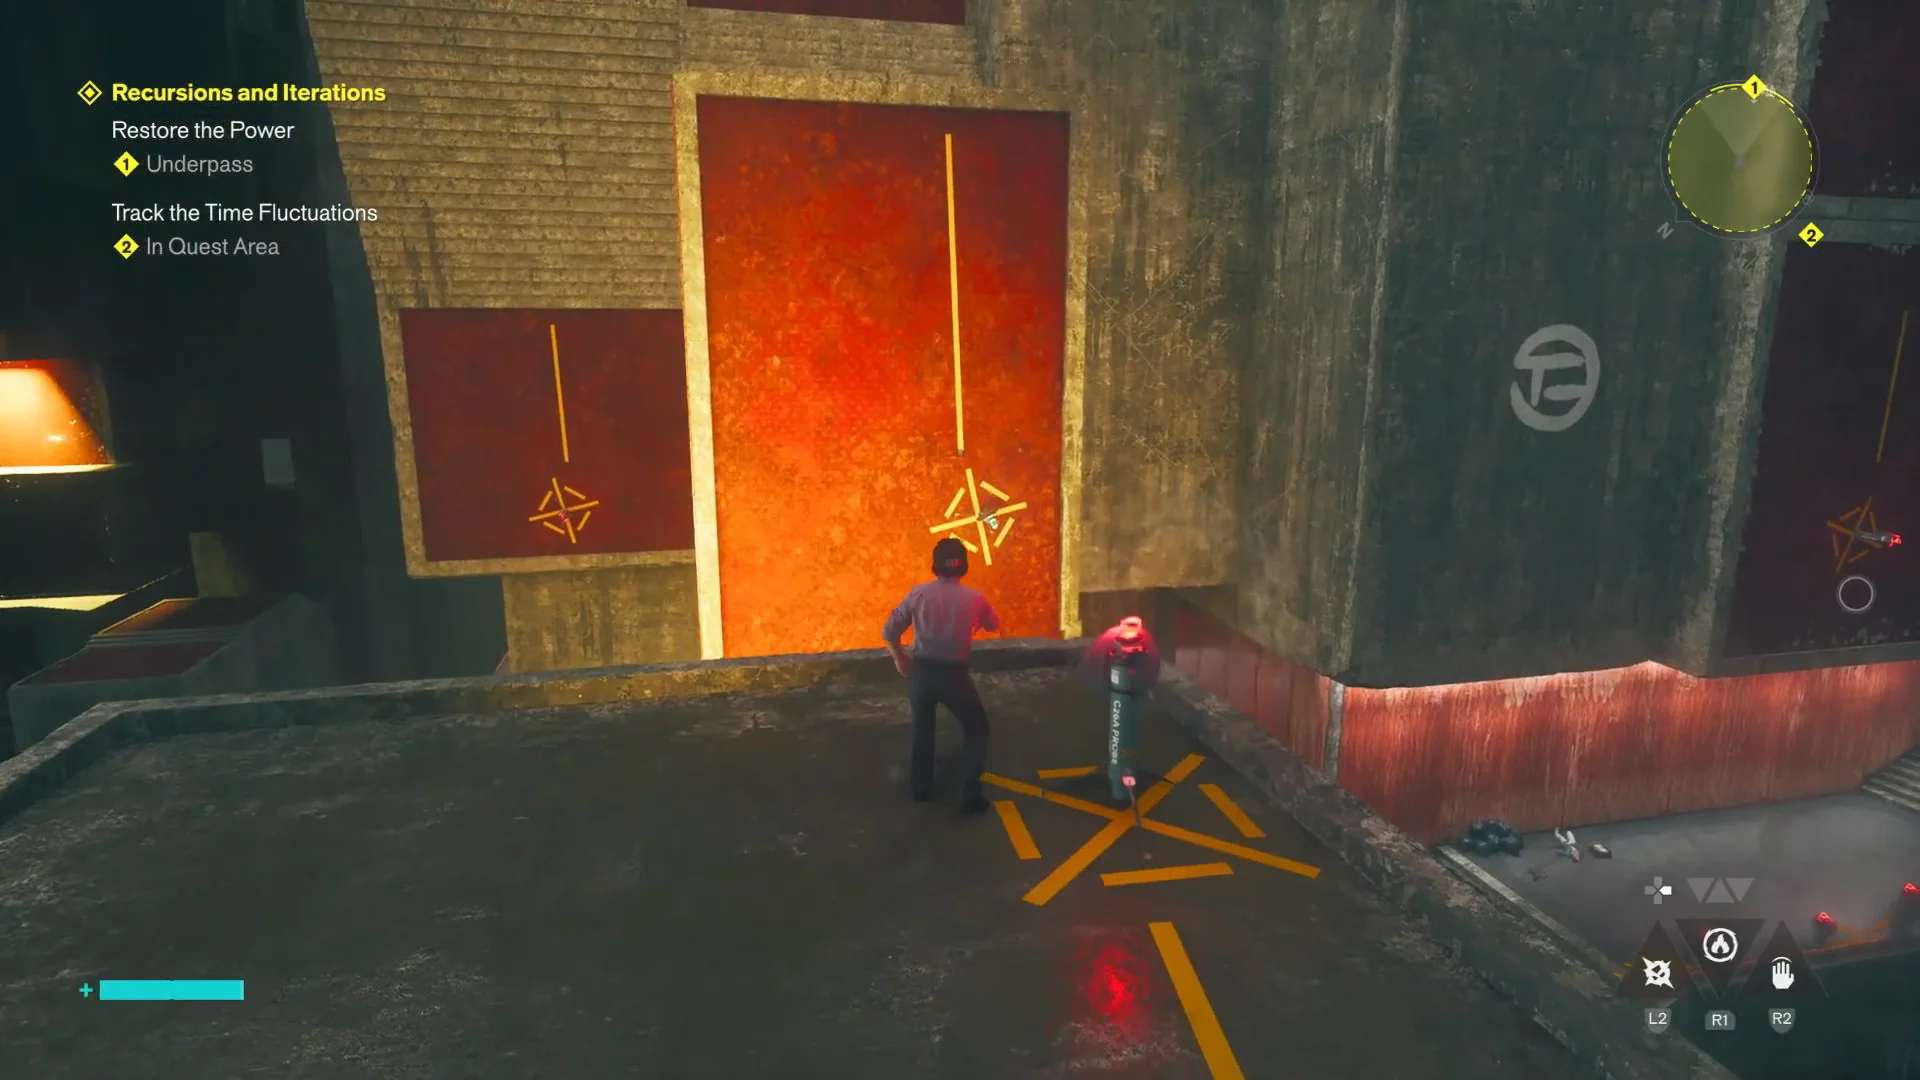
Follow the yellow path to the second generator room. This route climbs across a tall red-painted wall marked with yellow climb symbols, so look for those before pulling yourself up.
Journey to Second Generator Room01:12Journey to Second Generator Room
Yellow climb symbols on the red wall show where to scale up toward the second generator room. Shown at 01:12 in WoW Quests’s video. Image: Remedy Entertainment
Reach the upper generator room and strike the generator inside to charge it.
Activating Second Generator01:25Activating Second Generator
Hitting the second generator picks up the charge you carry back to the hub. Shown at 01:25 in WoW Quests’s video. Image: Remedy Entertainment
Run back along the walkways to the central hub and hit the second matching unit to lock in the connection.
Hitting Central Unit 201:34Hitting Central Unit 2
Striking the second central unit with a melee swing to complete the connection. Shown at 01:34 in WoW Quests’s video. Image: Remedy Entertainment
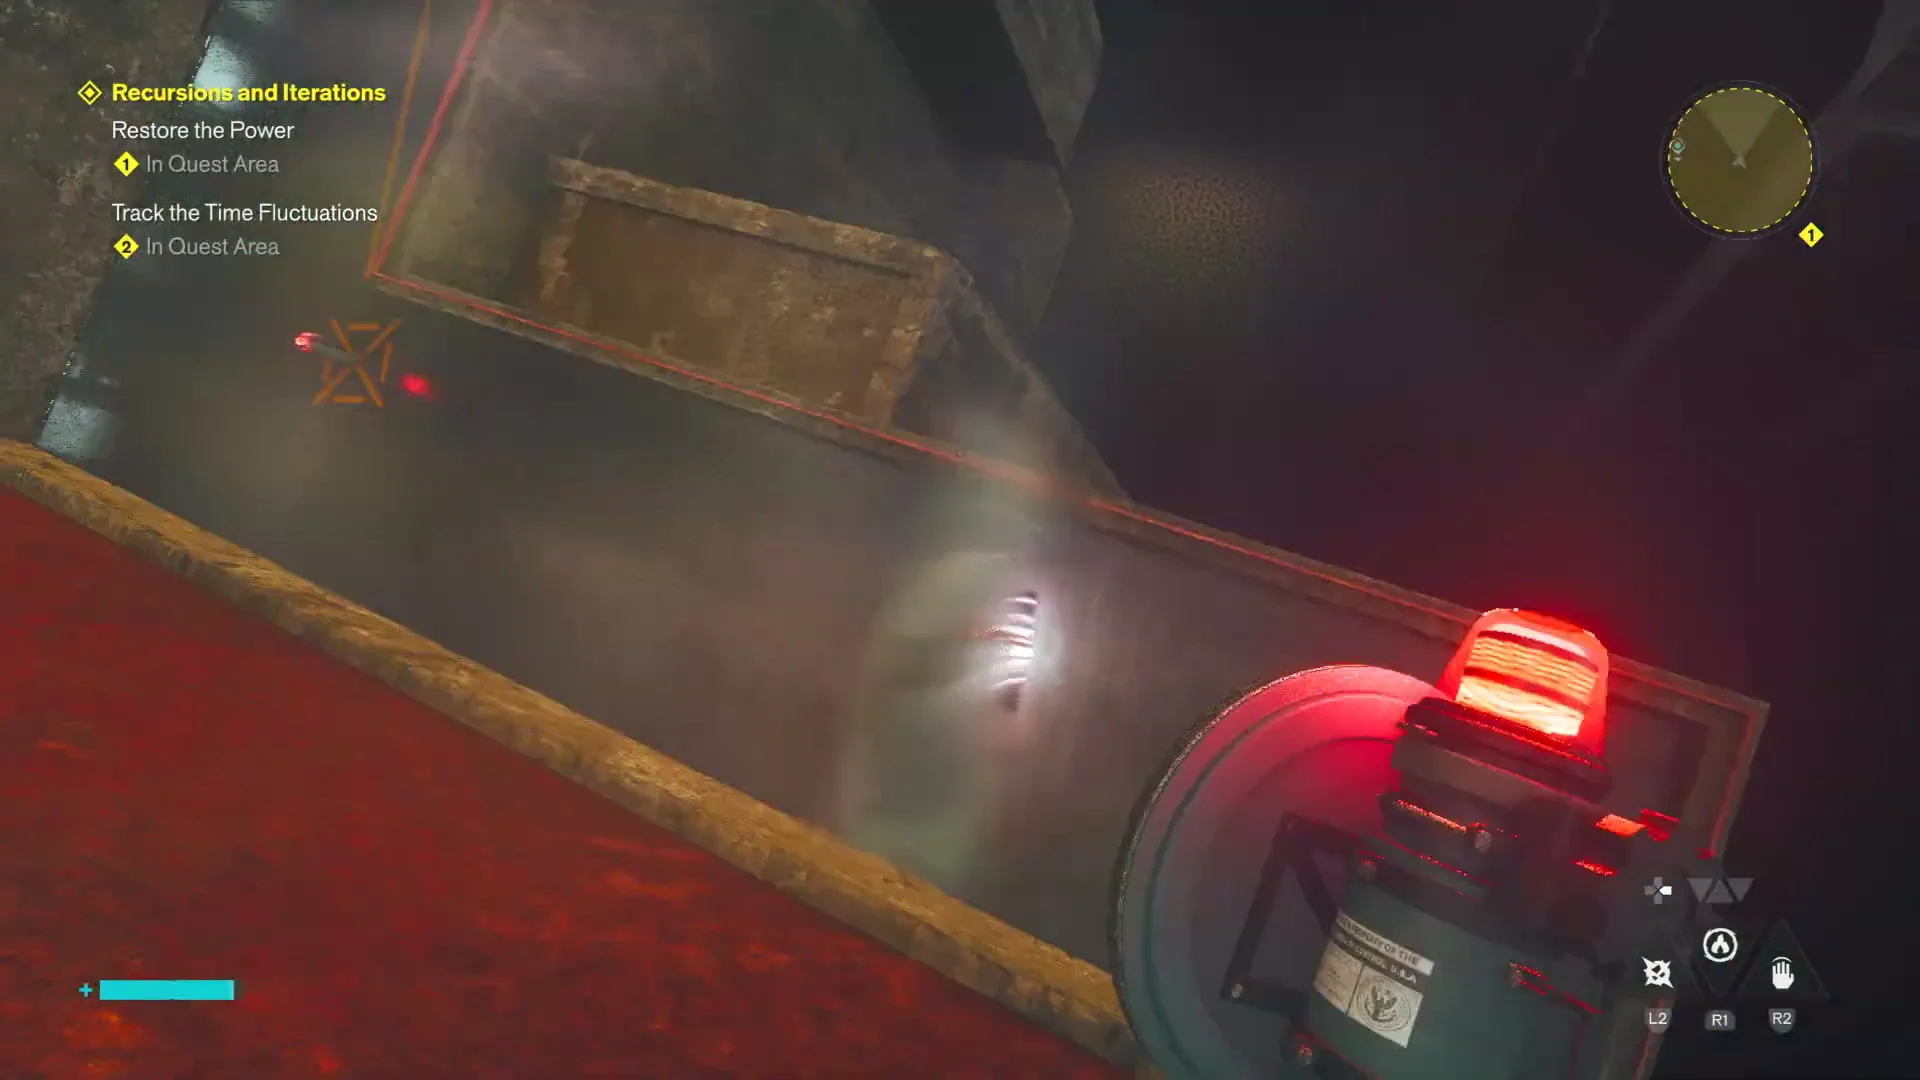
Use the yellow arrows and cables to pass the red probe posts and reach the final outlying generator room. Strike the orange generator inside.
Return along the upper platforms, drop into the central power room, and hit the last unit to restore full power.

How to know the power is restored

The moment the final central unit is struck, a “Quest Updated” banner appears and the objective flips to Return to Ayad. Ayad reacts to the surge in the dialogue, and the map now shows the updated marker pointing back to him. Head to his position to continue the quest, which moves on to tracking time fluctuations and investigating the anomalies at the other research sites.