Control Resonant: The House in Distress Main Quest Walkthrough
Every step from meeting Zoe in Executive Research to solving the Power Core tests and finishing the Fault ritual with Jesse.
Every step from meeting Zoe in Executive Research to solving the Power Core tests and finishing the Fault ritual with Jesse.
by AllThingsHow Staff
The House in Distress is the eighth main mission in Control Resonant, and it drops Dylan Faden back inside the Oldest House to chase a Dimensional Fault he glimpsed in a vision. The run mixes light platforming, a Power Core puzzle, a heavy Hiss fight, and a surreal void sequence that ends beside Jesse. Zoe rides along for most of it, opening doors and feeding you scans.
Quick answer: Finish The Underpass Fault first, fast travel to the Oldest House: Central Executive, meet Zoe outside Prime Candidate Training, restore power in the Interactions Lab, clear the three Power Core tests, beat the Director Training fight, then use the Main Test Chamber TV to enter the Fault and reach Jesse.
Finish The Underpass Fault before this mission unlocks
The House in Distress only becomes available once the Underpass work in Recursions and Iterations is done. That means clearing The Underpass Fault side quest, which you can start after reaching The Underpass and investigating the Island of Orange Pipes. That Fault tasks you with finding Jesse and completing its own ritual. Wrap it up and the eighth main mission opens.
Use fast travel to reach the Oldest House: Central Executive door. Cross the office atrium while Hiss and distorted resonant enemies attack, then locate the elevator descending to Executive Research. If the way seems blocked, stay in the room and take the elevator down.
On the lower level, enter Executive Research; Zoe is posted beside the Prime Candidate Training grounds entrance, near Dylan’s old cell room. Talk to her, and she will use an FBC keycard from the archives to unlock the Clearance Level 18 door.
Proceed straight into the training grounds. As you pass the lecture area, an orientation video for Dr. Darling’s Prime Candidate Program begins playing. Keep going to the Main Observation area.
Have Zoe scan the Level 18 Main Observation doors to unlock them. Through the observation window, inspect the contaminated chamber below. Dylan confirms that the Fault from his vision lies inside the Main Test Chamber.
The Main Test Chamber’s direct blast door, labeled V-E2, is unusable, and there’s no way around it from this side. Detour through Classrooms, then go straight through the Interactions Lab to reach the room with the Power Cores.
Emergency power is all the lab has. Go downstairs to find a pair of Power Cores; one is inactive. Take a charge from the working Core on the eastern side.
Bring the charge to the inactive Core in the south and use the power setup console. The power comes back on, unlocking the gate to Test Room #2.
The moment you step inside, an automated voice starts the test cycle and locks the doors behind you. You cannot leave until all three patterns are solved.
Power Core puzzle solutions (Electrokinesis Test)
A 3×3 grid of nine Power Core slots covers the wall, with spare Cores on either side. For each test, the side monitors illuminate a pattern; power the corresponding slots to pass. A “Success!” prompt confirms each correct pattern. After all three are cleared, the status reads COMPLETE and the doors reopen. Solve the tests in sequence.
Test
Power Cores to activate
Test #1
Top Left, Top Right, Bottom Middle
Test #2
Top Left, Top Right, Bottom Left, Bottom Right
Test #3
Top Middle, Middle Left, Middle, Middle Right, Bottom Middle
Once the doors reopen, take two charges from the test room back to the Power Cores in the eastern room to restore power fully.
Follow the upper balconies west toward the High Risk Chamber entrance. An archival recording on the way captures Dr. Darling telling staff to drive subject P6, Dylan, into extreme distress. Enter Dylan’s former containment cell to trigger a memory in which he admits to killing personnel during test 356.
Fight through several waves of Hiss and resonant enemies in the Director Training courtyard. Defeating them unlocks the last entrance to the Main Test Chamber.
A side office in this courtyard holds a red Hotline phone, an executive armchair, and a red carpet. Step inside before you leave to collect a +1 Talent Point.
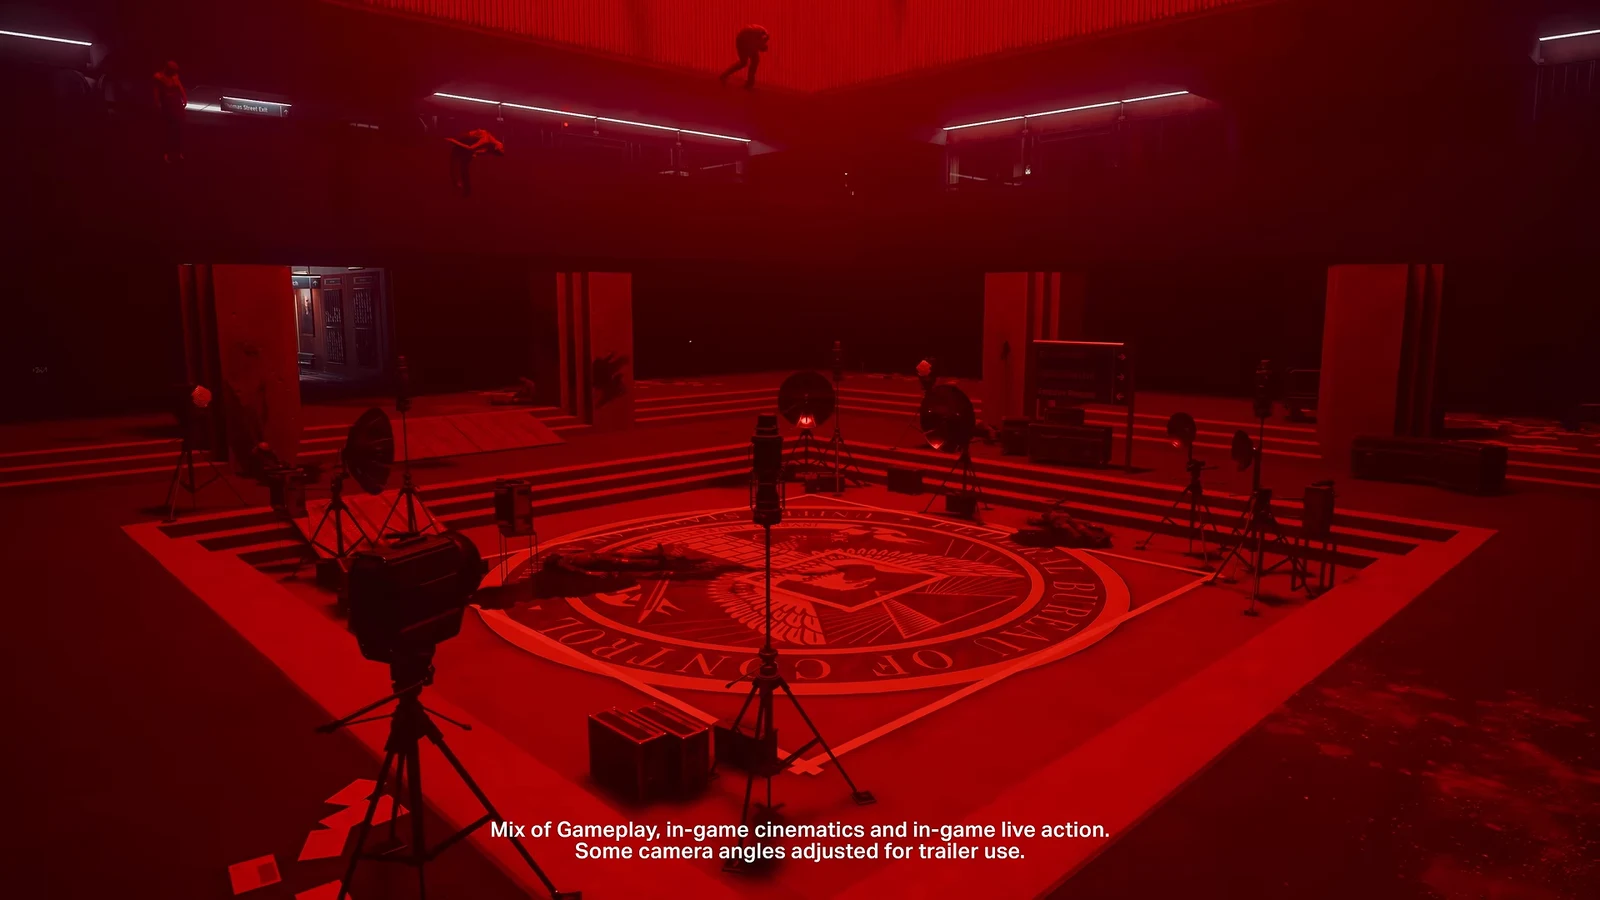
Mannequins encircle golden foliage and an altered TV inside the Main Test Chamber. The Board speaks to Dylan telepathically, ordering him to turn back and calling entry “forbidden/stupid/a no-no.” Interact with the TV to descend into the unstable pocket dimension.
Make your way over autumn leaves and the Oldest House’s fractured sections until you arrive at the mesh partition and Jesse. Talk to her, then follow the right-hand route to a TV. Interact with it and press on; beside the floating TVs, pull the triple lightcord switch to change the dimension.
Navigate the office hallways under reversed gravity, take the elevator through the void, then cross the facility wing of snow and white grass. Activate another ritual TV on the way.
Bound from one enormous floating monolith to the next, heading for the purple-and-red vortex. Then dash up the central red carpet toward Jesse; reaching her starts the final cutscene.
How to confirm the quest is done
The objectives clear in this order: Meet Zoe at Executive Research, Locate the Fault, Reach the Oldest House Fault, and Complete the Ritual. Reaching Jesse at the top of the red carpet finishes the final objective, and the mission closes out through several cutscenes and a conversation with Zoe. This Fault grants no new traversal ability. Once control returns, The House in Distress is complete and the campaign continues toward The Hedron Link.