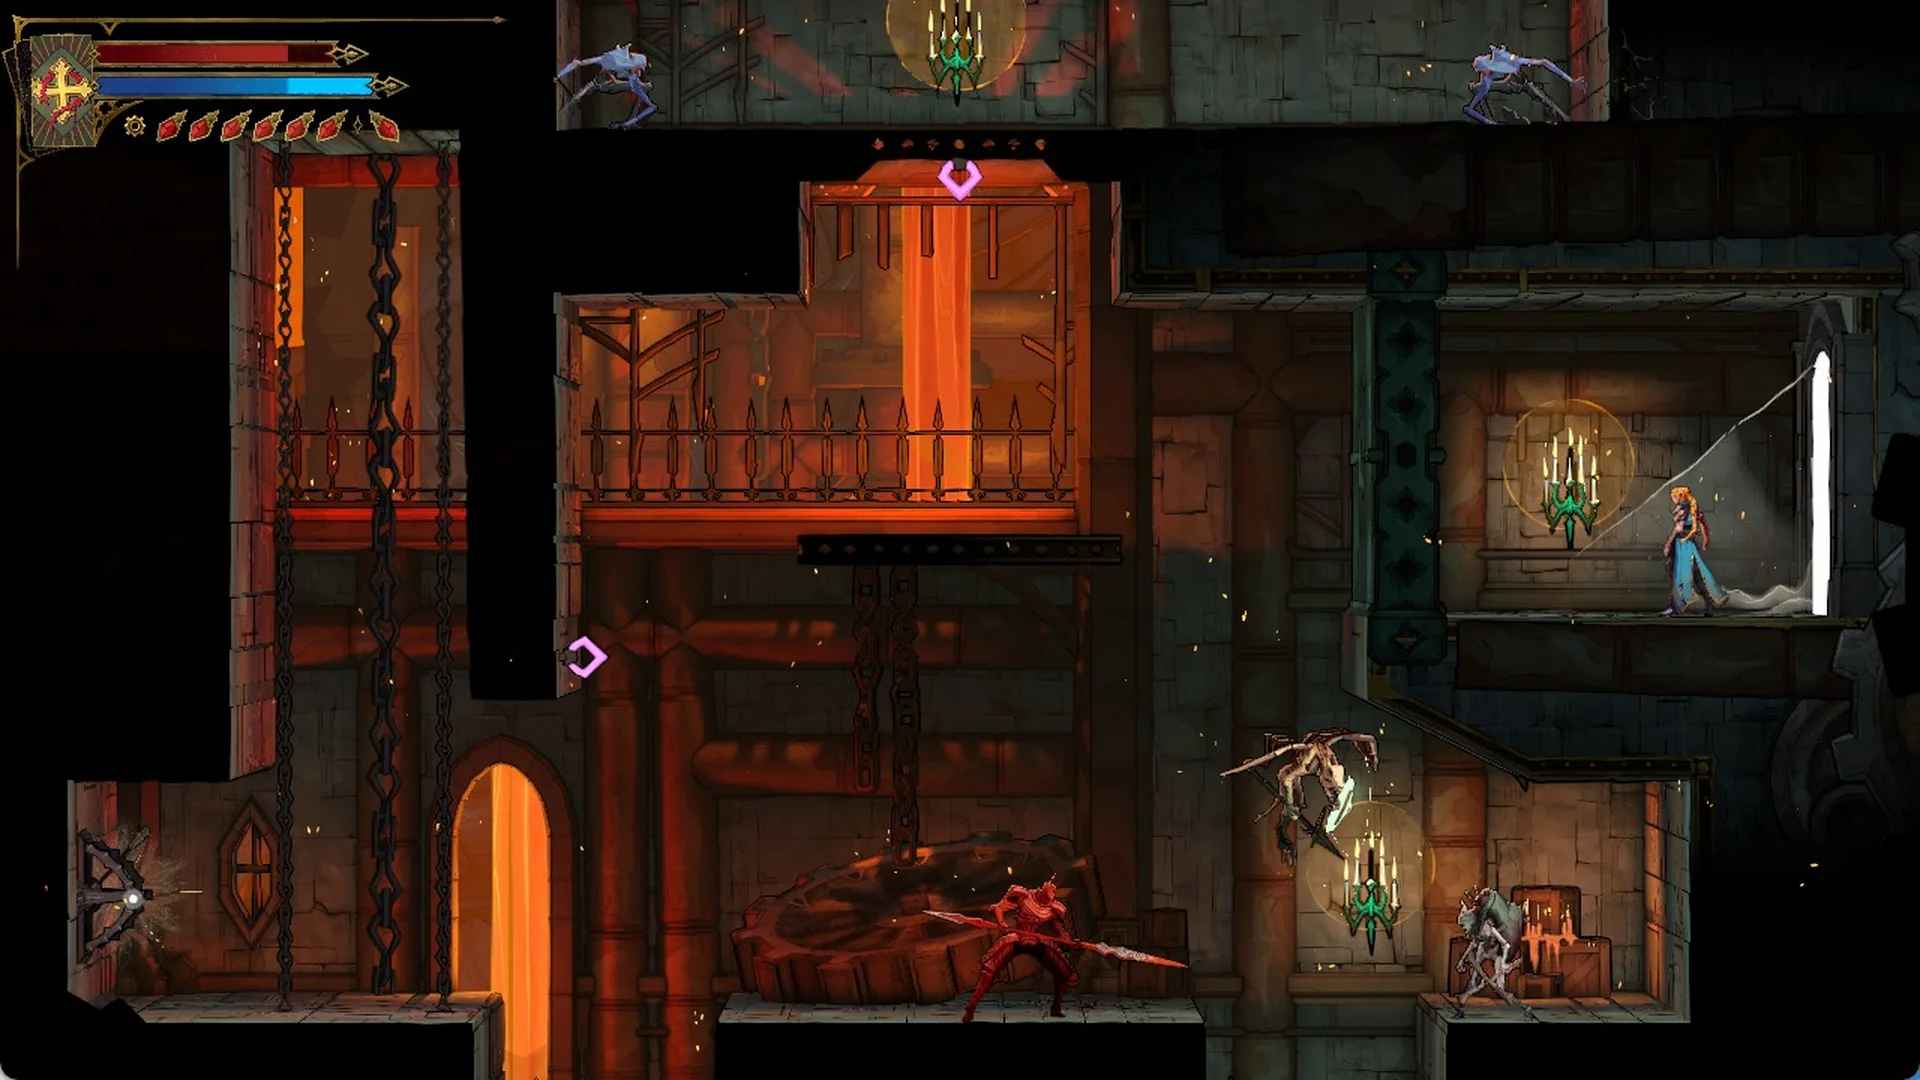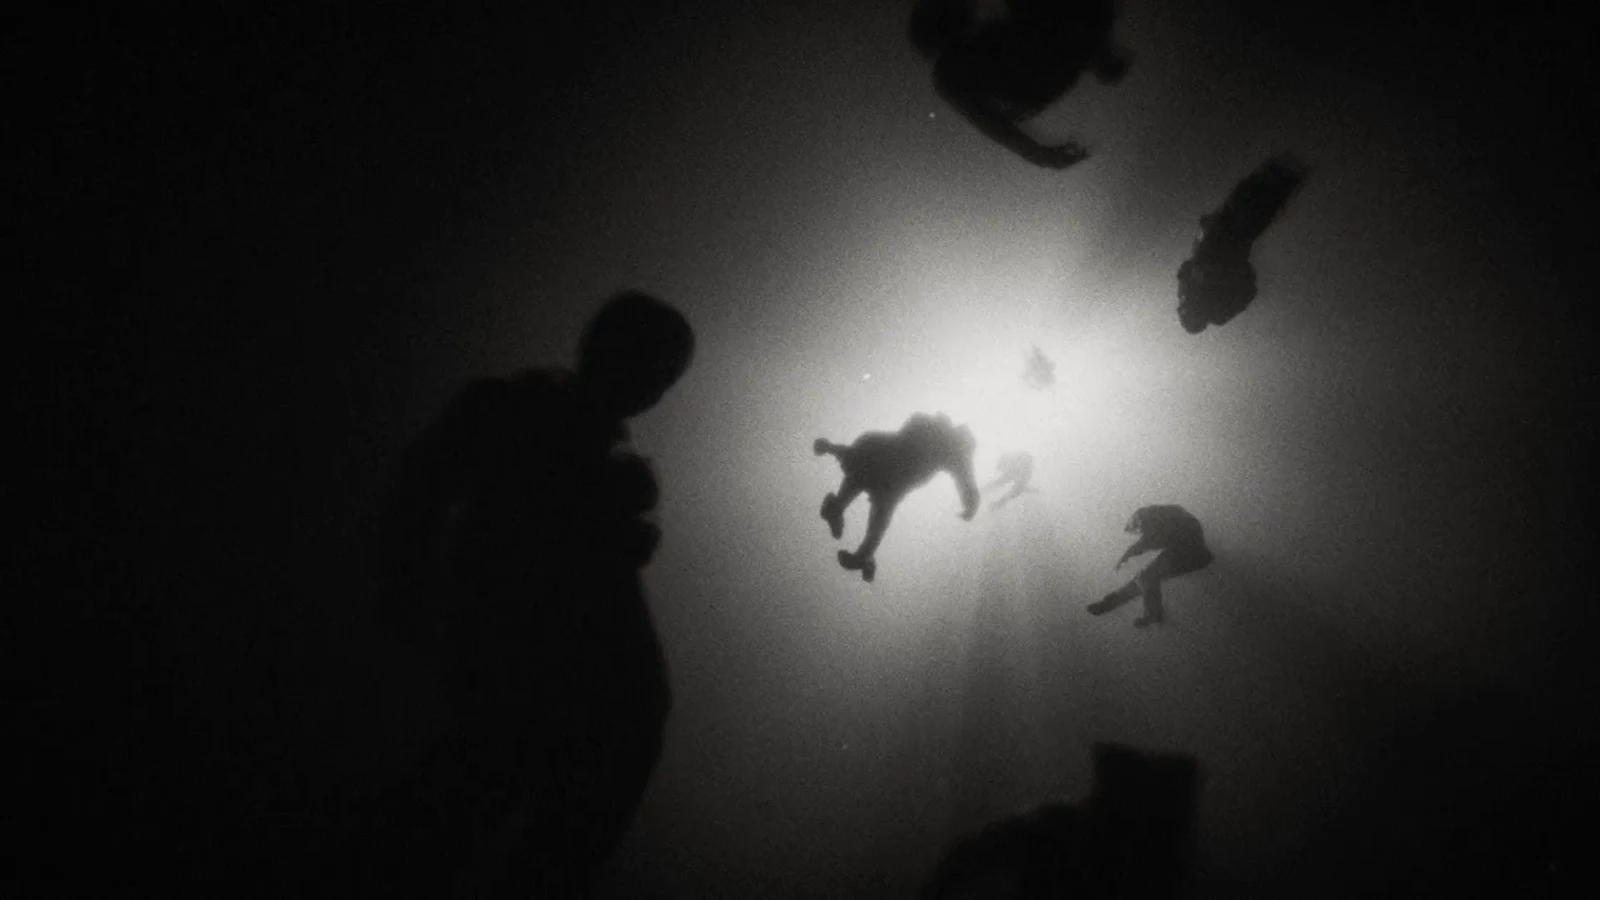
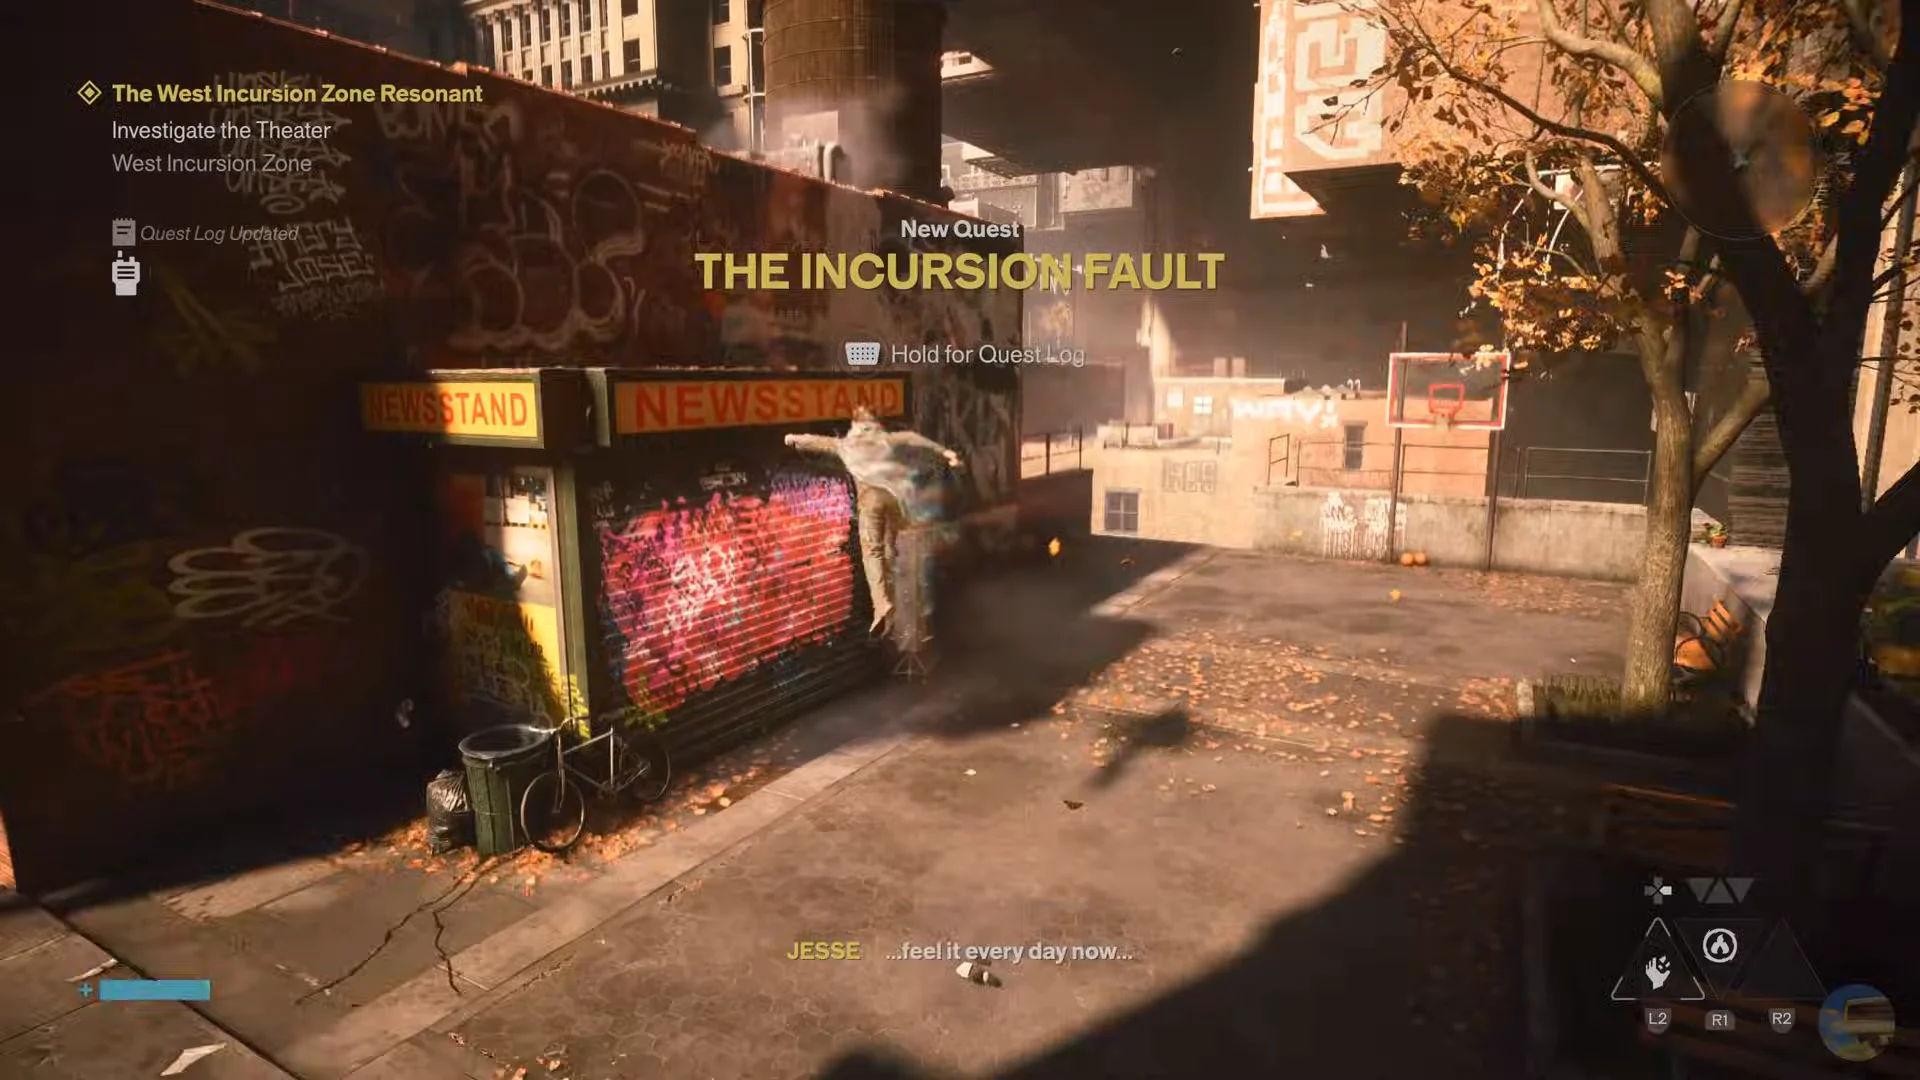
Look west of Central for towering beams of light and people suspended over the street; both signal a serious anomaly. In the West Incursion Zone Resonant mission, Dylan Faden heads to the theater to eliminate the Resonant responsible. The route appears to cover just one city block, but a dimensional rupture cuts across the road. Getting around it means crossing a parking garage, entering a locked laundromat, and reaching a Fault where Jesse grants the Shift ability. Take this mission on early: the traversal power and Combat Ability it rewards will help with everything that follows.
Quick answer: You need to clear The Incursion Fault below the Parking Garage to gain access to the theater and unlock Shift. Afterward, get out of the garage, traverse the rooftops, take the subway beneath the chasm to Empire Avenue, and sprint up the blood mural to face The Dancer.
How to start the West Incursion Zone mission
You can access this mission during Welcome to Manhattan, once you’ve met Zoe at the Watchtower and reported the patterned spotlights appearing around the city. Finish your active Central objective, then head west from the FBC Field Office. Your opening task is to reach the West Incursion Zone.
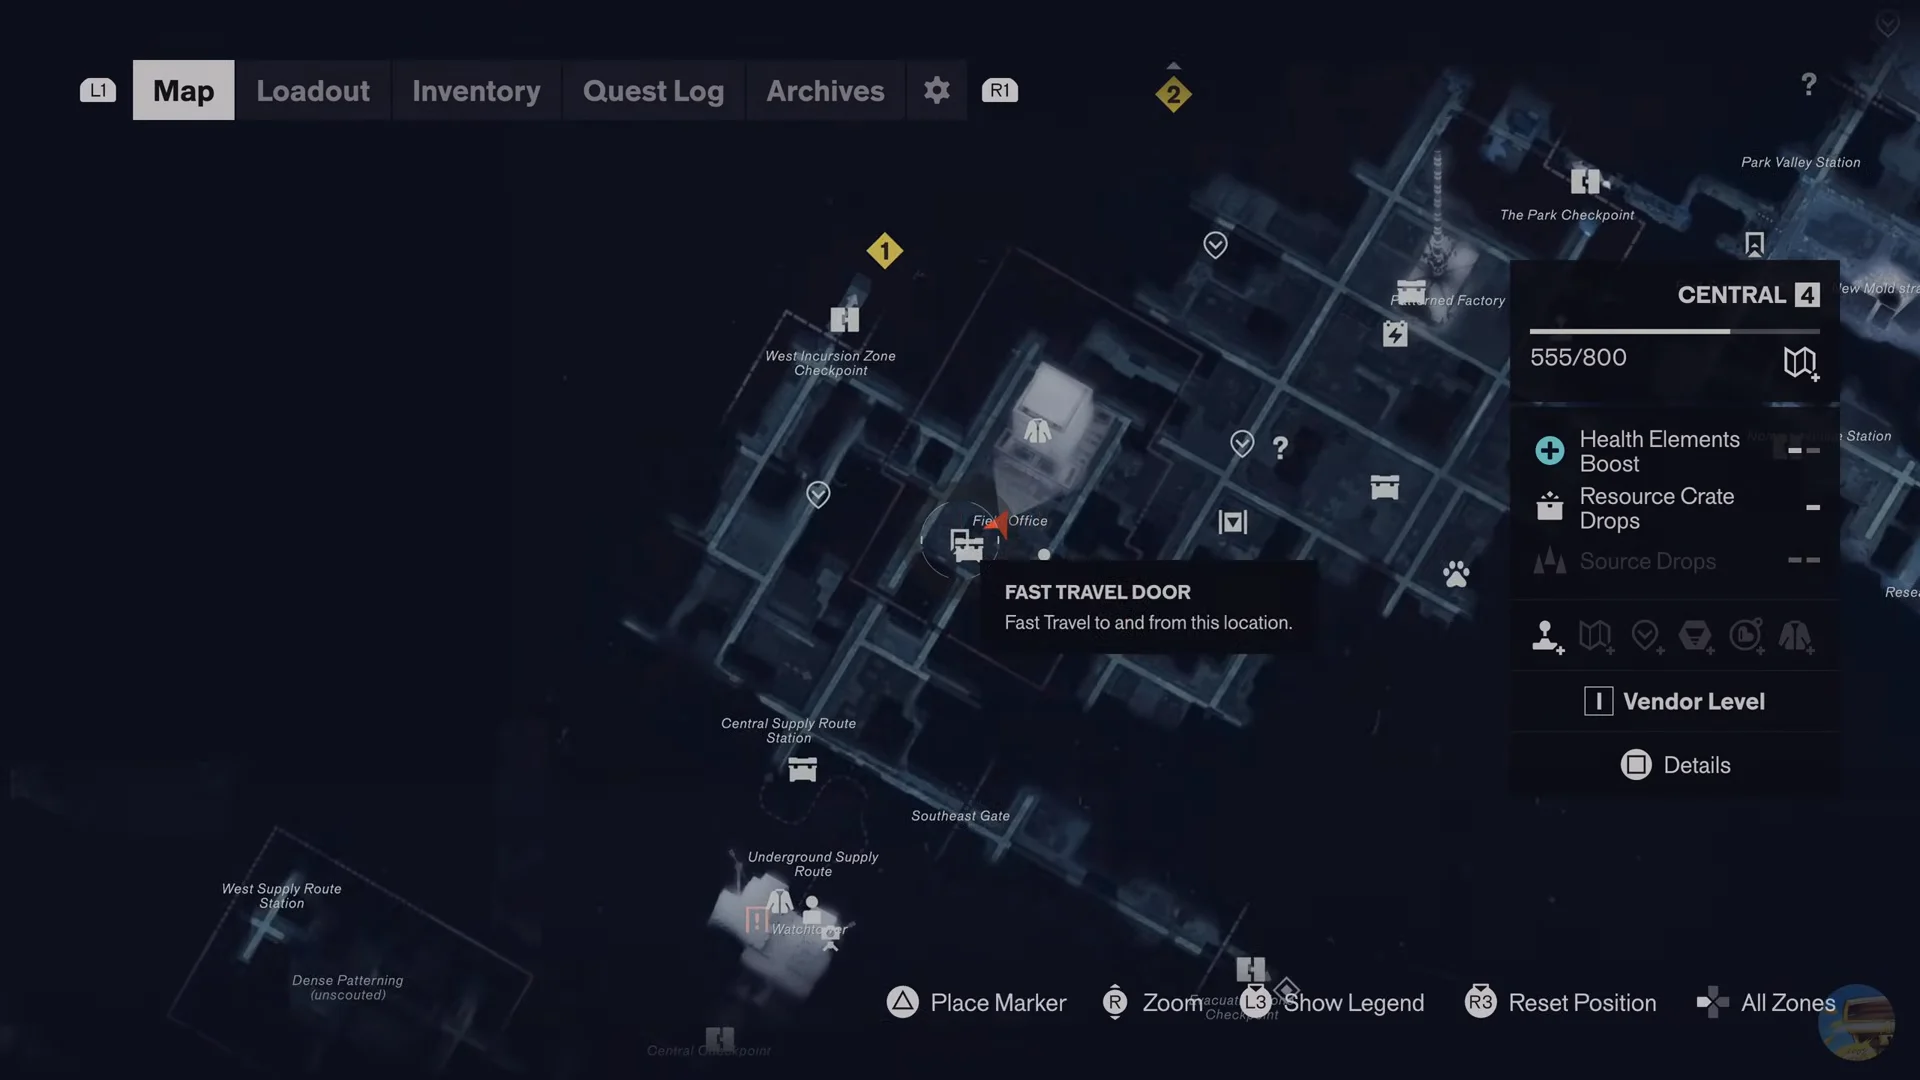
This is one of a handful of missions you can tackle in different orders, but slotting it in right after Welcome to Manhattan pays off fast. Both the navigational ability from The Incursion Fault and the Combat Ability from The Dancer smooth out the fights that follow.
Route from Central to the West Incursion Zone
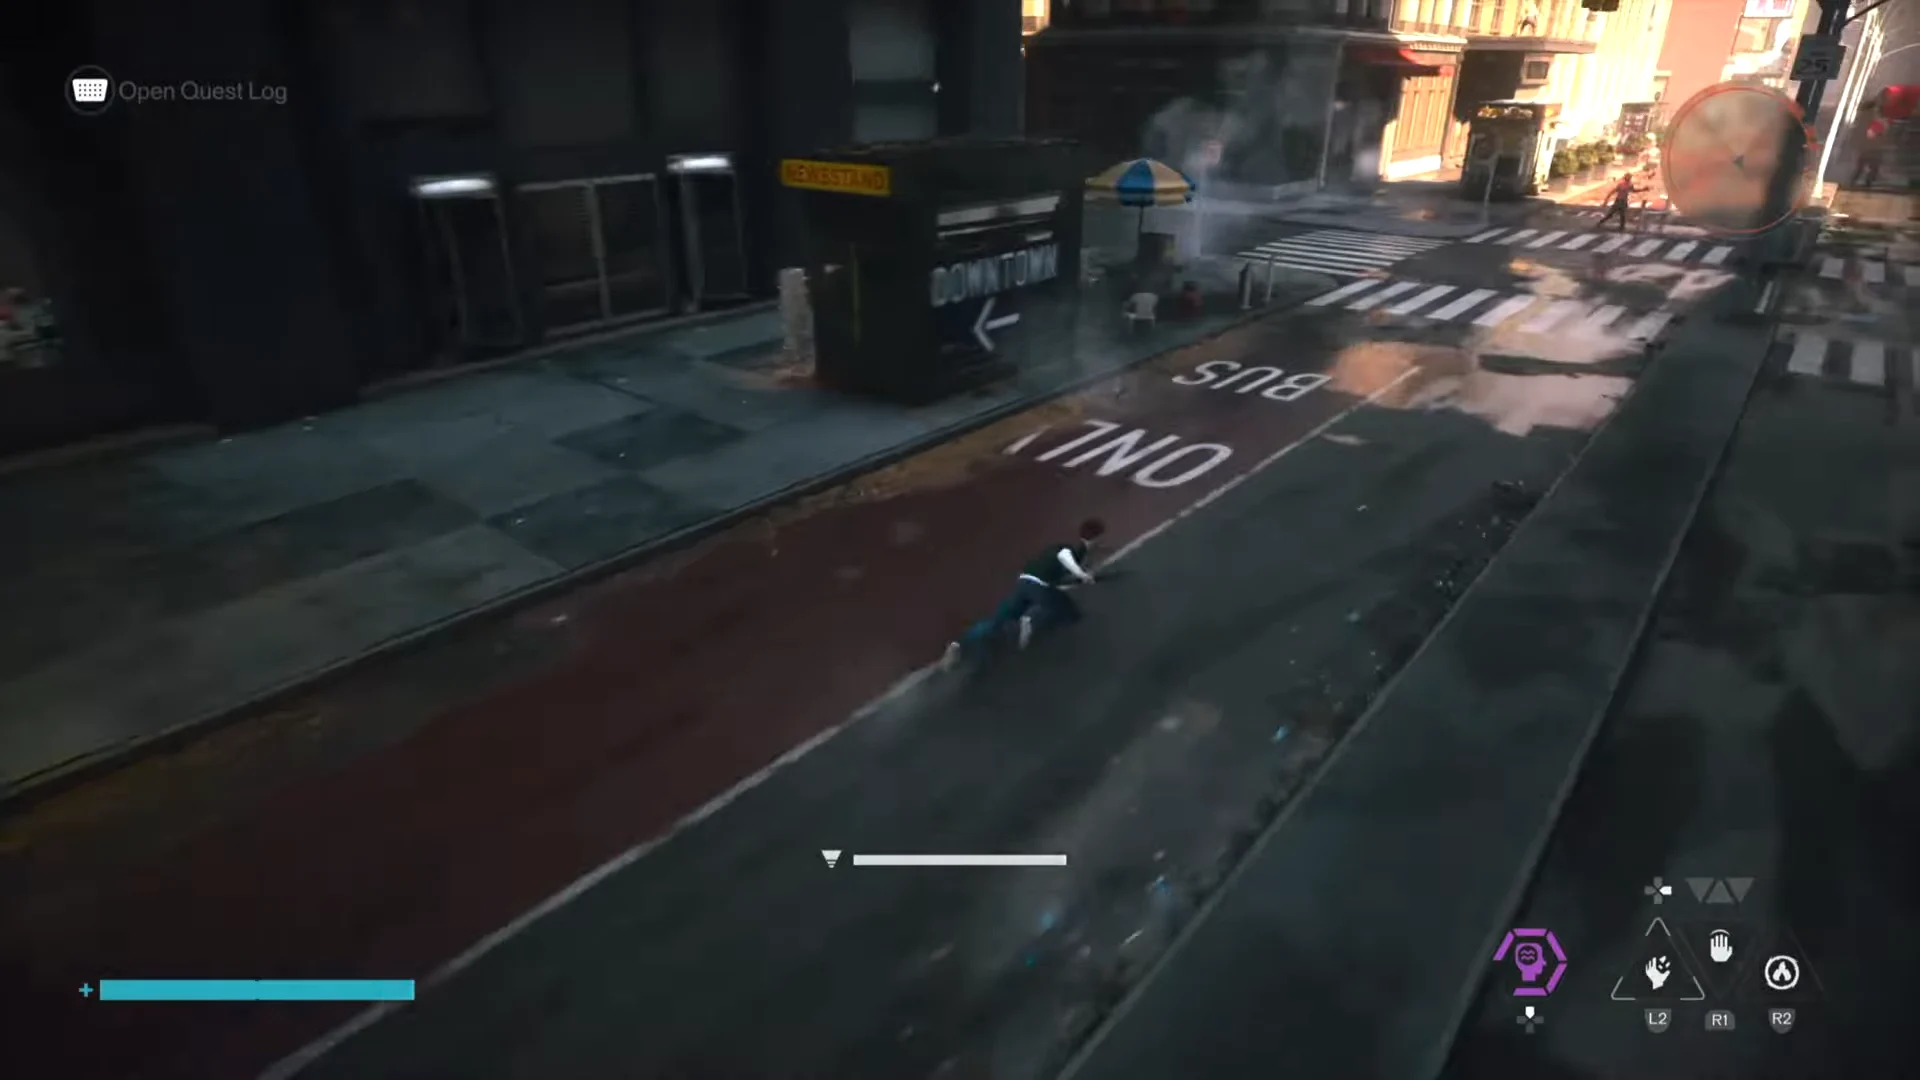
Unlock the West Incursion Zone map
The zone map here is genuinely useful, so unlocking it first saves a lot of wandering. The main Map Kit sits close to the Theater Vista point. Drop into the area below and you’ll find it between two sets of steps. Clear the Hiss packed into that space before you interact with anything.
Once it’s quiet, activate the three radars that feed the Map Kit, then switch on the main kit itself.
- Outside the House of Mirrors.
- At the patterned road’s base, north of the first radar.
- On the road beside The Badger shop, to the right of the Map Kit.
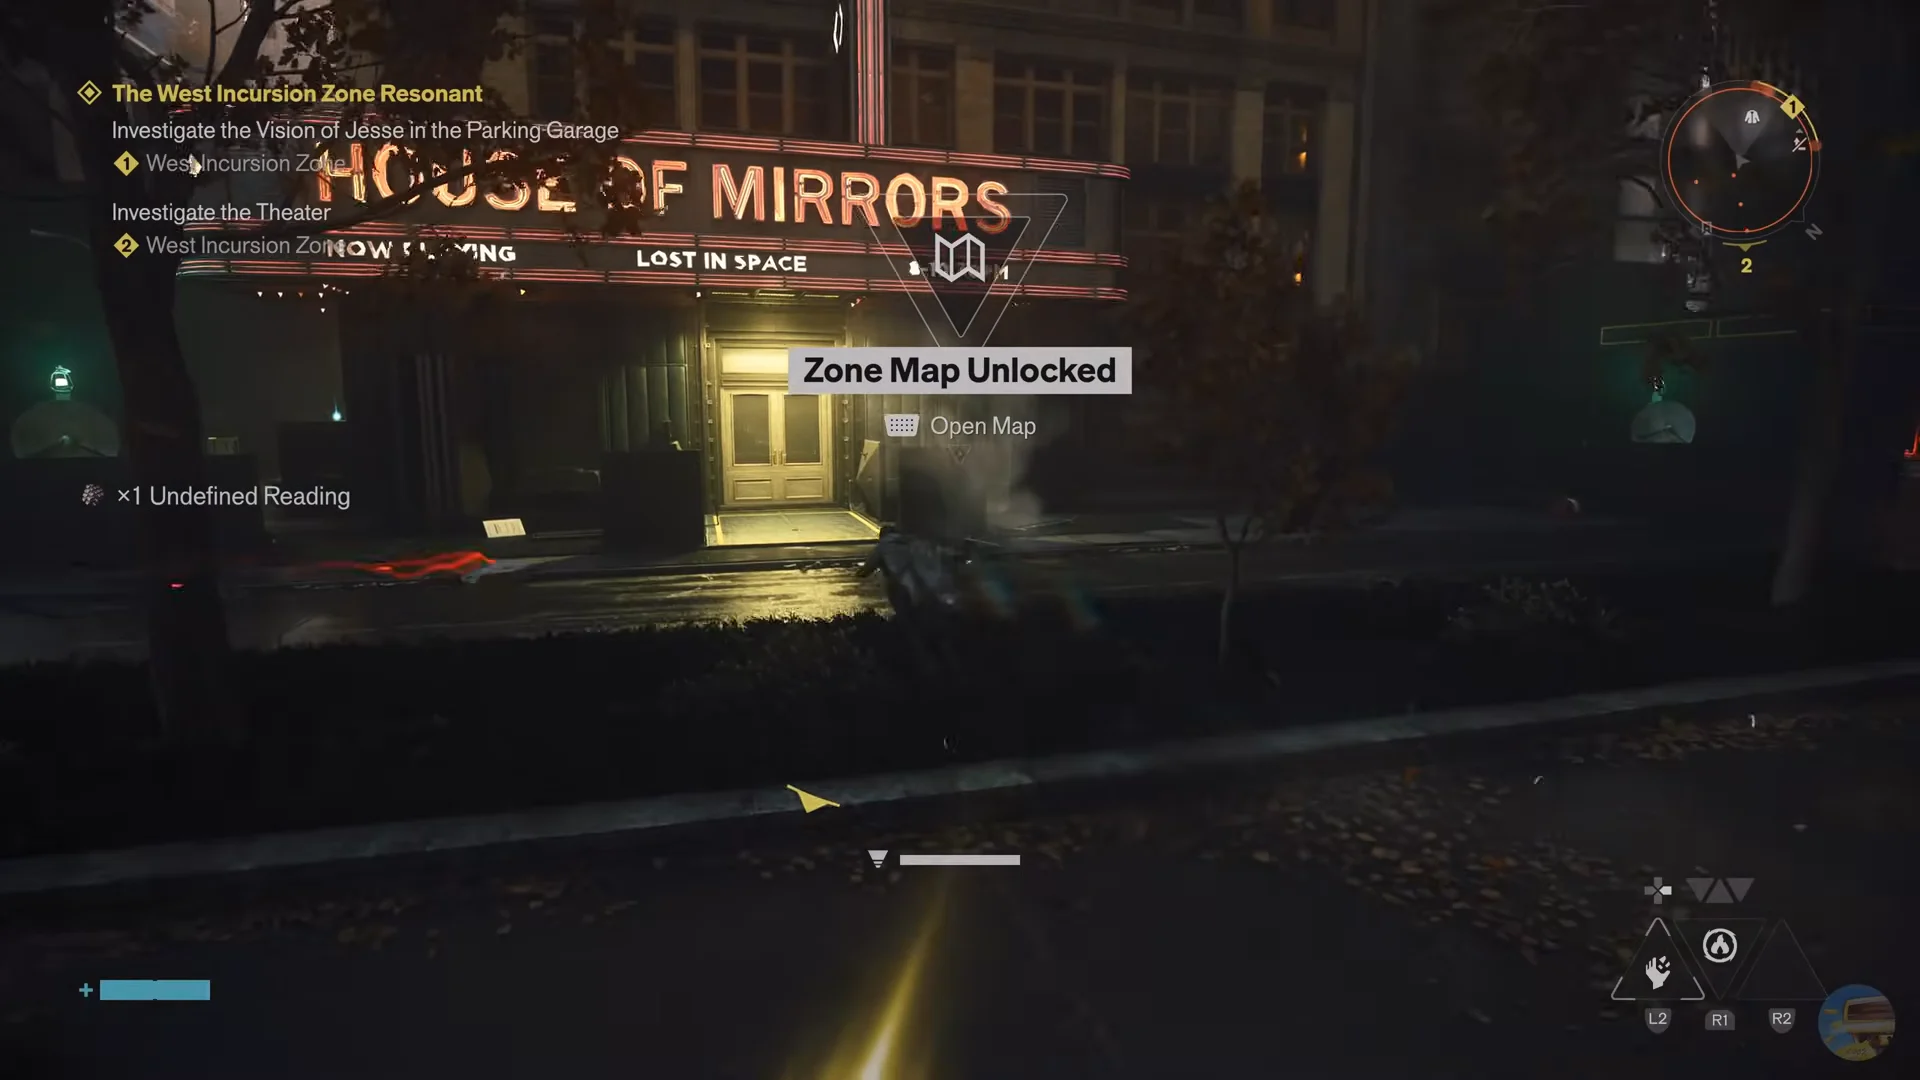
Take a moment to enter the House of Mirrors. Behind one of its desks is a Power Upgrade Point; you’ll also find a resource chest and a few collectibles there.
Reach the Parking Garage and complete The Incursion Fault
You must first obtain the ability in The Incursion Fault before the West Incursion Zone mission can be finished, so make this required detour. Remove the electricity from the power core in the House of Mirrors. Carry it outside and insert it into the other core next to the lift at the foot of the patterned road, right beside the second Map Kit radar.
Find the garage door keycard in the Wear’em & Washem laundromat. Since the entrance at the front is blocked, use the alley beside the shop to access the rear, avoiding the Hiss corruption on the floor. On a desk beside a floating body, you’ll find the Parking Garage Security Key. Head back to the garage entrance and unlock the door with it. Before you do, clear the apex Hiss on the sidewalk.
Within the Fault, drop through upside-down shafts into a golden portal area. From there, cross five televisions arranged over warped street sections to reach Jesse. Talk to her to receive Shift; it lets Dylan match his gravity to walls, turned roads, and other anomalous surfaces. Finishing the Fault gives you a Talent Point as well, and returns you to the garage complex.
| Shift action | Input |
|---|---|
| Align to a facing surface | Face it, press L1 |
| Grab an anomaly around a corner | Face a visible edge, press L1 |
| Use an overhead anomaly | Get in range, press L1 |
| Return to normal gravity | Face a floor, press L1 |
Shift gets little attention from the game. When a path seems blocked, look for a different surface you can align with instead of searching for a platform.
Climb out of the Parking Garage
Getting out of the garage means solving a climb that relies on Shift. Align with the wall behind the TV, then use the ability repeatedly as you ascend, tracking the cars and the painted Exit markings from floor to floor. Hiss variants attack on the ramps; defeat them before starting a lengthy Shift.
Around the halfway mark, look near a jukebox for a Health Upgrade Point. Also find and break an electrical box to reveal a resource chest. Go north, turn onto the street labeled Exit, and follow it upward to the top.
Cross the rooftops to the subway and Empire Avenue
With Shift in hand, the objective updates to investigate the theater, and traversal opens right up. Before you push on, the new surfaces let you reach this area’s vendor, and Shifting on the road left of the House of Mirrors leads to the Museum of Curiosities and the “Complete Set” side story.
The cinema sits directly across from the subway entrance. Go downstairs, then turn right just beyond the ticket barriers to find a small shop containing a Health Upgrade Point. Keep going forward to exit the subway. A taxi nearby can also start the “The Last Taxi” side story.
Once outside, jump and Shift up to the inverted road overhead, where patterned blood covers the surfaces. The Atlantis restaurant along the way contains a resource chest. A little farther on is the Empire Avenue fast travel spot. Continue along the road to the blood mural and Shift to run vertically up it. You’ll emerge outside the theater, with the missing FBC Rangers suspended in the air.
The Dancer boss fight and how to win
Before you go in, consider stopping at The Gap to spend Talent Points and apply upgrades. Enter the theater, search the dressing rooms for a resource crate, then interact with the opening in the curtain. This begins the fight with The Dancer in a completely dark arena. She is probably your second Resonant encounter, and moves much faster than The Artist.
Phase 1
For most of this phase, The Dancer moves around the arena almost unaware of you, throwing out baton thrusts, short forward swings, and spinning attacks both in place and while moving. About midway she adds a double jump attack that closes distance. Watch her tells and dodge on time. Strike works for quick hits and retreats, while Glaive lets you fight from range. Aim to end this phase with as much health as possible, because the second phase resets the falter bar and gets far more aggressive.
Phase 2
She opens by sprouting many arms, levitating, and hurling audience members at you, then switches to ground slams, quick double baton swings, and a fake-out big slam that lands where you’re standing. When she drops to roughly half health she adds a moving swing-and-slam combo. Strike during the brief pauses after a slam, since she can side-step, which can make Barrage whiff.
At about the last quarter of her health, the arena goes dark except for a spotlight on The Dancer. Stay out of it too long and an orange light flashes at your feet, dragging you beneath her for a punishing combo. Dip back into the light, or attack and dodge to cancel it, weaving in and out until she’s down.
Rewards, the Resonant Cycle, and what to do next
Beating The Dancer closes out the mission. You receive 2,000 Source, one Reset Item, and the Untapped Amulet, which can be crafted into an Artifact at The Gap. You also choose one Combat Ability.
| Ability | Damage (Raw) | Falter | Power Cost |
|---|---|---|---|
| Push | 52–105 | 6–17 | 200 |
| Ground Slam | 241–483 | 23–35 | 630 |
Ground Slam is the more reliable pick. It costs more Power, but a well-timed slam hits several enemies at once and sees far more use than Push, which only shines when you’re fighting near ledges or hazards, and many enemies here can fly straight back anyway. If you change your mind, you can respec later.
After The Dancer is defeated, the Resonant Cycle starts with a cutscene in which all the enemies you defeated return, somewhat stronger. Every Resonant kill triggers this cycle, so check your Power Level before taking one down. Spend Talent Points, upgrade weapon forms, and locate several Health and Power Upgrade Points while you can. Enemy of My Enemy won’t progress until you’ve defeated both The Dancer and the Deserter in Central; if one is already down, make the other your next target.