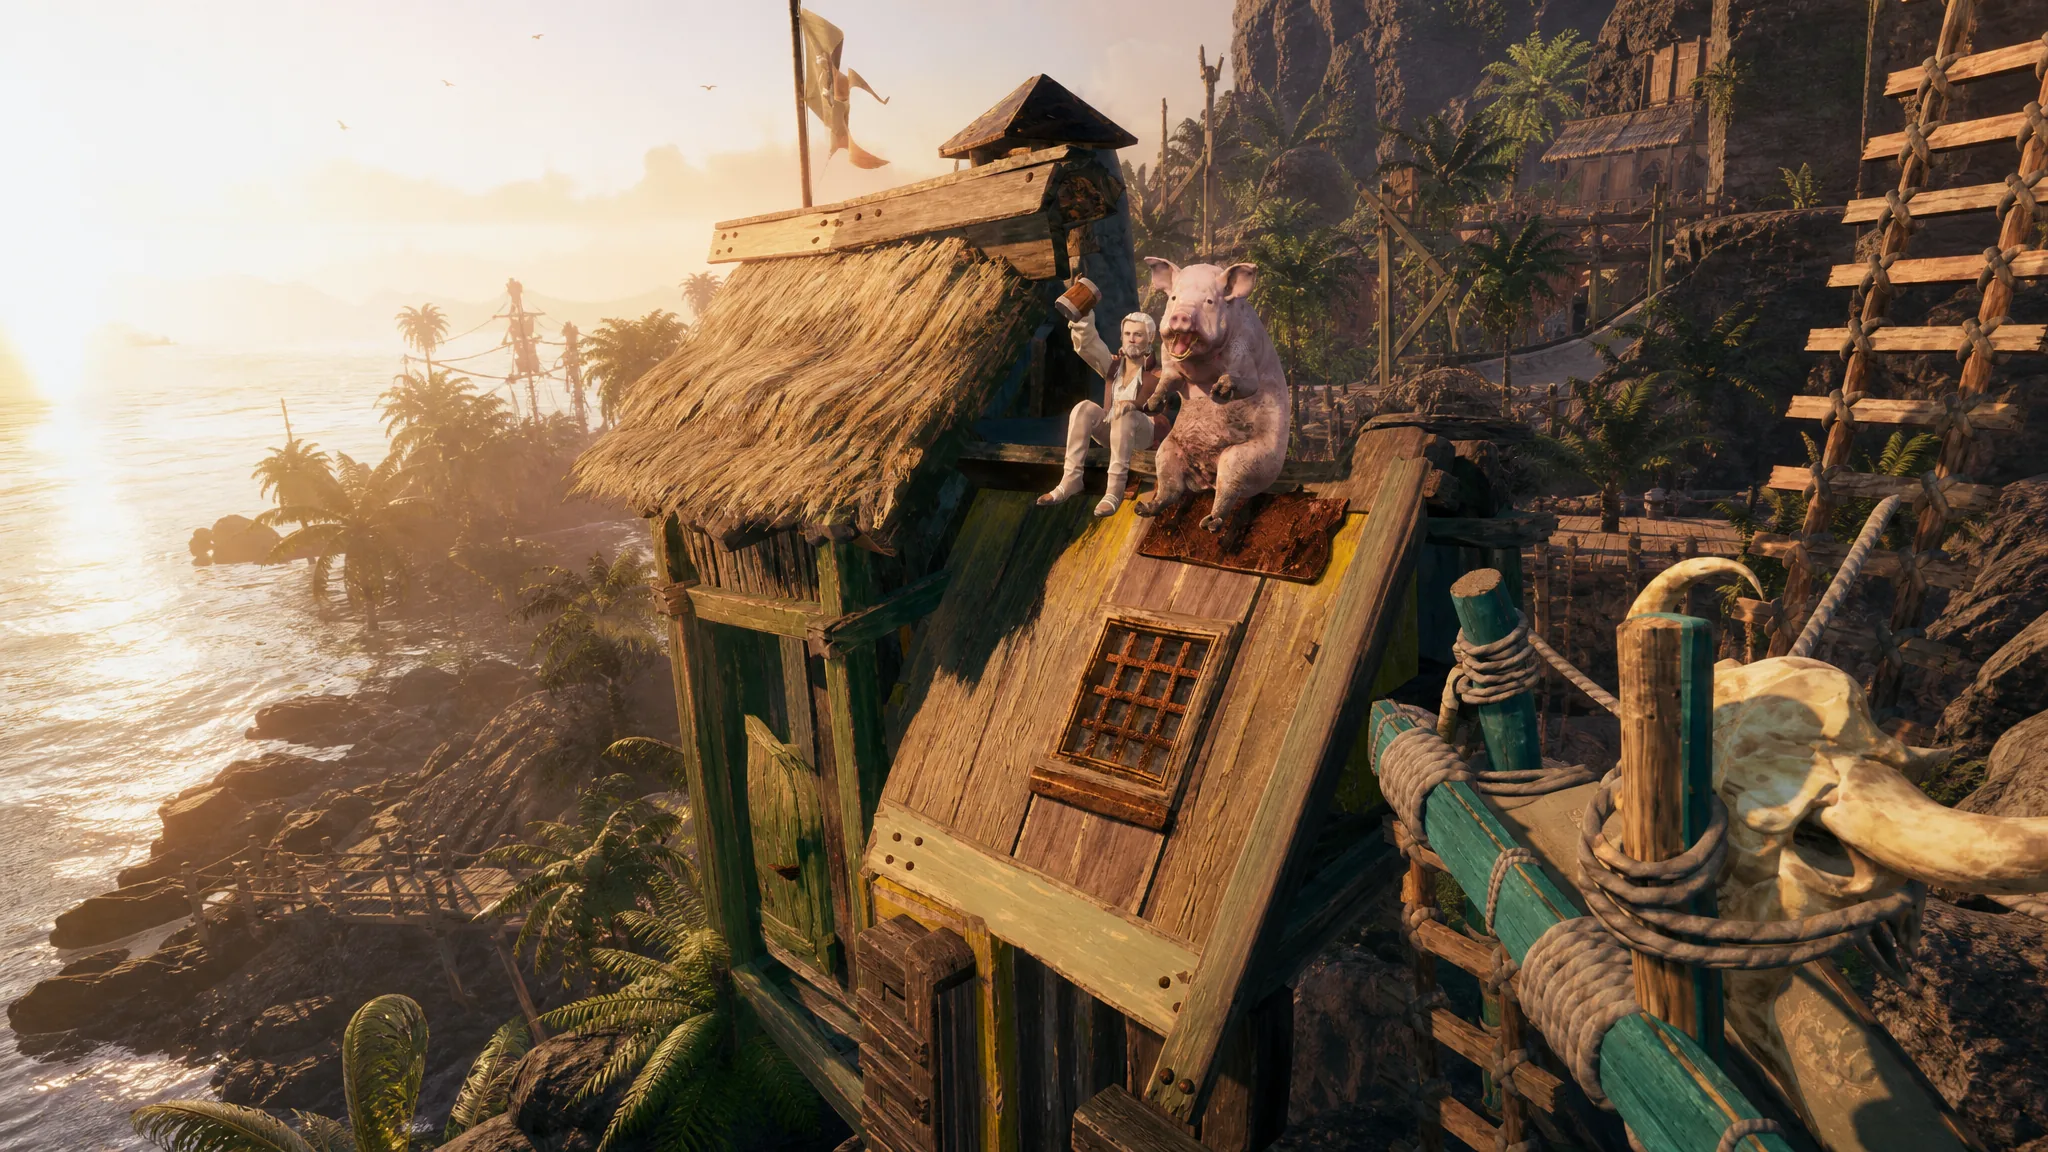
Corsair Cove is a vertical pirate management sim from Limbic Entertainment and Hooded Horse, and its whole economy runs on the buildings you place across the cliffs. There are well over 140 structures in total, split into housing, production, community, and principal types. Each one costs a specific mix of resources, and most stay locked until you push progress on the Technology Compass.
Quick answer: Every building needs a set amount of Planks, Stone Blocks, Coins, Tabby, Rope, Sails, Silver, or Hardwood. Gather the exact materials listed below, keep the plot connected to a Pirate Camp, and the structure completes once construction finishes.
How building works in Corsair Cove
Before a structure can go down, it has to sit within reach of a Pirate Camp. That camp houses and supplies the workers for every building tied to it. A handful of structures need no connection at all, but the vast majority must be linked to the haven through roads, rope bridges, cliff paths, or ladders. Construction will not even begin until that connection exists, and the building stops working the moment it is cut off.
Most buildings also need a set number of workers. If there are not enough Drifters on the island, the structure sits idle, because it cannot run on partial staffing. You can switch any building off at any time to free its workers or to control how resources flow around the island.
New buildings open up as you advance the Compass. Unlocking a new tier of ship reveals a fresh set of structures, and anything required to sustain that ship’s crew unlocks automatically once the ship is built. The Marketplace, for example, only appears after your first Tier 4 Prowler or Destroyer-class ship leaves a pier.
Build costs for every Corsair Cove building
The table below lists each structure alongside the exact resources it needs. The Woodcutter has no listed material cost, so you can place it freely to start your first wood supply chain.
| Building | Cost |
|---|---|
| Aerial Lift | 300 Coins |
| Apothecary | 20 Planks, 35 Stone Blocks |
| Arsenal | 50 Stone Blocks |
| Barber Surgeon | 30 Planks, 25 Stone Blocks |
| Bird Catcher | 10 Planks, 20 Stone Blocks |
| Bloody Banner | 10 Coins |
| Bloody Cabin | 30 Stone Blocks |
| Bloody House | 30 Tabby |
| Bloomery | 15 Planks, 35 Stone Blocks |
| Blubber Pot | 20 Stone Blocks, 15 Tabby |
| Bosun’s Depot | 20 Planks |
| Bounty Hunters’ Guildhall | 200 Coins, 75 Stone Blocks, 25 Sails |
| Brawler Arena | 500 Coins, 75 Stone Blocks, 25 Sails |
| Brewery | 20 Planks |
| Buccaneer Grill | 30 Planks |
| Cabaret | 200 Coins, 75 Planks |
| Campfire | 10 Planks |
| Cannon Foundry | 25 Planks, 50 Stone Blocks |
| Cartographer | 500 Coins, 75 Stone Blocks |
| Cassava Oven | 30 Planks, 25 Stone Blocks |
| Cassava Picker | 25 Planks |
| Chain Smith | 30 Planks, 20 Stone Blocks |
| Charburner | 30 Planks |
| Cider Press | 30 Planks |
| Cistern | 20 Planks |
| Classy Banner | 10 Coins |
| Classy Cabin | 5 Coins, 10 Stone Blocks |
| Classy House | 10 Coins, 25 Tabby |
| Cobbler | 25 Planks, 25 Stone Blocks |
| Cochineal Harvester | 30 Stone Blocks |
| Cooper | 30 Planks |
| Copper Mine | 30 Planks, 30 Stone Blocks |
| Copper Smith | 35 Planks, 20 Stone Blocks, 500 Coins |
| Corsair Cuisine | 500 Coins, 75 Stone Blocks, 25 Sails |
| Crosswater Pier | 70 Planks, 70 Stone Blocks, 30 Rope |
| Crow’s Nest | 100 Coins, 50 Planks |
| Deep-Water Pier | 120 Planks, 90 Stone Blocks, 60 Tabby, 100 Silver, 50 Coins |
| Distillery | 30 Planks |
| Egg Thief | 20 Planks |
| Elevator | 50 Coins |
| Entertainers’ Guildhall | 500 Coins, 75 Stone Blocks, 15 Rope |
| Expedition Supplier | 35 Planks |
| Eyepatch Maker | 25 Planks, 25 Stone Blocks |
| Fancy Banner | 10 Coins |
| Fancy Cabin | 12 Coins |
| Fancy House | 25 Coins |
| Fishing Hut | 20 Planks |
| Flag Maker | 30 Planks |
| Galley | 20 Planks |
| Gambling Den | 100 Coins, 100 Planks |
| Gibbet | 25 Coins, 15 Rope |
| Golden Palace | 2,000 Coins, 200 Tabby, 500 Silver |
| Grand Market | 500 Coins, 75 Tabby, 150 Silver |
| Great Lighthouse | 2,000 Coins, 200 Tabby, 500 Silver |
| Guano Gatherer | 30 Planks |
| Hammermill | 15 Planks, 30 Stone Blocks |
| Herbalist | 30 Planks |
| Ink Maker | 30 Planks, 25 Stone Blocks |
| Iron Caster | 30 Hardwood, 40 Stone Blocks |
| Iron Mine | 30 Hardwood, 30 Stone Blocks |
| Jeweller | 40 Stone Blocks, 30 Tabby |
| Lamp Maker | 30 Stone Blocks, 30 Tabby |
| Large Gun Tower | 100 Stone Blocks, 100 Tabby |
| Lead Mine | 40 Planks, 20 Stone Blocks |
| Lead Smelter | 25 Planks, 45 Stone Blocks |
| Lead Workshop | 20 Planks, 45 Stone Blocks |
| Leafcutter | 25 Planks |
| Limb Maker | 30 Planks, 25 Stone Blocks |
| Lime Kiln | 25 Planks, 30 Stone Blocks |
| Loan Shark | 500 Coins, 75 Stone Blocks, 15 Rope |
| Loot Pile | 5 Planks |
| Marketplace | 30 Stone Blocks |
| Mast | 20 Coins |
| Master Carver | 25 Planks, 15 Stone Blocks |
| Master Shipwright | 30 Planks, 30 Stone Blocks, 500 Coins |
| Master Tailor | 30 Planks, 30 Tabby |
| Medium Gun Tower | 70 Stone Blocks, 20 Tabby |
| Mercenaries’ Guildhall | 200 Coins, 75 Stone Blocks, 25 Sails |
| Military Fortress | 100 Stone Blocks, 100 Tabby, 1,000 Coins |
| Moonshine Still | 5 Planks |
| Ocean Colosseum | 2,000 Coins, 200 Tabby, 500 Silver |
| Outfitter | 30 Planks, 25 Stone Blocks |
| Pearl Diver | 25 Planks, 25 Tabby |
| Pig Herder | 30 Planks |
| Pigment Maker | 30 Planks, 25 Stone Blocks |
| Pineapple Grove | 30 Planks |
| Pirate Camp | 30 Planks |
| Pirate Den | 20 Hardwood, 10 Stone |
| Pistol Maker | 25 Stone Blocks, 25 Tabby |
| Powdermill | 25 Planks, 25 Stone Blocks |
| Provisioner | 30 Planks, 500 Coins |
| Quarry | 25 Planks |
| Quartermaster | 500 Coins, 75 Stone Blocks, 150 Silver |
| Rising Sun | 500 Coins, 75 Stone Blocks, 15 Rope |
| Rope Maker | 25 Planks |
| Rotisserie | 25 Planks, 25 Stone Blocks |
| Sail Maker | 30 Planks, 20 Stone Blocks |
| Saltern | 25 Planks, 30 Stone Blocks |
| Salty Banner | 10 Coins |
| Salty Cabin | 10 Planks, 15 Rope |
| Salty House | 30 Rope, 20 Sails |
| Salvage Dock | 100 Coins, 50 Planks |
| Sawmill | 10 Hardwood |
| Shallow Pier | 30 Planks |
| Shell Fisher | 40 Planks, 20 Stone Blocks |
| Shipwreck | 60 Planks |
| Shipwrights’ Guildhall | 500 Coins, 75 Stone Blocks, 15 Rope |
| Shot Tower | 40 Stone Blocks, 20 Tabby |
| Shrine of the Sea | 200 Coins, 75 Stone Blocks, 15 Rope |
| Silver Smith | 30 Stone Blocks, 25 Tabby |
| Slop Shop | 30 Planks, 30 Stone Blocks |
| Small Gun Tower | 50 Stone Blocks |
| Soup Kitchen | 10 Planks, 20 Tabby |
| Spy Nest | 500 Coins, 50 Planks, 15 Rope |
| Spyglass Maker | 25 Planks, 20 Stone Blocks |
| Statue | 200 Coins, 75 Stone Blocks |
| Steel Foundry | 40 Stone Blocks |
| Stew Kitchen | 20 Planks |
| Stonecutter | 12 Planks |
| Sugar Cane Farm | 30 Planks |
| Tabby Cradle | 30 Planks, 25 Stone Blocks |
| Tack Oven | 35 Planks |
| Tanner | 25 Planks, 25 Stone Blocks |
| Tar Boiler | 20 Planks, 20 Stone Blocks |
| Tar Kiln | 25 Planks |
| Tavern | 15 Planks |
| Tent | 2 Planks |
| Tinkerer | 30 Planks, 20 Stone Blocks, 500 Coins |
| Tool Maker | 25 Planks, 30 Stone Blocks |
| Trade Pier | 60 Planks, 60 Stone Blocks, 20 Rope, 500 Coins |
| Trading Post | 100 Coins, 50 Planks |
| Turtle Catcher | 20 Planks, 25 Tabby |
| Voodoo Shack | 500 Coins, 150 Planks, 15 Rope |
| Warehouse | 25 Coins, 10 Planks |
| Weapon Smith | 20 Planks, 50 Stone Blocks |
| Weaver | 25 Planks, 15 Stone Blocks |
| Well | 500 Coins, 75 Stone Blocks |
| Wood Workshop | 25 Planks, 15 Stone Blocks |
| Woodcutter | No material cost |
| Zip Line | 10 Coins |
The four building categories
Every structure falls into one of four groups, and knowing which is which helps you plan where to spend resources first.
| Category | Role |
|---|---|
| Community | Core buildings of the haven, such as the Galley, Tavern, Outfitter, and piers. |
| Housing | Beds for pirates, from the basic Tent up to Bloody and Classy Houses. |
| Production | Structures that gather or refine resources, like the Woodcutter, Sawmill, and Quarry. |
| Principal | Compass-unlocked buildings with strong, varied effects, such as the Golden Palace and Great Lighthouse. |
Placement rules that block construction
Some buildings will not accept just any plot. A Pirate Camp must not be placed close to another Pirate Camp. Piers only go on a Pier Slot, and each gun tower has to face an Attack Point to defend the island. Several structures also upgrade in place rather than being built fresh.
| Building | Placement or upgrade condition |
|---|---|
| Pirate Camp | Must not be close to another Pirate Camp. |
| Shallow Pier | Must be built on a Pier Slot (max level 3). |
| Trade Pier | Can be upgraded from a Shallow Pier (max level 5). |
| Deep-Water Pier | Can be upgraded from a Trade Pier (max level 6). |
| Small Gun Tower | Must face an Attack Point. |
| Medium Gun Tower | Faces an Attack Point; upgrades from Small Gun Tower. |
| Large Gun Tower | Faces an Attack Point; upgrades from Medium Gun Tower. |
A building will not start construction if it has no connection to the haven, and it stops operating if that link is later removed. If a structure is placed but never begins working, check that a road, bridge, or ladder actually reaches it and that enough Drifters are free to staff it.
Keeping production chains supplied
Buildings that turn one good into another rely on Fetchers, pirates assigned to carry resources one way between two structures. Every route needs its own Fetcher. To set one up, click an input resource on the consuming building, then click the resource icon on the building that produces it.
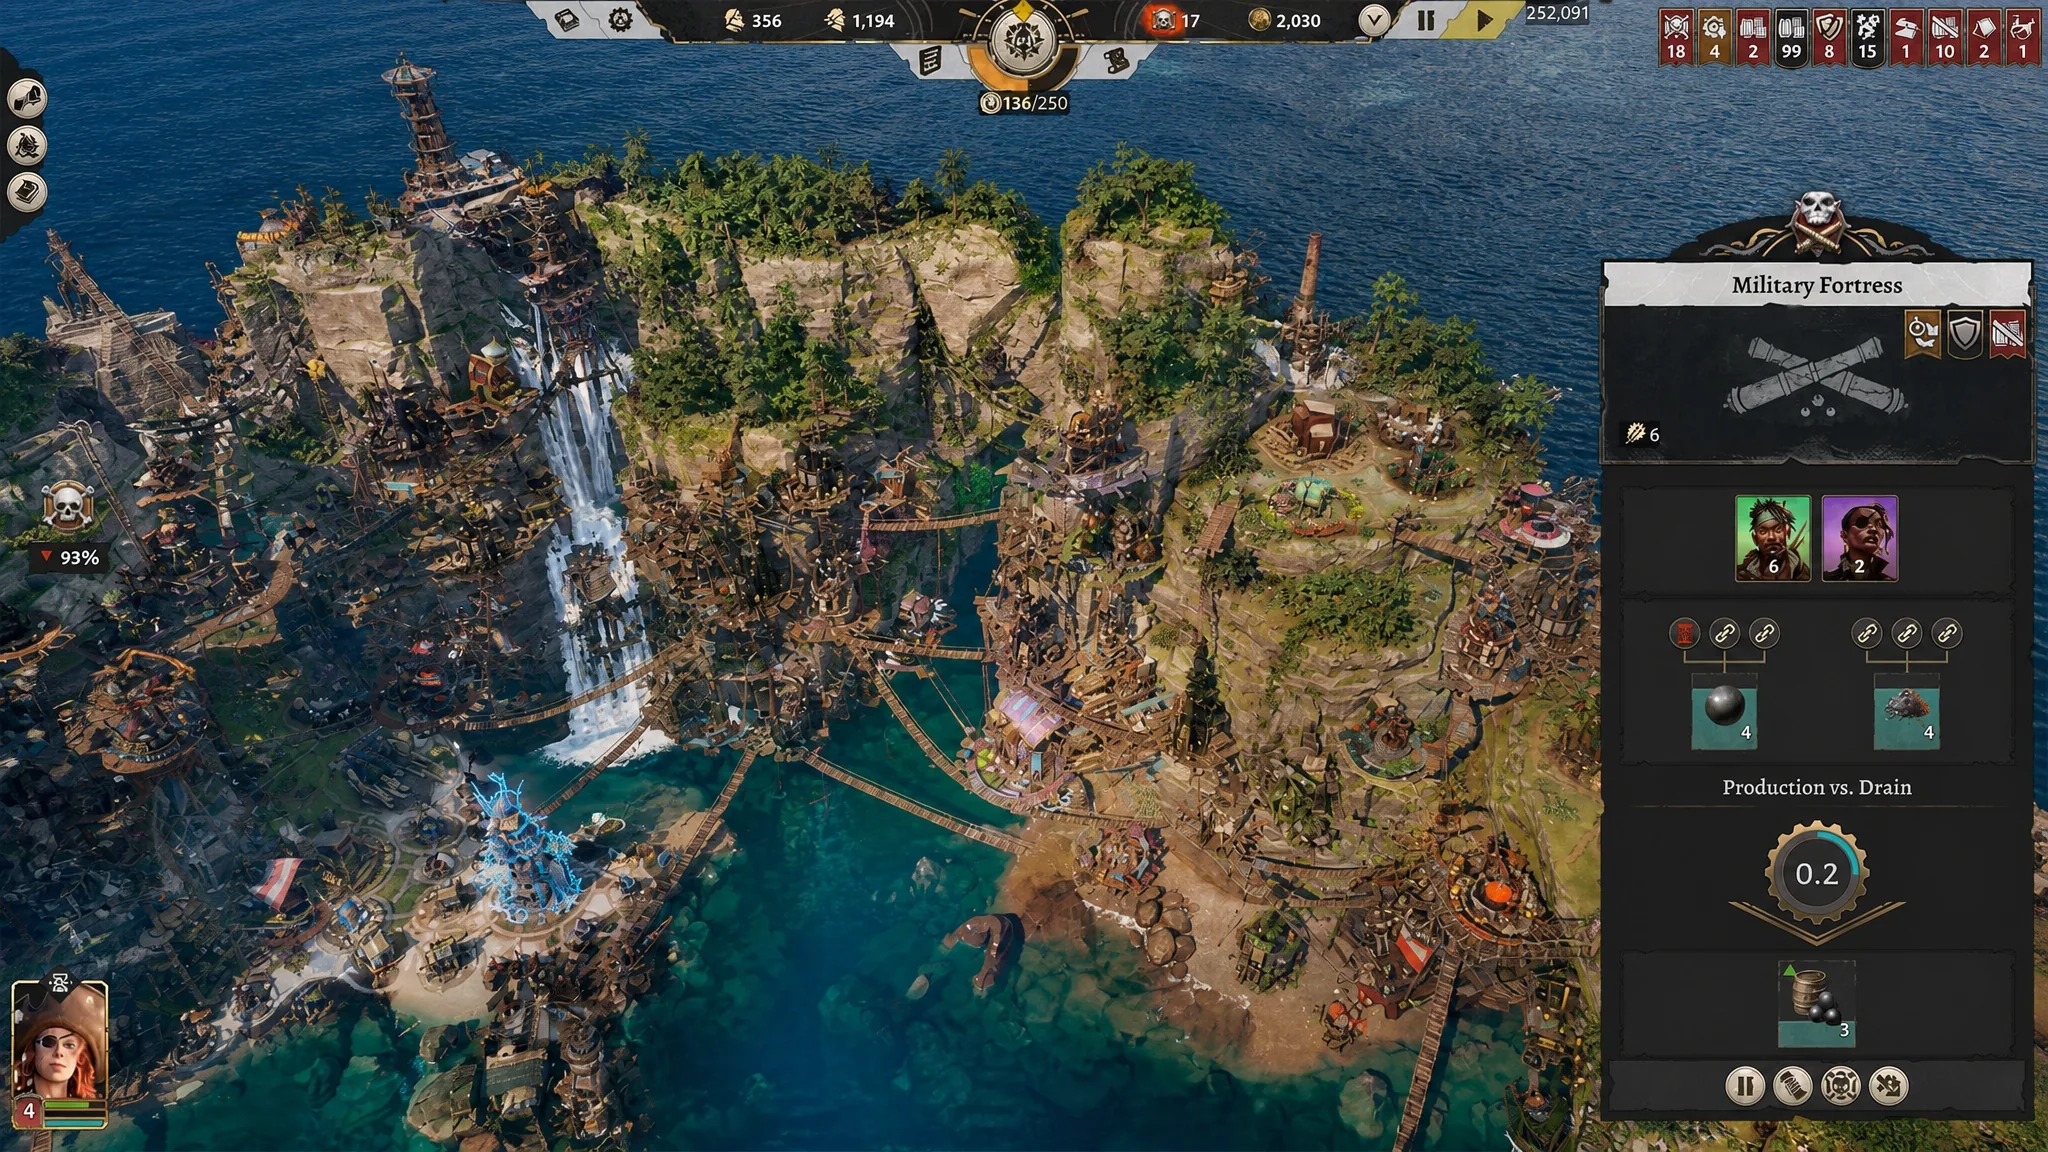
Each producer stores its output in its own internal storage, shown as a large icon with a blue meter. When pickups outpace production, that meter drops. This is the Drain value, and when drain exceeds production for something essential, the fix is usually a second copy of the same building placed to shorten the route.
Route efficiency shows up as colored lines: green for high, yellow for medium, and red for low. If input storage empties because a Fetcher is stuck waiting at a source that is not producing, the link icon turns into a red hourglass, flagging a broken supply chain. Rerouting or adding a building along a red line is the quickest way to keep upkeep flowing.
With the full cost table in hand and the connection rules in mind, you can prioritize the cheap early structures like the Woodcutter, Sawmill, Quarry, and Galley, then work toward the expensive principal buildings as the Compass opens them up.