Creepy Tale: Snow Child runs through three chapters packed with logic puzzles, timing minigames, and a handful of tense chase sequences. The game ships with 33 achievements, and most of them come from completing puzzles cleanly or without taking damage. Below are the exact solutions and sequences for every major roadblock, ordered the way you meet them.
Quick answer: The four puzzle codes you will search for most are the crypt word BMAADT, the Venice butterfly password Morpho, the teleporter charge split (lilac hand 1, yellow hand 7), and the three star sequences in the wizard’s hut (left: 3-5-7-1-9, right: 4-8-2-3-1-6, center: 7-9-5-4-1).
Chapter 1: The Lost Child
You start as Mech. Walk left to the large tree and use the basket. A year passes, and control moves to Blizzard. Rock the cradle, crawl right to the pine cones, and throw them at the door until you hit the latch. The door swings open, so try to reach the basement.
After another ten years, check the counter by the fireplace and grab the knife. Study the seal on the floor, then go to the dwarven shiv to copy its symbol.
Seal symbol order
- The rightmost character in the top row
- The second character from the left in the bottom row
- The far-right character of the bottom row
Press the center button, then use the sharpened knife on the seal.
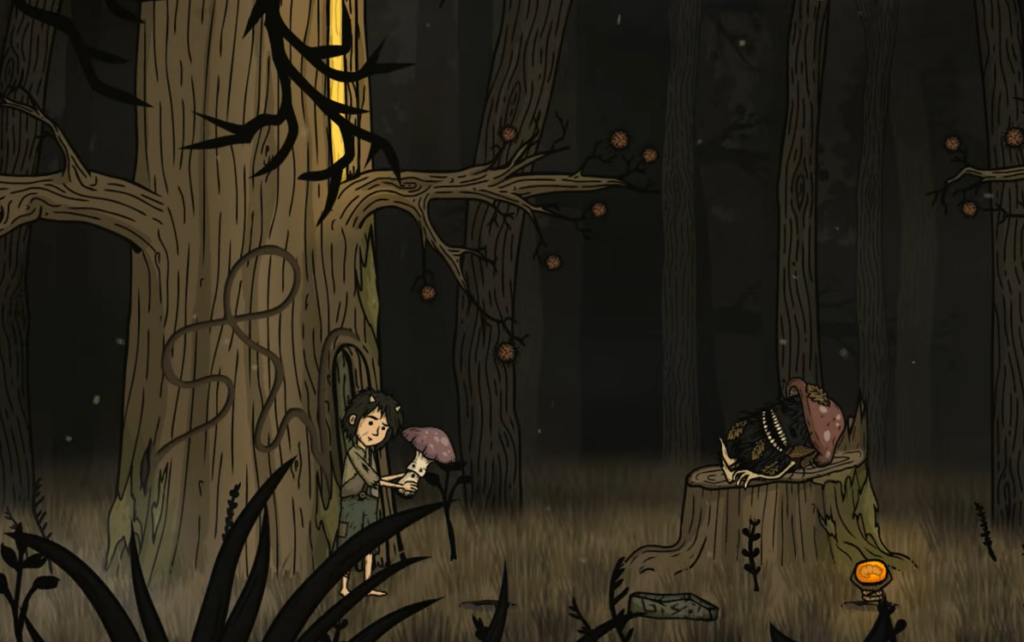
Trap the mushroom
Beehive minigames and the eggDesign system
Throw the mushroom into the beehive to start two minigames. First, swat the incoming bees fast. Finishing without a single sting unlocks an achievement. Second, toss the mushroom into the honeycomb exactly when a glowing entity appears inside.
Bring the egg home, drop it in the cauldron, and repeat the glowing signal pattern in order. Then talk to Mlokh.
Chapter 2: Hellish Adventures
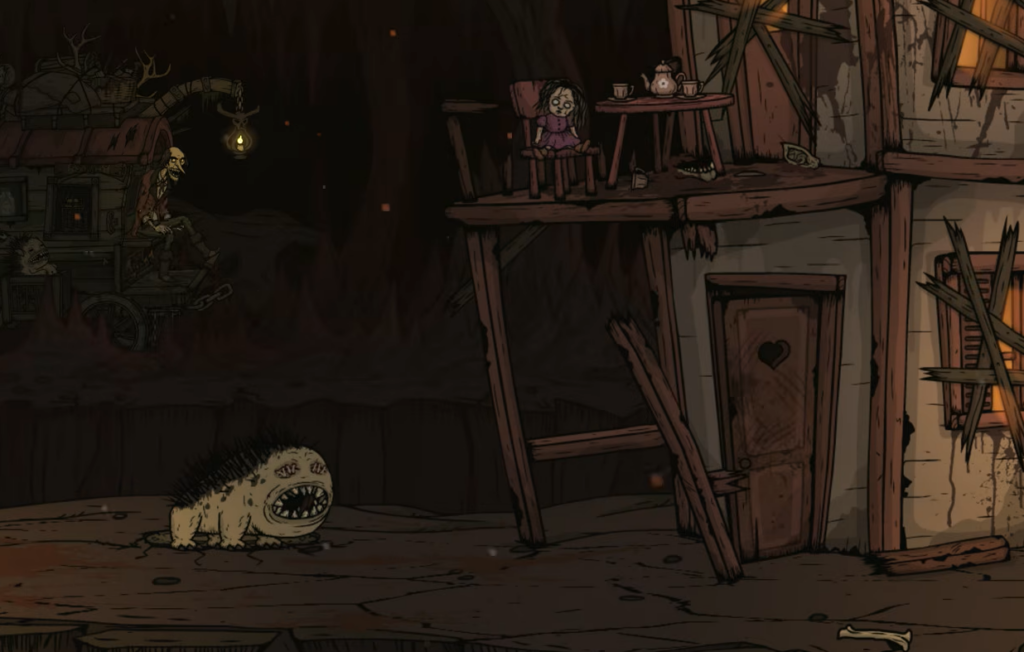
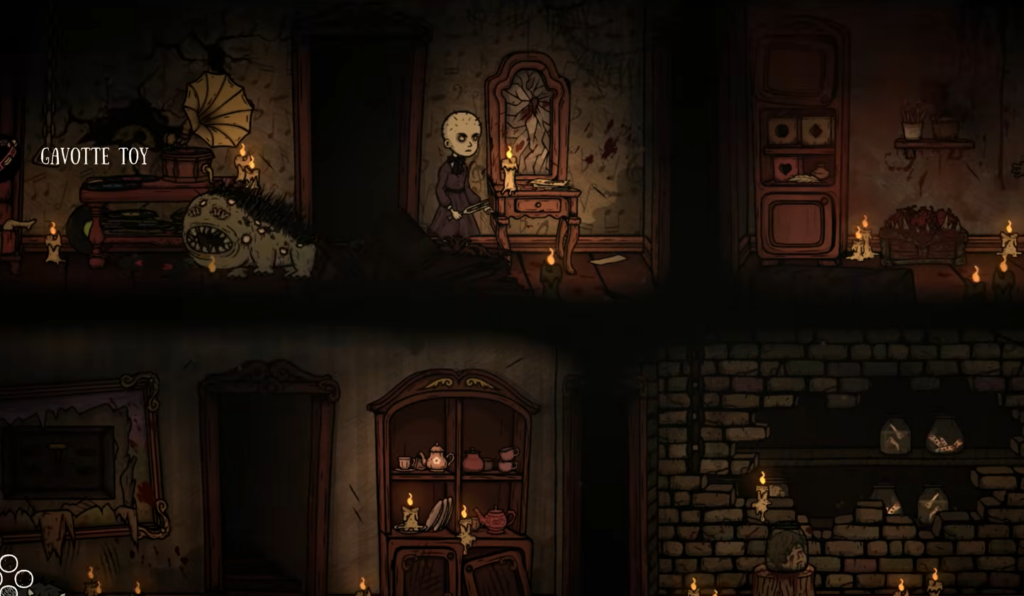
Head to the tree. A coin is picked up automatically, and a bone sits by the chest, which stays locked for now. Move right toward the crypt, grab another coin, and note the three holes and the hand poking out of the ground. That spot works like the mushroom trap later.
Keep going right until the dog Gavotte blocks you. Throw the bone and pet him a couple of times. Near the house, collect a scroll, a coin, and a bone. Read the scroll and memorize the highlighted words.
Jump onto the window, climb up, take the doll, and look inside to see the painting. Return to the hand, cover a hole with the creepy doll, and keep scaring the hand until it hands over a scepter. Trade the scepter for a bone, enter the crypt, and slot the item in.
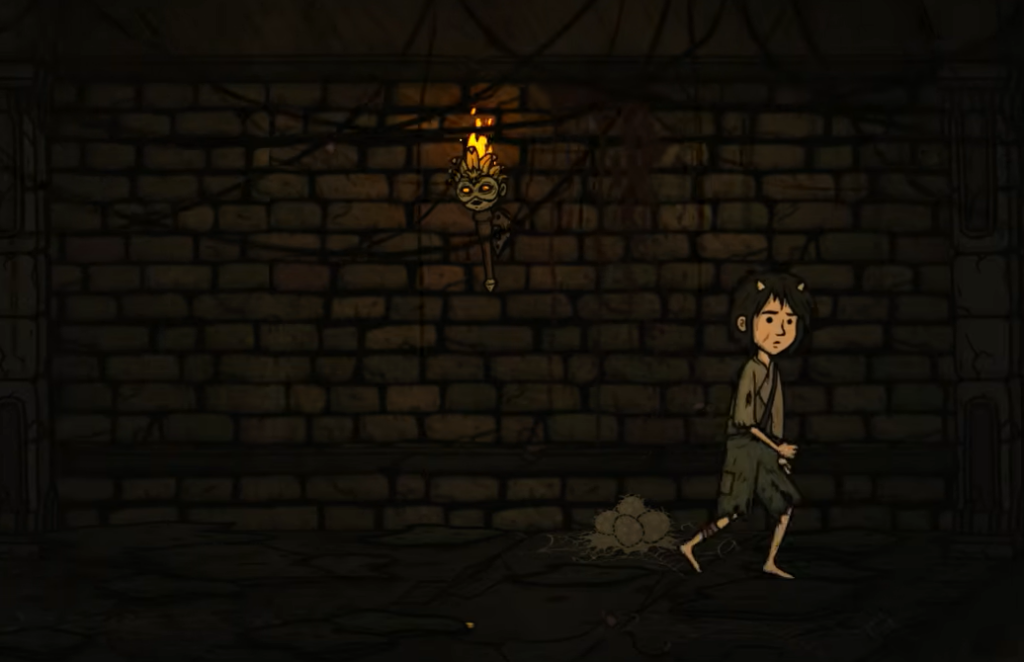
Crypt six-letter word
None of the scroll words work as written. Instead, press the first letter of each highlighted word. The answer is BMAADT. Take the Dead Water back to the tree near Mloch, pour it on the tree, take the eyeball, and feed it to Gavoth.
Adele’s House puzzles
Gavotte opens the hatch. The abacus puzzle values come from the painting inside Adele’s house.
| Abacus icon | Value |
|---|---|
| Bees | 3 |
| Feather | 2 |
| Key | 1 |
| Swords | 5 |
Go down, grab the coins near the elevator and the bobblehead, then head right to switch on the eye portal. Another coin sits by the demonic face. Jump onto the ladder at the cliff and climb to Adele. The wall puzzle up here links directly to the hatch puzzle.
On the second floor, the far-right room holds sheet music, and Adele’s bedroom has a sample doll worth 7 with clues for each body part. Use those to solve the wall puzzle.
| Doll part | Value |
|---|---|
| Heart | 5 |
| Butterfly | 6 |
| Hat | 1 |
| Needle | 4 |
A ball minigame starts next. Press the action button while the indicator sits in the green zone. A chain drops after you win, opening Gavotte’s room.
Piano, tambourine, and the mannequin arms
Teleporter charge split
Feed the demonic face three coins, insert the purple hand, and study the drawing next to the teleporter diagram. The total charge must equal the 8 bricks near the eye in the picture. Split it like this.
| Hand | Charge |
|---|---|
| Lilac hand | 1 |
| Yellow hand | 7 |
Set both hands by the portal and move on.
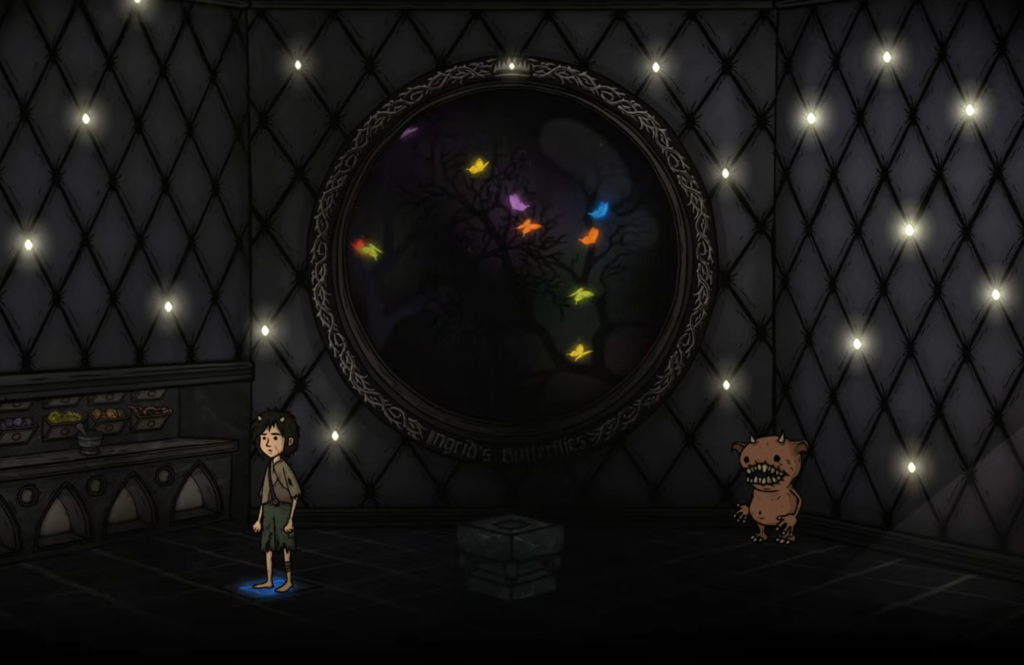
Venice: spider fight, masks, and butterfly password
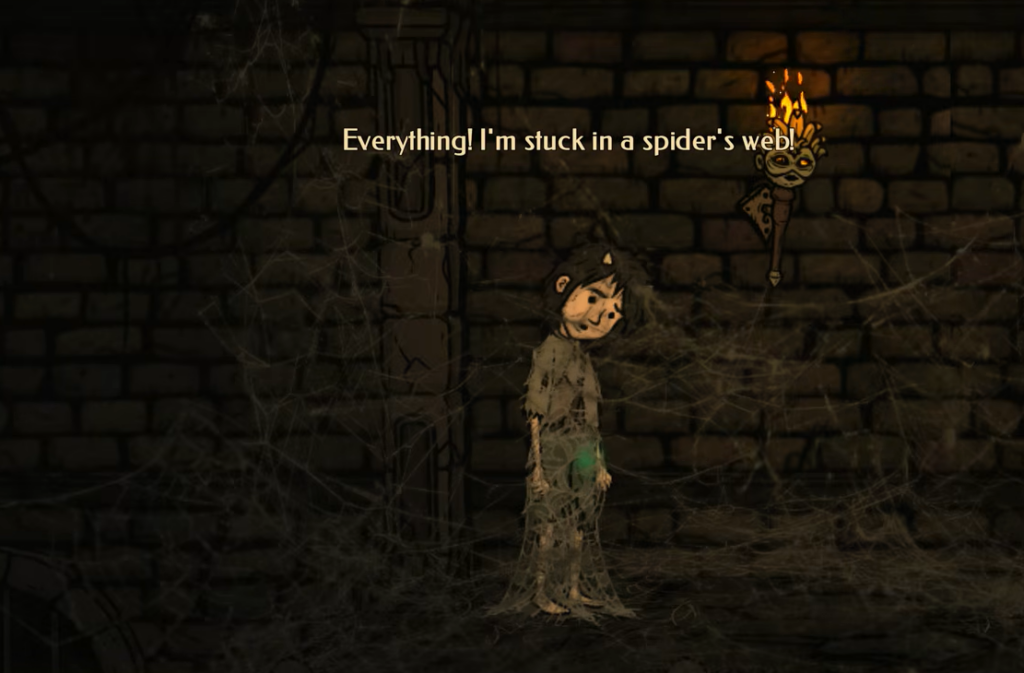
Grab the coin under the torch on the left, then go right, hop the moat, and take another coin. You will hit a web and a spider fight. Keep your distance and attack carefully. Free Blizzard, then mash the action button to pull yourself out of the web and drive the spider off.
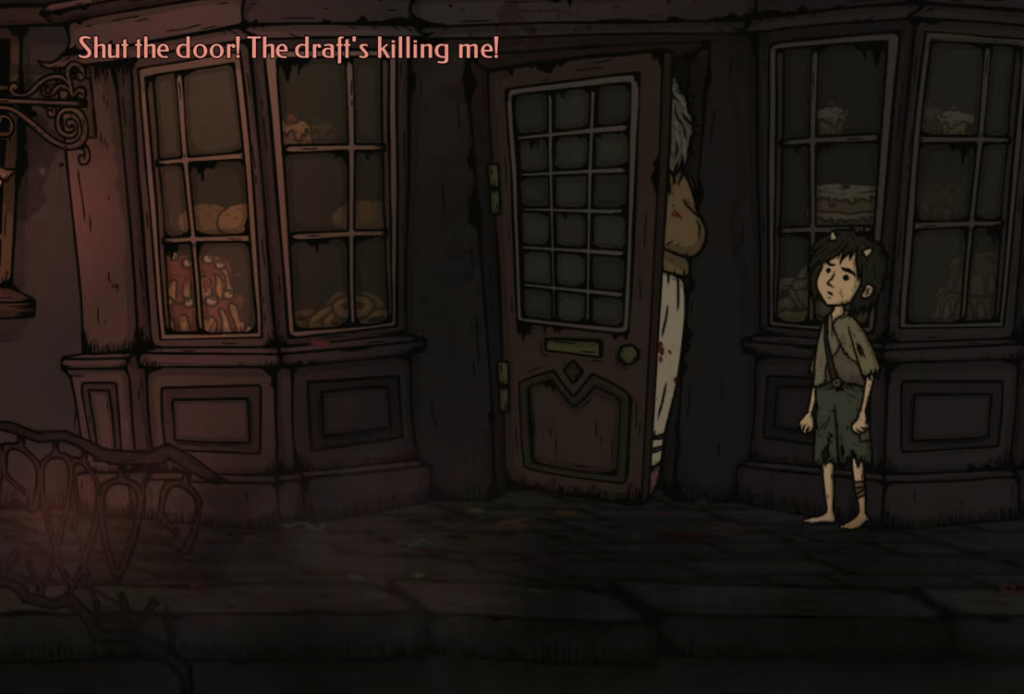
Outside the sewers, a zombie appears. Run left to the gate where a blue butterfly comes out and head inside. In the workshop, pick up the coins by the coat rack and on the table, check the lantern, and put the mask on quickly. On the streets, you must swap masks to match whatever enemy is near.
Talk to Mlokh for a clown mask. You can pay 10 coins or bring him a sweet dung pie. Head to the museum, where Mloch asks you to restore his voice and catch butterflies with a special bait. Working through the exchanges reveals the password, the scientific name of the blue butterfly.
The password is Morpho. Use the butterfly paper clue to mix the lure.
| Lure ingredient | Amount |
|---|---|
| Chamomile | 9 |
| Mushroom | 11 |
| Worm | 5 |
With the butterfly in the lantern, use it on the painting in the artist’s workshop and take the ear.
Scale puzzle
Match each object to its pair first: finger to ring, ear to drum, tooth to crown, nose to flower. Then set the divisions.
| Object | Divisions |
|---|---|
| Ear | 6 |
| Finger | 4 |
| Nose | 5 |
| Tooth | 5 |
Take the absinthe, trade it to the butcher for meat, and give the meat to the pastry chef. That gives you the sweet pie for Mloch and the second mask. Head right, swapping masks by enemy, until you reach the Great Sarto.
Sarto Boutique: mannequins and the elevator code
The goal is to push Sarto into a breakdown. Stick to a fixed order of actions and always start from the top. After the win, grab the coin by the mirror, take Sarto’s key, and explore the rooms for a top hat, a tricorne, and a bonnet.
To open the way forward, set the mannequins to match the portraits from the Sarto house.
| Mannequin | Head | Eyes | Teeth |
|---|---|---|---|
| Right dummy | Hat | 1 | 6 |
| Left dummy | Cauldron | 2 | 4 |
Pass the zombies, grab the mask, and step into the elevator. The password fails, so you clear Mech’s test and return to the elevator. Use the wall clues to enter the day/night combination.
| Number | State |
|---|---|
| 6 | Day |
| 7 | Day |
| 1 | Night |
| 8 | Day |
| 3 | Night |
After that, run from Sarto and play the shooting minigame.
The Uncanny Valley
Grab the coin near the first sword in the ground and another by Modest’s carriage. To beat the Hedgehog, stand on the two far-right points of the van’s roof at the same time, then jump down from the second point to get through.
At the sacrificial circle, finish the circle-matching minigame, and Modest hands over a fuel stone. Activate the golem and move ahead, catching falling fire stones to keep the fuel topped up. At the end, find Charon’s boat, pay him the coins, and continue.
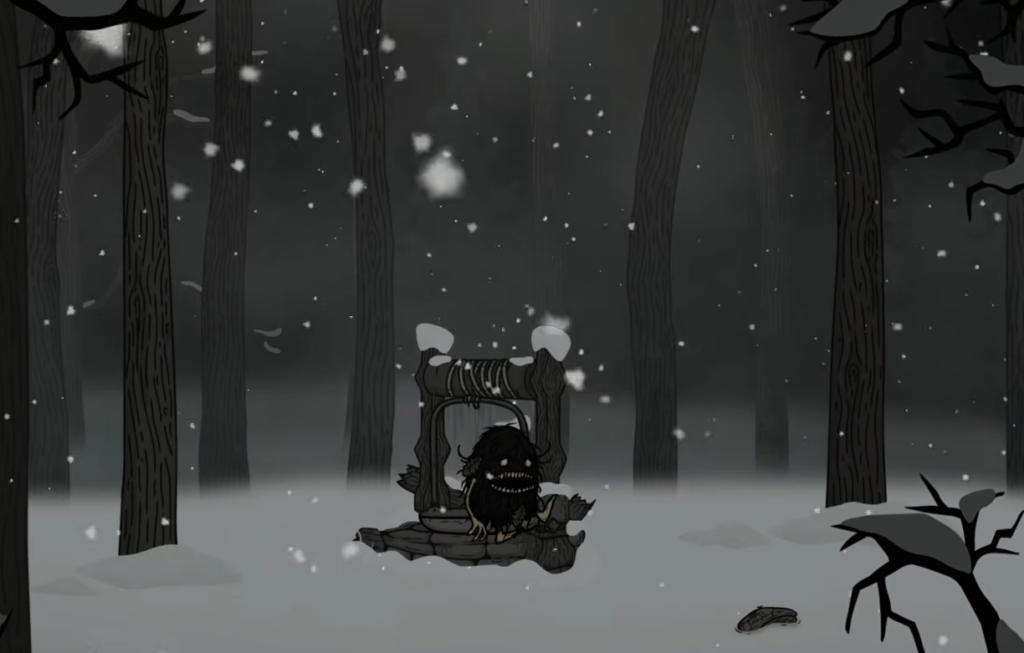
Winter’s Tale
The well is blocked at first, so go left and start making snowballs. Clap to scare the butterfly, then use snowballs to send it at the bark beetle monster. Near the fishmonger’s house, throw a snowball through the window and dash past the monster.
Aim the butterfly at the bark beetle again and chase the monster toward the well. When two infected bark beetles crash together near the well, their claws break the ice, and you can descend. When the father sinks into a snowdrift, pull him free and keep moving.
Chapter 3: Blood Ties
The heroes wake up in cages. Use Fury’s club to knock all three cages onto the green markers. It takes patience, so tap gently and inch each cage toward its target instead of over-hitting it. A rhythm minigame follows, so press the buttons when the circles line up. Switch to Fury and break the cage lock.
You now control all three heroes. The wizard’s hut door is locked, so visit the cemetery to its left. Pick up the bear cub at the grave, take the crystal from it, and slot it into the door.
Wizard’s hut crystal star sequences
Inside, you build an energy clot by activating three crystals in turn. Charge each crystal first, then click the stars, counting from left to right in the order shown.
| Crystal | Star order (left to right) |
|---|---|
| Left | 3, 5, 7, 1, 9 |
| Right | 4, 8, 2, 3, 1, 6 |
| Center | 7, 9, 5, 4, 1 |
Activate the left crystal first, then the right, then the central one last. Completing all three sequences finishes the puzzle.
Achievement tips while you play
Creepy Tale: Snow Child has 33 achievements, mixing simple story unlocks with hidden ones that need attention and preparation. The clearest missable is the bee-swatting minigame in Chapter 1, which only rewards you if you finish without getting stung. If you get hit, retry the sequence before moving on so you do not lock yourself out of that unlock.
Note: coins are scattered throughout every area and are used to pay Mlokh for masks and Charon for passage, so pick up each one you pass to avoid backtracking. With the codes above (BMAADT, Morpho, the teleporter split, the day/night elevator input, and the three star sequences), the puzzle walls that usually stall a playthrough are the parts you can now clear on the first try.