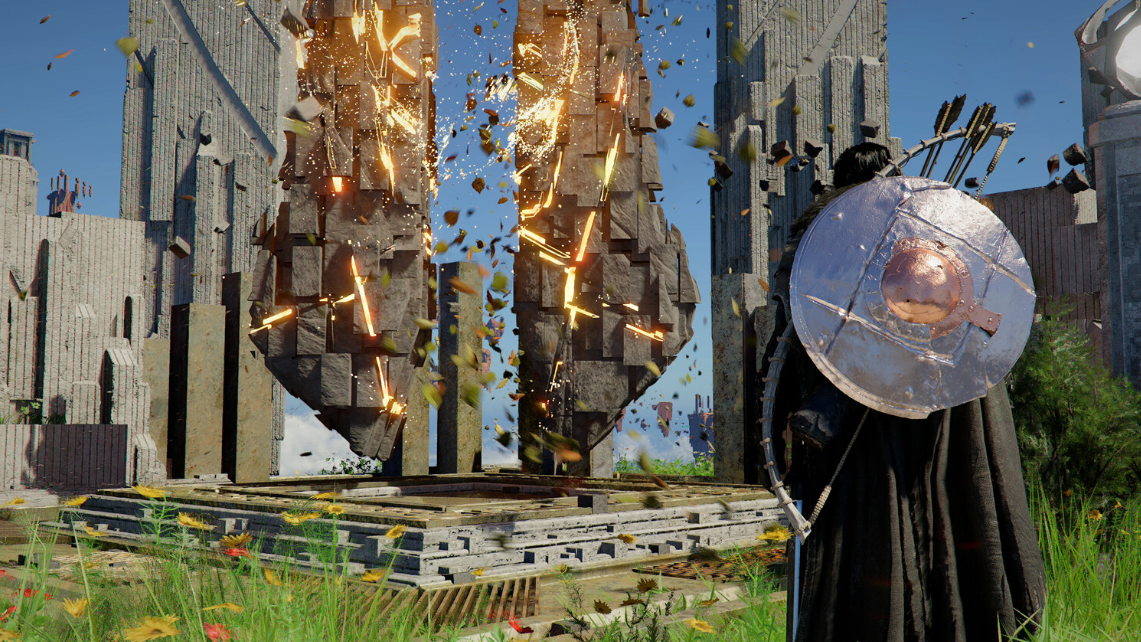
The Secret Chamber of the Golden Plains is one of the trickier ruin puzzles tucked away in the Demeniss region of Crimson Desert. It’s part of the broader Thread in the Forest puzzle chain, and it rewards you with an Abyss Cresset, a new teleport location, and some bonus loot — but getting there involves burning vines, dodging flame traps, and deciphering a faded mural that most players can barely read.
Quick answer: Use Force Punch on the five correct wall blocks — Grapes, Horse, Fig (Pomegranate), Pigeon (Bird), and Fish. The order does not matter. The wall slides open to reveal the Abyss Cresset.
Requirements before you start
| Category | What you need |
|---|---|
| Skills | Blinding Light (or Blinding Flash → Concentrated Light), Force Punch |
| Items | Melee weapon equipped |
| Story progress | Accessible at any point, but Demeniss soldiers are hostile until you finish Chapter 8: Blood Coronation. You can still complete the puzzle earlier — just expect combat interruptions. |
Finding the entrance in the Golden Plains
The chamber sits in the Golden Plains area of Demeniss, east of the Kingshield Mountains. Head north from the first “E” in the Demeniss label on your world map until you reach an Abyss Nexus fast travel point. A large fog-of-war patch nearby marks the general area. The Mysterious Energy marker on your map points to an underground location, so the actual entrance is slightly outside that marker.
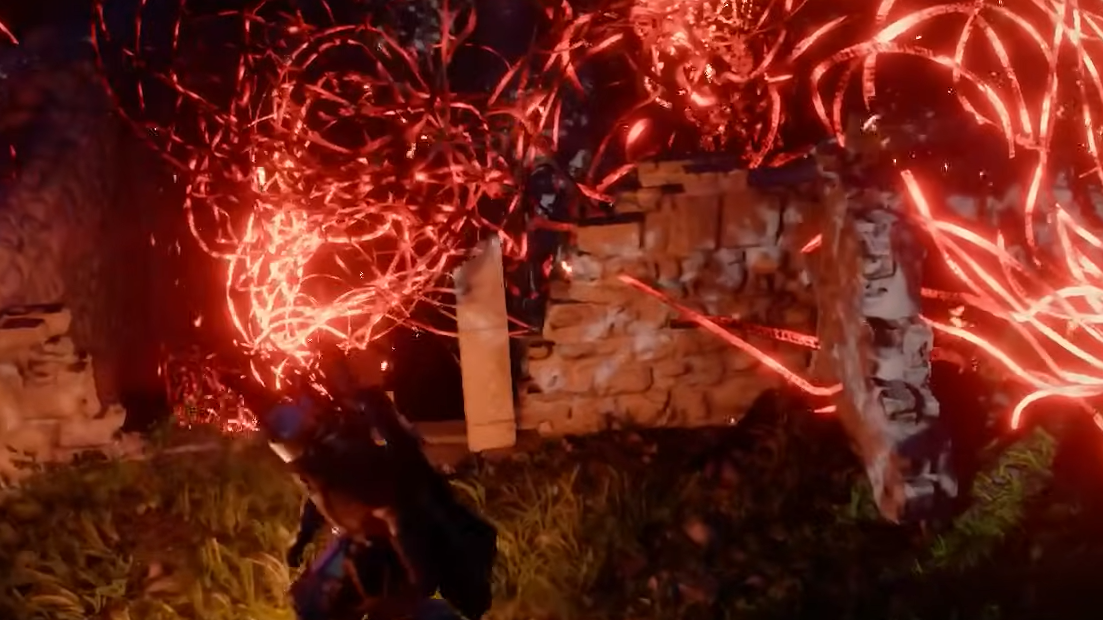
Near Honeywood Apiary and Windmere Manor, look for a wooden palisade. Just south of it stands a ruined building completely covered in thorny vines. You need to burn those vines to reveal the stairs leading underground. The fastest method is to light an arrow from one of the nearby braziers, then shoot the vines while the arrow is still burning. Alternatively, trigger Blinding Flash (press the lantern and normal attack buttons at the same time), then immediately press the lantern button again to activate Concentrated Light and aim it at the vines until they catch fire.
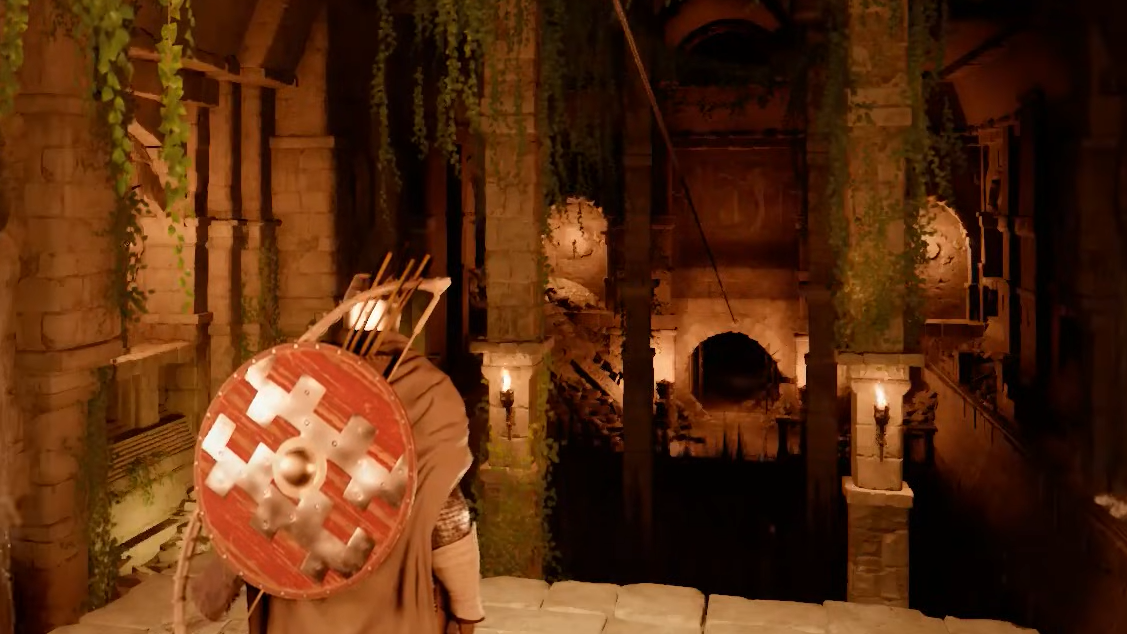
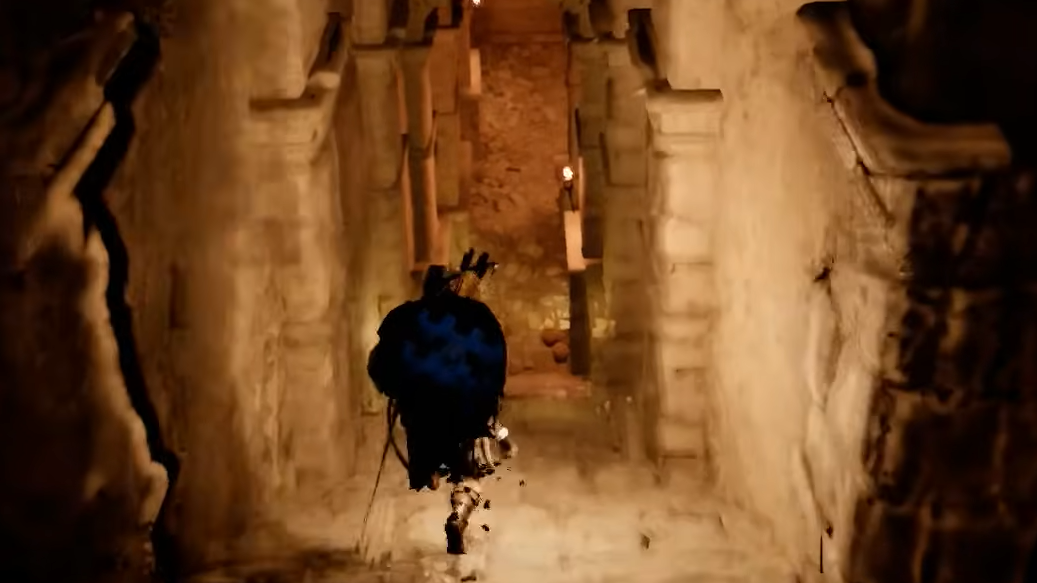
Navigating the traps inside the chamber
How the mural puzzle works
The puzzle wall displays a grid of stone blocks, each carved with a different symbol — a bird, fish, butterfly, rabbit, grapes, horse, and several others. Your job is to identify which five symbols correspond to the five X-marked locations on the mural map you saw earlier.
Each marked spot on the mural represents a real location in the Demeniss countryside. Those locations feature specific livestock or crops that match the block carvings. For example, one marked farm grows grapes, another has horse stables, and so on. You could technically ride out to each location and figure out the connections yourself, but the mural is oriented with the capital city at the top (north), while the actual world map places it in the south — meaning the whole thing is flipped. This makes cross-referencing considerably harder than it should be.
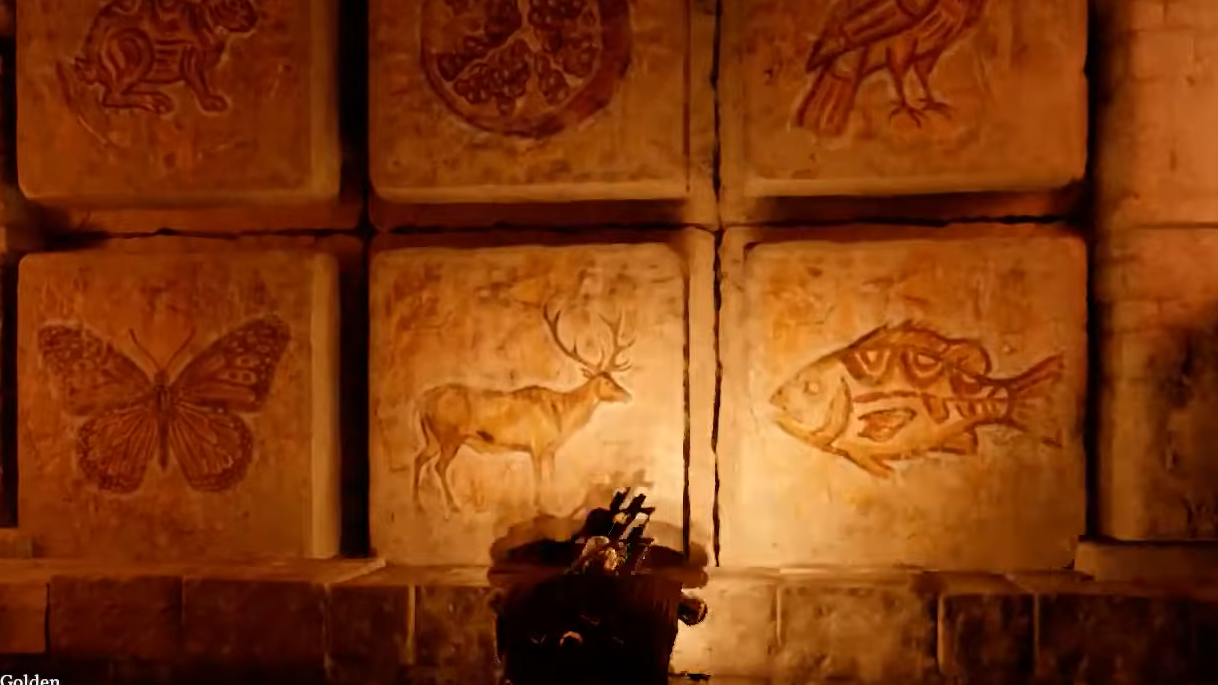
Puzzle solution — The five correct blocks
| Symbol | Position on the wall |
|---|---|
| Grapes | Leftmost block, top row |
| Horse | Rightmost block, top row |
| Fig | Middle block, middle row |
| Pigeon | Rightmost block, middle row |
| Fish | Rightmost block, bottom row |
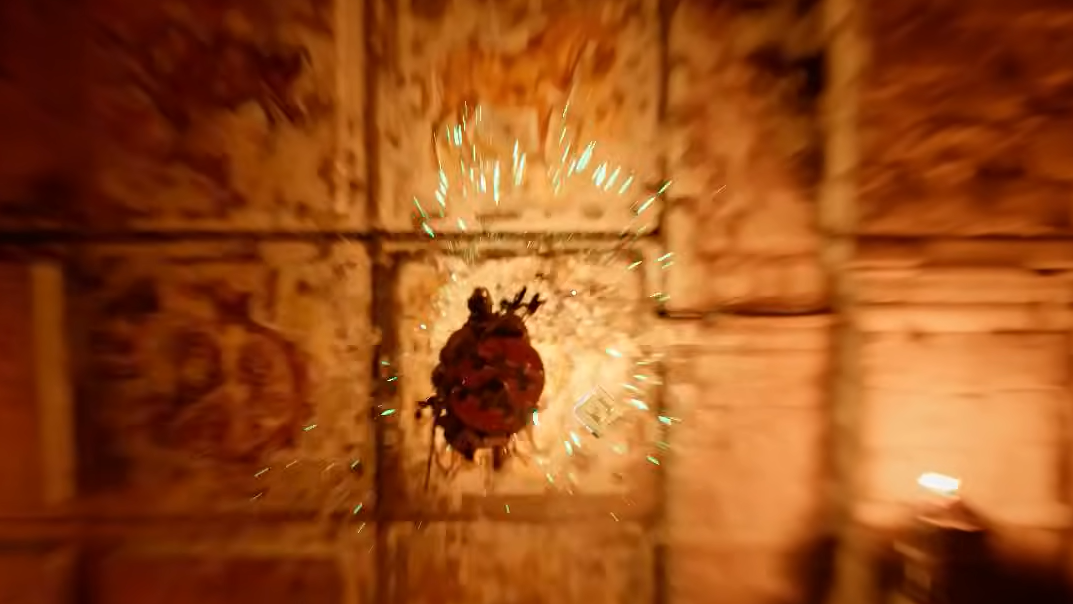
Use Force Punch on each of the five blocks listed above. The order you press them does not matter — just hit all five. Using Force Current is faster than climbing up to each block and using Force Palm individually, so opt for that if you have it unlocked.
Rewards and the hidden treasure room
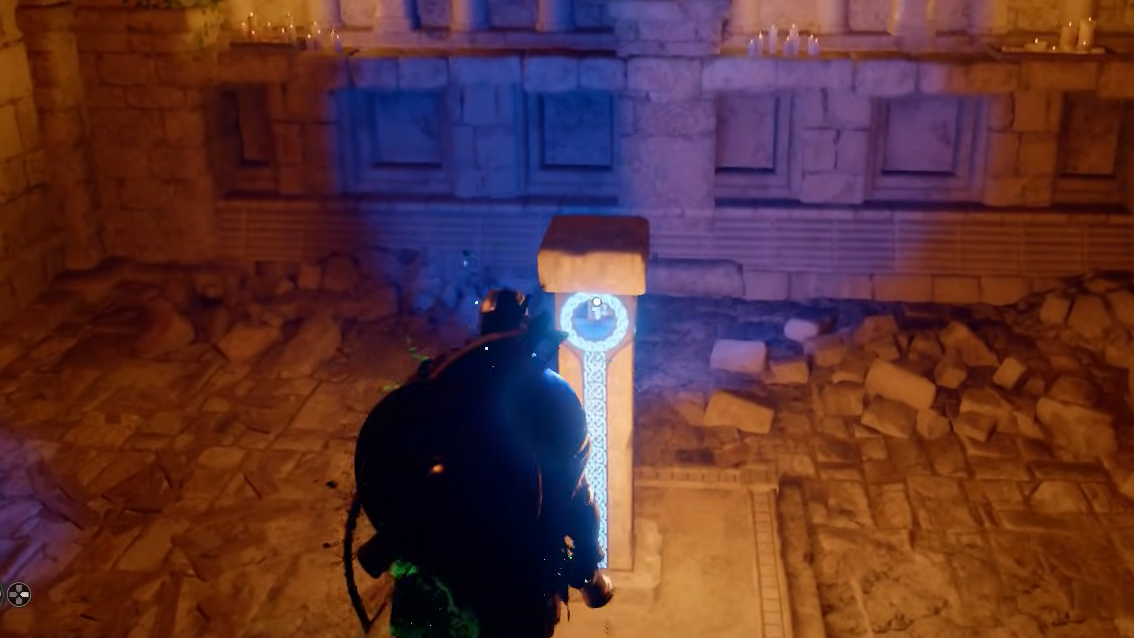
Once all five correct blocks are pressed, the wall slides open. Grab the Abyss Cresset from the blue pillar — this functions as an artifact and skill point. You’ll also receive Memories of Prosperity, a consumable item that reveals the locations of several caves hidden behind waterfalls throughout the world.
After collecting the Abyss Cresset, pull the lever on the left wall of the chamber. This opens an exit tunnel that connects back to the movable wall near the first T-junction you passed on the way in, saving you from backtracking through the traps.
Before you leave, check the north corner of the room. A secondary treasure chamber sits behind some decorative armor, containing minor loot, including the Eastern Wanderer’s Shield. There’s also a collectible masterpiece painting called Poverty Amidst Plenty on the right side of the room, partially hidden behind armor stands. It counts toward the paintings category in your Knowledge log.
The Secret Chamber of the Golden Plains is one of several mural-based ruin puzzles scattered across Crimson Desert’s world, alongside locations like the Dragon Stone Chamber and the Azure Moon Labyrinth. They all follow a similar structure — find a map, decode the symbols, push the right blocks — but this one stands out for how difficult the wall mural is to actually read. At least the reward includes a useful Abyss Cresset and a shortcut back to the entrance once you’re done.