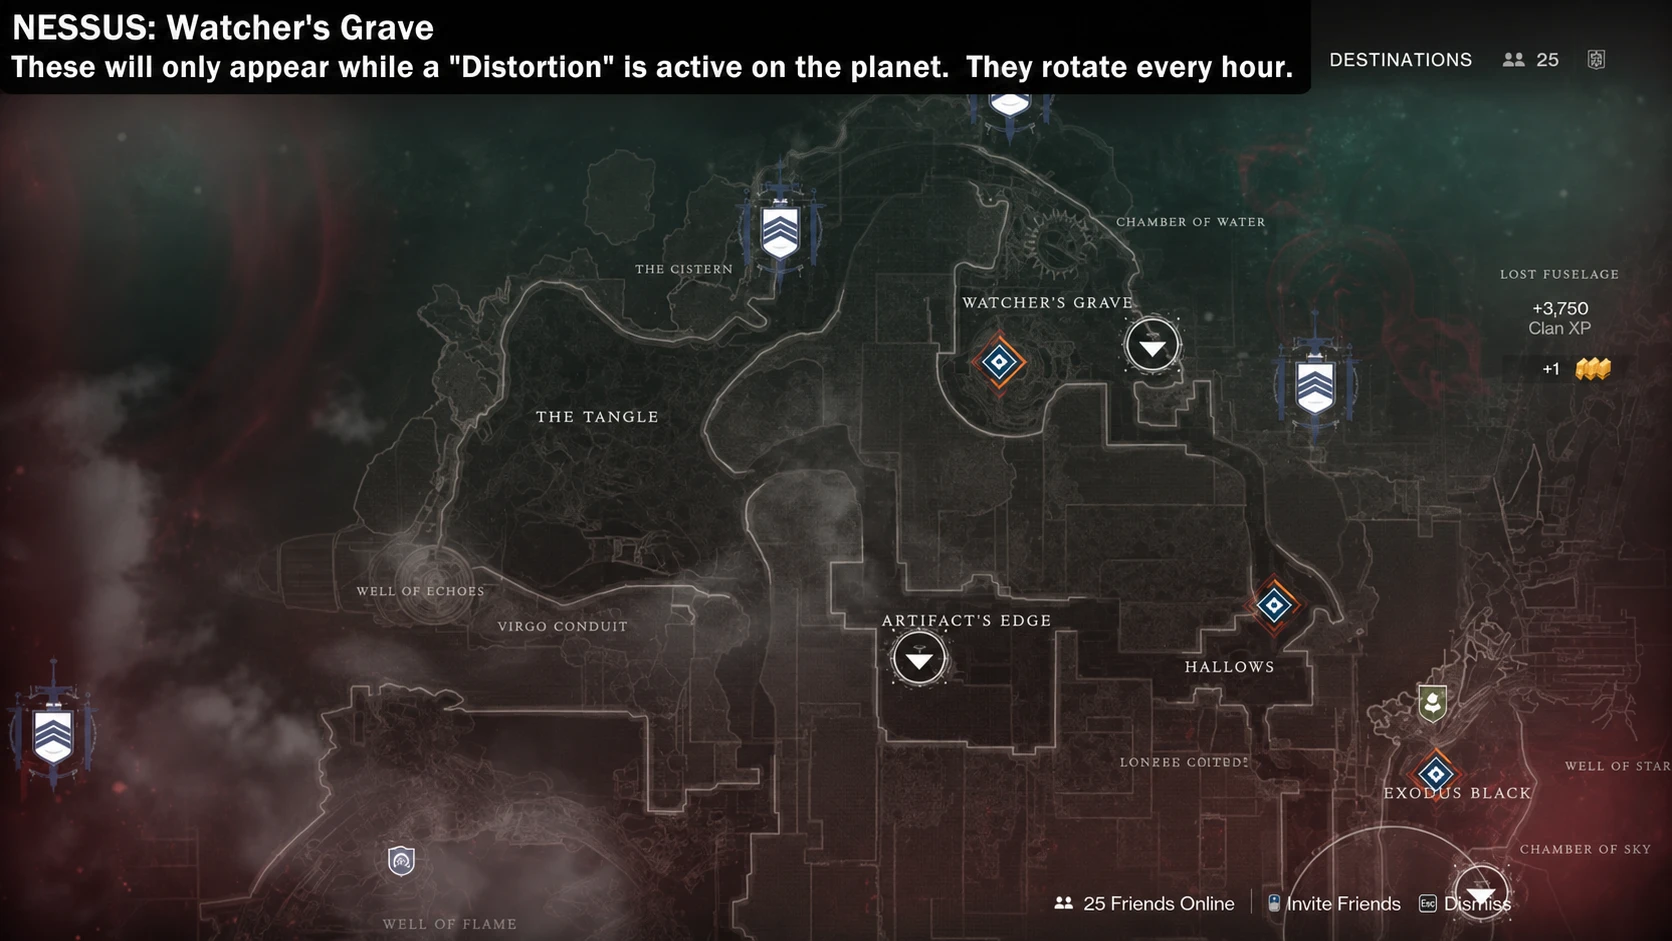
Nessus holds seven Case Files, small data logs tucked near Vex structures, cliffs, and wreckage across the planet. They count toward the Nessus Case File Collector Triumph in Destiny 2, but none of them show up on your map, and they only exist while Nessus is the active Distortion destination.
Quick answer: Wait until Nessus is the glowing Distortion destination in the Director, then collect all seven Case Files at Watcher’s Grave, Exodus Black, Hallows, The Cistern, Artifact’s Edge, Glade of Echoes, and The Tangle within the one-hour window.
Requirement: Nessus must be the active Distortion
Case Files do not spawn unless Nessus is currently affected by a Distortion. The destination state rotates, so open the Director and confirm Nessus is the highlighted zone before you start. Once it is active, you get roughly an hour to gather everything. Fast travel and a Sparrow cut the travel time between zones to a few minutes, and combat is mostly optional since each file sits away from heavy fighting.
Note: If you arrive and the file is missing, the Distortion is on a different destination. Back out, check the Director, and return when Nessus is the one glowing.
All 7 Nessus Case File locations
| Area | Landmark |
|---|---|
| Watcher’s Grave | Leafless tree with red moss, north of the landing zone |
| Exodus Black | By Failsafe inside the crashed ship area |
| Hallows | Staircase landing on the eastern path |
| The Cistern | Top of the Well of Flame structure |
| Artifact’s Edge | Inside the crashed ship wreckage |
| Glade of Echoes | Stacked shipping containers |
| The Tangle | Half pillar inside the canyon |
1. Watcher’s Grave
Fast travel to Watcher’s Grave and head north. Look for the large leafless tree marked by red moss, then climb up its trunk. The Case File rests on one of the lower hanging branches, so check the closer limbs rather than the very top.
2. Exodus Black
Travel to Exodus Black and set a waypoint to Failsafe. The Case File sits in the vendor room directly across from Failsafe, near the main wreckage of the crashed colony ship. It is hard to miss once you reach her area, so check the corners of the room at ground level.
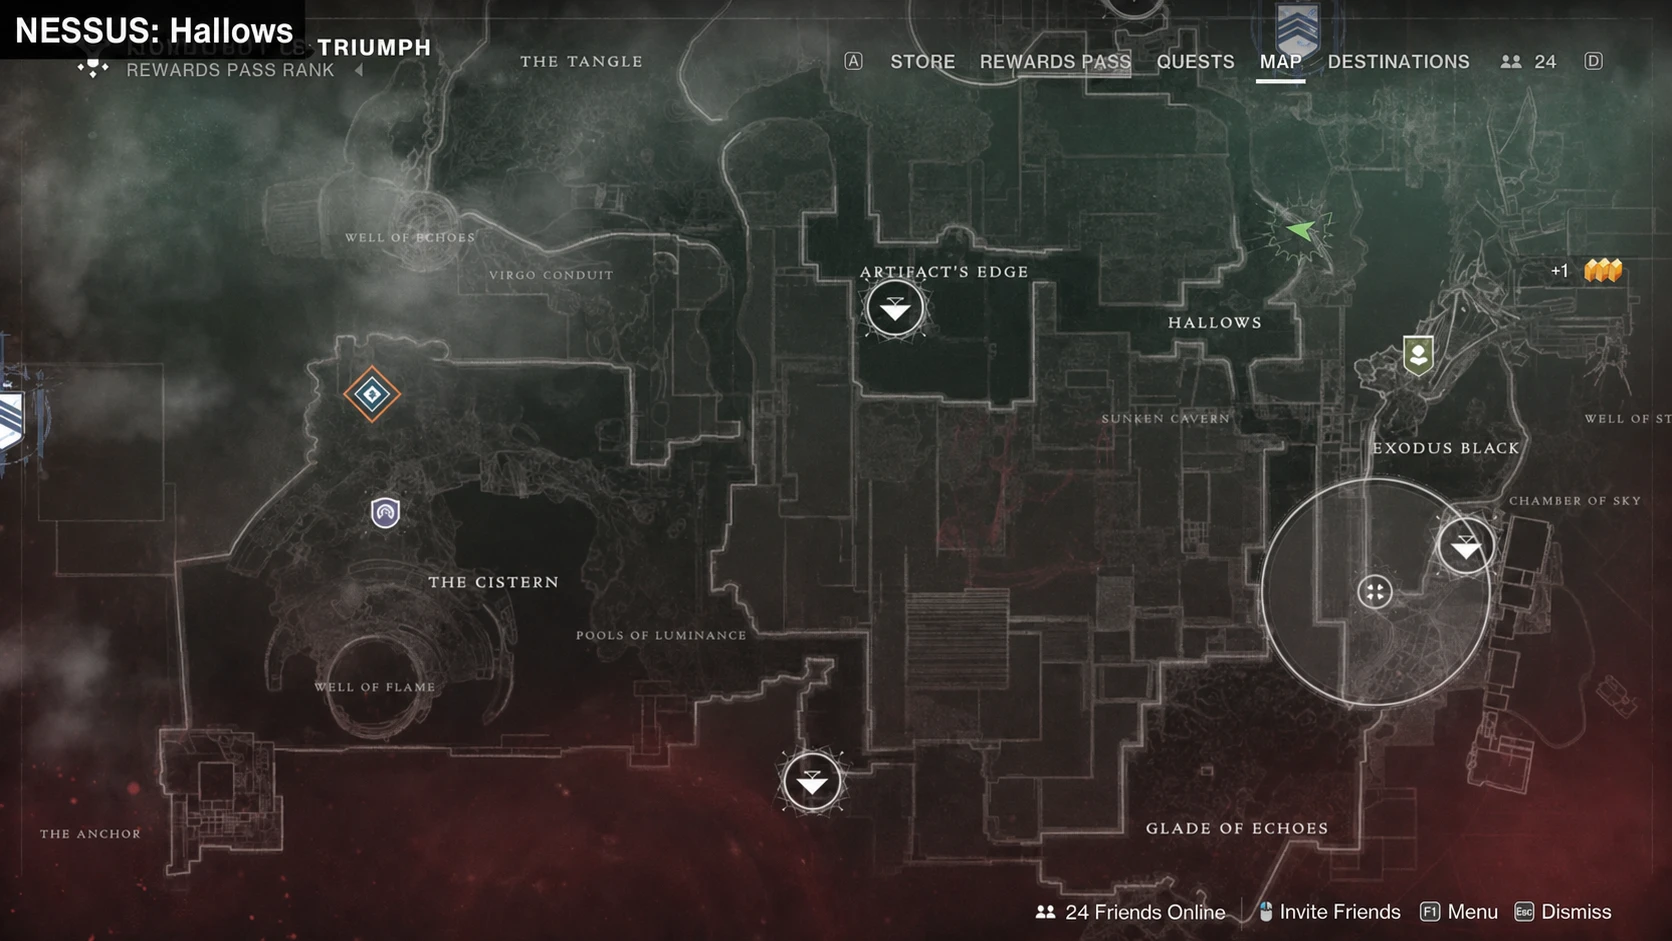
3. Hallows
From Artifact’s Edge, head east into the Hallows and keep moving down toward the central structure. When you face that structure, take a quick left to reach a short set of stairs. The Case File is sitting on the landing.
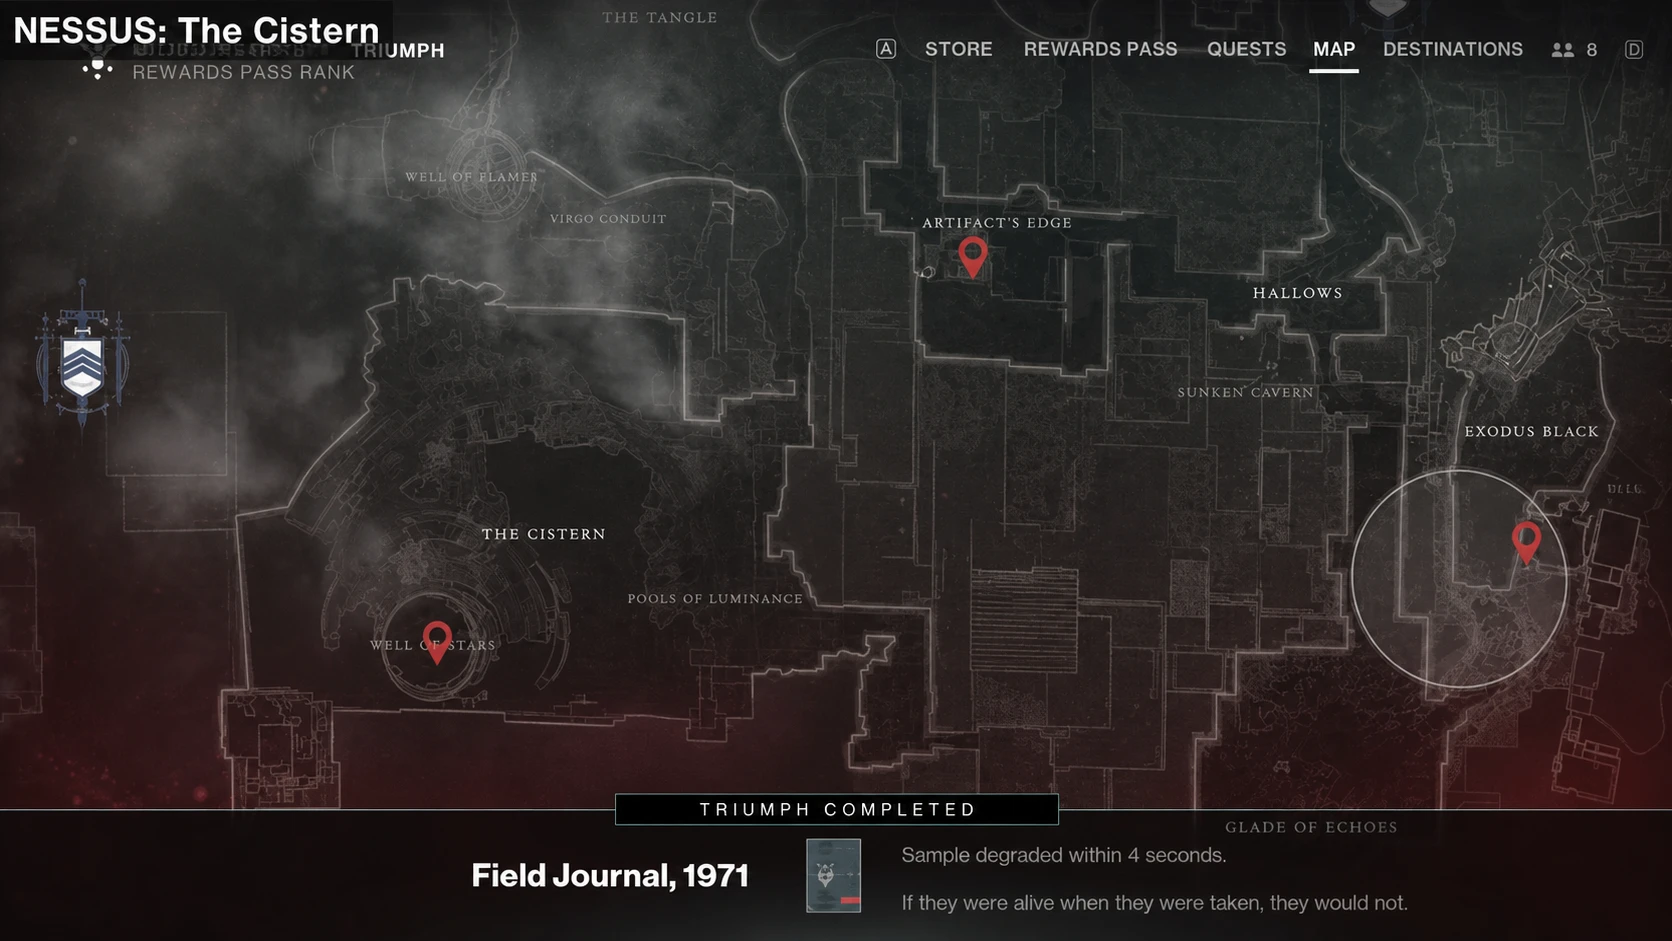
4. The Cistern
Use the fast travel point in The Cistern near the Pools of Luminance. Cross the Radiolarian River toward the Well of Flame, then climb the structure all the way to the top by the door. The Case File sits on the ledge overlooking the cliff.
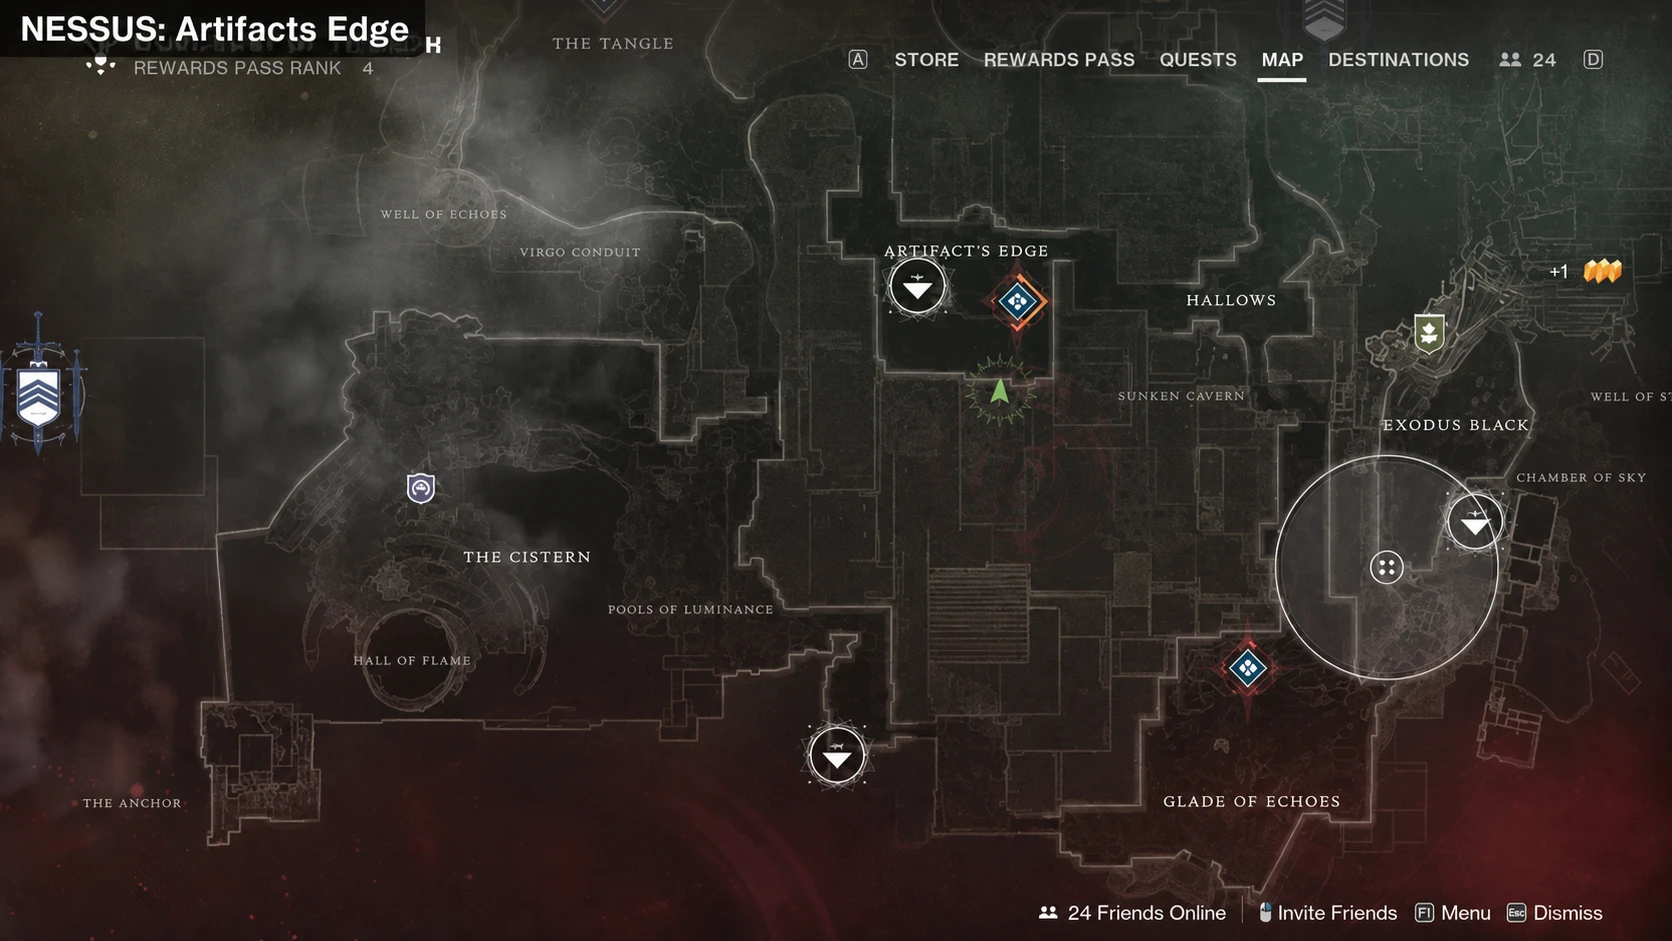
5. Artifact’s Edge
Fast travel to Artifact’s Edge and drop down to find the crashed ship below. Head toward the red glowing orb, then look up and to the right. The Case File is wedged inside the wreckage above you, near the top of the wreck.
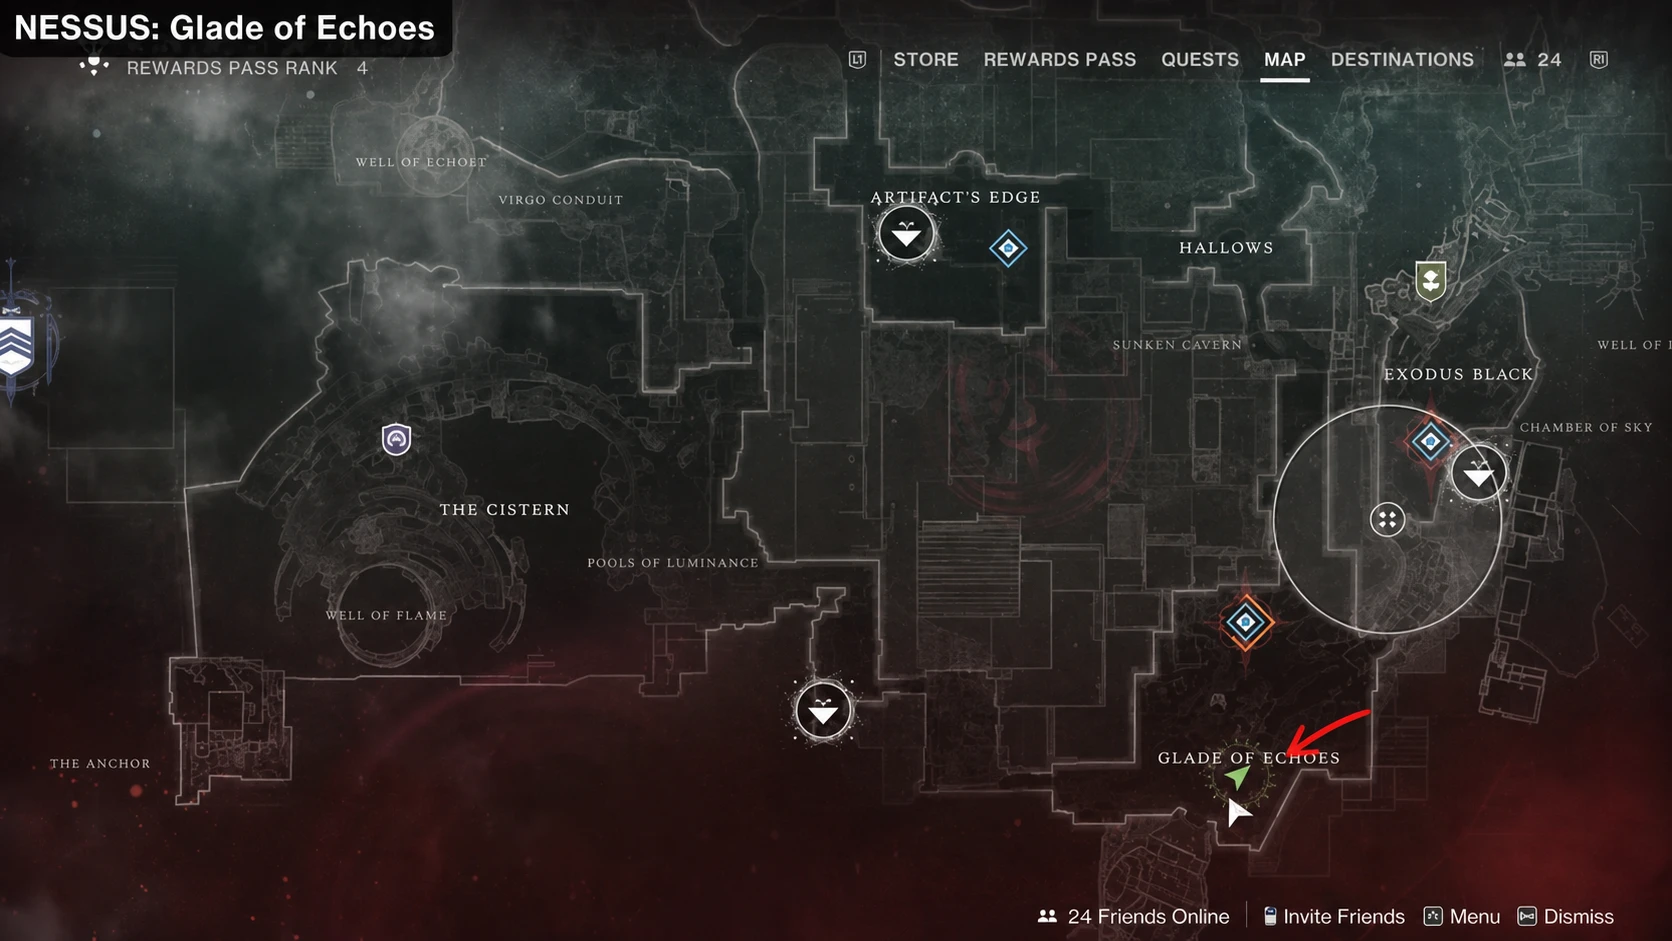
6. Glade of Echoes
From Exodus Black, head south into the Glade of Echoes. Position yourself in the center of the zone, just below the “of” on the map name. Look for shipping containers on the left and check inside the one stacked on top of another to grab the file.
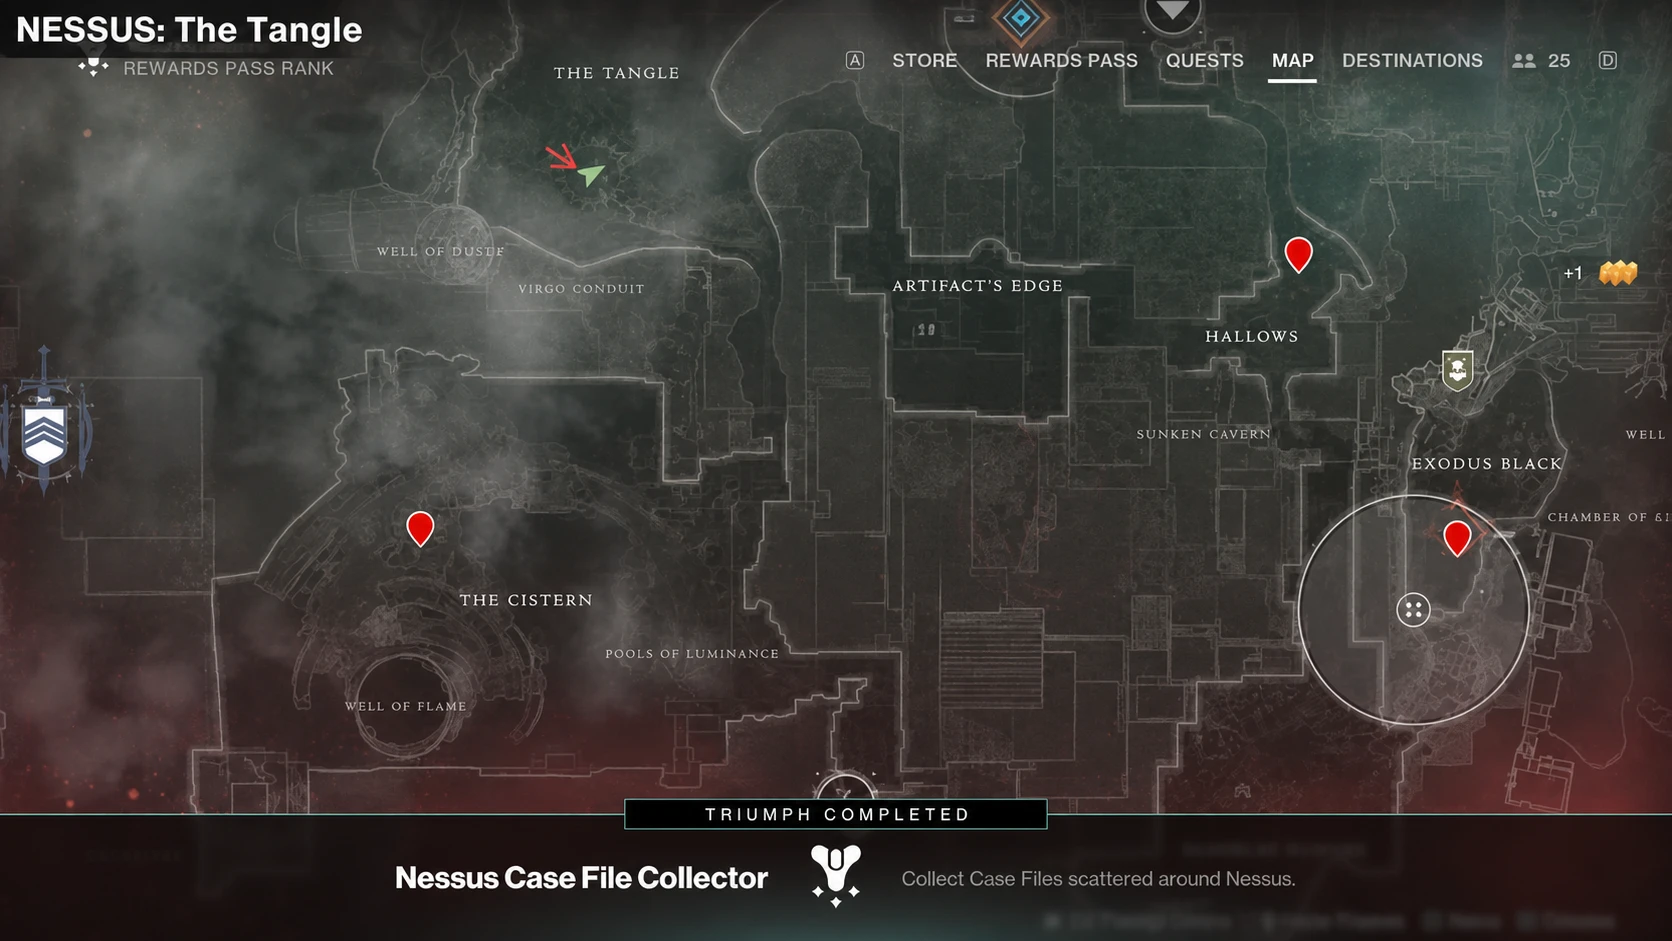
7. The Tangle
Approach The Tangle from the south, where a large tree stands out front with a canyon just ahead of it. Drop into the canyon and look for a half pillar standing in the center. The final Case File sits on top of that pillar.
How to confirm the Triumph completed
Each Case File is an interactable object. Stand next to it and hold the interact button for a couple of seconds, since it is not an instant pickup and enemies can shoot you while you grab it. The counter updates as soon as you collect one.
Open the Triumphs menu and check the Nessus section to track progress toward Nessus Case File Collector. If the count looks stuck, back out of the menu and re-enter to force it to refresh. After all seven are in, the Triumph completes on its own. If it stays incomplete, the most common reason is a file that was never actually picked up, so revisit any zone where the counter did not move and confirm you held the interaction long enough.