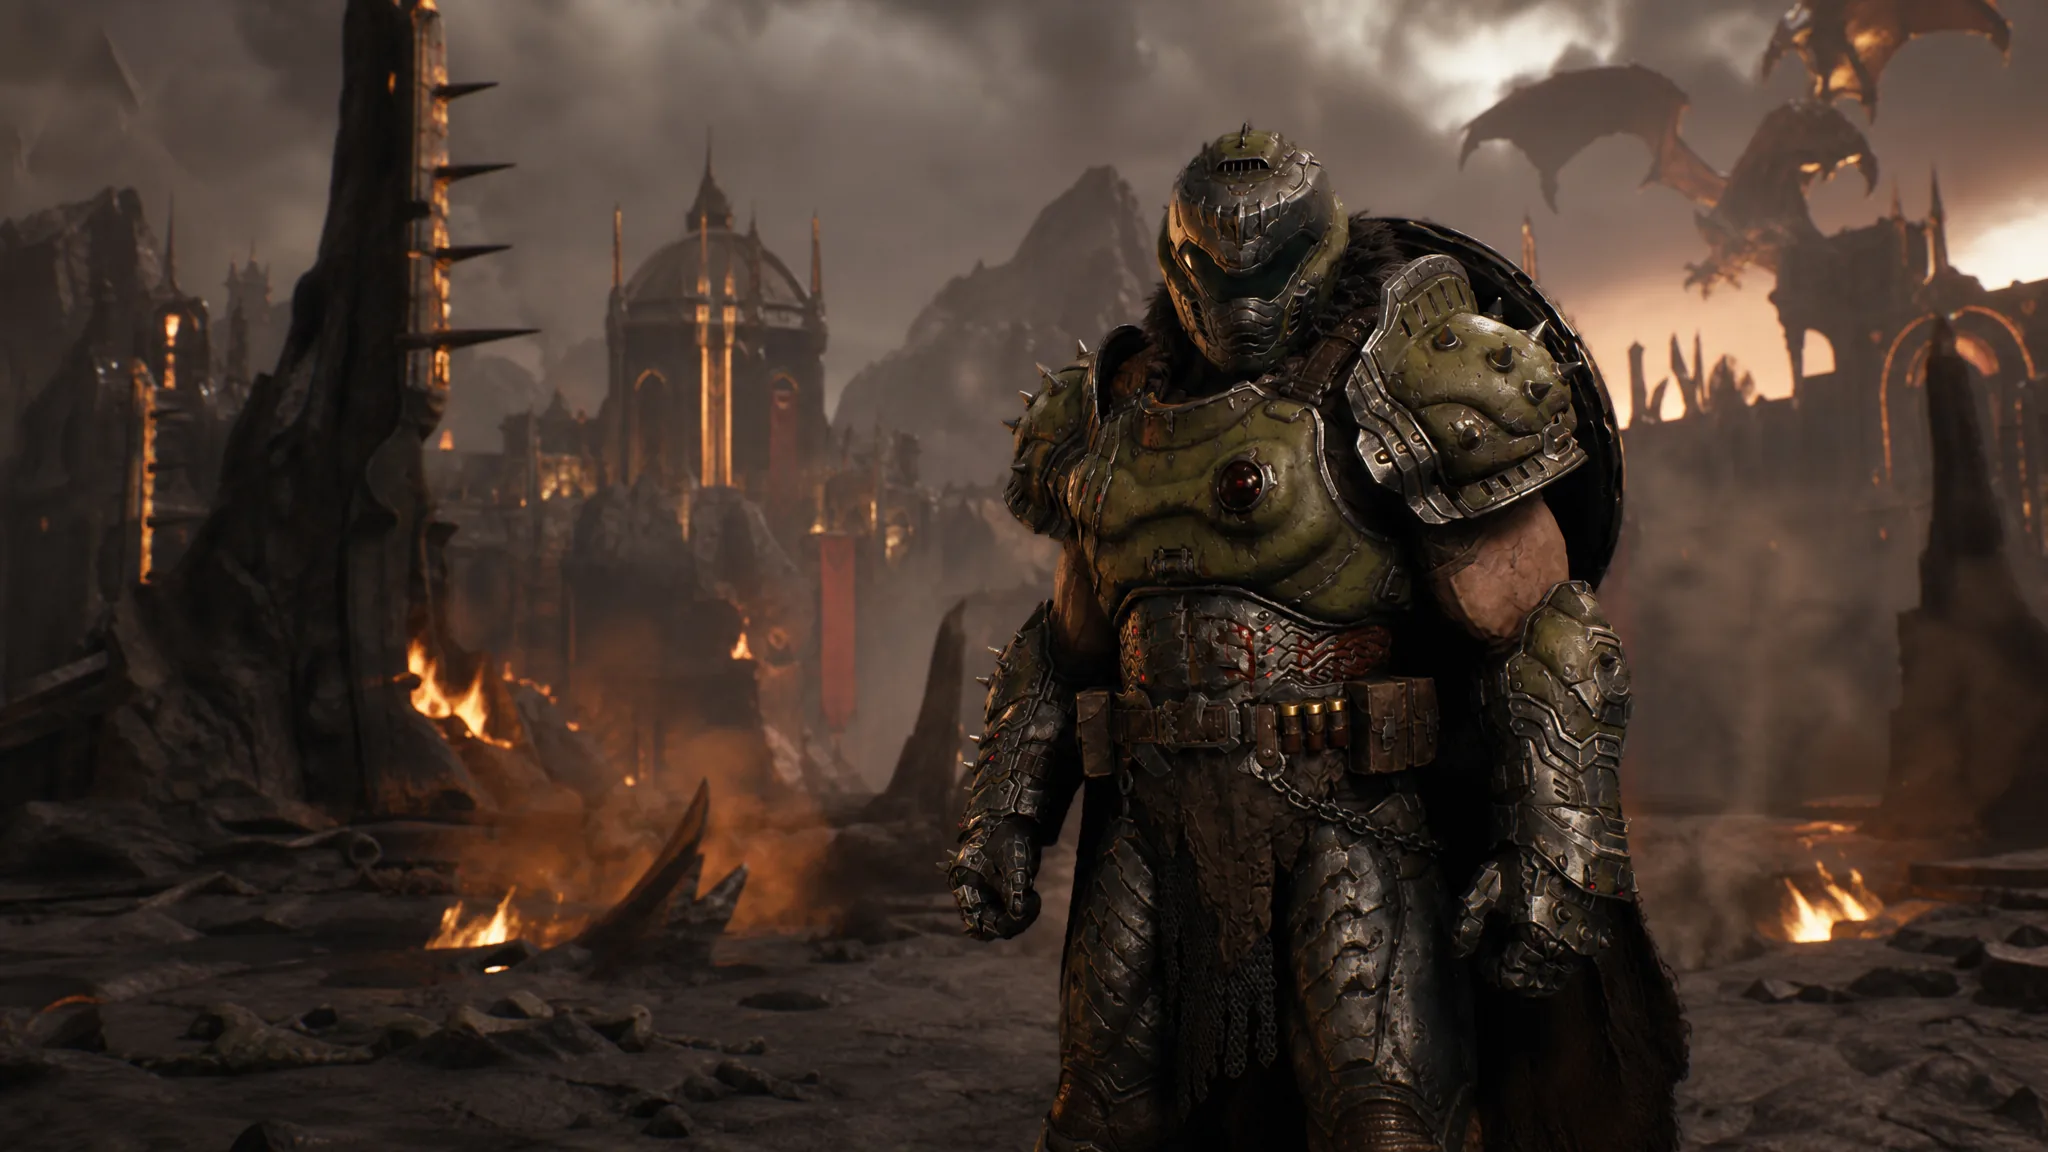
Proving Grounds is the first playable chapter of the Revelations expansion, and it drops the Slayer straight into a purgatory built around traversal and wave survival. The layout hides its collectibles until you walk into them, so the main challenge is knowing where the Blue Skull is locked and how to swing across the arena to reach it. Everything else is combat you can brute-force once you keep moving.
Quick answer: Survive the Oracle’s Crypt waves to obtain the Oracle, use a Flesh Node and a Shield Charge on the green target to reach the lever, pull it to free the Blue Skull, backtrack to open the Council Chamber, beat the Agaddon Brute Champion, then simply stay alive against the Henchman until the cutscene ends and throws you into Hell’s Core.
Proving Grounds objectives in order
The chapter opens after a cinematic where the Night Sentinels start doubting their faith following Bishop Kreed’s betrayal. The Khan Maykr returns to restore order, and the Slayer learns that Hell’s ruling Council can only be reached with the Oracle. Here is the full sequence you will work through.
| Order | Objective |
|---|---|
| 1 | Obtain the Oracle (survive the Oracle’s Crypt) |
| 2 | Make your way to the Council Chamber |
| 3 | Find the Blue Skull |
| 4 | Open the Council Chamber |
| 5 | Confront the Council |
| 6 | Defeat the Agaddon Brute Champion |
| 7 | Survive the Henchman encounter |
Survive the Oracle’s Crypt to obtain the Oracle
You start inside a circular crypt that functions as a survival arena. The first wave sends in two Mancubi, a Hell Knight, and a pack of smaller demons. Clear those and a second wave follows with Imp Stalkers, a Pinky Rider, and an Arachnotron.
Keep circling the arena instead of holding one spot, thin the ranged and fodder enemies first, and save heavier hits for the elites. Once the last demon drops, a cutscene plays and the Slayer takes the Oracle.
Reach the locked Council Chamber door
Leave the crypt and follow the path forward until you reach a ledge above a group of fodder demons. Shield Charge into them, then push right where more enemies are waiting. Drop into the pit below and clear out the Hell Tanks.
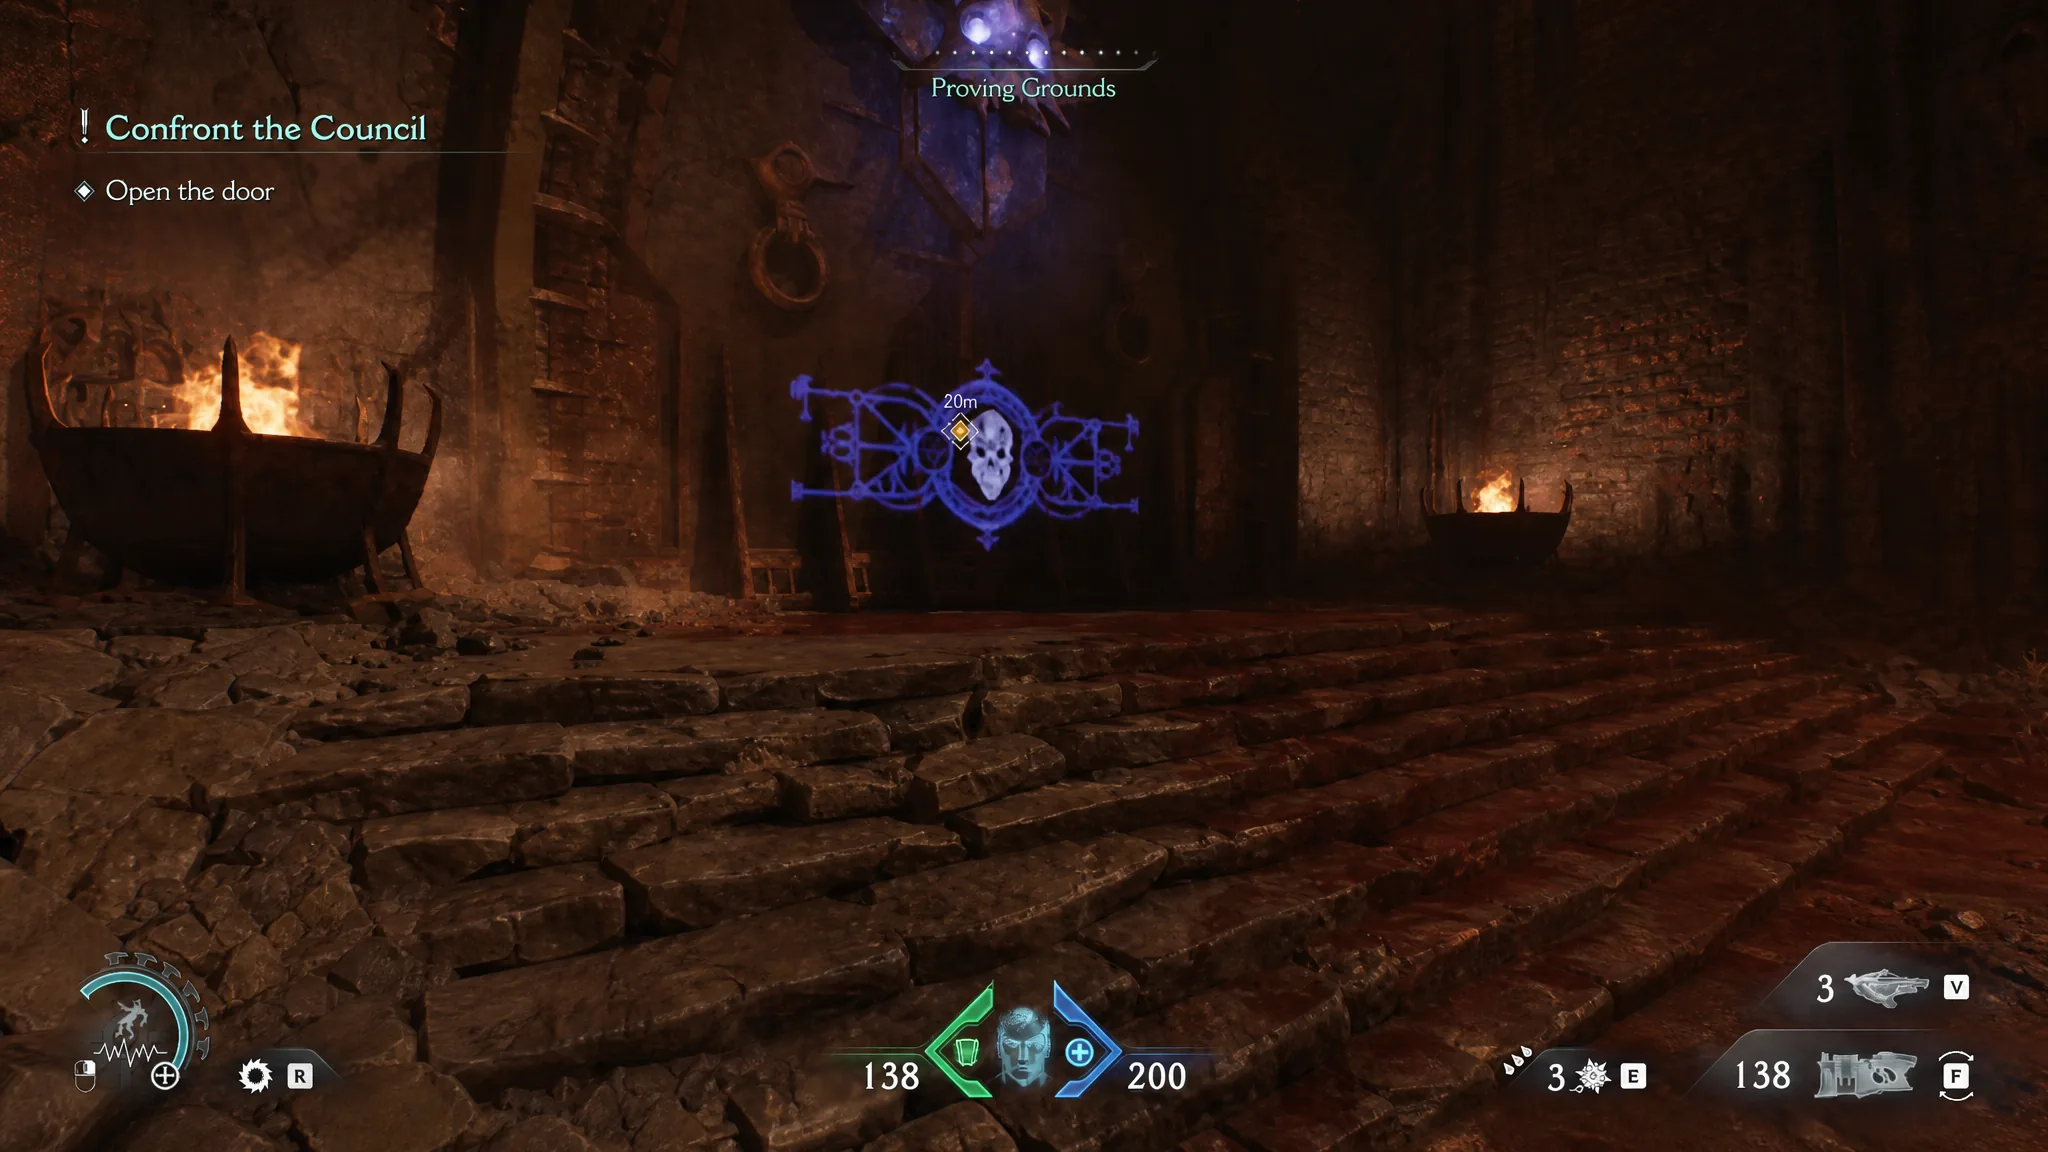
Climb to the upper level and take out the Pinky Rider that is backing up a group of Stalkers. Another wave spawns shortly after. When the area is clear, interact with the massive door at the back and you will see it needs the Blue Skull to open.
Find the Blue Skull with Flesh Nodes and Shield Charge
This is the one part of the chapter where players tend to stall. The route relies on Flesh Nodes for pulling yourself across gaps and a Shield Charge to reposition a node so it lines up with the next ledge. Work through it in order from the locked door.
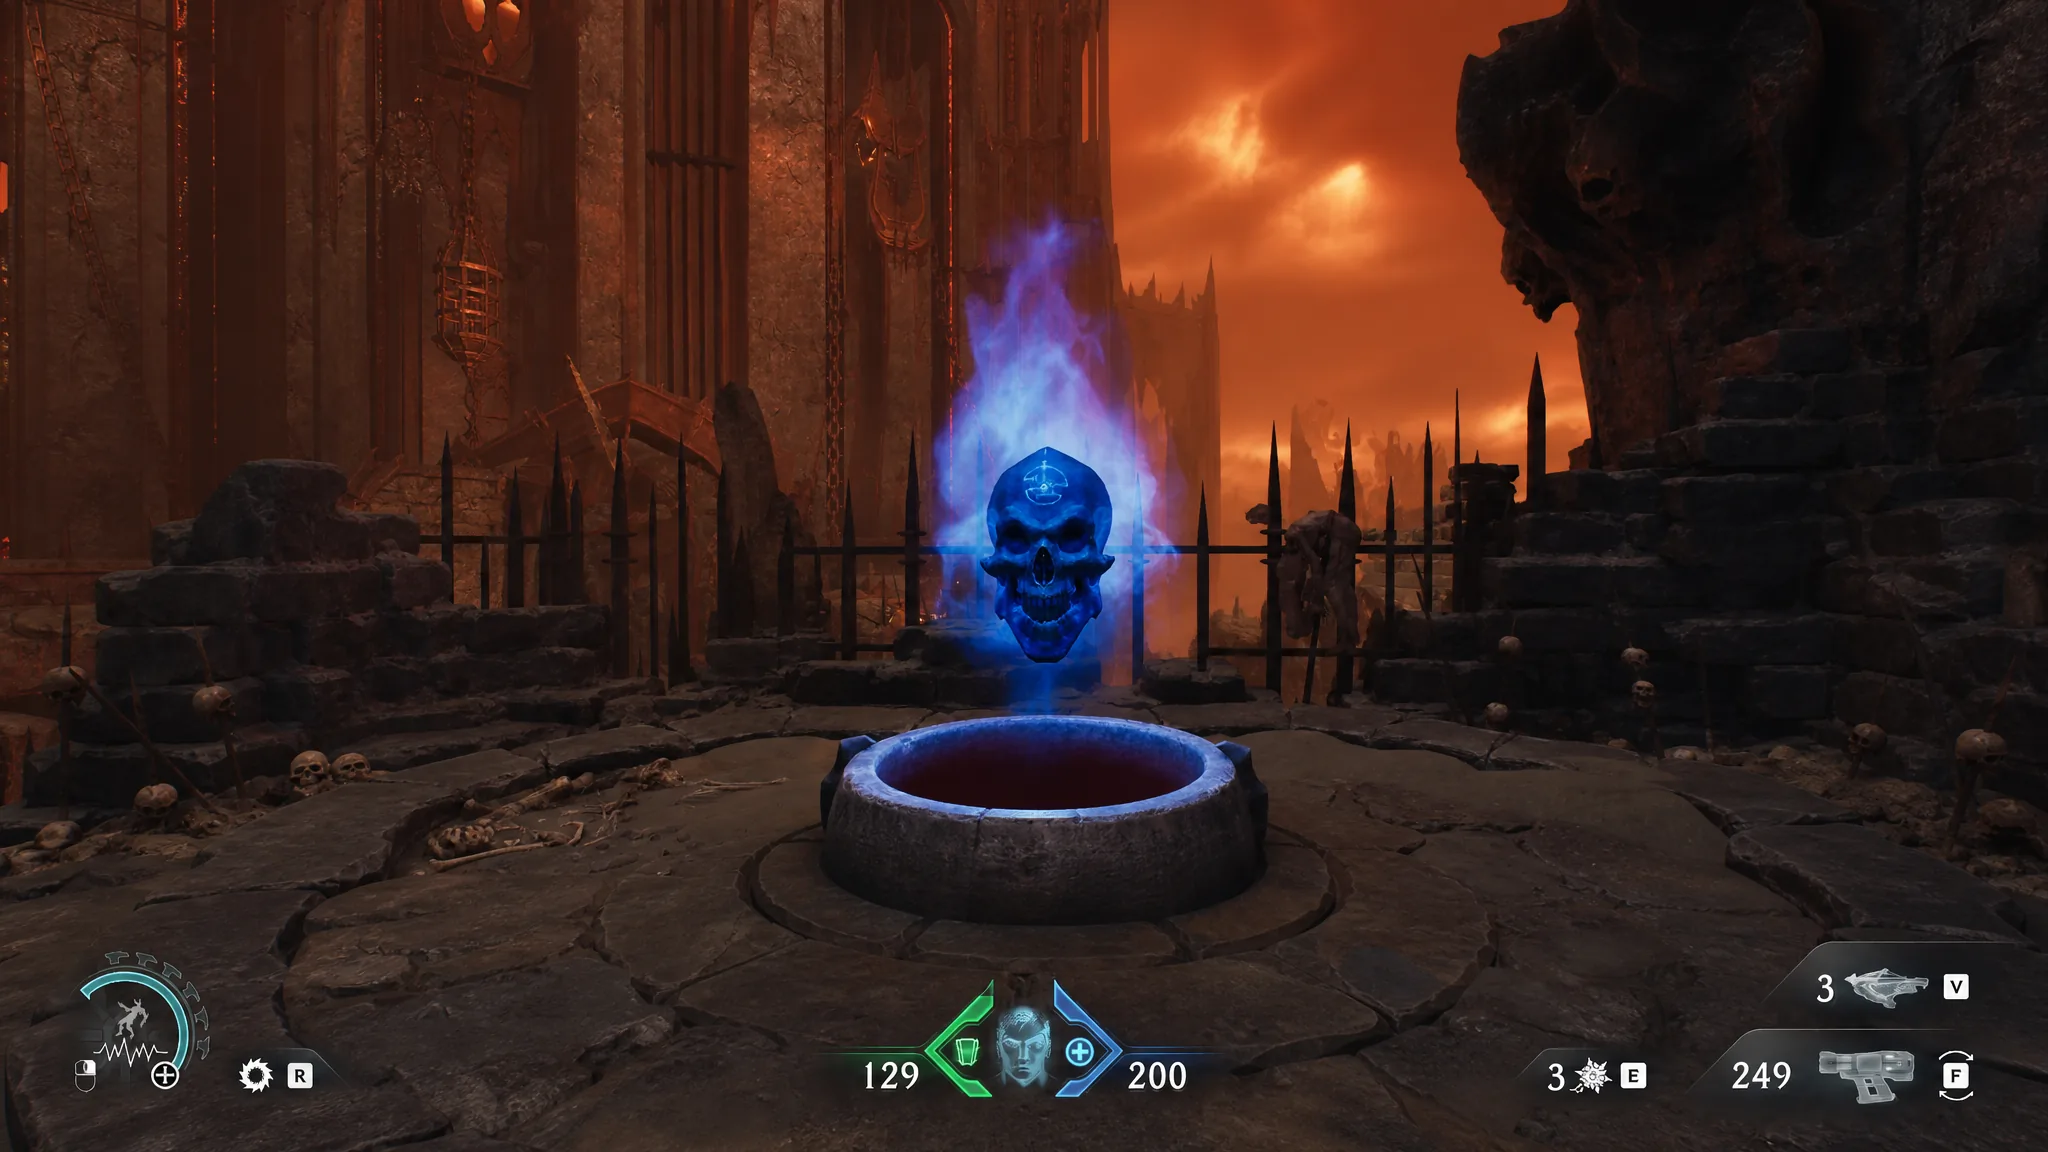
Pulling the lever kicks off another large fight back in the previous arena. Clear that wave, use the Flesh Node again, Shield Charge the raised metal block, and climb the scramble wall. Keep away from the magma pool while you fight, climb a second scramble wall, and follow the path through the newly opened archway to claim the Blue Skull.
Return to the Council Chamber and use Energy Nodes
With the skull in hand, head back toward the locked gate. On the way, flame jets switch on and a barrier blocks the path. Defeat the enemies that appear to drop the barrier, then push through the next section, where you fight another Mancubus, two Enforced Hell Knights, a Whiplash, and a Chaingunner Enforcer.
Unlock the gate with the Blue Skull and ride the lift back down. Approaching the large door triggers a longer battle, so grab every resource pickup in the arena before committing. Once it ends, move through into a corridor with three locked gates.
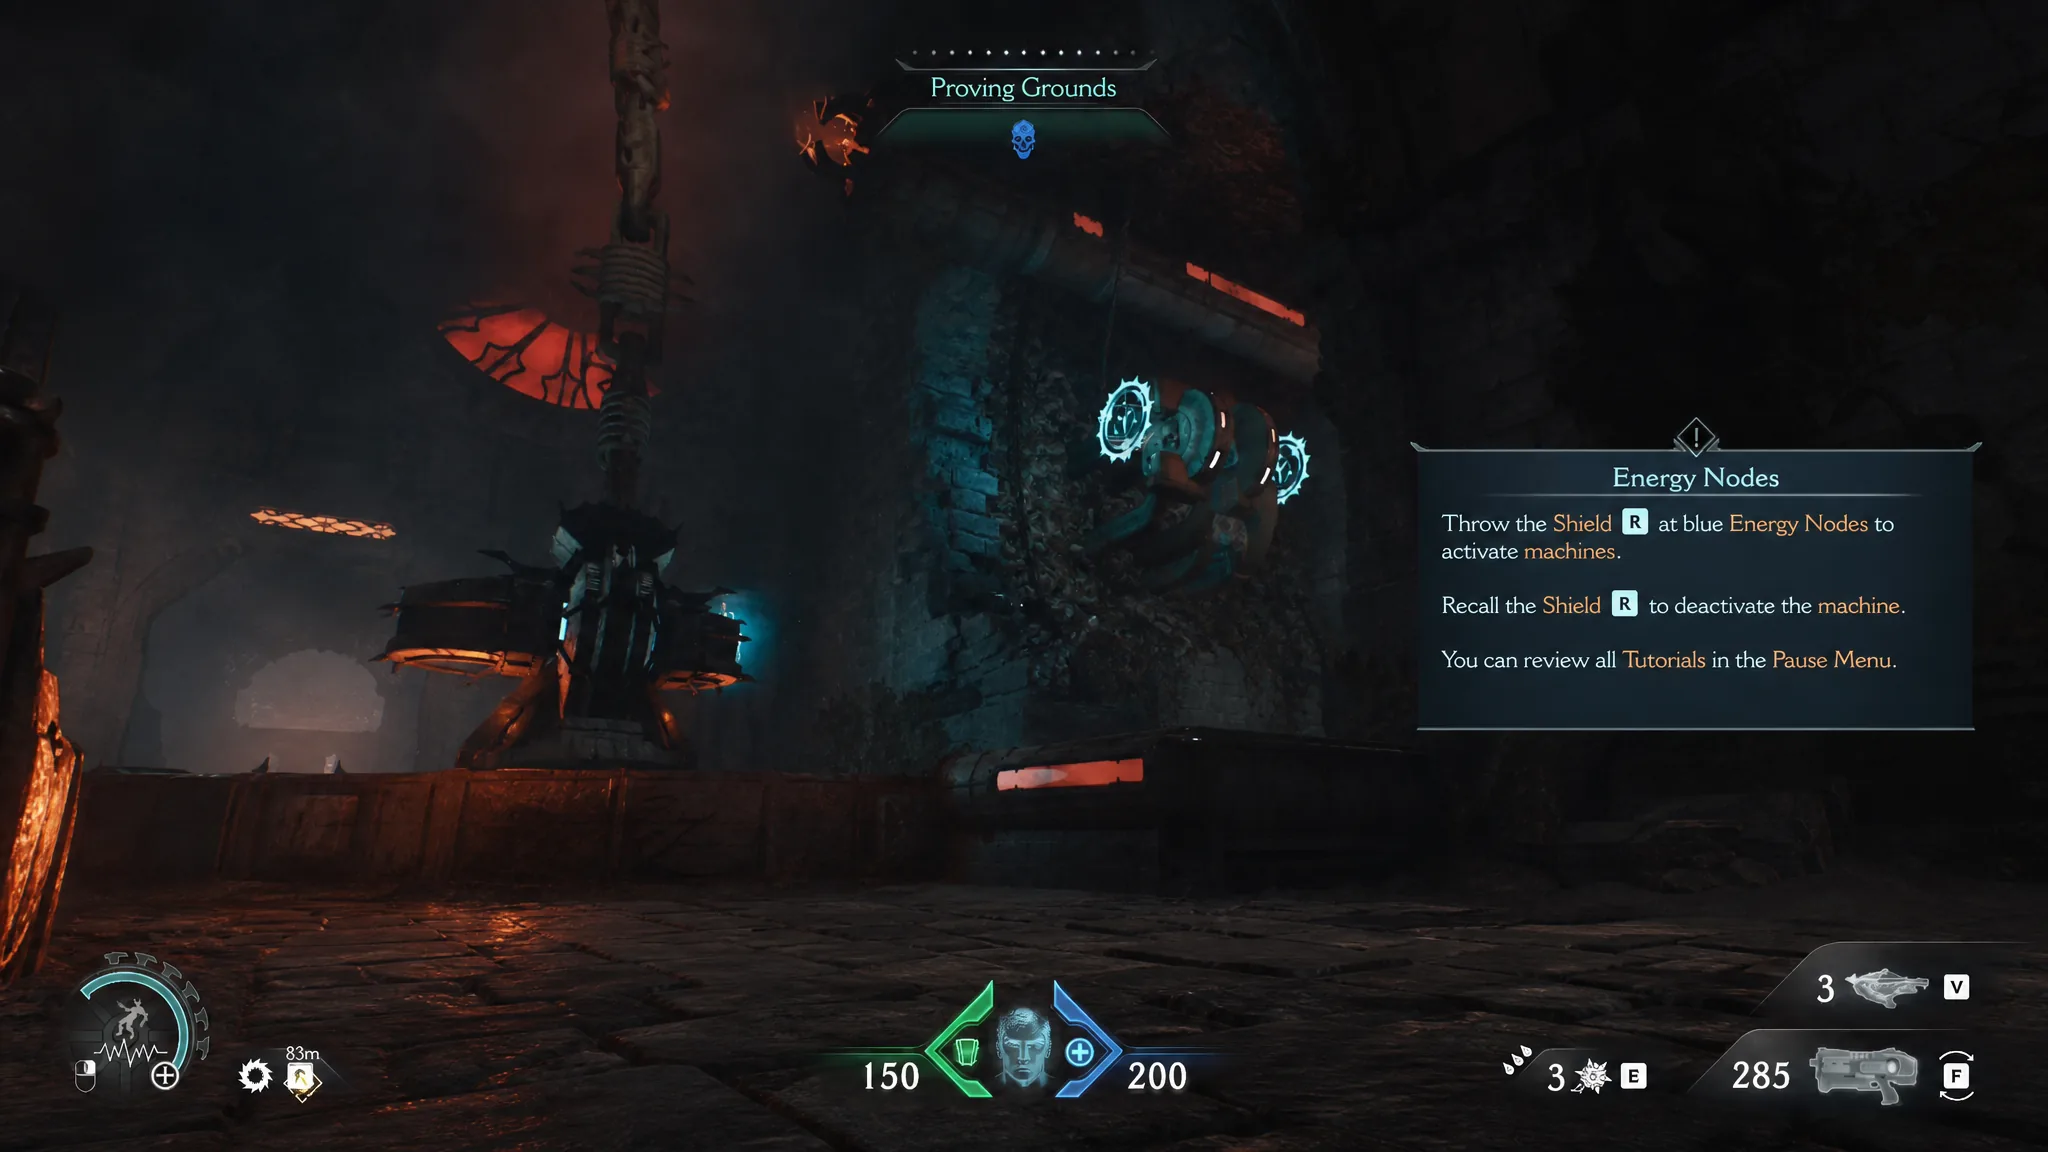
Look up to find an Energy Node and throw your shield into it. This drives a mechanism that opens and closes the gates in sequence. When the right gate opens, Shield Charge through the barricade and climb the cages inside. Hit the Energy Node again to unlock the next gate, kill the Nightmare Stalker below, and step outside into another combat arena.
Note: Energy Nodes reappear across later chapters, and several arenas are built around throwing your shield into them. Getting comfortable with the timing here pays off later.
Defeat the Agaddon Brute Champion boss
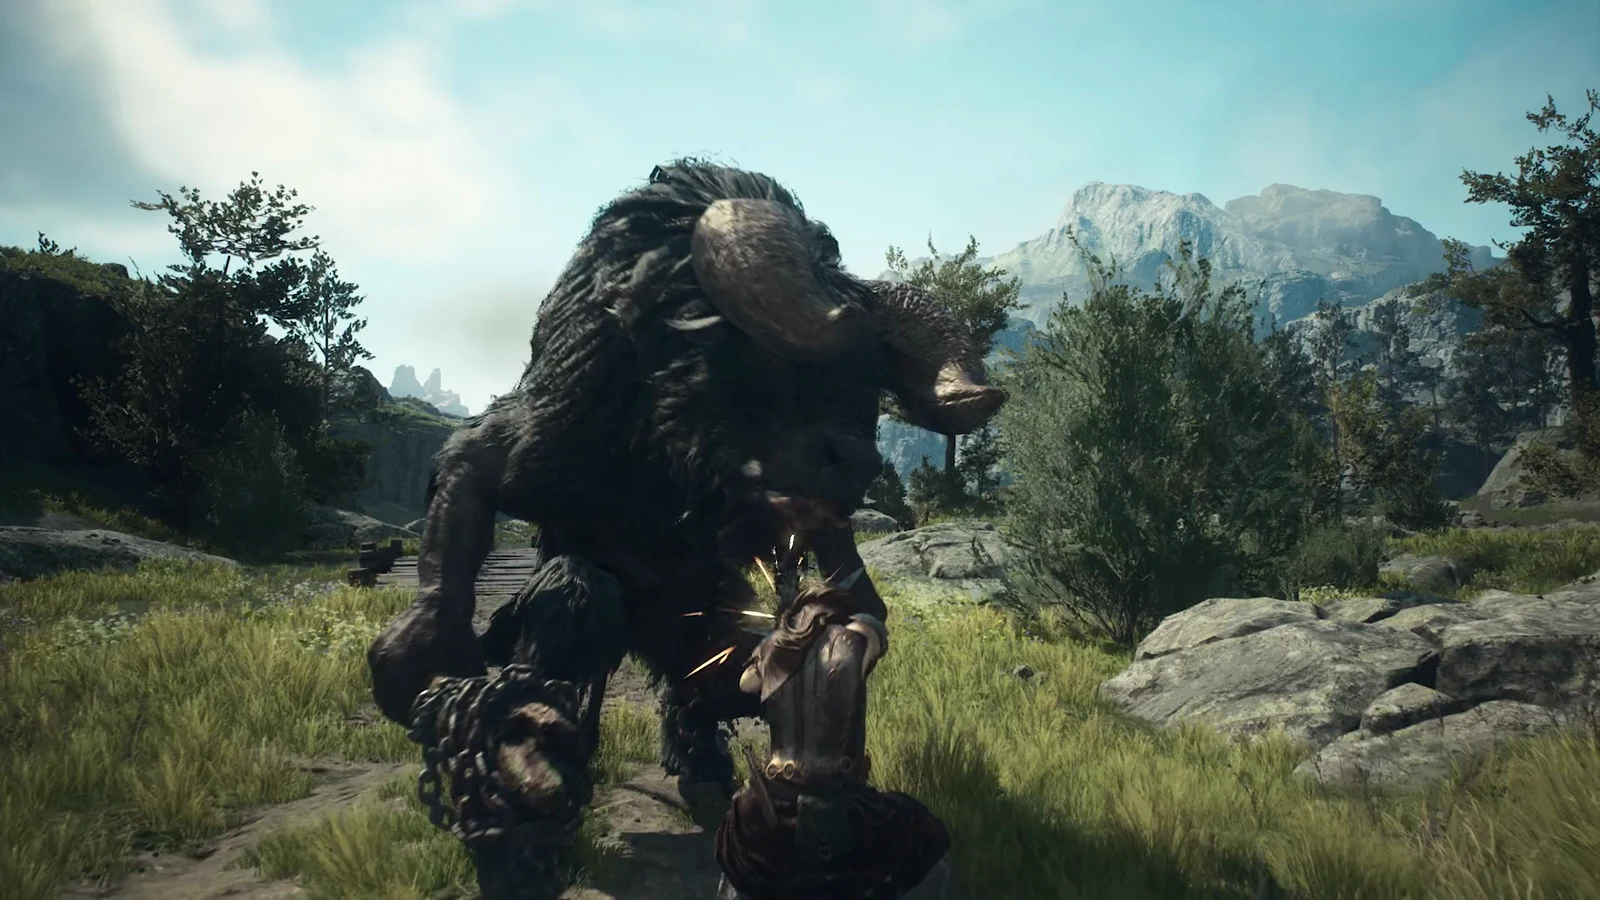
Clear the arena, then stand on the central button to summon the Agaddon Brute Champion, the first major boss of Revelations. It plays much like the Agaddon Hunter from the base game’s Abyssal Forest mission, but it now carries a large shield and looks far more demonic.
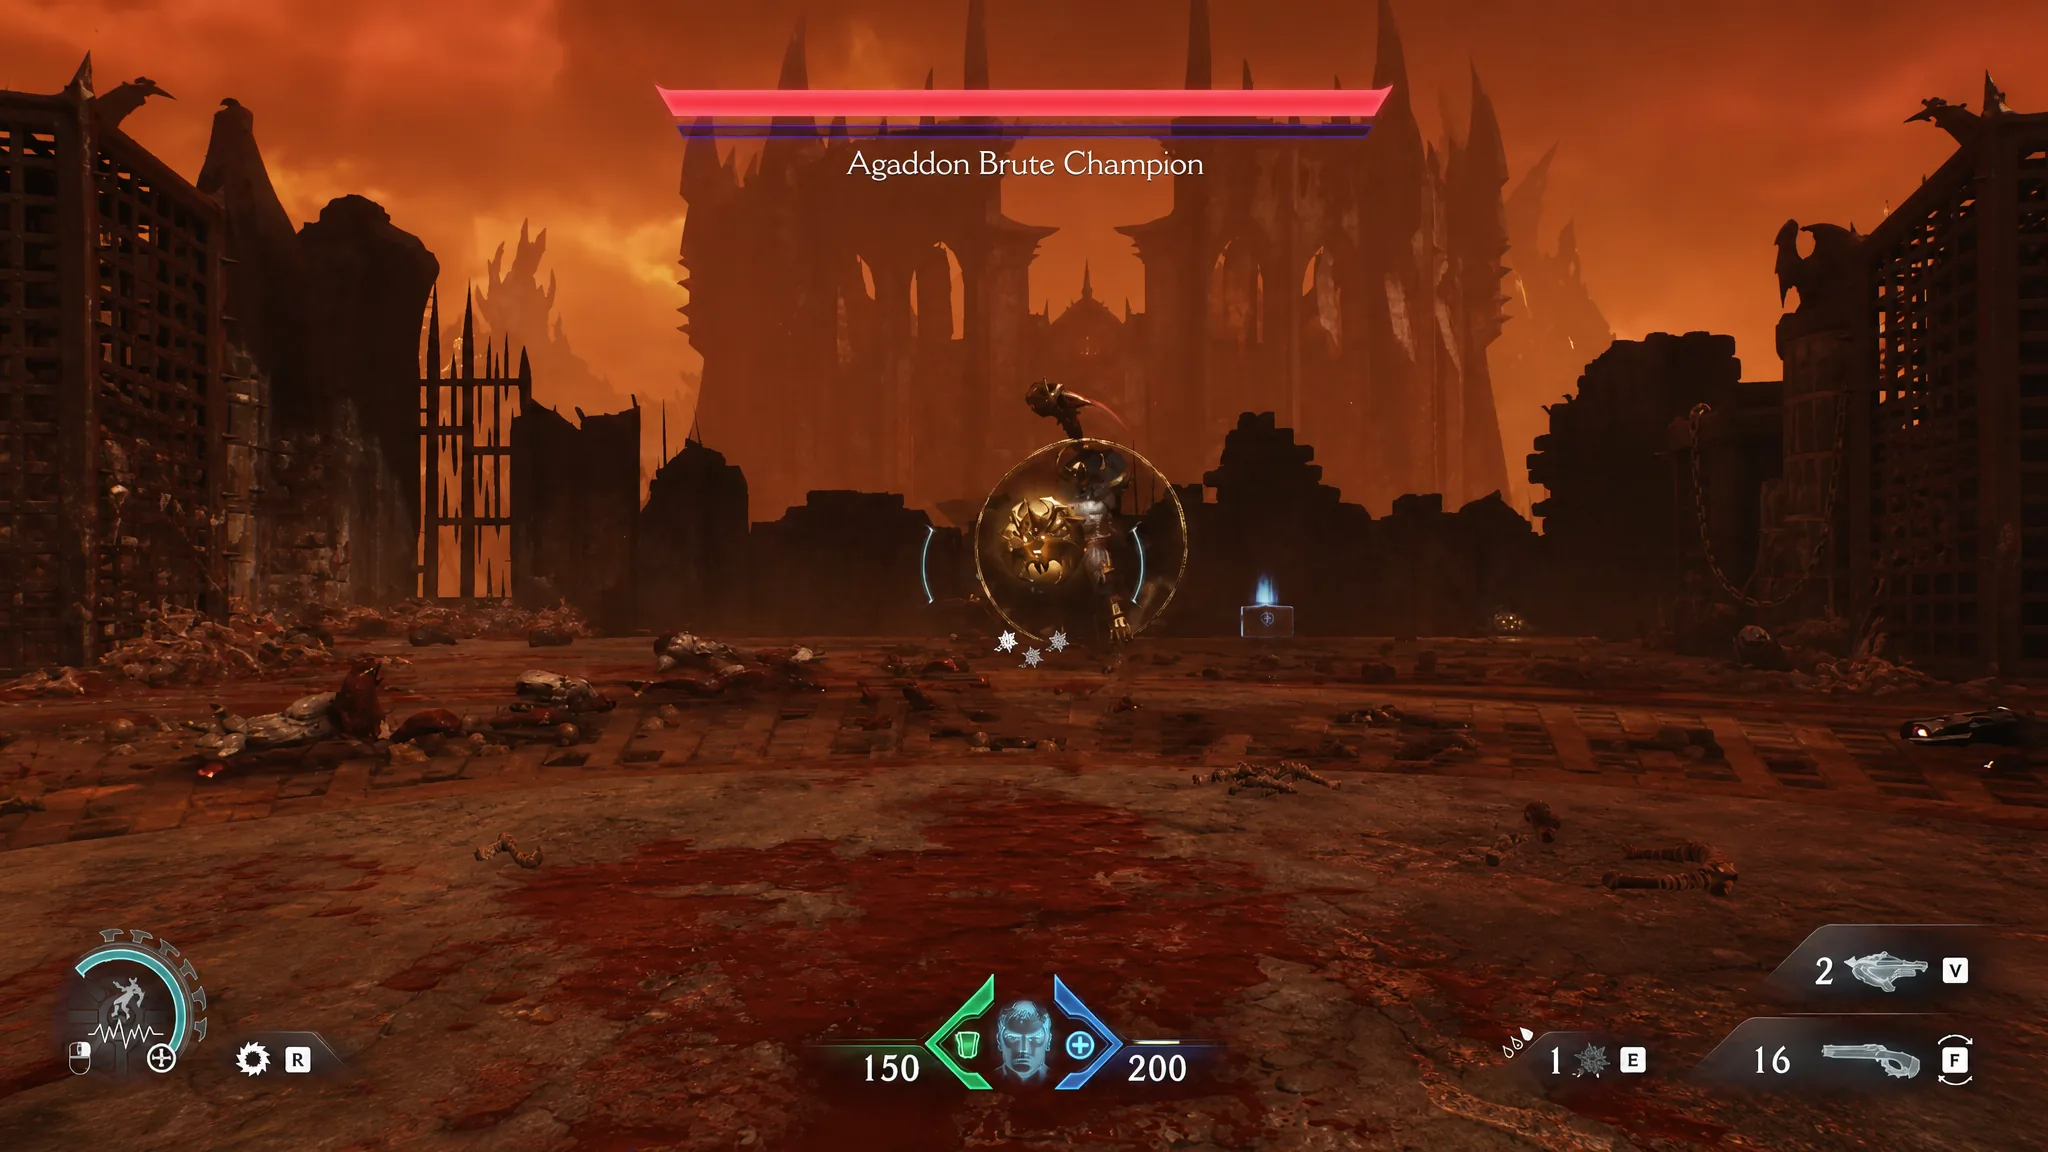
Its most dangerous move is a ground slam that sends spikes erupting across the arena. The spikes follow a visible pattern, so once you learn the read they are easy to sidestep. Block its swings with your shield, wait for the combo to finish, and punish during the recovery before backing off. A gun with a high fire rate helps fill the purple stagger bar, which opens the window to stun and kill it. Watch for the Pinky Rider that tries to assist mid-fight.
Survive the Henchman (you cannot win this fight)
After the boss falls, hit the button again to take the lift up to the Council Chamber, then follow the door icon to a large gate that starts a cutscene. A Hell Priest declares the Slayer unworthy of leaving Hell and condemns his tomb to remain beneath the Council. The Slayer kills the priest, but the Council revives and mutates him into the Henchman.
The fight that follows looks like a boss battle, but it is a scripted survival sequence. The Henchman takes virtually no damage, so do not waste ammo trying to kill it. Keep moving, dodge its attacks, and hold out until the cutscene triggers.
You know it worked when the Henchman destroys your armor and shield, then throws the Slayer beneath the Council into Hell’s Core, a frozen region deep below Hell. That transition ends Proving Grounds and hands you the tools for every chapter that follows.