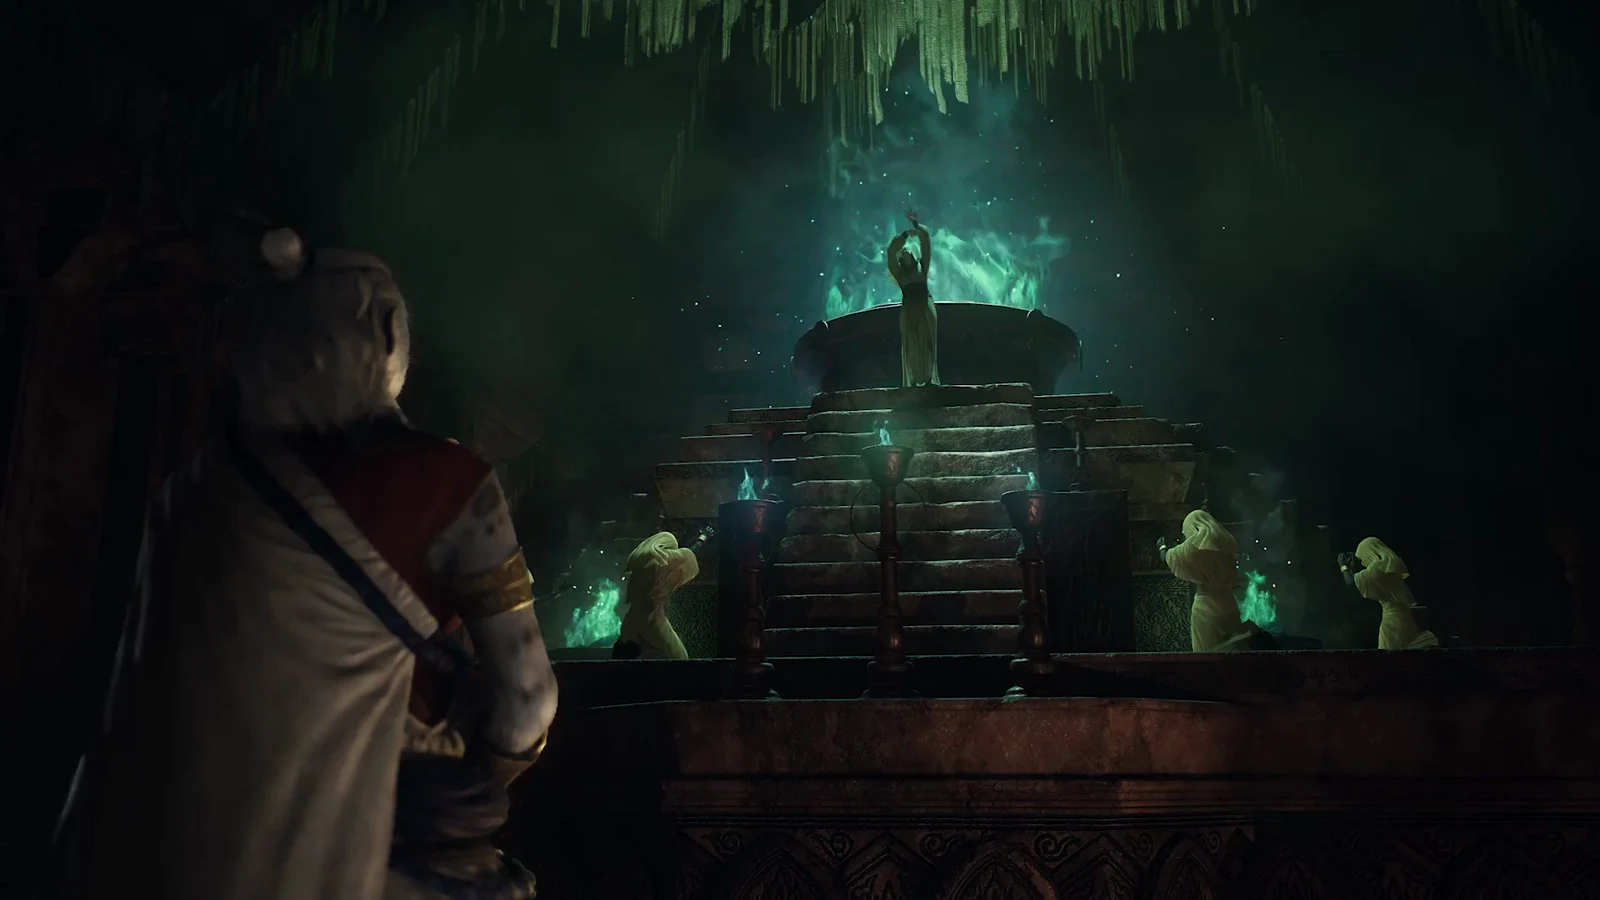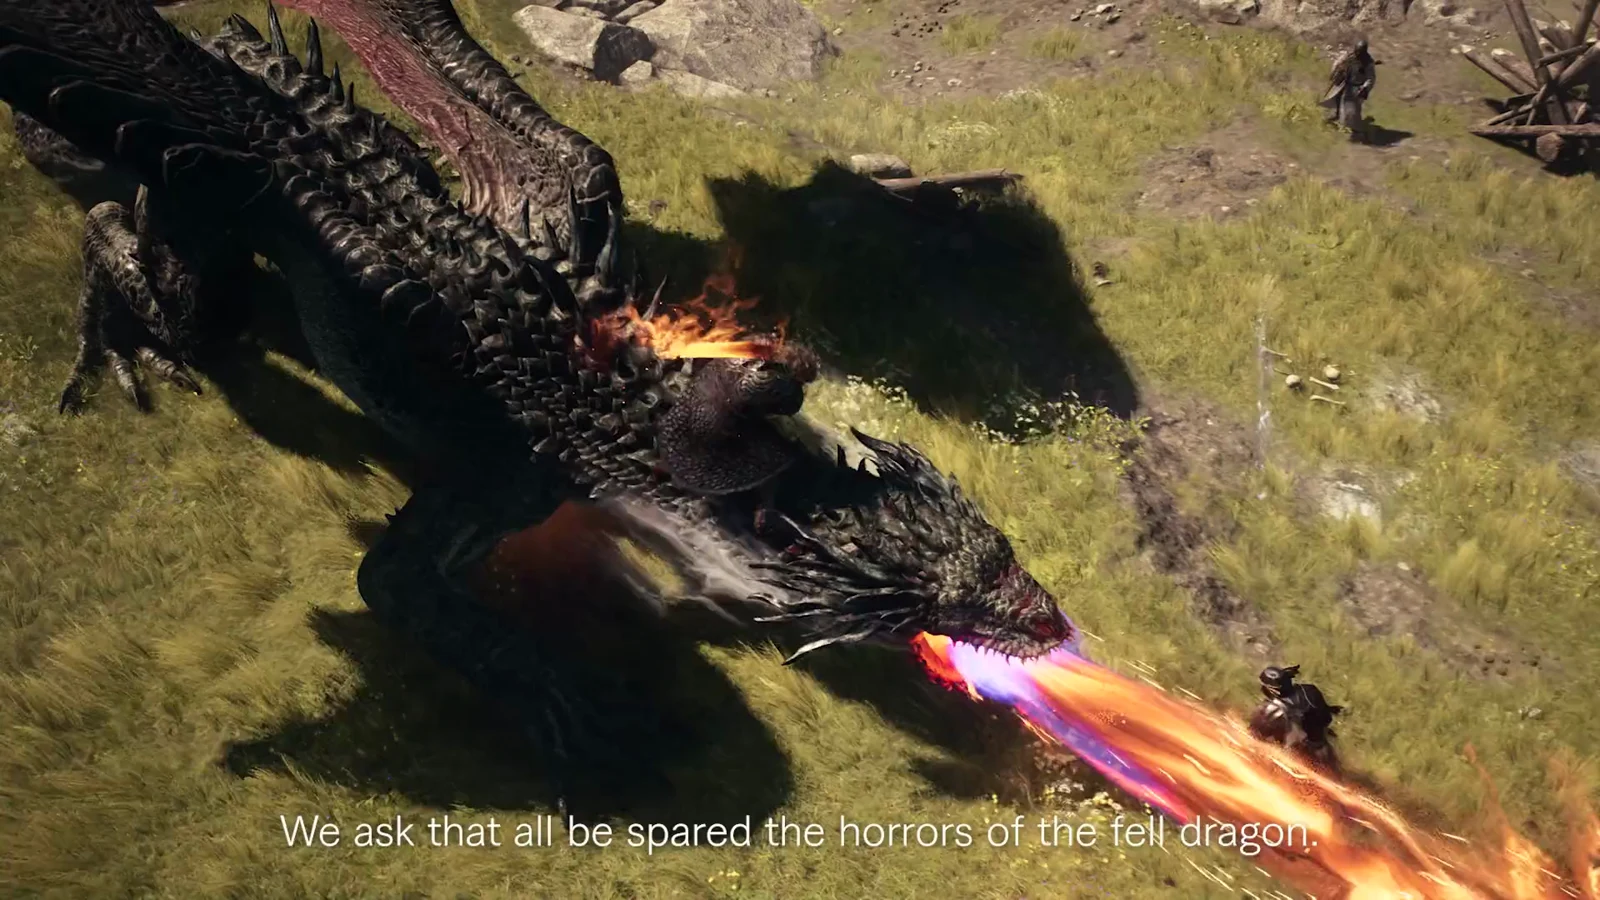
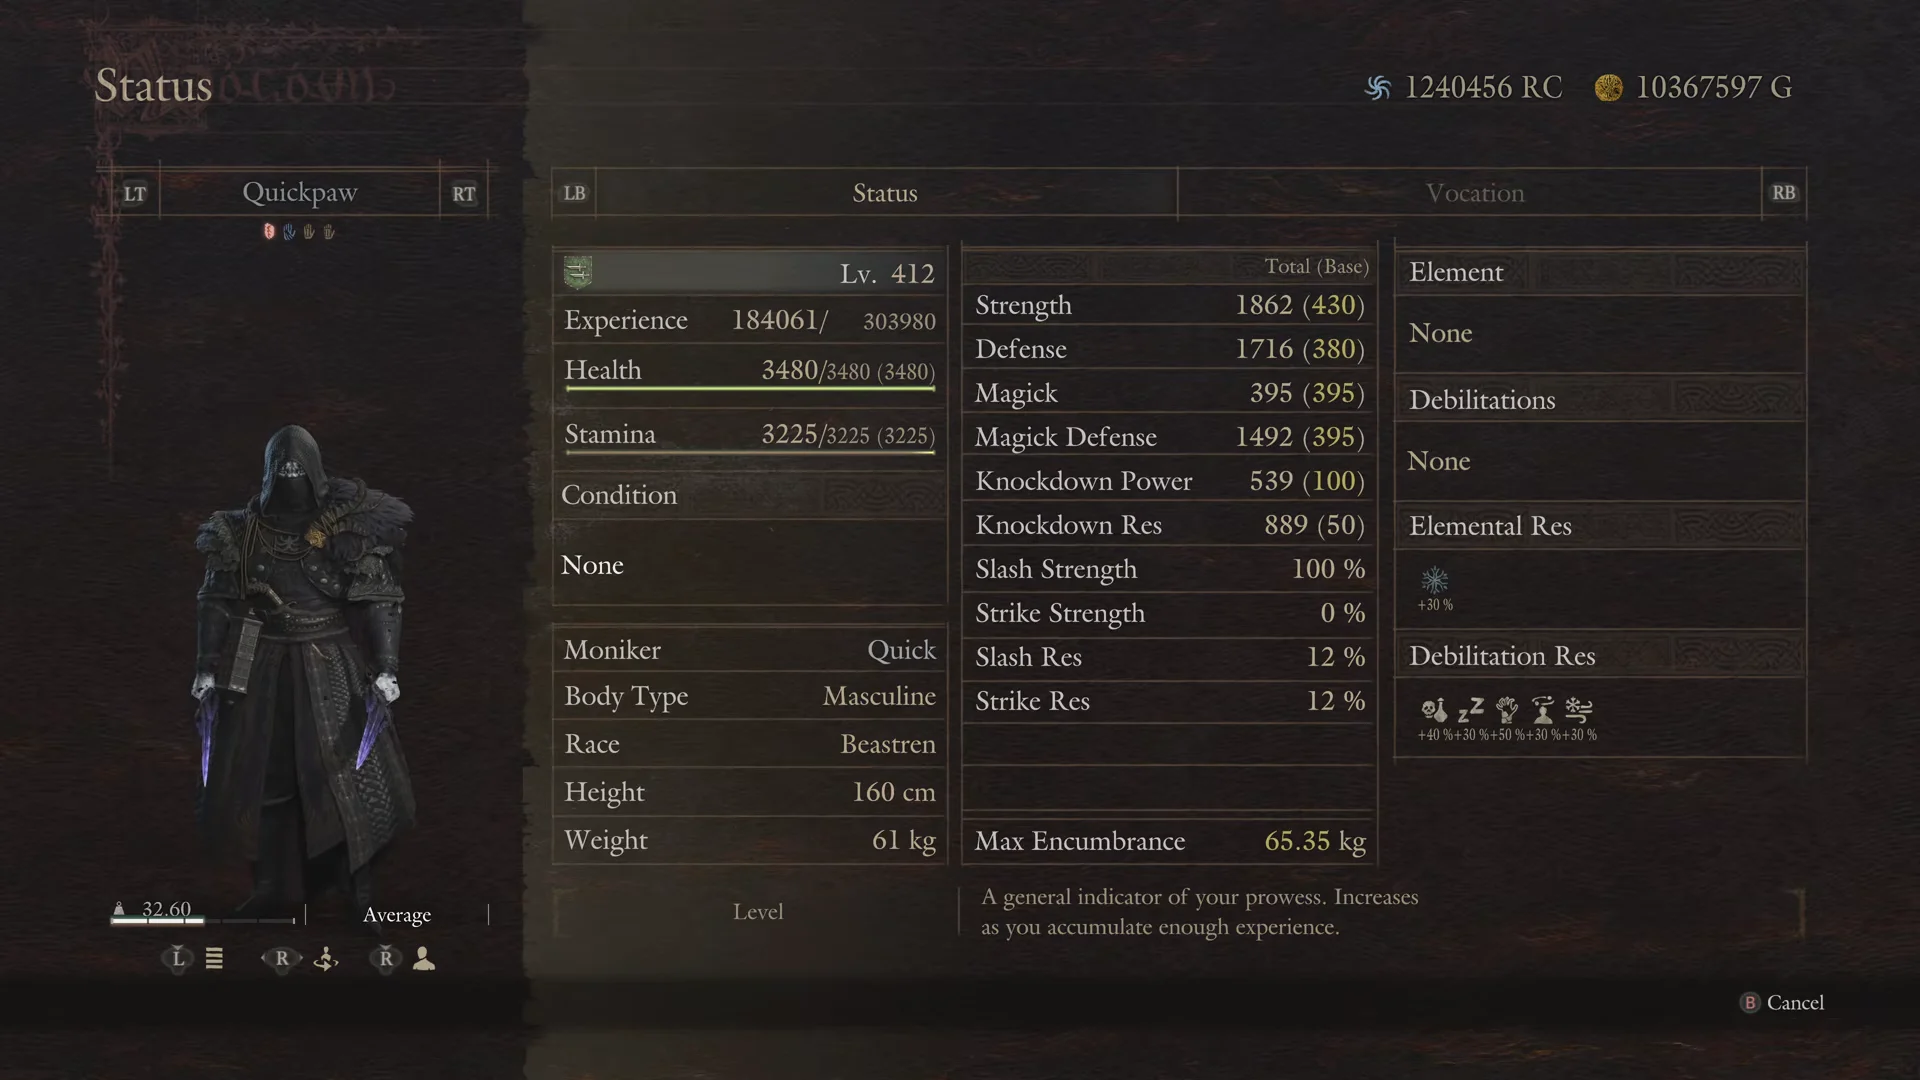
At the top end of Dark Arisen’s content, the Thief vocation reaches a state where it barely takes damage and still melts multi-gauge boss health bars. The showcase build runs on a Beastren Thief named Quickpaw at level 412, and the whole thing is held together by one defensive skill, one aggressive skill, and a stamina trick that keeps the first two running forever.
Quick answer: Keep Formless Feint active to auto-dodge almost everything, feed stamina with Rotten Beast-Steak plus the Carnivore and Adventurous Appetite armor perks, then cling to boss weak points and spam Powder Barrage.
Why the Thief stops taking damage
Formless Feint is the core of the whole loop. While it is active, the character automatically evades virtually every incoming attack, which effectively removes damage from the equation as long as stamina holds. The catch is that it drains stamina the entire time it runs, so the build lives or dies on how fast that stamina comes back.
Formless Feint also solves the one problem with Blades of the Pyre. That Maister’s teaching sets the daggers alight and normally burns the user, but the auto-evade negates the self-inflicted fire damage. That turns a risky skill into free, repeatable burst fire with no downside.
Food provides the stamina sustain. The head armor pairs two useful perks: Adventurous Appetite prevents poisoning from items and restores health when you eat, while Carnivore briefly halts stamina drain after you consume meat. Rotten Beast-Steak then offers a dependable, nearly endless stamina supply, keeping Formless Feint active indefinitely.
Running two support Mage pawns with Celestial Paean and Argent Solace layers in extra Stamina recovery and damage reduction, so the food loop has backup during longer fights.
The weapon and core skills on the bar
The showcase fills all six weapon-skill slots with Combustive Caper, Powder Barrage, Effortless Kill, Implicate, Blades of the Pyre and Formless Feint. Powder Barrage does the heavy lifting against bosses, Implicate hauls targets around, and Effortless Kill handles counters. The core skills include Carve, Twin Fangs, Swift Step, Scarlet Kisses, Controlled Fall, Bump and Lift, and Footpad.
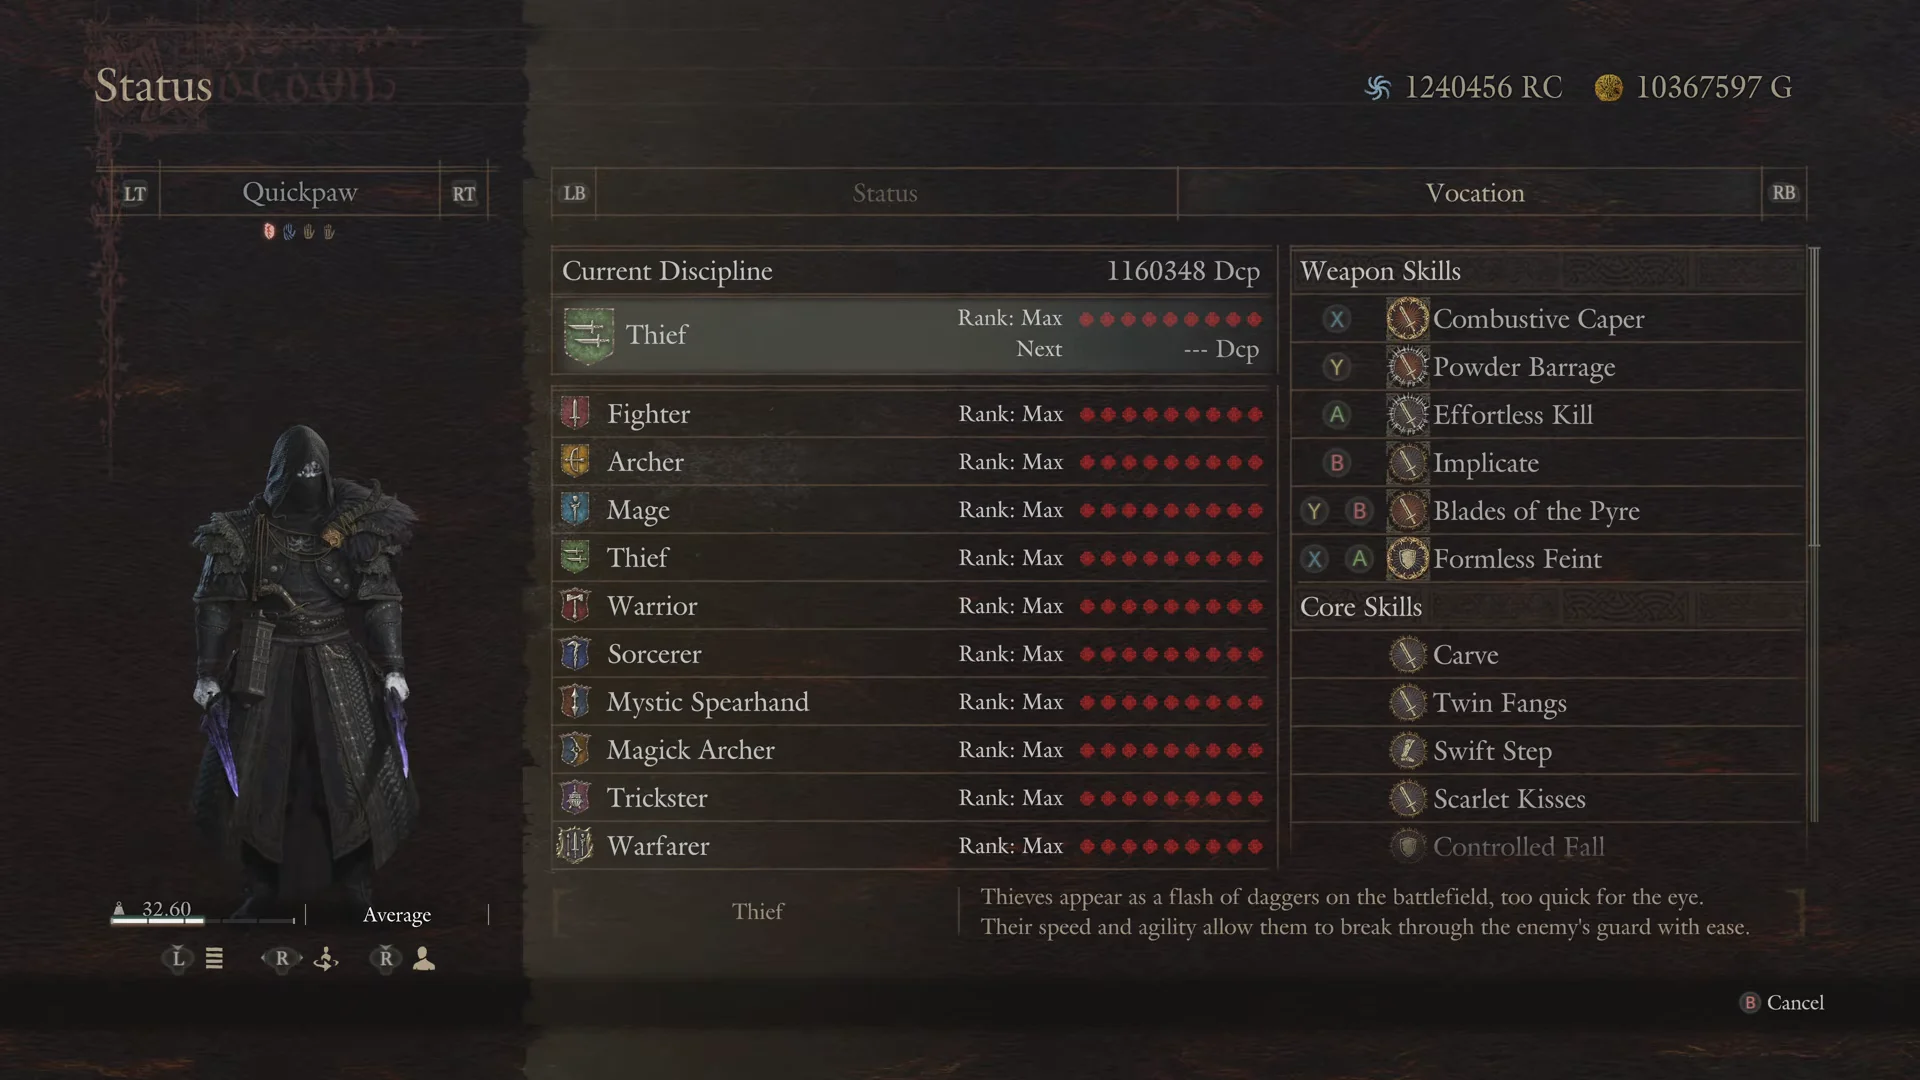
Thief weapon skill costs and upgrade paths
Several of the skills on the bar sit at the end of upgrade chains, and a few of them only exist as equipment special skills added in Dark Arisen rather than something you buy outright. Here is where each one comes from and what it costs in Discipline where a purchase price applies.
| Skill | Discipline cost | Vocation rank | Upgrade path |
|---|---|---|---|
| Ensnare | 450 | 3 | Upgrades to Implicate |
| Implicate | 2,000 | 7 | From Ensnare |
| Powder Blast | 1,600 | 6 | From Powder Charge; upgrades to Powder Barrage |
| Powder Barrage | Equipment special skill | — | From Powder Blast |
| Masterful Kill | 3,000 | 9 | From Easy Kill; upgrades to Effortless Kill |
| Effortless Kill | Equipment special skill | — | From Masterful Kill |
| Combustive Caper | Dark Arisen skill | — | Upgrades to Explosive Escapade |
| Shearing Wind | Equipment special skill | — | From Cutting Wind |
| Blades of the Pyre | Maister’s teaching | — | — |
| Formless Feint | Maister’s teaching | — | — |
The most-advanced skills such as Powder Barrage, Effortless Kill and Shearing Wind are obtained as equipment special skills with the second-level skill equipped, which is why they do not carry a flat Discipline price. Controlled Fall, one of the core skills on the bar, costs 250 Discipline and unlocks at Thief rank 2.
Augments and what they cost
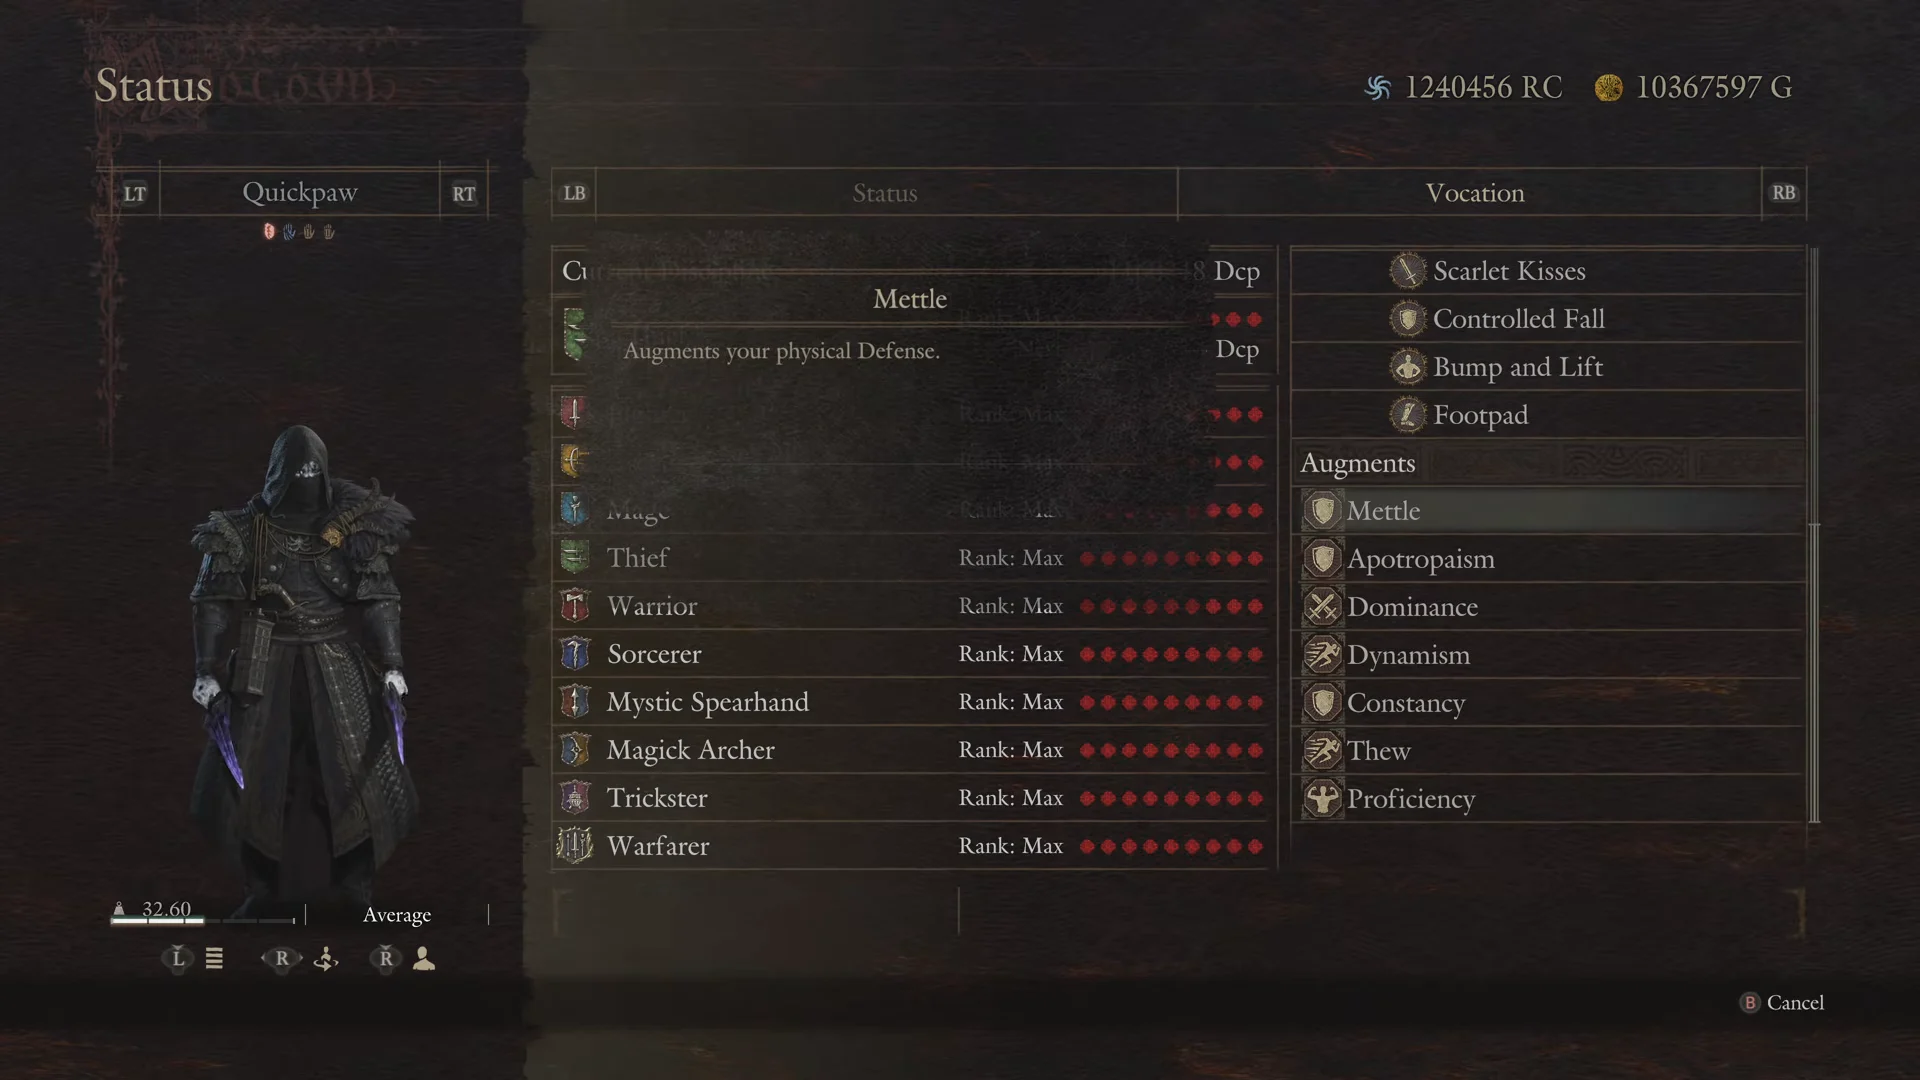
The augment slots pull from several vocations, so unlocking them all means ranking up classes beyond the Thief. The confirmed costs and effects are below. Apotropism and Proficiency are also slotted in the showcase, but no fixed figures apply to them here.
| Augment | Vocation | Rank | Effect |
|---|---|---|---|
| Mettle | Fighter | 2 | Physical Defense +45 / +30% |
| Thew | Fighter | 6 | Maximum weight +10 |
| Constancy | Sorcerer | 6 | Knockdown Resistance +30% |
| Dominance | Warrior | 8 | Knockdown Power +15% |
| Dynamism | Warfarer | 9 | Weight counts one class lighter for speed |
In Discipline, those run 300 for Mettle, 1,800 each for Thew and Constancy, 3,000 for Dominance, and 5,000 for Dynamism, the most expensive of the set.
Weapons, armor and rings
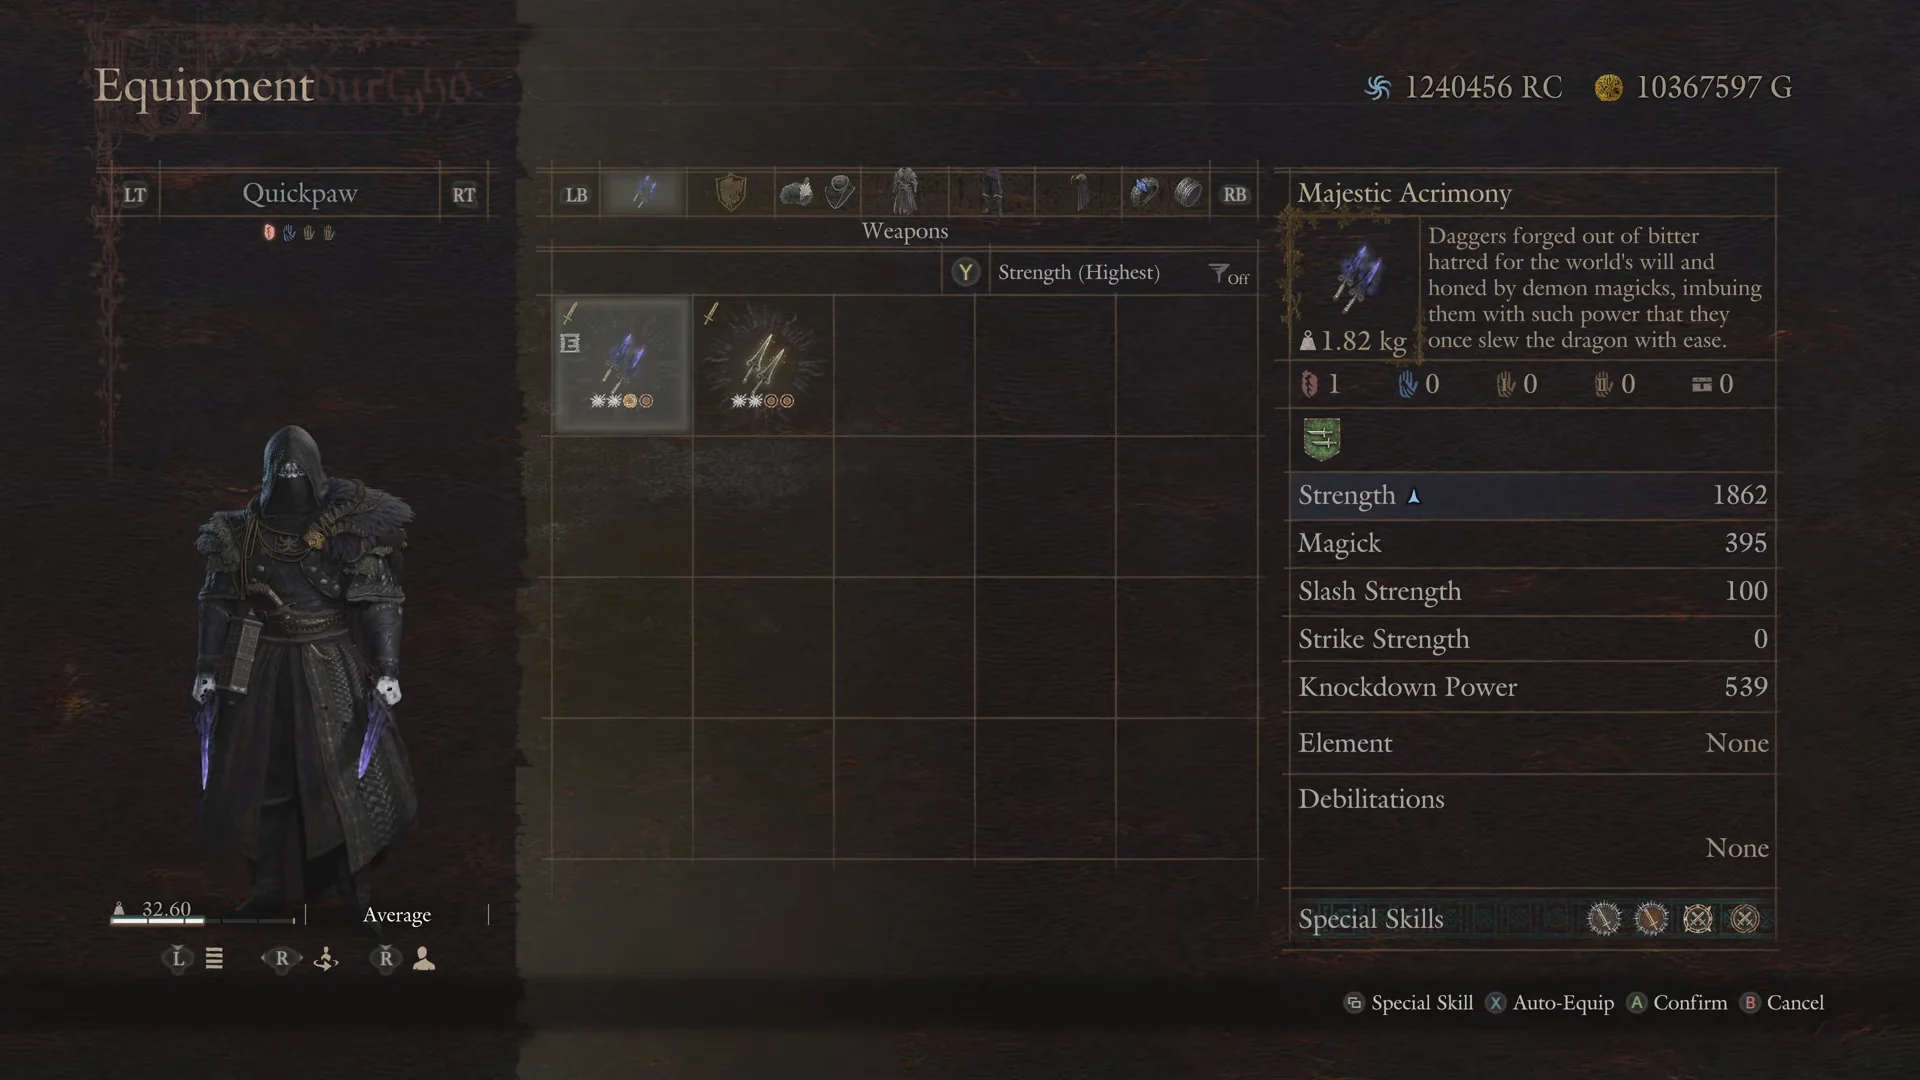
The daggers are Majestic Acrimony and Majestic Horns of Penemue, each carrying the special skills the build needs, including Effortless Kill, Powder Barrage and Shearing Wind. The armor is where the stamina loop lives. The Majestic Feathercrown of Folly head piece supplies Gigantis’s Vim, Adventurous Appetite and Carnivore, while the Majestic Shrinking Armor adds Climber’s Agility and Stamina Boost III.
For rings, the showcase runs Ring of Demonsbane and Ring of Rejuvenescence, and weighs up Ring of Audacity. Audacity zeroes out stamina cost on weapon skills, but it continuously drains health down to zero whenever you stop attacking, so Rejuvenescence is preferred to avoid dying by accident between fights.
Ring of Audacity’s health drain only matters in downtime; the trade-off is a free stamina discount while attacking against a constant risk the moment you stop.
Support pawns that feed the loop
Two Mage pawns provide support, and both focus on Celestial Paean and Argent Solace. Celestial Paean sends out a radiant surge that helps allies in its area recover Stamina faster and move more quickly, while lessening the damage they receive. Argent Solace sustains health recovery and increases Stamina regeneration temporarily. Combined, these skills give the Thief an almost limitless stamina reserve in combat.

How it holds up against Norgan’s bosses
Against the dragon Fimbl, the plan is to detonate Powder Barrage directly onto weak points to tear through its health gauges. Each blast chips away at a different section, and clinging to horns, heads or hearts lets you keep stacking them without moving into danger.
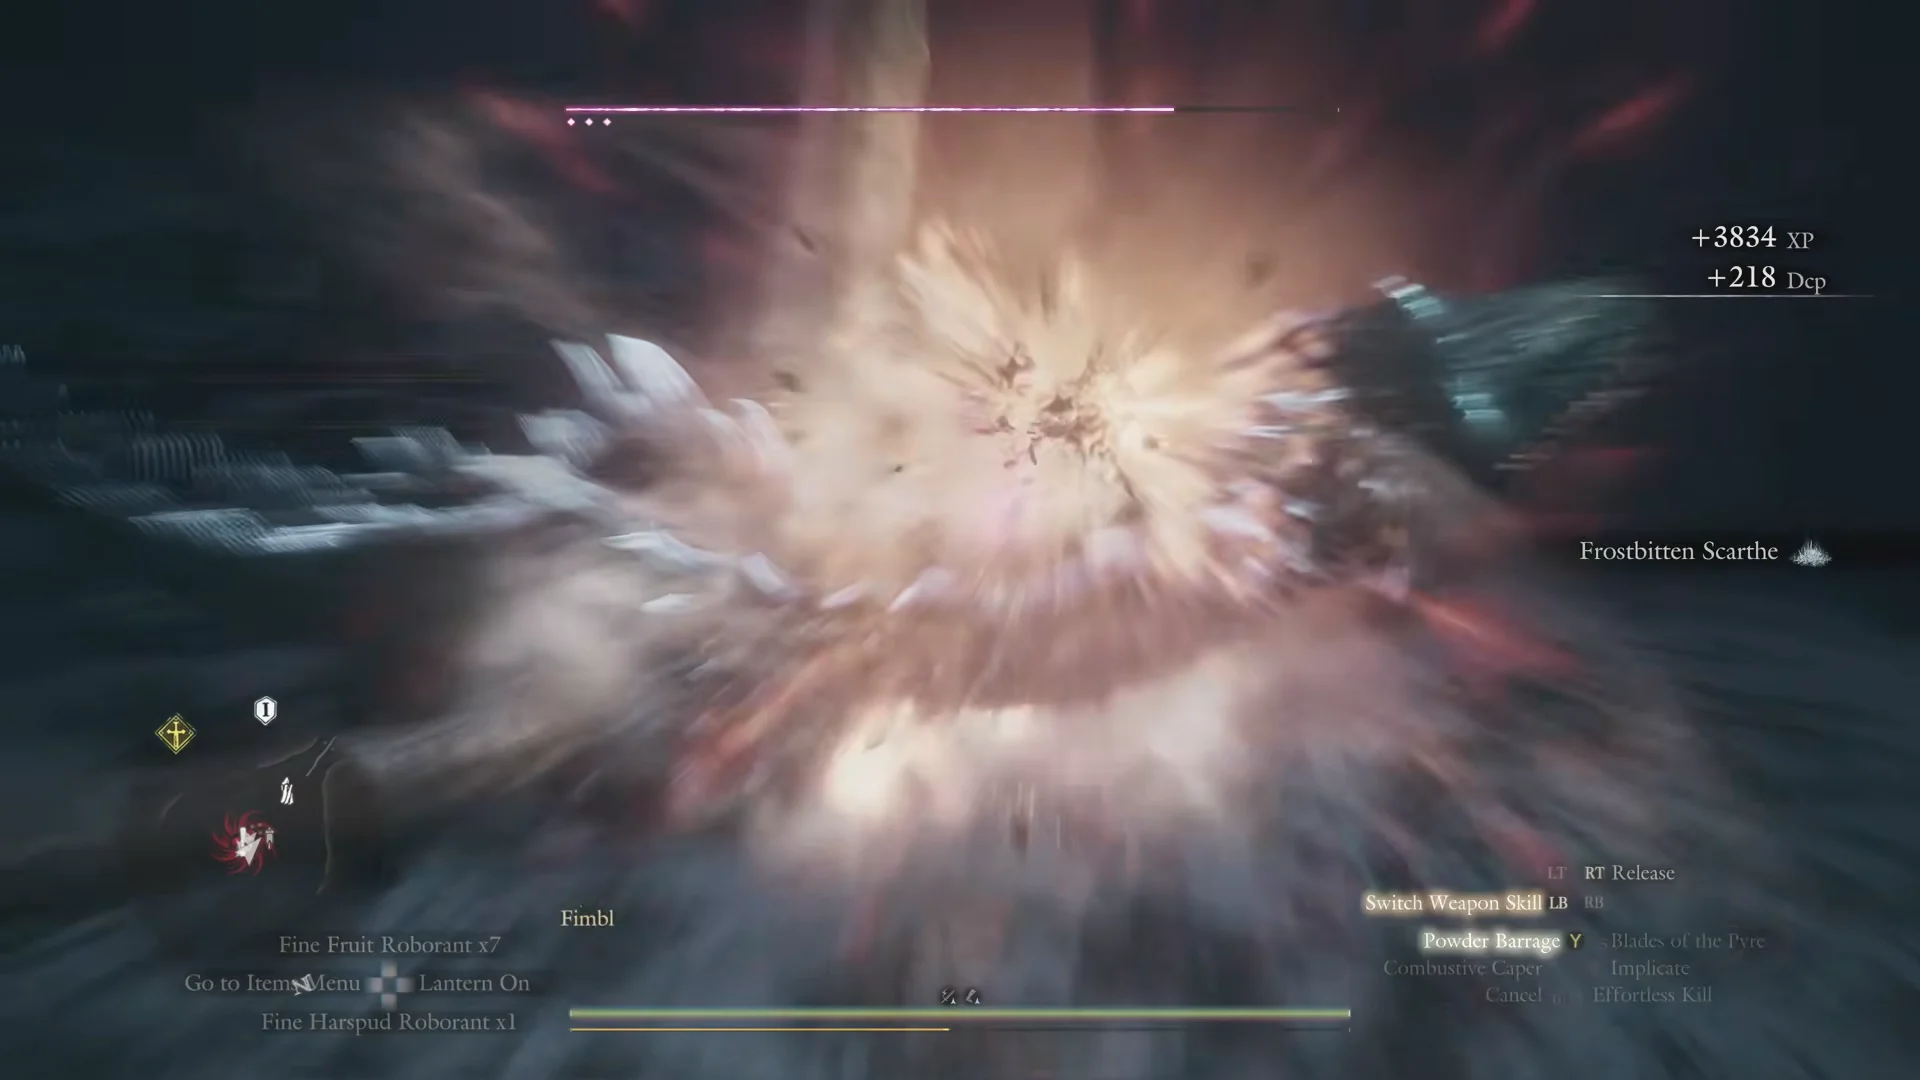
The winged endgame boss Satanachia plays out the same way. Latching onto its head and triggering Powder Barrage over and over, with Formless Feint keeping the character untouchable the entire time, is enough to grind the fight down safely. The combination of sustained damage and auto-evade is what pushes the Thief into the same conversation as the Warrior for endgame boss clearing.
All of this sits inside Dark Arisen’s late-game, where the frozen Norgan region and its tougher encounters give a build like this something worth pointing at. It is less a set of instructions than a demonstration of how far the Thief scales once Formless Feint, the meat loop and Powder Barrage are all working at once.