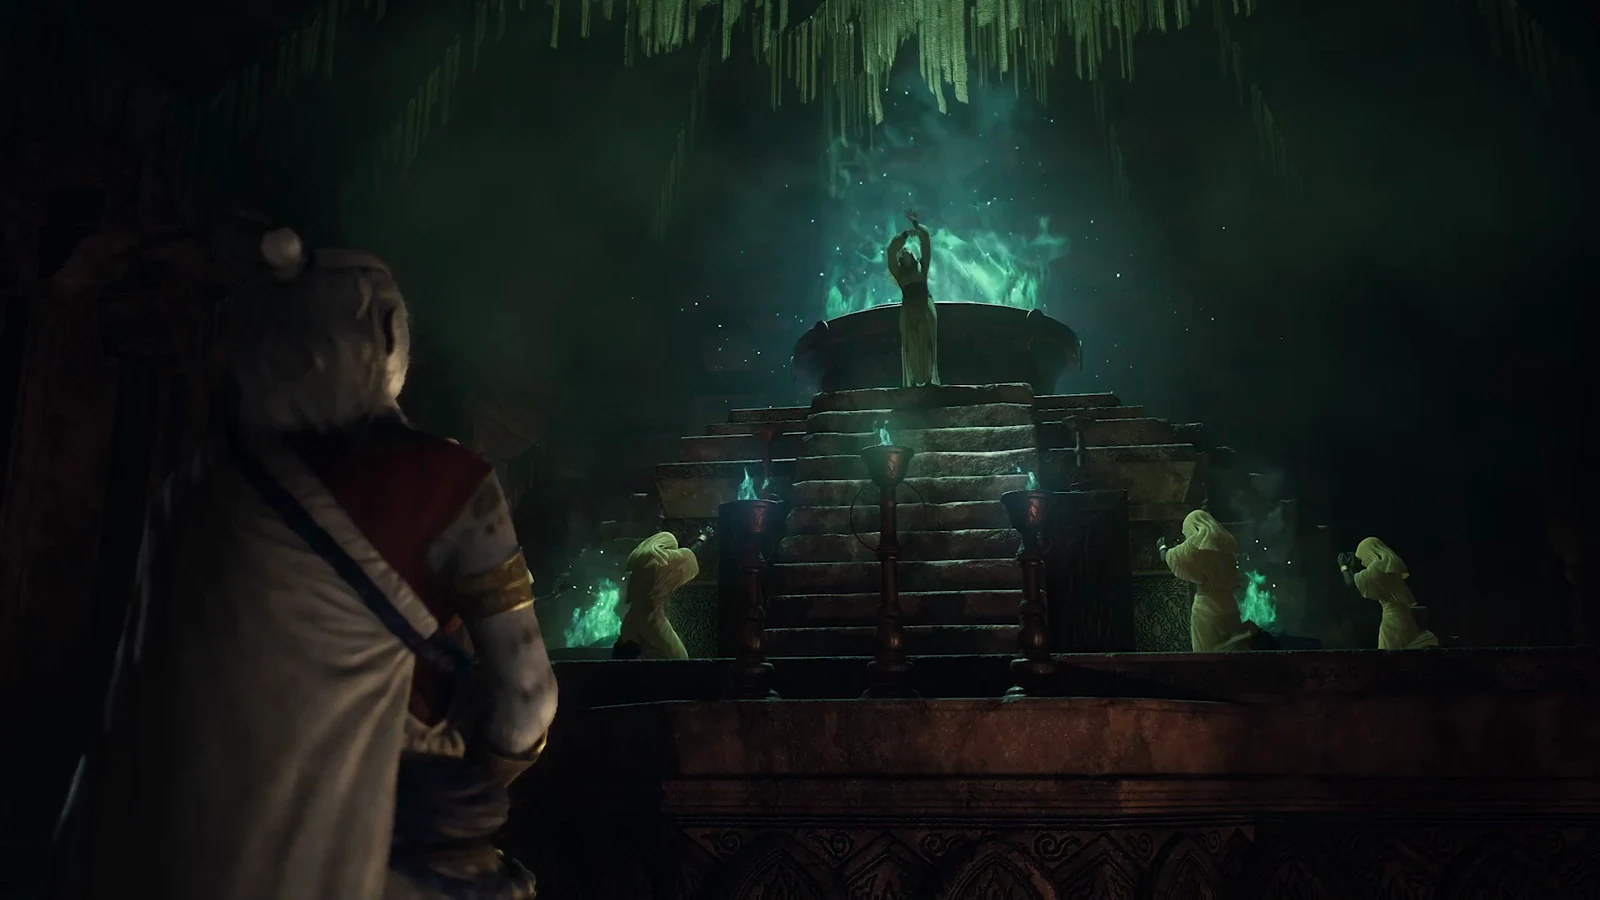
“Into Rancor” is the Forsaken Dominion main quest, triggered when you wake at the Norgandian Settlement and discover Norgan locked in Ruin-Night, an endless night. To stop it, retrieve the Blade of Rancor, unlock the sealed passage called Niflhel Opening, then descend into Niflhel Depth and defeat its occupant. The quest starts with a talk to Polyeidus and ends with a jump from a cliff.
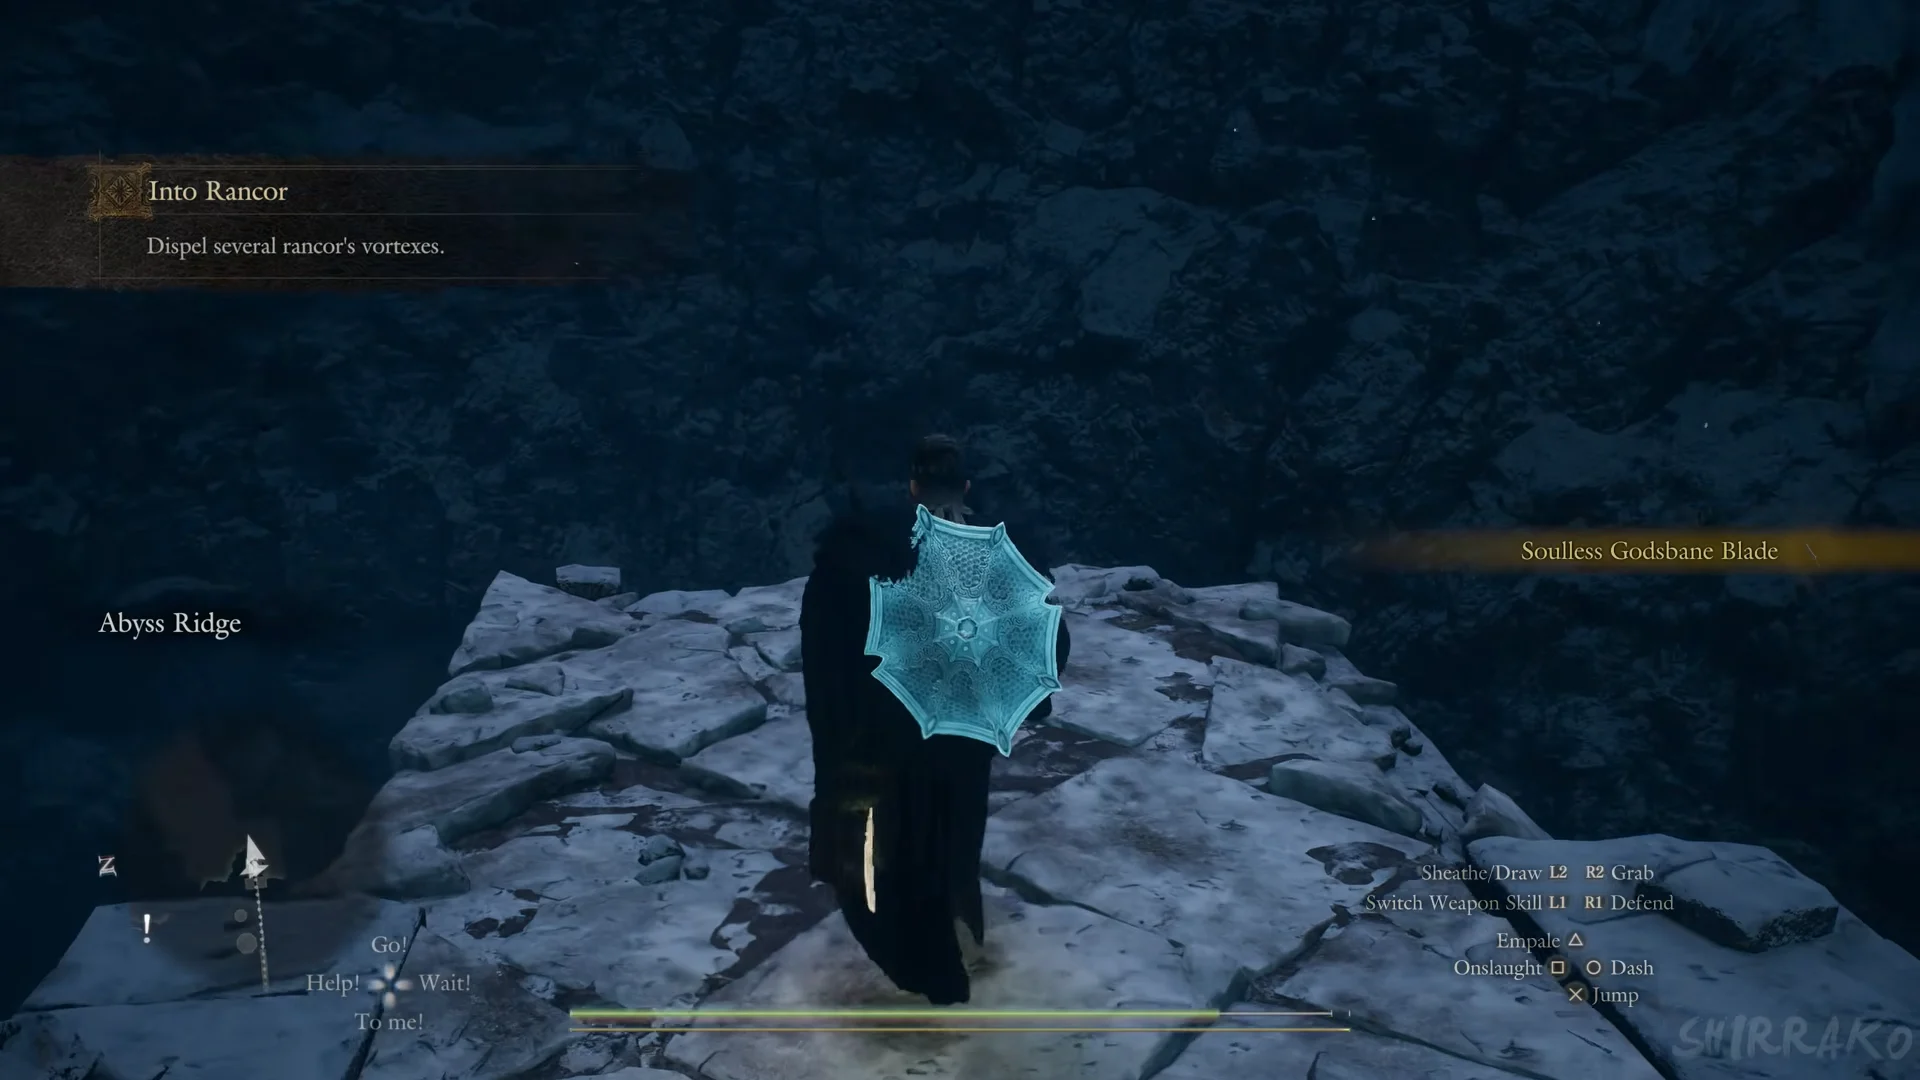
Quick answer: Take the Soulless Godsbane Blade from the Pathfinder at Abyss Ridge, use the Eye of the Sphinx to mark rancor’s vortexes and dispel them until “You acquired the Blade of Rancor.” appears, then return to Abyss Ridge, use the “Proffer the blade” prompt at the cliff edge, and jump into Niflhel.
What you need before starting Into Rancor
The quest appears on its own once the preceding quest “Reunion” (the Fallen Dragon fight) completes. There is nothing to pick up to start it. Before you head out, make sure you have the following.
- The Eye of the Sphinx is the tool you received from the Sphinx during the earlier Norgan story. It reveals vortex locations on your map.
- A Ferrystone and Portcrystals to cut the walking. The route below leans on “Norgan Portcrystal: Castletown Campground”, plus the Portcrystals at the Norgandian Settlement, Rivercave Campground and Northwall Campground.
- Curatives, Wakestones and any buff items. Each vortex throws several large monsters at you in a row.
- A party that can grind through back-to-back fights. A sword-and-shield Fighter around Lv. 117 with three pawns near Lv. 114 clears the route comfortably.
Reach Abyss Ridge and claim the Soulless Godsbane Blade
Dispel rancor’s vortexes to fill the blade
The quest log shows “No Destination” for this stage, so it never marks the vortexes for you. You have to find them yourself with the Eye of the Sphinx.
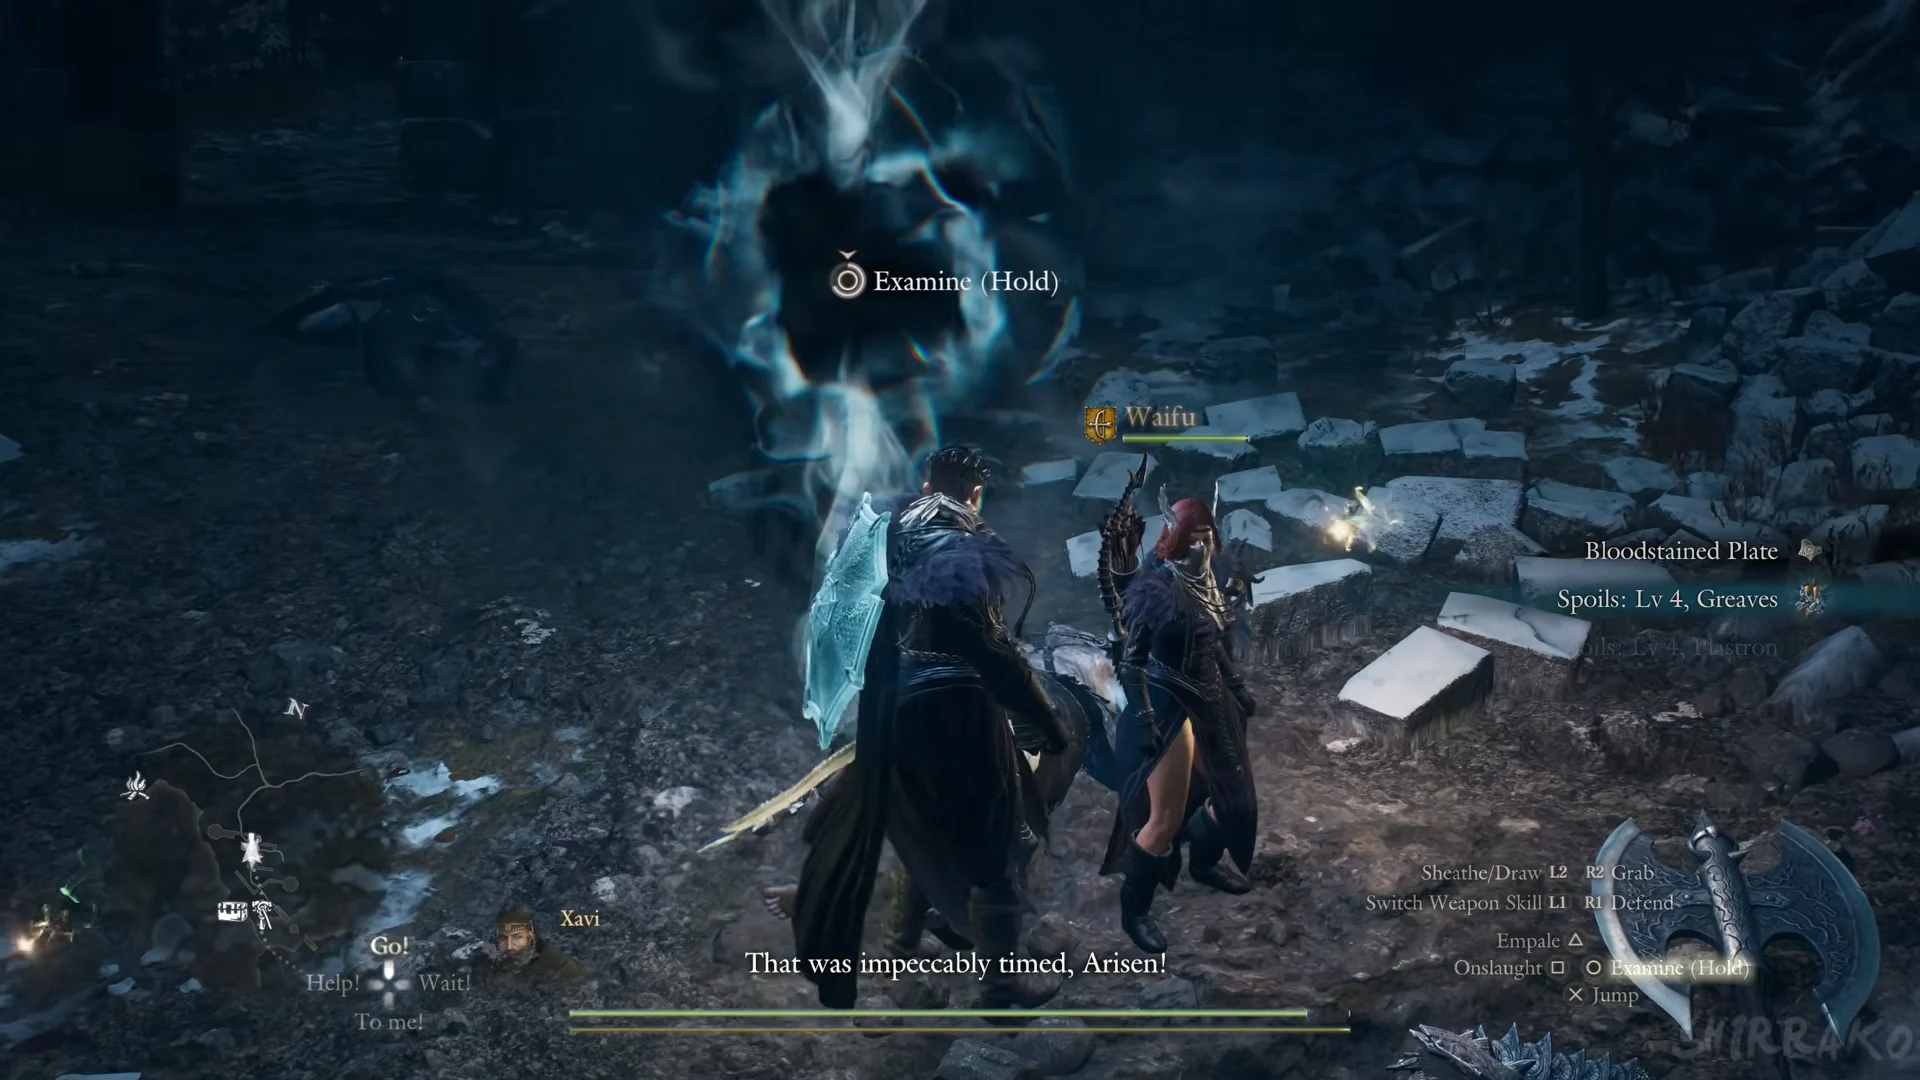
The objective requires only “several” vortexes. Four were sufficient to finish the blade on this run; the quest records progress after each of the first three, then after the last one.
Four vortexes that work well, in order, with how to reach each:
- Lake Norgan — Start at the Norgandian Settlement Portcrystal, pass through Valgr Ravine and reach Lake Norgan. From there, climb a rope on the rock face to enter a ruin.
- Beorcan Stronghold — Find it among the snowy ruins outside; its map label is Beorcan Stronghold 1F.
- Rivercave Campground — From “Norgan Portcrystal: Rivercave Campground”, head downhill; the vortex is nearby.
- Northwall Campground — Follow the forest trail for roughly a minute from “Norgan Portcrystal: Northwall Campground”.
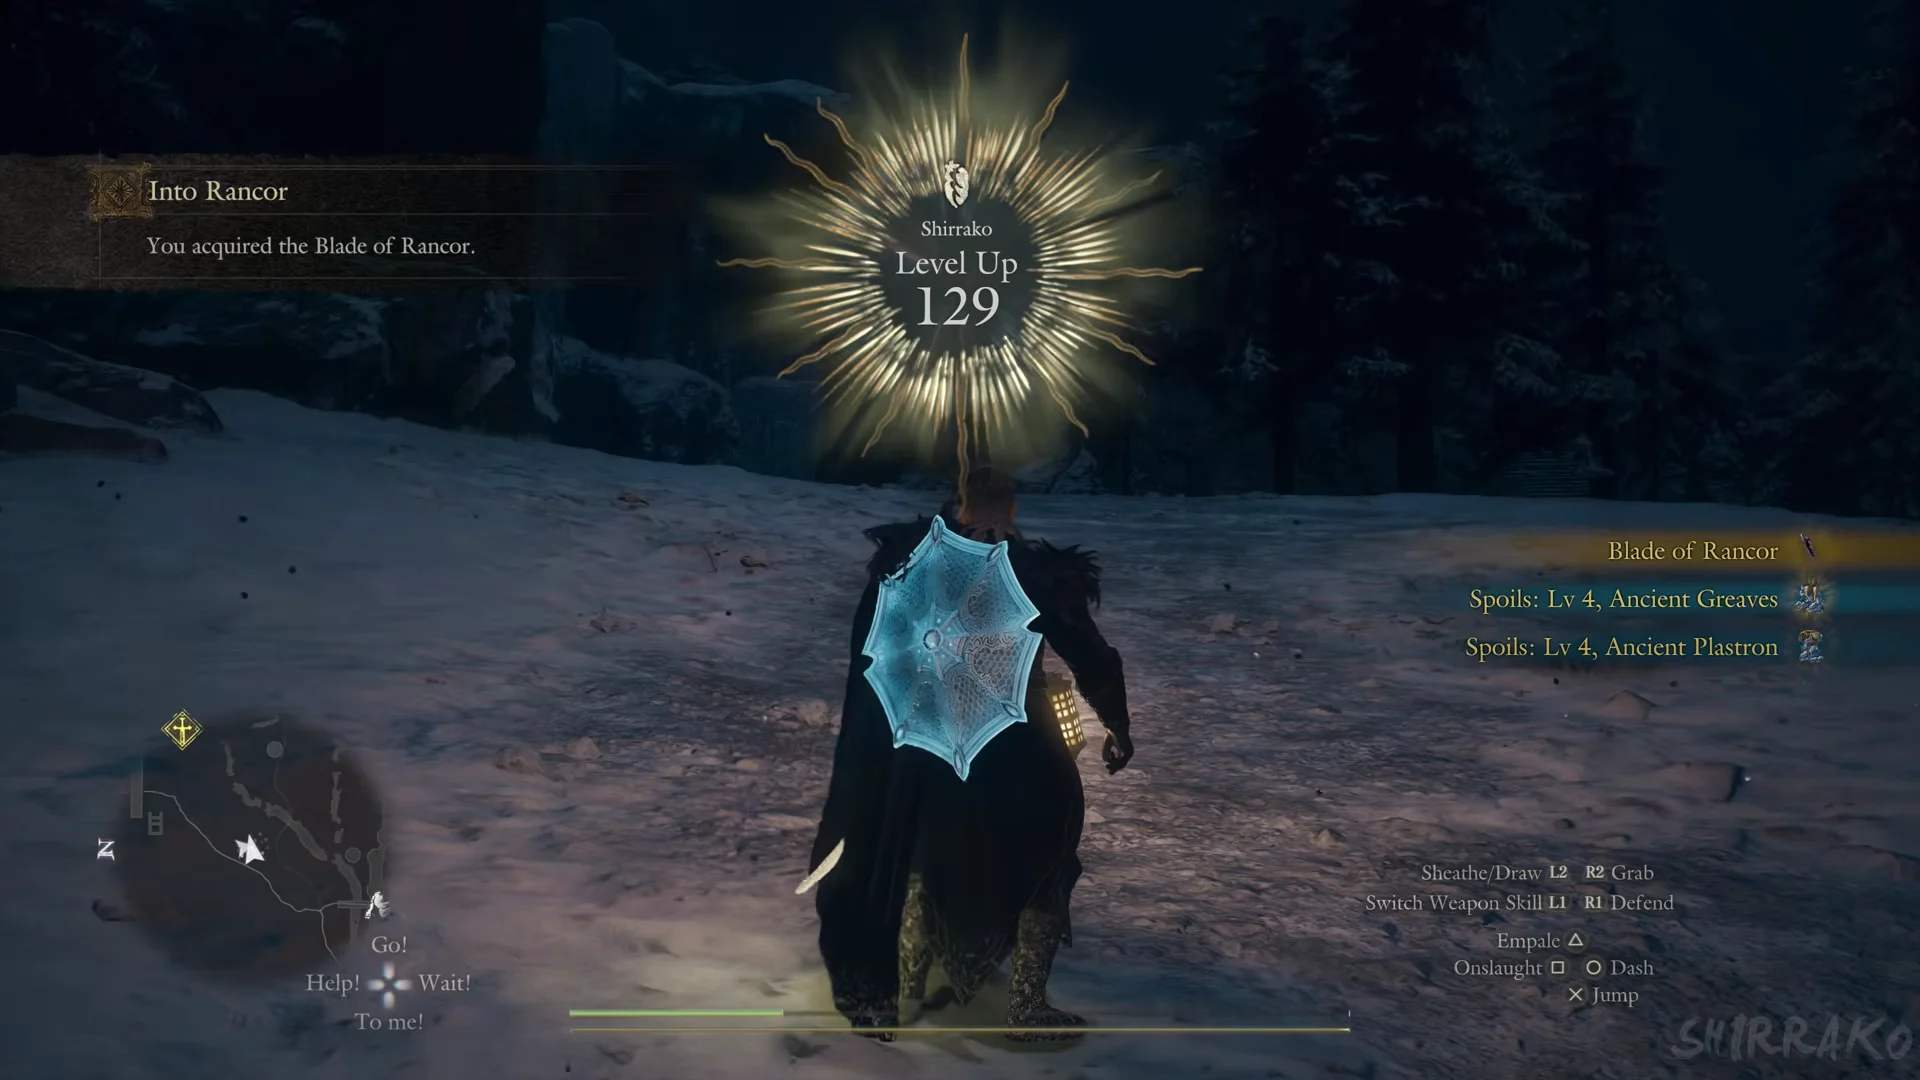
The lines the quest shows track your progress. After the first, “The Godsbane absorbed the power of rancor.” After the second, “The Godsbane has begun to fill with rancor.” After the third, “The Godsbane is nearly replete with rancor.” After the fourth, a pillar of light strikes down at Abyss Ridge and the game reads “You acquired the Blade of Rancor.” Expect a large chunk of experience across the set; an Arisen who starts the first vortex at Lv. 117 is Lv. 129 by the time the blade is complete.
Open Niflhel and face Satanachia
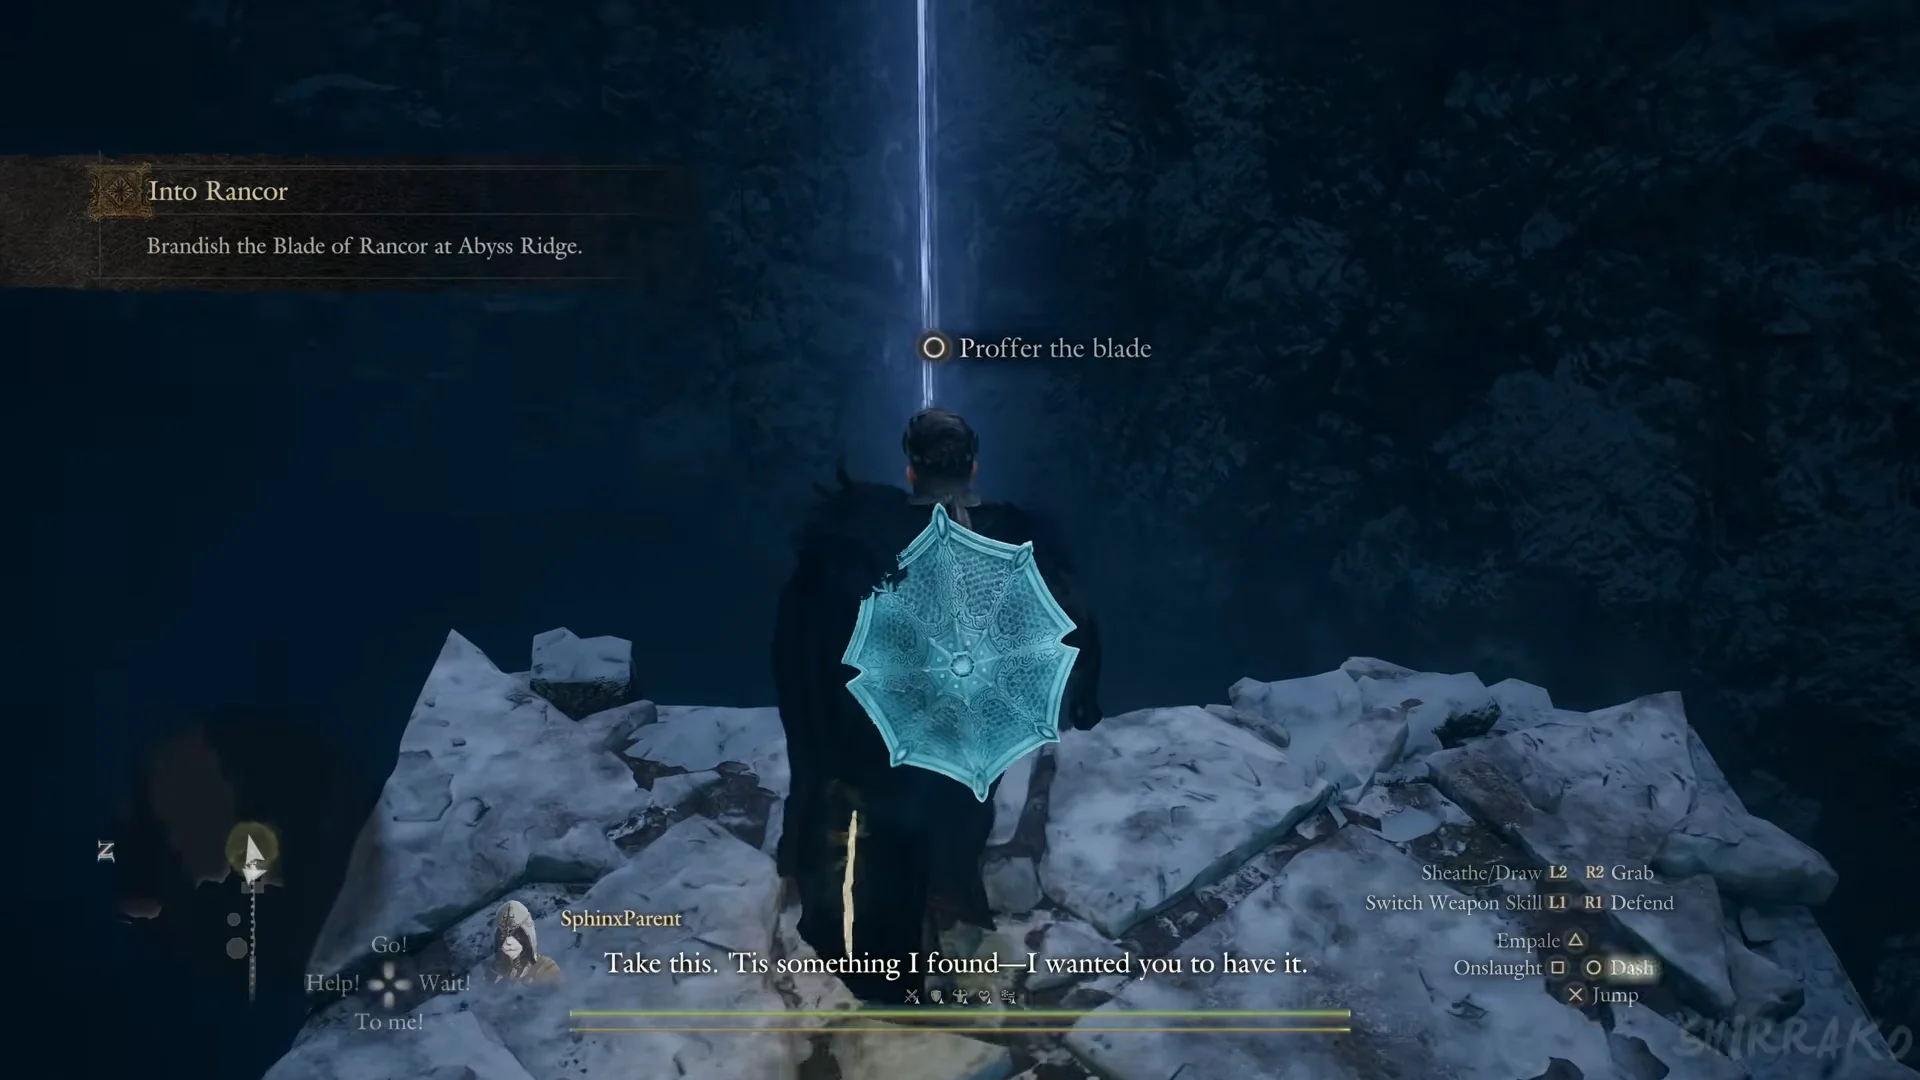
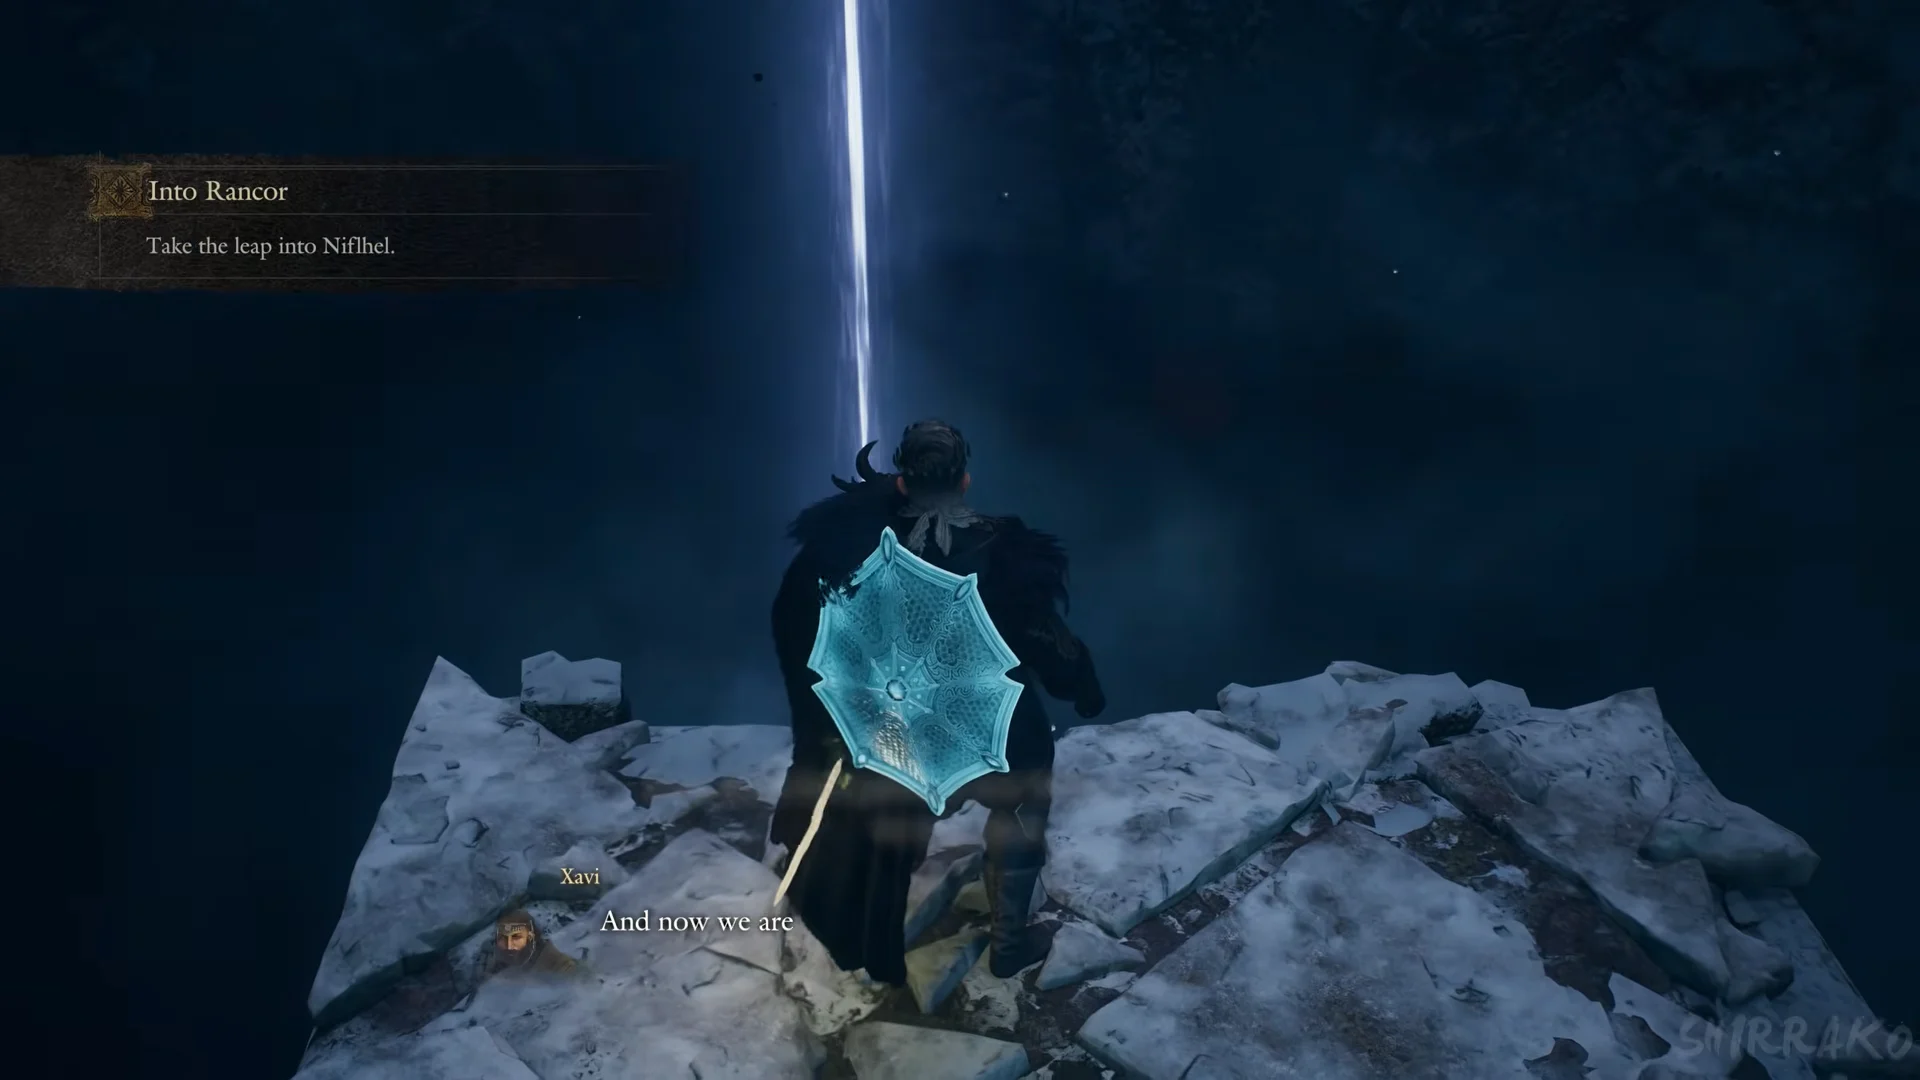
Prepare before you jump. Stock curatives, Wakestones and any buffs you want active, because the boss fight starts as soon as the landing scene ends.
The foe in Niflhel Depth is Satanachia, a winged demon with horns. Expect a lengthy battle against a health bar packed with pips, so bring Wakestones. Victory triggers “You felled Satanachia.” and finishes the quest.
Into Rancor rewards and keeping the Blade of Rancor
Completing the quest pays out 500,000 XP, 100,000 G and 15,000 RC, along with Lv 5 spoils that include Ancient Helm, Ancient Bowstaff and Ancient Light Weaponry. You wake in an inn room and a tutorial titled “The Blade of Rancor” opens.
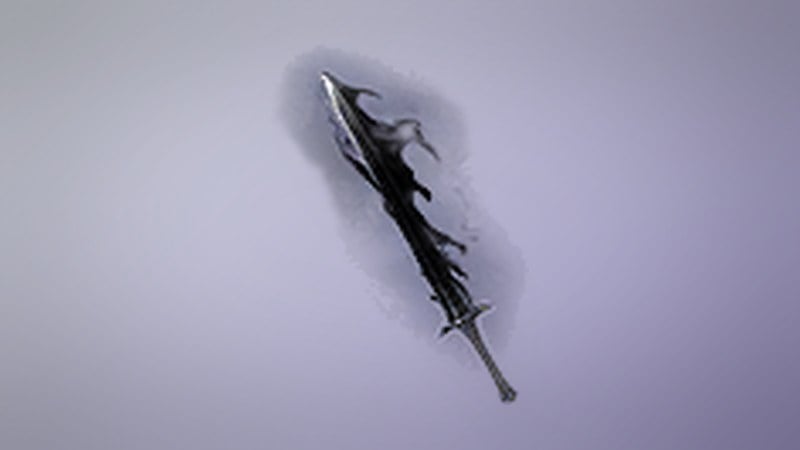
The blade remains in your inventory. Wielding it again at Abyss Ridge returns Norgan to Ruin-Night and brings rancor’s vortexes back across the land, allowing another attempt against the wicked power. After doing this, the only way to end the night is to leap into Niflhel and win once more.
Where Into Rancor sits in the Forsaken Dominion chain
Into Rancor sits near the end of the Norgan storyline. “Soul Searching” branches into both “Reunion” and “Into Rancor”, and the completion of “Reunion” is what makes Into Rancor appear on its own. Two side quests also open off “Reunion”, so it helps to know their requirements and payouts while you work through this stretch.
| Quest | Type | Requires | Rewards |
|---|---|---|---|
| Soul Searching | Forsaken Dominion main | Sealed History | 35,000 G, up to 240,000 XP, 3,000 RC |
| Into Rancor | Forsaken Dominion main | Reunion | 100,000 G, 500,000 XP, 15,000 RC |
| A Keepsake, for Your Sake | Forsaken Dominion side | Reunion | 80,000 XP, 3,000 RC, plus item |
| Beyond Ruin-Night | Forsaken Dominion side | Reunion | 100,000 XP, 8,000 RC |
With the blade in hand and the path to Niflhel Depth open, the only thing standing between you and the end of Ruin-Night is Satanachia. Go in topped up, keep climbing and chipping at the bar, and the night lifts the moment the wicked power falls.