The Molten Gauntlet, Seafloor Sepulcher, and Final Proving Ground are the three Lost Rites trials that belong to the Unmoored World in Dragon’s Dogma 2: Dark Arisen. They are trials 10, 11, and 12, and their map icons only ever appear in the Unmoored World. All three stand on the floor of the strait between Vermund and Battahl.
Quick answer: In the Unmoored World, carry the Empowered Godsbane Blade and Examine each seabed rune door. The Final Proving Ground opens only after you clear both the Molten Gauntlet and the Seafloor Sepulcher.
Where the three entrances stand
The three entrances lie beneath the former waterline on the strait floor separating Vermund from Battahl.
- Molten Gauntlet: on the seabed in the western part of the strait.
- Seafloor Sepulcher: Find it on the strait floor close to the Seafloor Shrine.
- Final Proving Ground: It is also on the strait floor, close to the Seafloor Shrine.
Before the sea recedes, only the top of a carved stone arch protrudes from a rocky mound at the Molten Gauntlet and Seafloor Sepulcher sites. In the ordinary world, moving the cursor with the Proving Ground Compass skips all three on the map.
What the doors look like
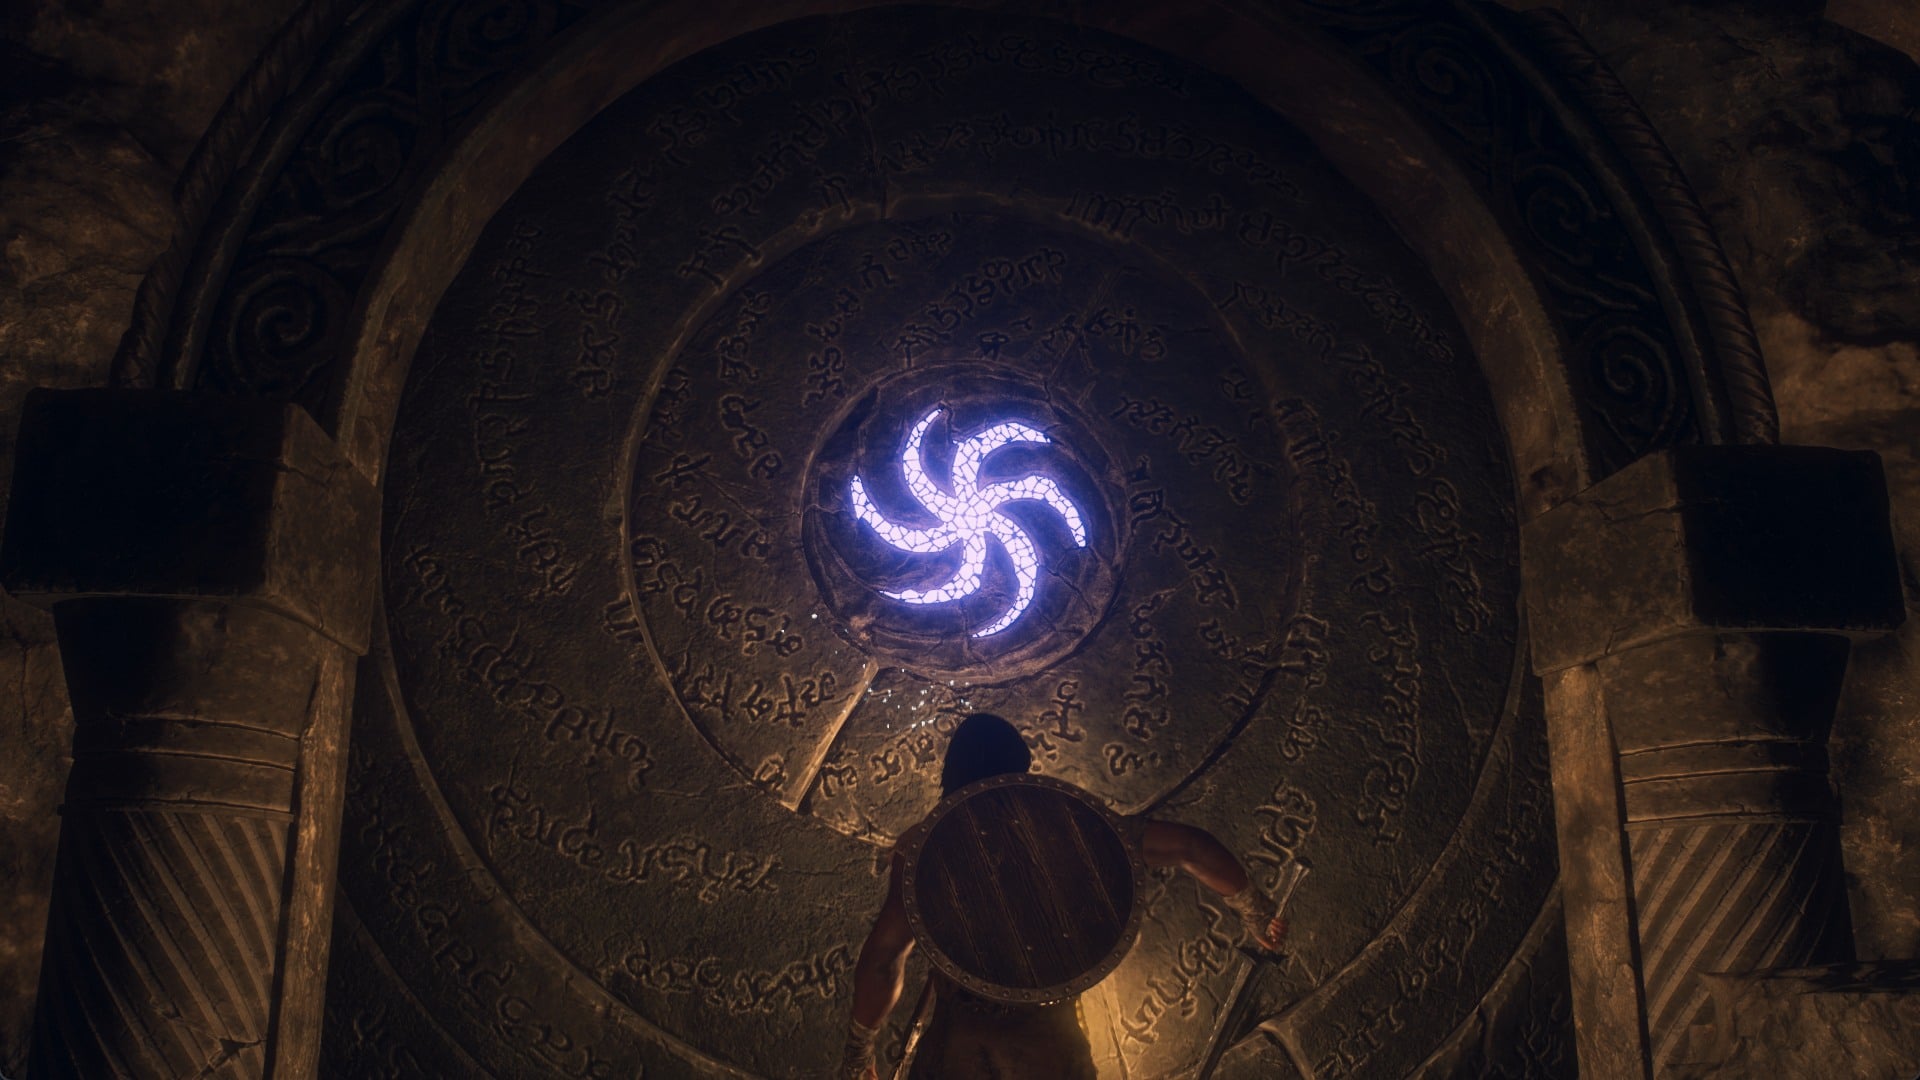
A pair of carved pillars frames each sealed circular stone gate, whose surface bears concentric rune bands and a small spiral mark in the middle. Approaching it gives the Examine prompt. Carry the Empowered Godsbane Blade and the spiral shines white-blue, signaling that the gate can be activated.
How to open the Molten Gauntlet and Seafloor Sepulcher
These two use the same rule. Their door does not ask you to beat another trial first; it asks for an item, and the Empowered Godsbane Blade is that item.
The main story gives you the Empowered Godsbane Blade before the world becomes the Unmoored World.
How to open the Final Proving Ground
The Final Proving Ground has an identical circular rune gate, and its mark gives off the same white-blue glow when you carry the Empowered Godsbane Blade. Its requirement is different, and the gate spells it out when you Examine it.
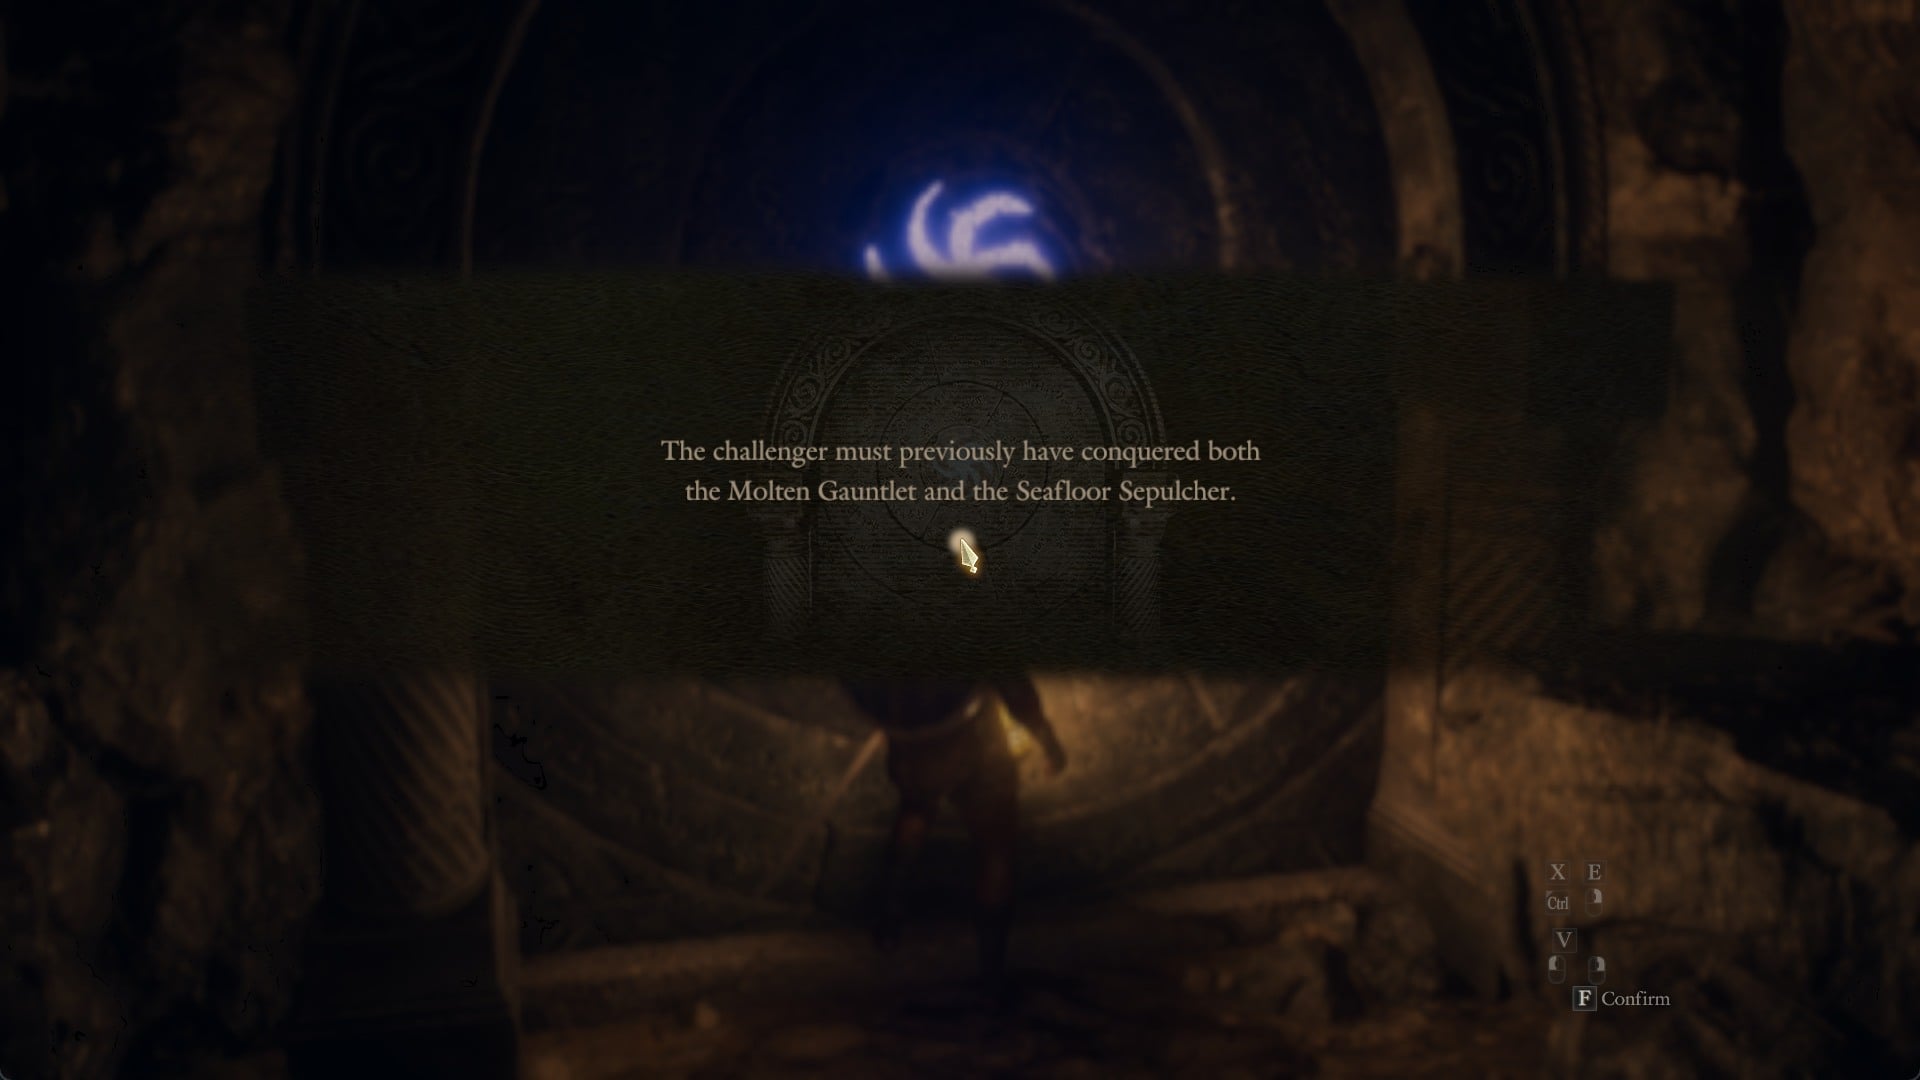
“The challenger must previously have conquered both the Molten Gauntlet and the Seafloor Sepulcher.”
Selecting Examine displays the condition and a Confirm prompt. Confirming without either trial completed leaves the gate closed. Finish the Molten Gauntlet and the Seafloor Sepulcher once apiece, then return; the gate will open.
What you walk into first
Each door opens straight onto the start of its trial.
Molten Gauntlet
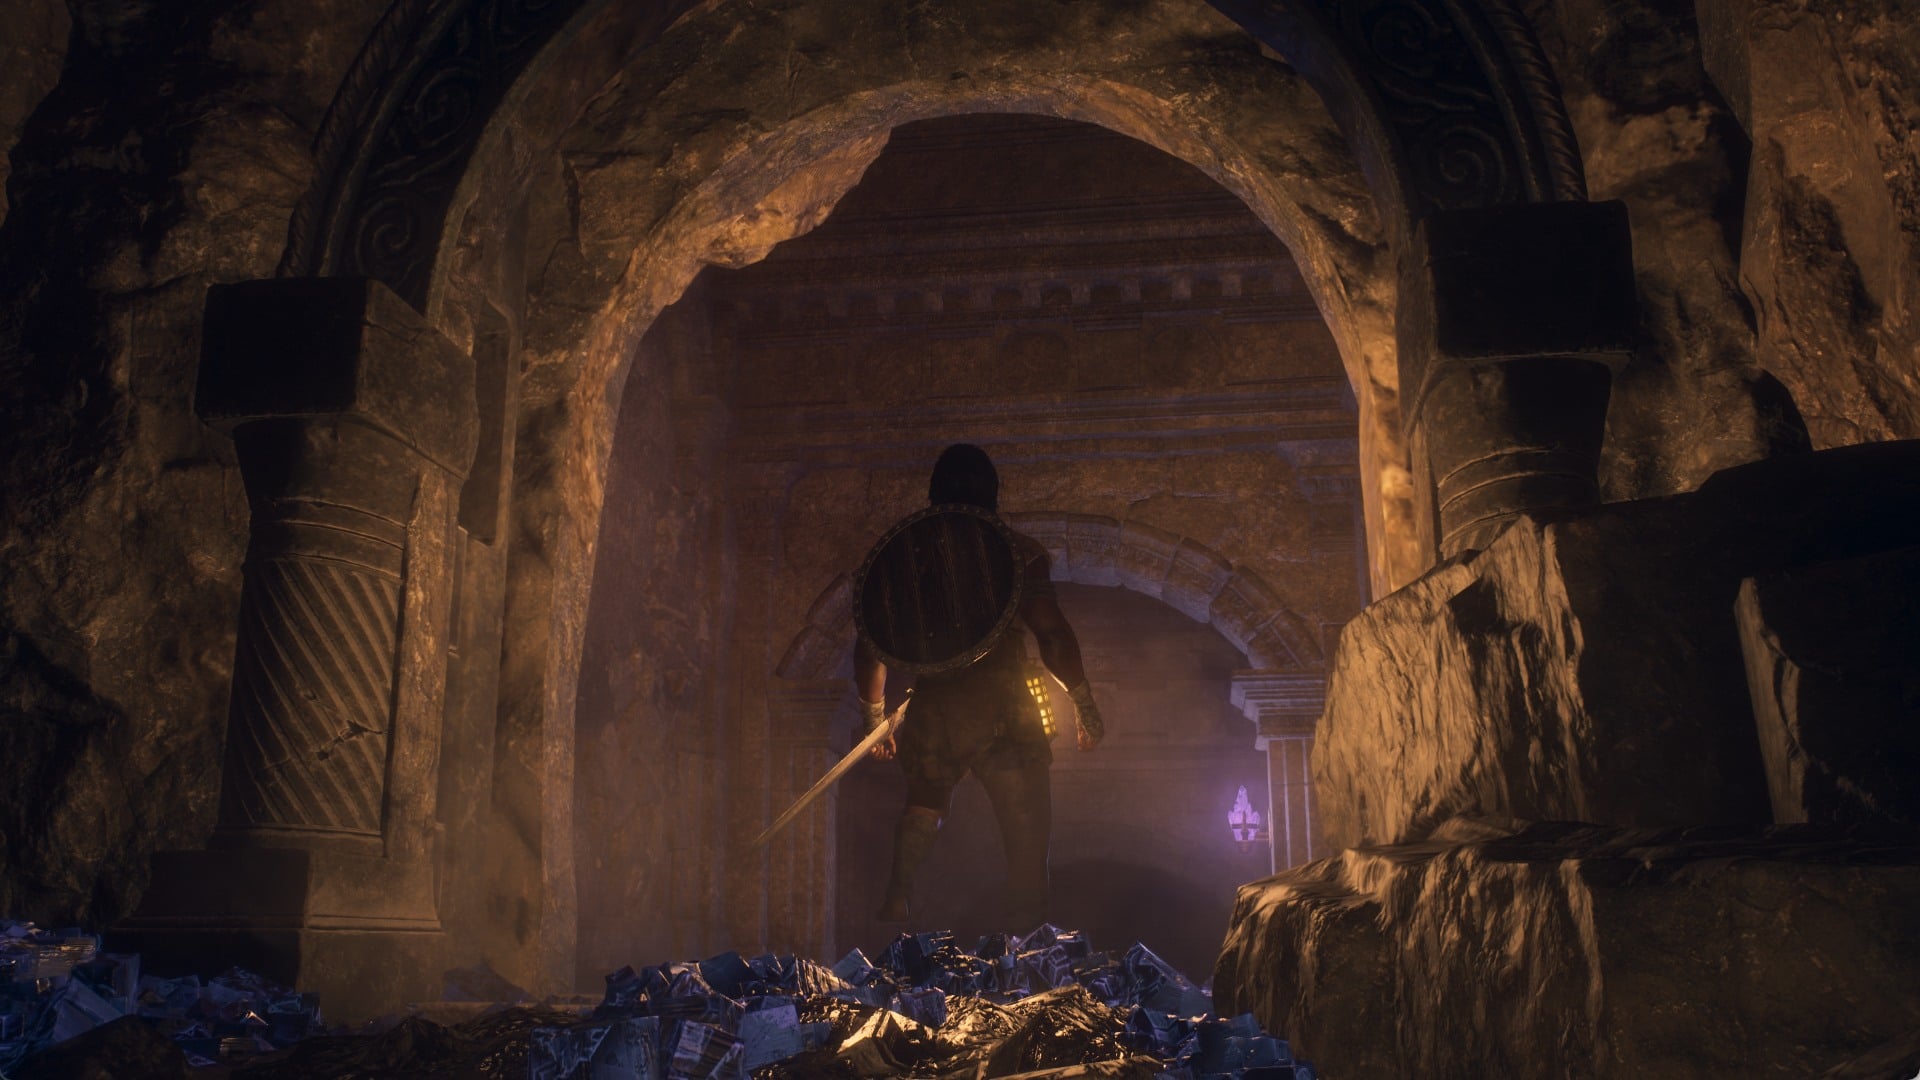
Inside is a stone hall furnished with braziers and statues. In its first stretch, three green-knobbed levers are mounted on the walls beneath statue niches, and each offers Use. Skeleton, Ooze, Sludge, Rattler, and Magma Scale are among the foes near the entrance.
Seafloor Sepulcher
Fallen pillars and violet crystals line a passage that descends to a grated floor illuminated by blue lamps. Skeleton, Venin Harpy, and Gore Harpy are among the enemies near the entrance.
Final Proving Ground
Near the entrance you may run into Ooze, Magma Scale, and Serpent.
Where these three sit in the Lost Rites order
To begin Lost Rites, visit Captain Brant at Vernworth’s Stardrop Inn at night and select “About the uncovered ruins…”. Devilkin Hollow is the first trial and awards the Proving Ground Compass, which marks the trials on your map.
| Proving ground | Trial | Map icon shown |
|---|---|---|
| Devilkin Hollow | 1 | Ordinary and Unmoored World |
| Daemons’ Corral | 2 | Ordinary and Unmoored World |
| Sunken Spire | 3 | Ordinary and Unmoored World |
| Interminable Corridor | 4 | Ordinary and Unmoored World |
| Wyrmsblood Arena | 5 | Ordinary and Unmoored World |
| Precipitous Catacombs | 6 | Ordinary and Unmoored World |
| Mired Conduit | 7 | Ordinary and Unmoored World |
| Embersand Mine | 8 | Ordinary and Unmoored World |
| Shrouded Warren | 9 | Ordinary and Unmoored World |
| Molten Gauntlet | 10 | Unmoored World only |
| Seafloor Sepulcher | 11 | Unmoored World only |
| Final Proving Ground | 12 | Unmoored World only |
With the sea drained and the Empowered Godsbane Blade on hand, the Molten Gauntlet and Seafloor Sepulcher are a short walk and a single Examine each. Clear both Molten Gauntlet and Seafloor Sepulcher to meet the Final Proving Ground door’s condition; it is on the seabed near the Seafloor Shrine.