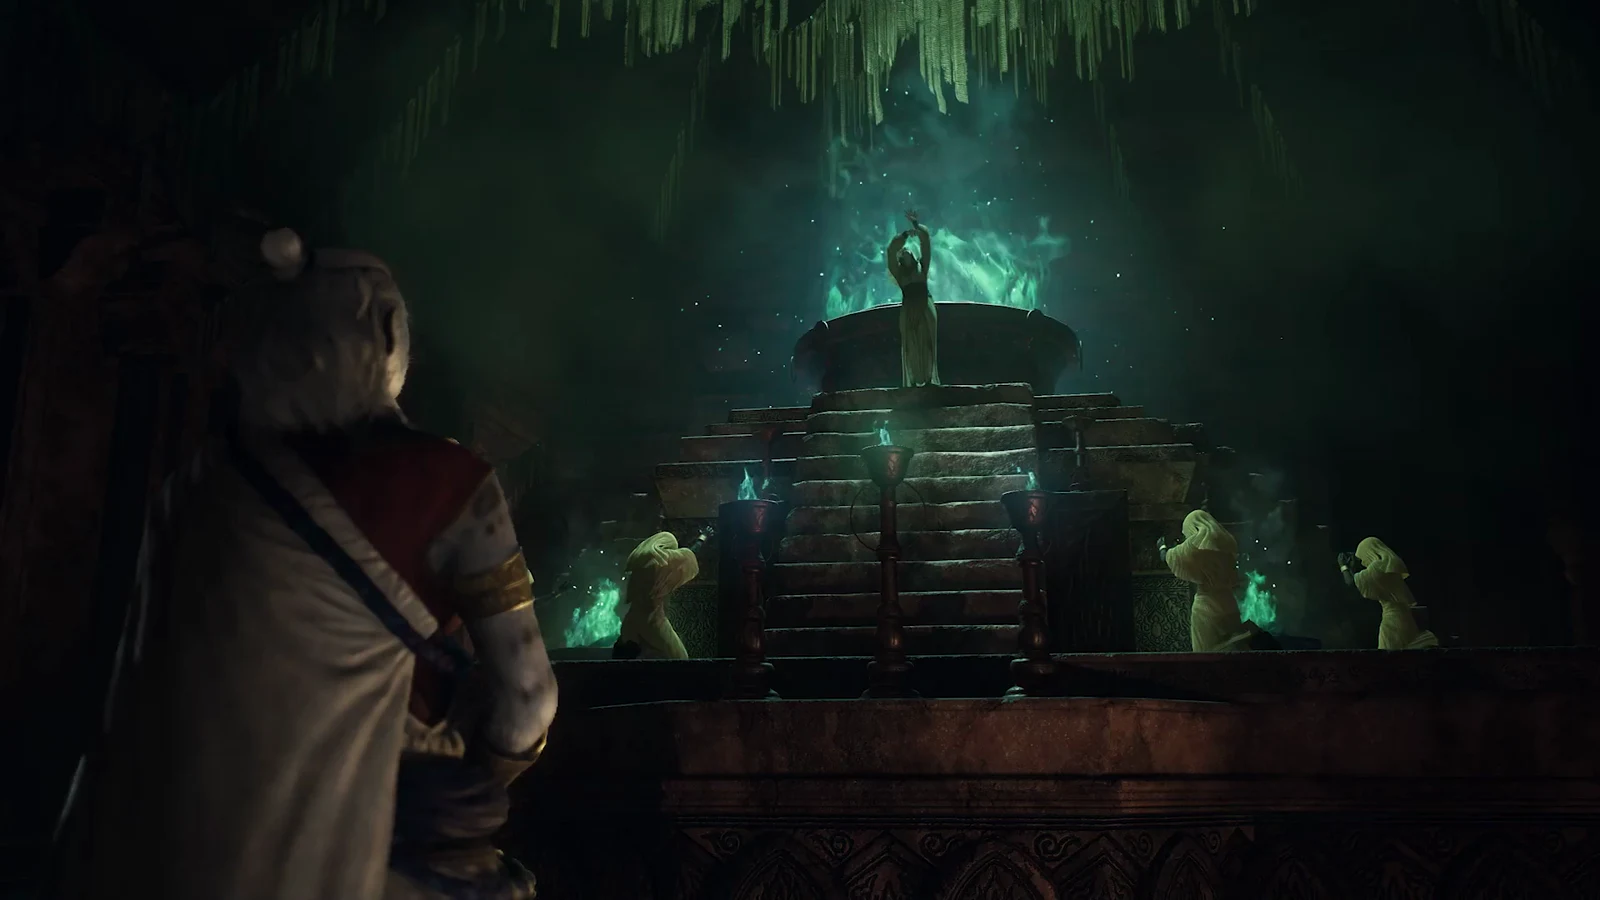
The Lost Rites quest sends you to the first of the repeatable challenge dungeons added in Dragon’s Dogma 2: Dark Arisen. It begins in Vernworth and ends inside Devilkin Hollow, a sealed-off chamber hidden within Darkhorde Cave in northern Vermund. Clearing it hands you the key item that reveals every other Lost Rite on the map.
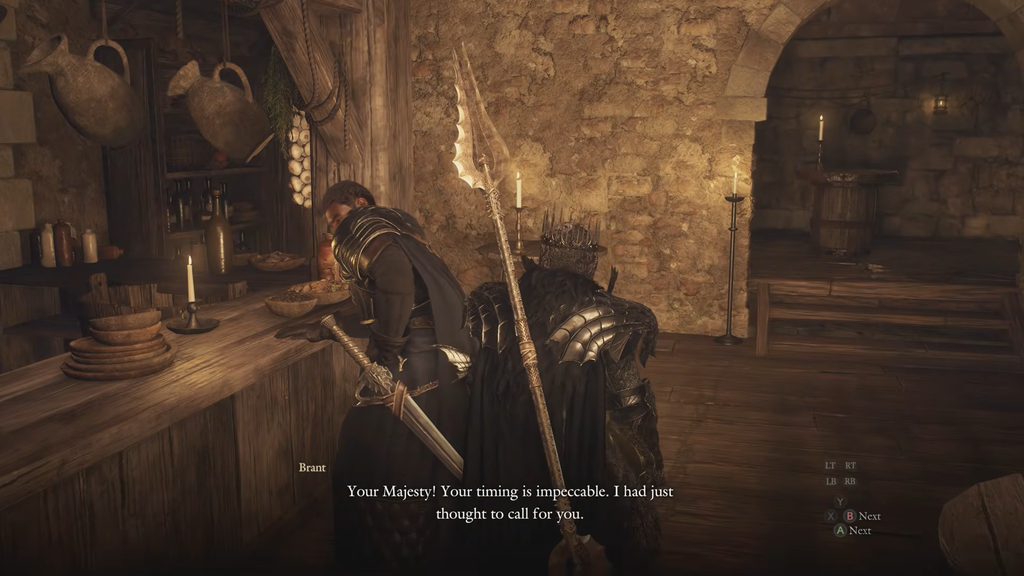
Quick answer: Visit Captain Brant at The Stardrop Inn after dark and choose “About the uncovered ruins…”. Next, head to Darkhorde Cave, southwest of Malachite Forest, and finish Devilkin Hollow to earn the Proving Grounds Compass.
Requirements before you start
You only need a couple of things in place before the quest will open up. The recommended level is 20, which also reflects how tough the enemies inside play.
- Access to the Dark Arisen content on your save.
- A visit to Vernworth, where Captain Brant is found.
- Nighttime, since Brant only offers the quest dialogue after dark.
Devilkin Hollow has no trial conditions, unlike later Lost Rites dungeons that restrict weight, vocations, or party size. Any vocation works here, so there is no gear or class lock standing between you and the entrance.
Start the Lost Rites quest with Captain Brant
How to reach Devilkin Hollow in Darkhorde Cave
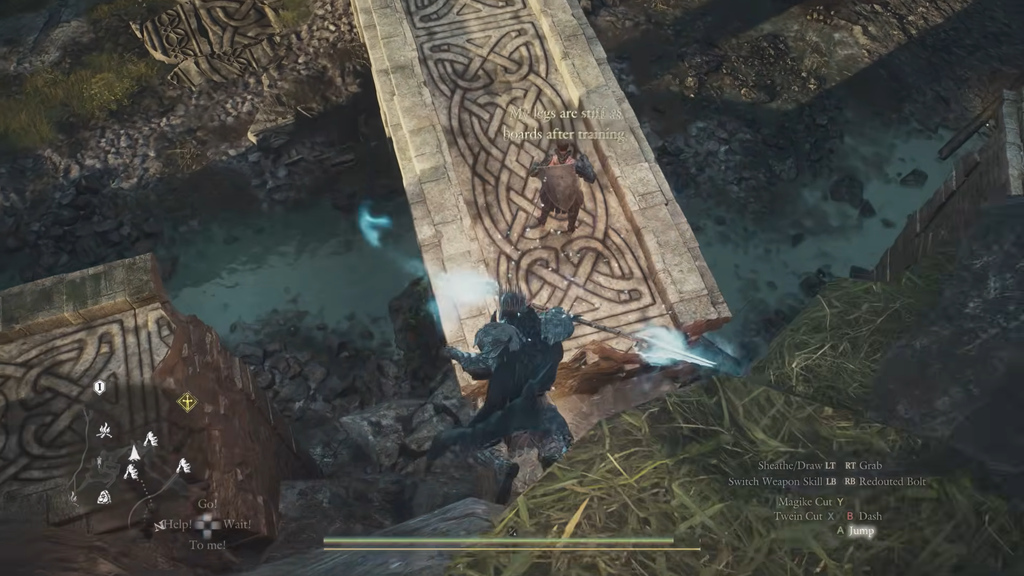
Follow the western road through Malachite Forest and look for a small tunnel branching off it. Pass through the tunnel and you arrive at a large sinkhole with a run-down shack and a group of Saurians roaming the area.
After defeating the Saurians and taking the shack’s loot, look around for a crevice that leads to a cave entrance. Go inside to enter Darkhorde Cave. The route splits not far ahead.
- Right path: leads directly to Devilkin Hollow, the Lost Rite objective.
- Left path: This route runs through a tunnel populated by additional Saurians and a Slime, and ends at a chest holding Fighter armor.
The left tunnel is optional loot, so grab the Fighter armor chest first if you want it, then double back and take the right path to the dungeon.
Clearing Devilkin Hollow
The dungeon is a short hall connected to a small combat arena. As you head down, a projection of the Pathfinder appears and explains what the Lost Rites dungeons involve. This is the tutorial trial for the system as a whole.
Before pressing forward, collect the loot in the room first. There is a Salubrious Draught and two coin pouches next to a box, plus a Wakestone inside the chest.
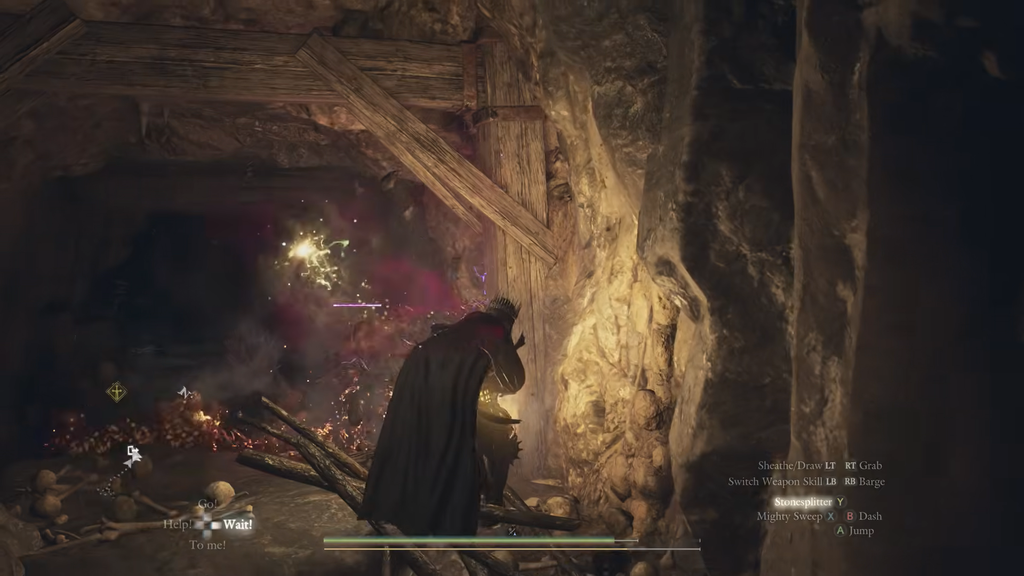
Entering the chamber with the glowing purple door triggers the battle. Four Corrupted Goblins appear one after another in the central area. Their armor is light, but they are quicker than regular goblins and seldom stagger or fall, so maintain space and take them out individually. Crowd control is effective; a Warrior can use Goring Lunge to drive them against the walls until they die.
Recommended party
You can bring any vocation, but a balanced support group keeps the fight simple.
| Slot | Pick | Why |
|---|---|---|
| Arisen | Any vocation | No restrictions apply |
| Main Pawn | Mage | Shielding, haste, and cleansing debilitations |
| Hired Pawn | Fighter | Draws aggro off you and the Mage |
| Hired Pawn | Thief | Fast burst damage on the goblins |
Rewards and how to confirm the quest is done
Once all the Corrupted Goblins are defeated, the seal on the glowing purple door lifts and opens onto a treasure hoard. Looting it completes the Lost Rites quest and hands over everything below.
| Reward | Type | Use |
|---|---|---|
| Proving Grounds Compass | Key item | Reveals other Lost Rite dungeons on the map |
| Offering Flame | Material | Spent at Obelisks of Benediction in Norgan |
| Hexfinger | Sword | Upgradeable with Brinebeast Fragments |
| Dread Tusk | Bow | Upgradeable with Brinebeast Fragments |
| Calycate Scepter | Staff | Upgradeable with Brinebeast Fragments |
The three weapons sit slightly above the best base-game gear, but they need Brinebeast Fragments to improve. You earn those fragments by defeating the corrupted enemies found in Lost Rites dungeons. The Offering Flame is the other long-term currency, traded at the Obelisks of Benediction in Norgan for new skills, stat boosts, and spoils rate boosts.
Use the Proving Grounds Compass from your inventory to mark the next dungeons. Two appear immediately in Vermund: Sunken Spire north of Checkpoint Rest Town, and Daemon’s Corral east of Vernworth. Clearing Devilkin Hollow also serves as the tutorial that opens the rest of the Lost Rite trials scattered across Vermund and Battahl, so the compass is what turns a single quest into the full challenge loop.