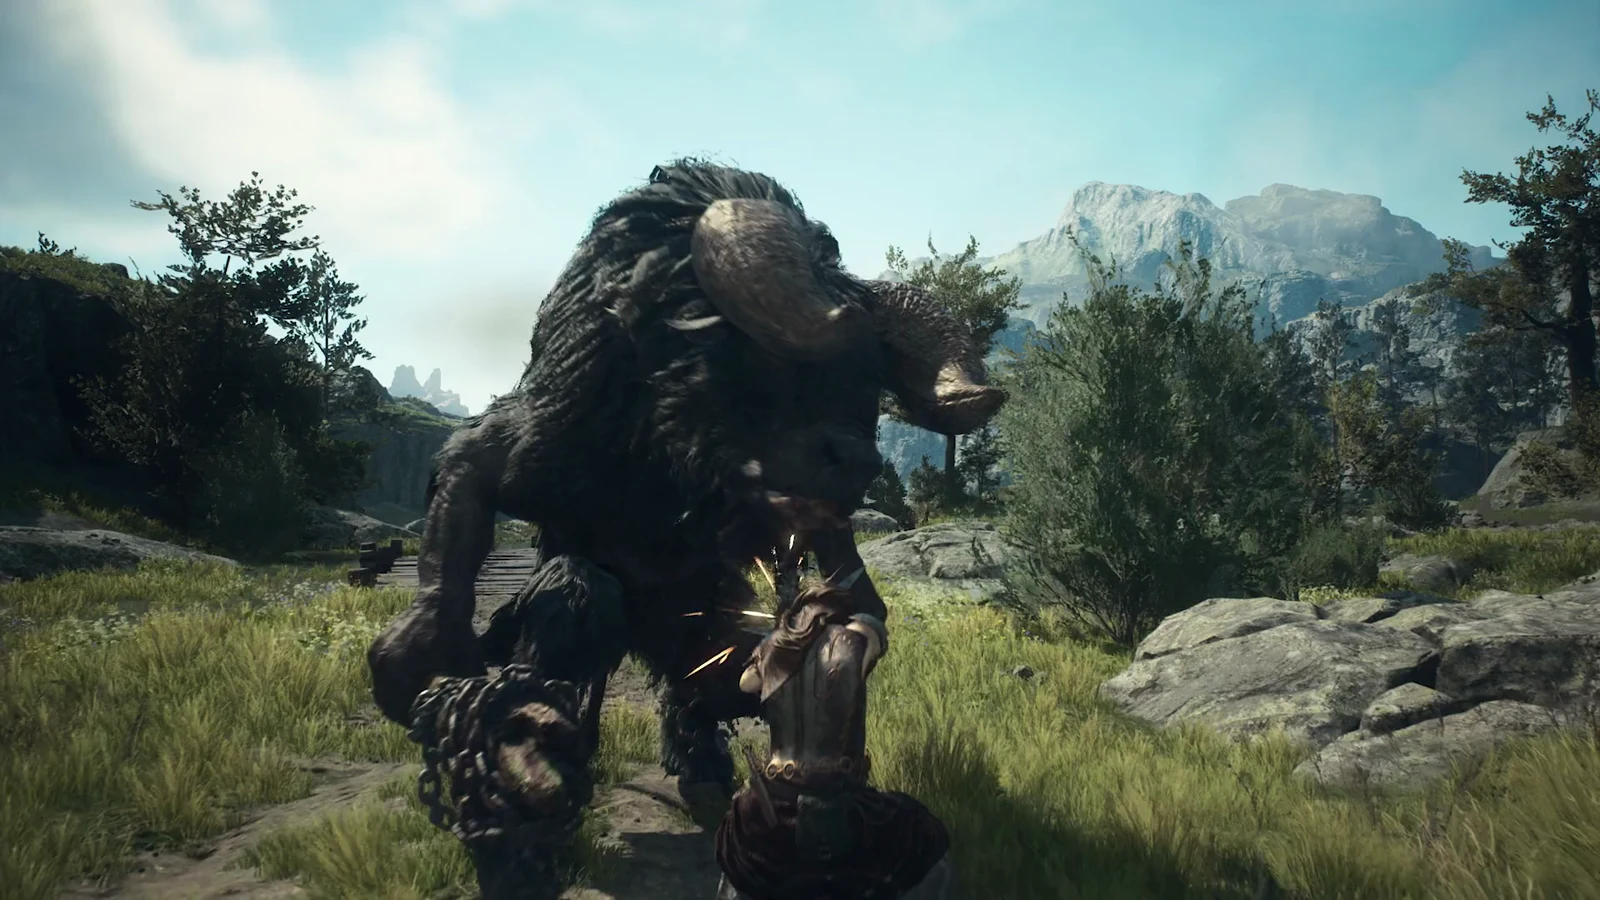
A snowfoot has raided the commission’s supply store and dragged the stock off to a cave in the frozen Norgan Snowfield. Wash wants it all back intact, and the full reward only lands if you recover every one of the five packs. The job starts in the Mountain Stronghold and ends with a hand-in at Northwall Campground; Wash can also give it and take the packs back at the Castletown Campground.
Quick answer: Clear the snowfield to the Snatching-Beast’s Lair, grab two packs on the way in, kill the sleeping snowfoot for the other three, then deliver all five to Wash at Northwall Campground for 30,000 G, three Abandoned Supplies (Rare) and three Lv 3 Ancient spoils.
Starting The Snatching-Beast with Wash
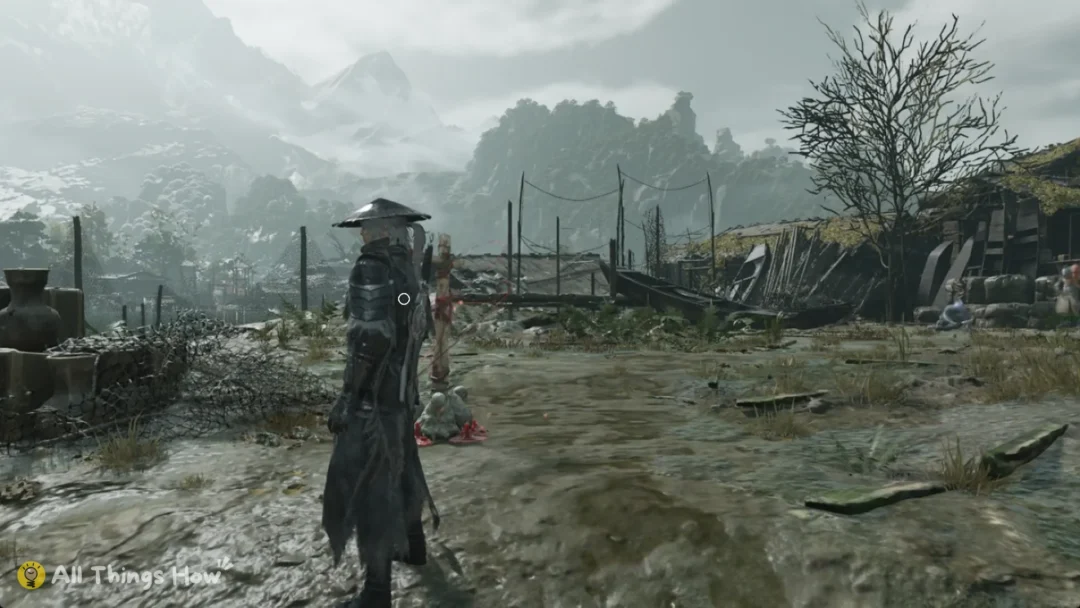
This side quest becomes available only after you finish Rumbles in the North. In the Mountain Stronghold’s torchlit, pillared hall, look for Wash: a commission archer wearing a hood, with a lantern hanging from his belt. Once inside, climb the steps to your right and pass through the double wooden doors. Hold to talk to him.
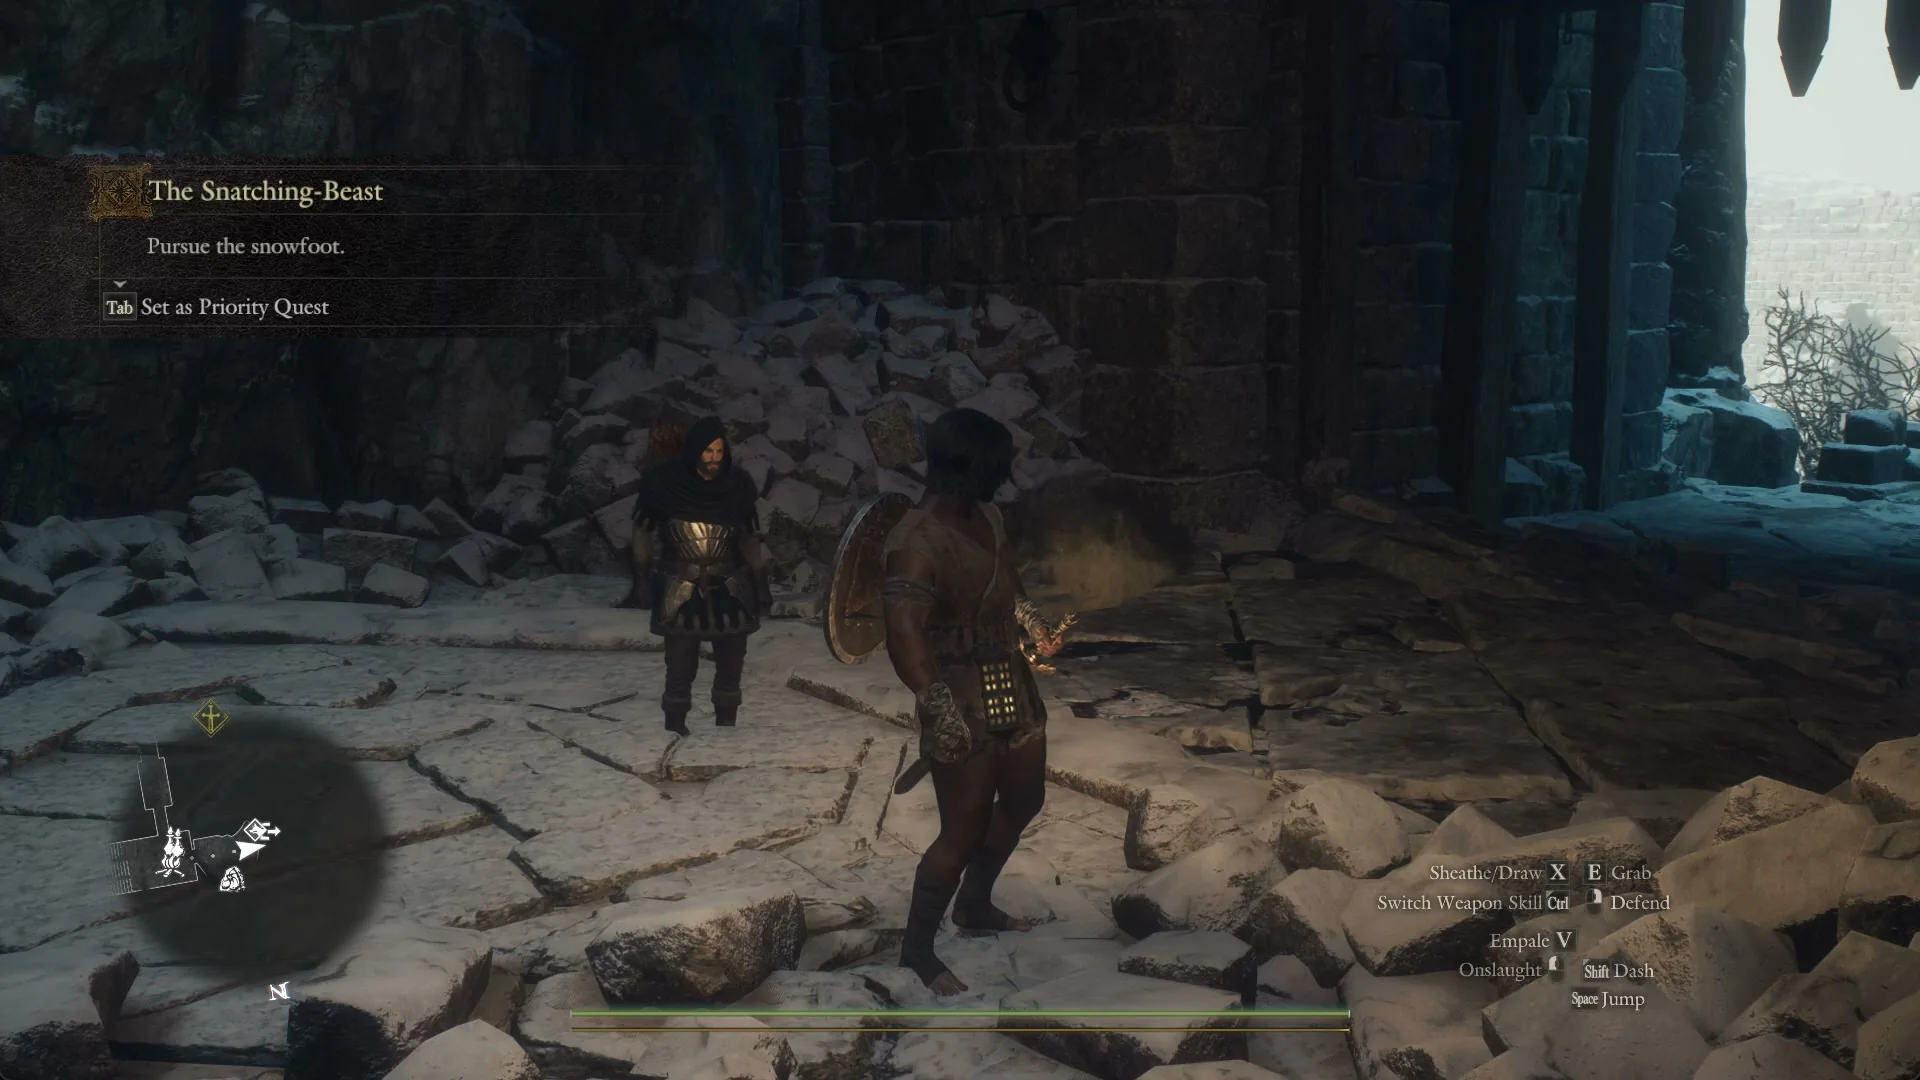
Wash says a thieving beast escaped into a cave in the snowfield, but the freezing conditions forced him to turn back. He wants the supplies returned undamaged and recommends thermal armor and heatstones. The quest card is titled “The Snatching-Beast” and begins with the objective “Pursue the snowfoot.”
Wash can also be found at the Castletown Campground, in the roofless gatehouse room with the rubble heap about 30 m west of the campfire, beside the doorway that looks out over the snowfield. Hold F on him there and hear his request out; there is no choice to make, and when he finishes the same banner appears: “The Snatching-Beast” / “Pursue the snowfoot.” with “Tab Set as Priority Quest”.
The Norgan Snowfield chills your whole party, so carry Heatstones or thermal gear before you ride the stronghold elevator down.
Route to the Snatching-Beast’s Lair
Take the stronghold elevator down into the Norgan Snowfield. One reliable path runs as follows.
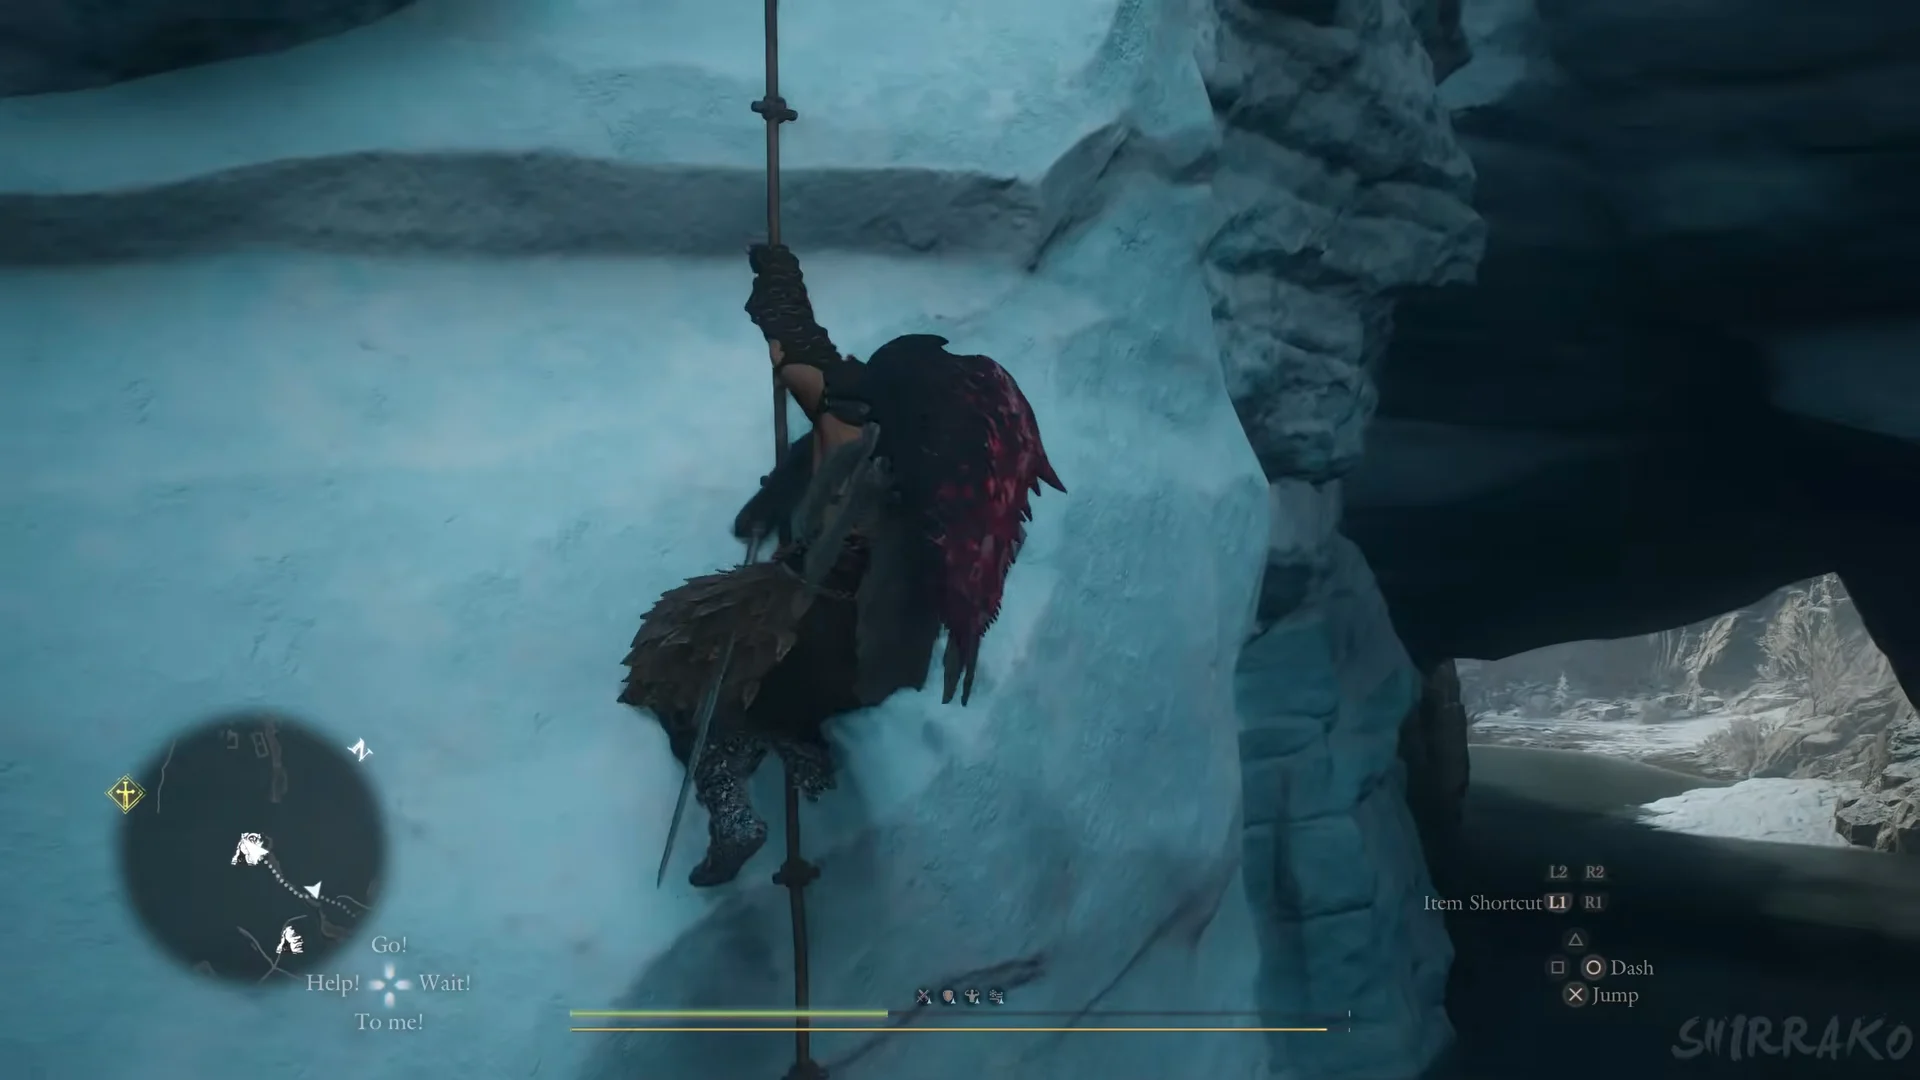
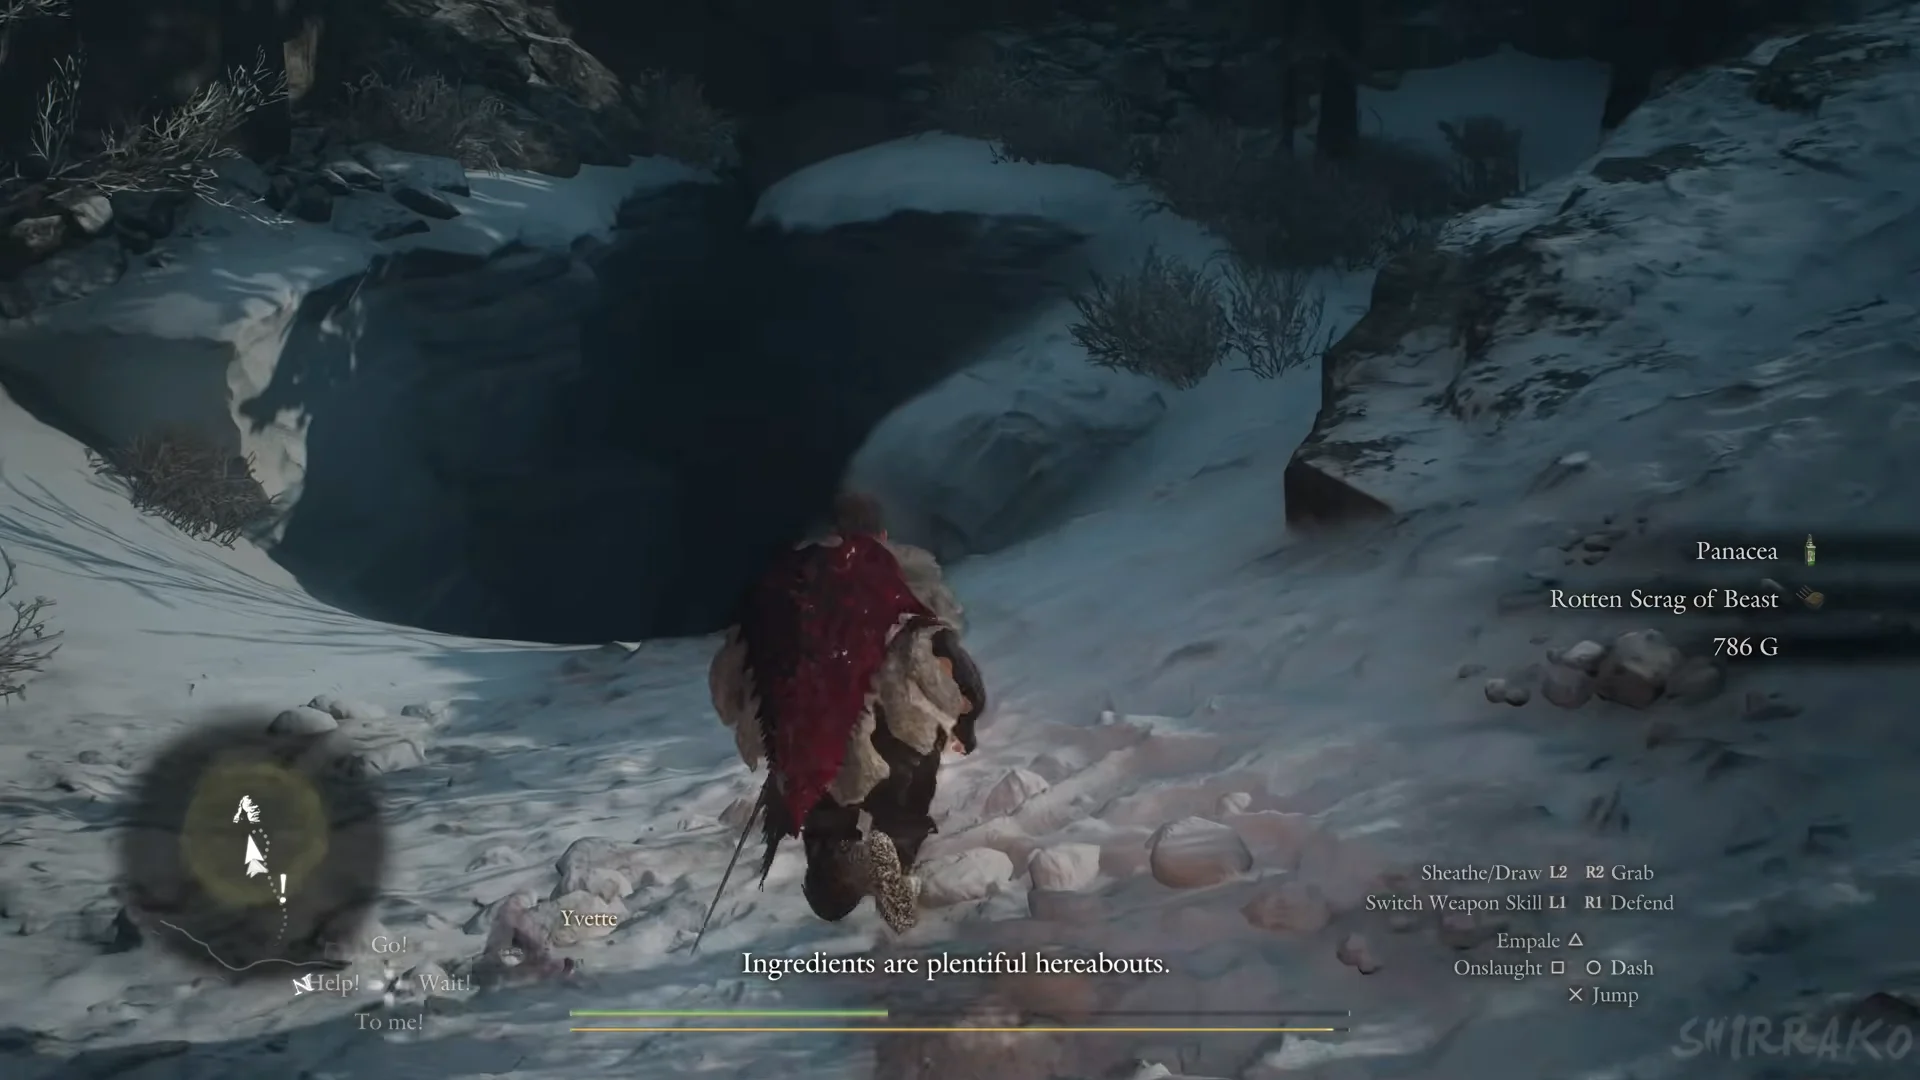
On the world map, find the cave in the exposed snowfield, down and to the right of the large walled ruin.
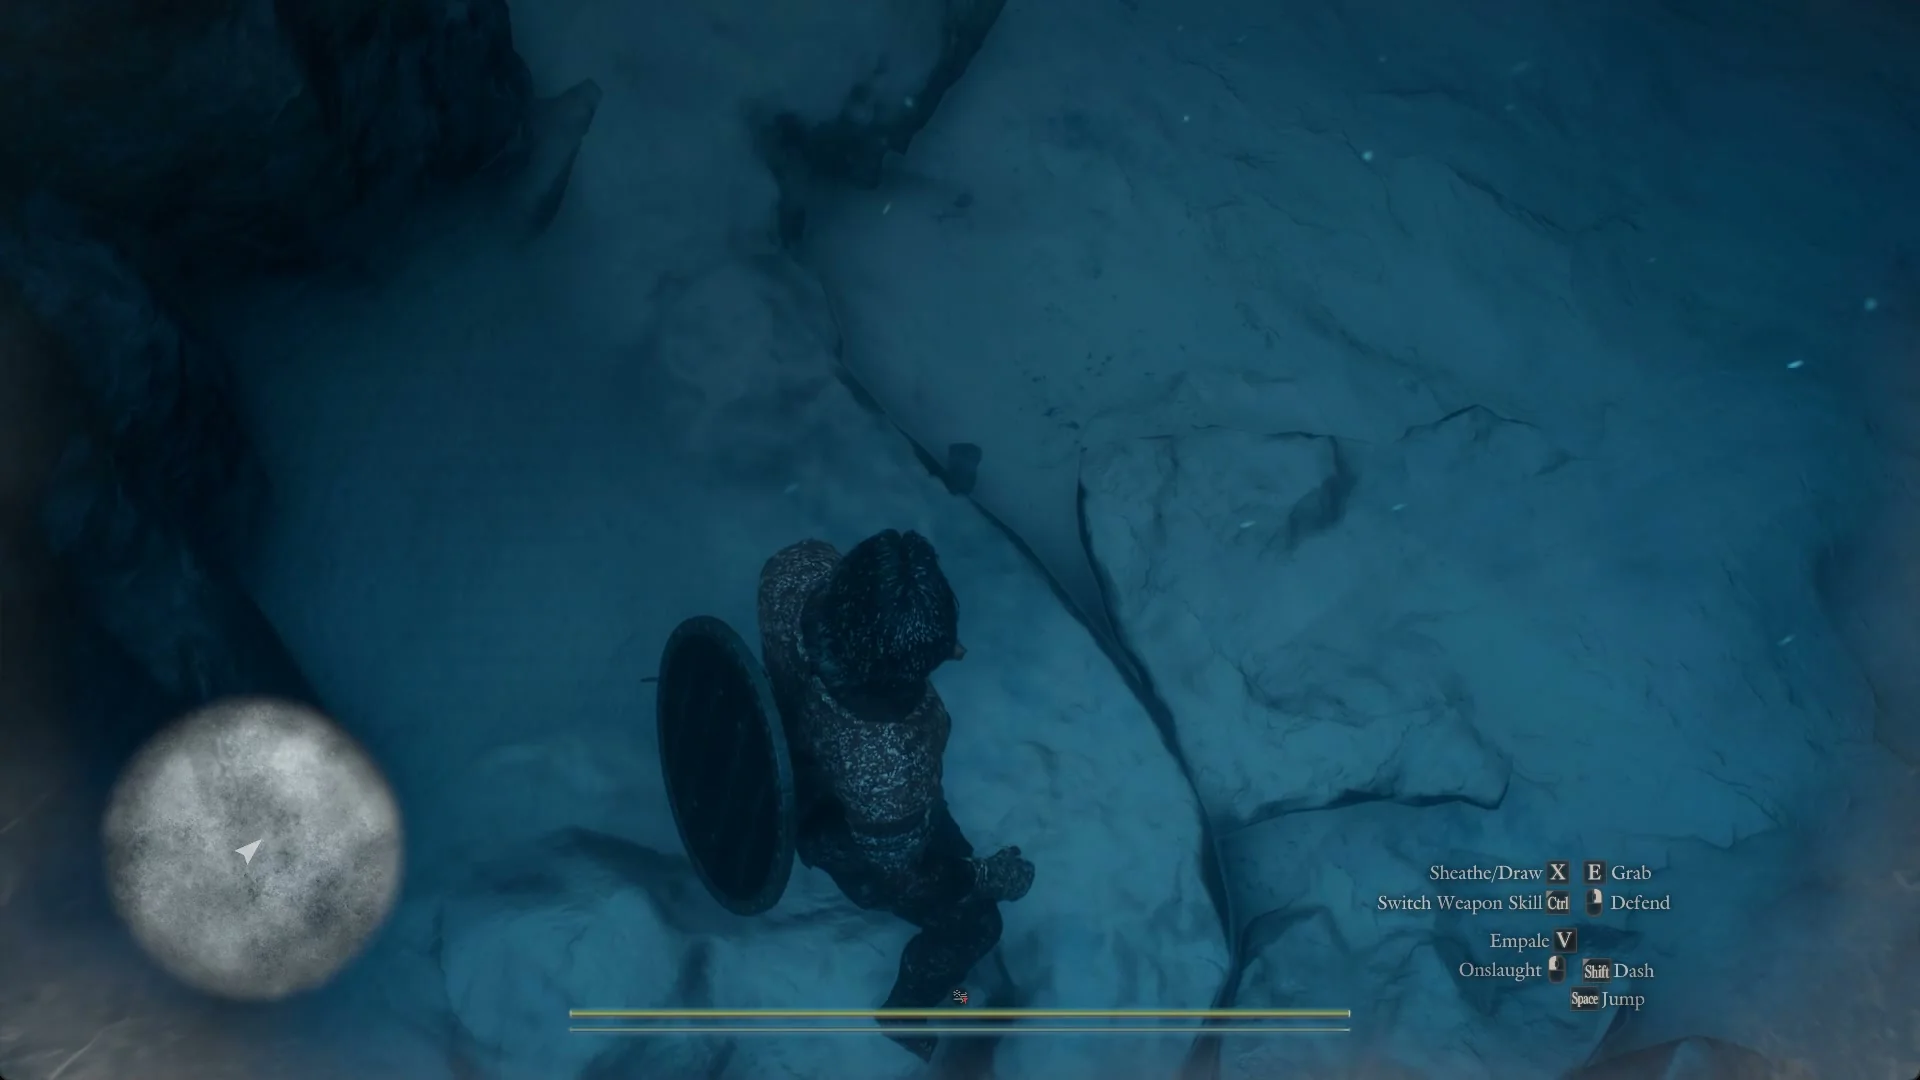
In a snowstorm the hollow at the foot of the snow bank fills with white mist and the minimap turns into a blank white disc. The area name “Snatching-Beast’s Lair” and the line “You discovered the snowfoot’s lair.” only appear once you are inside the cave mouth, not on the open snow above it.
All five Commission Supplies pack locations
Two packs sit on the way in. The last three are in the boss room and you cannot reach them without dealing with the snowfoot, which is why the full reward effectively requires the fight.
| Pack | Location |
|---|---|
 Commission Supplies (Thermal) | Floor corner by the leaning crate, past two Saurians in the first chamber |
 Commission Supplies (Curatives) | On the lair hall’s left rock ledge, next to a wooden crate |
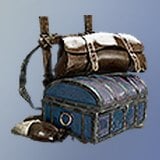 Commission Supplies (Rare Armor) | Rear rock ledge of the boss room, behind the dais |
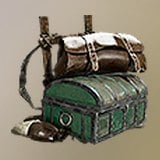 Comm. Supplies (Rare Curatives) | Rear rock ledge of the boss room, next to Rare Armor |
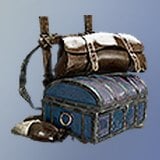 Comm. Supplies (Rare Weaponry) | Boss room floor against the cave wall, by stacked crates |
Commission Supplies (Thermal)
Inside the entrance the floor drops into a rock pit holding two Saurians. Past them is a small chamber with a leaning wooden crate and barrels. The Thermal pack lies on the floor in the corner by the crate.
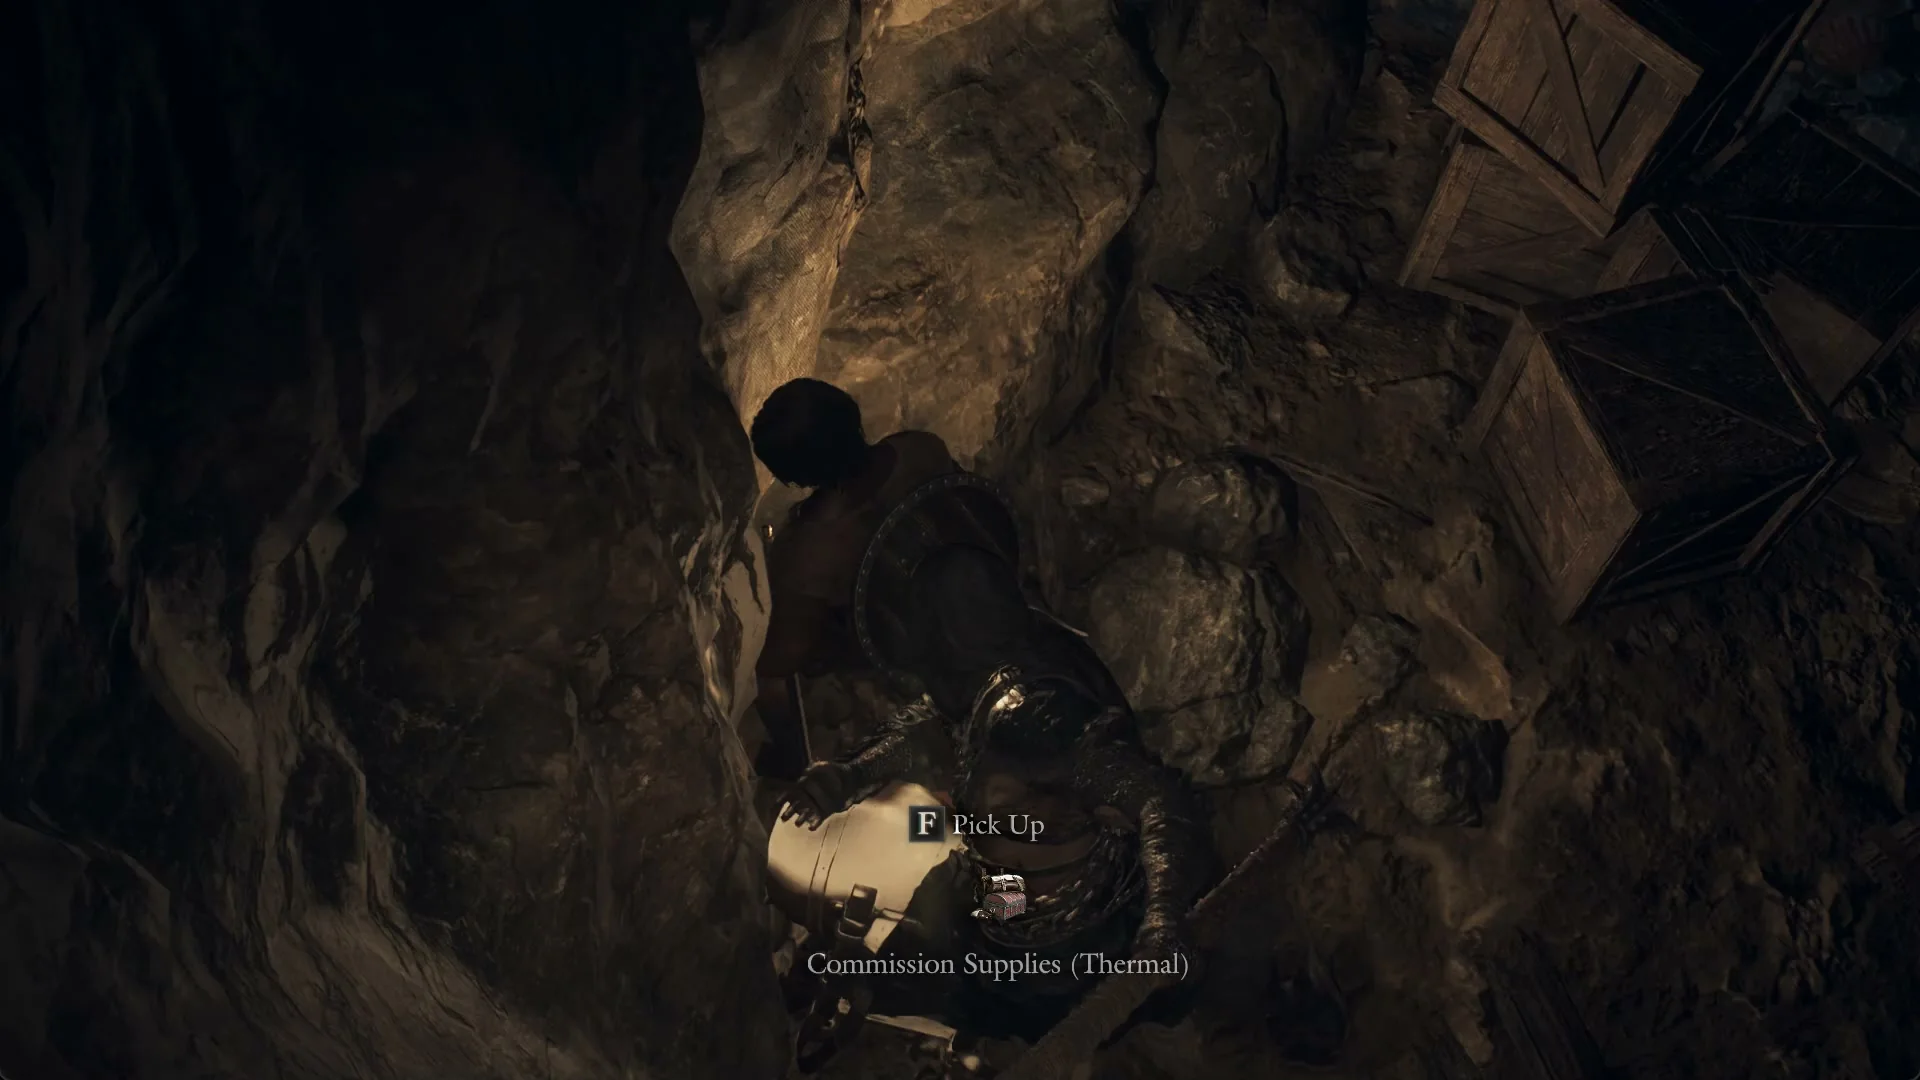
A Spoils: Lv 3, Plastron and an Abandoned Supplies (Normal) sit at the same spot. If this is the first pack you pick up, the quest reads “You found one of the missing supply packs,” and the area banner changes to “Snowfall Valley Derelict Passage,” which is this stretch’s B1F level.
On the way through, an ore vein on the wall yields a Spoils: Lv 3, Bowstaff, and a chest on a rock ledge holds Spoils: Lv 3, Light Weaponry x2 and Spoils: Lv 3, Long Weaponry.
Commission Supplies (Curatives)
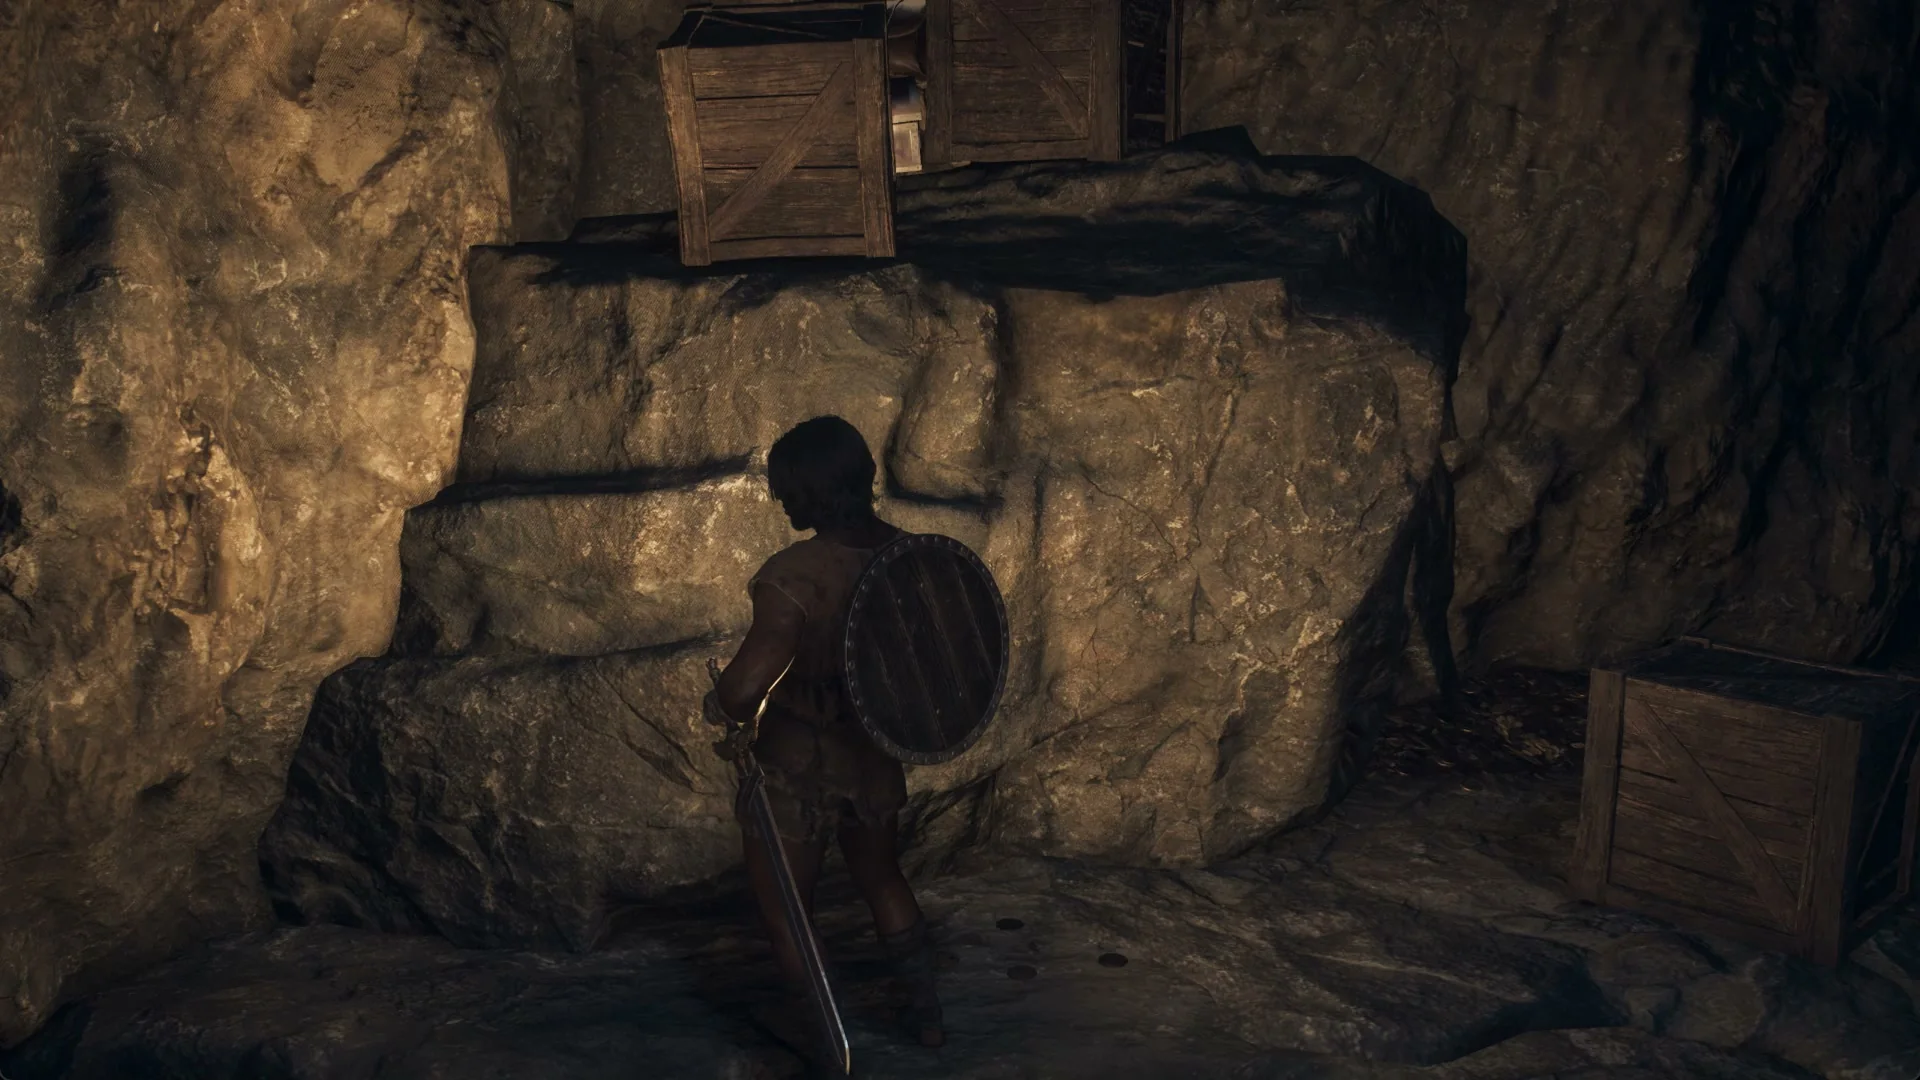
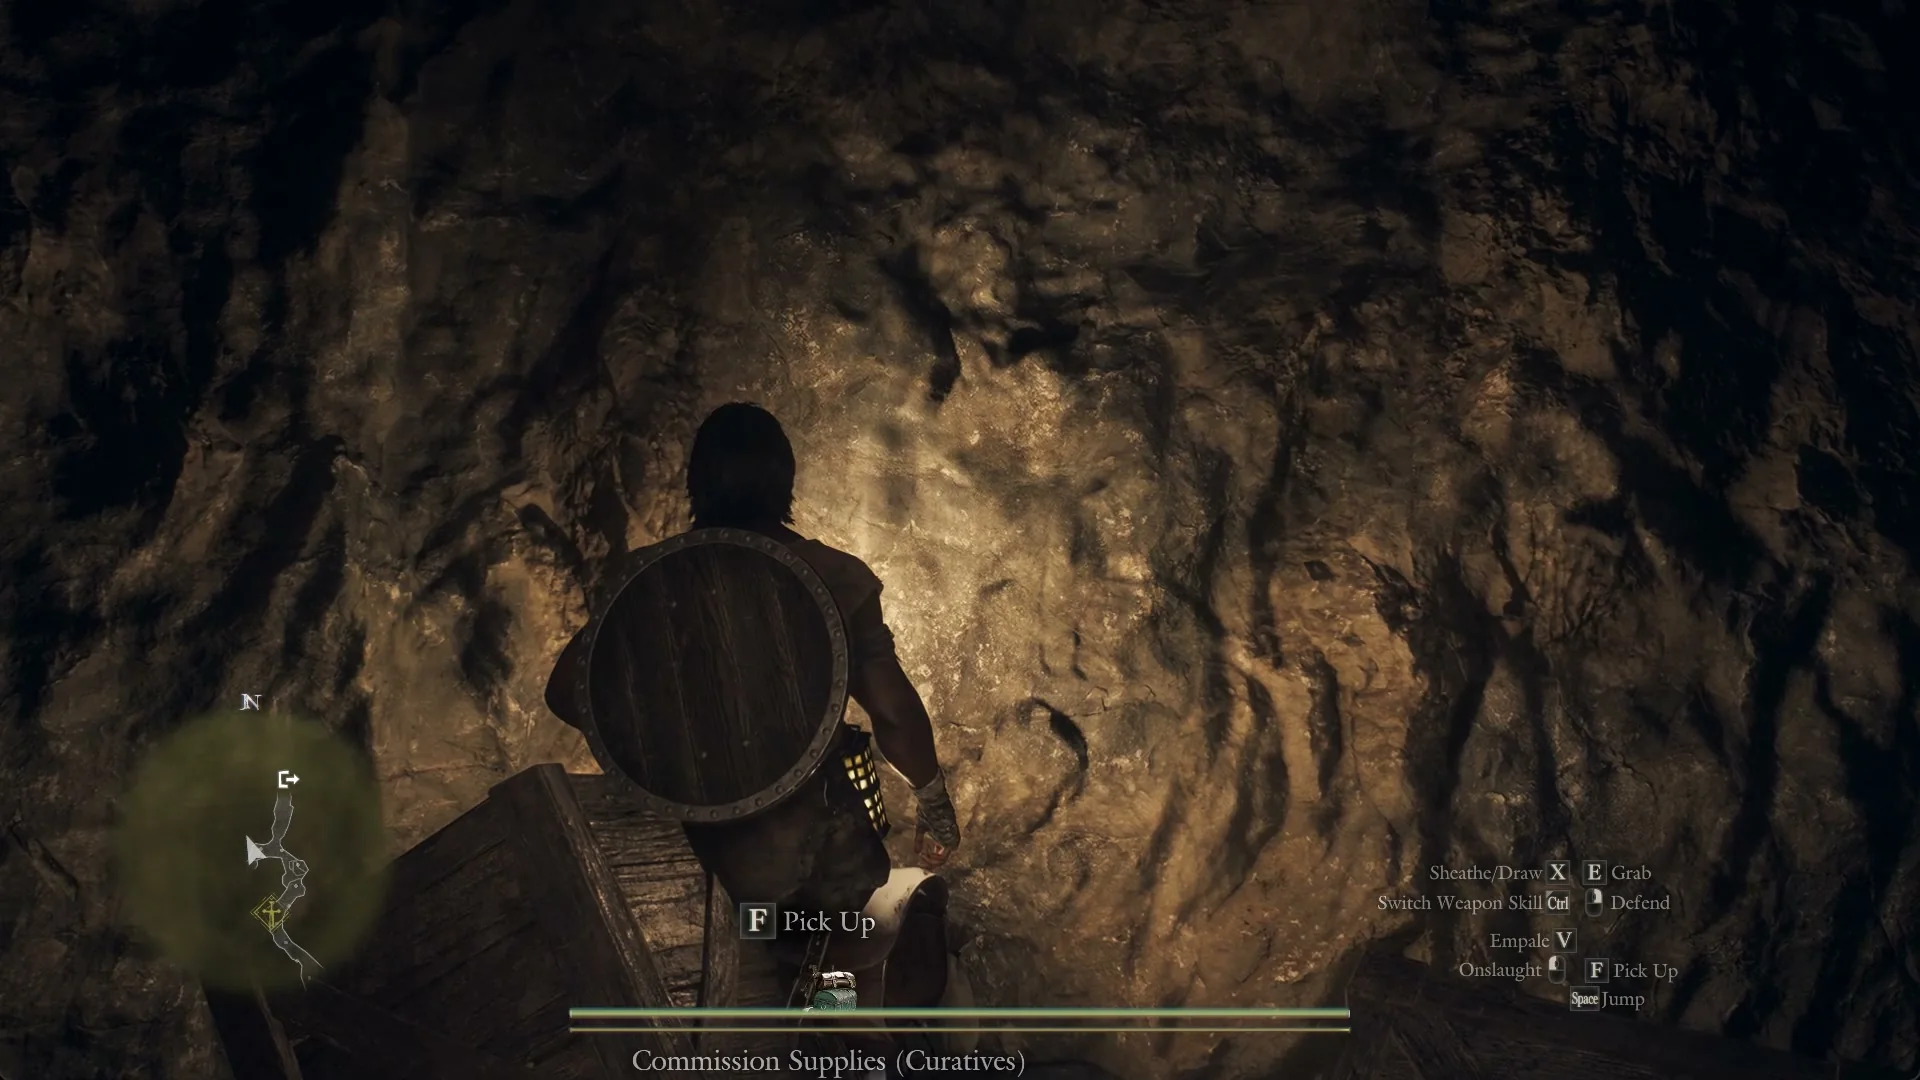
As the tunnel leads into a hall scattered with pots and crates, the “Snatching-Beast’s Lair” banner appears once more. On the hall’s left, climb the stone ledge and collect the loose pack beside a wooden crate; it is lying out in the open, not inside a chest.
Seen from the upper cave mouth, that ledge is a chest-high stone block with wooden crates on top, standing against the wall just inside.
To get onto the block, hold W against it and tap Space until the Arisen pulls up. The “Pick Up” prompt with the label “Commission Supplies (Curatives)” shows between the crates.
The three boss-room packs
Commission Supplies (Rare Armor) and Comm. Supplies (Rare Curatives) sit side by side on the raised rock ledge at the back of the boss room, behind the dais where the beast sleeps, next to a small keg.
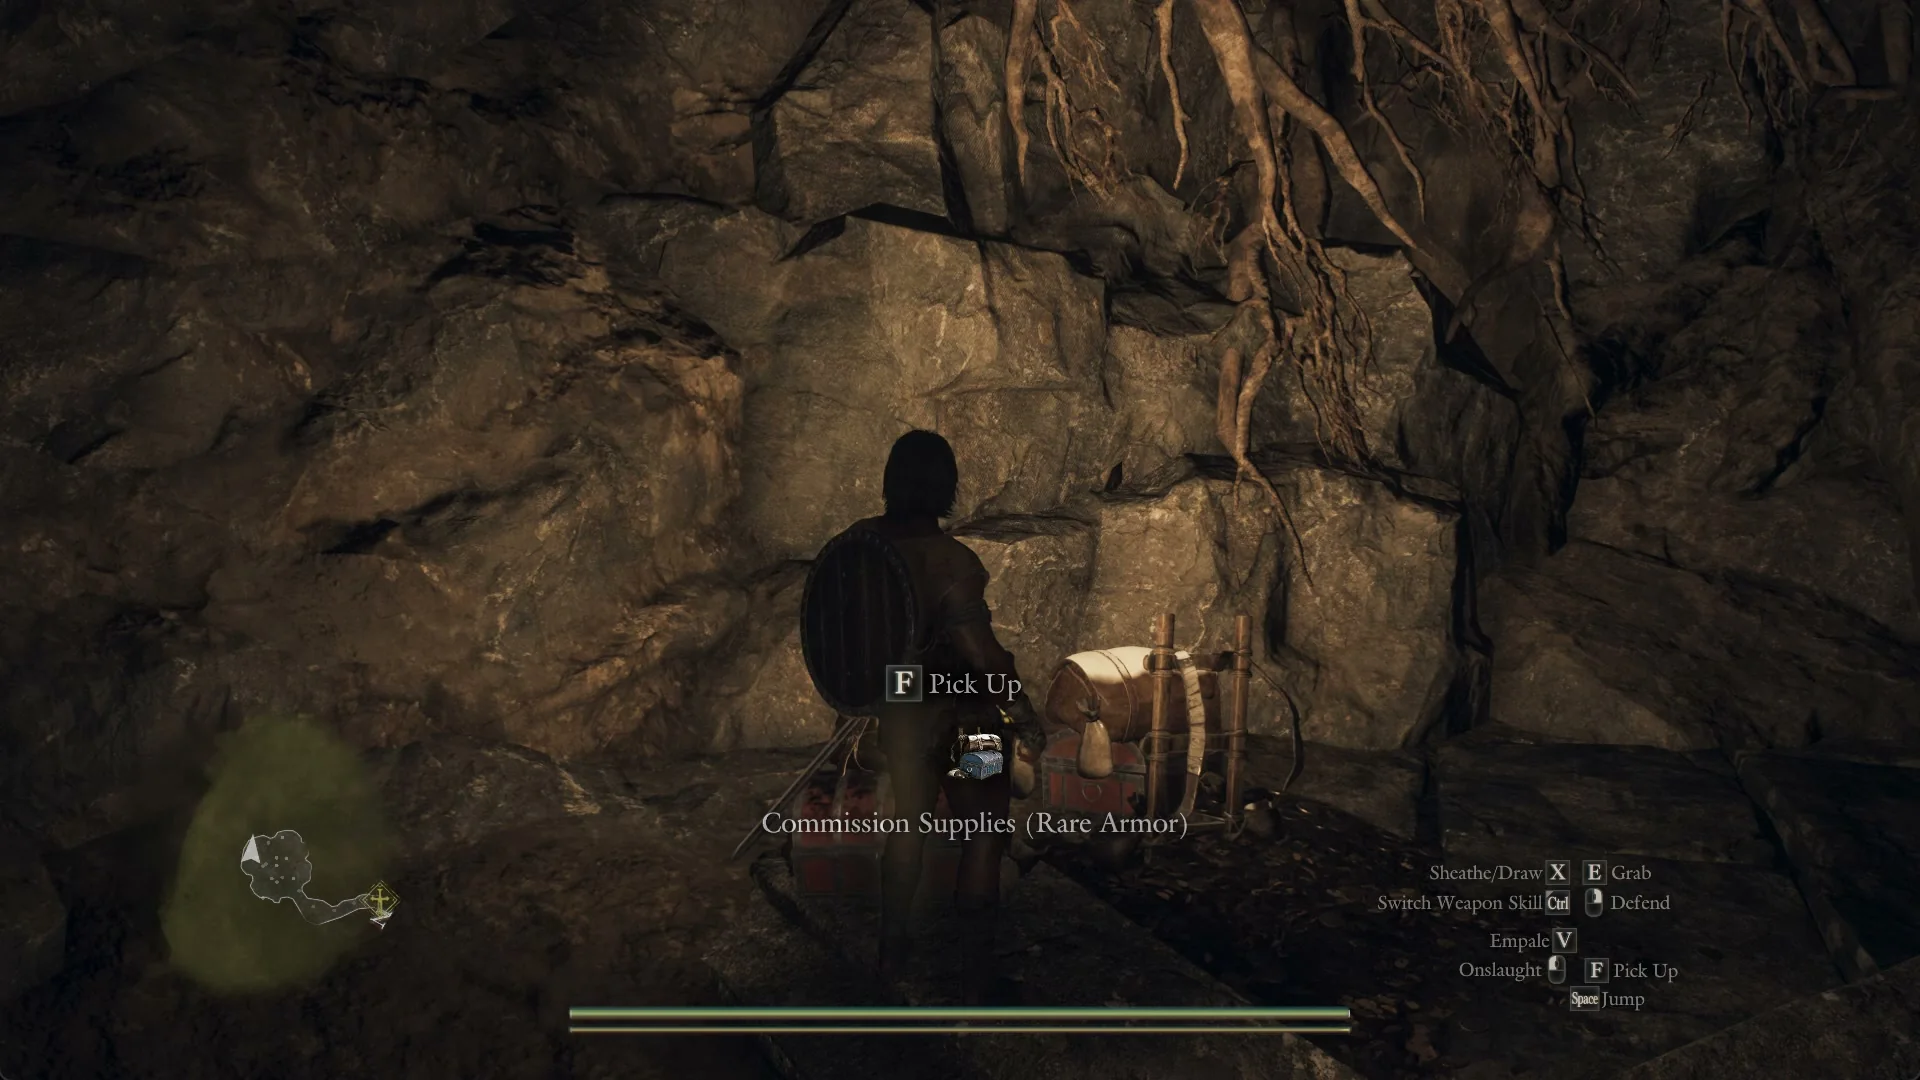
The second of the two lies about a metre to the right of the first, on the other side of the keg, with its own “Pick Up” prompt.
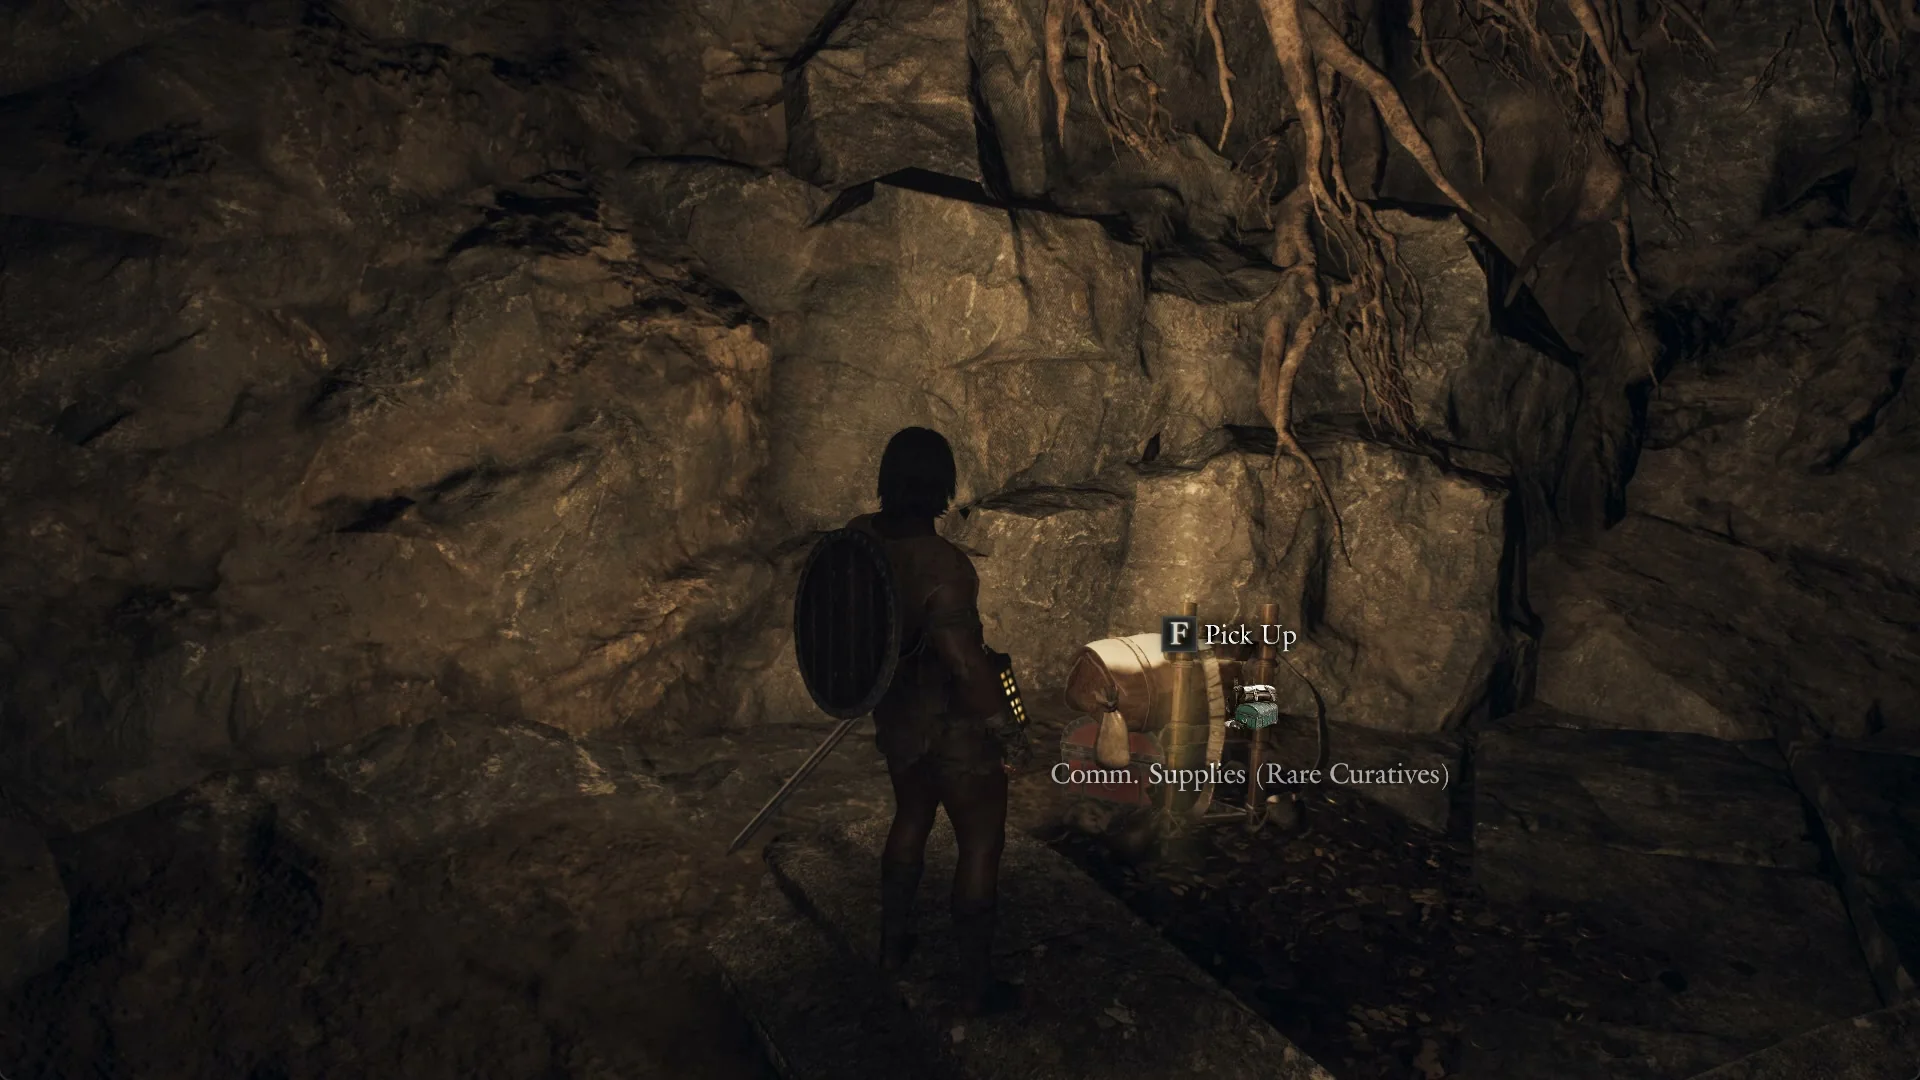
Comm. Supplies (Rare Weaponry) is also in this room, on the floor against the cave wall beside a stack of wooden crates, next to a pickup of Snowoak Bark.
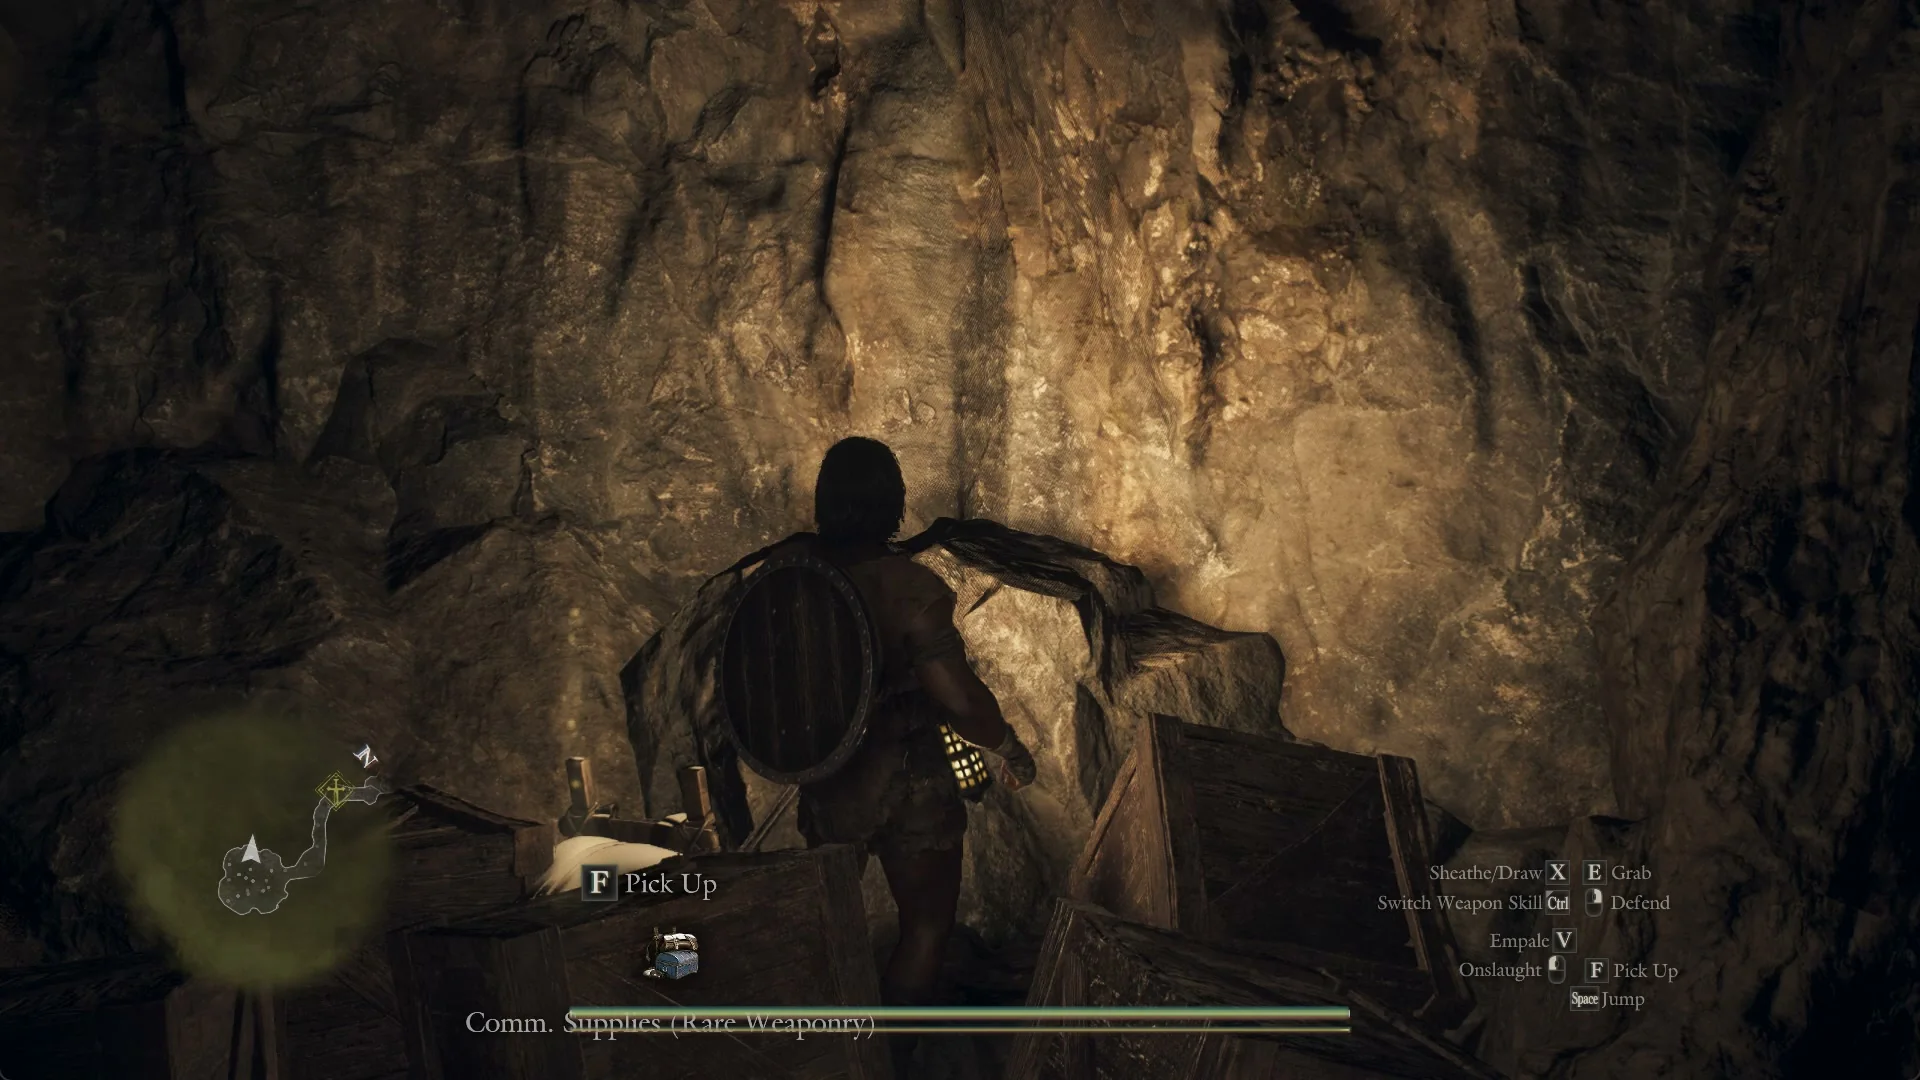
The count line follows the number of packs held, not which pack it is: “You found one of the missing supply packs.” shows on the first pack picked up and “You found three of the missing supply packs.” on the third, with no line on the second or the fourth. Whichever pack comes last brings “You found all of the stolen supplies.” and then “Deliver the supplies you recovered to Wash.”
Each pack weighs 0.10 kg, and its description explains that activating it moves everything inside into your inventory. Thermal packs contain Heatstones alongside additional supplies; Curatives contain fungal cure-alls, Rare Curatives contain regeneration elixirs, and Rare Weaponry and Rare Armor packs contain rare spoils of their respective types.
Beating the snowfoot
An arch draped in tree roots opens into the inner chamber. The snowfoot sleeps on a raised stone dais inside. Its health indicator has no name and appears as a purple meter marked with four pips, for five health bars altogether.
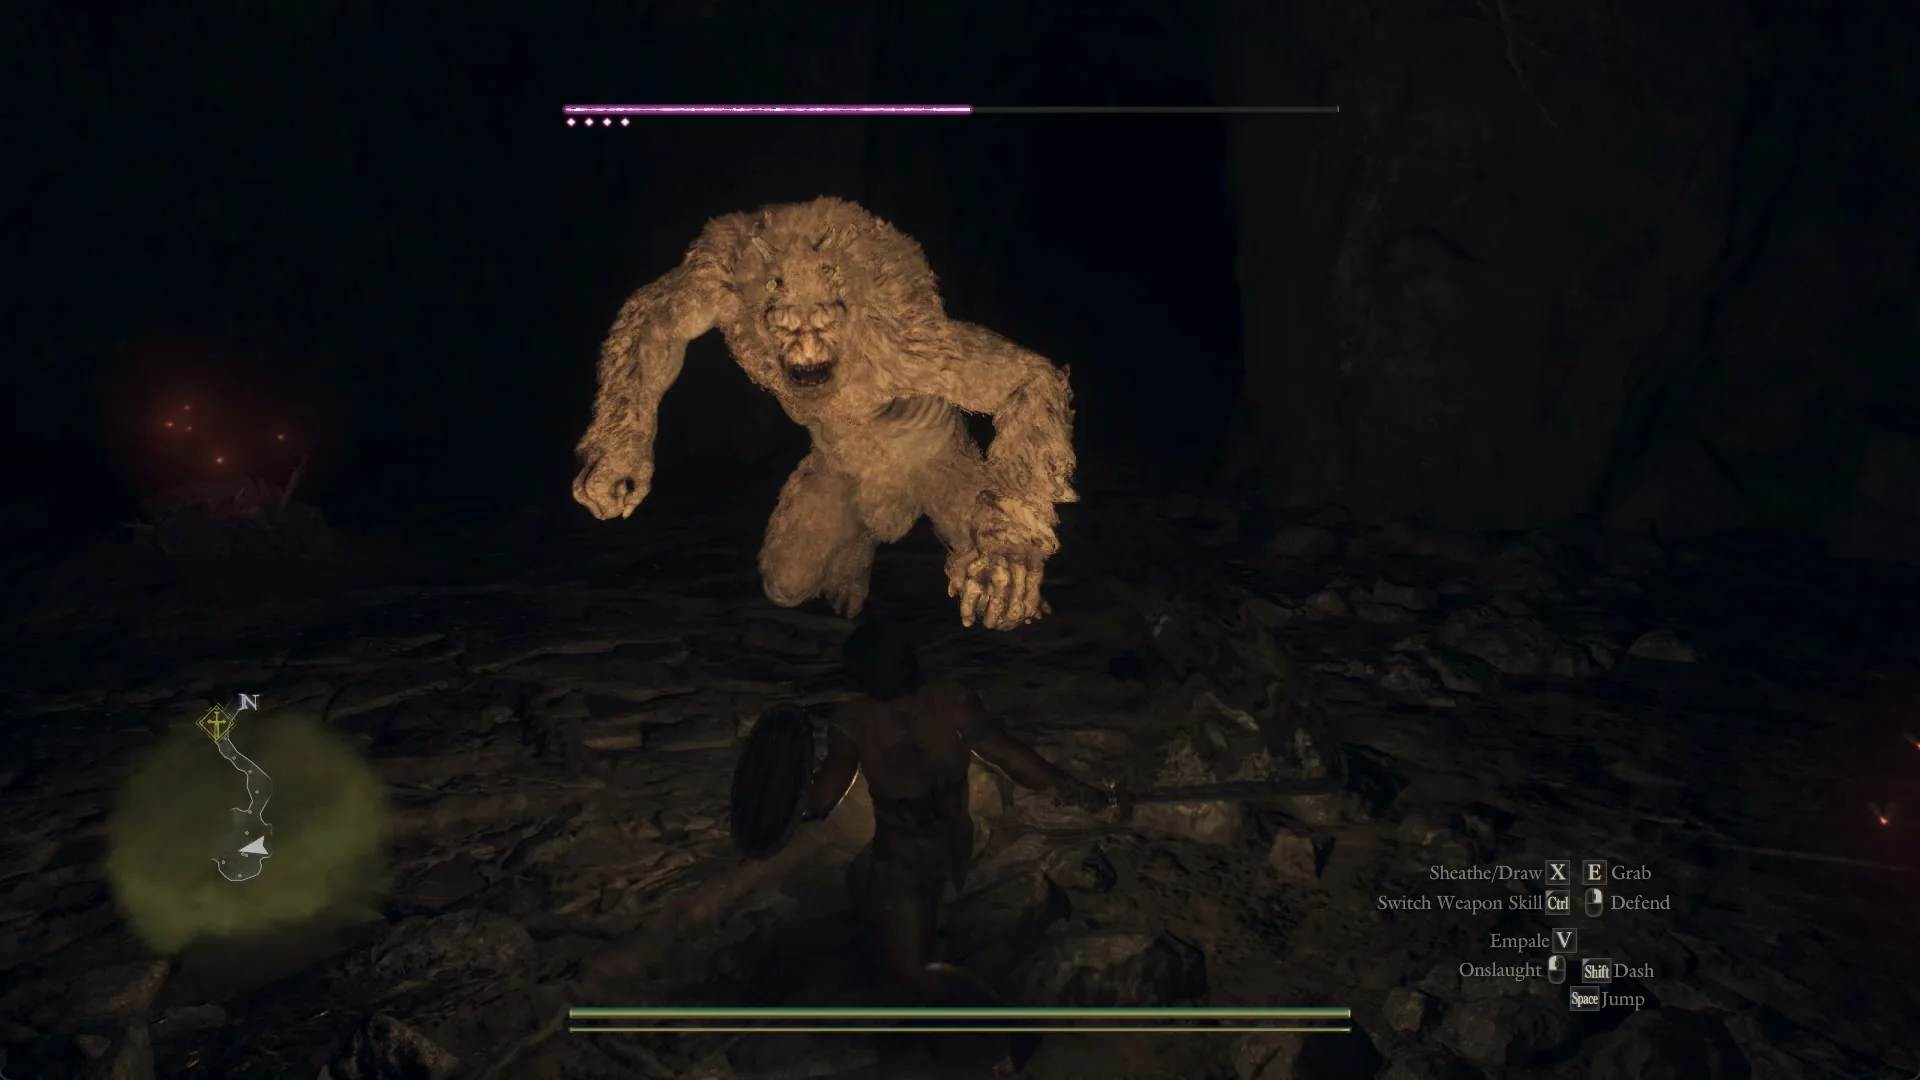
Snowfoots are large Beasts with 240,000 Health. Because this one is asleep when you enter, your opening attacks land without resistance.
When it wakes, expect broad arm sweeps, stomps, overhead blows with both hands and charges. As it takes damage, it starts leaping from the cave walls to deliver flying kicks. Its elemental matchup is straightforward: Lightning deals full damage, while Fire is resisted. Its damage taken by type is listed below.
| Damage type | Body | Head |
|---|---|---|
| Lightning | 1.0 | 1.2 |
| Slash | 0.8 | 1.0 |
| Strike | 0.8 | 1.0 |
| Ice | 0.8 | — |
| Holy | 0.8 | — |
| Fire | 0.6 | — |
Lightning spells from a pawn can stagger the beast, sending it into a wall and later toppling it. Whenever it falls, attack its head and chest with sword skills. A pawn can also latch on and restrain it during a stagger. If it remains upright, circle behind and strike its legs. A Fighter using sword and shield with three pawns around level 79 can defeat it in roughly two and a half minutes, earning +97,198 XP and +798 Dcp.
Stand at the carcass and use the “Examine” prompt more than once: each press gives one item. It yields a Snatching-Beast’s Talon and two Lv 3 spoils that differ from kill to kill: Light Weaponry, Bowstaff and Long Weaponry on one, Greaves and Ancient Greaves on another.
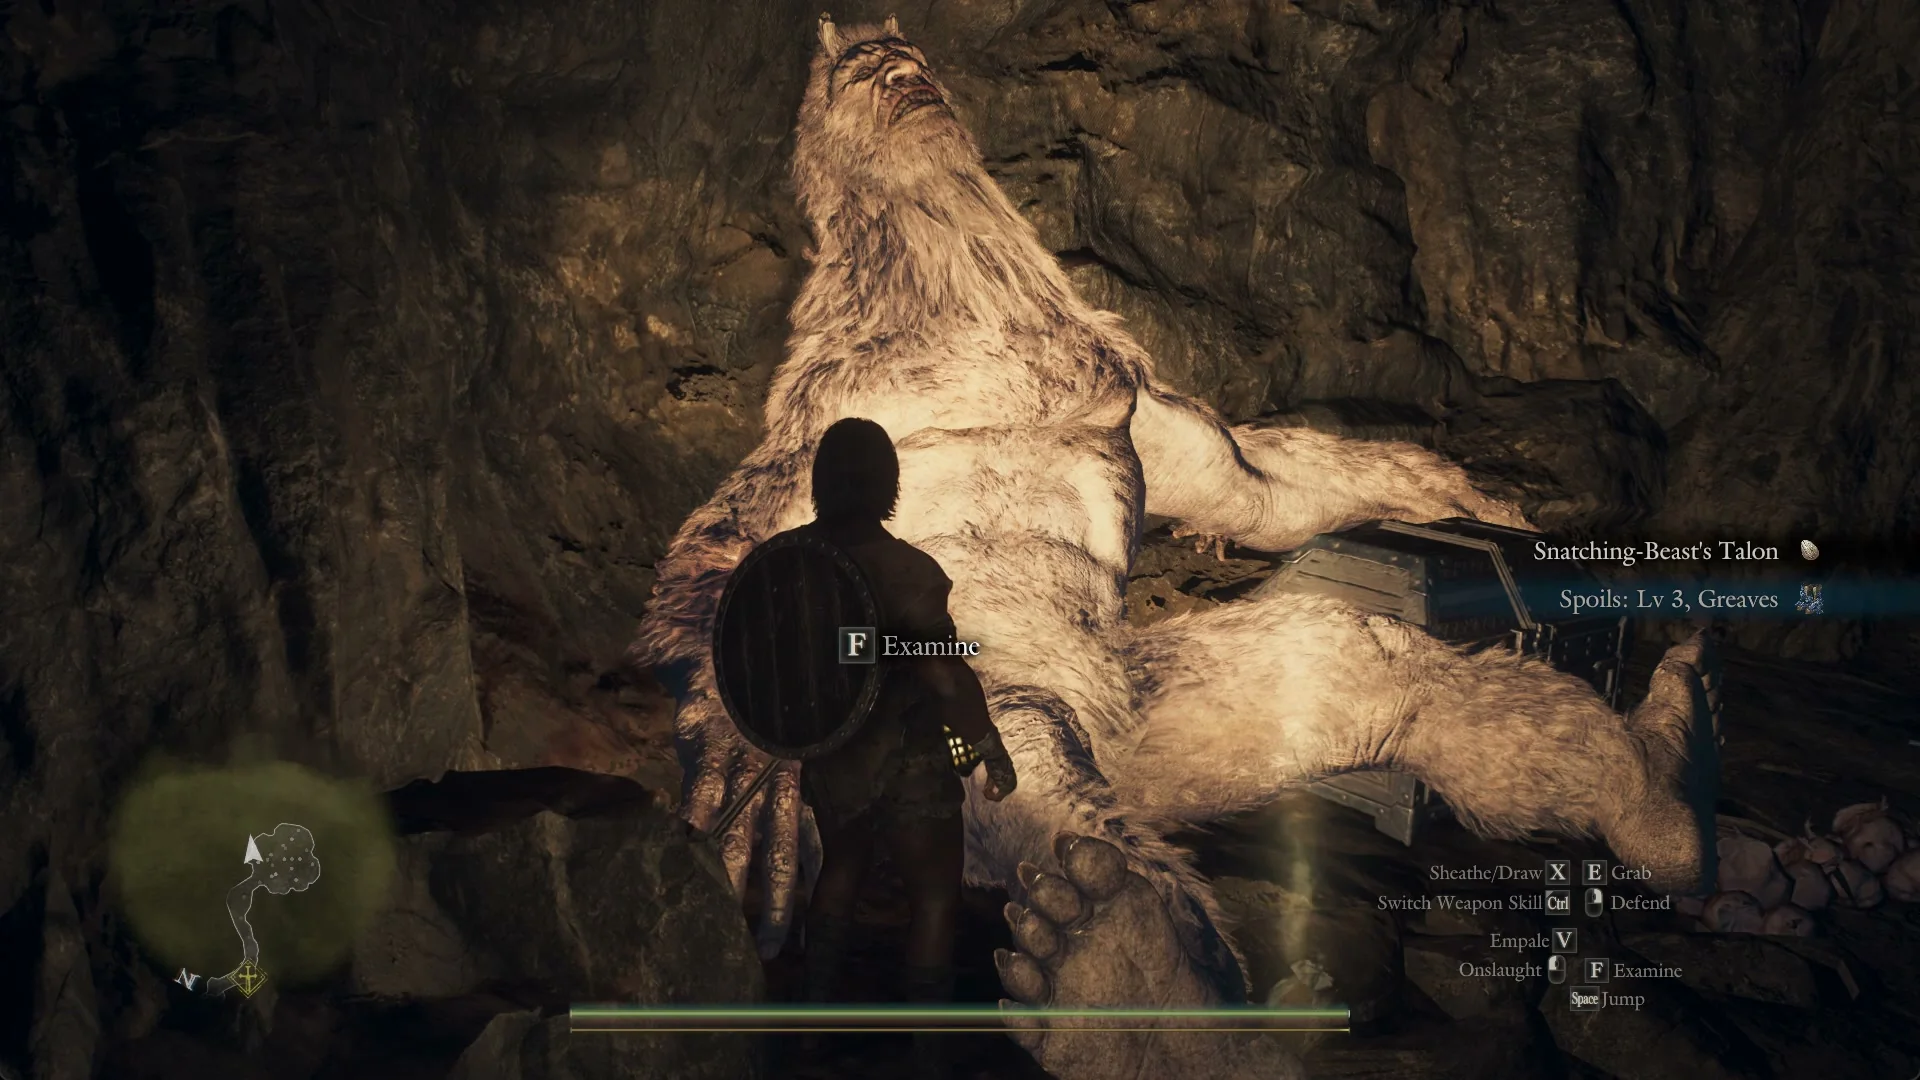
The talon is a forging material that sells for 900 G and is used to make Smithed Coldmarch Cuisses, Smithed Infiltrator’s Hosen and Smithed Snowskip Skirt. A chest on the dais holds Spoils: Lv 3, Ancient Light Weaponry, Spoils: Lv 3, Ancient Long Weaponry, Winterweed, Dried Spud and Withered Branches.
Delivering the packs to Wash
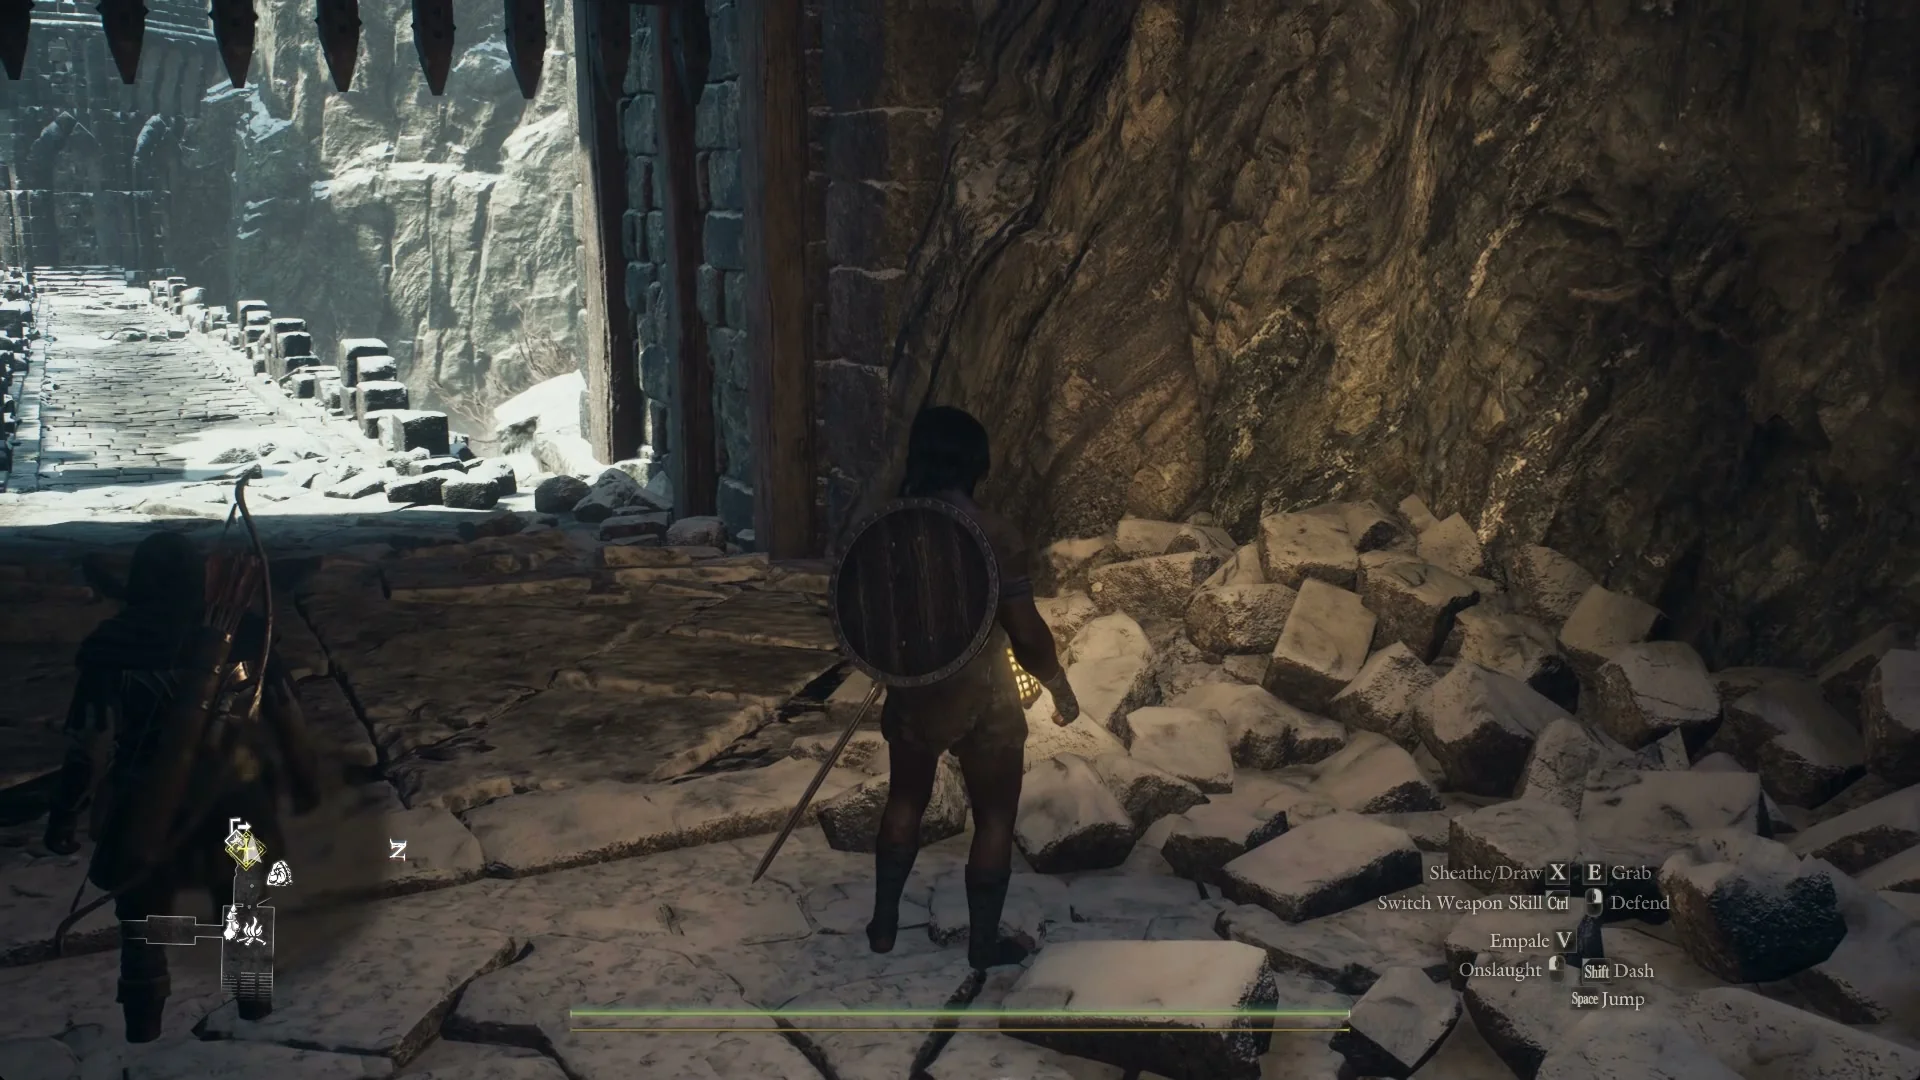
By the time you collect the packs, Wash is at Northwall Campground, beside the cave wall within the camp cave. To travel there quickly, select “Norgan Portcrystal: Northwall Campground” from the map and confirm the Ferrystone prompt.
Wash can also take the packs at the Castletown Campground, in the same gatehouse room west of the campfire where he gives the quest there.
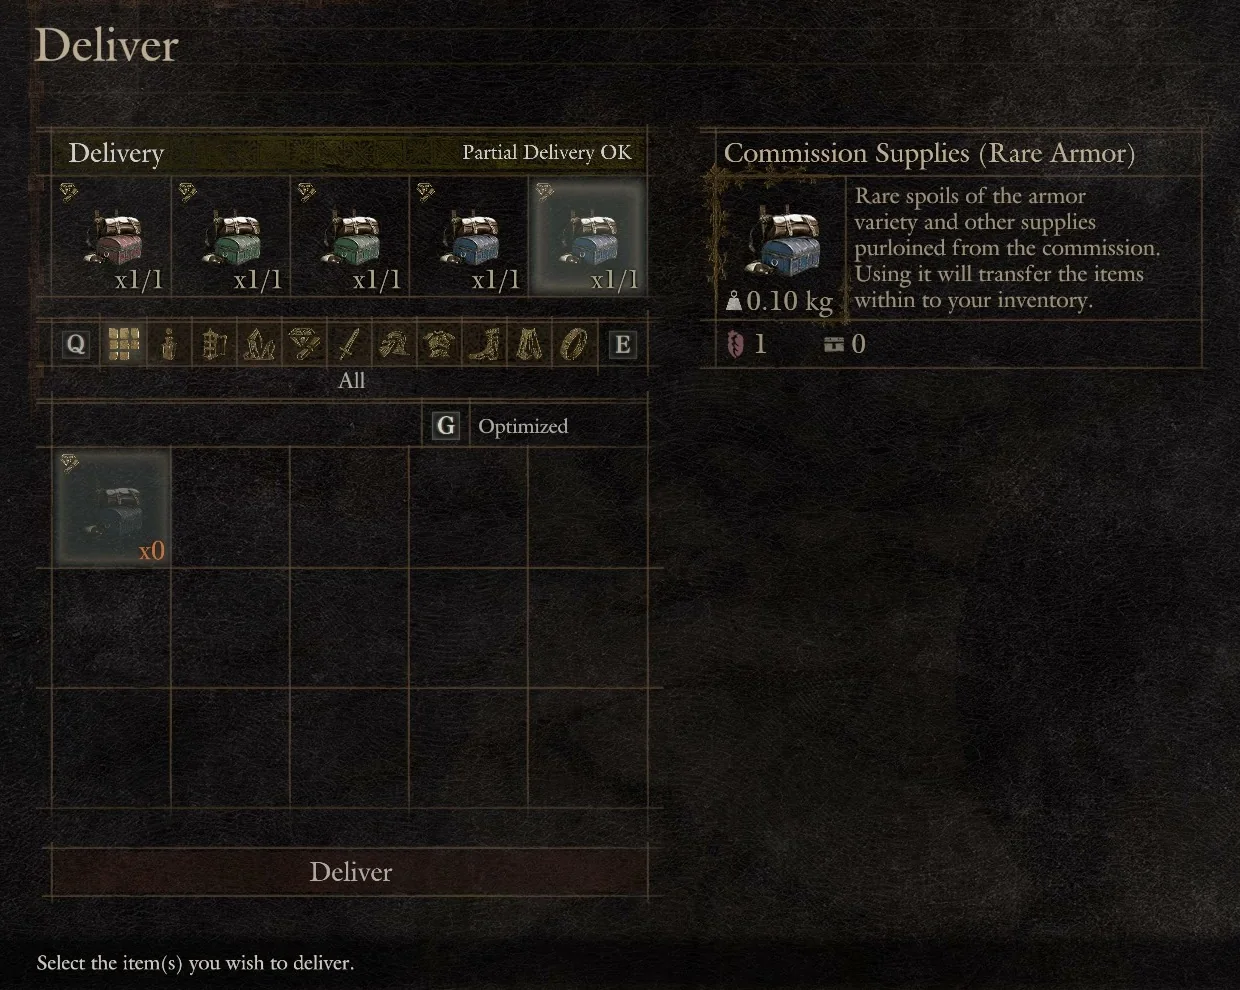
Hail him to open the Deliver screen. It has five slots, one per pack, each showing “x0/1,” and the header reads “Partial Delivery OK,” so he takes any number rather than only the full set.
You can load several packs into a single hand-in. After any hand-in that still leaves packs missing, Wash asks you to look again; choose “Continue the search” to keep the quest open, then hail him once more to hand over the rest.
On keyboard, Left and Right move between the five slots. Press F on a slot to jump to its pack in the grid below and F again to place it; the slot then reads “x1/1”. The grid lists only the pack that belongs to the highlighted slot, so it can look as if a single pack is held. With the slots filled, press Up from the slot row to reach “Deliver”, press F, and answer “Do you wish to deliver your selection?” with “Yes”.
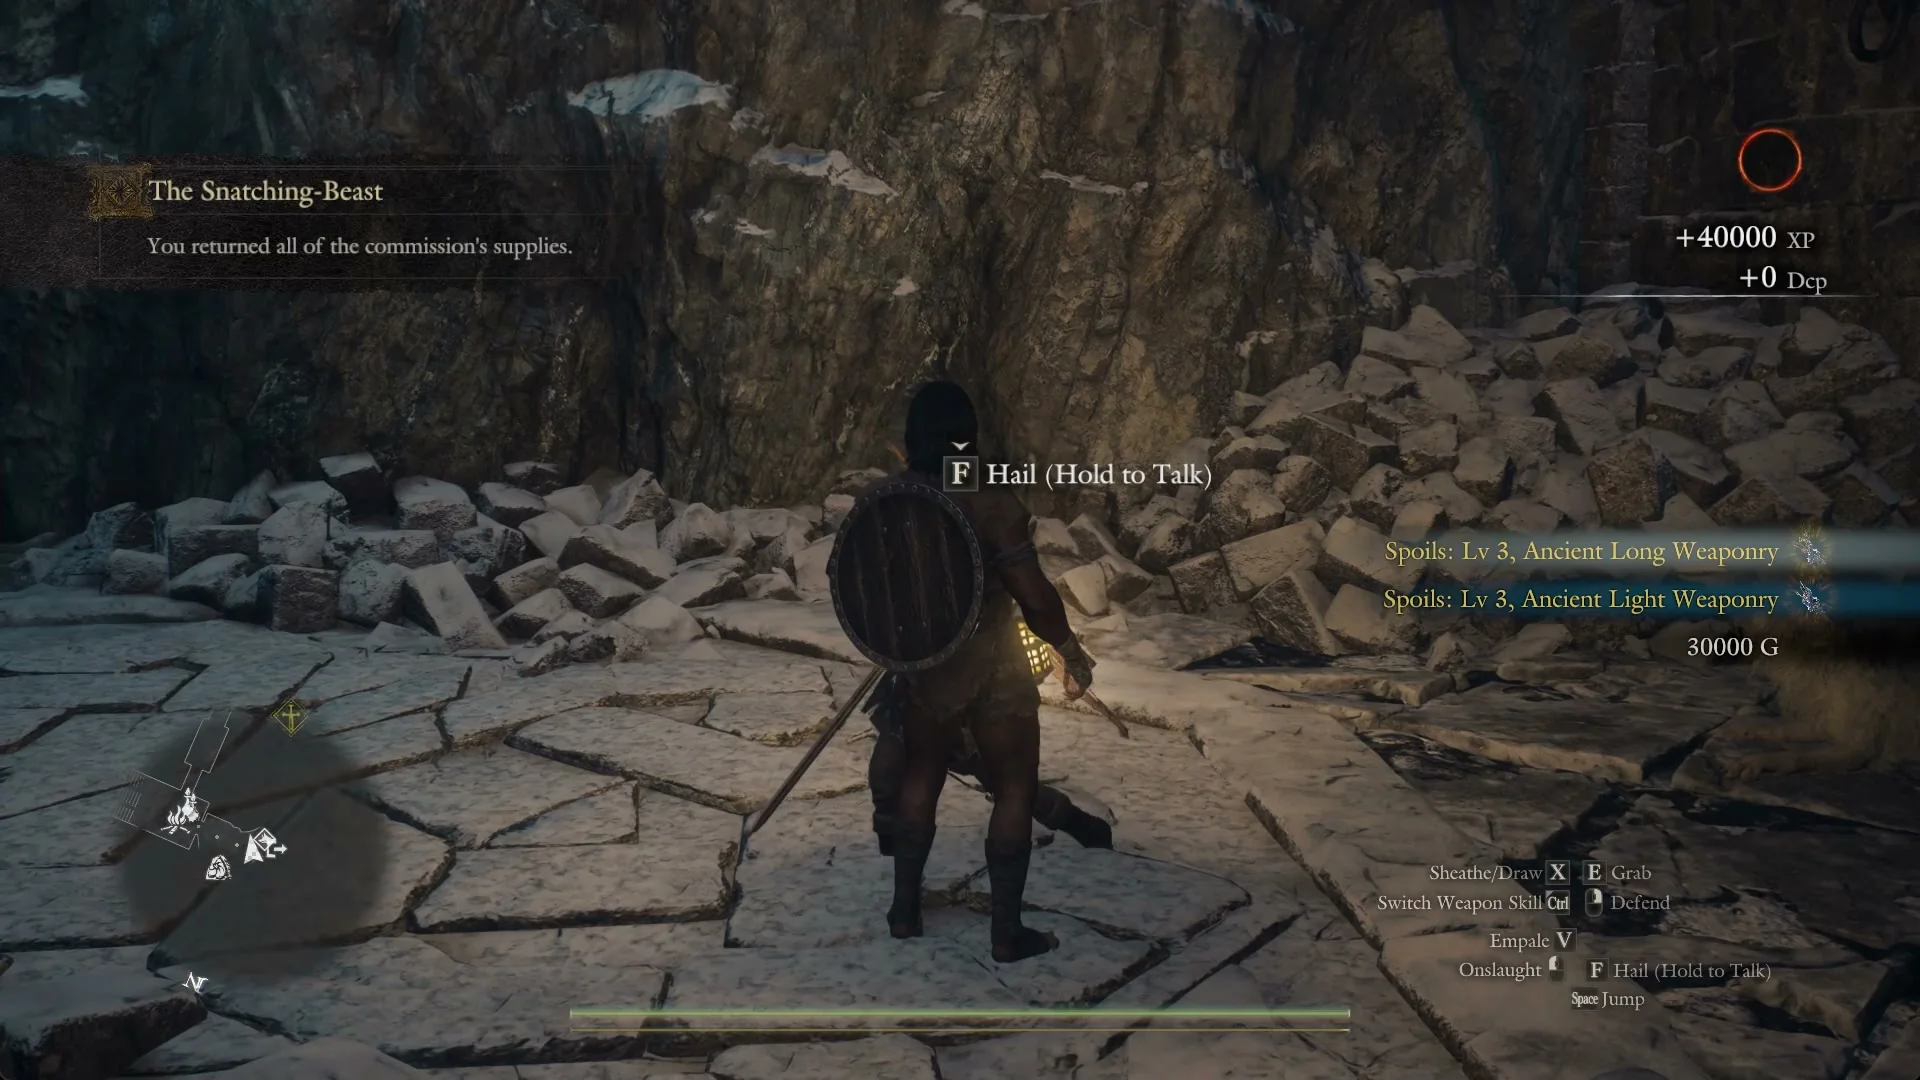
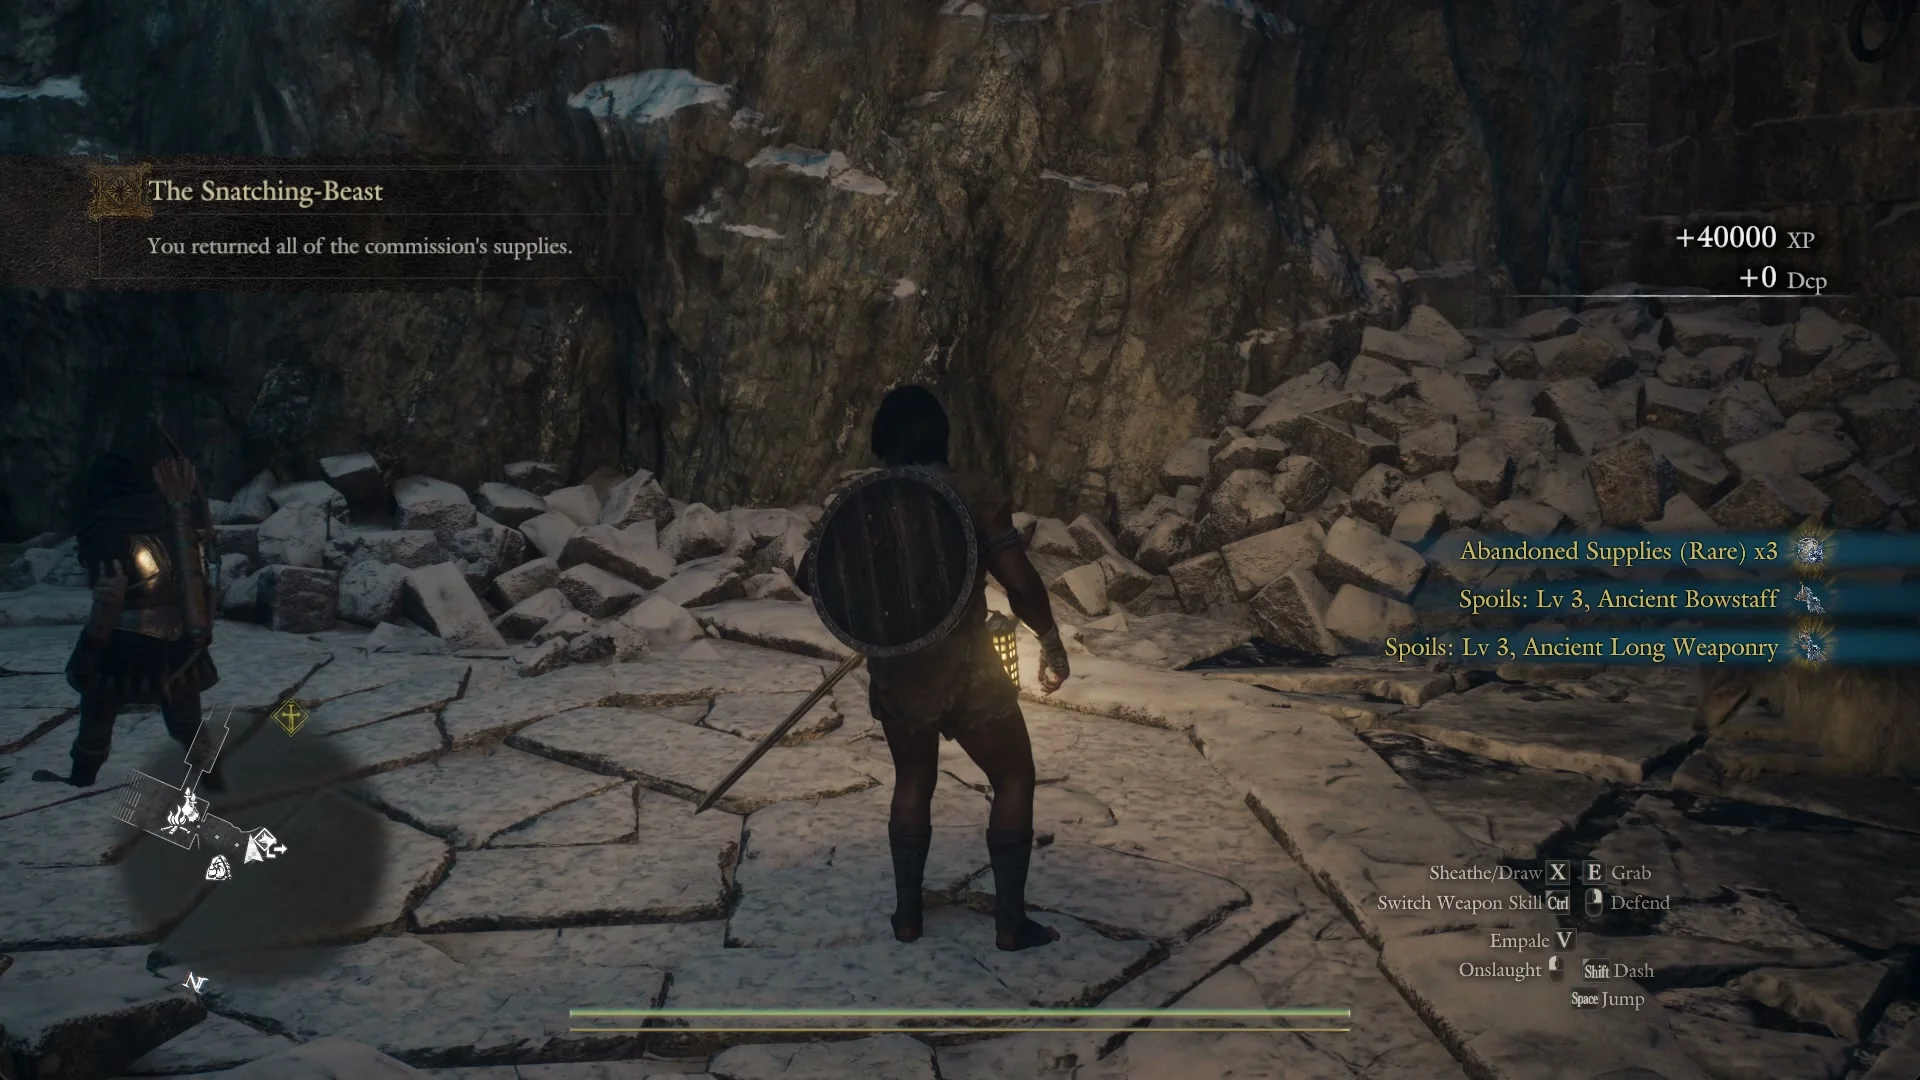
When the fifth pack goes in, the game confirms “You returned all of the commission’s supplies,” followed by “Completed: The Snatching-Beast.” That completion message is how you know the full return registered.
You can keep the packs and open them for their contents, but the best payout comes from handing all five over unopened.
Rewards for returning the supplies
Returning all five packs pays +40,000 XP, 30,000 G, Abandoned Supplies (Rare) x3, plus Spoils: Lv 3, Ancient Bowstaff, Spoils: Lv 3, Ancient Long Weaponry and Spoils: Lv 3, Ancient Light Weaponry.
The XP stays 40,000 at every tier, but fewer packs returned drops the gold to 25,000 G or 20,000 G with fewer Abandoned Supplies.