
Transferring files between Windows 11 devices becomes much faster when you use Nearby Sharing, a built-in feature that leverages Bluetooth and local Wi-Fi connections. This approach eliminates the need for email attachments, cloud uploads, or USB drives, allowing you to send documents, photos, and web links directly to nearby PCs with just a few clicks. Nearby Sharing operates exclusively between Windows PCs, so it’s ideal for users who frequently move files between laptops and desktops within the same workspace or home network.
Enable Nearby Sharing on Windows 11
Step 1: Open the Windows 11 Settings by pressing Windows Key + I. This shortcut brings up the main system settings panel.
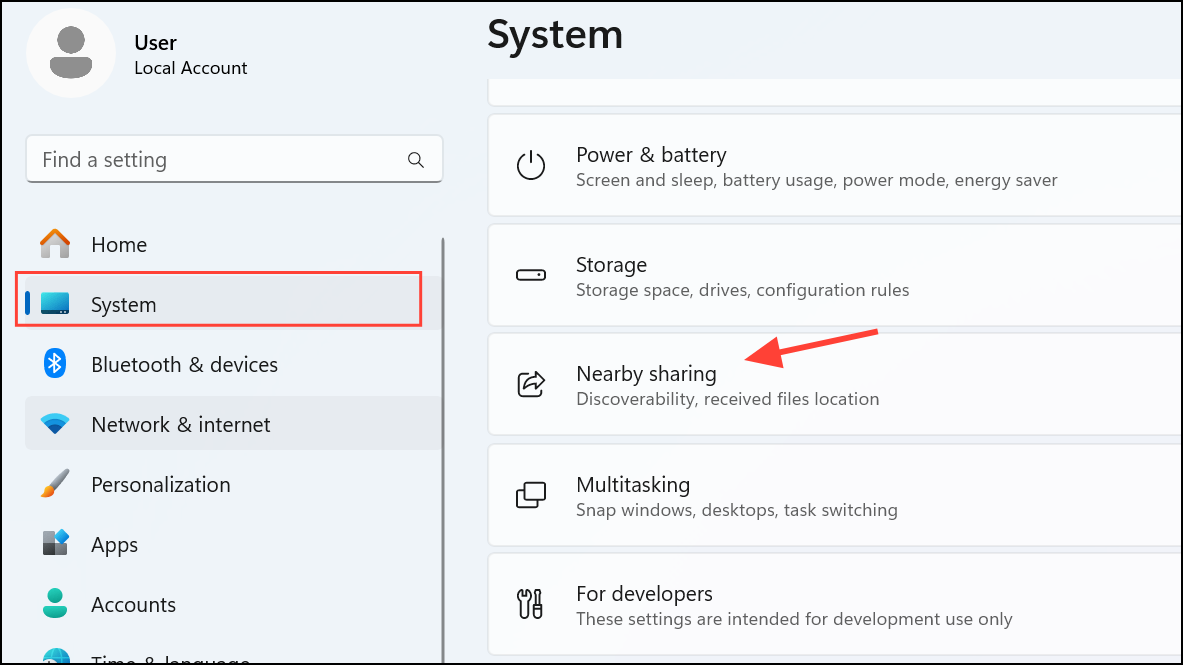
Step 2: Navigate to System in the left sidebar, then select Nearby sharing from the options on the right. If you don’t see this option immediately, scroll down within the System section until you locate it.
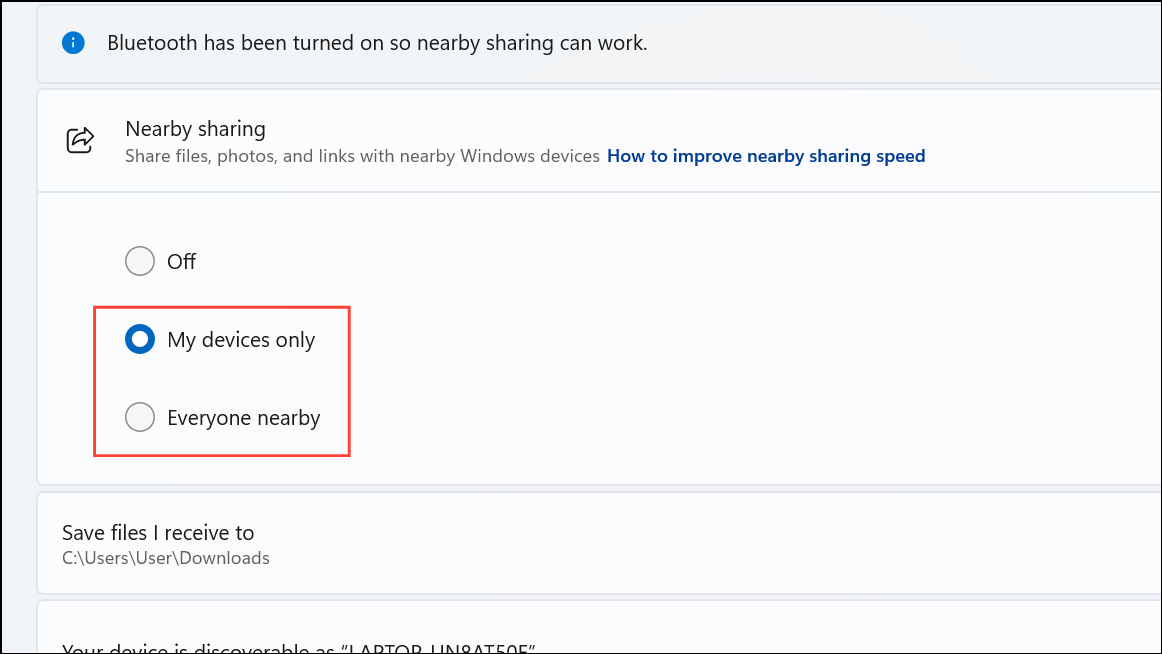
Step 3: Choose your sharing preference. Select My devices only to restrict sharing to devices using your Microsoft account, or Everyone nearby to allow sharing with any compatible Windows device in range. This setting determines which PCs can discover and send or receive files from your device. Be aware that selecting “Everyone nearby” shares your device’s Bluetooth information with all nearby Windows PCs, which could be used to identify your device.
Step 4: Repeat these steps on each Windows 11 device you want to use with Nearby Sharing. Both the sending and receiving device must have the feature enabled to complete transfers.
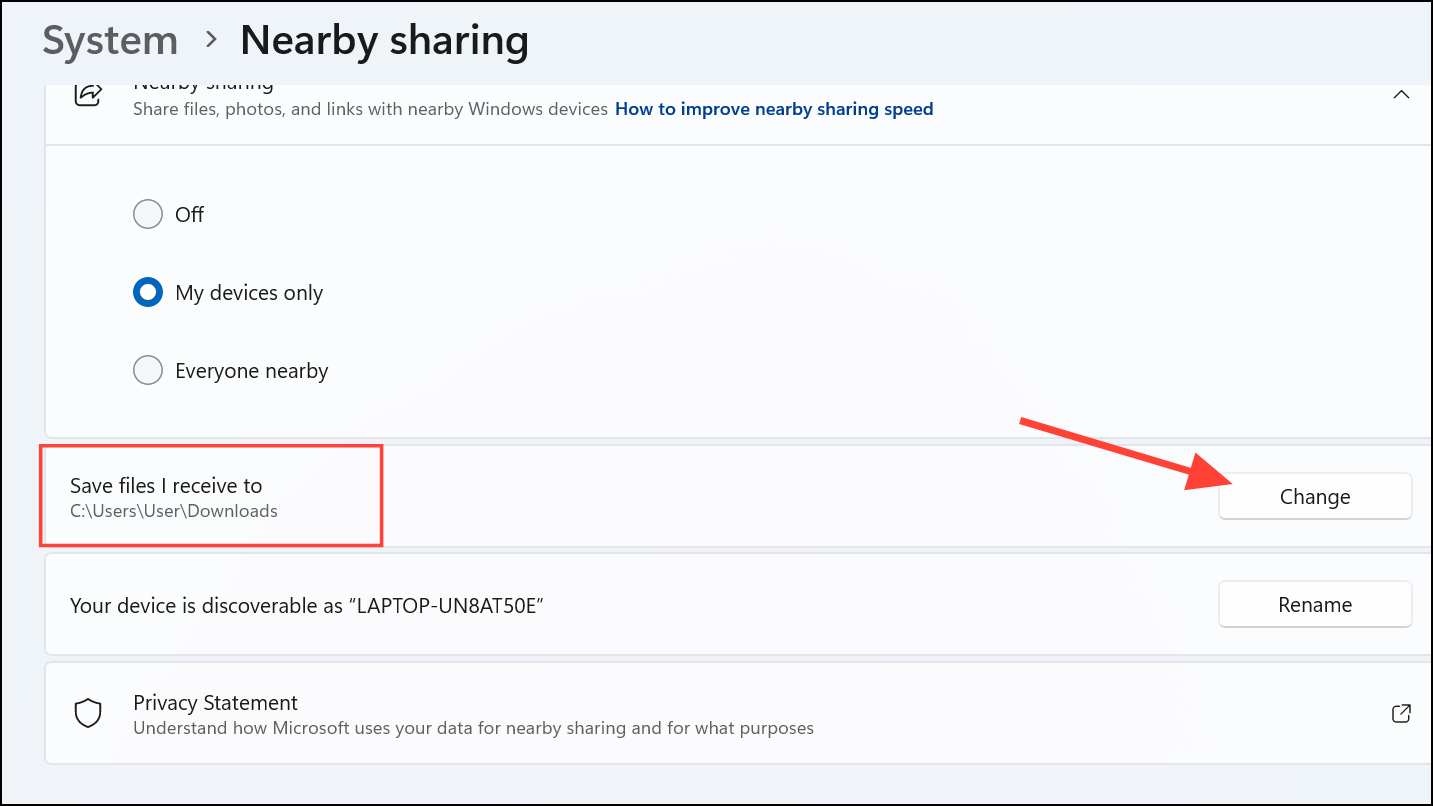
Step 5: Optionally, adjust the default folder where received files are stored. Under Save files I receive to, click Change, pick your preferred location, and confirm with Select Folder. This helps you keep shared files organized and easy to locate.
Share Files Using Nearby Sharing
Step 1: Open File Explorer on the device containing the file you wish to share. Browse to the folder where your file is stored.
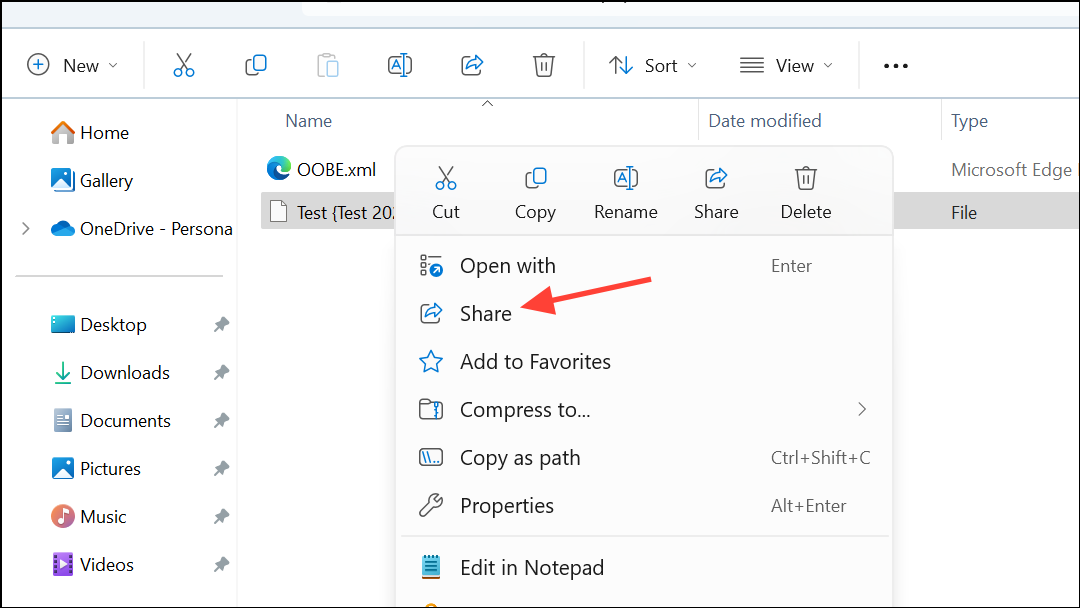
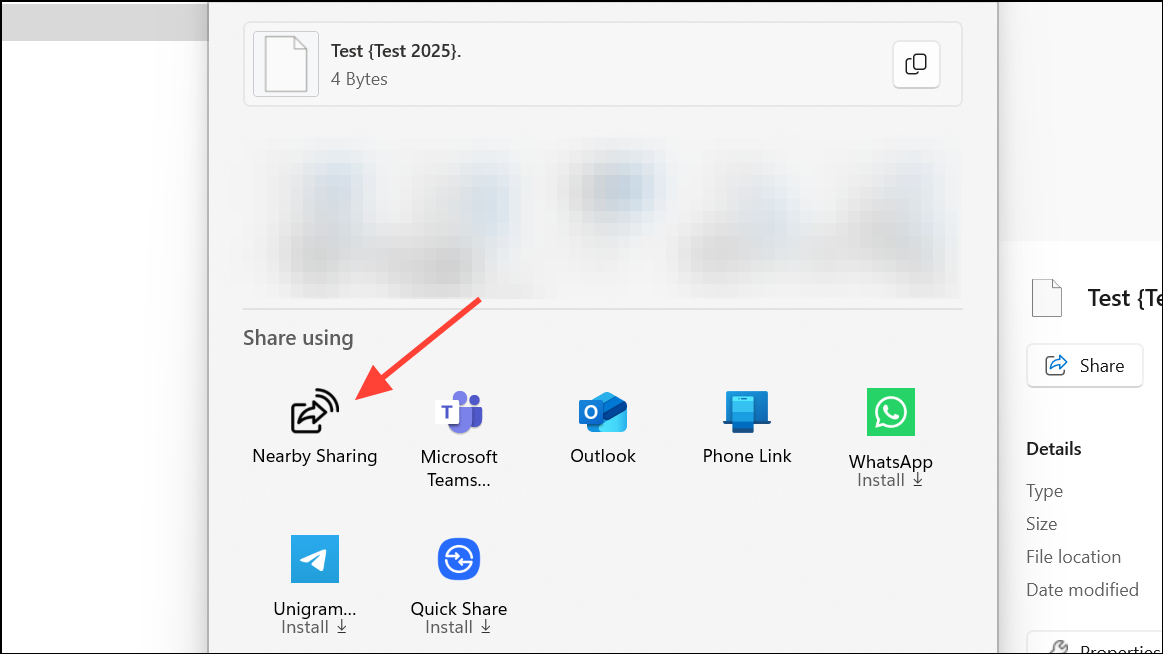
Step 2: Select the file you want to send. Right-click the file and choose Share from the context menu. If you don’t see the Share option, right-click again and select Show more options, then click Share.
Step 3: In the Share window, look for the “Nearby sharing” section. Windows will search for compatible devices within range that have Nearby Sharing enabled. Select the device name you want to send the file to.
Step 4: On the receiving device, a notification will appear. Click Save & open or Save to accept the file. By default, the file will be saved in the designated Downloads folder unless you changed the location earlier.
Step 5: Wait for the transfer to complete. Once done, both devices will display a notification confirming the file has been sent and received successfully.
Share Links to Websites with Nearby Sharing
Step 1: Open Microsoft Edge on the device with the webpage you want to share. Navigate to the desired website.
Step 2: Right-click on an empty area of the page and select Share from the context menu.

Step 3: Choose Windows share options in the sharing interface. In the “Nearby sharing” section, select the device you want to send the link to.

Step 4: The receiving device will display a notification. Click Open to launch the shared link in Microsoft Edge.
Share Pictures with Nearby Sharing
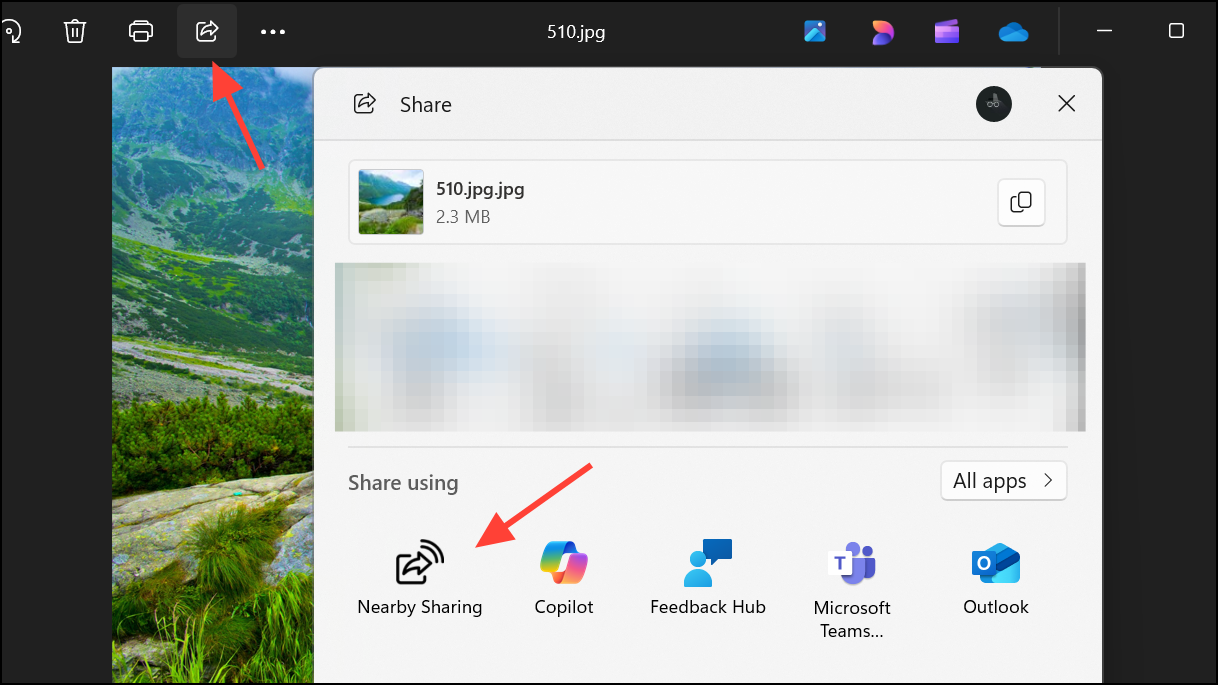
Step 1: Launch the Photos app on your Windows 11 device and select the picture you want to share.
Step 2: Click Share button at the top and then select Nearby Sharing as before. Choose the destination device from the list of nearby PCs.
Step 3: On the receiving device, click Save & open or Save in the notification to accept the image. The file will be stored in the default or specified folder.
Troubleshooting Nearby Sharing
Nearby Sharing relies on Bluetooth and Wi-Fi, so connectivity issues may disrupt transfers. If the feature isn’t working as expected, check the following:
- Bluetooth and Wi-Fi must be enabled on both devices. Verify these settings in Settings > Bluetooth & devices and Settings > Network & Internet.
- Devices should be within 30 feet (10 meters) for Bluetooth-based sharing. For faster Wi-Fi transfers, ensure both devices are connected to the same private network.
- Set network profiles to Private. Go to Settings > Network & Internet > Wi-Fi (or Ethernet), select your network, and confirm it’s set to Private. Public profiles may block device discovery and slow down transfers.
- Update Bluetooth and Wi-Fi drivers via Device Manager if transfers fail or devices aren’t detected.
- Restart both devices if they fail to recognize each other or transfers get stuck.
- Disable Focus Assist or Do Not Disturb if notifications aren’t appearing.
- Check for compatibility: Nearby Sharing requires Bluetooth 4.0 or higher with Low Energy (LE) support. To verify, open Device Manager, expand Bluetooth, right-click your adapter, select Properties, and check under the Details tab for “Bluetooth radio supports Low Energy Central Role.” The value should be True.
- Transfers between Windows and Android/iPhone require Google’s Quick Share app, not Windows’ native Nearby Sharing.
If you continue experiencing issues, use the built-in Windows troubleshooters for Bluetooth or network problems, or temporarily disable third-party firewalls or antivirus software that might block sharing.
Activating Nearby Sharing in Windows 11 streamlines file and link transfers between PCs, cutting out cables and cloud uploads for a direct, reliable solution. Adjust your sharing and network settings for the fastest results, and enjoy quick, wireless file exchanges across your devices.