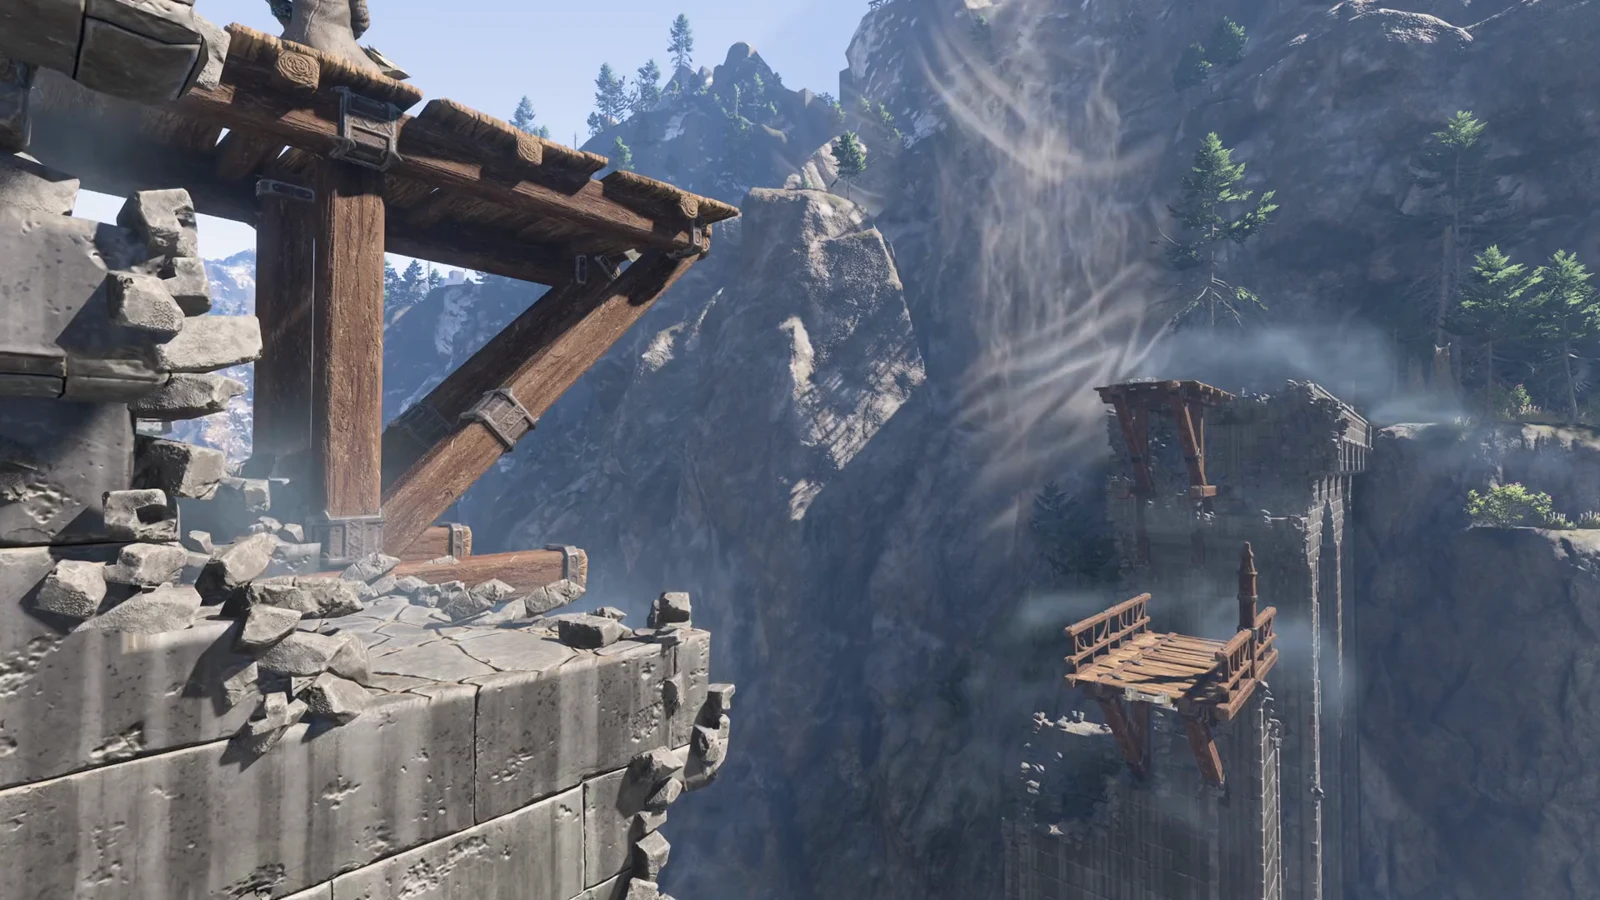
The Ancient Spire in the Revelwood is the fast travel tower you take on during the quest “Reclaim the Wilderness,” handed out by the Farmer, Emily Fray. There are no enemies inside. Everything between you and the summit is traps and locked doors, and every locked door opens by hitting a switch. Reach the top, commune with the Flame, and the tower becomes a permanent waypoint.
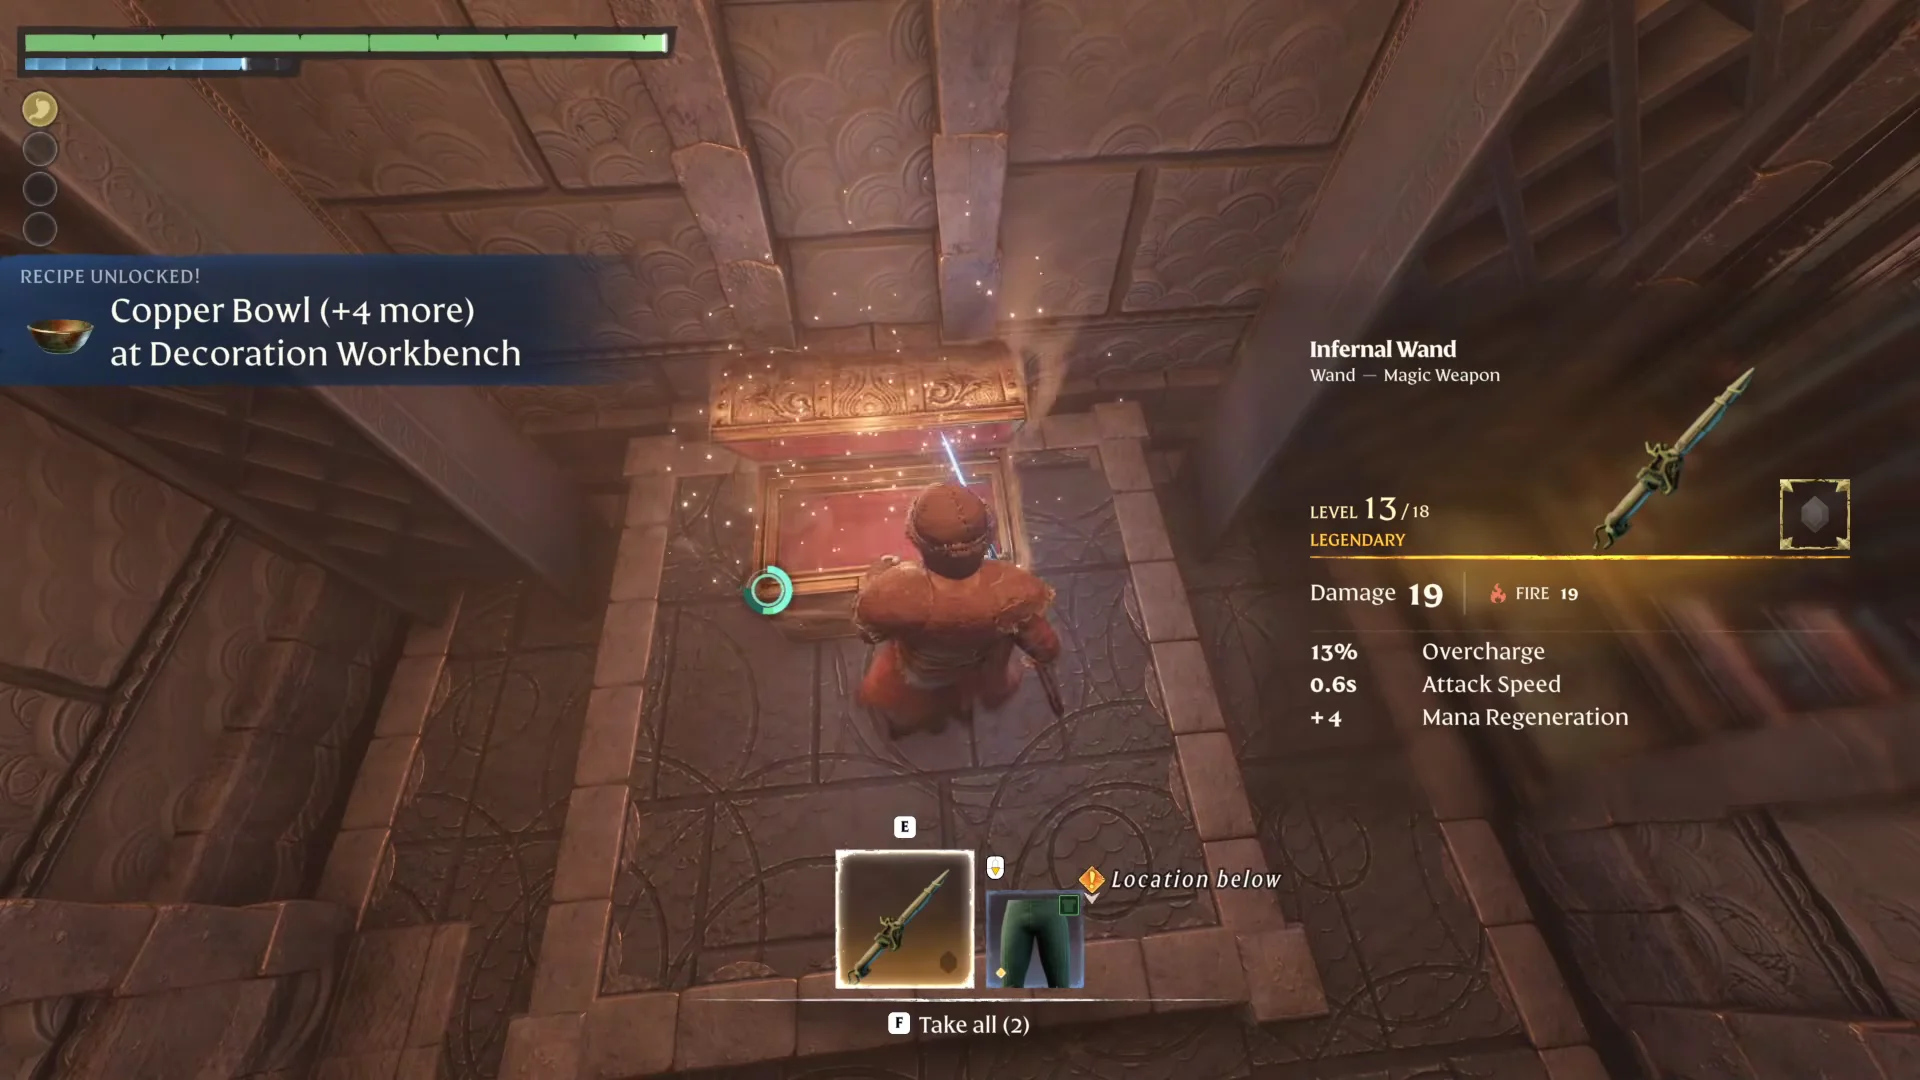
Quick answer: Clear three trapped tiers by hitting each wall and ceiling switch to open the gates, then commune with the Flame at the summit. Three hidden chests along the way hold Wisp of Light, the Infernal Wand with Archer Trousers, and the Valiant Shield.
Before you climb: level, Flame, and gear
The Revelwood is harsher than anything in the Springlands, so come in around level 13 with your Flame raised to level 3. You can arrive earlier, but the Enshrouded stretches between the Farmer’s Vault and the tower are punishing if you are underlevelled.
From the Farmer’s Vault, head north past the Willow Crush ruins, cross the ruined Braelyn bridge, and follow the road north-northeast. Watch for Wolves, Scavengers, and Wild Boars on the way. Pass the Carpentry Camp, then hook east around the cliff and climb north to reach the Spire. Interact with the red teleport pad at the top of the entrance stairs to begin.
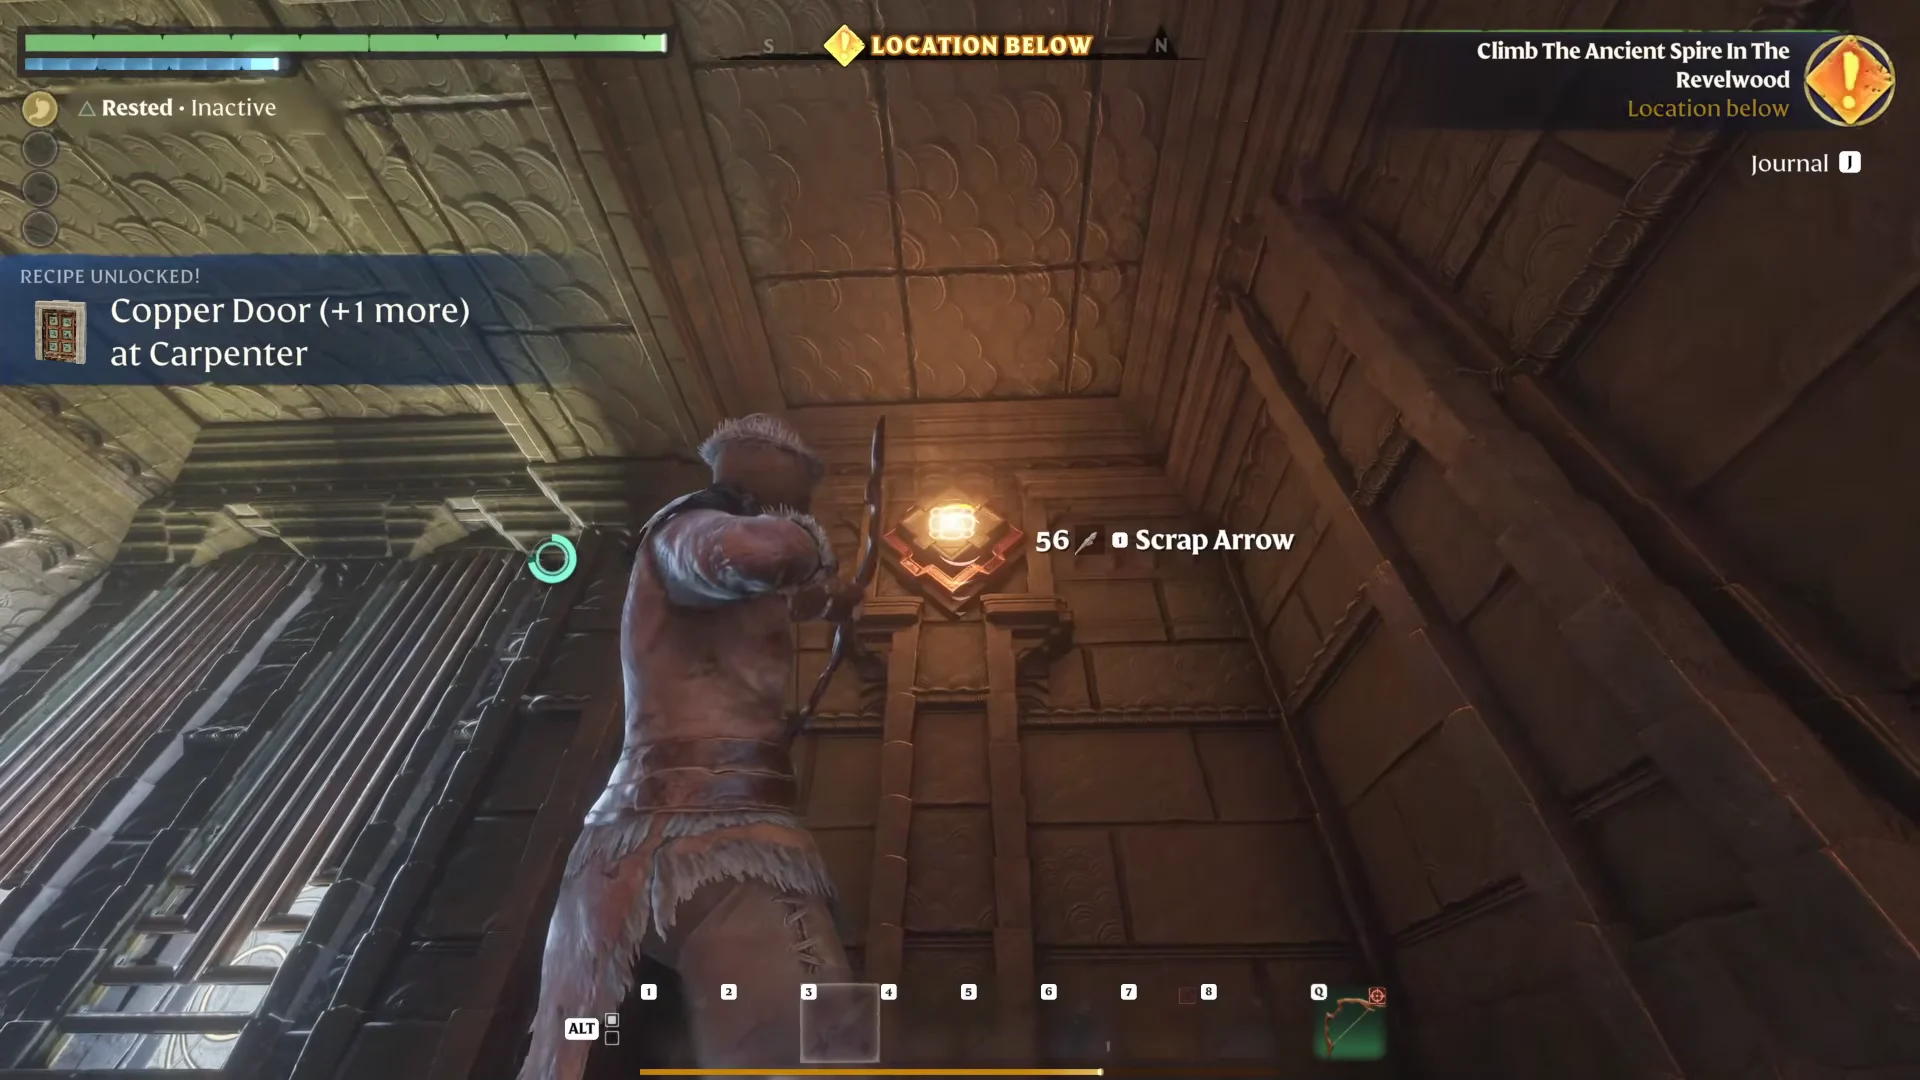
Two things make the climb easier. You need the Grappling Hook to reach the second hidden chest, so craft it first. A ranged weapon (bow, wand, or staff) is mandatory, because several switches sit high on walls and ceilings and can only be triggered with a shot.
Check the patios around the ground floor before entering. You can find loose Copper Bars, Hardwood, and sometimes a Prayer of the Flame Scroll sitting out in the open.
Tier one: fireball and lightning corridors
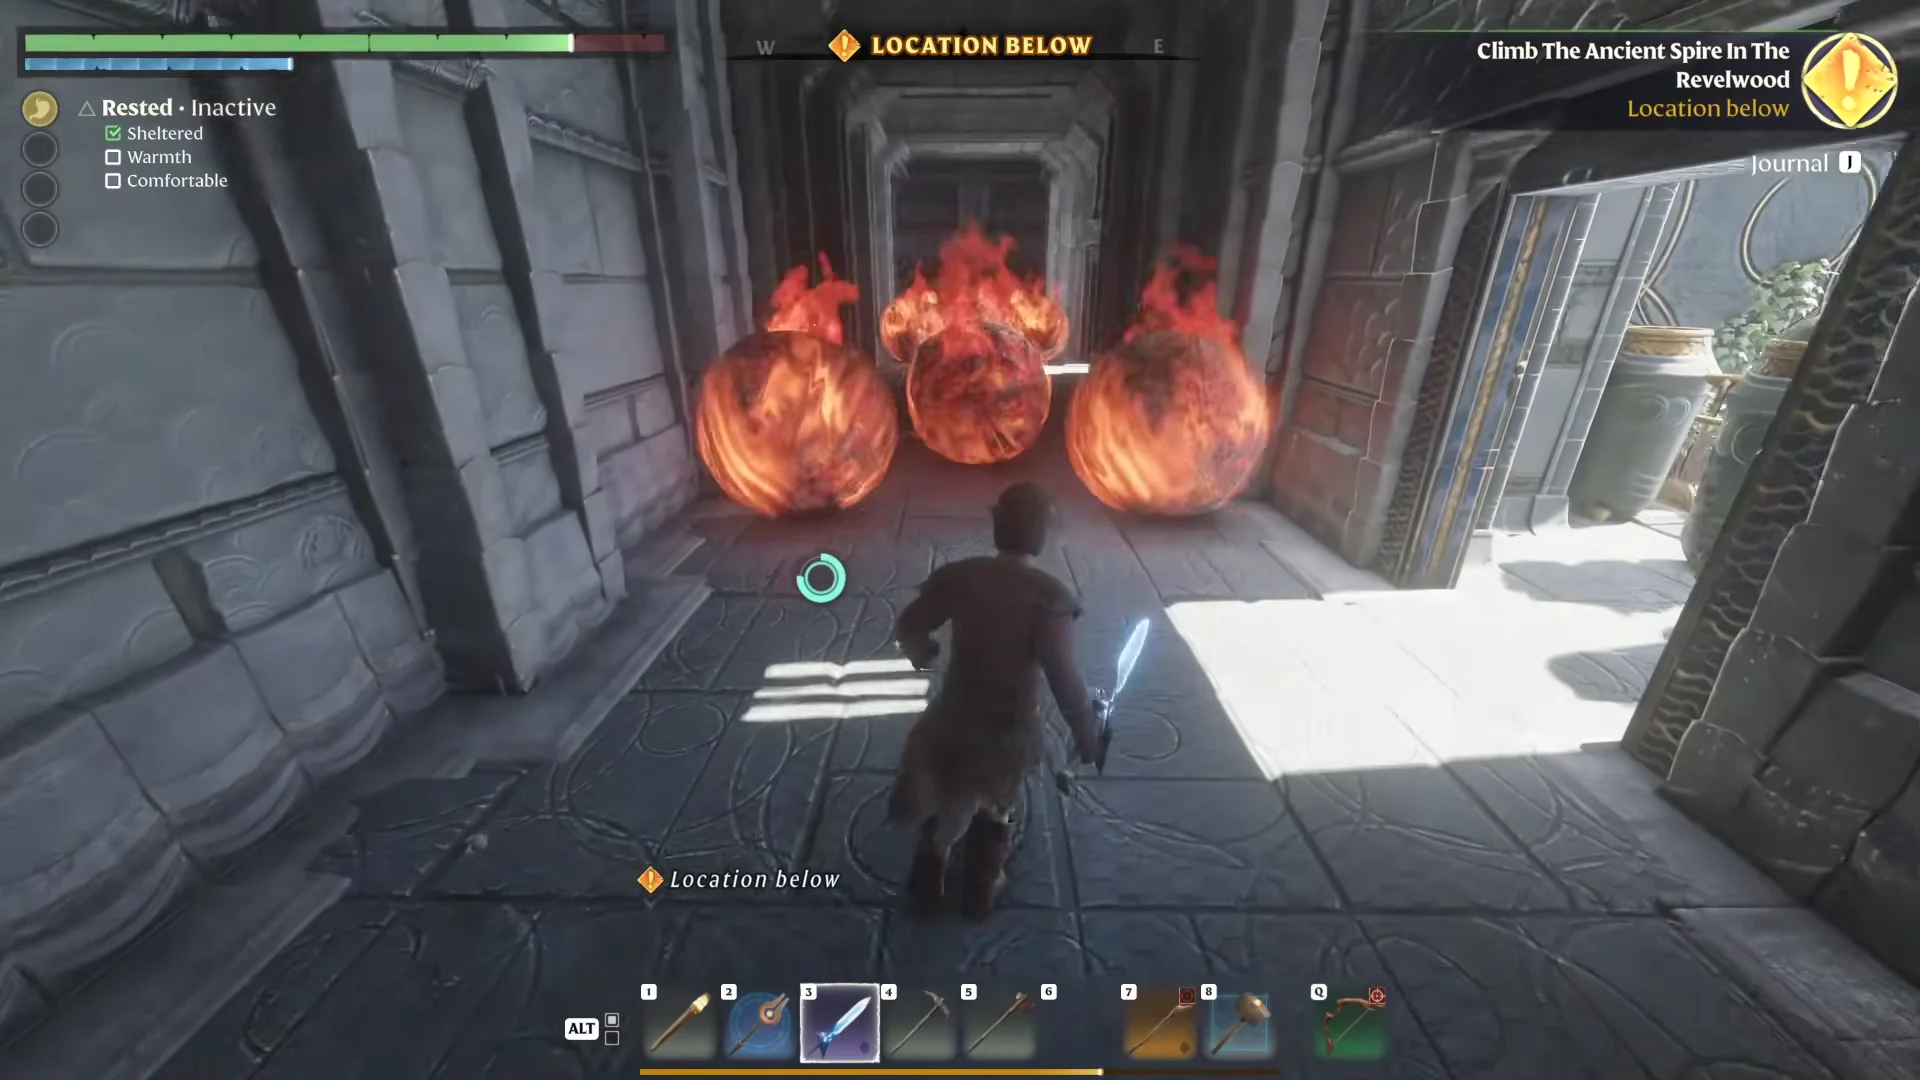
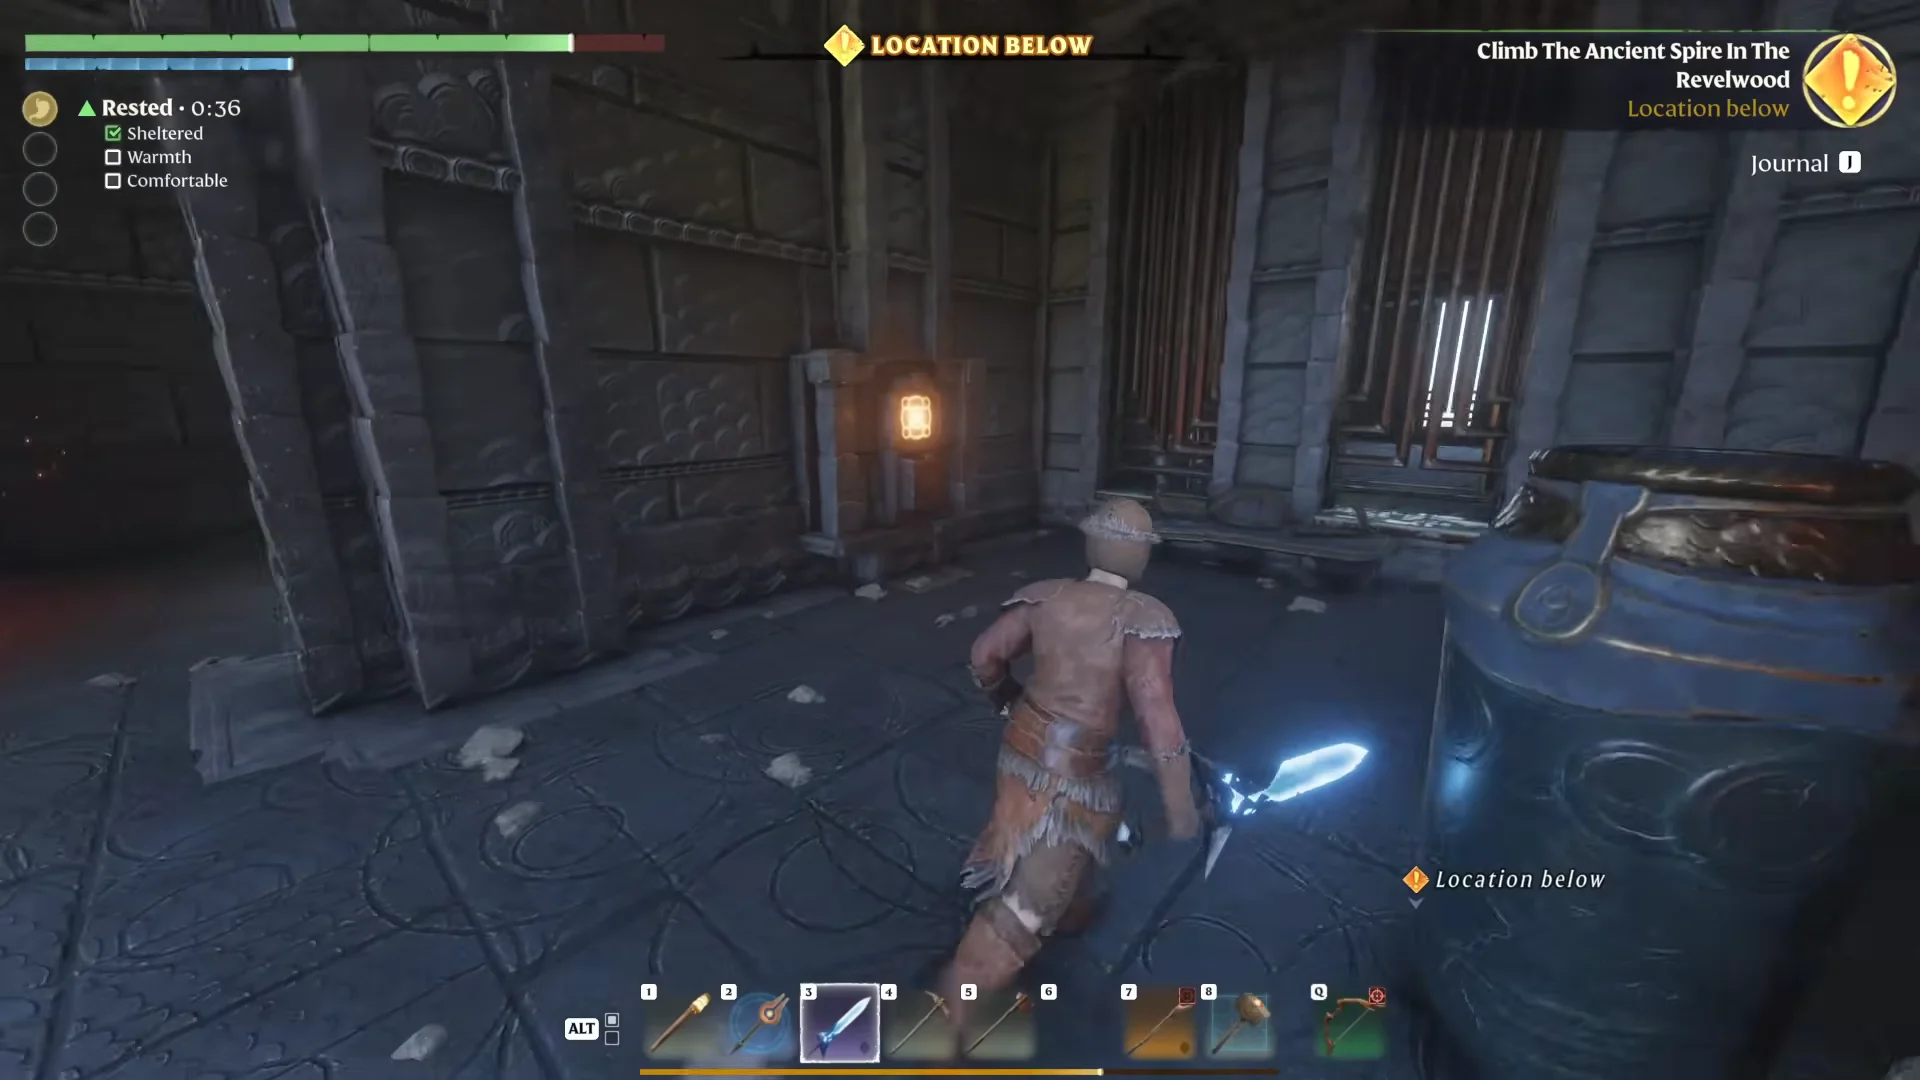
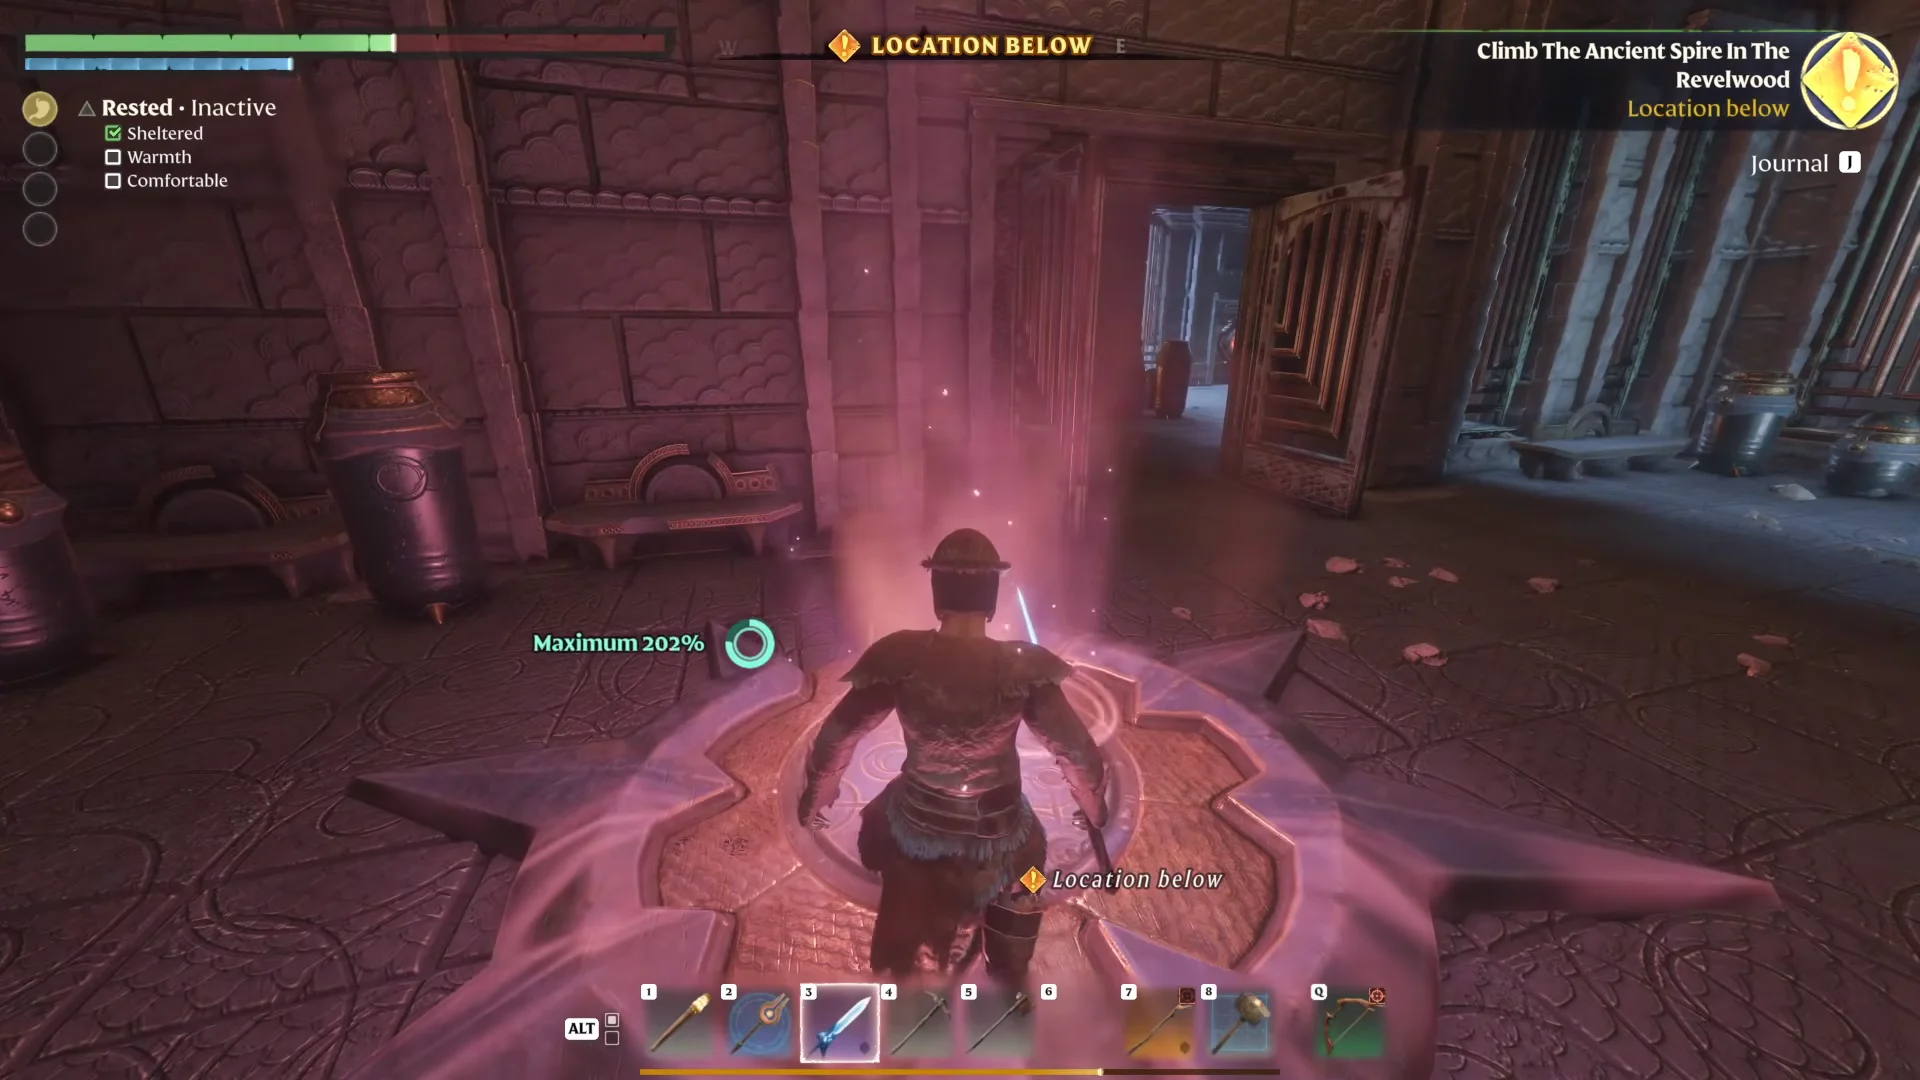
Tier two: spike floors, climbing walls, and two chests
This floor adds spike traps that retract on a timer and damage and briefly stun you if they catch you. The doors at the far end carry four lock glyphs, so there is a lot of switch-hunting here.
Tier three: lava pits and the third chest
The top tier swaps spikes for lava and adds lightning bolts over a catwalk. The door in front of the pad carries two lock glyphs.
Summit: commune with the Flame
On the top terrace, interact with the altar to commune with the Flame. You know it worked when the on-screen prompt changes, the Flame speaks about the madness hidden in the Revelwood’s undergrowth, and the world map charts the Spire as an active fast travel point with new markers nearby. “Reclaim the Wilderness” completes for 400 XP and advances to “Follow the Melody: Forge A Path Through The Wild.” The new waypoints include fresh Elixir Wells and Flame Sanctums.
Chest loot reference
Here is where each of the three hidden chests sits and what it drops, so you can plan your route and decide what to carry out first.
| Chest | Tier | Contents |
|---|---|---|
| Hidden Chest 1 | Tier two, top of the climbing wall |  Wisp of Light Wisp of Light |
| Hidden Chest 2 | Tier two, grapple across the gap | Infernal Wand, Archer Trousers |
| Hidden Chest 3 | Tier three, crawlspace under the stairs | 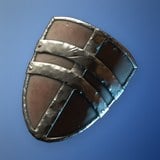 Valiant Shield Valiant Shield |
Infernal Wand and Valiant Shield stats
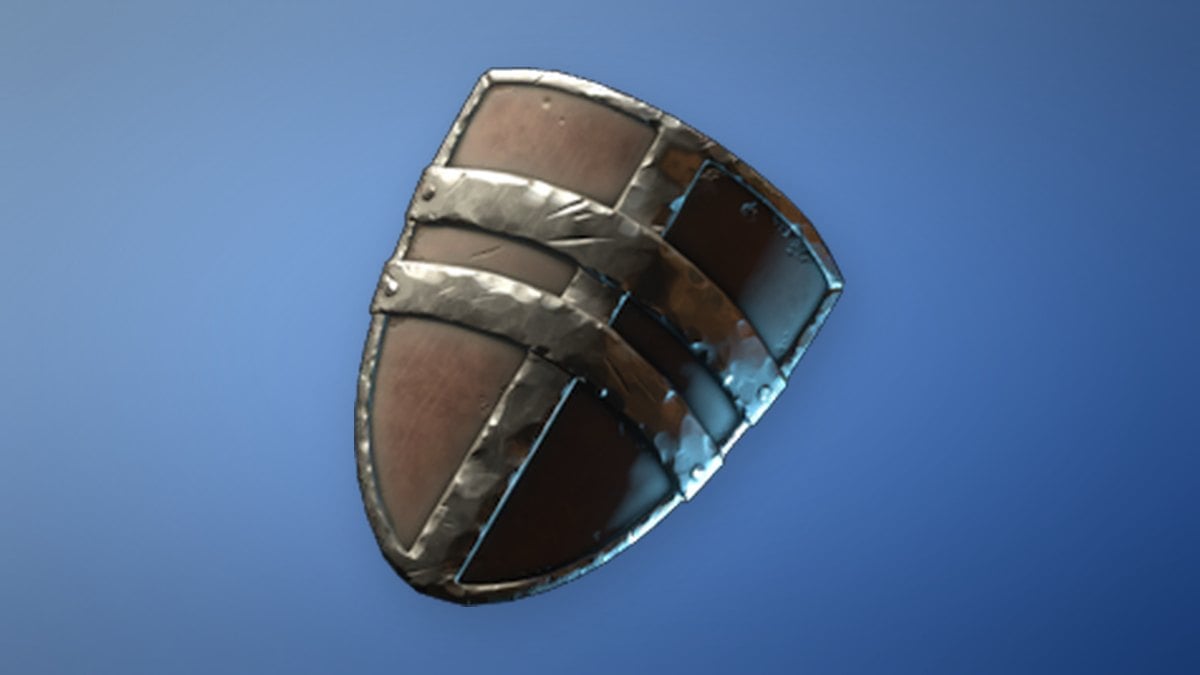
The two named pieces from the Spire’s chests sit in different hands. The Infernal Wand is a Mage weapon that fires Fire projectiles, and the Valiant Shield is a Warrior off-hand built for parrying. Their base figures are below.
| Stat | Infernal Wand | Valiant Shield |
|---|---|---|
| Class | Mage | Warrior |
| Slot | Throwable or wand | Off hand |
| Damage type | Fire | — |
| Overcharge | 15% | — |
| Attack Speed | 0.6 s | — |
| Mana Regeneration | 6 | — |
| Parry Power | — | 1 |
| Perks | Mana Leech 4, Mana Currents 1 | Power Parry 1 |
Infernal Wand. Overcharge can boost the damage of an attack, with the bonus capped at the listed percentage. Pair it with Mana Leech and Mana Currents for a Mage wand built around sustain.
Valiant Shield. A Warrior off-hand with Power Parry for well-timed blocks. It is a crafted recipe at the Blacksmith and unlocks once your Flame is at level 3 or higher and you build under a roof, so the chest copy is a head start on that gear.
With the three chests emptied and the Flame lit, the Revelwood Spire stays on your map for good, and the surrounding Elixir Wells and Sanctums are now yours to chase down for the artisans back at camp.