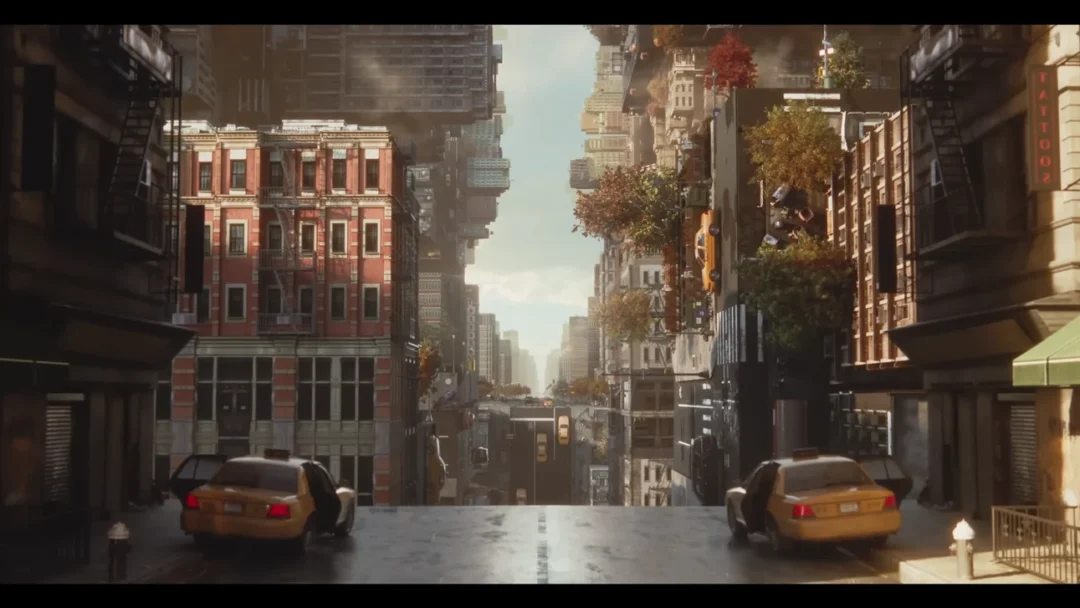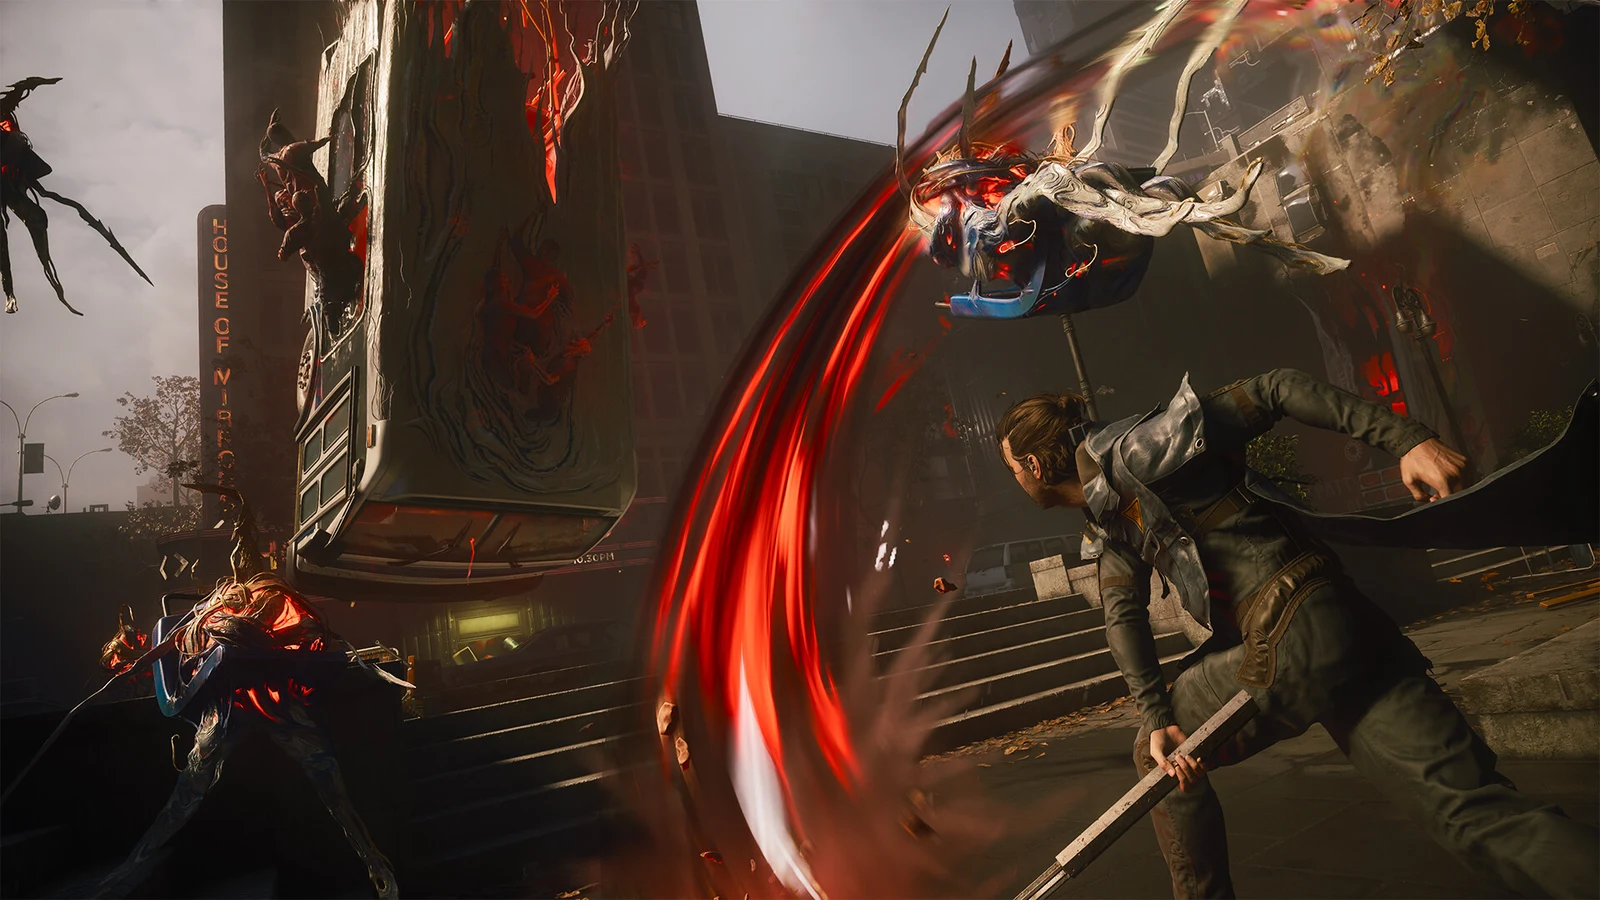
In Control Resonant, the Resonants are boss encounters found throughout ruined Manhattan. Their quest line is separate from the main campaign, and you can finish the story while leaving most of them undefeated. Each victory awards Dylan a Combat Ability, and defeating the entire group helps repair the Mural in the Gap for completion. Some arenas require traversal powers to reach, so their map markers may appear well before you can enter them.
Quick answer: There are six Resonants plus the final boss Hedron — The Artist in the prologue, then one per zone (Deserter, Dancer, Collective, Physicist, Co-Director), with none in the Evacuation Zone. Every kill grants a Combat Ability choice.
Every Resonant, zone, access requirement, and reward
The Quest Log names each fight after its region, not the entity Dylan actually faces. The Underpass Resonant quest, for example, ends when you beat the Physicist. Here is the full checklist in one place.
| Resonant | Zone | Access | Reward |
|---|---|---|---|
| The Artist | Downtown | Prologue, mandatory | Barrage, Shield, or Volatile Anomaly |
| The Deserter | Central | Patterned Factory | Ignite or Inferno |
| The Dancer | West Incursion Zone | Shift, Theater route | Push or Ground Slam |
| The Collective | The Park | Shift, all mold eaten | Spore Burst or Growth |
| The Physicist | Underpass | Three Astral Keys | Spike or Astral Rebuke |
| The Co-Director | Unknown | Rangers’ distress call | Command |
| Hedron | Unknown | All Hedron Links severed | Extra Combat Ability Point |
A few of these fights also drop Untapped artifacts on top of the ability choice, including an Untapped Amulet from The Dancer, Untapped Glasses from the Physicist, and an Untapped 1996 Commemorative Coin from the Co-Director.
What you need before you can reach them all
Three regional Resonants require traversal abilities or completion of zone puzzles before you can reach them. Their markers may appear on your map hours before access is possible. Handle these requirements first to keep the quest chain moving smoothly.
- Shift — unlocked by finishing The Incursion Fault. Needed for the Dancer and the Collective.
- Reach — The Subway Fault unlocks it, and you must pass through it to reach the Underpass.
- Astral Keys — Find three along side routes in the Astral Plane.
- Mold strains — Eat these throughout The Park to unlock the central Mold Gate.
All of these come from the main story sooner or later, so nothing here is permanently missable. If you reach a Resonant marker and the path dead-ends at an impossible wall or gap, you are simply missing the ability for that zone.
Resonant locations and how to reach each one
The Artist — Downtown
During Orientation, Dylan encounters The Artist, the first Resonant, while he is still learning the fundamentals. This story-required battle cannot be skipped and takes place within the first hour. The boss attacks with projectiles and explosive area strikes, so keep moving instead of staying in one position. After the win, Dylan reaches the Gap and chooses his first Combat Ability: Barrage, Shield, or Volatile Anomaly.
The Deserter — Central
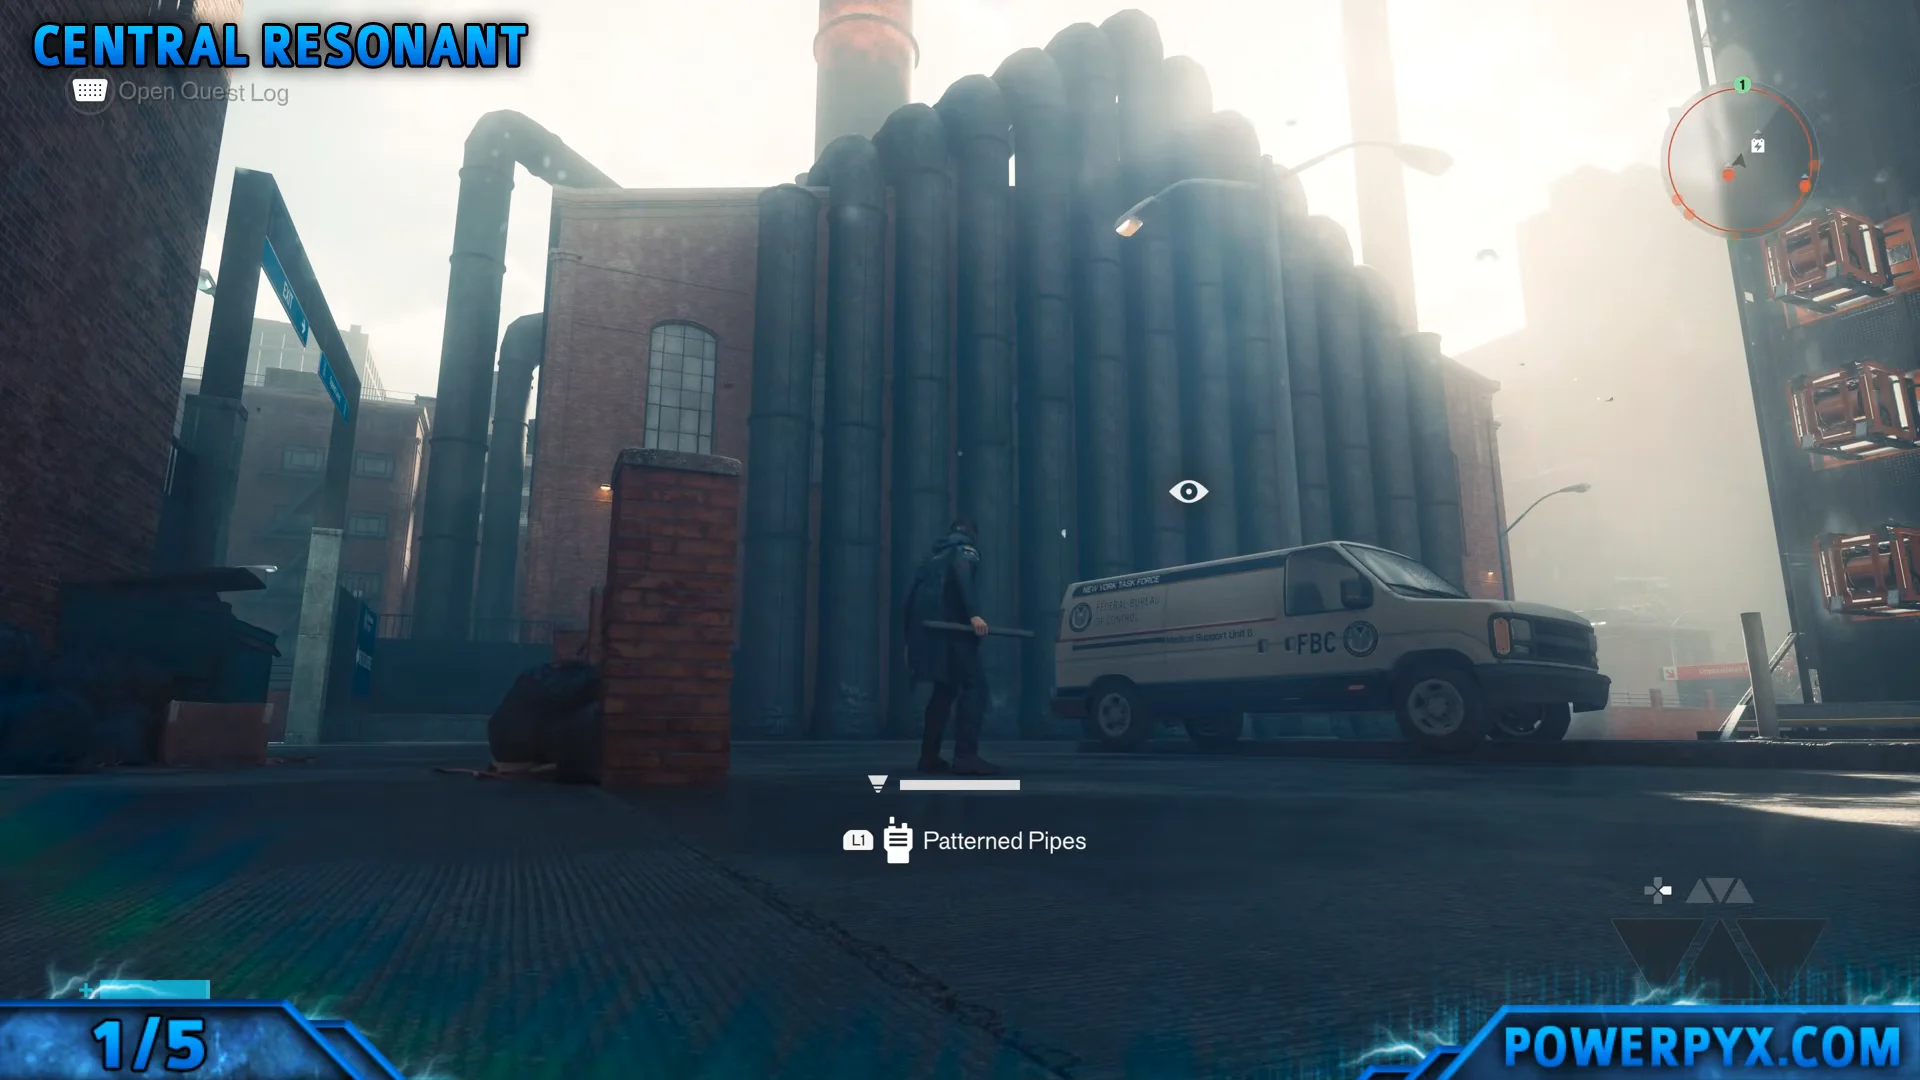
From the FBC Field Office in Central, head north toward the Factory marked on your map. Use Overheat on the patterned pipes outdoors to place The Central Resonant in your Quest Log. To get inside, go around the building’s right side, climb the platforms to the roof, cross over to the room on the west, then break through its door.
Inside, clear the enemies and ride the elevator down. Destroy the three heat tumors to deactivate the furnace, then head past it to reach The Deserter in the furnace room. Beating it lets you pick Ignite, which adds Burn to weapon attacks, or Inferno, a more direct fire ability.
With Immortality enabled in Assist Mode, bypass the tumors by climbing the long stairs and passing through the flames.
The Dancer — West Incursion Zone
Although The Dancer’s marker appears early, you cannot reach it until you have Shift. Return after completing The Incursion Fault, then use Shift to cross the streets disrupted by gravity. Descend through the Empire Avenue Station subway tunnels and follow the patterned route across the inverted city to the Empire Theater Dance Hall.
In the circular arena, the boss’s speed makes the moments after its lunges your best chance to attack. Since blocking and parrying are unavailable, keep dodging and applying pressure. When it winds up, roll diagonally past it rather than retreating in a straight line. Your reward is a choice between Push and Ground Slam, two close-range crowd-control options.
The Collective — The Park
A central Mold Gate in The Park stands between you and the Collective, so you’ll need Shift to reach it. Dylan must first find and eat four pieces of Mold scattered throughout the zone before the gate will open.
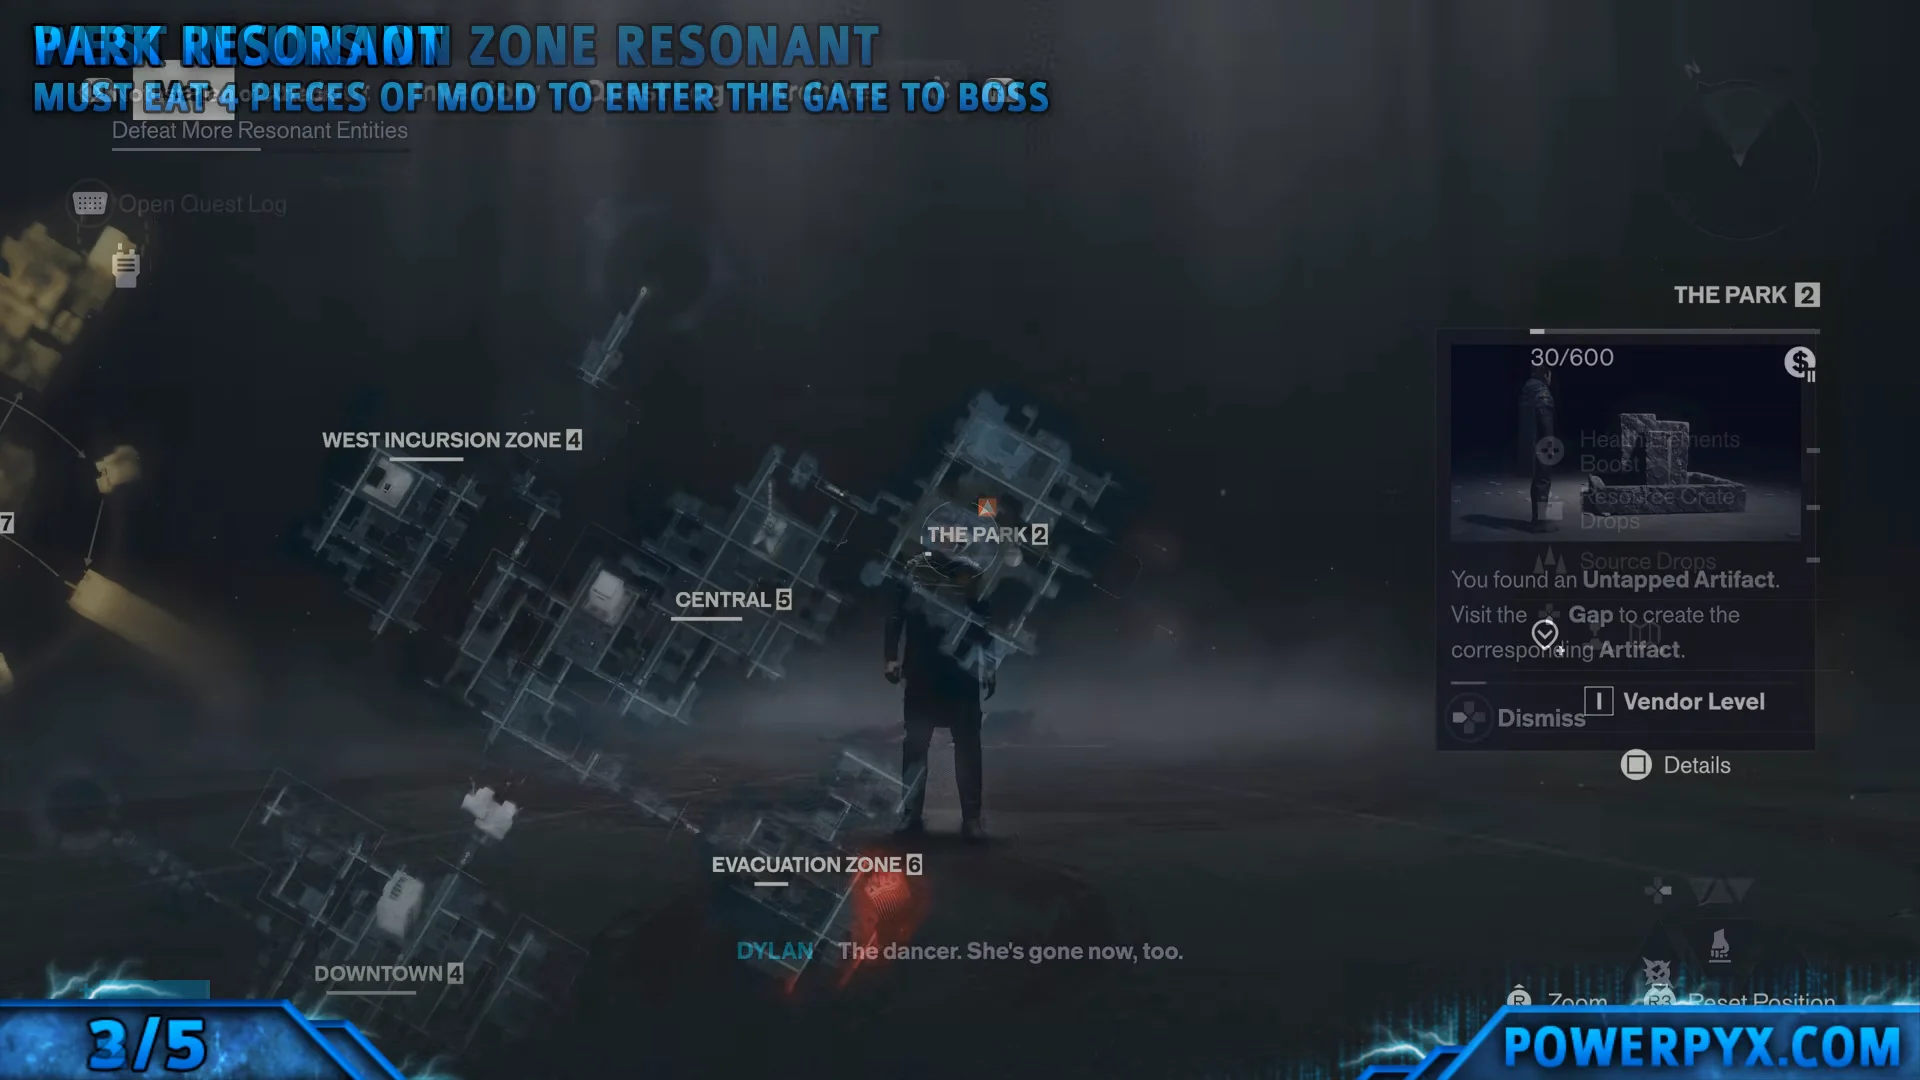
At the Mold Gateway in the region’s center, find the first sample left of the blocked door. The remaining samples are Cafe Mold, Pizzeria Mold, and Minimart/Gym Mold, positioned around The Park’s corners. Each lies beyond a Mold blockage that opens when nearby enemies are defeated. A sewer passage connects several of these locations.
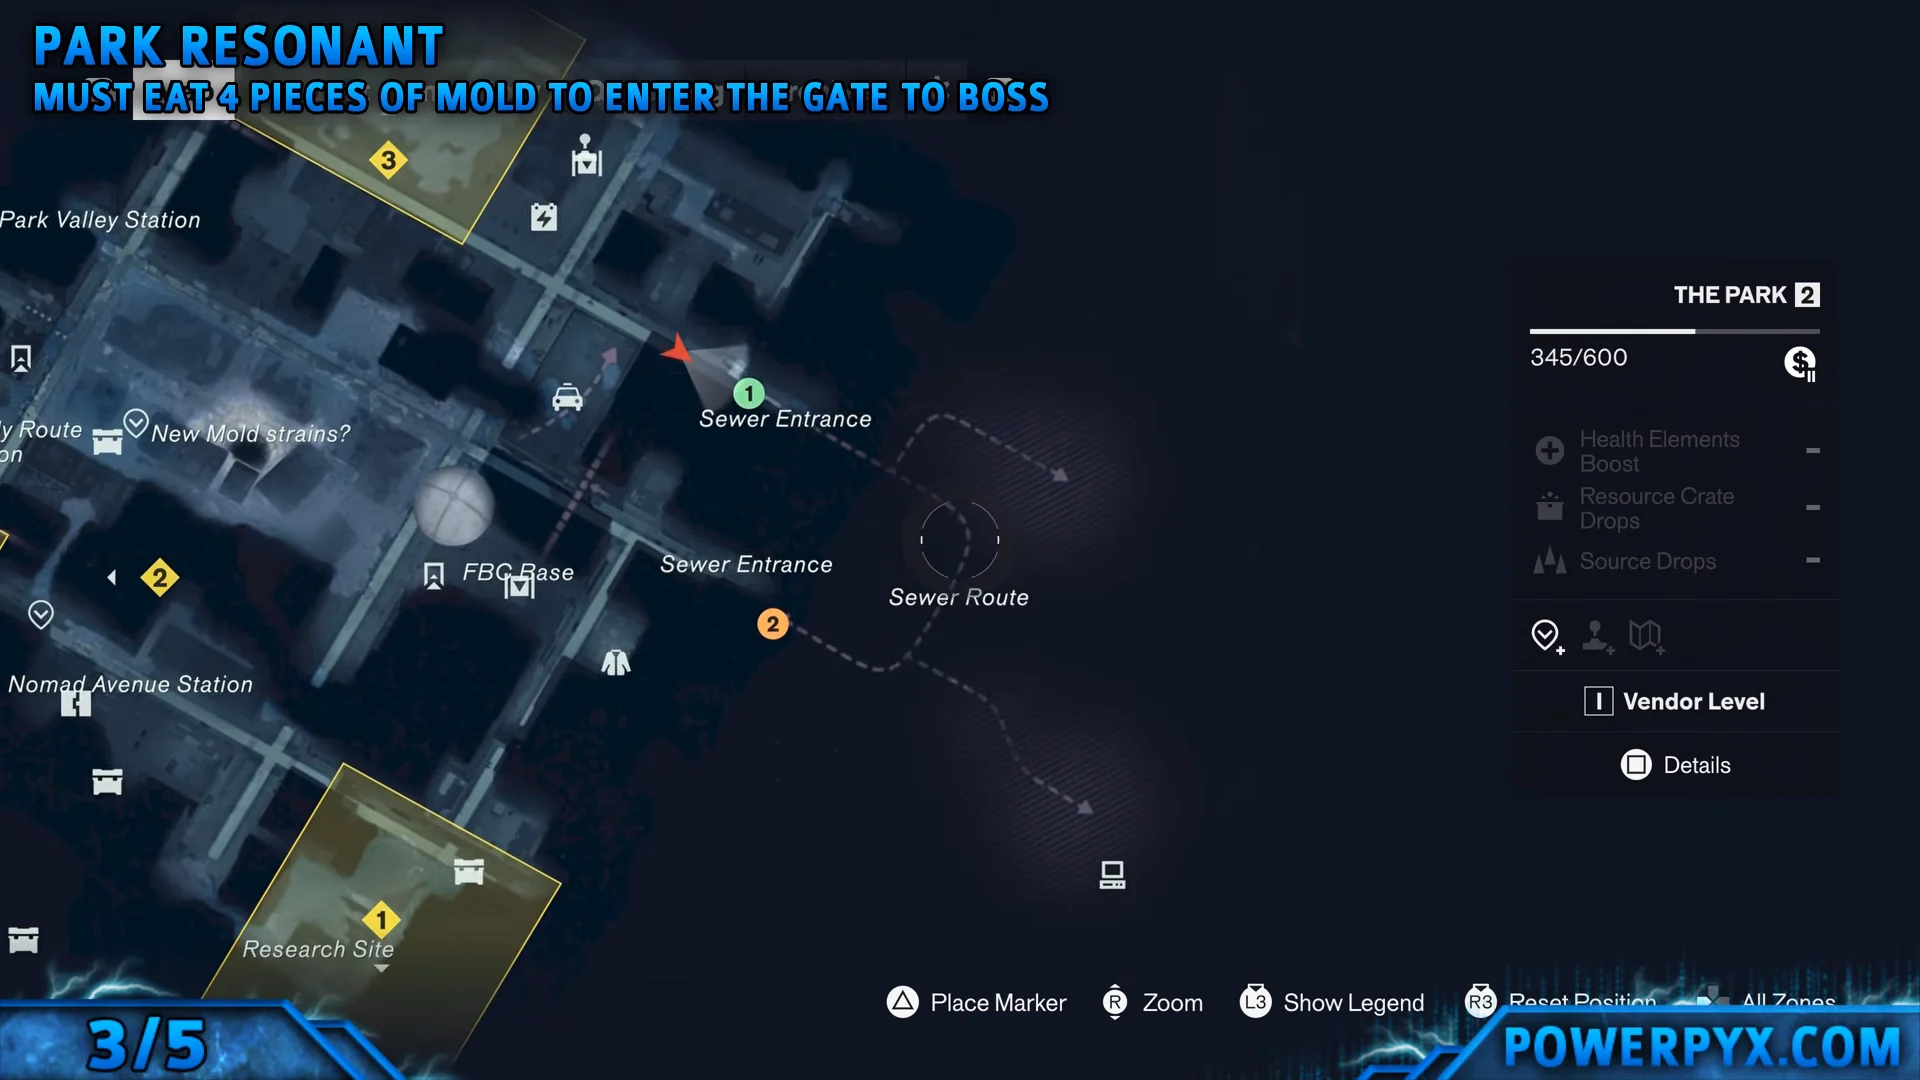
With all four eaten, return to the central Gateway. The membrane barrier is now open, and the path beyond leads straight to The Collective. It rewards Spore Burst, which fires fast Mold projectiles, or Growth, a Mold ally that attacks and builds the Infected status.
The Physicist — Underpass
Go to the Spire in the Underpass, then enter the Astral Plane through the hole in the wall, where enemies stand guard. Beyond it, floating platforms take you to several locked doors. Each requires one of three Astral Keys, which lie along side branches rather than next to the doors.
Look across each island cluster branching off the main straight route for a key before continuing onward. Opening the third door lets you proceed to an automatic battle with a giant spiked disc entity. Defeating it awards either Spike or Astral Rebuke.
The Co-Director — Unknown
As you traverse the shifting Unknown, Zoe sends word of FBC Rangers under attack near the Field Office. Reach them using the Gravity Wells, then complete the quest in sequence: escort the Rangers, disrupt the Pattern, and direct a charge to the Power Core.
At the Patterned Field Office, ride the elevator to the golden arena for the fight. Defeating the Co-Director grants Command, an ability that temporarily makes affected enemies attack their own side rather than offering a two-way choice.
Hedron — Unknown (final boss)
Hedron, the final boss, is located west in the Unknown. You can reach it only after severing every Hedron Link and watching the extended backstory sequence. Drop down into the arena carefully; avoid striking the sides during the descent. Hedron awards an extra Combat Ability Point rather than a new ability.
Is there an Evacuation Zone Resonant?
No. The Evacuation Zone has no distinct regional Resonant quest. Its progression instead involves the Evac Building, Arish, the Sinkhole, power-related story steps, and the Subway Fault linked to Jesse. After completing Evacuation Procedures, finding no Resonant there means you have not overlooked a hidden boss.
How to confirm a Resonant is down
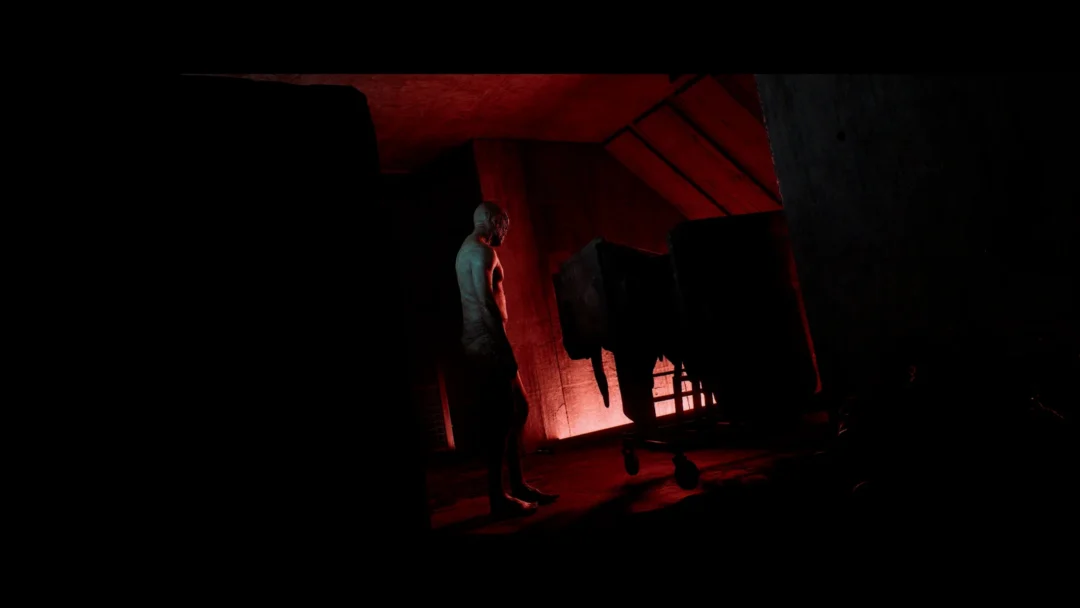
At zero health, a Resonant triggers a “No Power” alert, followed by a few finishing melee hits that end the encounter. The zone’s Resonant entry in your Quest Log then switches to complete, and the ability selection screen opens right away for you to make your choice. Each win also advances Manhattan into another Resonant Cycle, refreshing encounters with stronger enemy variants and improving resource drop quality.
You cannot use health items in boss arenas; executing lesser enemies during the fight is your sole healing method. Leave some adds alive, or you lose that recovery source. For a particularly difficult fight, Assist Mode offers one-hit kills without turning off trophies.
The Talent Tree lets you upgrade every ability you acquire, making the order of these fights a factor in your build. Early victories over the Deserter and the Dancer provide damage and crowd control ahead of the Park and Underpass battles. Once the Unknown becomes accessible, Command and Hedron’s bonus ability point complete the set.