Taking down both Archipax, the King of Thunder, and Sundercrane, the Flying King, in Evomon comes down to three fixed decisions: how much you weaken them first, which Evomon you point at each boss, and where you spend your only ultimate move. Get those right and the fight becomes short and predictable.
Quick answer: Apply a debuff of at least 24% to the bosses, send Boltonia after Sundercrane and Thordlord after Archipax, and save your one permitted ultimate for Thordlord’s hit on Archipax.
Set the debuff before you commit
Both kings need their offense or defense cut down before your damage lands hard. The floor is a 24% reduction. You can push it as high as 60% for heavier hits, though even at that level a guaranteed one-tap knockout is not certain. Treat the debuff as the setup step that makes everything after it work, not as an optional extra.
Lineup and target assignments
The plan depends on Thordlord and Boltonia remaining deployed together. Since each is tied to a particular king, switching either target disrupts the entire strategy.
| Your Evomon | Target | Role |
|---|---|---|
| Boltonia | Sundercrane (Flying King) | Primary damage on the flyer |
| Thordlord | Archipax (King of Thunder) | Carries the single ultimate |
Direct Boltonia at Sundercrane and let it stay on that king for the fight. Point Thordlord at Archipax and keep it there.
The one-ultimate rule
You can only trigger a single ultimate move across the entire encounter. That restriction is the reason the plan is so strict. Spend it on Thordlord’s attack against Archipax and nowhere else. Once your character status flips to “Fighting…”, the battle is live and that ultimate becomes your one big swing, so do not waste it early or on the wrong king.

Percentage damage and weather for high-level bosses
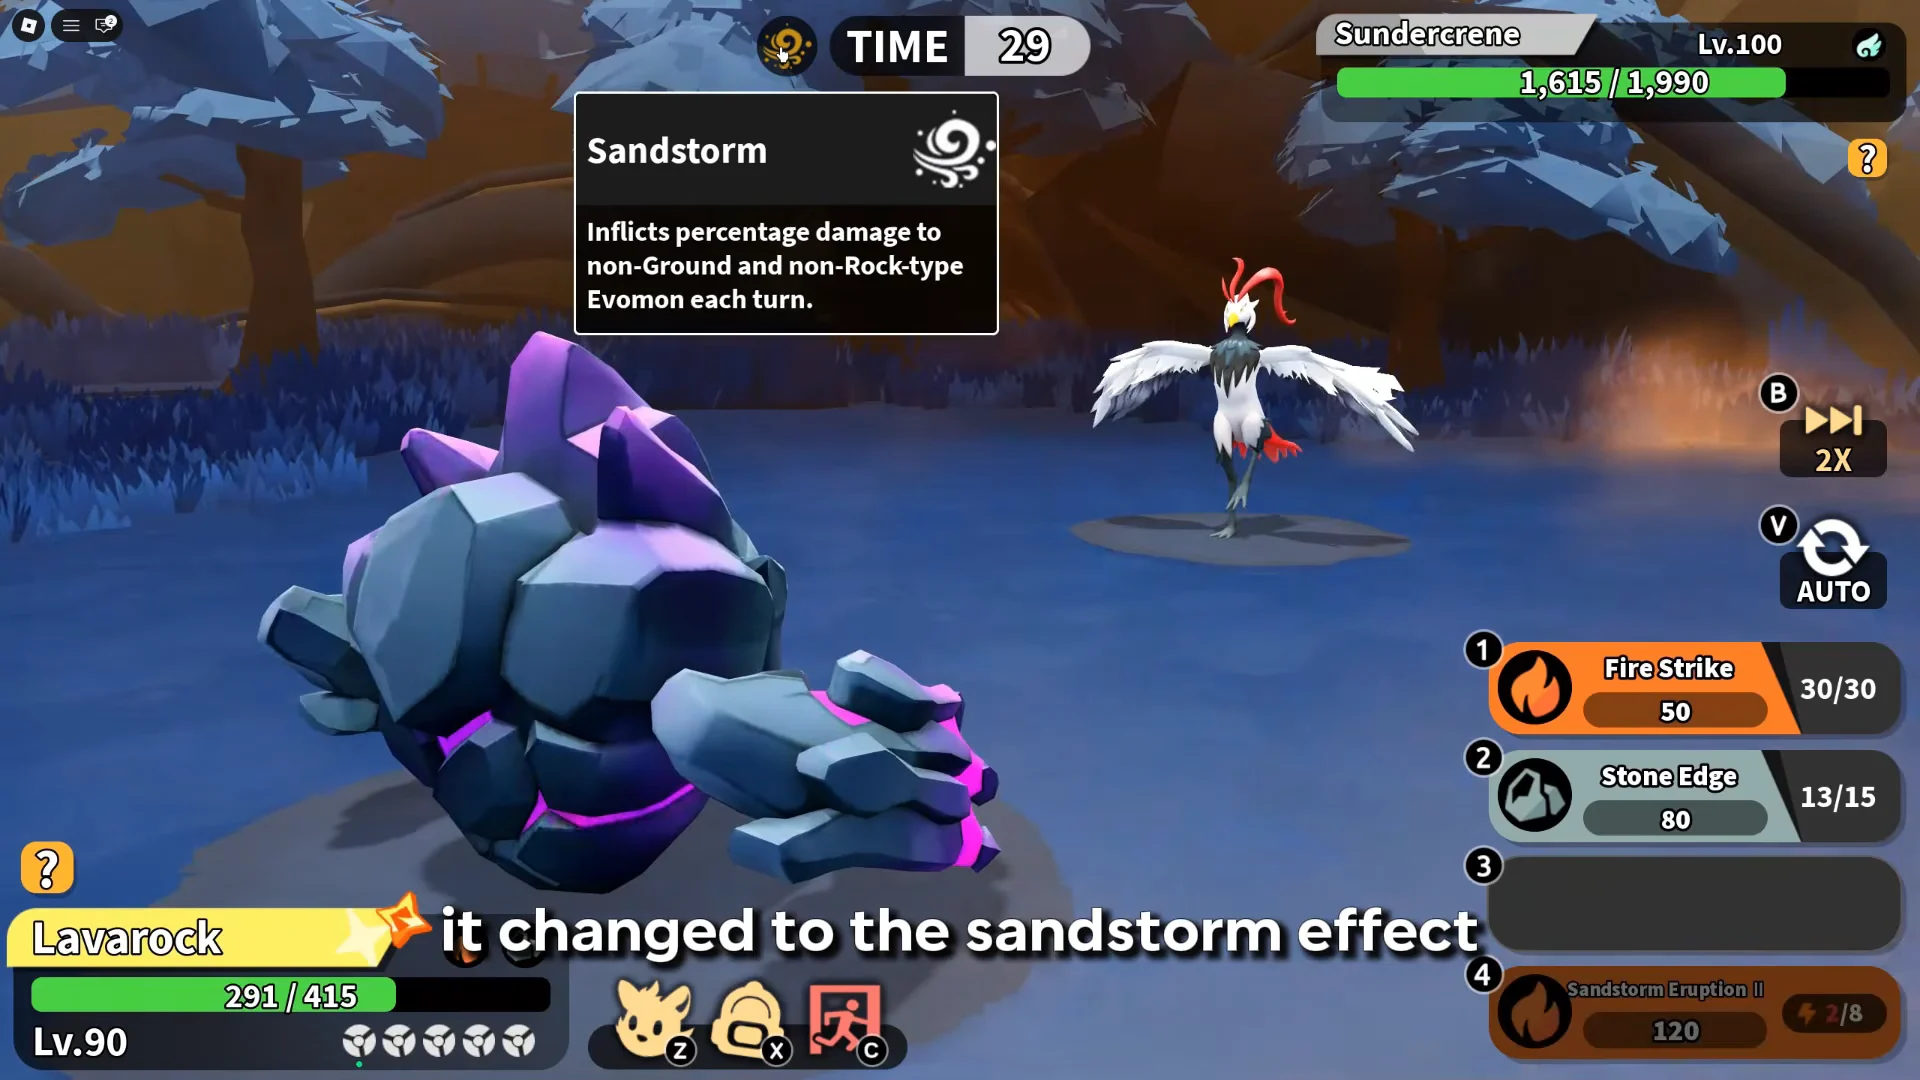
Both kings sit at the top of the boss ladder, where flat damage stops scaling well. Percentage-based effects and weather ticks chip a fixed share of a boss’s health every turn regardless of how large its health pool is, which makes them reliable against Sundercrane and Archipax.
Lavarock and Sandstorm
Lavarock brings the Fatal Rebound counter skill plus Sandstorm Eruption II, which lays down passive weather damage of 6% max HP per turn. Against a level-100 Sundercrane, keeping Sandstorm running is a steady way to grind the king down while your counters punish its attacks.
Status damage from Wispuff and Bluebird
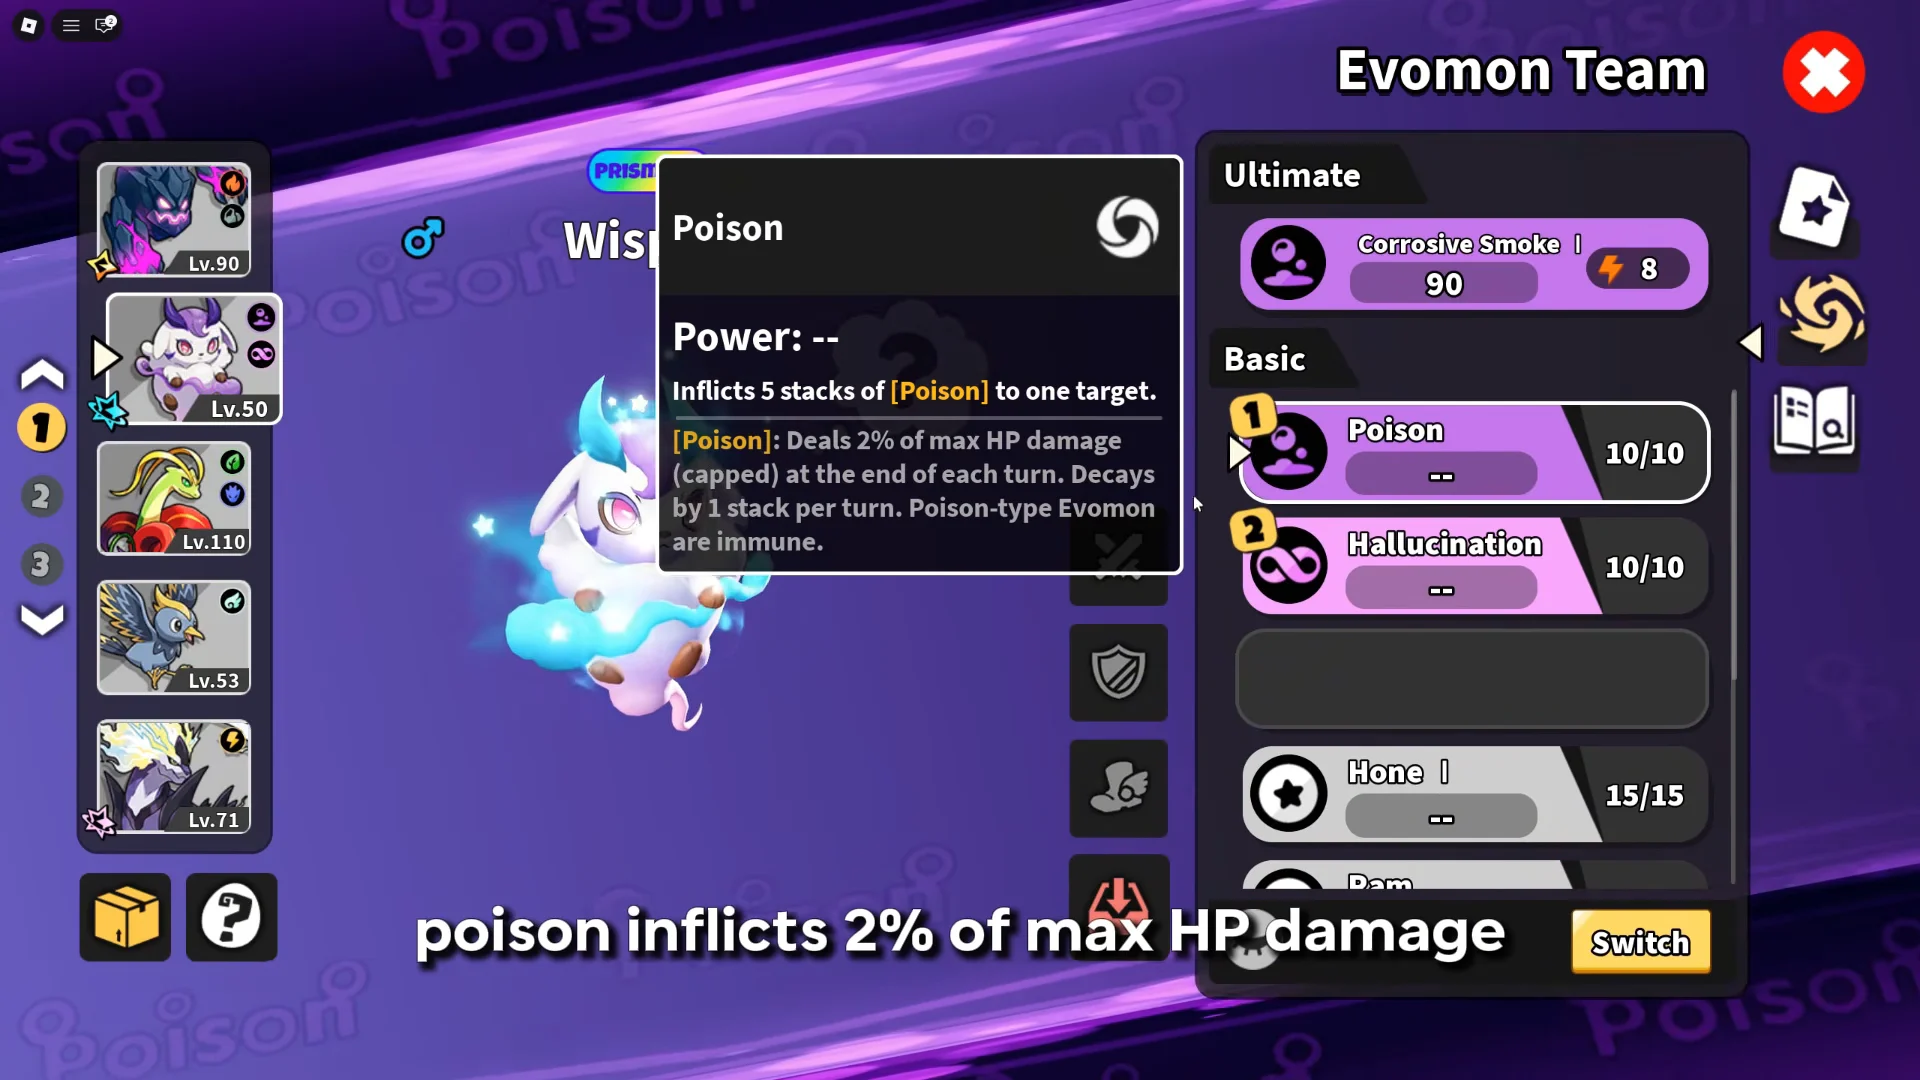
Wispuff adds two stacking effects. Poison deals 2% max HP per turn, and Hallucination applies Psymark for 2.5% max HP whenever the boss takes a hit. Bluebird’s Wing Combo inflicts Bleed for 5% of missing HP per turn, which becomes an execution tool once a king is already low.
Staying alive with a Tarragon tank
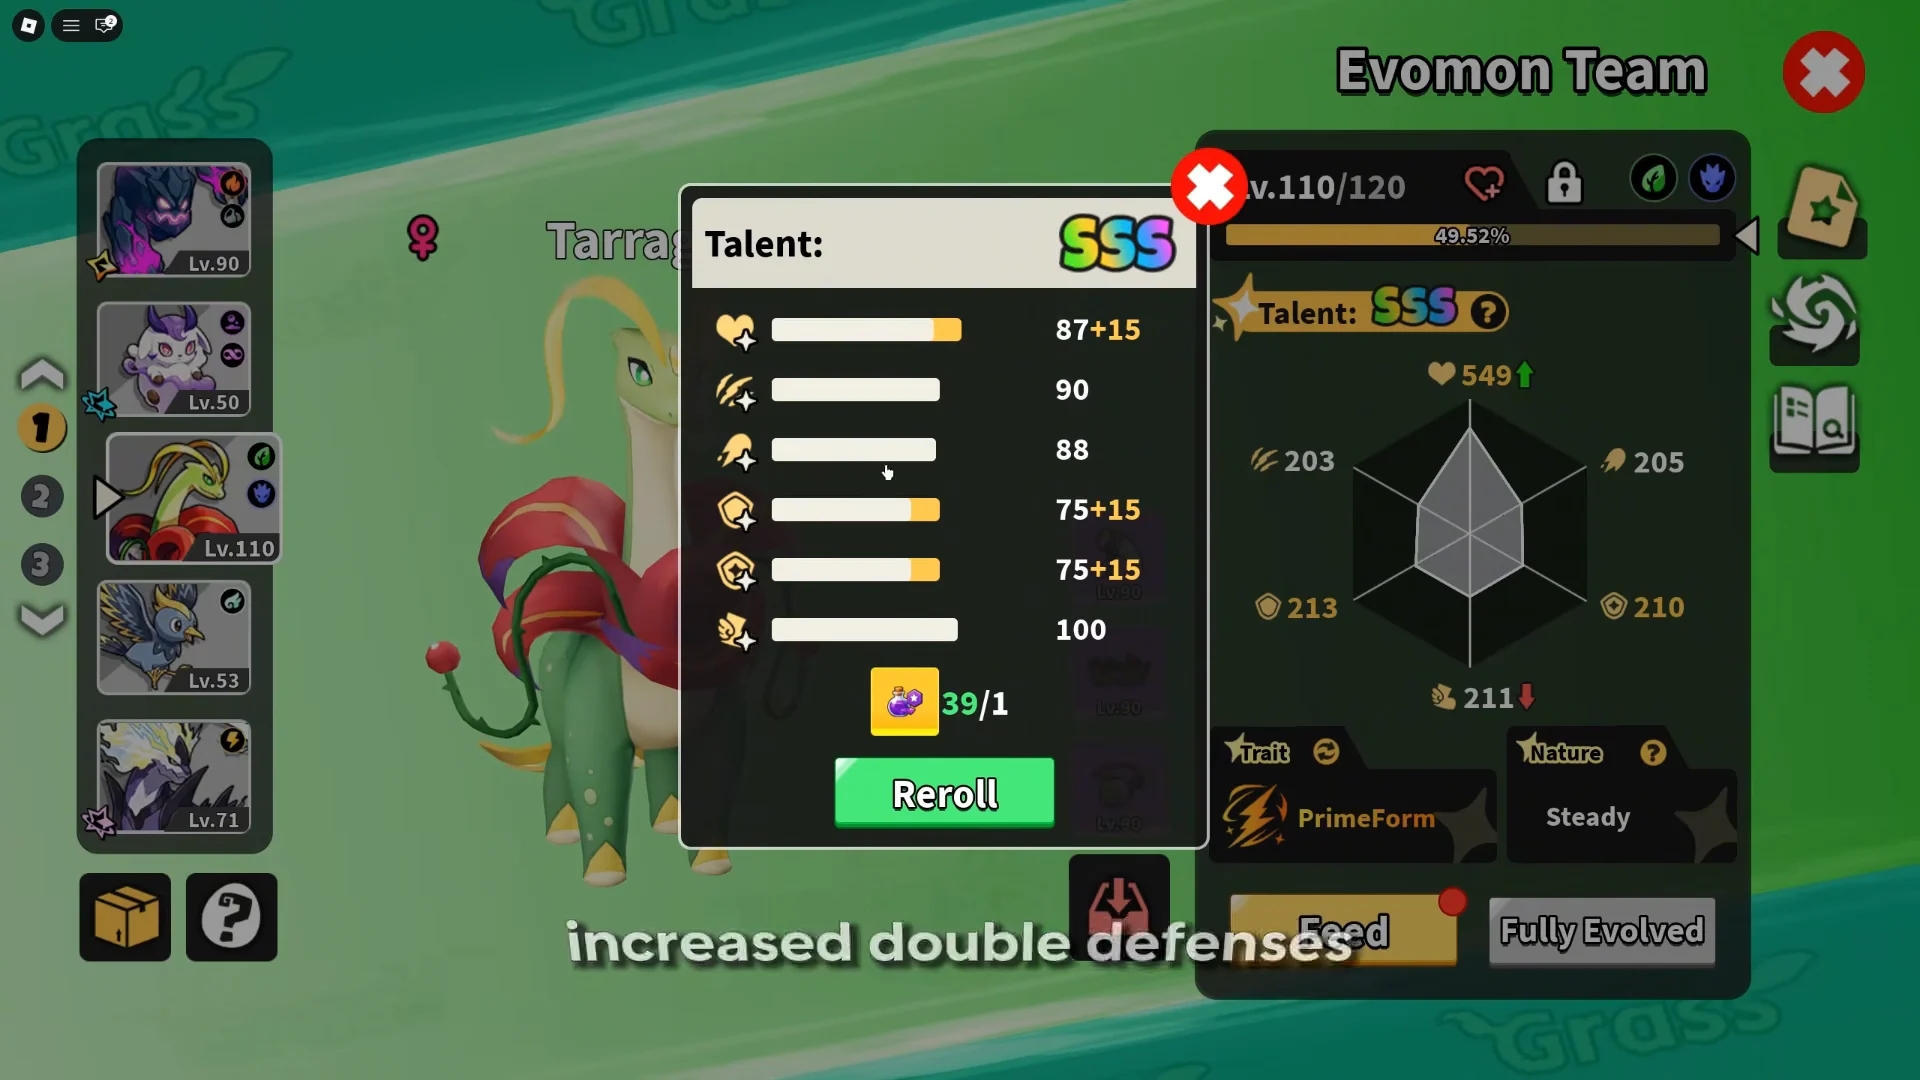
Outlasting these kings matters as much as damaging them. A dedicated Tarragon build uses Seed Bomb together with Growth stacks and weather ticks so its own healing outpaces the damage the boss deals back.
The strongest version of that build stacks defensive stats and traits:
- SSS Talents in HP and both Defenses
- Steady nature
- Defensive Artifact equipment
- The legendary PrimeForm trait, cutting incoming damage by 70% at full HP
Soloing Archipax with Thordlord
Thordlord can also carry the King of Thunder on its own. An evolved Thordlord clearing the fight in about a minute leans on Earth Fissure II, Caltrop, and Seed Bomb, which is why it stays your ultimate holder even when Boltonia is busy with Sundercrane.
You will know the plan is working when a properly debuffed king drops fast under focused damage, ideally in a single heavy hit after the 24% cut lands. Keep Boltonia glued to Sundercrane, hold Thordlord’s ultimate for Archipax, and lean on percentage damage and weather whenever a king refuses to fall in one blow.