
Changing network configurations in Windows 11 sometimes triggers the error message: Can't save IP settings. Check one or more settings and try again. This issue can prevent devices from connecting to specific networks, disrupt static IP assignments, and complicate access to local resources. Addressing this error involves using alternative configuration tools, verifying required settings, and troubleshooting potential conflicts with network adapters.
Change IP Settings Using Control Panel
Windows 11's Settings app may reject new IP settings if required fields—such as DNS server addresses—are missing or incorrectly formatted. The legacy Control Panel networking interface provides a more direct way to configure network adapters and is less likely to block changes due to missing DNS information.
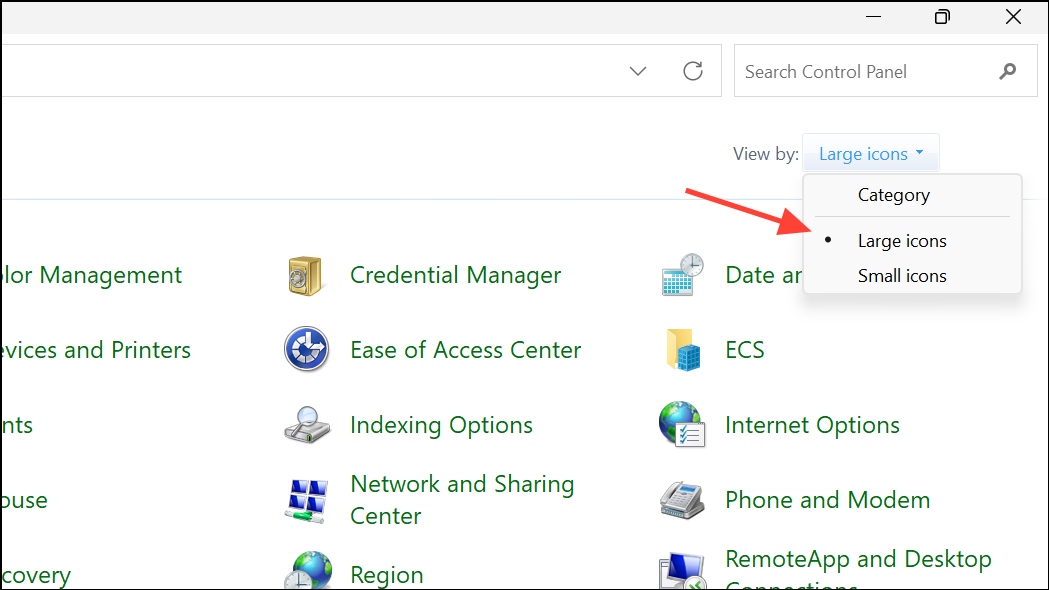
Step 1: Open the Control Panel by typing it into the Windows Search bar and pressing Enter. Set the view to Large icons for easier navigation.
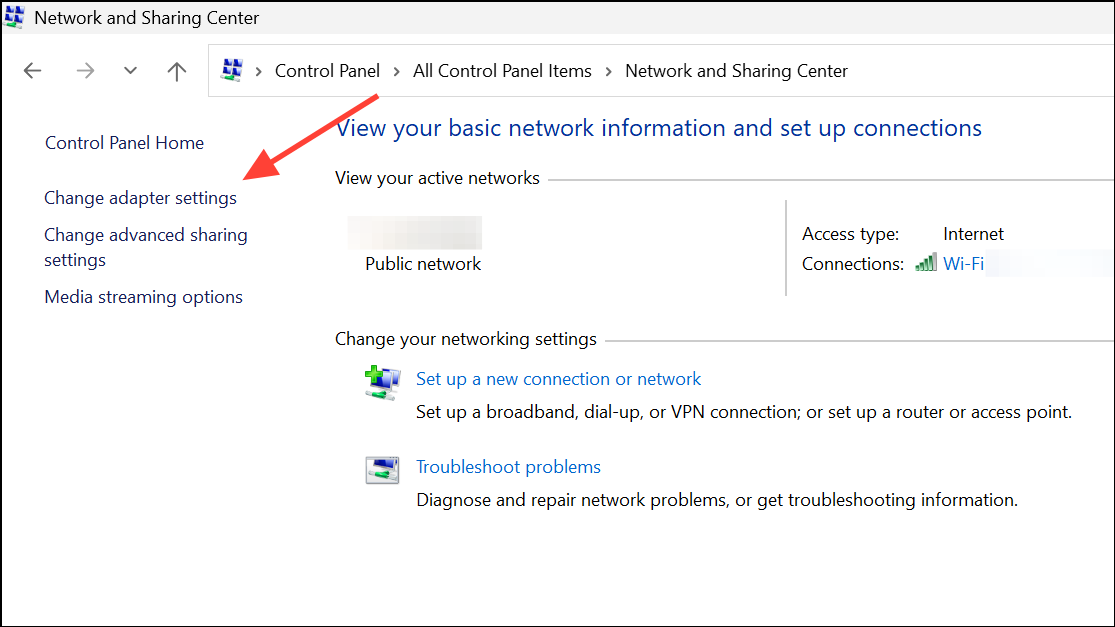
Step 2: Navigate to Network and Sharing Center, then select Change adapter settings from the sidebar.
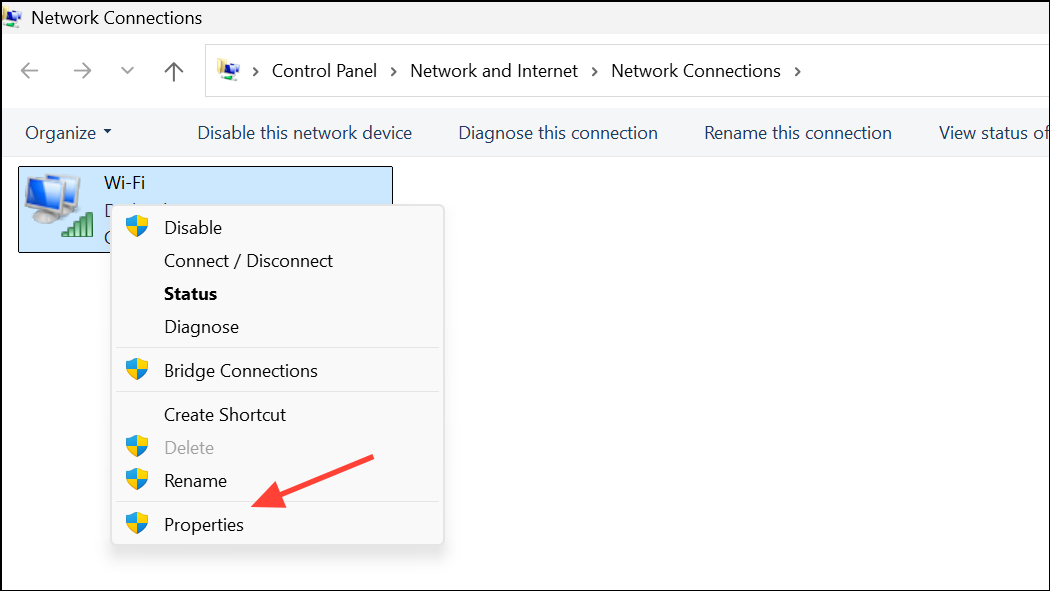
Step 3: Right-click on the network adapter you want to configure (for example, "Ethernet") and select Properties.
Step 4: In the list of items, double-click Internet Protocol Version 4 (TCP/IPv4) to open its properties.
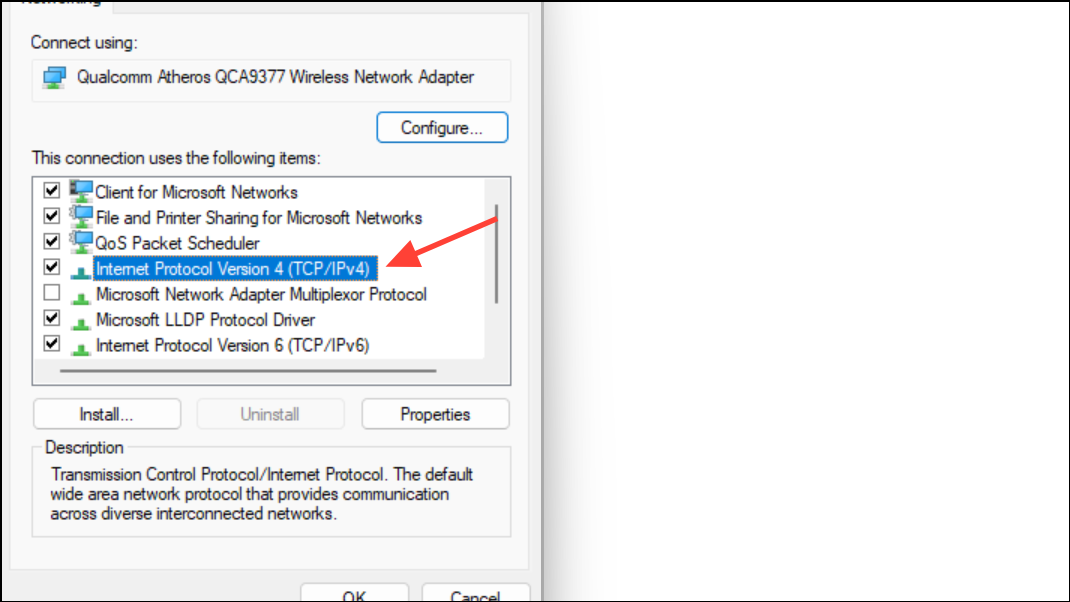
Step 5: Choose Use the following IP address and enter your desired static IP address, subnet mask, and default gateway. For DNS servers, you can leave the fields blank if the network does not require DNS, or enter public DNS addresses such as 8.8.8.8 and 8.8.4.4 (Google DNS) or 1.1.1.1 and 1.0.0.1 (Cloudflare DNS).
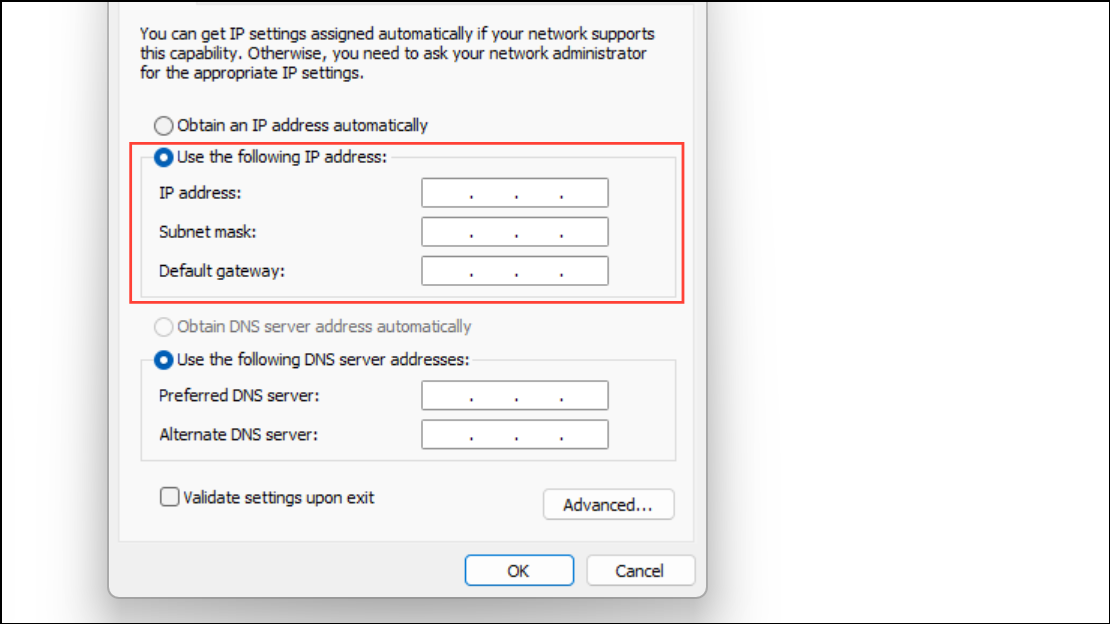
Step 6: Click OK to save your changes, then close all remaining dialog windows. The new IP configuration should now be applied without triggering the "Can't save IP settings" error.
Configure IP Settings with PowerShell
For advanced users or when the graphical interfaces fail, PowerShell commands provide a precise way to set network parameters. This method is especially useful for scripting or troubleshooting persistent configuration issues.
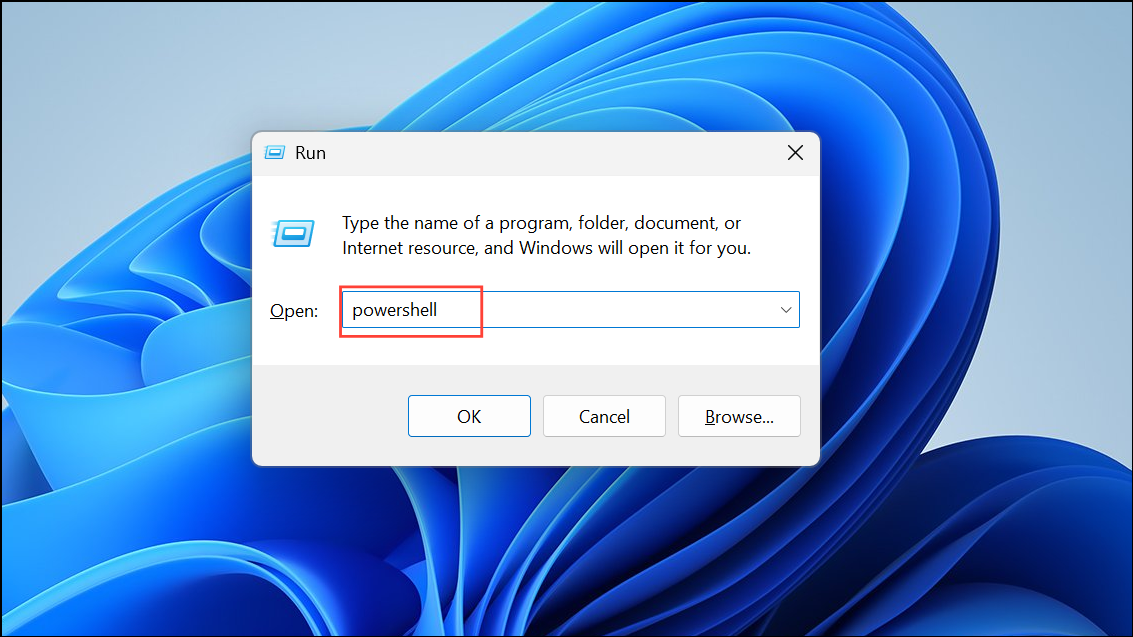
Step 1: Press Win + R, type powershell, and run it as an administrator by pressing Ctrl + Shift + Enter.
Step 2: List all network interfaces and their current configurations by entering:
netsh interface ip show config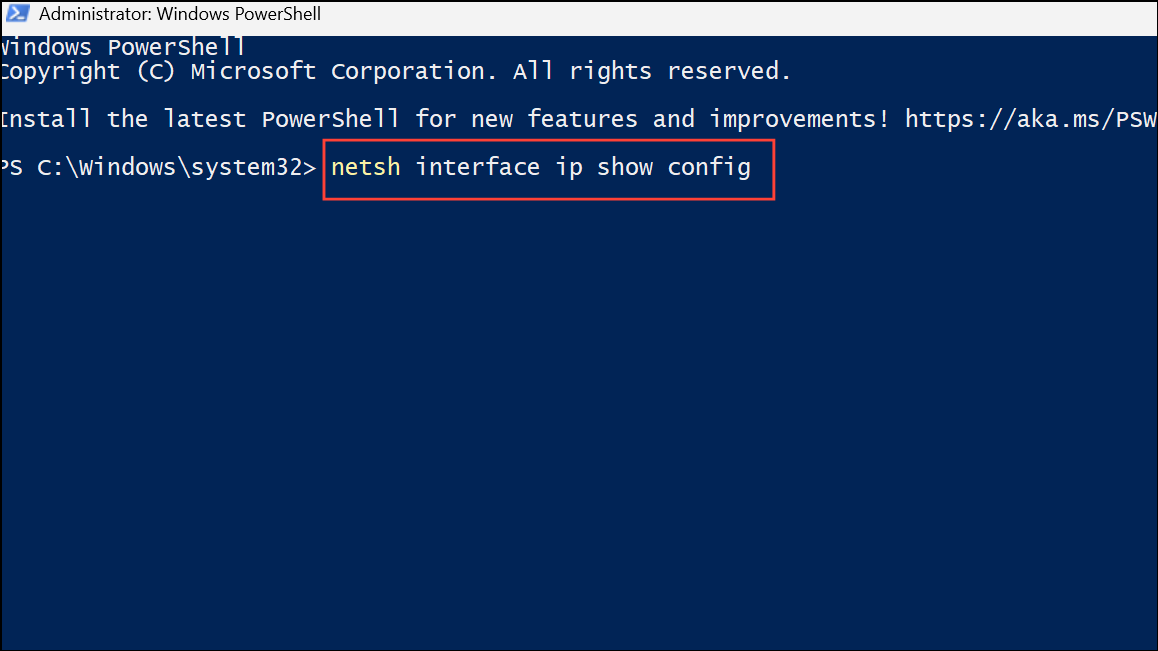
Review the output to identify the exact name of the network interface you want to modify.
Step 3: Assign a static IP address using the following command format, replacing the placeholders with your actual values:
netsh interface ip set address name="Network Interface Name" static IPaddress Subnetmask GatewayFor example:
netsh interface ip set address name="Ethernet" static 192.168.1.100 255.255.255.0 192.168.1.1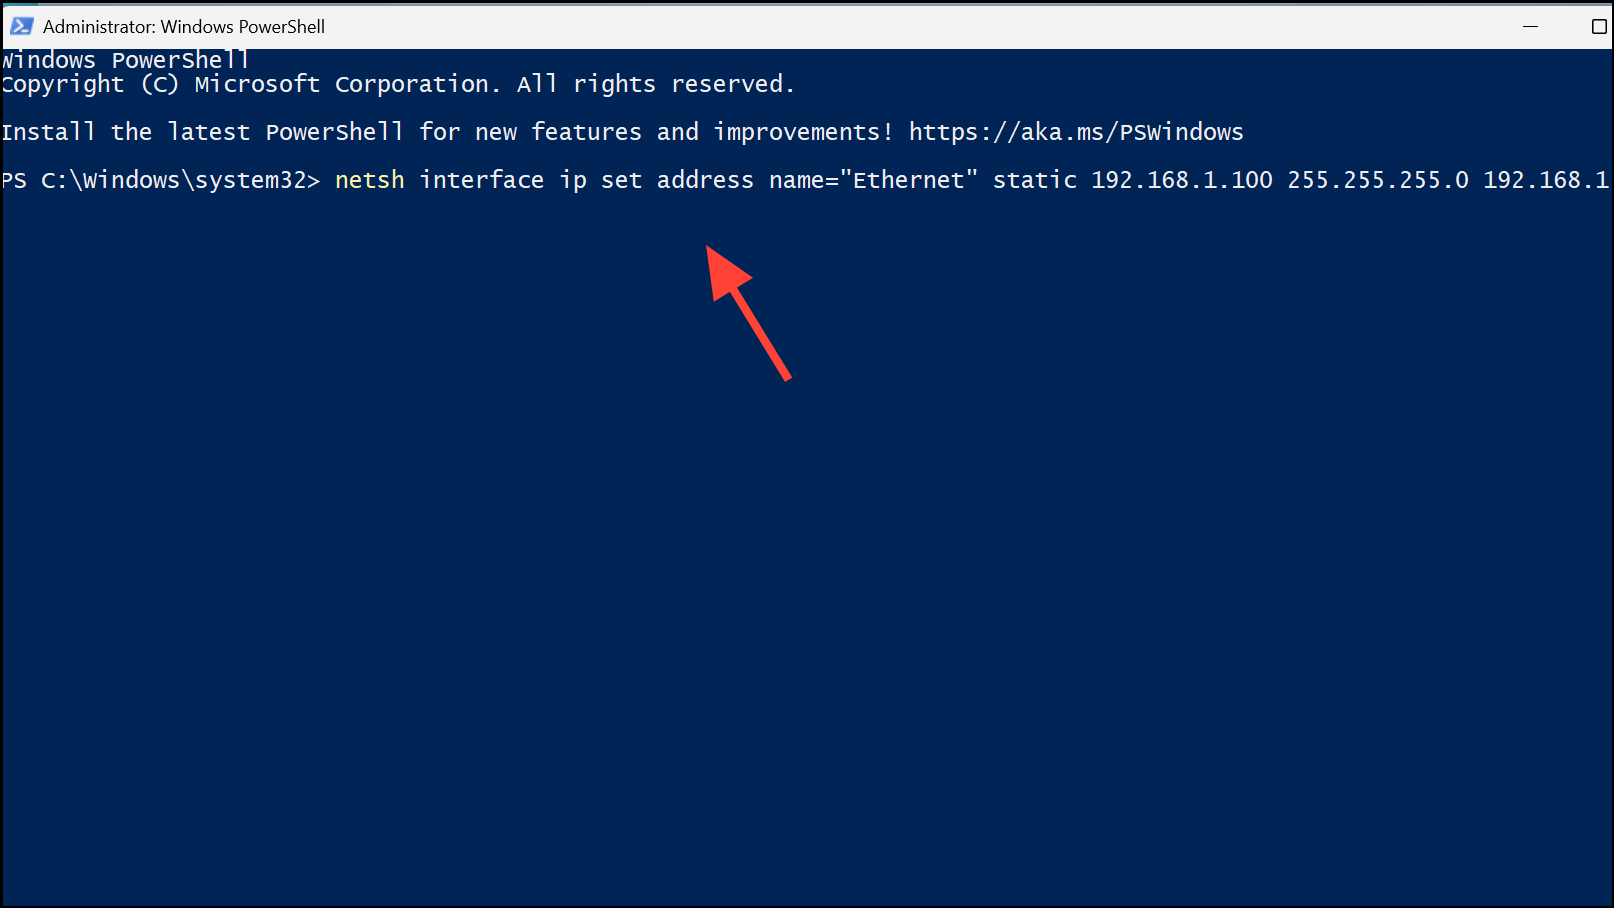
Be careful with spaces and punctuation, as incorrect syntax will result in errors. After executing the command, verify the new settings by running ipconfig in the same PowerShell window.
Reset TCP/IP Stack with Command Prompt
Network stack corruption or misconfiguration can prevent IP settings from being saved. Resetting the TCP/IP stack clears out cached settings and restores default protocols, resolving issues caused by previous failed changes or conflicting configurations.
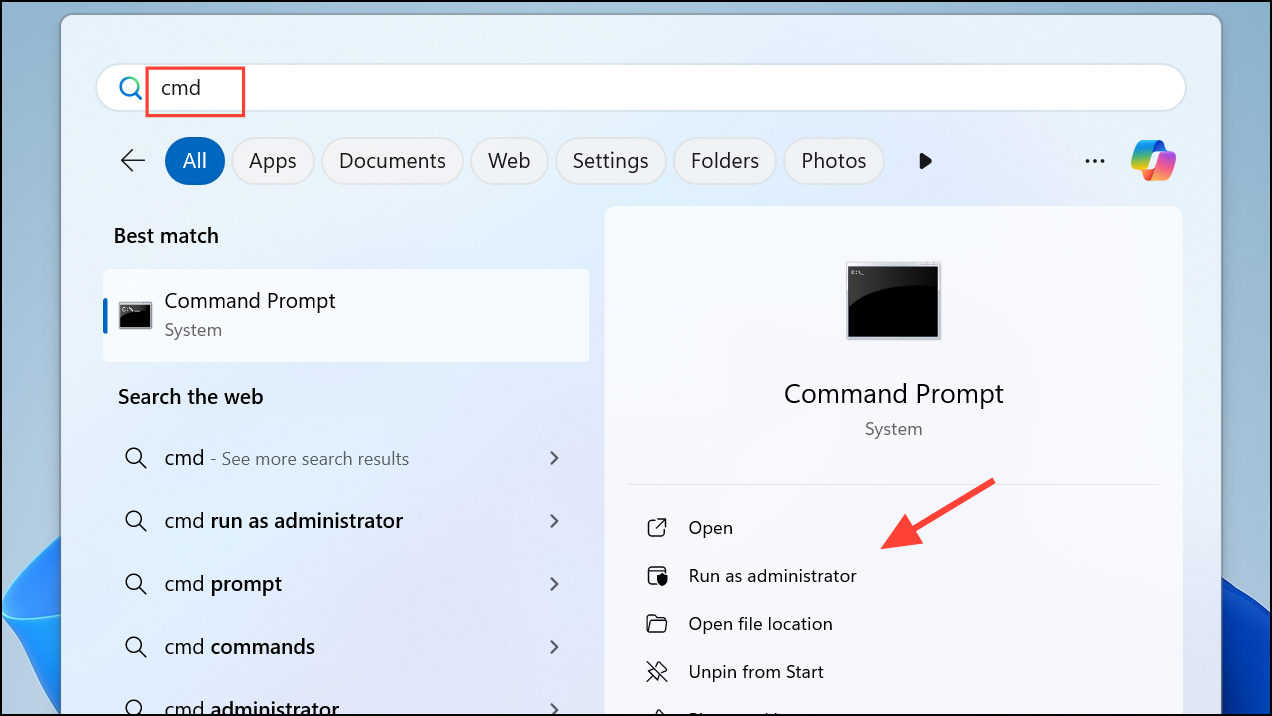
Step 1: Open the Run dialog with Win + R, type cmd, and press Enter. Right-click Command Prompt and choose Run as administrator.
Step 2: Reset the Winsock catalog and TCP/IP stack by entering the following commands one at a time:
netsh winsock resetnetsh int ip reset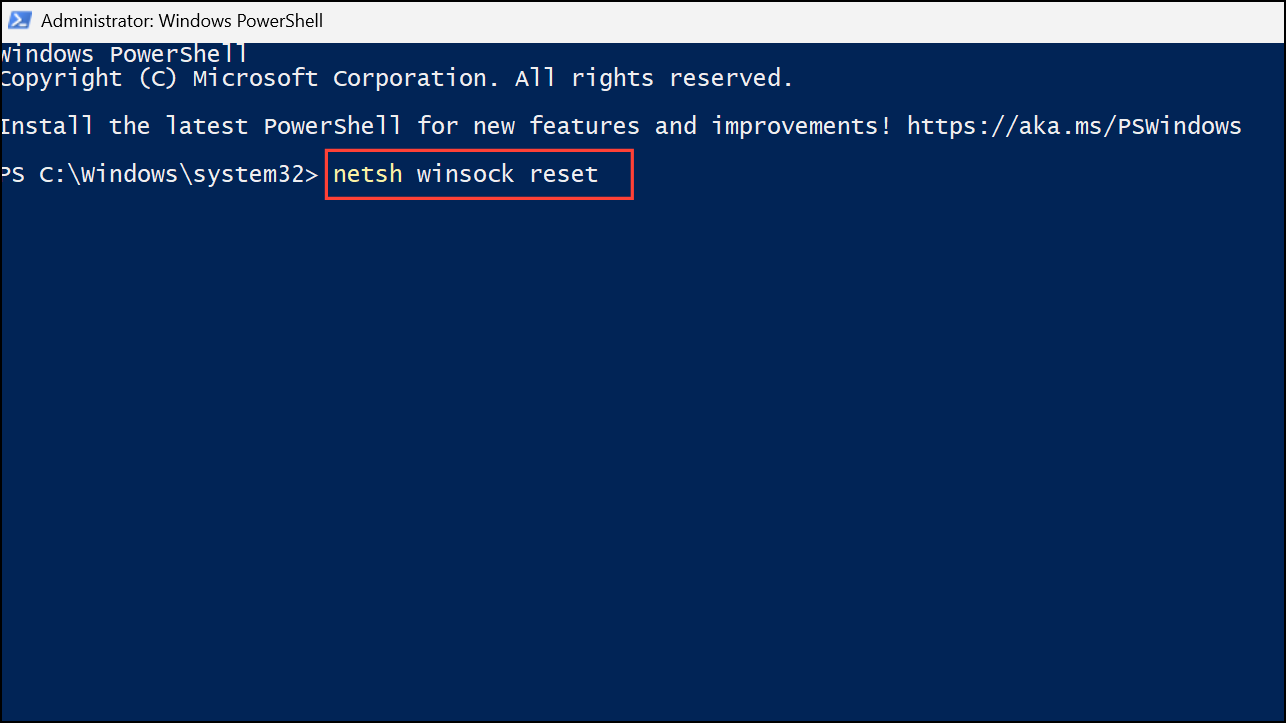
Step 3: Restart your computer. After rebooting, attempt to change your IP settings again using Control Panel or PowerShell. This process resolves issues related to protocol corruption or stuck configurations.
Check for Conflicting Network Adapters
Multiple or duplicate network adapters can cause conflicts that prevent new IP settings from being saved. This situation often arises after installing VPN software, virtual machines, or network-related utilities that add virtual adapters.
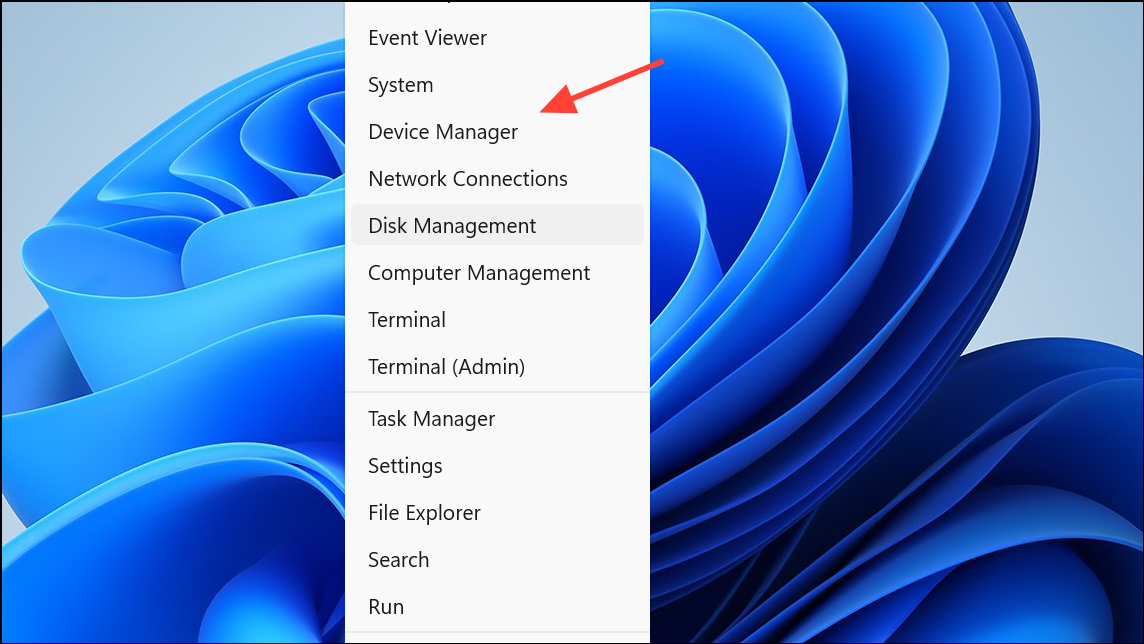
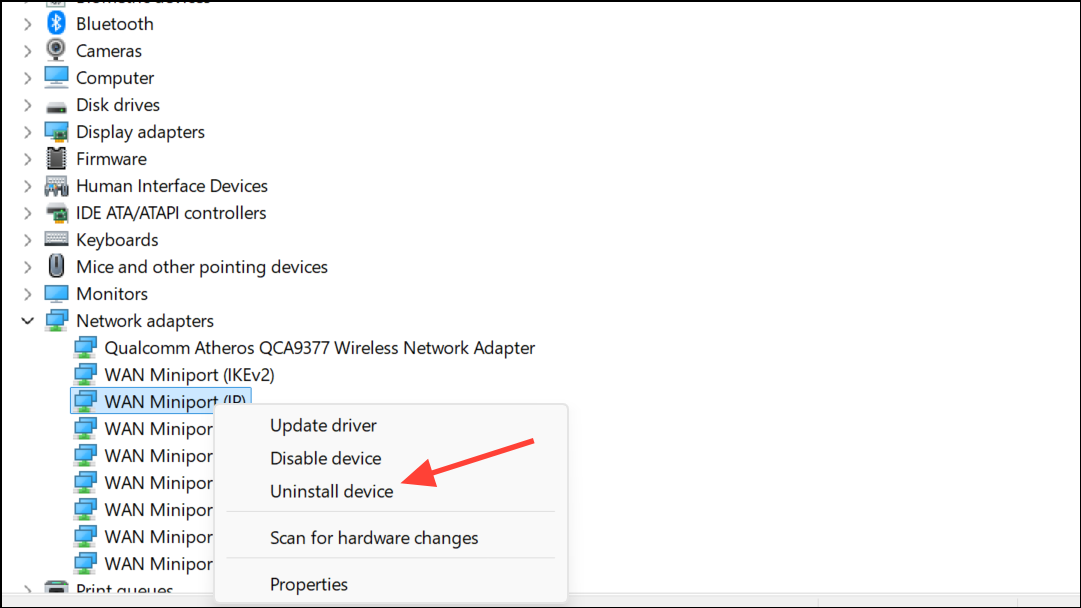
Step 1: Open Device Manager by right-clicking the Start b.
Step 2: Expand the Network adapters section and look for duplicate entries or adapters no longer in use.
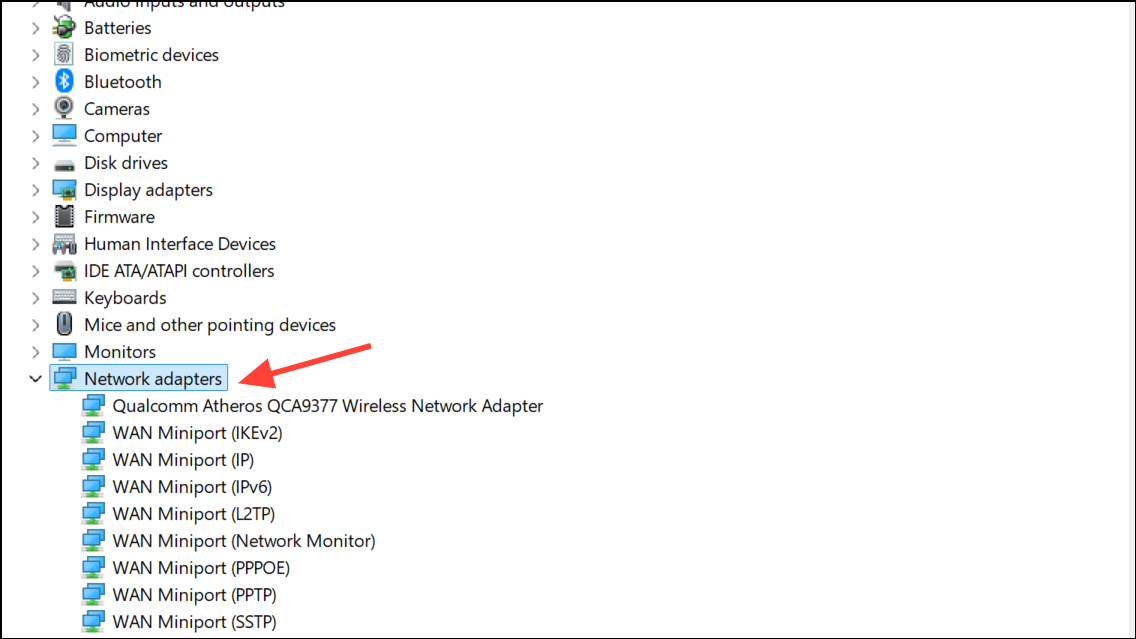
Step 3: Right-click and uninstall any redundant or old adapters. Restart your PC to finalize the changes. This step streamlines your network configuration and removes potential sources of conflict.
Verify Required Fields and Address Formats
Incorrectly formatted IP addresses, subnet masks, or missing DNS server entries can cause the "Can't save IP settings" error. Windows 11 requires valid values for all fields, and some interfaces use Subnet Prefix Length instead of Subnet Mask. For example, a subnet mask of 255.255.255.0 corresponds to a prefix length of 24.
If you are configuring IPv6, ensure the gateway address matches the prefix of your assigned IP and does not include any local interface identifiers (such as %17 at the end). For most home networks, it's best to leave IPv6 addressing set to automatic unless you have advanced requirements.
Reset Network Settings as a Last Resort
If none of the above methods resolve the issue, performing a full network reset can clear out persistent misconfigurations. This will remove all network adapters and restore default settings.
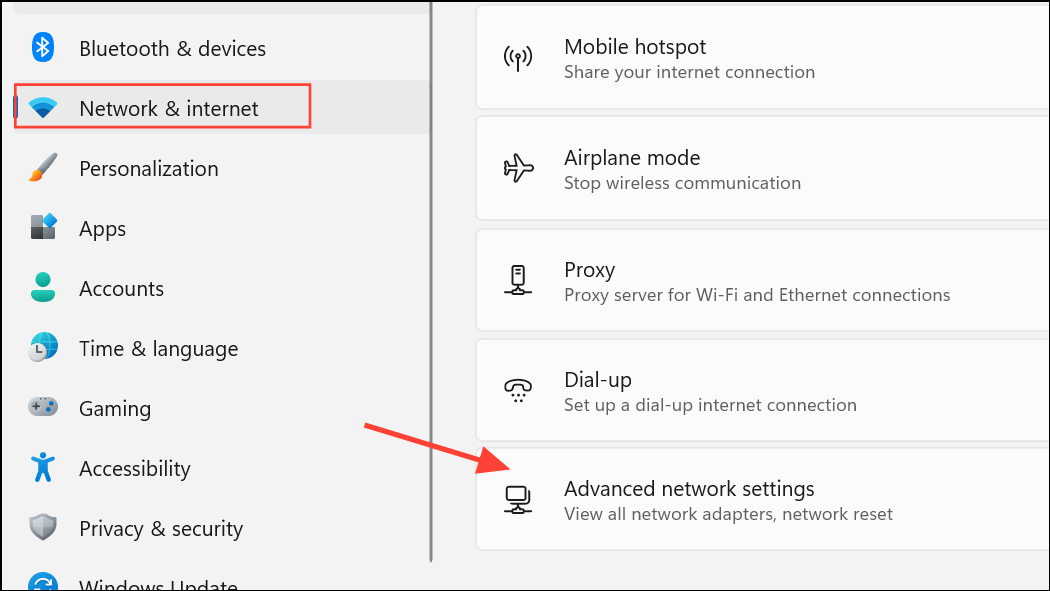
Step 1: Go to Settings > Network & Internet > Advanced network settings.
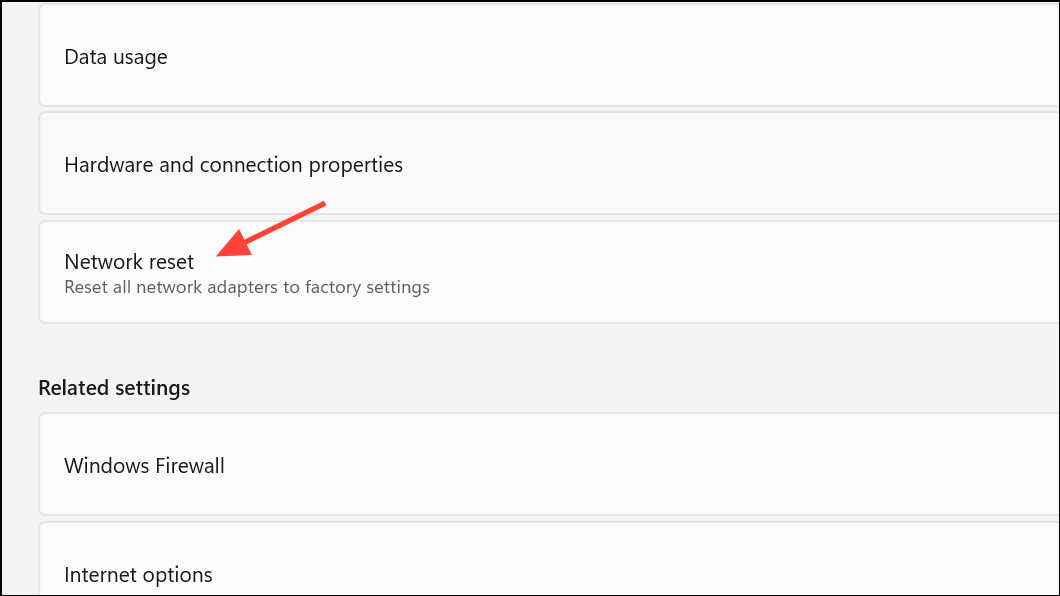
Step 2: Select Network reset and follow the prompts. Your PC will restart and reinstall network adapters with default configurations. You can then reapply your desired IP settings using one of the methods above.
Resolving the "Can't save IP settings" error in Windows 11 streamlines network configuration and restores reliable connectivity. If issues persist, double-check all address formats and consider updating network drivers for best results.