
The SECURE_KERNEL_ERROR with the stop code 0x18B indicates a critical failure in the secure kernel component of Windows 11, which is responsible for maintaining system security during sensitive operations. This error often leads to a Blue Screen of Death (BSOD), disrupting system stability and workflow. Recent Windows 11 updates, particularly versions 24H2, including KB5055523 and KB5053656, have triggered this error for many users.
Microsoft has acknowledged the issue and deployed an automatic Known Issue Rollback (KIR) to revert problematic changes causing the BSOD. Below are detailed steps to apply this fix, along with additional troubleshooting methods to resolve or mitigate the error on both personal and enterprise devices.
Apply the Automatic Known Issue Rollback (KIR) Fix
Microsoft’s KIR feature automatically reverses non-security updates that introduce critical problems like the SECURE_KERNEL_ERROR. This fix is pushed to most personal and unmanaged devices without user intervention but requires the device to be online and restarted to take effect promptly.
Step 1: Connect your Windows 11 device to the internet to allow it to receive updates from Microsoft servers.
Step 2: Restart your PC. Restarting helps the system detect and apply the KIR update faster.
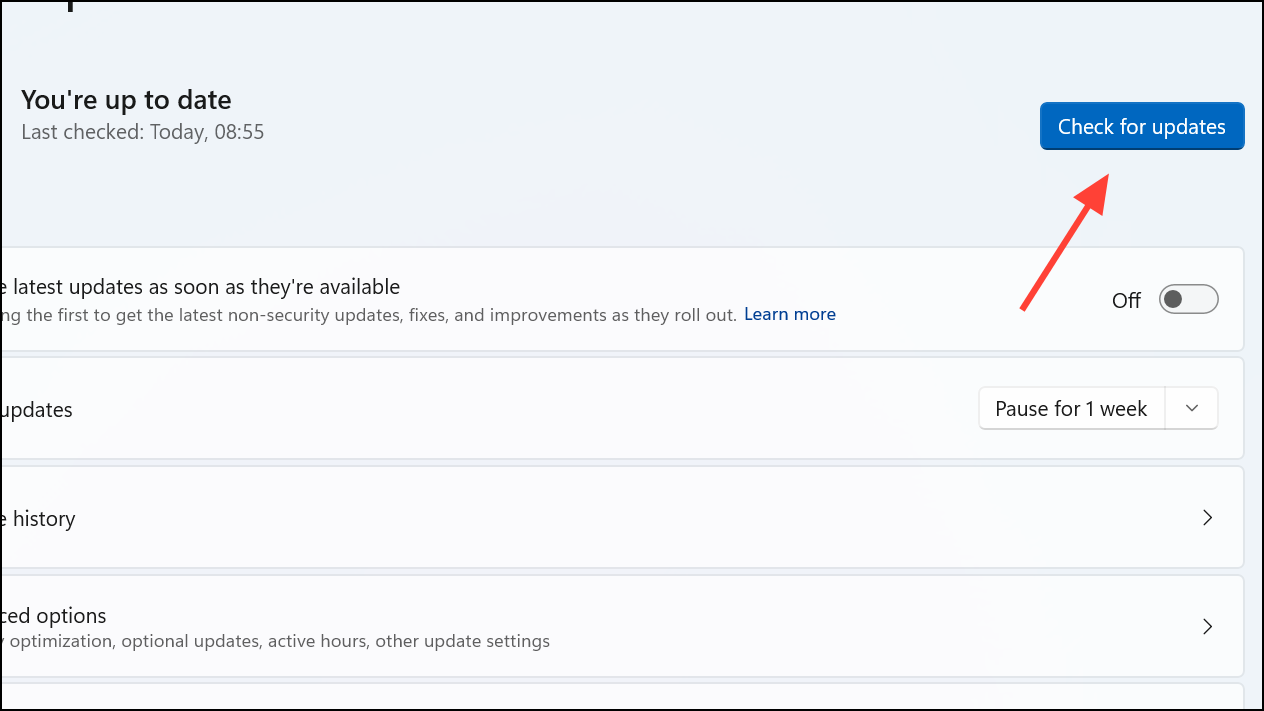
Step 3: Open Settings > Windows Update and click Check for updates. Repeat this process several times, rebooting your PC after each check, to accelerate the rollout of the fix.
Step 4: After the fix is applied, verify that the BSOD no longer occurs.
Deploy the Fix in Enterprise or Managed Environments
In corporate or managed environments where devices are controlled via Group Policy, IT administrators must manually deploy the Known Issue Rollback to affected machines.
Step 1: Download the appropriate Known Issue Rollback Group Policy package for Windows 11 24H2 from Microsoft’s official documentation or support website.
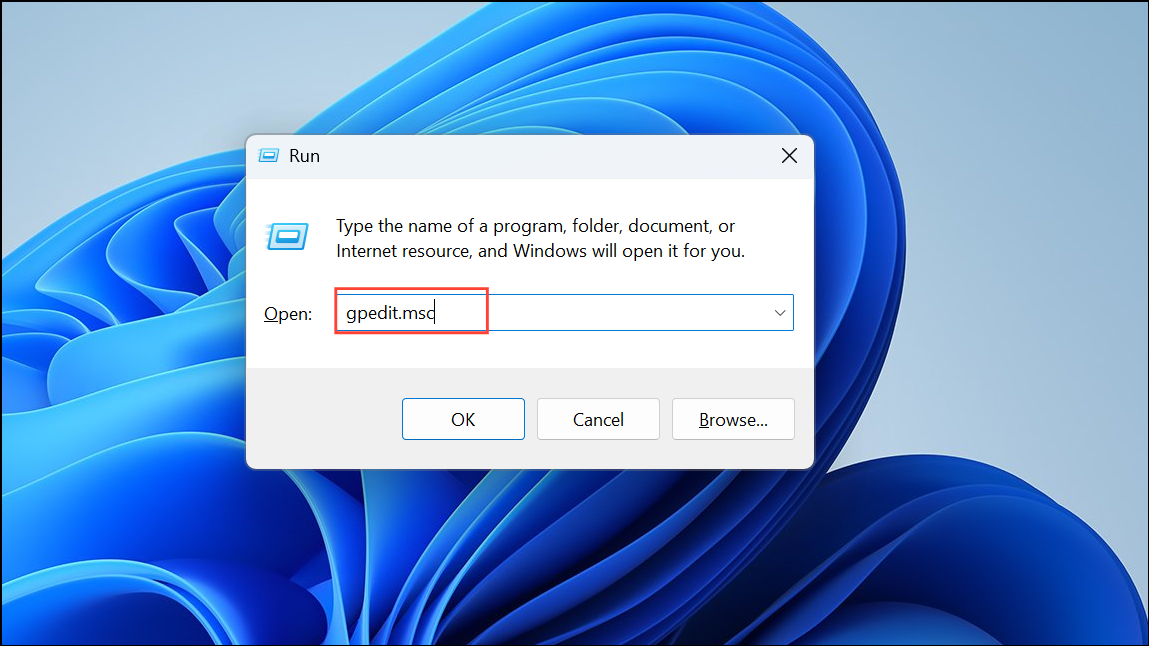
Step 2: Open the Group Policy Editor on the domain controller or local machine by running gpedit.msc.
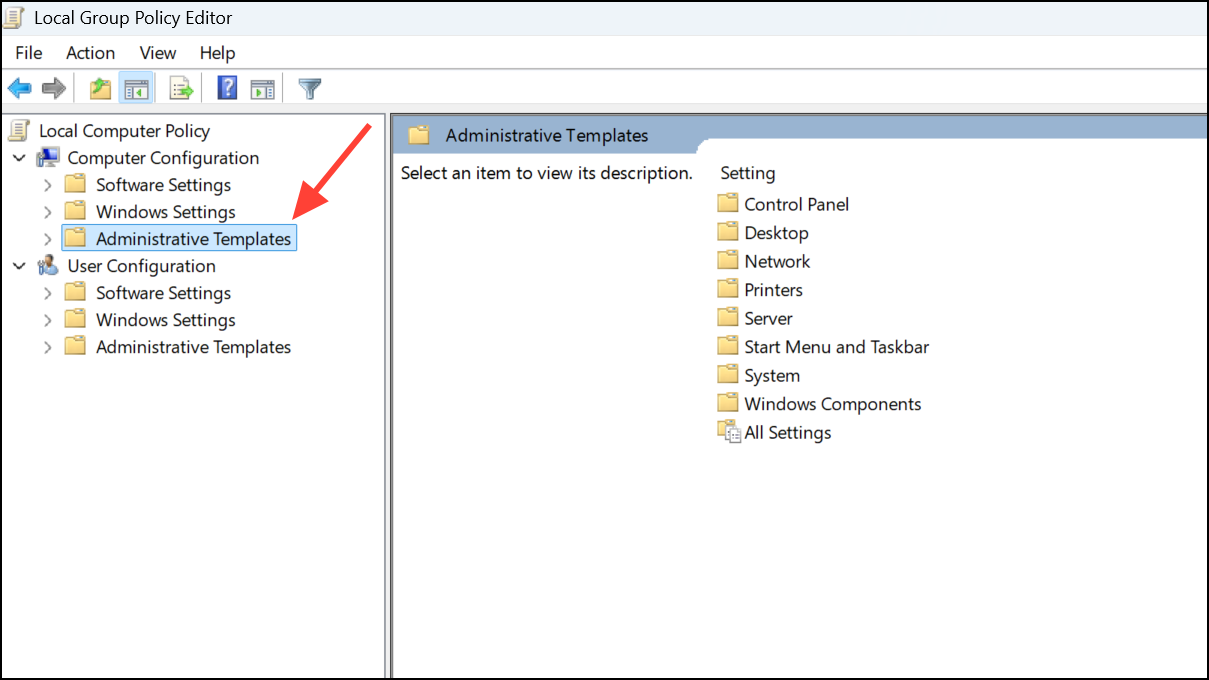
Step 3: Navigate to Computer Configuration > Administrative Templates.
Step 4: Install and configure the Known Issue Rollback policy targeting the affected Windows version.
Step 5: Deploy the policy across the network and restart all targeted devices to apply the changes.
Update Device Drivers
Outdated or incompatible device drivers can exacerbate kernel errors. Ensuring all drivers are up to date can reduce the risk of BSODs.
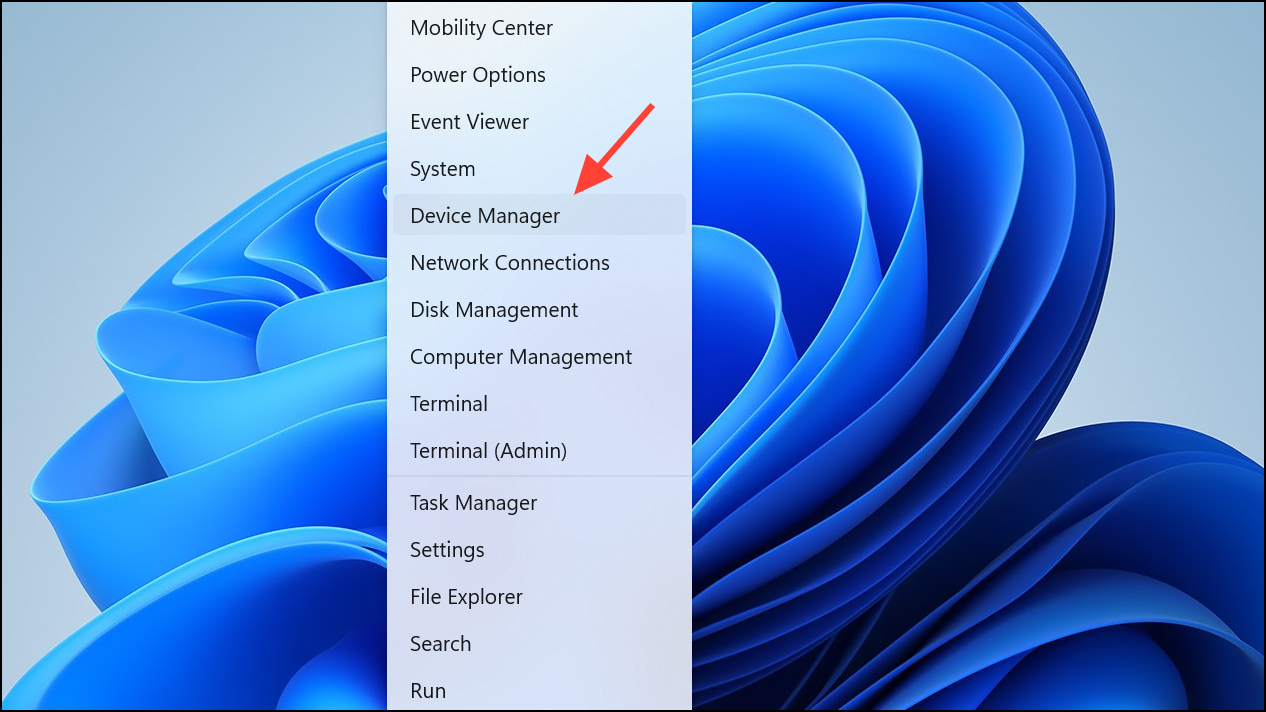
Step 1: Press Windows + X and select Device Manager.
Step 2: Expand each hardware category, right-click on devices, and select Update driver.
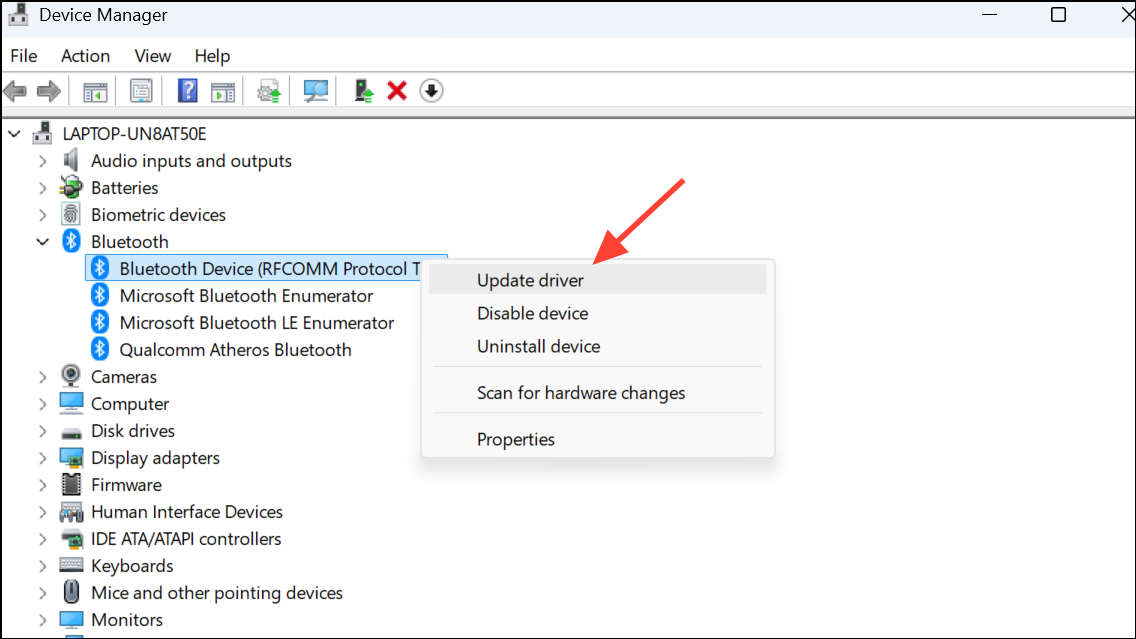
Step 3: Choose Search automatically for drivers to let Windows find and install the latest available versions.
Step 4: For critical components such as graphics cards and storage controllers, visit the manufacturer’s website to download and install the most recent drivers manually if Windows cannot find updates.
Step 5: Restart your PC after updating drivers to ensure changes take effect.
Uninstall Problematic Updates Manually
If the BSOD started after installing a specific update and the automatic rollback is not yet applied, uninstalling the update may provide temporary relief.
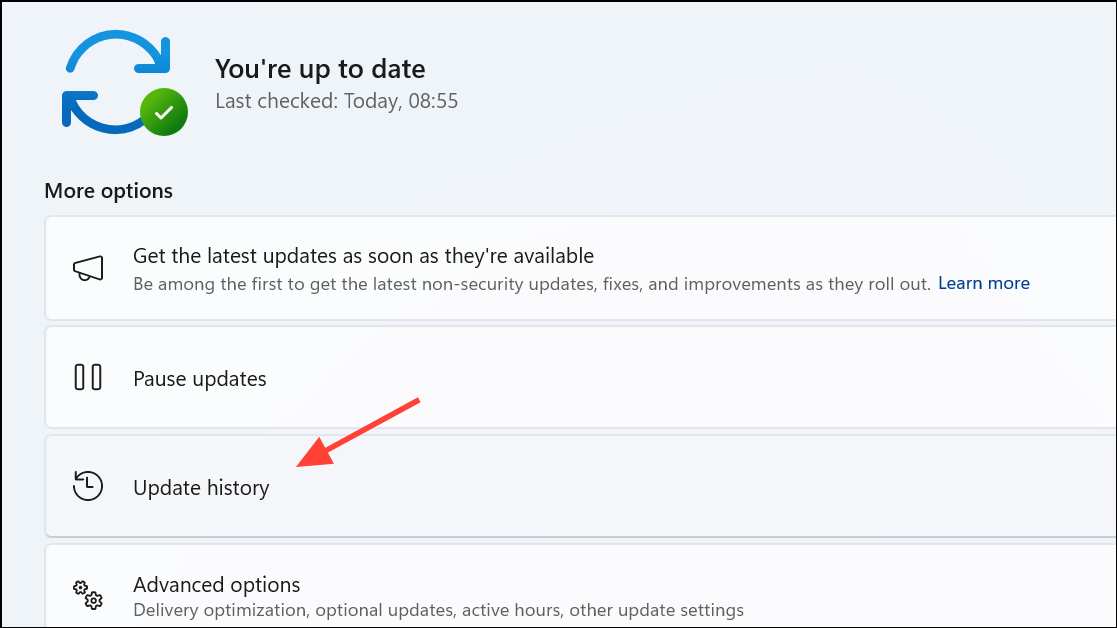
Step 1: Open Settings > Windows Update > Update history.
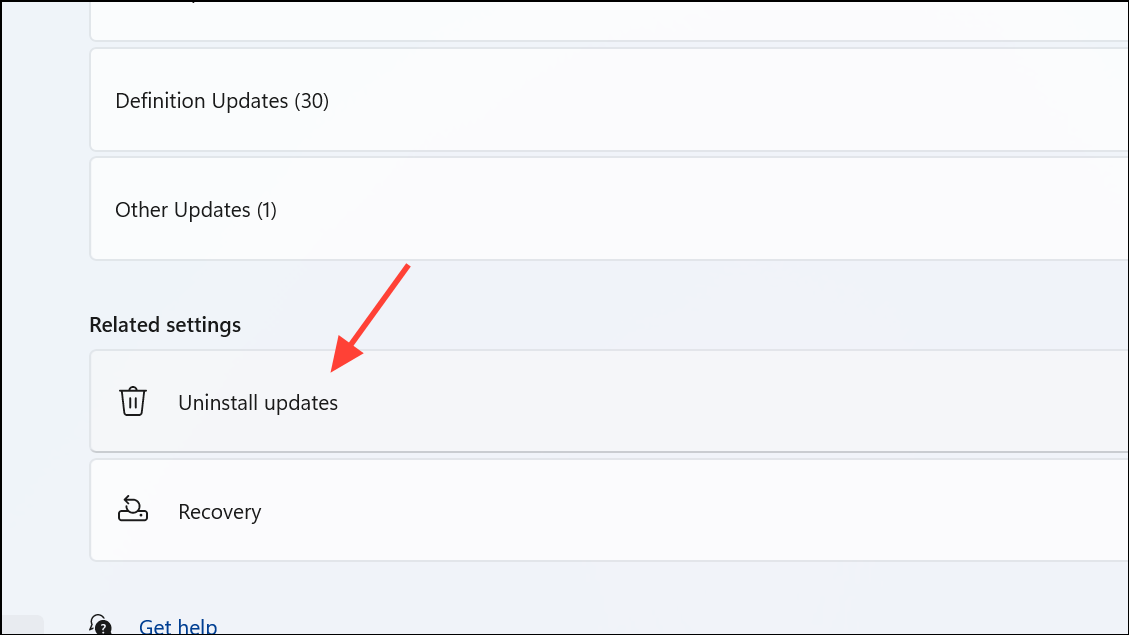
Step 2: Click Uninstall updates.
Step 3: Select the problematic update (e.g., KB5055523 or KB5053656) and click Uninstall.
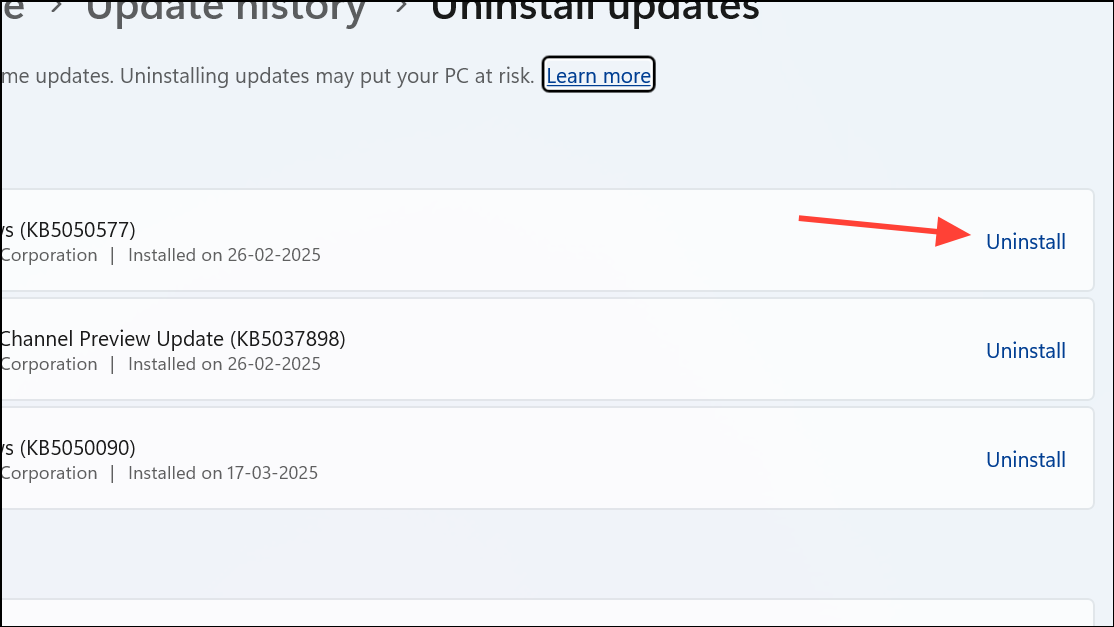
Step 4: Restart your PC and check if the BSOD issue is resolved.
Check for Firmware Updates
Hardware manufacturers sometimes release firmware updates to fix compatibility issues with Windows updates.
Step 1: Identify your device’s make and model, including motherboard and peripherals.
Step 2: Visit the manufacturer’s official website and locate the support or downloads section.
Step 3: Download and install any available firmware or BIOS updates following the manufacturer’s instructions carefully.
Step 4: Restart your PC after applying firmware updates.
Run System File and Malware Scans
Corrupted system files or malware infections can cause kernel errors. Running system integrity checks and malware scans helps identify and fix such issues.
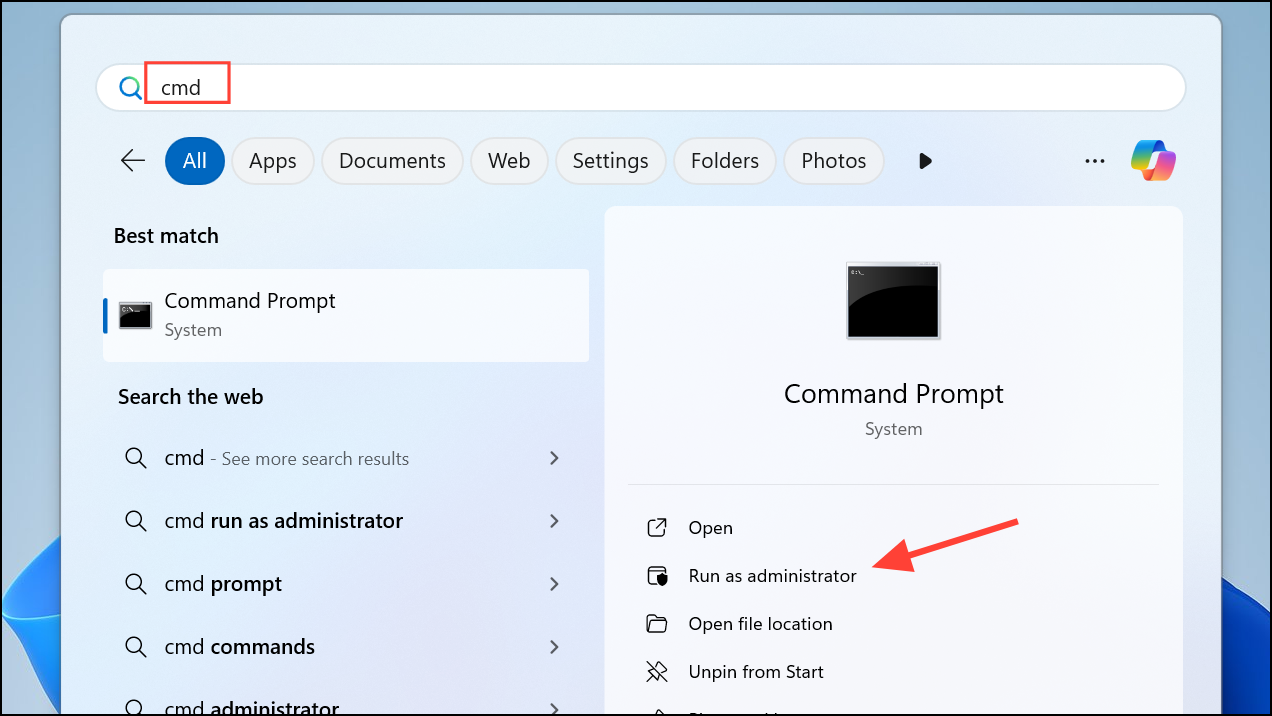
Step 1: Open Command Prompt as an administrator by pressing Windows + S, typing Cmd, right-clicking it, and selecting Run as administrator.
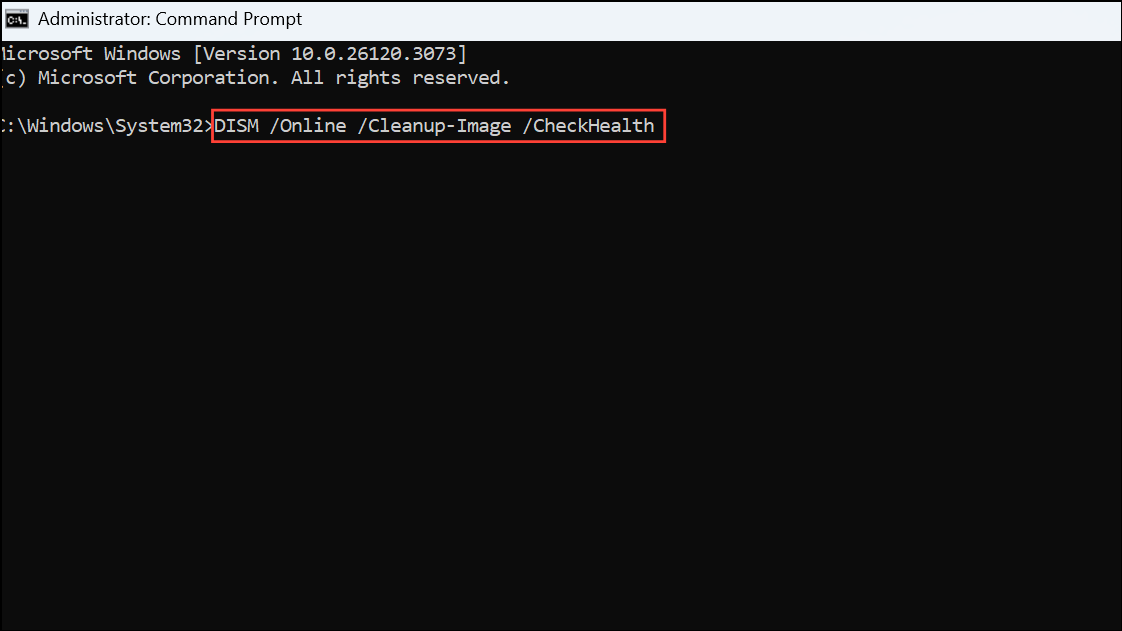
Step 2: Run the following commands one after another, pressing Enter after each:
DISM /Online /Cleanup-Image /CheckHealth
DISM /Online /Cleanup-Image /ScanHealth
DISM /Online /Cleanup-Image /RestoreHealth
sfc /scannow
Step 3: After the scans complete, restart your PC.
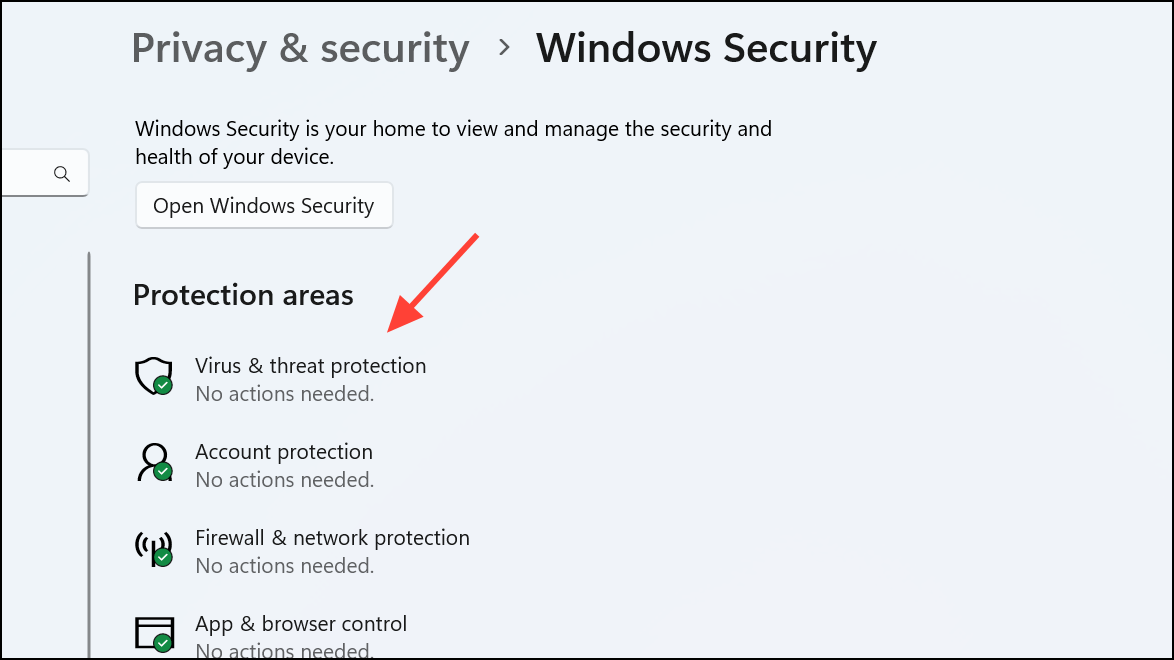
Step 4: Open Windows Security > Virus & threat protection.
Step 5: select Scan options, choose Full scan, and click Scan now to check for malware.
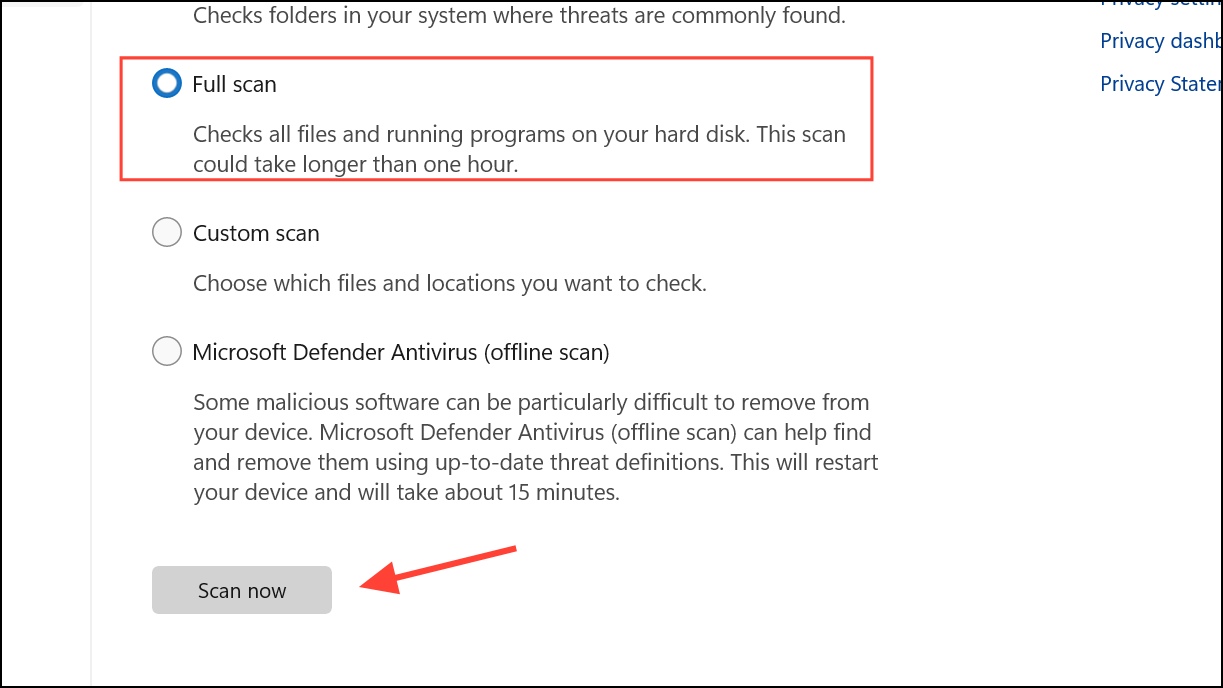
Step 5: Remove any detected threats and restart your PC.
Perform a Clean Boot
Conflicting third-party applications or services can trigger the SECURE_KERNEL_ERROR. A clean boot disables non-essential software to isolate the cause.
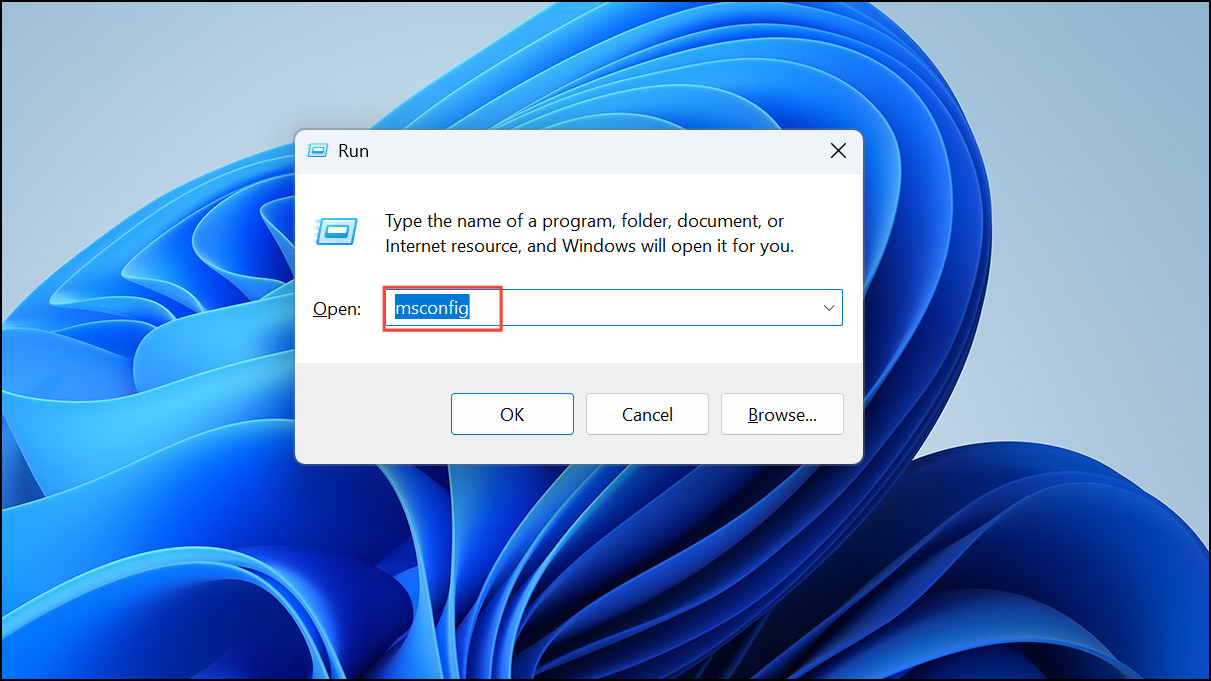
Step 1: Press Windows + R, type msconfig, and press Enter.
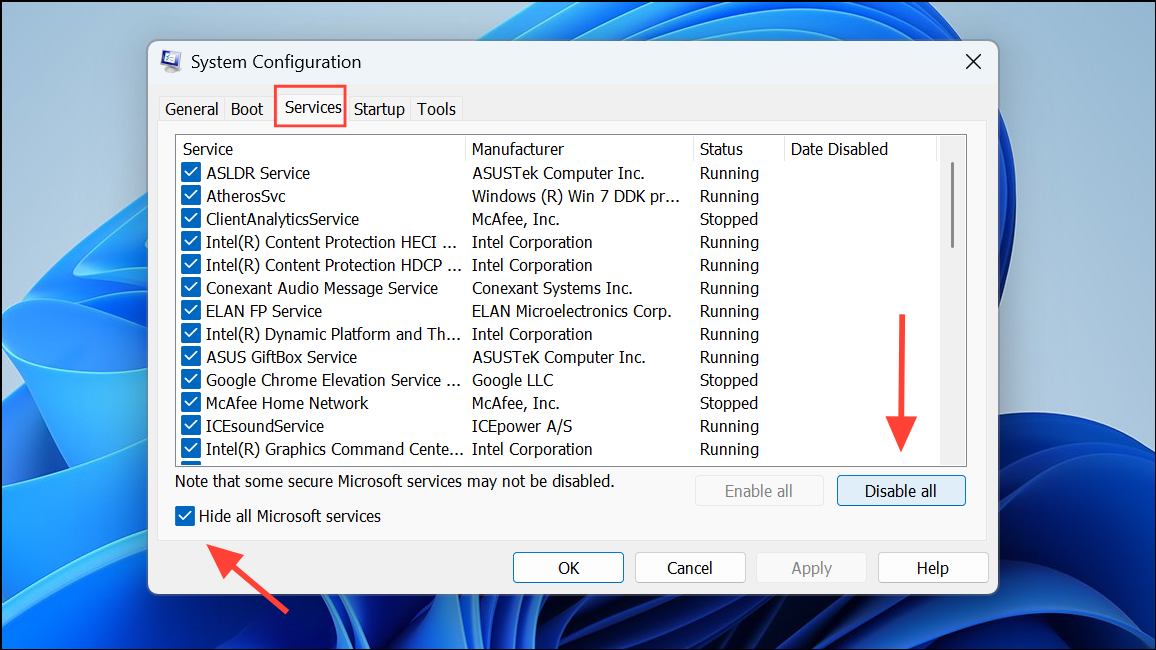
Step 2: In the System Configuration window, go to the Services tab, check Hide all Microsoft services, and click Disable all.
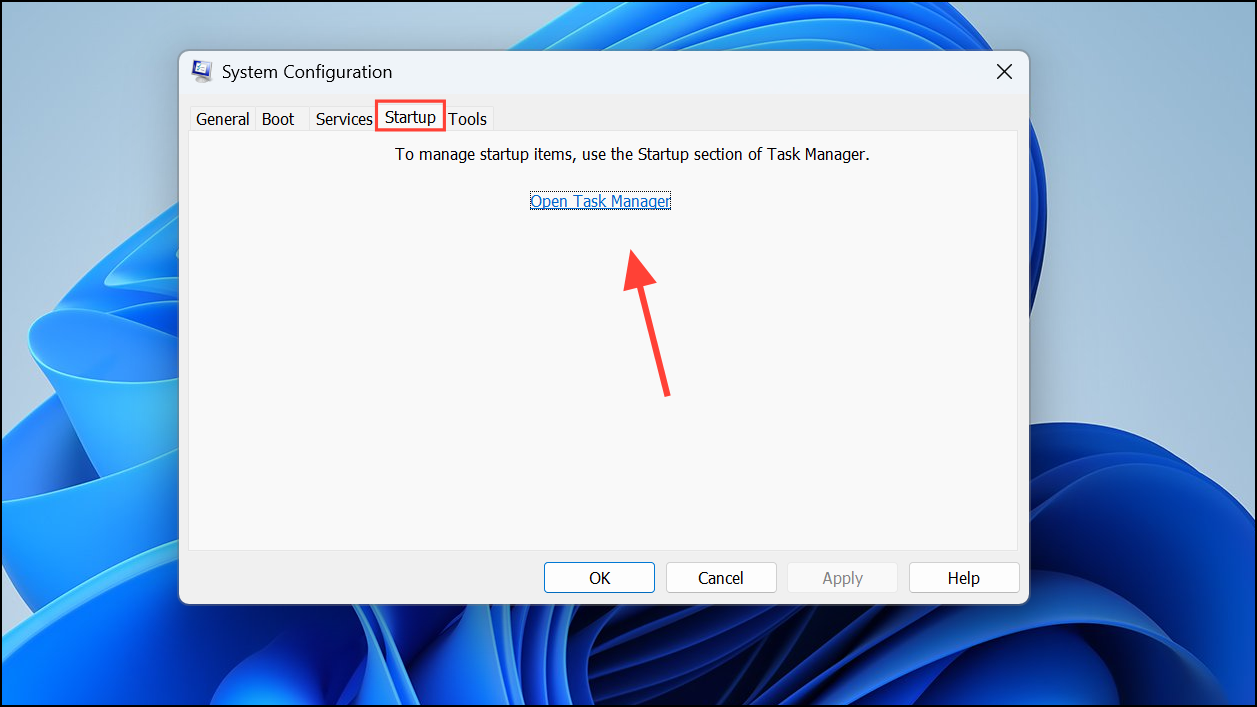
Step 3: Switch to the Startup tab and click Open Task Manager.
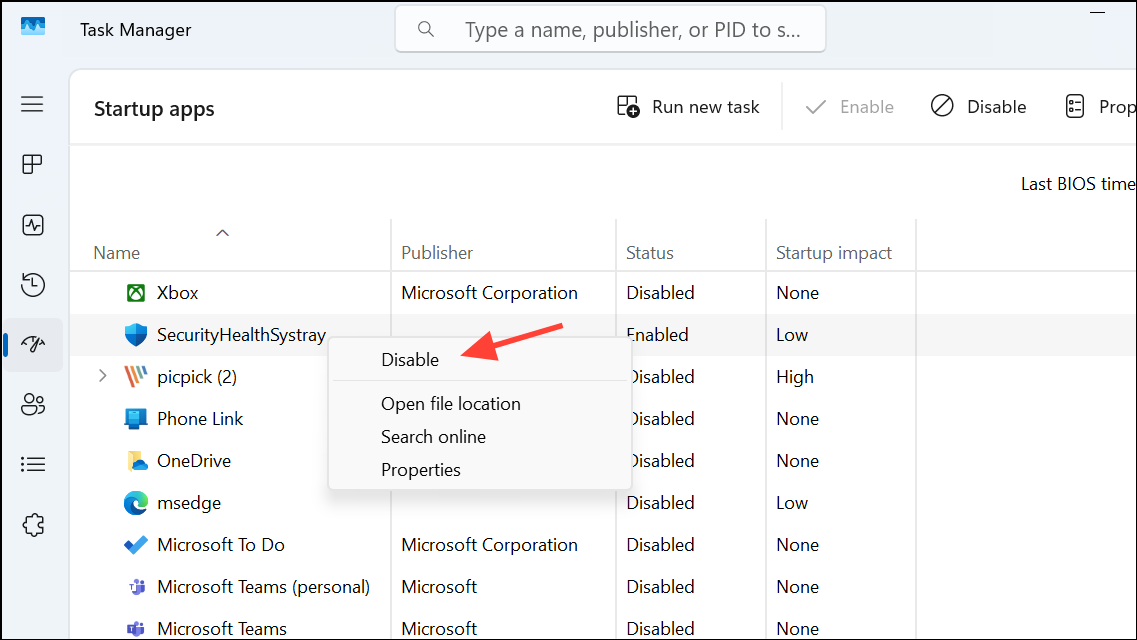
Step 4: Disable all startup items listed as enabled by right-clicking on each and selecting Disable.
Step 5: Close Task Manager, click Apply and OK in System Configuration, then restart your PC.
Step 6: Observe if the BSOD persists. If it does not, re-enable services and startup items one by one, restarting after each, to identify the problematic software.
Perform an In-Place Upgrade
If all else fails, repairing Windows 11 through an in-place upgrade reinstalls system files without deleting personal data or installed applications, which can resolve deep system issues causing the BSOD.
Step 1: Download the official Windows 11 ISO from Microsoft’s website.
Step 2: Mount the ISO by double-clicking it, then run setup.exe.
Step 3: Follow the on-screen prompts, accept the license terms, and ensure the option to keep personal files and apps is selected.
Step 4: Proceed with the installation and wait for it to complete, which may take 45 to 90 minutes.
Step 5: After completion, verify if the SECURE_KERNEL_ERROR no longer occurs.
Applying Microsoft’s Known Issue Rollback is the most straightforward solution to fix the 0x18B SECURE_KERNEL_ERROR caused by recent Windows 11 updates. Complementing this with driver updates, system scans, and, if necessary, an in-place upgrade ensures your system regains stability and resumes normal operation.