
Windows 11 installations and updates can fail with error code 0x80070001, often halting progress with messages about missing files, insufficient disk space, or unsupported configurations. This error frequently appears during upgrades (such as from 21H2 to 22H2 or 24H2), clean installs, or when using third-party tools to create bootable media. Understanding the root causes—ranging from disk type to USB formatting—will help you resolve the issue and successfully complete your Windows 11 setup or update.
Convert Dynamic Disk to Basic Disk
Systems with the Windows operating system installed on a dynamic disk, instead of a basic disk, often encounter 0x80070001 errors during updates or clean installations. Dynamic disks support advanced features like software RAID, but Windows 11 upgrades and installations can fail if the OS partition is dynamic.
Step 1: Back up all important data from the drive, as converting from dynamic to basic using built-in Windows tools requires deleting all existing volumes on the disk. If you want to avoid data loss, consider using third-party tools that support non-destructive conversion.
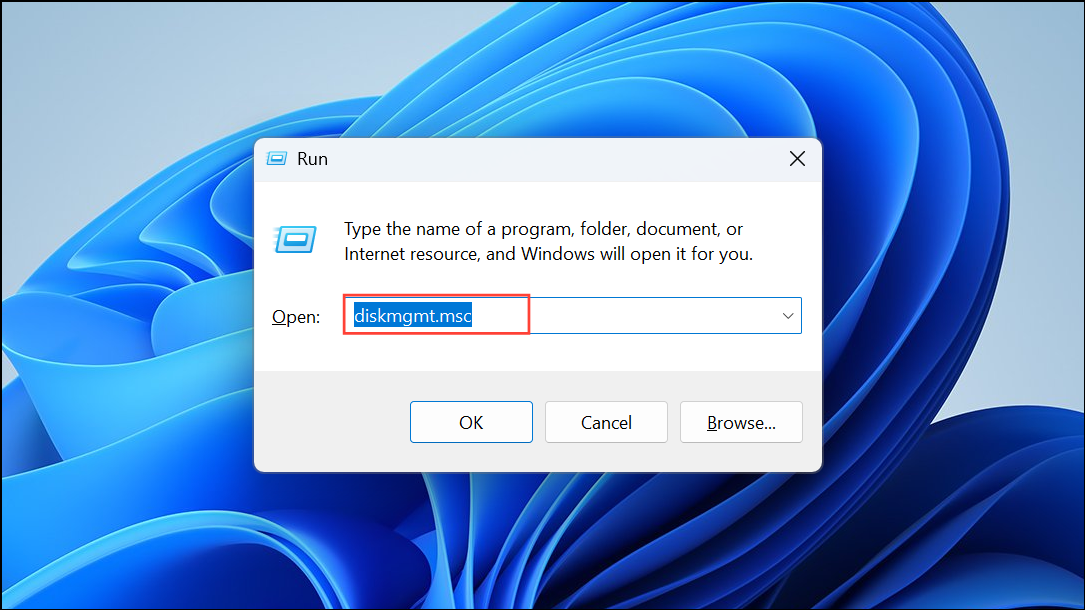
Step 2: Press Win + R, type diskmgmt.msc, and press Enter to open Disk Management.
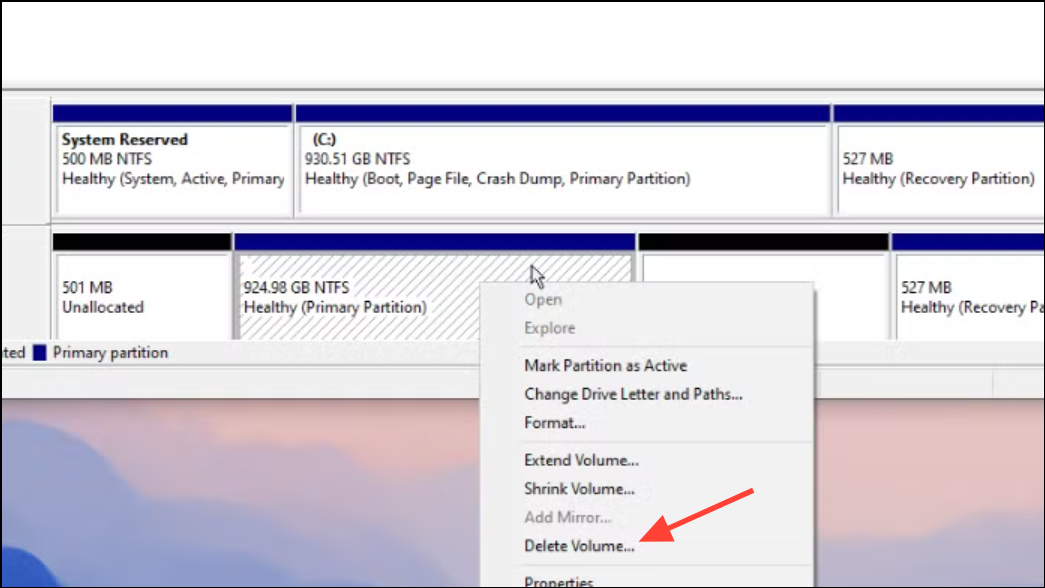
Step 3: Right-click each volume on the dynamic disk and select Delete Volume. Once all volumes are deleted, right-click the disk and choose Convert to Basic Disk.
Step 4: If you use a third-party tool such as MiniTool Partition Wizard, you can convert without deleting data. Launch the tool, select the dynamic disk, choose Convert Dynamic Disk to Basic, and apply the change. Always verify your data is intact after conversion.
After conversion, retry the Windows 11 installation or update. Disk type mismatches are a leading cause of this error, and switching to a basic disk resolves it for most users.
Select Previous Version of Setup During Installation
On Windows 11 24H2 installations, especially when using bootable USBs created by Ventoy or Rufus, the setup process may display error 0x80070001 - 0x4002f before disk selection. The current setup routine can have compatibility issues with certain hardware or USB configurations. Many users report success by reverting to the prior installer interface.
Step 1: Reboot your PC and boot from the Windows 11 installation USB.
Step 2: When the Select setup option window appears, look for Previous Version of Setup in the lower left corner.
Step 3: Click this option, which launches the legacy installer process. Continue with the installation as usual. This method bypasses the error for many users, particularly on 24H2 ISOs.
This workaround is widely confirmed across forums and can save extensive troubleshooting time if the standard installer fails early.
Reformat the USB Drive to NTFS or Switch Partition Scheme
Bootable USB drives formatted with the wrong file system or partition scheme can prevent Windows 11 setup from accessing required files, triggering error 0x80070001. Ventoy, for example, defaults to exFAT, but some Windows installers require NTFS and may also be sensitive to MBR vs. GPT partitioning.
Step 1: Insert the USB drive into your PC. Open This PC, right-click the USB, and choose Format.
Step 2: Select NTFS as the file system and complete the format. If you are using a tool like Ventoy or Rufus, ensure you select the correct file system and partition scheme (MBR or GPT) that matches your target system's firmware (BIOS or UEFI).
Step 3: Recreate the bootable USB with your Windows 11 ISO. Use the official Media Creation Tool or the latest version of Rufus for best compatibility.
Formatting the USB to NTFS and ensuring the partition scheme matches your system architecture prevents file access errors during setup.
Free Up Disk Space and Remove Unneeded Partitions
Even with ample free space, Windows setup may misread disk usage if there are too many partitions, remnants of previous installations, or RAID/dynamic disk configurations. The error often appears as "We can't tell if your PC has enough space to continue installing Windows 11."
Step 1: Back up important files from all drives targeted for Windows installation.
Step 2: Boot from your Windows 11 USB. At the disk selection screen, use the Delete option to remove all existing partitions on the target disk. This clears hidden system, EFI, and recovery partitions that might conflict with setup.
Step 3: Select the resulting unallocated space, then click New to create a single partition for Windows installation. Proceed with setup.
This approach eliminates partition conflicts and resolves misreported disk space issues that lead to 0x80070001.
Check and Repair System Files
Corrupted system files or Windows images can cause update and installation failures. Running built-in repair tools can restore missing or damaged files required for setup.
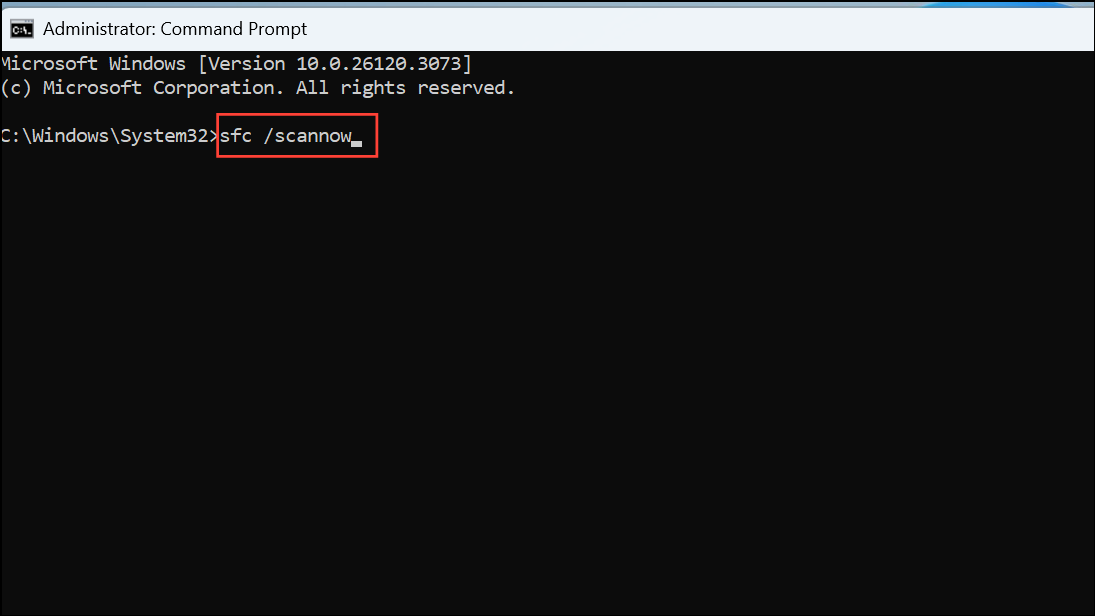
Step 1: Open Command Prompt as administrator. Type sfc /scannow and press Enter. The System File Checker will scan and attempt to repair system files.
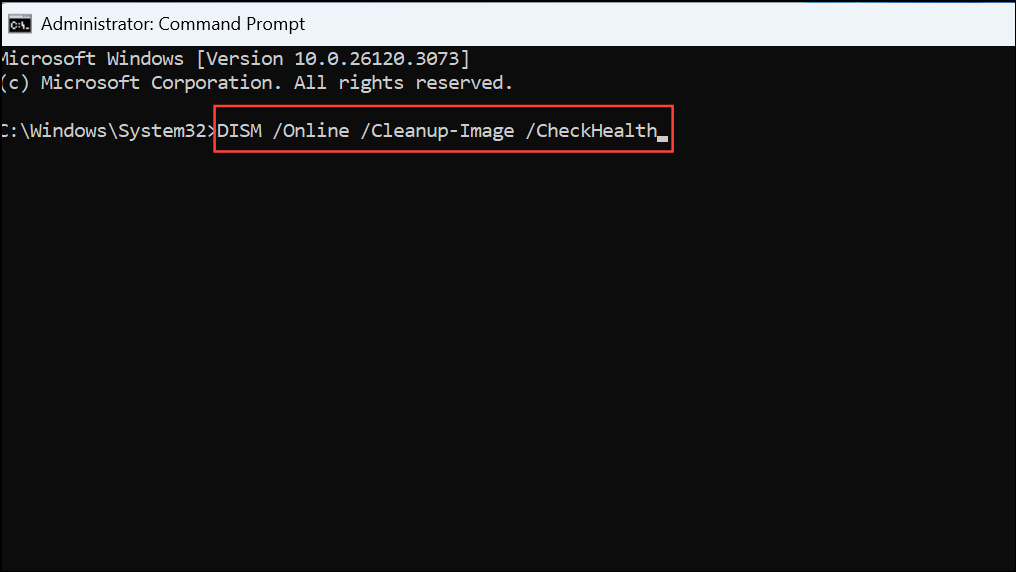
Step 2: If SFC reports unfixable issues, run the following commands one by one to use the Deployment Imaging Service and Management Tool (DISM):
DISM /Online /Cleanup-Image /CheckHealth
DISM /Online /Cleanup-Image /ScanHealth
DISM /Online /Cleanup-Image /RestoreHealth
Step 3: Restart your computer and retry the installation or update process.
Repairing system files addresses underlying OS integrity problems that can trigger error 0x80070001.
Modify or Clean Up Registry Entries
Residual Windows Update registry entries can interfere with upgrades or installations. Removing outdated or conflicting keys can resolve persistent errors.
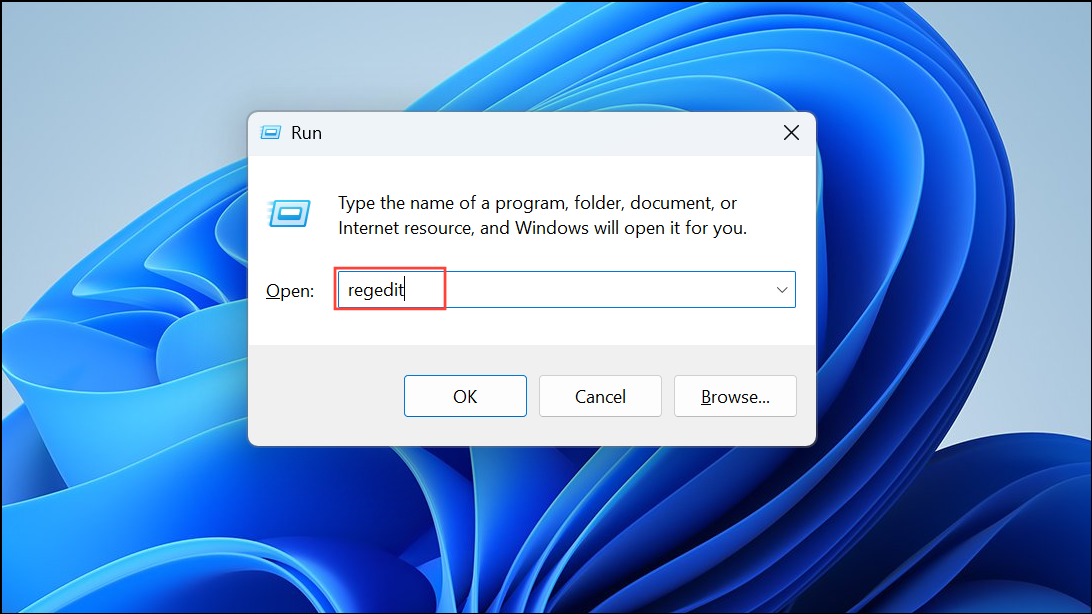
Step 1: Press Win + R, type regedit, and press Enter to open the Registry Editor.
Step 2: Navigate to HKEY_LOCAL_MACHINE\SOFTWARE\Policies\Microsoft\Windows\WindowsUpdate.
Step 3: In the right panel, delete the WUServer and WIStatusServer values if present.
Step 4: Close the Registry Editor and restart your PC before attempting the update again.
This step removes settings that may force Windows to use outdated update servers or configurations.
Switch Tools or Download Official ISOs
ISOs or bootable media created with unofficial or outdated tools can introduce compatibility problems. Windows 11 setup errors are more likely if the installation files are not from Microsoft or if the USB creation tool does not fully support the latest builds.
Step 1: Download the Windows 11 ISO directly from Microsoft’s website.
Step 2: Use the official Media Creation Tool or the latest version of Rufus to create your installation USB. Avoid using ISOs from third-party sources or older tools.
Using official tools and images reduces the risk of file corruption or unsupported configurations that cause 0x80070001 errors.
Temporarily Disable Antivirus and Unplug Peripherals
Security software and unnecessary peripherals can interfere with Windows setup routines, blocking file access or causing hardware conflicts.
Step 1: Temporarily disable third-party antivirus programs and, if possible, Windows Defender Firewall during installation or update.
Step 2: Disconnect all non-essential external devices, such as printers, scanners, USB hubs, or external drives, leaving only the keyboard and mouse connected.
Step 3: Retry the installation or update process.
This reduces potential conflicts and improves the chance of a smooth setup.
Run Windows Update Troubleshooter
For update errors occurring within Windows (not during clean install), the built-in Windows Update Troubleshooter can automatically detect and resolve common problems.
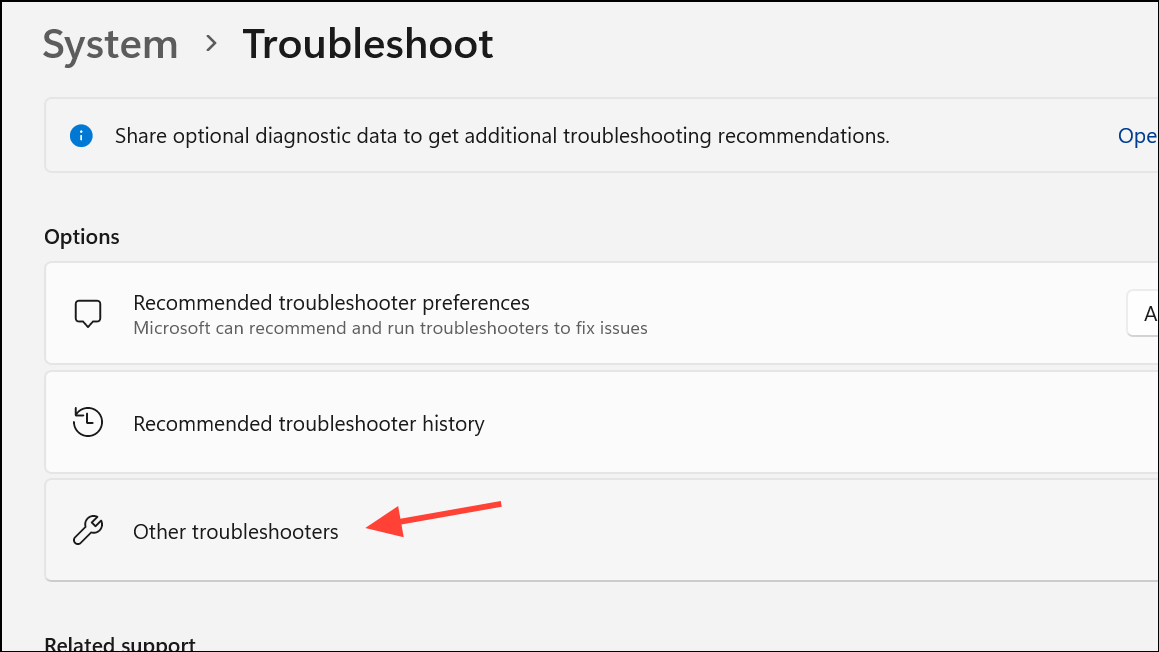
Step 1: Open Settings, go to System > Troubleshoot > Other troubleshooters.
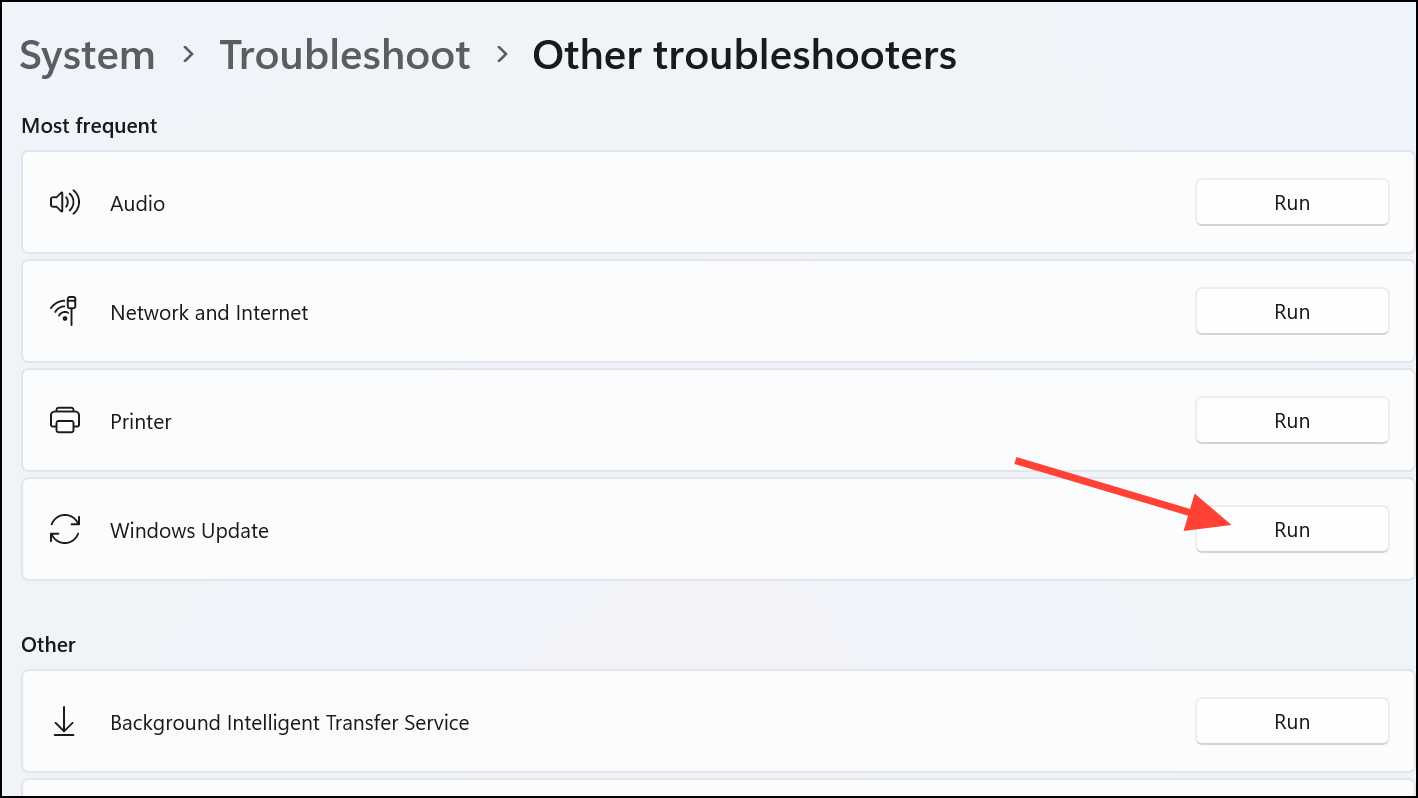
Step 2: Click Run next to Windows Update.
Step 3: Follow the on-screen instructions, applying any recommended fixes.
Restart after troubleshooting and check if the error is resolved.
Addressing error 0x80070001 on Windows 11 often comes down to disk configuration, proper USB formatting, or using the right installer tool. After following these steps, most users report successful installations or updates without further issues.