
Failed Windows 11 updates accompanied by error code 0x80070005 signal permission issues that prevent the system from installing updates. This error, often labeled as “Access Denied,” can block critical security and feature updates, leaving your device vulnerable and potentially out of compliance. Addressing the root causes—incorrect permissions, corrupt system files, or misconfigured update components—restores update capability and maintains system reliability.
Grant Full Permissions to AppData Folders
Permission errors in the AppData directory can block updates. Assigning full control to your user account or the “Everyone” group ensures Windows Update can access necessary files.
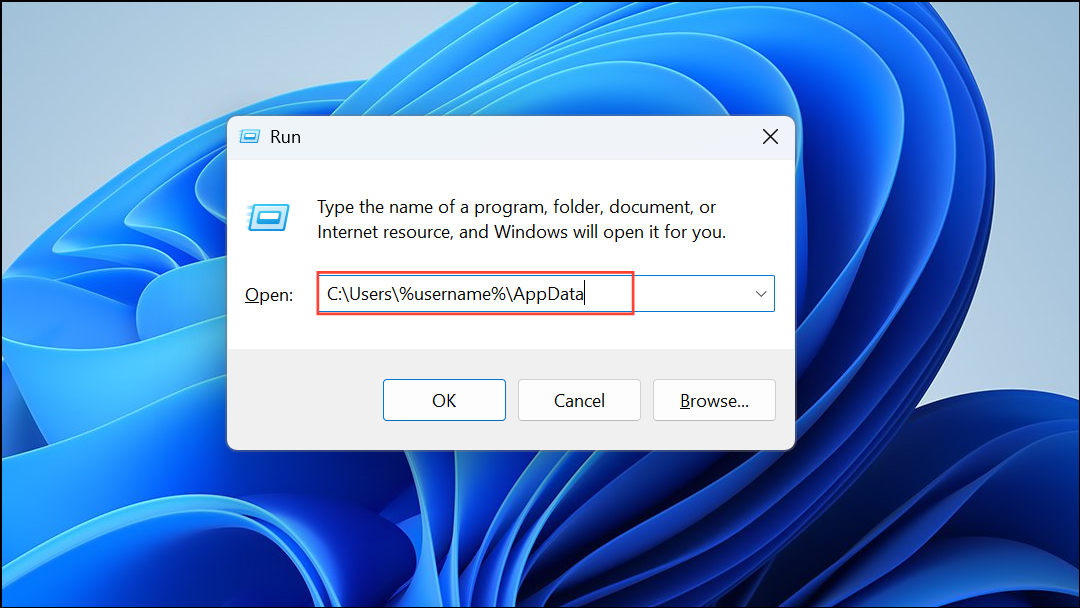
Step 1: Press Windows key + R to open the Run dialog, then enter C:\Users\%username%\AppData and press Enter. Replace C: with your Windows installation drive if different.
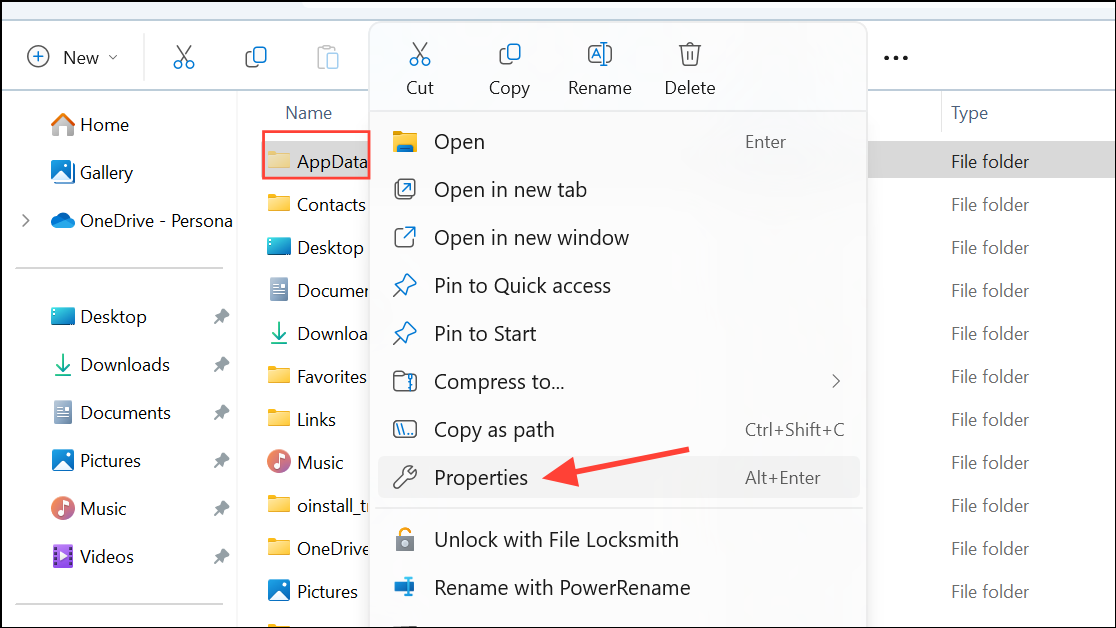
Step 2: In File Explorer, right-click the AppData folder and select Properties. Navigate to the Security tab and click Edit….
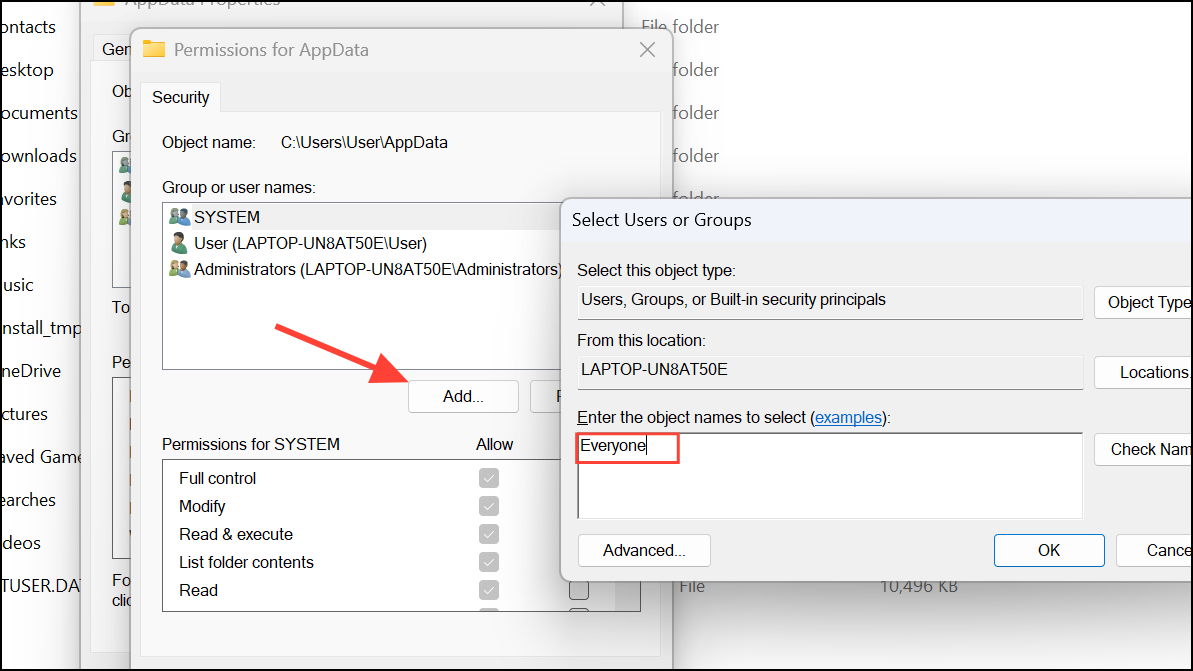
Step 3: Click Add…, type Everyone in the “Enter the object names to select” box, and click Check Names followed by OK.
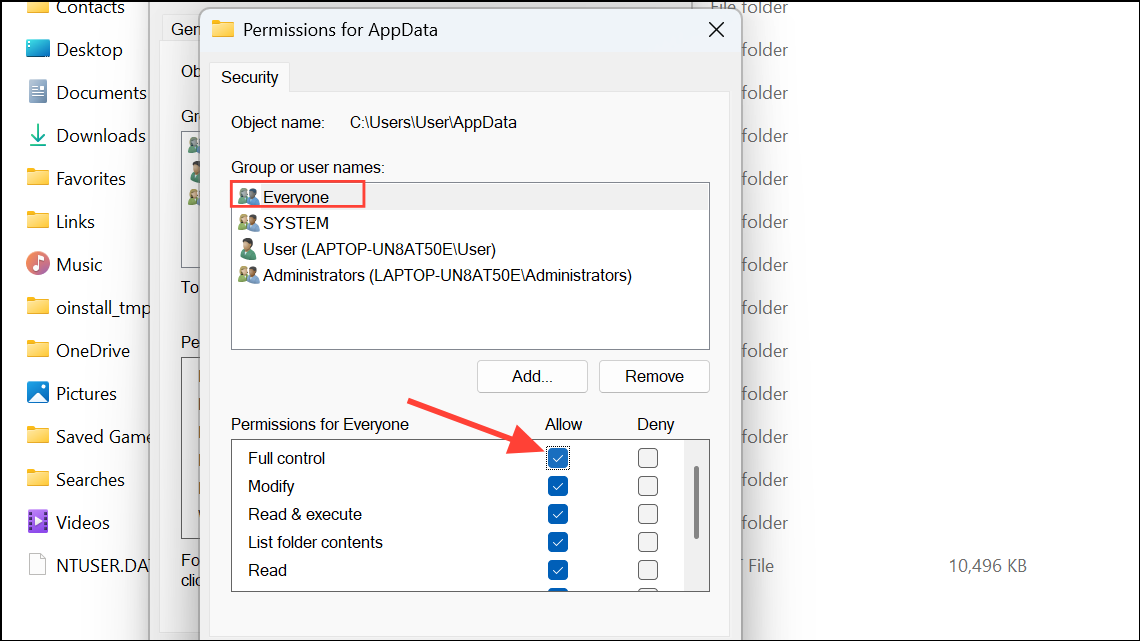
Step 4: Select Everyone in the permissions list, check the Full Control box, then click Apply and OK to save changes.
Step 5: Restart your computer. Attempt the update again to see if the error is resolved.
Reset Windows Update Components and Clear SoftwareDistribution
Corrupted update files or stuck update services can trigger error 0x80070005. Resetting the update components and clearing the SoftwareDistribution folder removes problematic files and restarts update services.
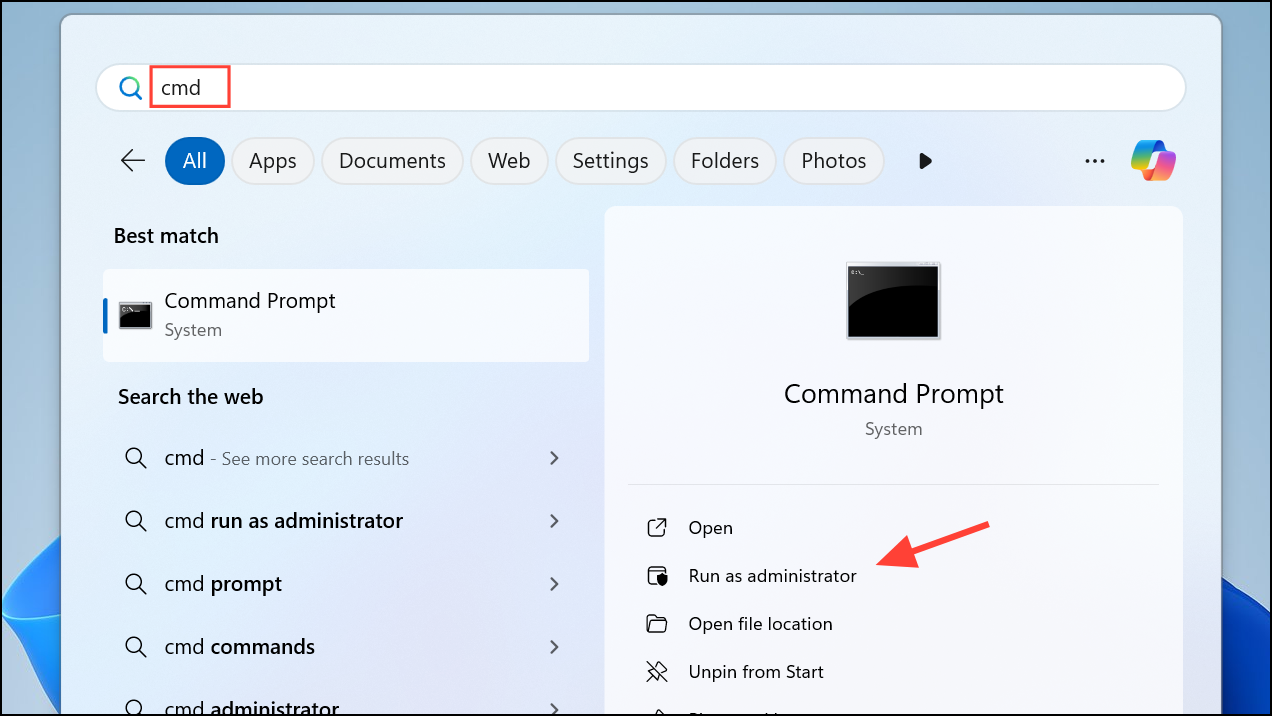
Step 1: Open Command Prompt as administrator. Press Windows key, type cmd, right-click Command Prompt, and select Run as administrator.
Step 2: Stop update services by entering each line below, pressing Enter after each:
net stop wuauserv
net stop cryptSvc
net stop bits
net stop msiserver
Step 3: Rename update cache folders to force Windows to create new ones:
ren C:\Windows\SoftwareDistribution SoftwareDistribution.old
ren C:\Windows\System32\catroot2 catroot2.old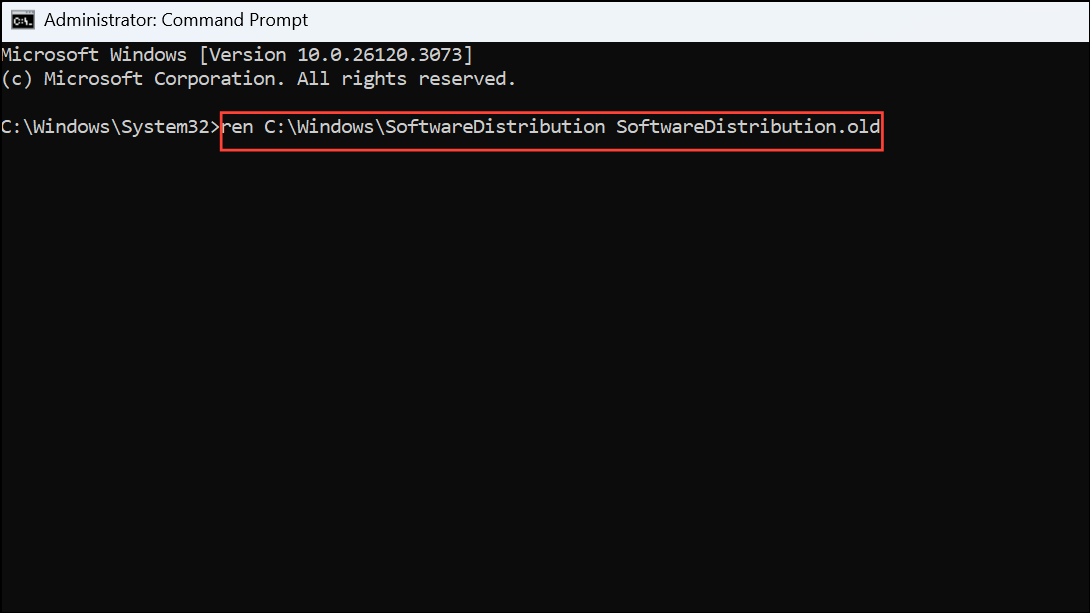
Step 4: Restart the update services by entering:
net start wuauserv
net start cryptSvc
net start bits
net start msiserver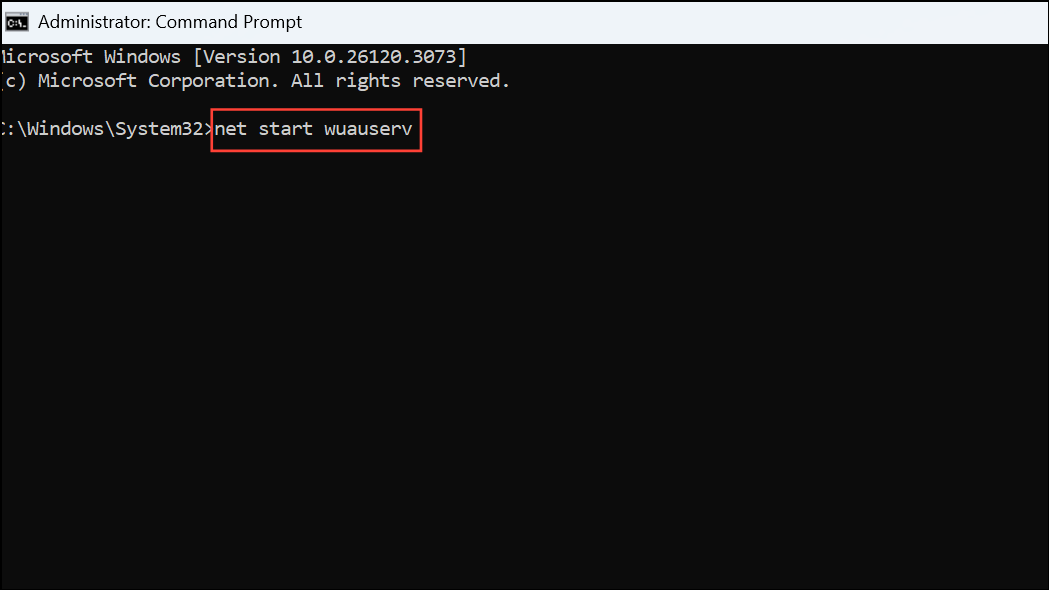
Step 5: Close Command Prompt and try running Windows Update again.
Repair System Files with DISM and SFC
Corrupt system files can interrupt update processes. Deployment Image Servicing and Management (DISM) and System File Checker (SFC) utilities restore missing or damaged files, improving update reliability.
Step 1: Open Command Prompt as administrator.
Step 2: Run the DISM tool to check and repair the Windows image:
DISM.exe /Online /Cleanup-Image /ScanHealth
DISM.exe /Online /Cleanup-Image /CheckHealth
DISM.exe /Online /Cleanup-Image /RestoreHealth
Step 3: After DISM completes, run the System File Checker:
sfc /scannow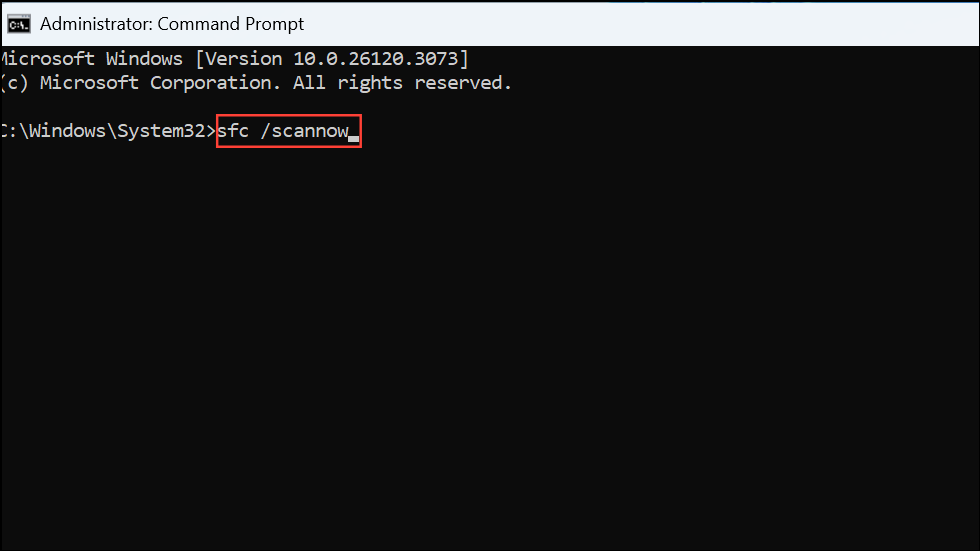
Step 4: When the scan finishes, restart your PC and check for updates again.
Adjust TrustedInstaller Permissions in the Registry
Windows updates rely on the TrustedInstaller service for access to protected system resources. If permissions are misconfigured, updates may fail with access denied errors. Granting full permissions to TrustedInstaller on the relevant registry keys can fix this.
Step 1: Open Notepad and paste the following script:
Set OSBIT=32
IF exist "%ProgramFiles(x86)%" set OSBIT=64
set RUNNINGDIR=%ProgramFiles%
IF %OSBIT% == 64 set RUNNINGDIR=%ProgramFiles(x86)%
subinacl /subkeyreg "HKEY_LOCAL_MACHINE\SOFTWARE\Microsoft\Windows\CurrentVersion\Component Based Servicing" /grant="nt service\trustedinstaller"=f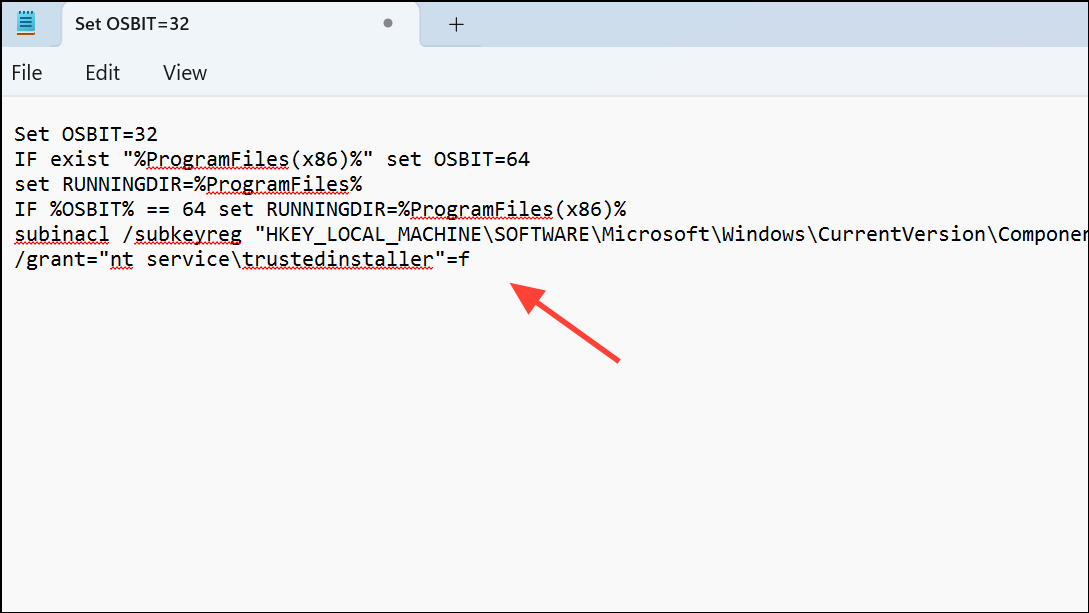
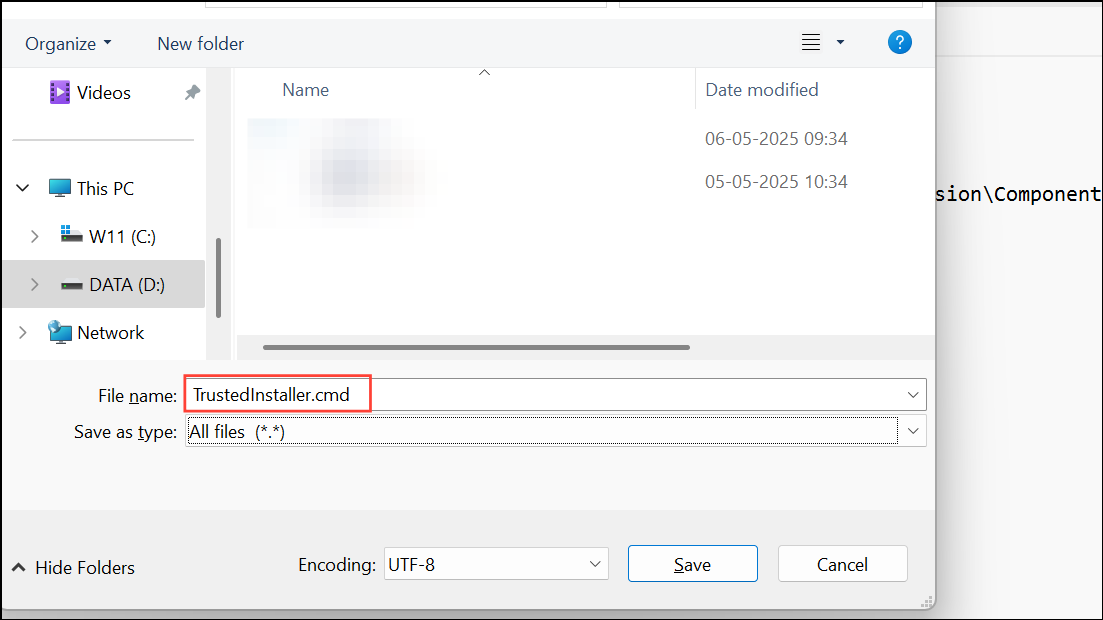
Step 2: Save the file as TrustedInstaller.cmd (set “Save as type” to “All Files”).
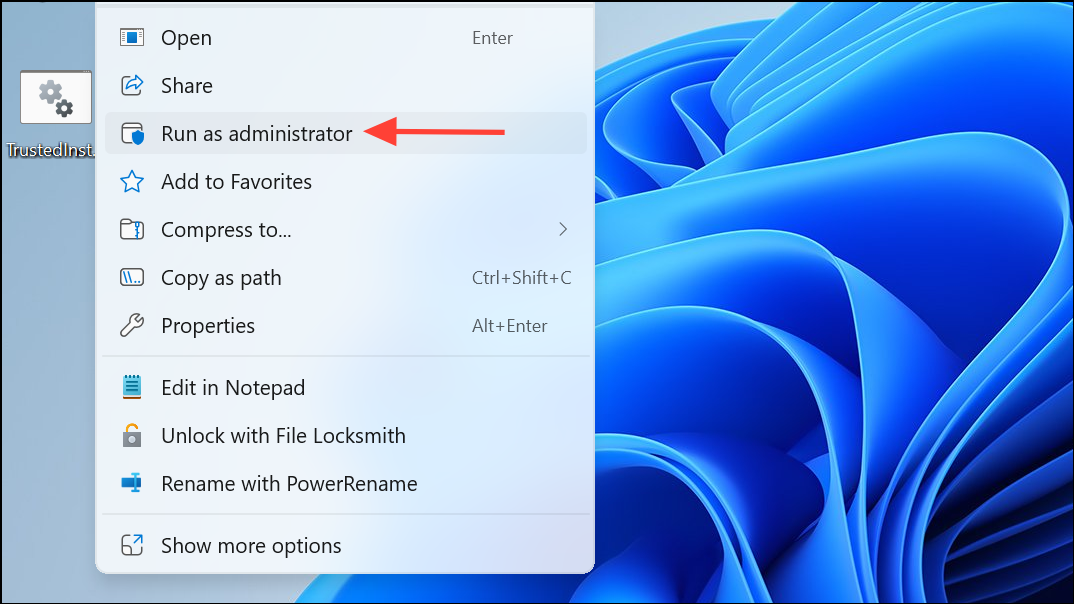
Step 3: Right-click the saved file and choose Run as administrator. After it runs, restart your PC.
Step 4: Attempt the update process again.
subinacl tool may need to be downloaded if not already installed on your system. It is available from archived Microsoft resources or trusted third-party sites. Always scan any downloads for malware before running.Run the Windows Update Troubleshooter
The built-in Windows Update Troubleshooter automatically detects and resolves many common update issues, including permission problems and service misconfigurations.
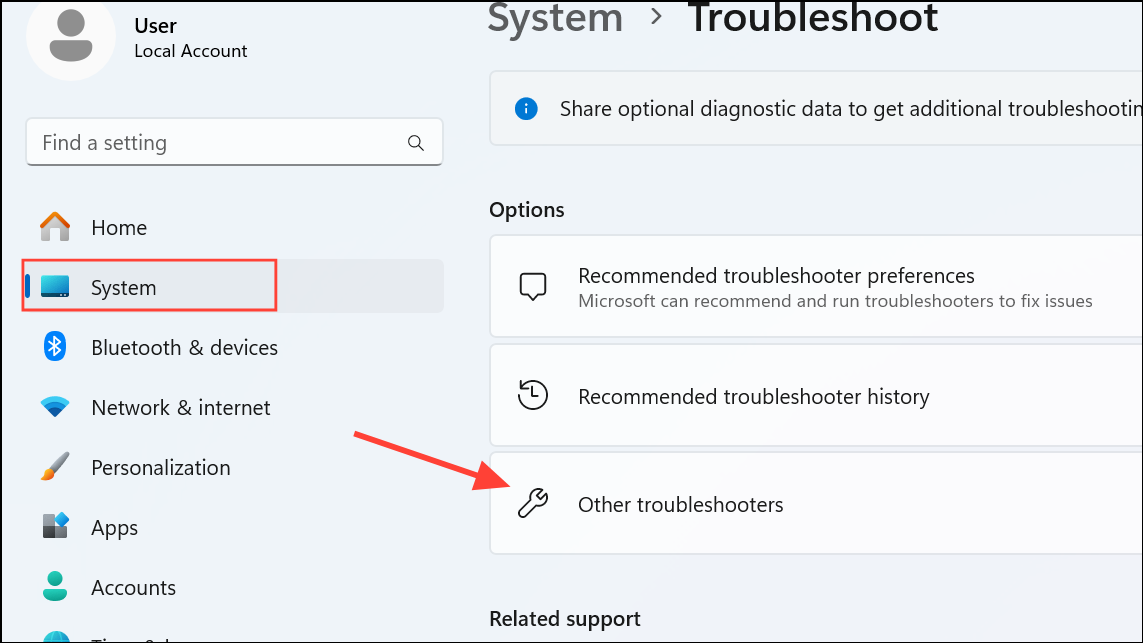
Step 1: Go to Settings > System > Troubleshoot > Other troubleshooters (on Windows 11).
Step 2: Find Windows Update in the list and click Run.
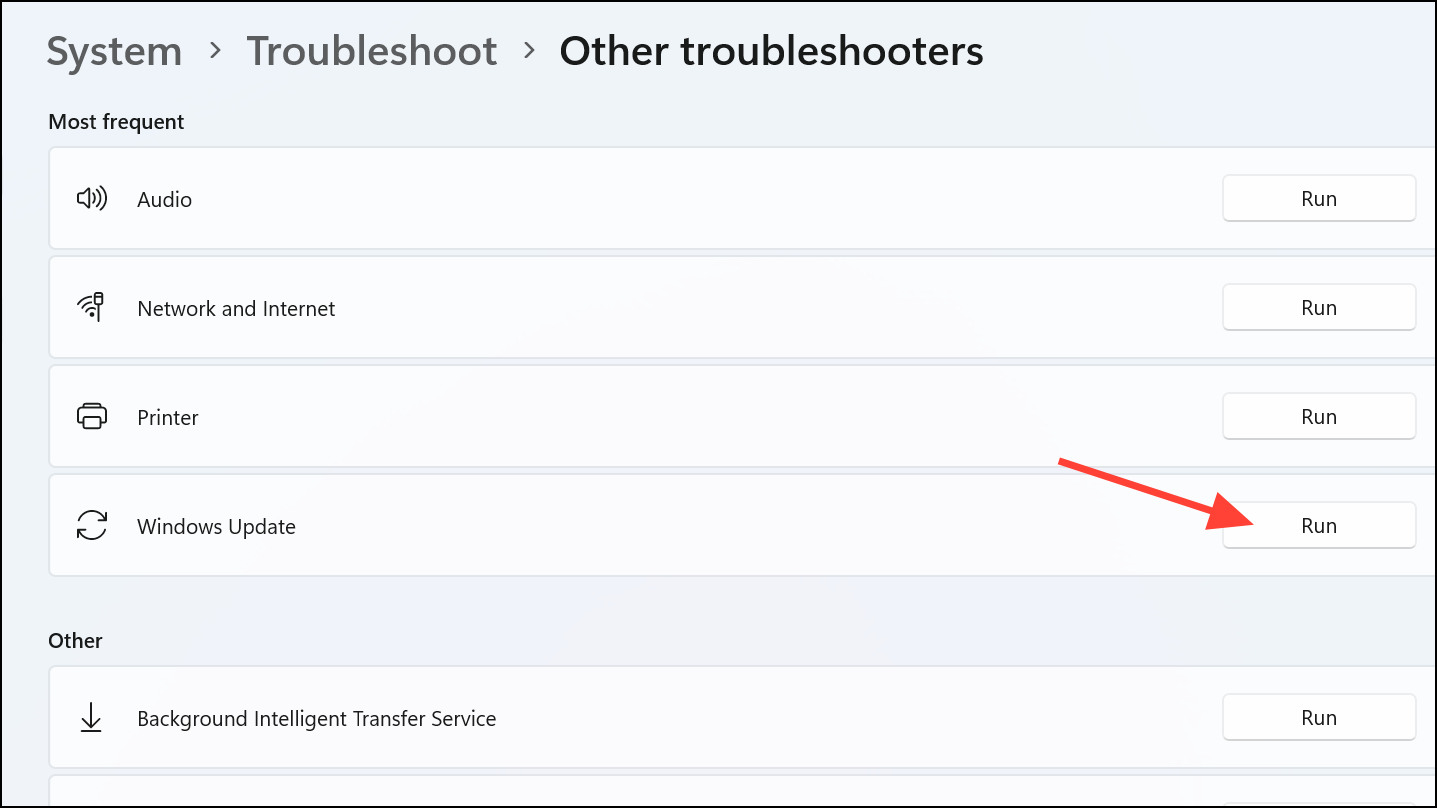
Step 3: Follow on-screen instructions. Apply any fixes suggested by the troubleshooter, then restart your PC and check for updates again.
Perform a Clean Boot to Isolate Software Conflicts
Third-party software, especially antivirus programs or system utilities, can interfere with Windows Update. A clean boot starts Windows with only essential services and drivers, helping to identify or bypass conflicting software.
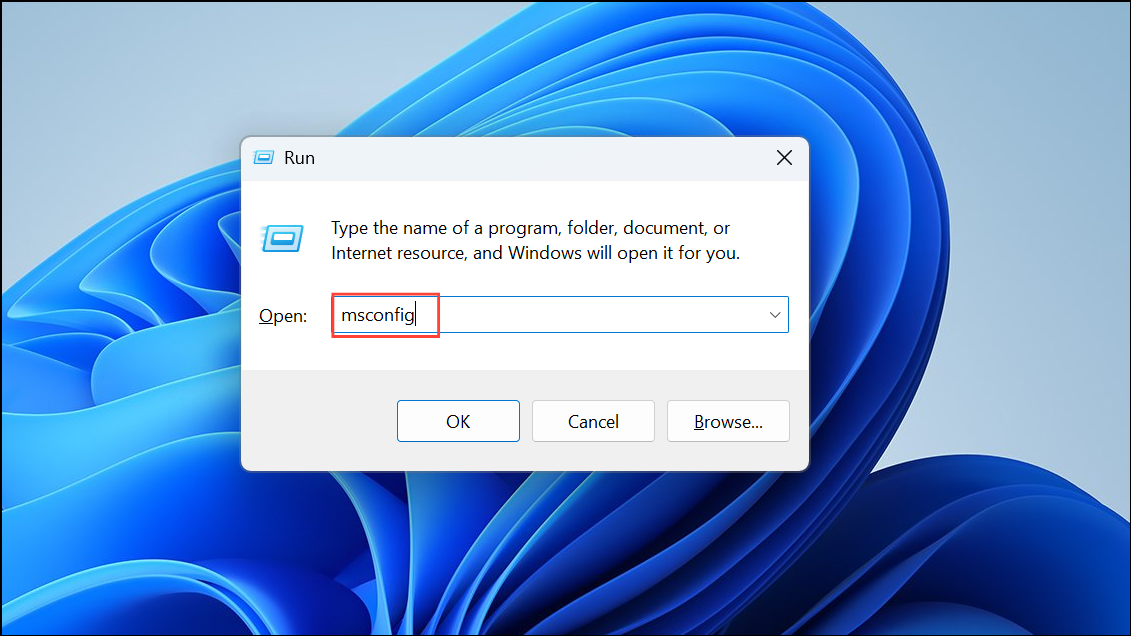
Step 1: Press Windows key + R, type msconfig, and press Enter.
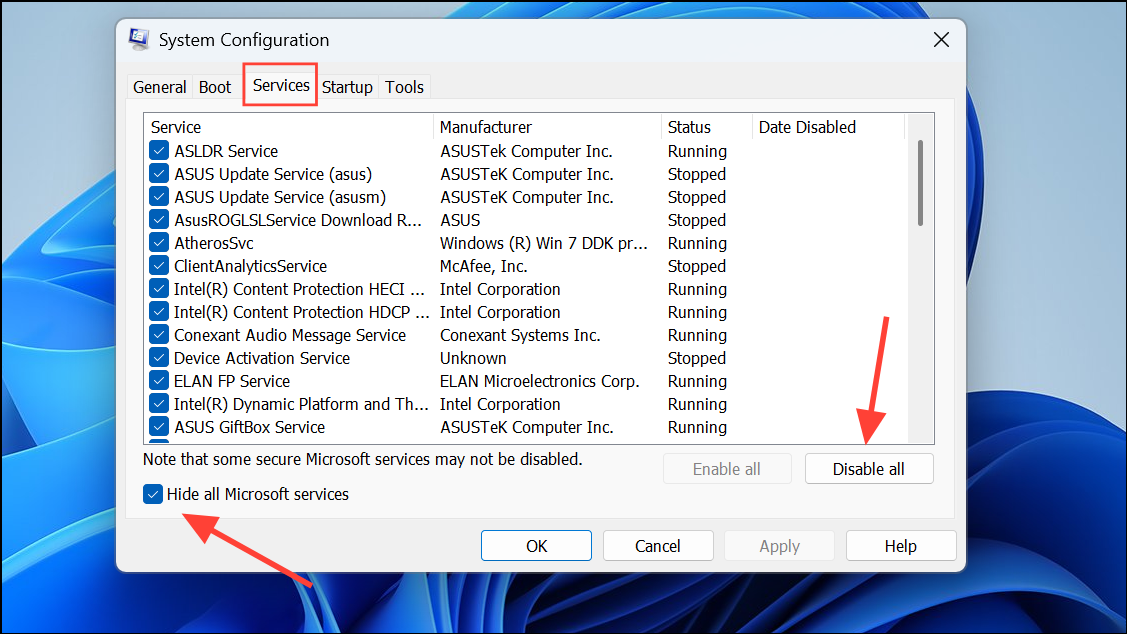
Step 2: In the System Configuration window, go to the Services tab, check Hide all Microsoft services, then click Disable all.
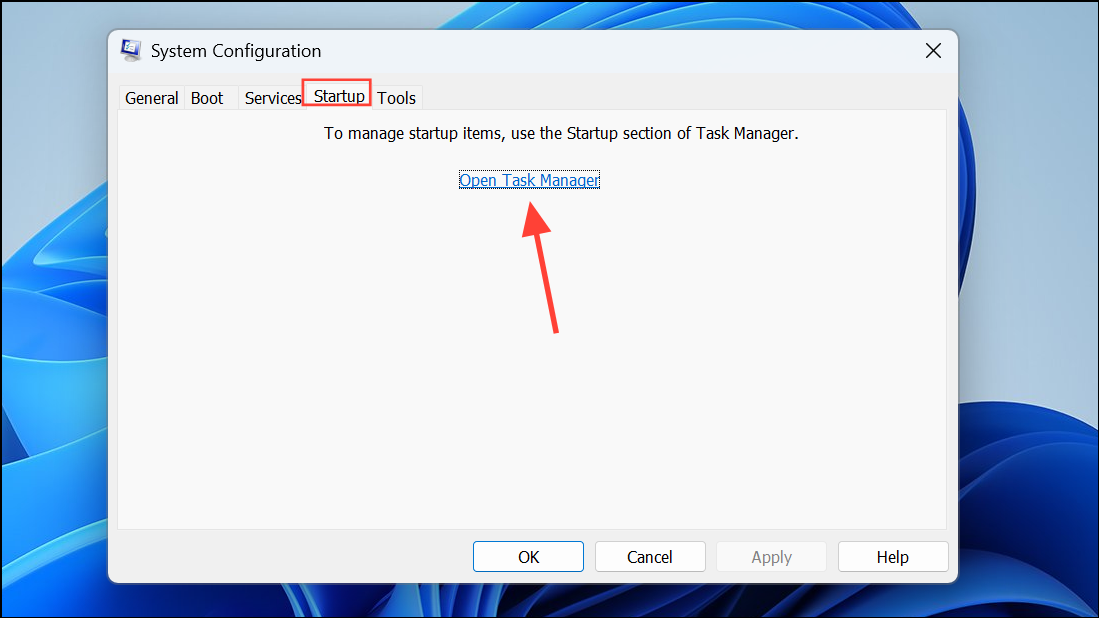
Step 3: On the Startup tab, click Open Task Manager. Disable all startup items by right-clicking on each and selecting Disable.
Step 4: Close Task Manager, click OK in System Configuration, and restart your computer.
Step 5: Try running Windows Update. If the error disappears, a third-party application is likely causing the problem. Re-enable services and startup items one by one to identify the culprit.
Check Firewall and Antivirus Settings
Overly strict firewall or antivirus settings can block update processes. Temporarily disabling your antivirus or allowing the svchost.exe process through the firewall can restore update access.
Step 1: In Windows Security or your third-party antivirus, temporarily disable protection and attempt the update. If the update works, adjust exclusions or settings to permit Windows Update without fully disabling protection long-term.
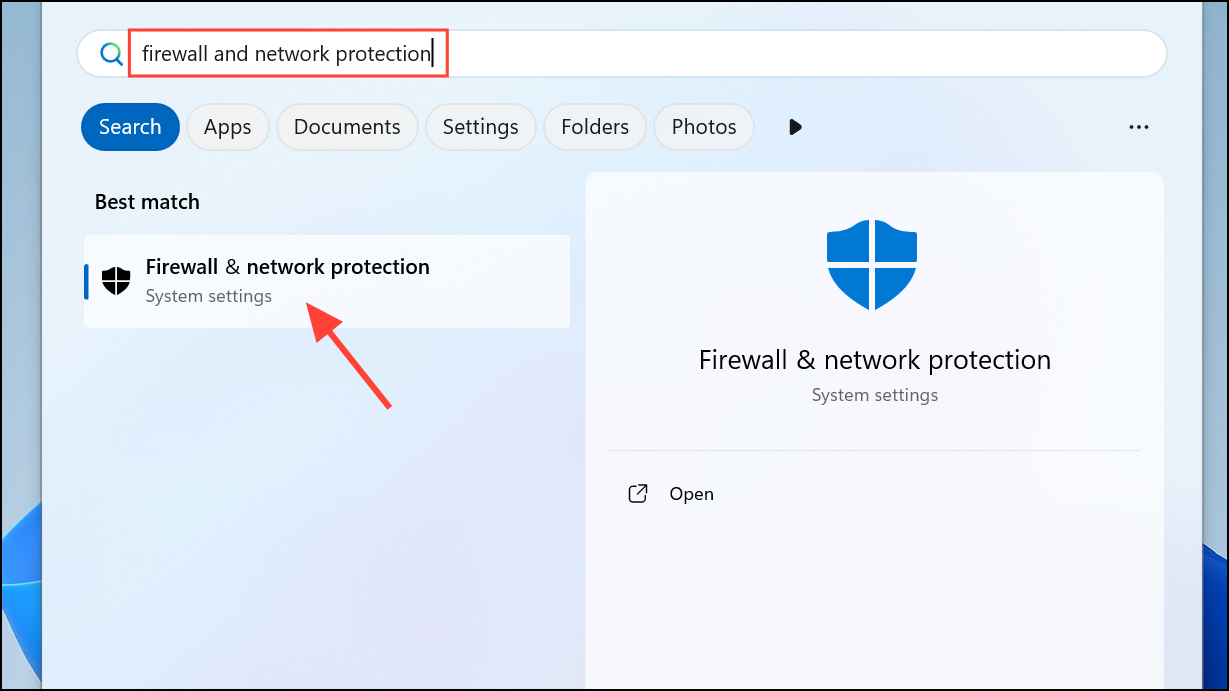
Step 2: To allow svchost.exe through the firewall, search for Firewall & network protection in the Start menu.
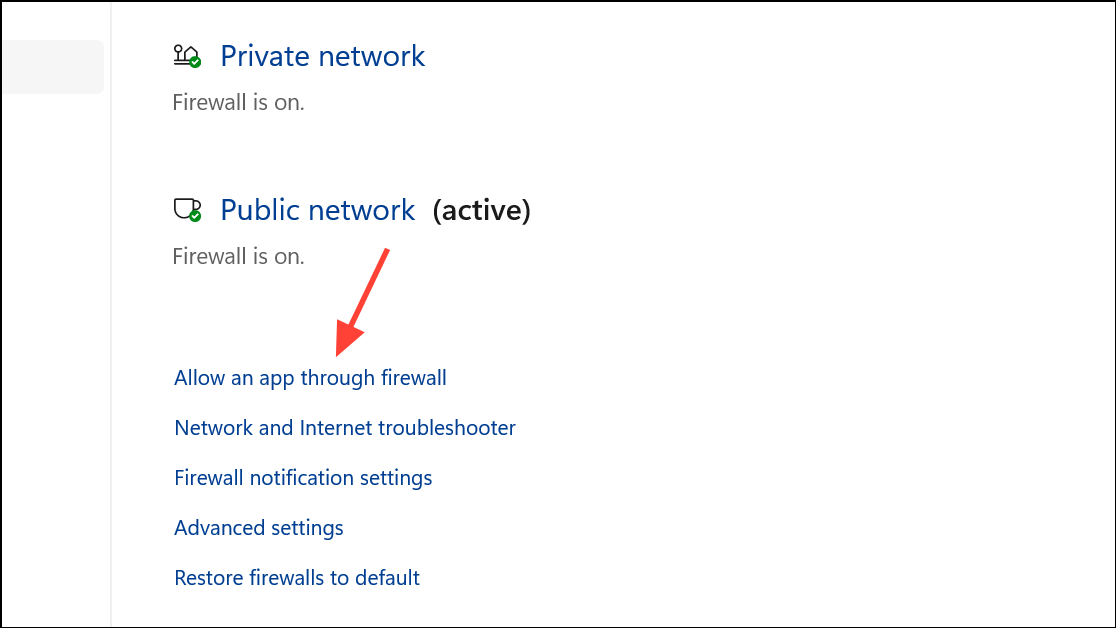
Step 3: Select Allow an app through firewall, then add svchost.exe from C:\Windows\System32. Ensure both Private and Public boxes are checked.
Run an In-Place Upgrade as a Last Resort
If all previous methods fail, performing an in-place upgrade reinstalls Windows 11 while keeping your files and applications intact. This method repairs system files, resets permissions, and resolves persistent update issues.
Step 1: Download the latest Windows 11 ISO or use the Media Creation Tool from Microsoft’s official website.
Step 2: Run the setup file and choose the option to upgrade your PC. Select “Keep personal files and apps” when prompted.
Step 3: Follow the on-screen instructions to complete the upgrade. After your system restarts, check for updates again.
Resolving error 0x80070005 on Windows 11 restores update functionality and strengthens system security. Regularly checking permissions and keeping third-party software up to date reduces the risk of future update failures.