Windows Update Error 0x8024A000 interrupts the update process on Windows 11 when the system’s update services fail to communicate properly with Microsoft’s servers. This error can leave your device missing out on security patches and feature improvements, putting system stability and security at risk. Addressing this issue quickly ensures your PC stays protected and up to date.
Restart Windows Update Services
Restarting core Windows Update services often resolves communication errors and stuck update processes. This method stops active update components, clears temporary issues, and then restarts the necessary services for updates to proceed smoothly.
Windows + S, typing cmd, right-clicking on Command Prompt, and selecting Run as administrator.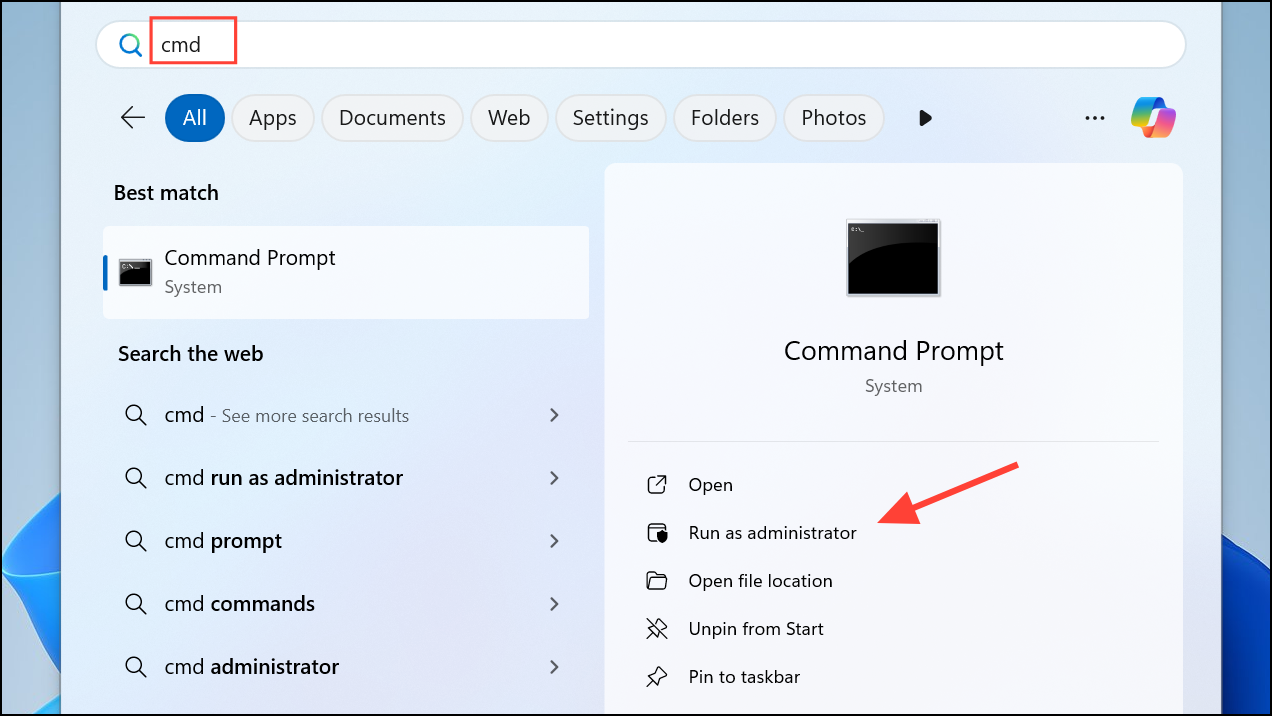
net stop wuauserv
net stop bits
net stop cryptsvc
net stop msiserver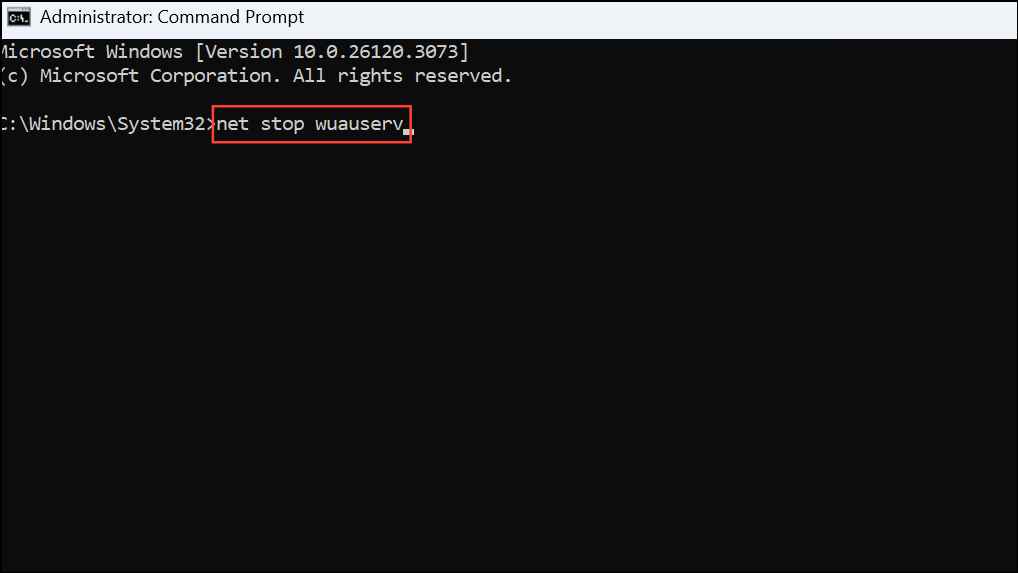
net start wuauserv
net start bits
net start cryptsvc
net start msiserver
Reset Windows Update Components
Corrupted update cache or outdated update components can cause persistent errors. Renaming update folders forces Windows to generate fresh copies, eliminating possible corruption and restoring update functionality.
net stop wuauserv
net stop cryptSvc
net stop bits
net stop msiserverren C:\Windows\SoftwareDistribution SoftwareDistribution.old
ren C:\Windows\System32\catroot2 catroot2.old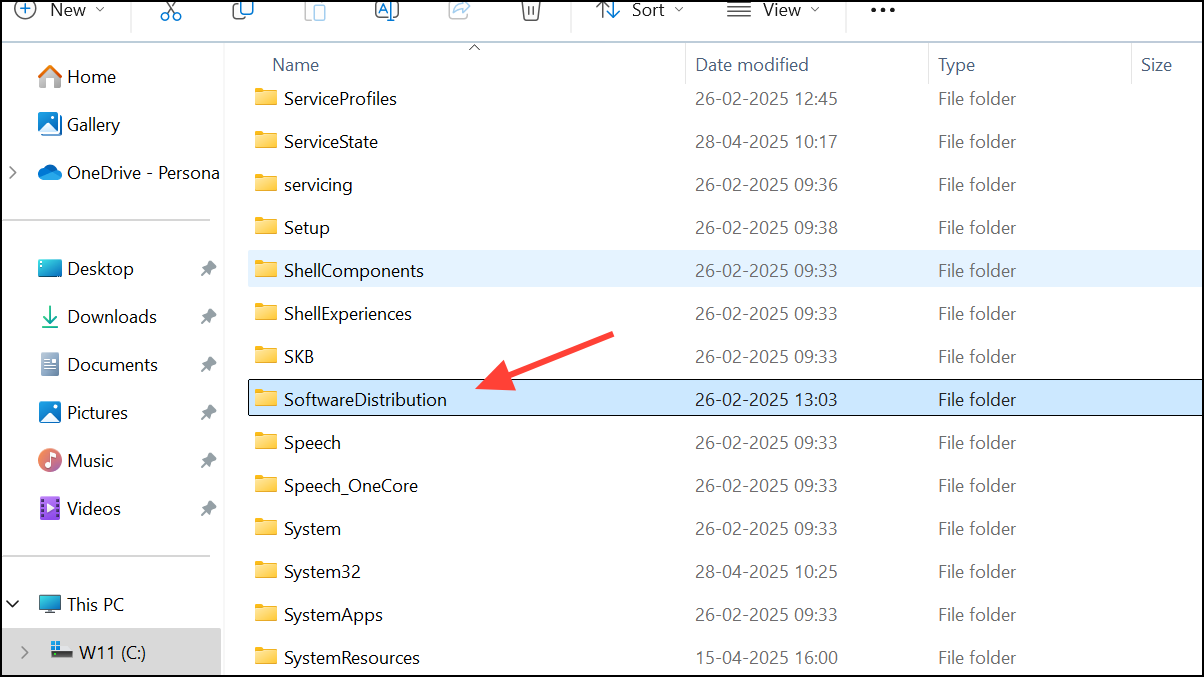
net start wuauserv
net start cryptSvc
net start bits
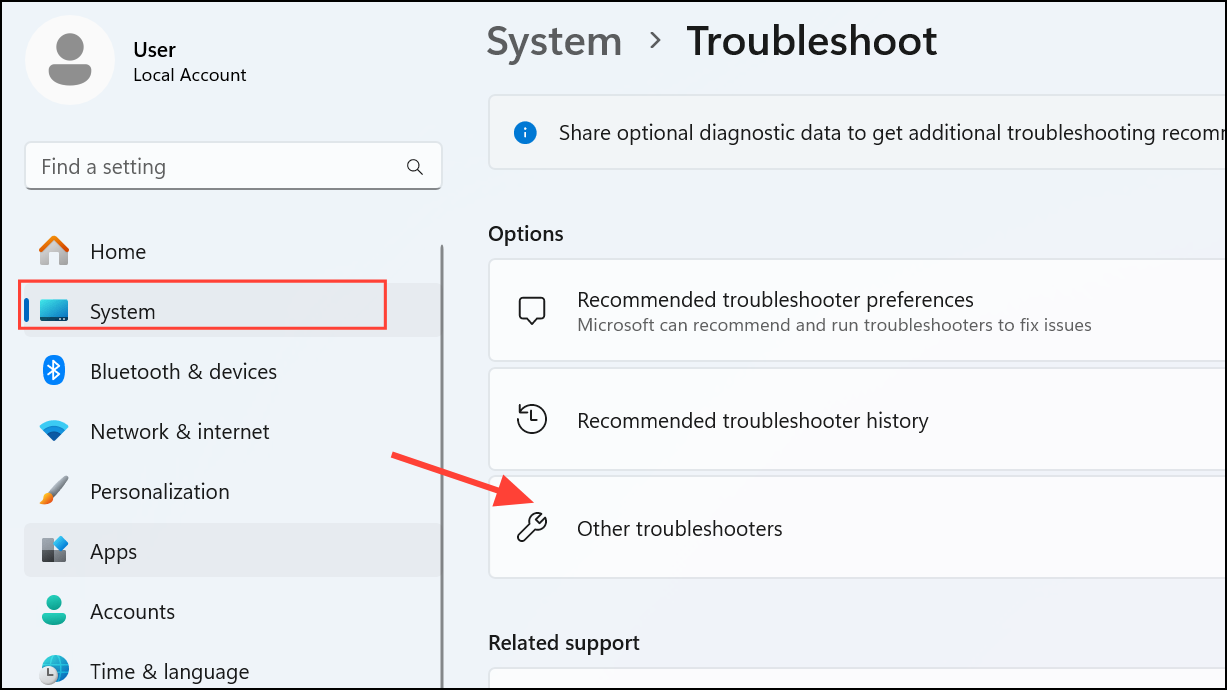
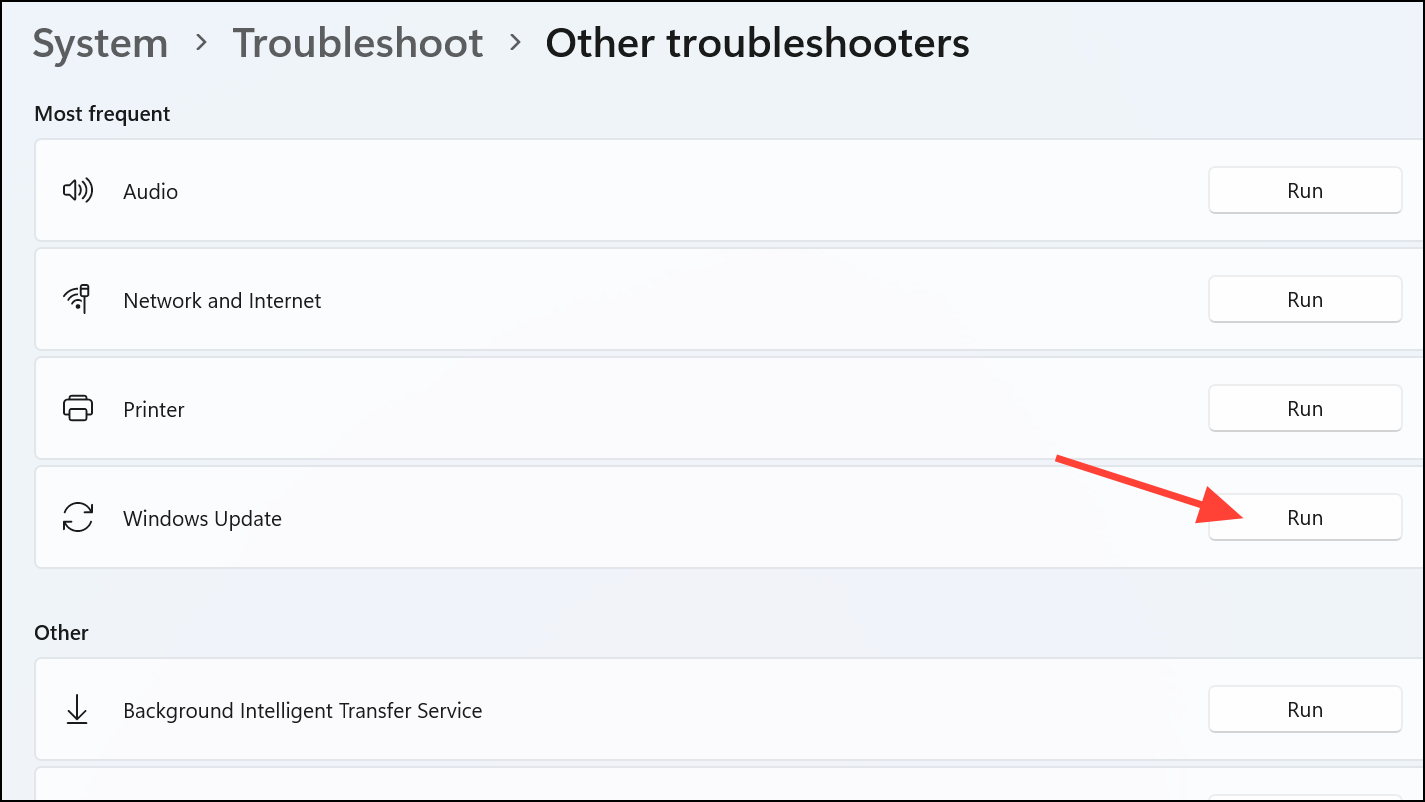
net start msiserverRun Windows Update Troubleshooter
Windows 11 includes a built-in troubleshooter that automatically diagnoses and repairs common update issues, including service misconfigurations and corrupted components.
Check Network Connection and Hardware
Network interruptions or faulty hardware can prevent Windows Update from connecting to Microsoft servers, resulting in error 0x8024A000. Ensuring a stable connection removes this variable from troubleshooting.
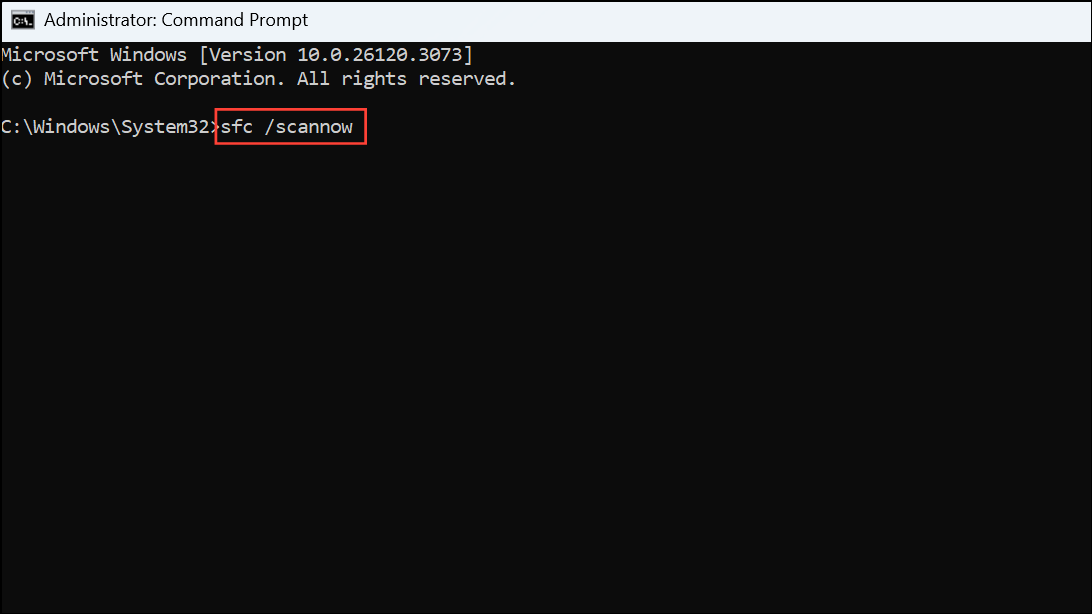
Run System File Checker and DISM Tools
Corrupted system files can disrupt Windows Update’s ability to download and install updates. The System File Checker (SFC) and Deployment Imaging Service and Management Tool (DISM) scan and repair system file integrity.
sfc /scannowThis process checks for and repairs corrupted system files. Wait until it completes.
DISM.exe /Online /Cleanup-Image /RestoreHealth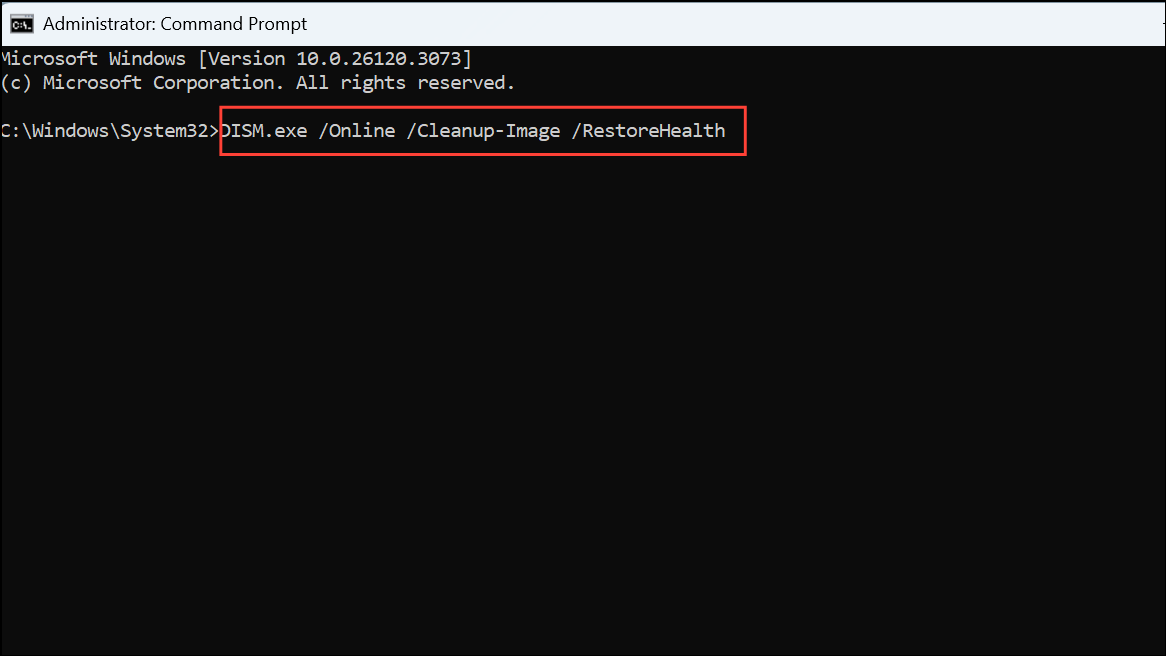
After completion, restart your PC and check for updates again.
Temporarily Disable Antivirus and Firewall
Some third-party antivirus programs and firewall settings block Windows Update connections. Disabling them temporarily can help determine if they are causing the error.
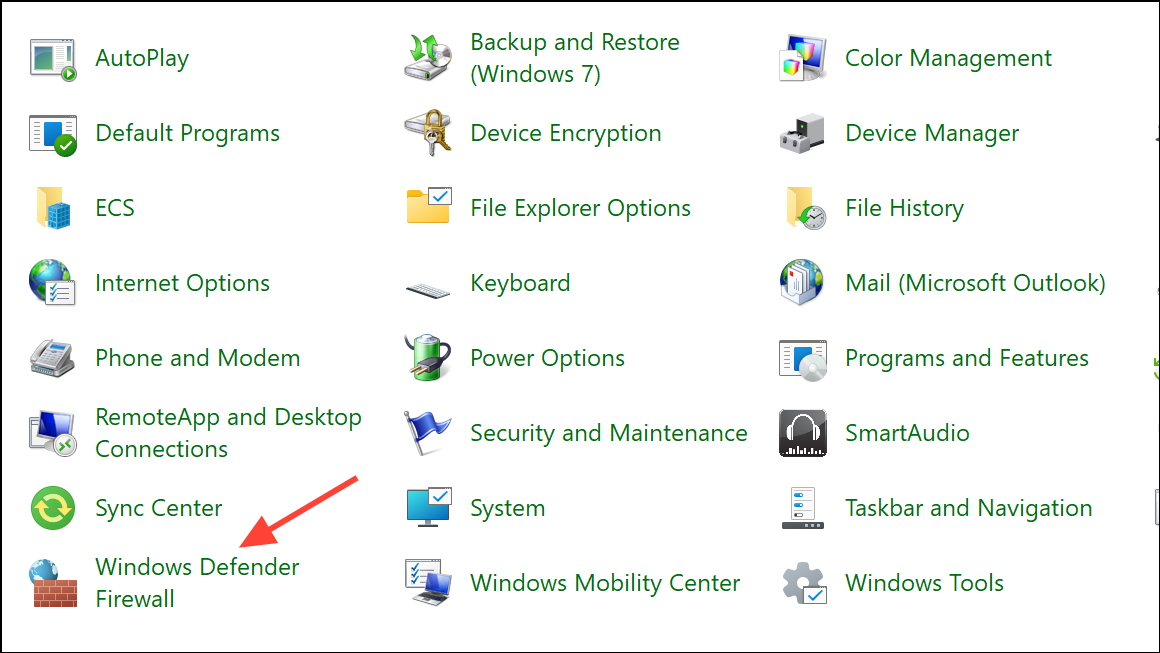
Turn Windows Defender Firewall on or off and select Turn off for both private and public networks.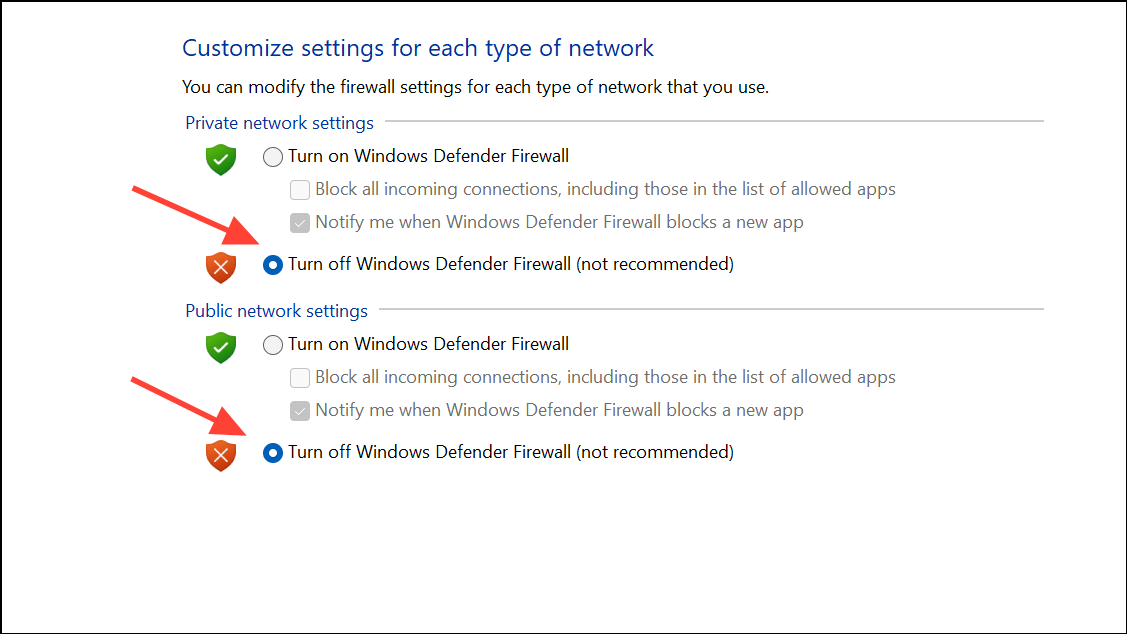
Register Windows Update DLL Files
Improperly registered dynamic link library (DLL) files can block update services. Registering these files again ensures all components are correctly recognized by the system.
regsvr32 and ending with /s for silent registration. For example:regsvr32 c:\windows\system32\vbscript.dll /s
regsvr32 c:\windows\system32\mshtml.dll /s
regsvr32 c:\windows\system32\msjava.dll /s
regsvr32 c:\windows\system32\jscript.dll /s
regsvr32 c:\windows\system32\msxml.dll /s
regsvr32 c:\windows\system32\actxprxy.dll /s
regsvr32 c:\windows\system32\shdocvw.dll /s
regsvr32 wuapi.dll /s
regsvr32 wuaueng1.dll /s
regsvr32 wuaueng.dll /s
regsvr32 wucltui.dll /s
regsvr32 wups2.dll /s
regsvr32 wups.dll /s
regsvr32 wuweb.dll /s
regsvr32 Softpub.dll /s
regsvr32 Mssip32.dll /s
regsvr32 Initpki.dll /s
regsvr32 softpub.dll /s
regsvr32 wintrust.dll /s
regsvr32 initpki.dll /s
regsvr32 dssenh.dll /s
regsvr32 rsaenh.dll /s
regsvr32 gpkcsp.dll /s
regsvr32 sccbase.dll /s
regsvr32 slbcsp.dll /s
regsvr32 cryptdlg.dll /s
regsvr32 Urlmon.dll /s
regsvr32 Shdocvw.dll /s
regsvr32 Msjava.dll /s
regsvr32 Actxprxy.dll /s
regsvr32 Oleaut32.dll /s
regsvr32 Mshtml.dll /s
regsvr32 msxml.dll /s
regsvr32 msxml2.dll /s
regsvr32 msxml3.dll /s
regsvr32 Browseui.dll /s
regsvr32 shell32.dll /s
regsvr32 wuapi.dll /s
regsvr32 wuaueng.dll /s
regsvr32 wuaueng1.dll /s
regsvr32 wucltui.dll /s
regsvr32 wups.dll /s
regsvr32 wuweb.dll /s
regsvr32 jscript.dll /s
regsvr32 atl.dll /s
regsvr32 Mssip32.dll /s

Run as administrator. If prompted by User Account Control, click Yes.
Perform a System Restore
If none of the above methods resolve the error, restoring your system to a previous state can reverse recent changes that caused update failures. You should have created a restore point earlier to use this method.

Resolving Error 0x8024A000 on Windows 11 restores update capability and keeps your system secure. Regularly checking for updates and maintaining system health helps avoid future interruptions.