
The IO1_INITIALIZATION_FAILED blue screen error, also known as bug check 0x00000069, signals a failure during the initialization of the Windows I/O subsystem. This error frequently disrupts the boot process, preventing Windows 11 from starting and locking users out of their systems. Causes range from corrupted boot configuration, incompatible hardware changes, and outdated drivers to issues with disk partitions or recent system updates.
Repair Boot Configuration and Master Boot Record (MBR)
Step 1: Start by accessing the Windows Recovery Environment (WinRE). If your system fails to boot normally, power it off completely by holding the power button for 10 seconds, then turn it back on. Repeat this process two to three times until you see the 'Automatic Repair' screen. Select Advanced options to continue.
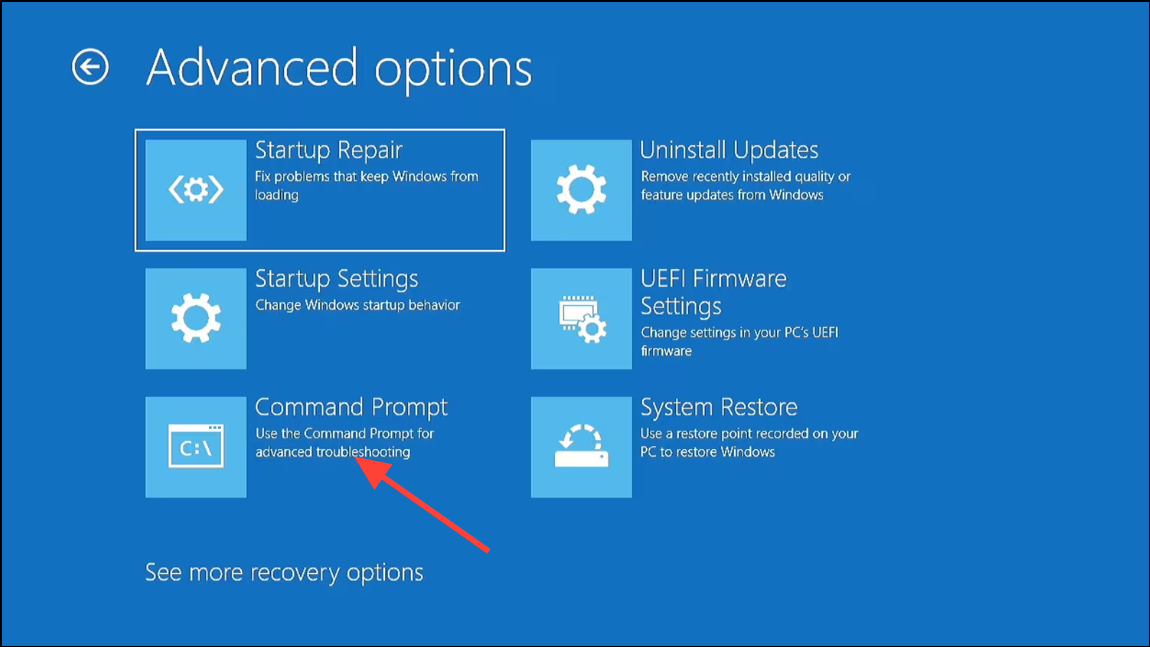
Step 2: From the 'Choose an option' screen, select Troubleshoot, then Advanced options, and finally Command Prompt.
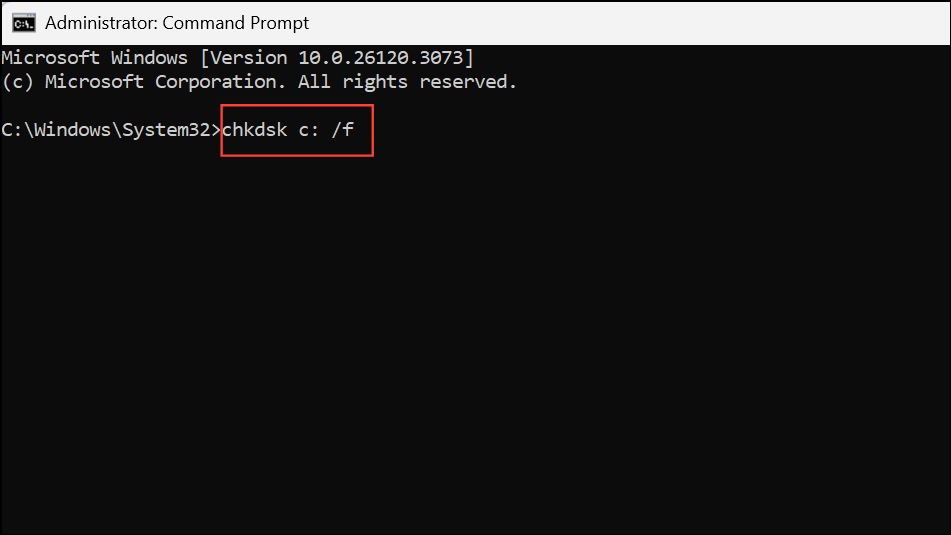
Step 3: In the Command Prompt window, enter the following commands one by one, pressing Enter after each:
chkdsk c: /f
bootrec /fixmbr
bootrec /fixboot
bootrec /rebuildbcd
bcdboot c:\windows /s c:
These commands scan and repair disk errors, fix the master boot record, and rebuild the boot configuration data. Once complete, restart your computer and check if Windows loads successfully.
Update Device Drivers in Safe Mode
Step 1: If you can access Safe Mode, restart your PC and repeatedly press F8 (or Shift + F8 on some systems) during boot. Select Safe Mode with Networking from the options.
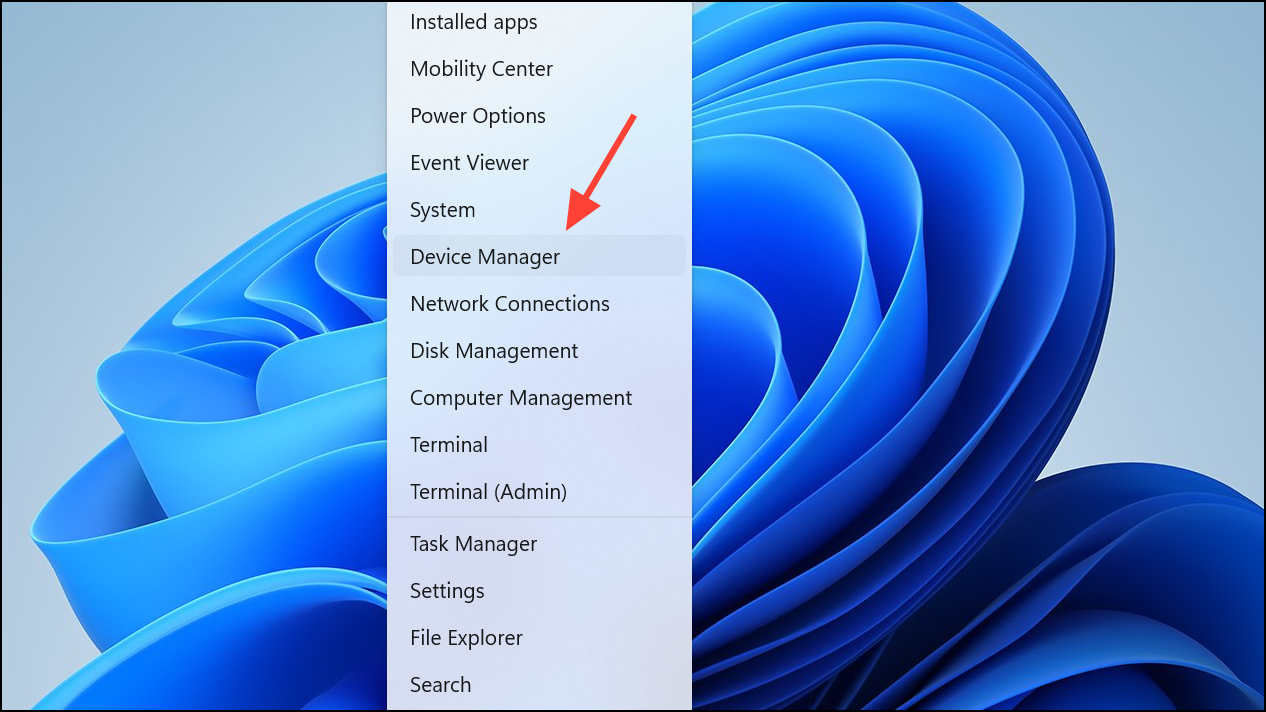
Step 2: Once in Safe Mode, right-click the Start menu and choose Device Manager.
Step 3: Expand each category and look for any devices with a yellow warning icon. Right-click the device and select Update driver, then choose Search automatically for drivers. Allow Windows to search for and install the latest drivers.
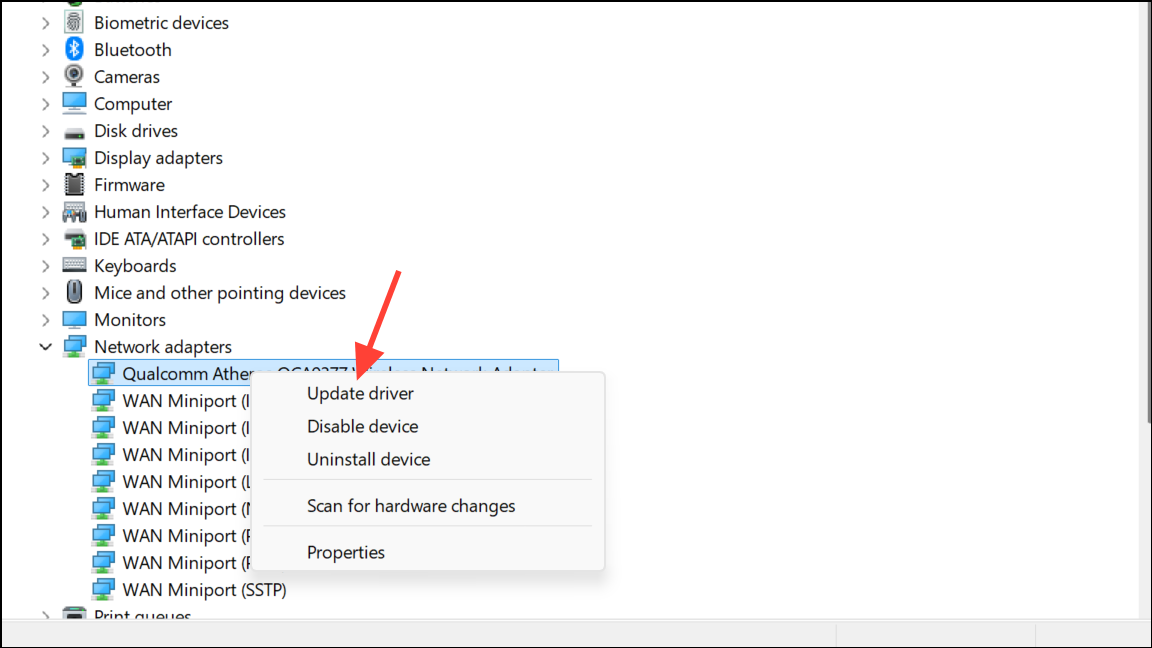
Outdated or incompatible drivers—especially for storage controllers, graphics cards, or chipset components—often trigger I/O-related blue screen errors. Updating these drivers can restore normal system function.
Run System File Checker (SFC) and DISM
Step 1: Open Command Prompt as administrator from WinRE or Safe Mode. In the Command Prompt window, type:
DISM /Online /Cleanup-Image /RestoreHealth
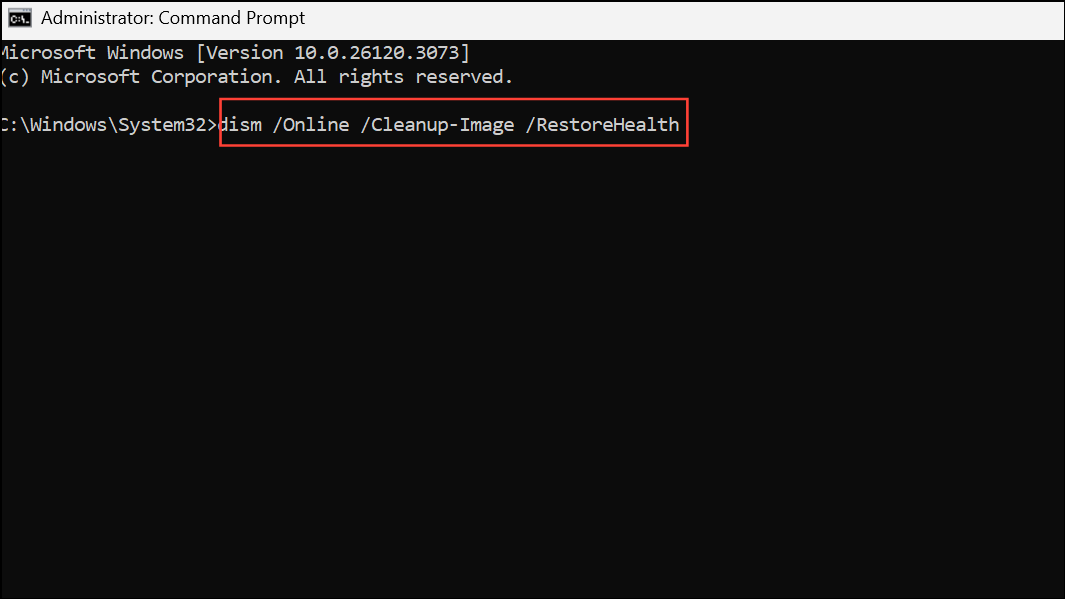
This command checks the Windows image for corruption and repairs it using files from Windows Update.
Step 2: After DISM completes, run the System File Checker:
sfc /scannow
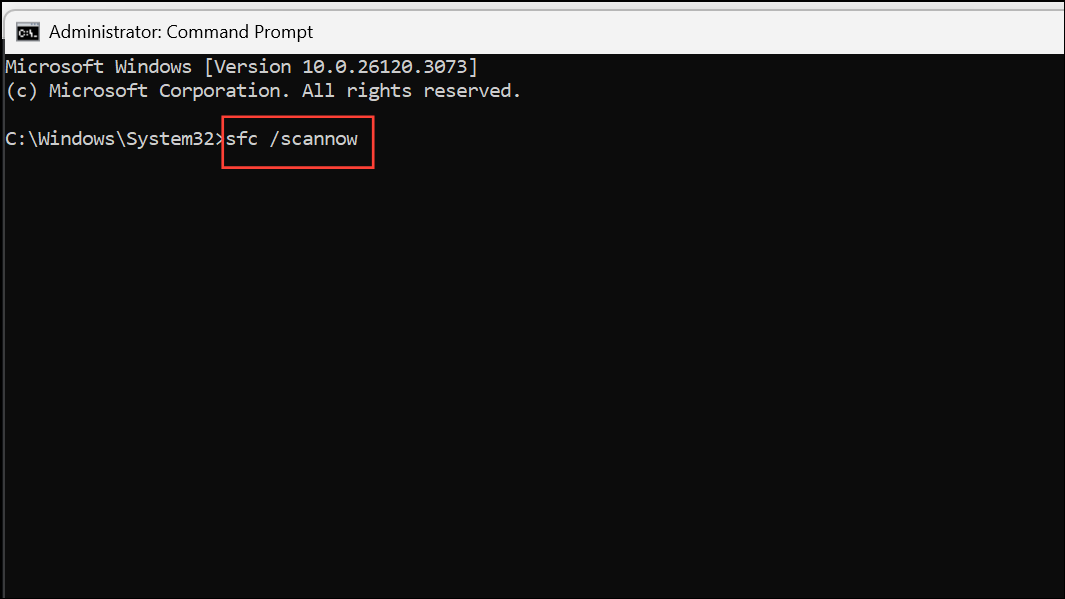
This scans for and repairs corrupted or missing system files. If either scan finds and fixes issues, restart your PC and see if the blue screen error is resolved.
Perform Startup Repair
Step 1: In WinRE, select Troubleshoot, then Advanced options, and choose Startup Repair.

This tool automatically detects and fixes problems that prevent Windows from booting, such as boot sector corruption or missing system files. Follow the on-screen instructions and restart your computer after the repair completes.
Check Disk and Hardware Integrity
Step 1: In Command Prompt (from WinRE or Safe Mode), run a thorough disk check by entering:
chkdsk /f /r C:
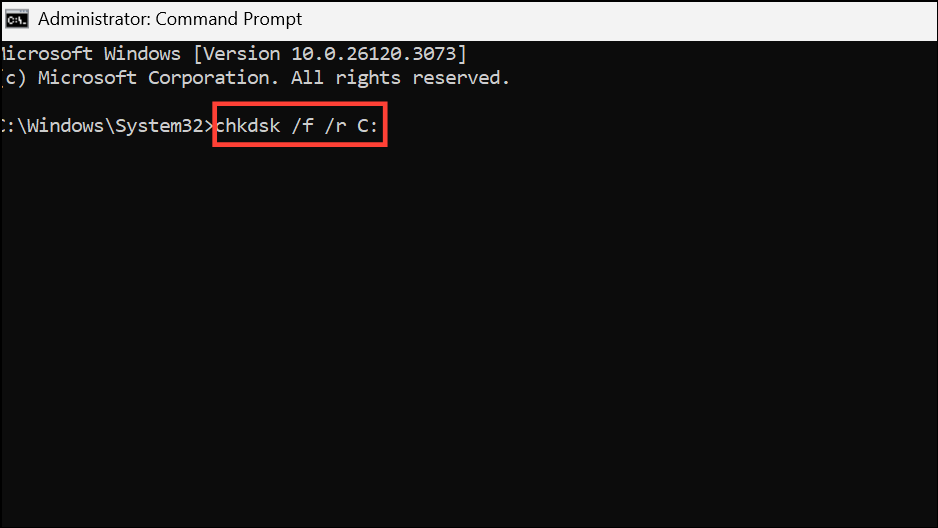
This command scans for bad sectors and attempts to recover readable information. Replace C: with the appropriate drive letter if Windows is installed elsewhere. Faulty or aging hard drives can cause critical system errors during boot, so this step helps identify hardware issues.
Step 2: Test your system’s RAM using Windows Memory Diagnostic or MemTest86. Faulty RAM can also cause IO1_INITIALIZATION_FAILED errors. If errors are detected, replace the problematic memory modules.
Change Disk Controller Mode in BIOS
Step 1: Access your system’s BIOS or UEFI firmware settings (usually by pressing DEL, F2, or F10 immediately after powering on).
Step 2: Locate the storage or SATA configuration section. If your disk controller is set to AHCI or RAID, try switching it to SATA or ATA mode. Save changes and reboot.
Incorrect or unsupported disk controller modes can prevent Windows from accessing system files during startup, leading to blue screen errors.
Reinstall Windows Using Official Installation Media
Step 1: If all previous steps fail, create a fresh Windows 11 installation USB using the official Media Creation Tool from Microsoft’s website. On a working computer, download the tool and follow the prompts to create a bootable USB drive.
Step 2: Back up your important files by removing the drive and connecting it to another computer, if possible, as reinstalling Windows will erase data on the system partition.
Step 3: Insert the USB drive into the affected PC. Enter BIOS/UEFI and set the USB device as the primary boot option. Boot from the USB and follow the instructions to reinstall Windows. If the installer reports missing files, recreate the USB media using a different flash drive or port, and verify the download integrity.
Reinstalling Windows replaces corrupted system files and boot records, resolving persistent initialization failures that other methods cannot fix.
Additional Considerations
- Recent hardware changes, such as new RAM or storage devices, can trigger IO1_INITIALIZATION_FAILED. If the error started after a hardware upgrade, revert to the previous configuration and test system stability.
- Ensure all storage devices are properly connected and listed in BIOS. Loose cables or failing drives may prevent Windows from initializing the I/O subsystem.
- For dual-boot or multi-disk systems, verify that the EFI partition and Windows partition reside on the same disk. If not, use disk management tools or Linux utilities to recreate the EFI partition on the correct drive.
- Use reputable data recovery software if you need to recover files from a system that cannot boot due to this error.
Resolving the IO1_INITIALIZATION_FAILED blue screen on Windows 11 typically involves repairing boot records, updating drivers, checking hardware, and—if necessary—reinstalling Windows. Taking these steps restores system reliability and gets you back to work quickly.