
Display timeout failures in Windows 11 often disrupt daily routines, leading to wasted energy and unnecessary screen wear. When the screen refuses to turn off after the specified idle period, the root cause typically lies in software conflicts, device activity, or misconfigured power settings. Addressing this issue requires a stepwise approach, starting with the most effective and commonly successful solutions.
Adjust Display Timeout Using Command Line Tools
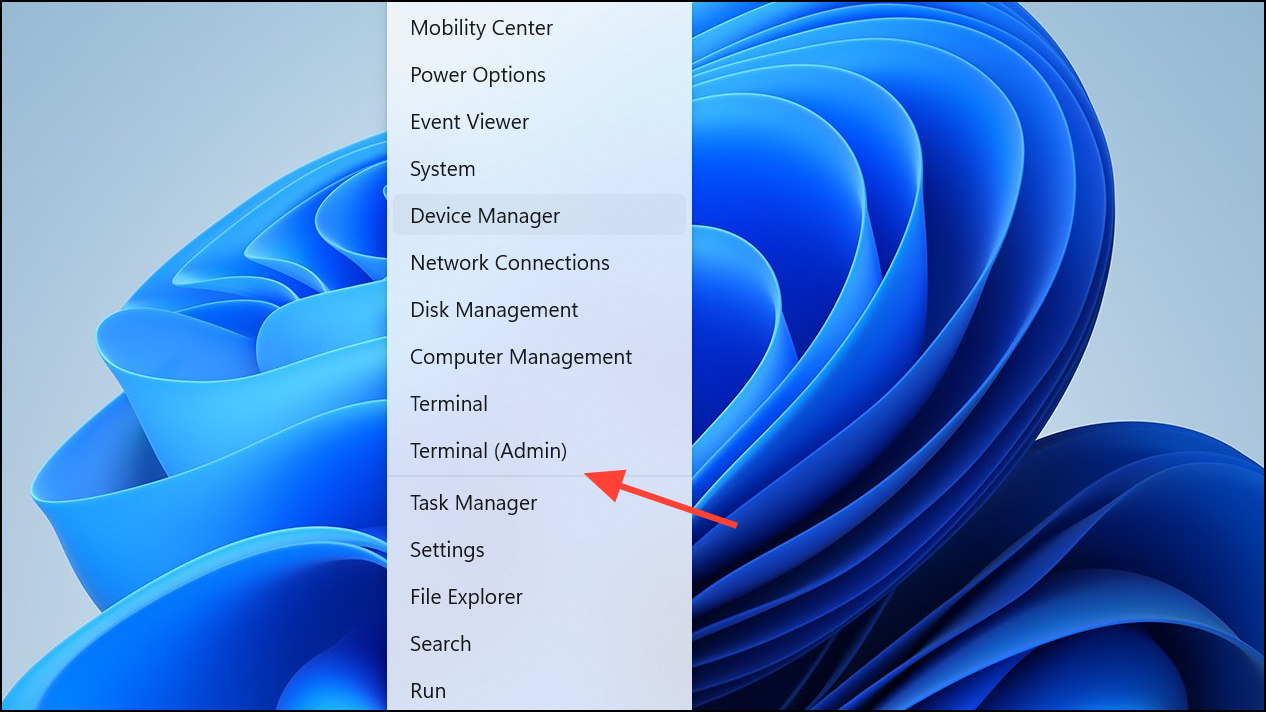
Step 1: Open an elevated Command Prompt by pressing Win + X and selecting Terminal (Admin) or Command Prompt (Admin).
Step 2: To set the display to turn off after a chosen number of minutes when plugged in, enter the following command, replacing 10 with your desired timeout in minutes:
powercfg -change -monitor-timeout-ac 10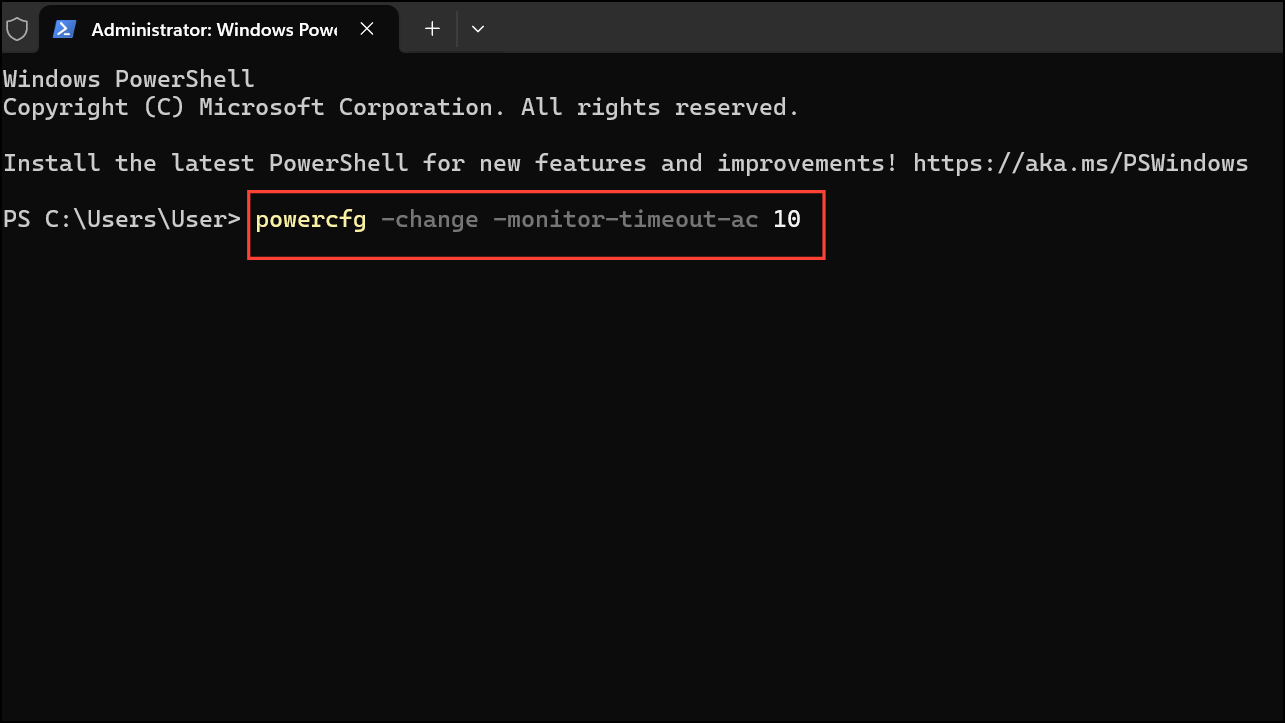
Step 3: For laptops or devices using battery power, adjust the timeout with:
powercfg -change -monitor-timeout-dc 5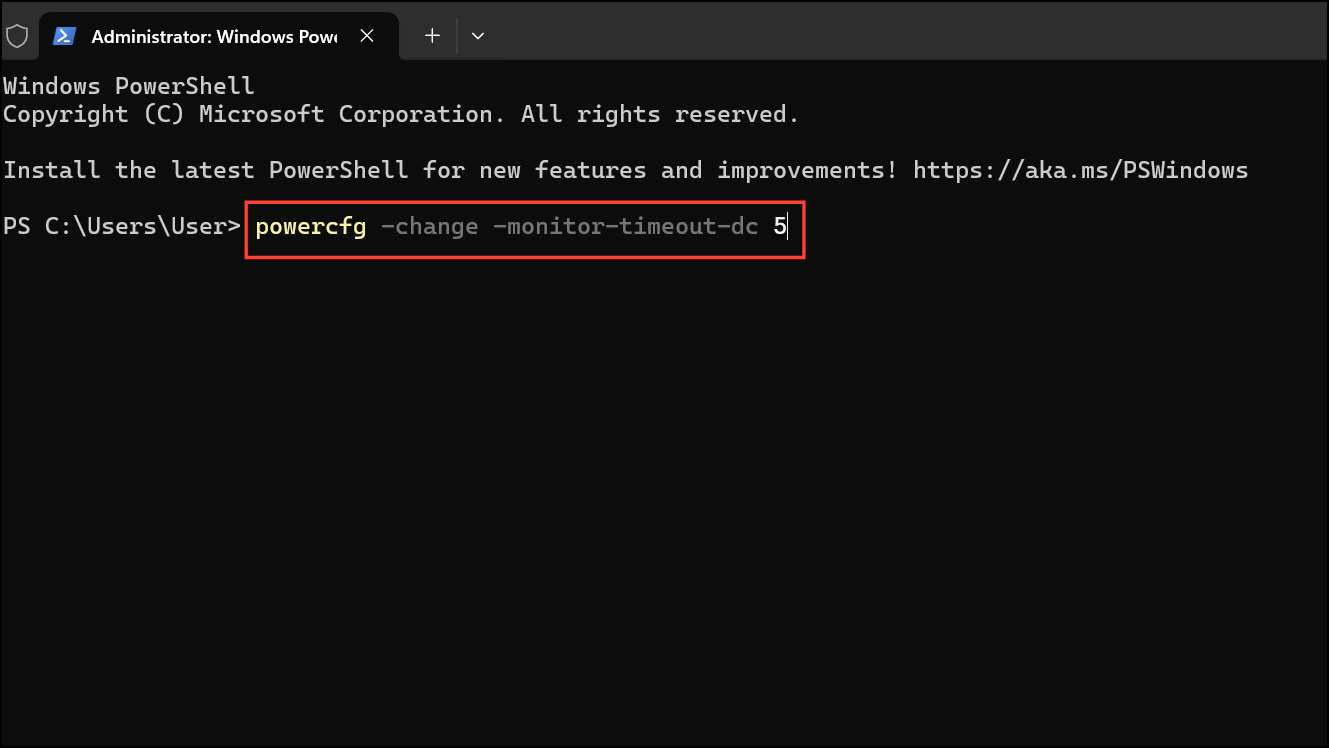
These commands directly set the system’s display timeout and often resolve issues where the graphical interface fails to update settings. Some users found that after running these commands, the system began honoring their chosen timeout values, even after reboots.
Identify Devices or Applications Preventing Idle Timeout
Step 1: Open an elevated Command Prompt as described previously.
Step 2: Enter the following command to list active requests that prevent the display from turning off:
powercfg -requests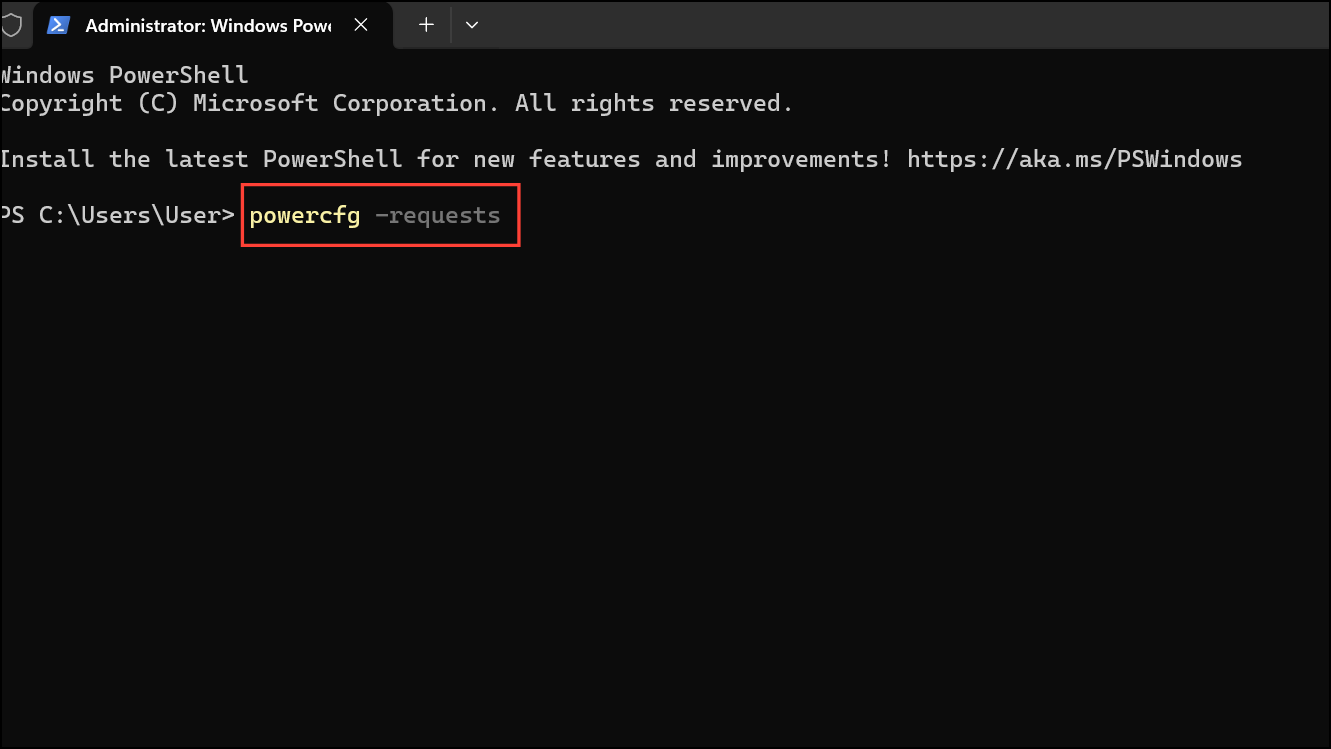
Step 3: Review the output for any entries under DISPLAY or SYSTEM. If you see specific applications or devices listed, these are keeping your system awake.
Step 4: Disconnect or close the identified applications or devices, such as USB peripherals (joysticks, external keyboards, webcams), media players, or background utilities. Users have reported that certain USB devices, particularly older game controllers and some external keyboards, can prevent the display from powering down. Unplugging these devices one by one and testing the timeout can isolate the culprit.
Step 5: If no requests are listed but the issue persists, continue with the next methods.
Update Graphics Card Firmware and Drivers
Step 1: Visit your graphics card manufacturer's website (NVIDIA, AMD, Intel) and download the latest drivers for your GPU model.
Step 2: Install the new drivers and restart your computer.
Step 3: For NVIDIA users, certain GPU models require a firmware update to resolve DisplayID issues that prevent the monitor from turning off. Download the firmware update tool from NVIDIA’s support site, following their instructions carefully.
Updating both drivers and firmware can resolve cases where the system fails to send the correct signal to the display for power management.
Reset or Reconfigure Power Settings
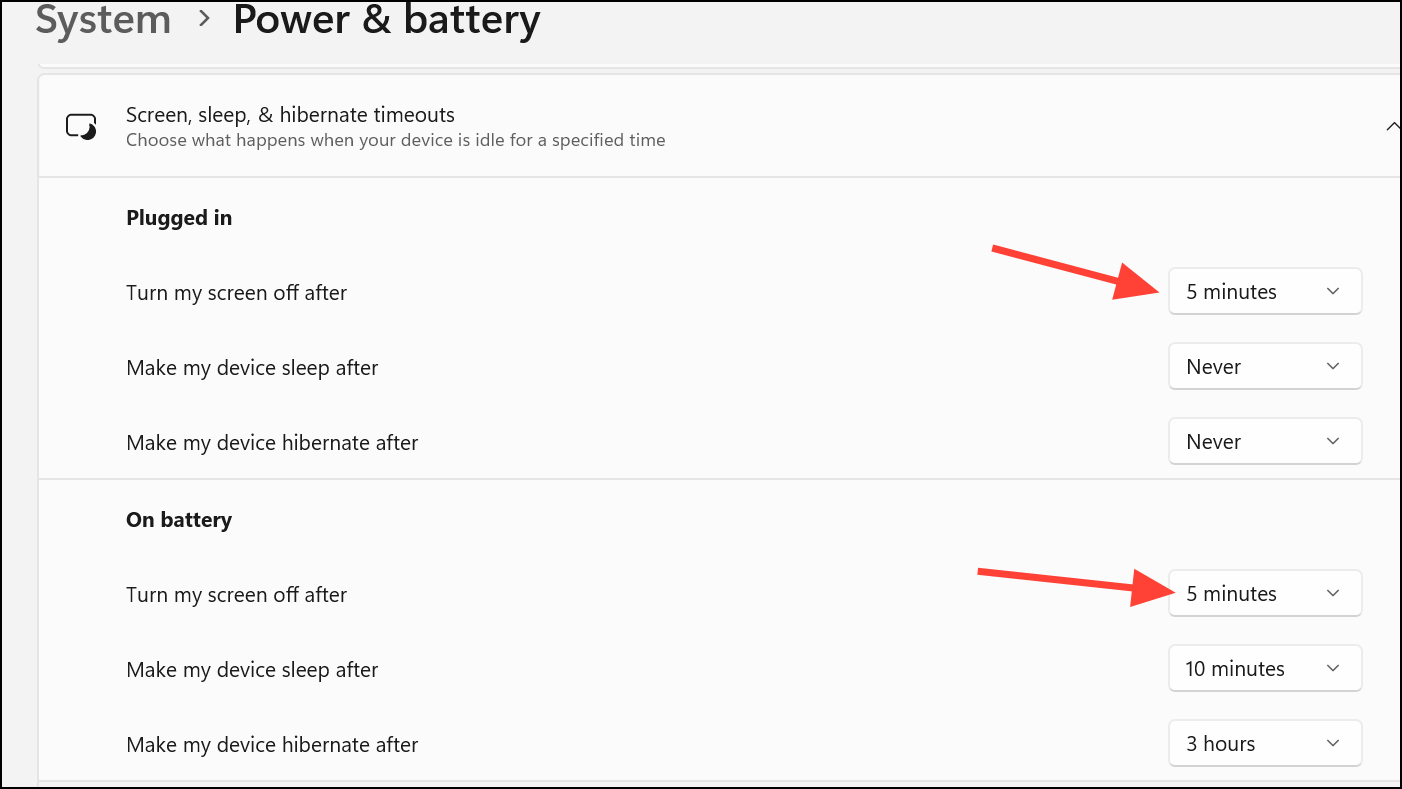
Step 1: Open Settings with Win + I, then go to System > Power & battery > Screen, Sleep and Hibernate Timeouts.
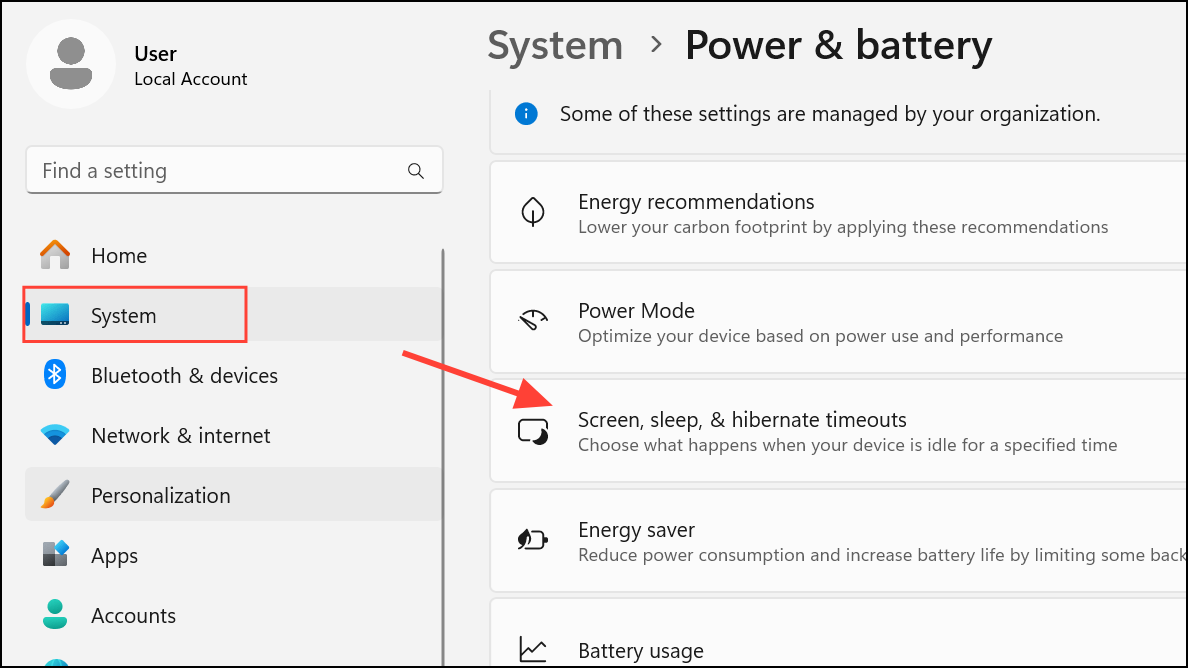
Step 2: Adjust the timeout for Turn off my screen after to your desired value for both battery and plugged-in modes.
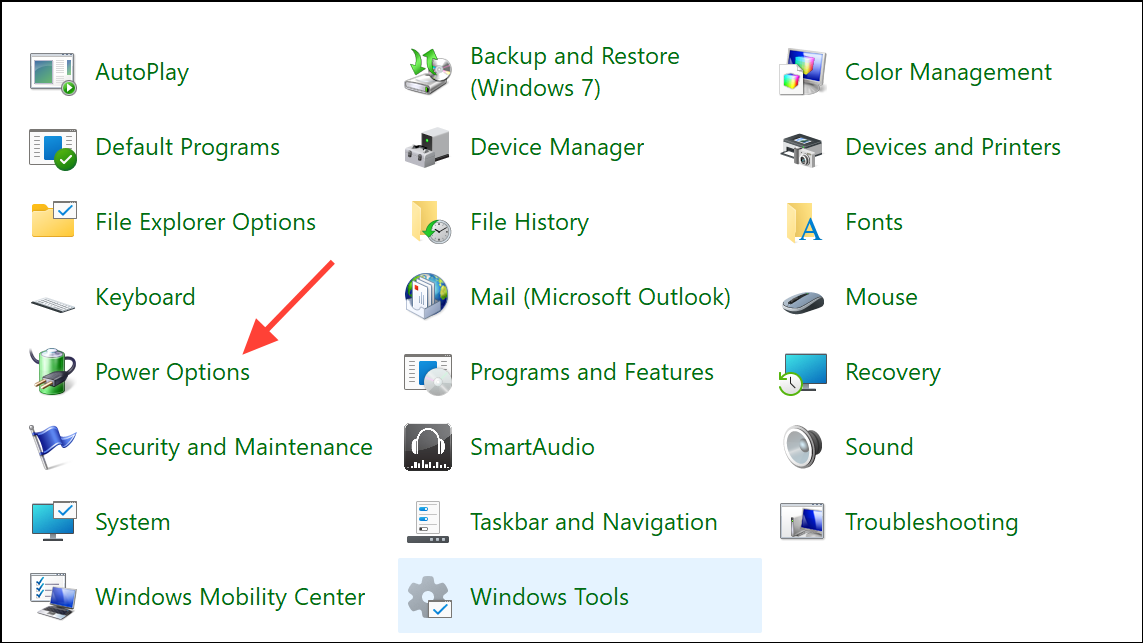
Step 3: For more advanced options, open the classic Control Panel by pressing Win + R, typing control, and navigating to System and Security > Power Options.
Step 4: Click Change plan settings for your active plan, then Restore default settings for this plan.

Step 5: Save changes and observe if the display timeout works as intended.
Disconnect and Reconnect External Devices
Peripheral devices, especially those connected via USB, can inadvertently keep the system awake. This includes keyboards, mice, webcams, hubs, and game controllers.
Step 1: Shut down your PC completely.
Step 2: Unplug all USB devices, video cables, and the power cable from the system.
Step 3: Press and hold the power button for 10 seconds to discharge any residual power.
Step 4: Wait for 10 minutes before reconnecting the video cable, USB devices, and power cable in that order.
Step 5: Power on the PC and check if the display turns off after the set idle period.
This process can reset certain hardware states that interfere with power management and has resolved persistent issues for several users.
Check for Software Interference and Background Processes
Background applications, especially those that monitor hardware or play media, can block the system from idling. Security utilities, media players, and system maintenance tools are common offenders.
Step 1: Perform a clean boot to start Windows with minimal drivers and startup programs. This can be done by running msconfig, choosing Selective startup, and disabling all non-Microsoft services under the Services tab.
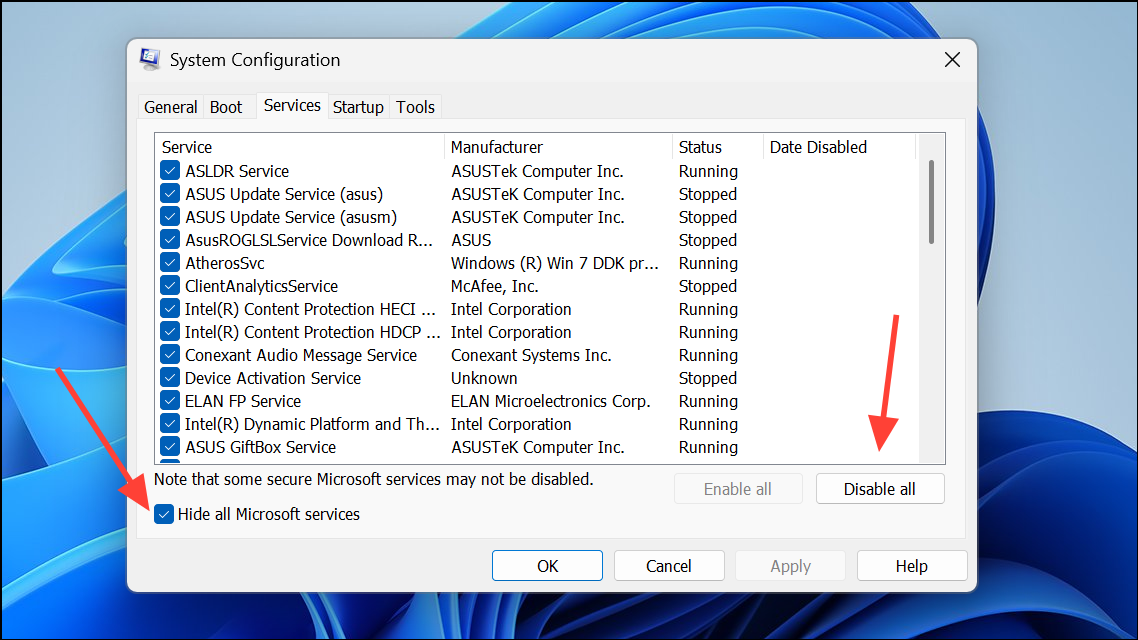
Step 2: Restart your computer and test if the display timeout works. If it does, re-enable services one at a time to identify the problematic application.
Step 3: Specifically check for utilities like Malwarebytes, CCleaner, or media players left open in the taskbar, as these have been reported to block the display from turning off.
Update BIOS and Review Power Management Settings
Outdated BIOS firmware or incorrect power management settings can interfere with display timeout functionality.
Step 1: Access your system’s BIOS or UEFI firmware during boot (usually by pressing Del, F2, or a similar key).
Step 2: Search for power management options related to sleep, wake, or USB devices. Ensure settings are configured to allow the system to enter low-power states and to turn off displays.
Step 3: If a BIOS update is available from your system or motherboard manufacturer, follow their instructions to update. This can resolve compatibility issues with newer Windows versions.
Advanced Troubleshooting and Last Resorts
If none of the above methods resolve the issue, consider running system file checks and, as a last resort, performing a repair install of Windows 11.
Step 1: Open an elevated Command Prompt and run:
sfc /scannow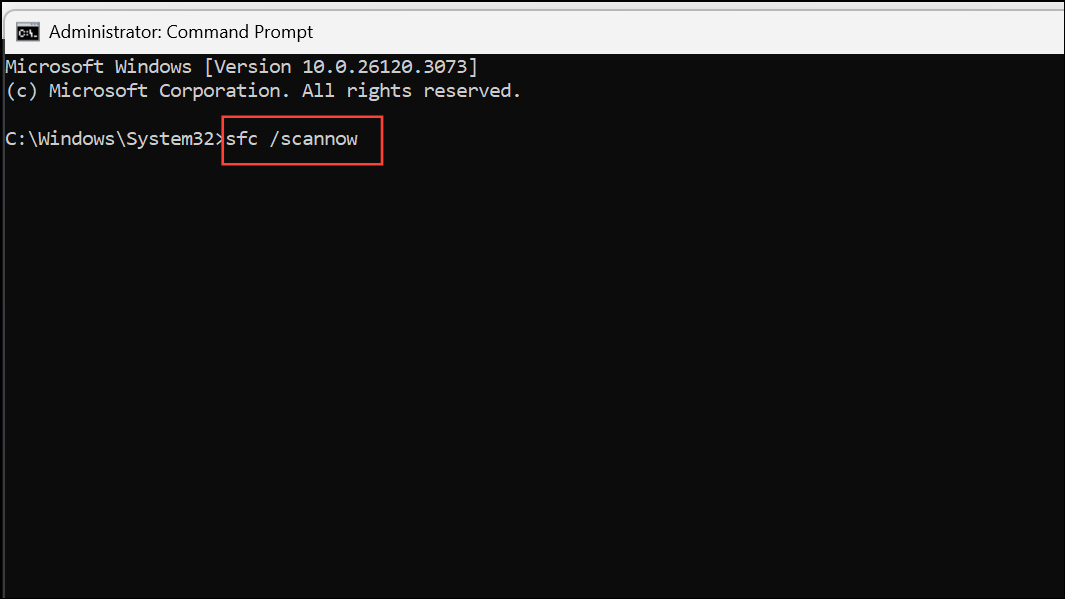
This checks for and repairs corrupted system files.
Step 2: If issues persist, download the latest Windows 11 ISO from Microsoft, mount it, and run setup.exe to perform an in-place upgrade, choosing to keep your files and apps. This repairs Windows without deleting your data.
Resolving the display timeout issue in Windows 11 typically involves a combination of adjusting power settings, updating system components, and isolating device or software conflicts. Regularly reviewing connected devices and keeping system firmware up to date can prevent future interruptions in display power management.