
Long waits at the Windows 11 startup screen often signal background processes, outdated drivers, or system misconfigurations that bog down boot times. Optimizing these areas can reduce startup delays from several minutes to just seconds, letting you get to your desktop and start working faster. The following methods address the most common causes and offer step-by-step solutions to improve boot performance.
Disable Unnecessary Startup Programs
Startup programs are applications that automatically launch every time you power on your PC. Many apps set themselves to start by default, which can drag out the boot process and consume valuable system resources before you even log in.
Step 1: Press Ctrl + Shift + Esc to open Task Manager.
Step 2: Click the Startup apps tab to see a list of all programs set to run at startup, along with their impact on boot time.
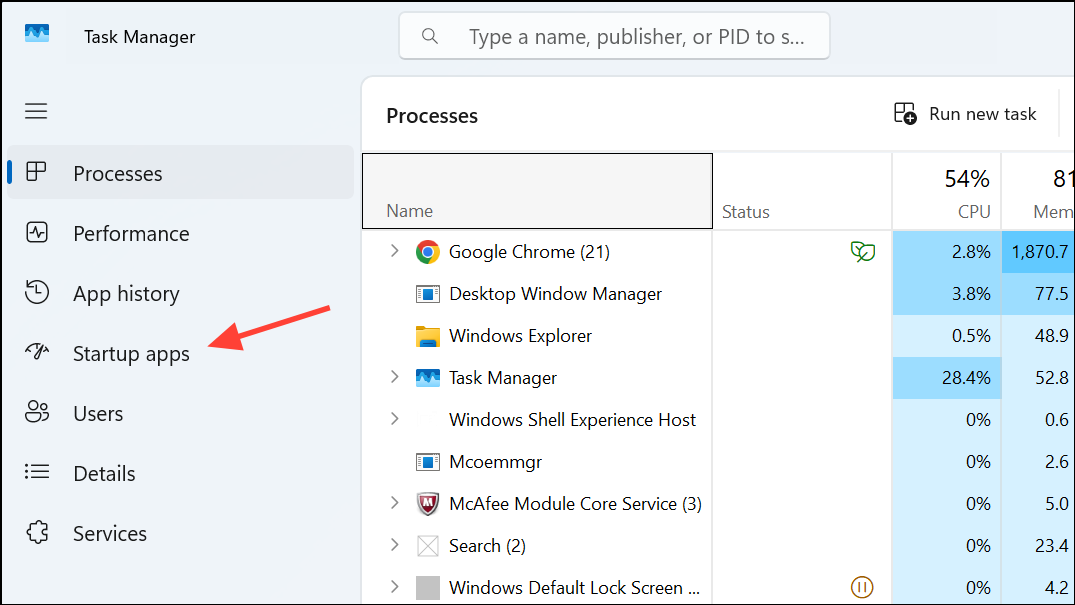
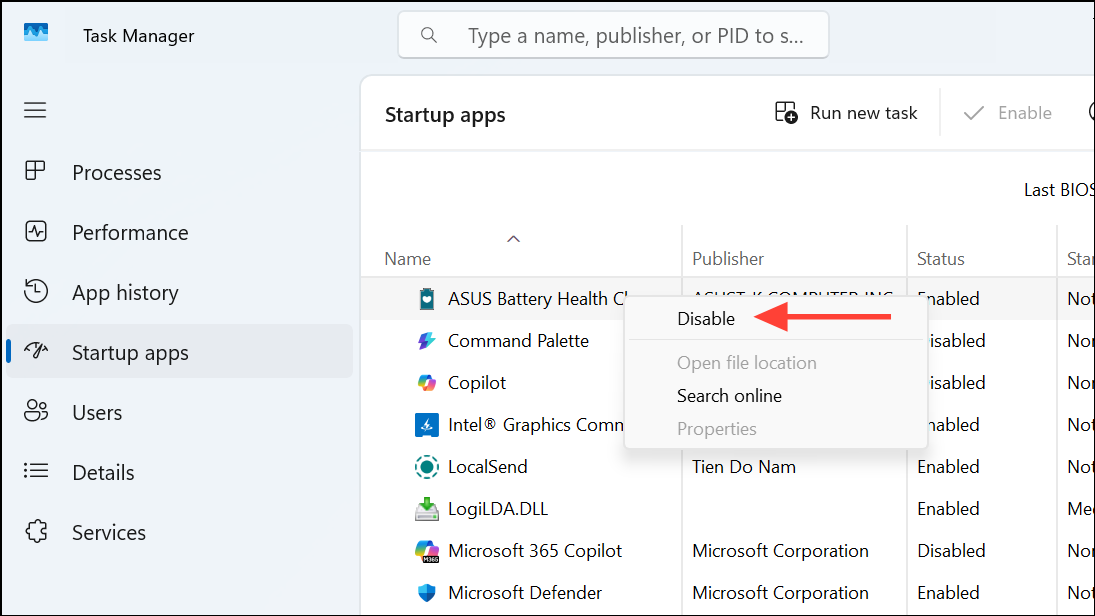
Step 3: Right-click on any program you do not need immediately after boot and select Disable. Leave essential programs enabled, such as antivirus or system utilities you rely on.
Disabling unnecessary startup apps shortens the time Windows 11 needs to load and improves overall responsiveness after sign-in.
Enable or Adjust Fast Startup
Fast Startup is a Windows feature that combines elements of shutdown and hibernation, allowing your PC to boot more quickly. However, on some systems, Fast Startup can cause issues like driver conflicts or slower boots. Adjusting this setting can resolve slow startup problems.
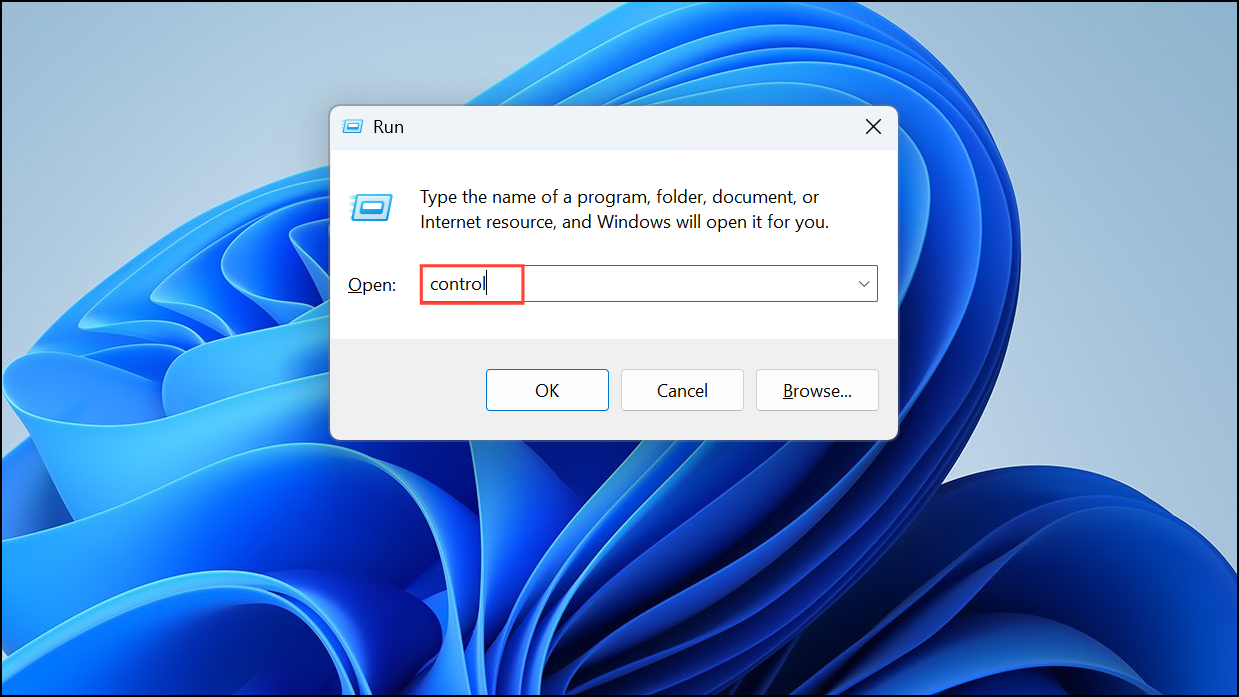
Step 1: Press Windows key + R, type control, and press Enter to open Control Panel.
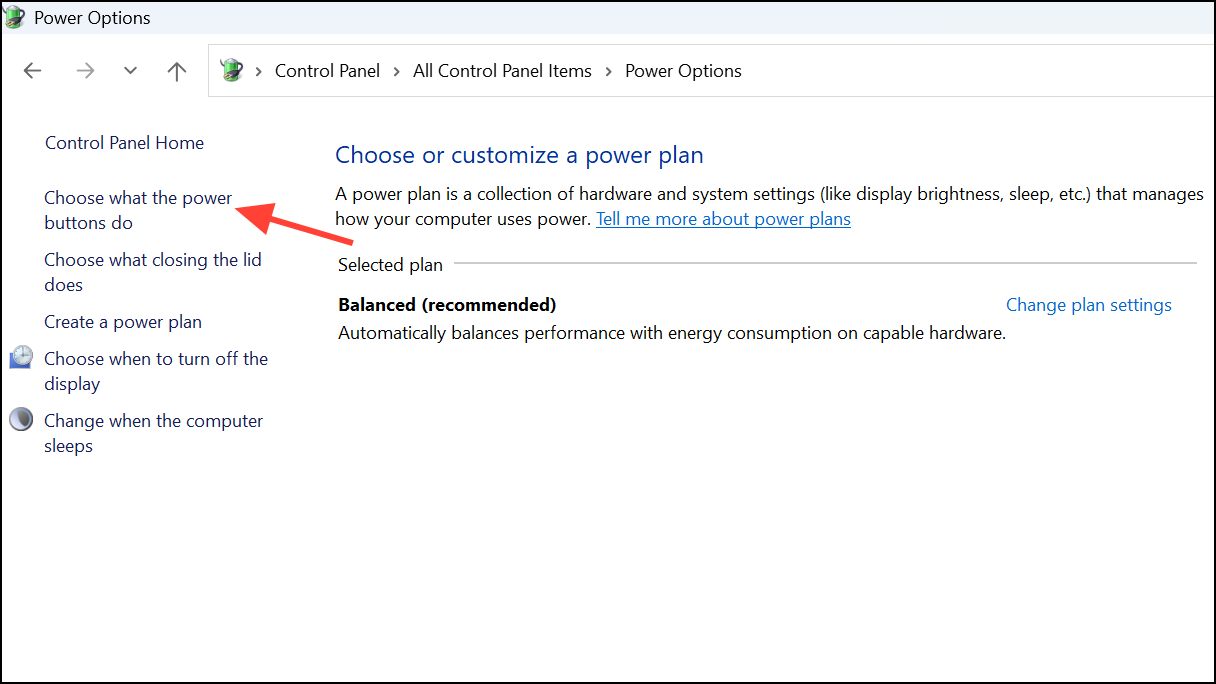
Step 2: Select Power Options, then click Choose what the power buttons do from the sidebar.
Step 3: Click Change settings that are currently unavailable to unlock the shutdown settings.
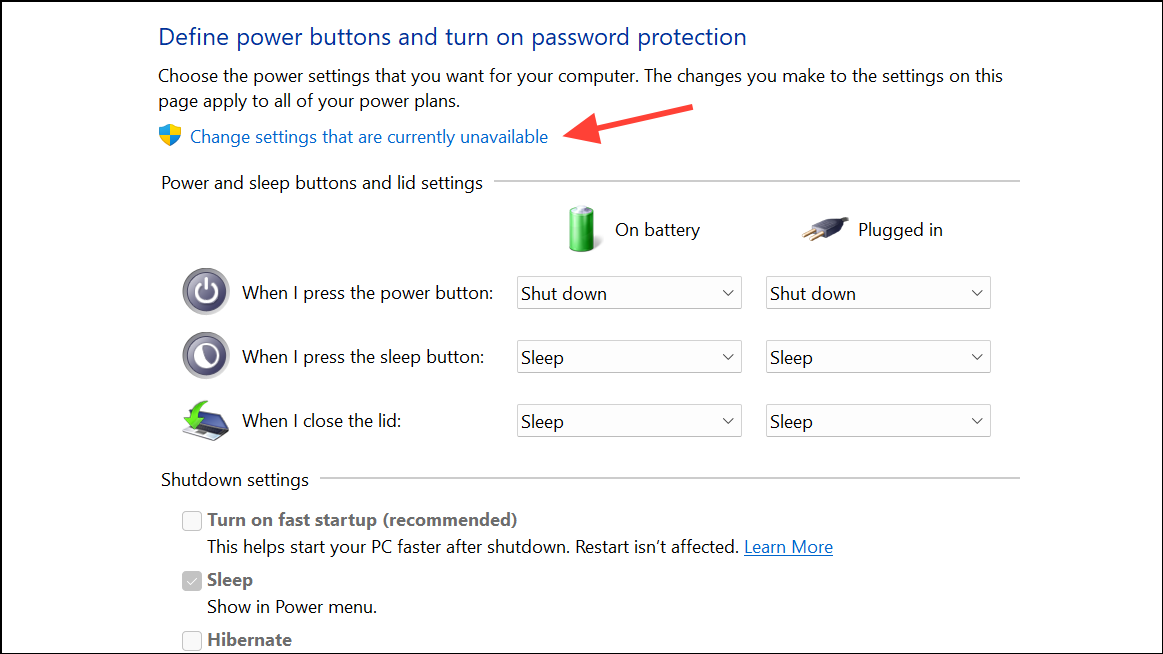
Step 4: Under Shutdown settings, check or uncheck Turn on fast startup (recommended) as needed. If you experience issues with Fast Startup enabled, try disabling it and restarting your PC to see if boot times improve.
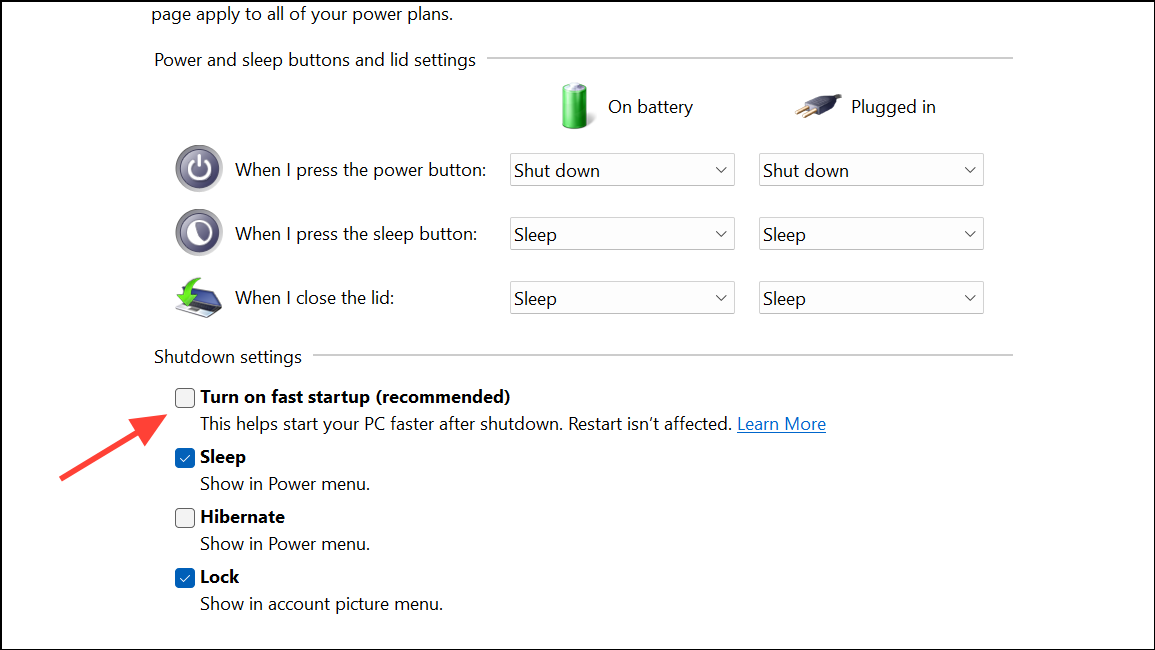
This adjustment can resolve conflicts that slow down the boot process or restore the intended speed boost on compatible systems.
Update Windows and Device Drivers
Outdated system files or drivers can introduce compatibility problems, causing Windows 11 to load slowly or even stall at startup. Updating ensures your system benefits from the latest performance optimizations and bug fixes.
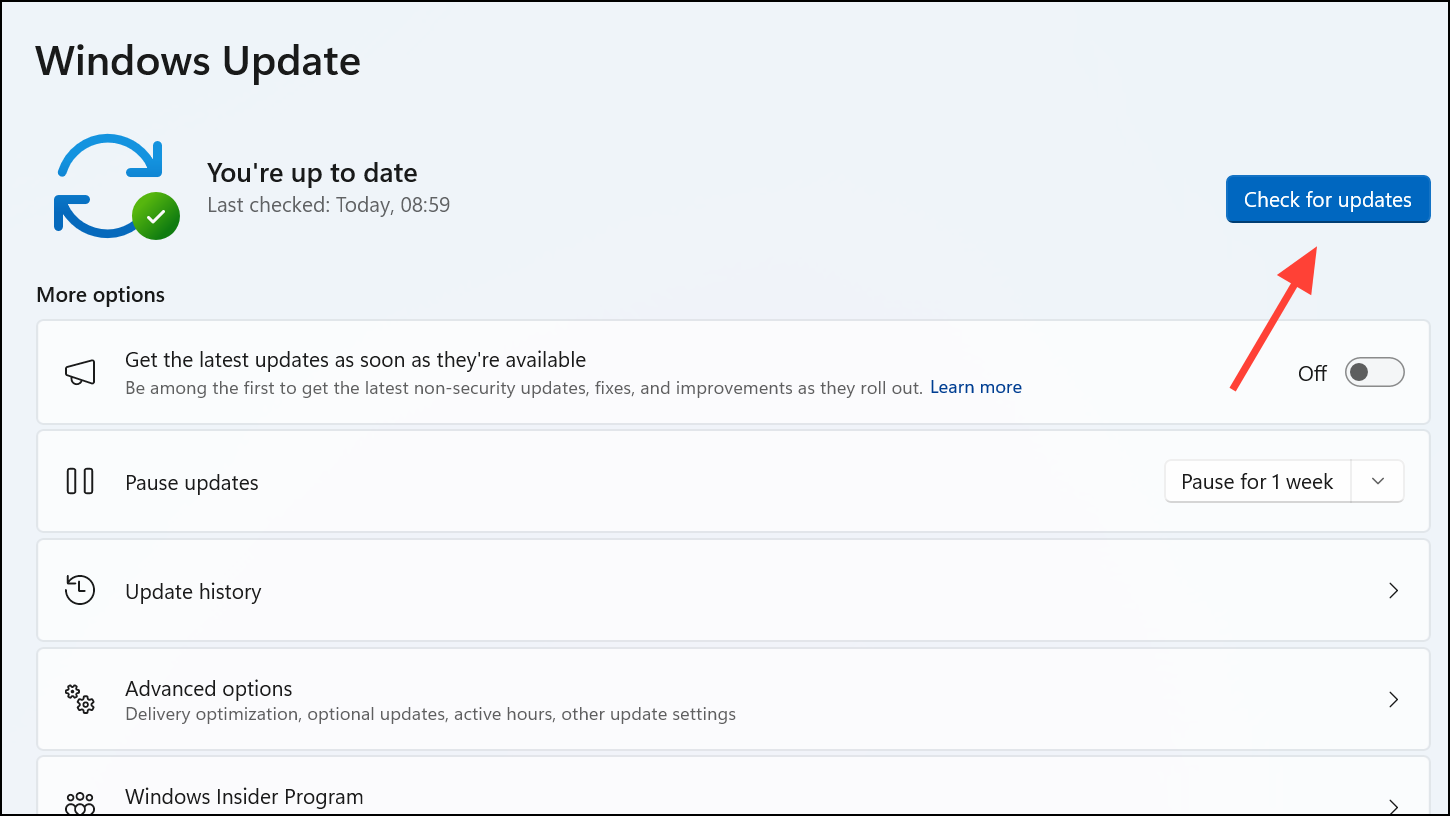
Step 1: Open Settings by pressing Windows key + I and navigate to Windows Update.
Step 2: Click Check for updates and install any available updates for Windows 11.
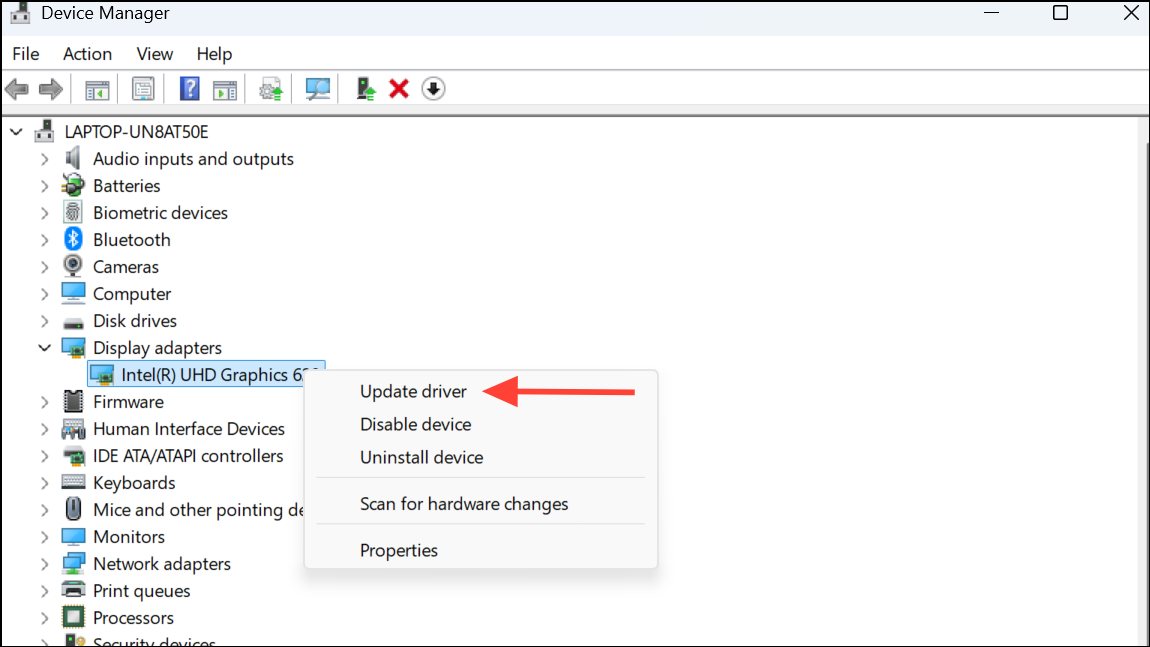
Step 3: To update drivers, open Device Manager by right-clicking the Start button and selecting it from the menu.
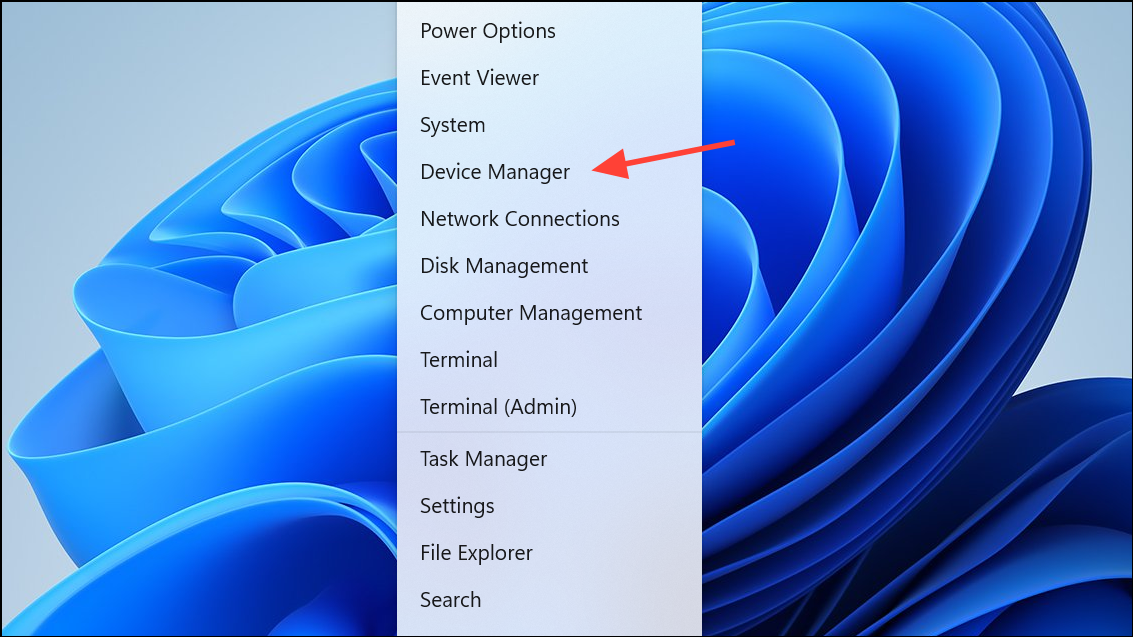
Step 4: Expand categories such as Display adapters, right-click your device, and select Update driver. Choose Search automatically for drivers and follow prompts to install updates.
Regularly updating Windows and drivers eliminates software conflicts and improves boot reliability and speed.
Perform a Clean Boot to Identify Software Conflicts
Third-party applications and services can interfere with the normal boot sequence, causing delays or freezes. A clean boot starts Windows with only essential Microsoft services, helping you identify if a background app is responsible for the slowdown.
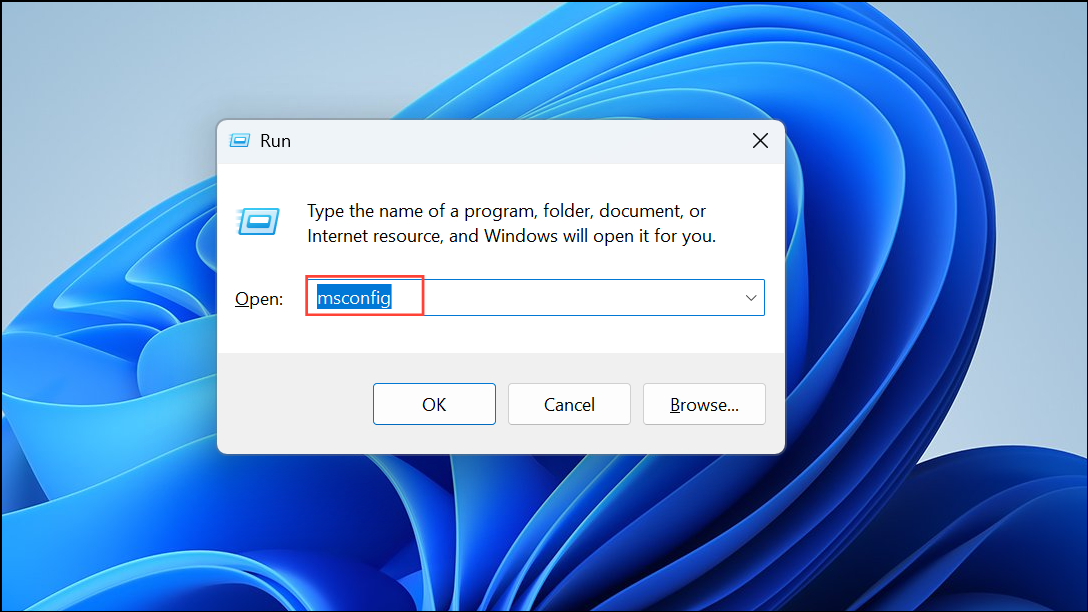
Step 1: Press Windows key + R, type msconfig, and press Enter to open System Configuration.
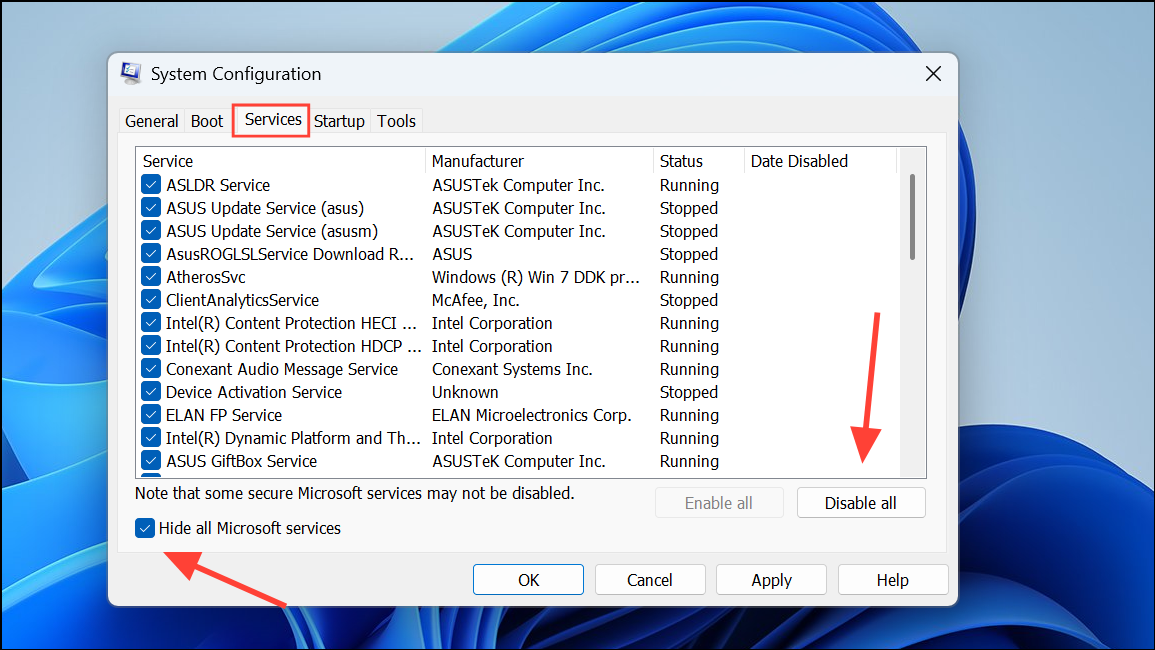
Step 2: Go to the Services tab, check Hide all Microsoft services, then click Disable all to turn off third-party services.
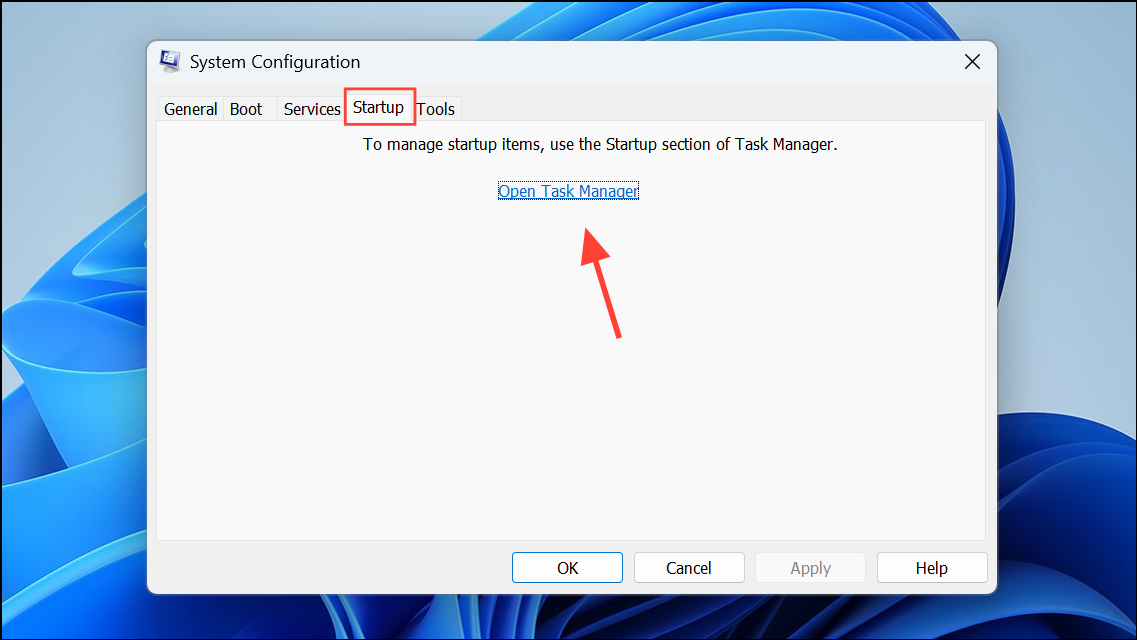
Step 3: Switch to the Startup tab and click Open Task Manager. In Task Manager, disable all non-essential startup apps.
Step 4: Restart your PC. If boot times improve, gradually re-enable services and startup apps one at a time to pinpoint the culprit.
Clean boot troubleshooting is especially useful after installing new software or updates that coincide with slow startup behavior.
Run Disk Cleanup
Temporary files, cached data, and leftover system files accumulate over time, taking up storage and slowing down system processes, including boot. Disk Cleanup removes these files, freeing up space and streamlining startup routines.
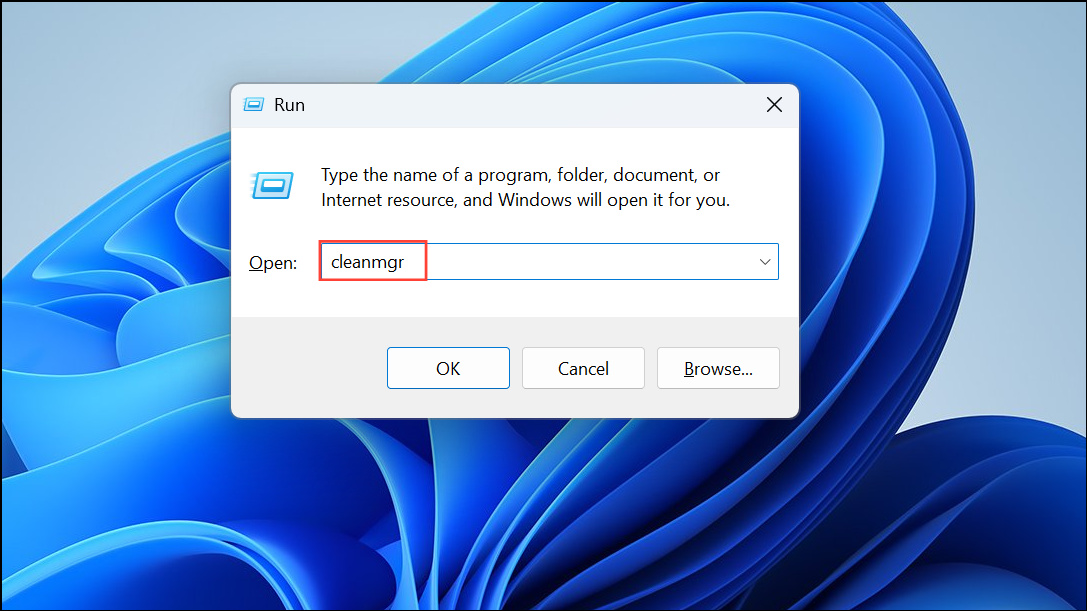
Step 1: Press Windows key + R, type cleanmgr, and press Enter.
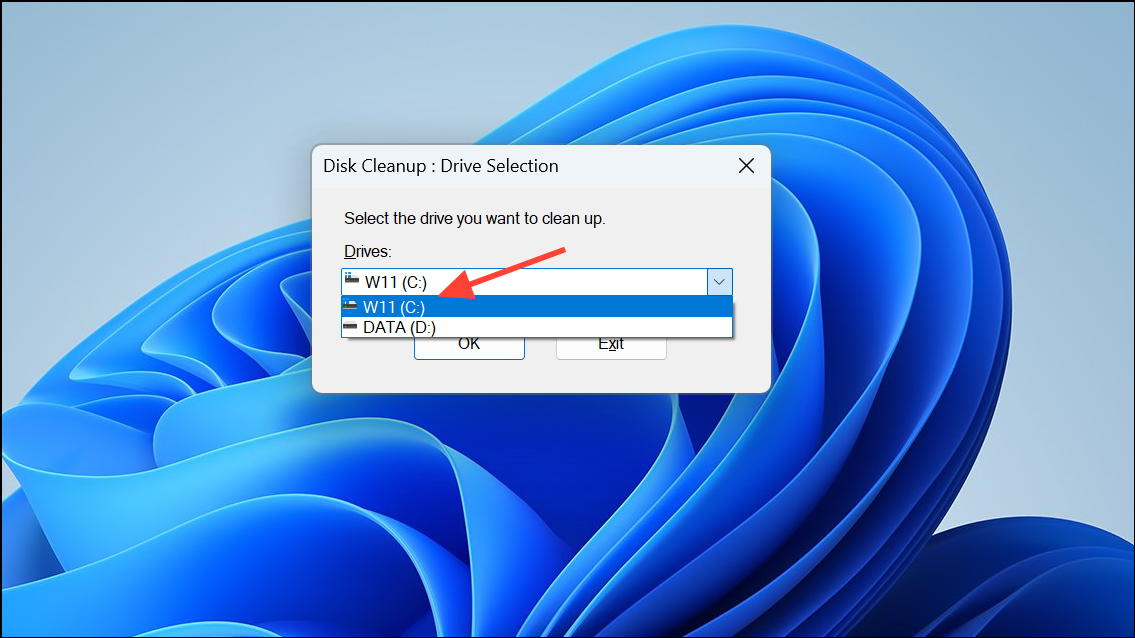
Step 2: Select your system drive (usually C:) and click OK.
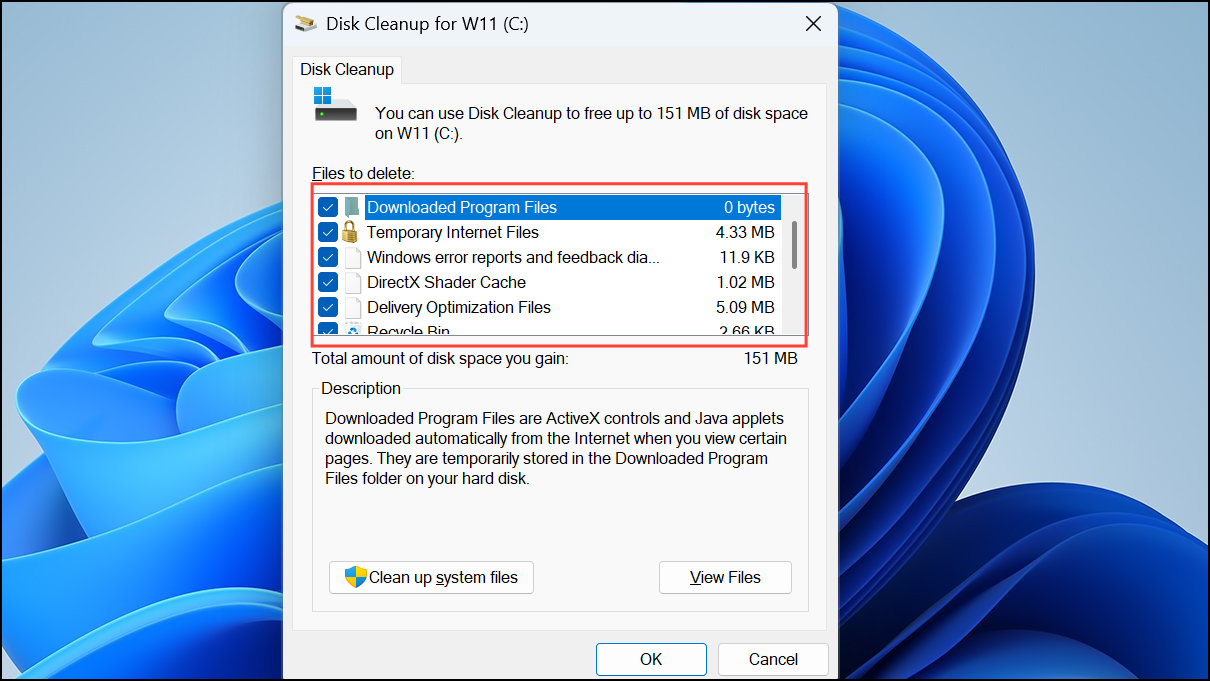
Step 3: Check the boxes next to categories like Temporary files, Recycle Bin, and System created Windows Error Reporting.
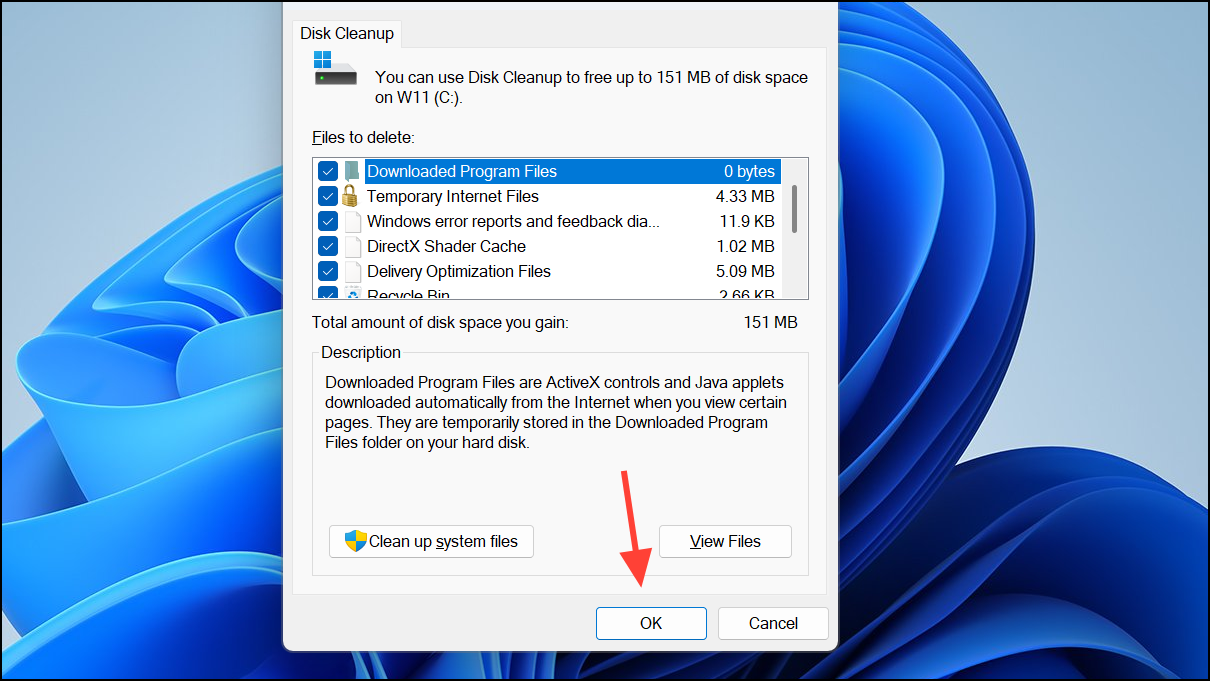
Step 4: Click OK, then Delete Files to confirm. Allow Disk Cleanup to complete, then restart your PC.
Clearing unnecessary files can reduce boot time and prevent resource bottlenecks during startup.
Defragment and Optimize Drives (HDD Only)
On traditional hard disk drives (HDDs), file fragmentation leads to longer read times, slowing down Windows startup. Defragmenting consolidates file fragments, allowing the drive to access system files more efficiently.
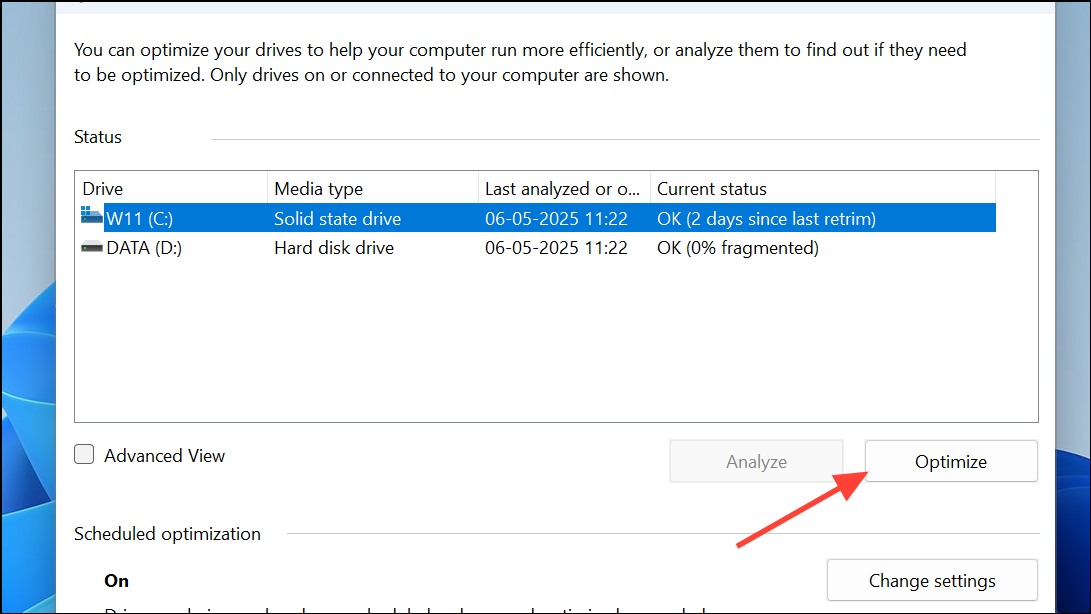
Step 1: Search for Defragment and Optimize Drives in the Start menu and open it.

Step 2: Select your system drive and click Optimize. For SSDs, this process is called "retrim" and is safe to perform.
Regular optimization keeps boot-critical files accessible and maintains consistent startup performance.
Scan for Malware and Remove Threats
Viruses and malware can hijack system resources, inject malicious processes into startup, and significantly slow down boot times. Running a comprehensive scan ensures your system is free from threats that could impede startup speed.
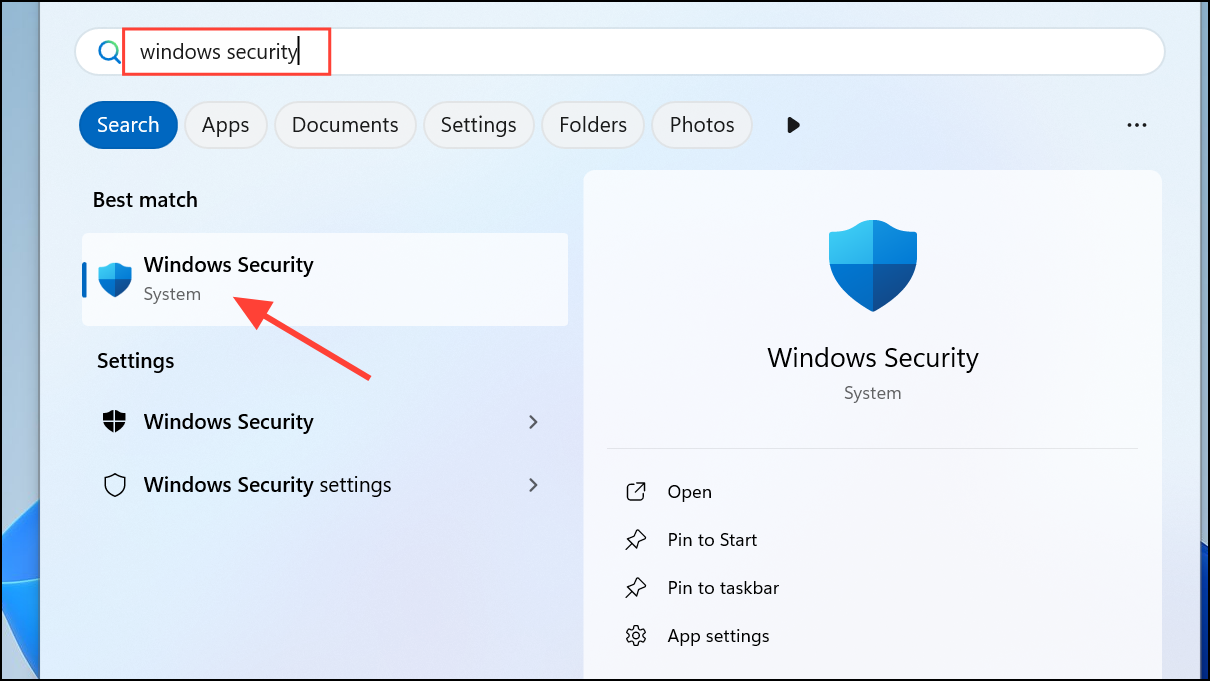
Step 1: Open Windows Security from the Start menu or by searching for it.
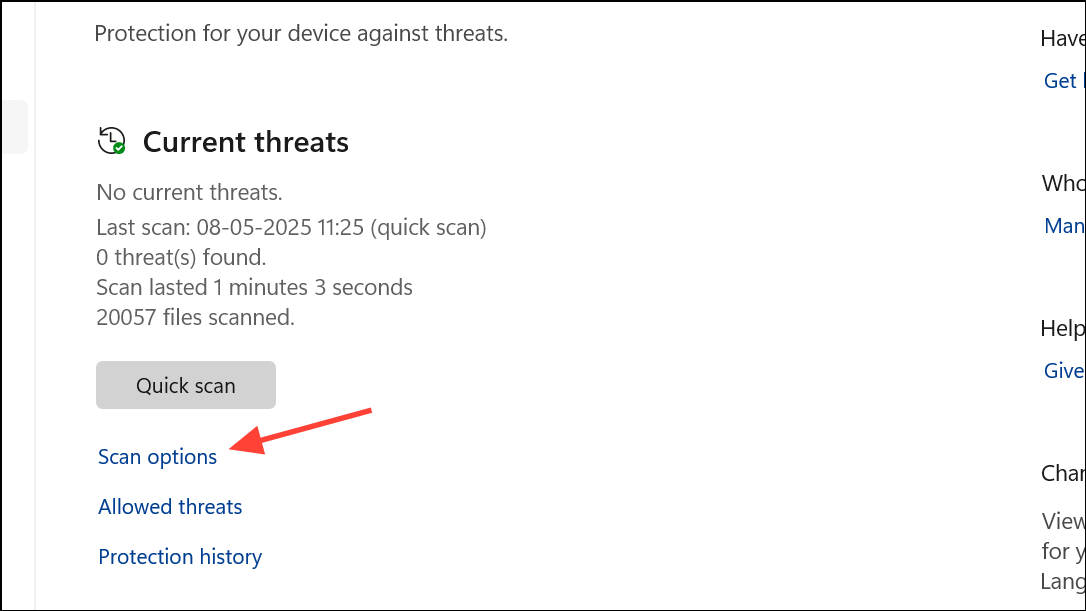
Step 2: Go to Virus & threat protection and click Scan options.
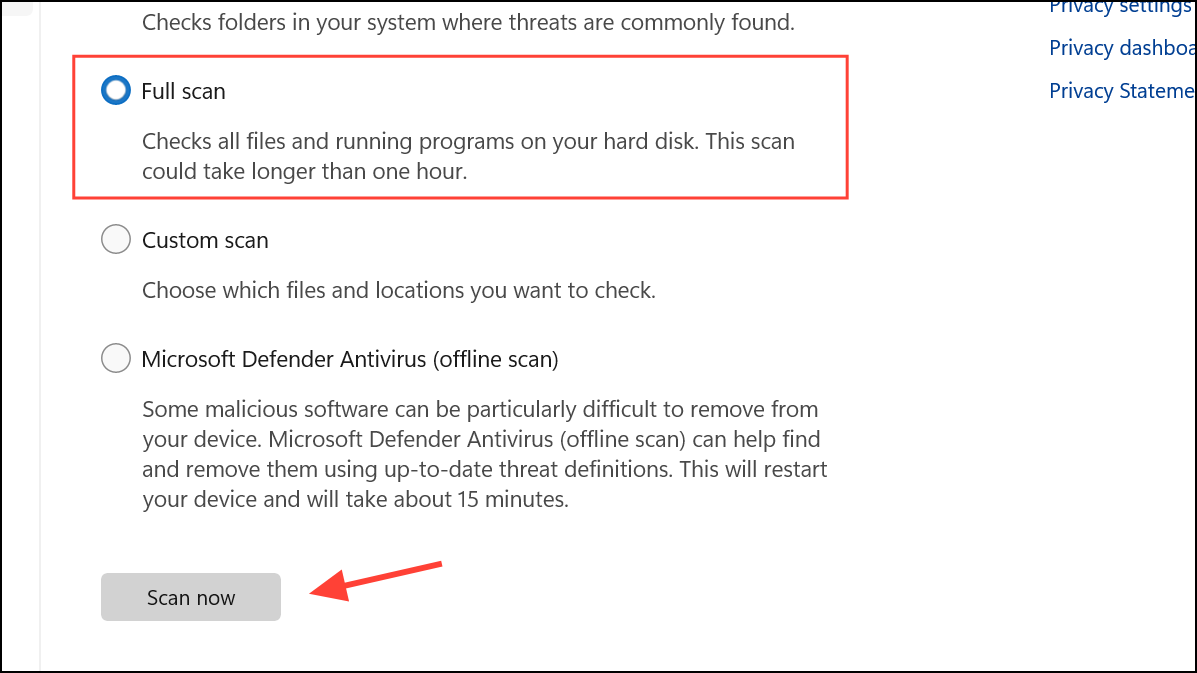
Step 3: Select Full scan and click Scan now. Allow the scan to complete and follow any prompts to remove detected threats.
Malware removal restores normal system operation and eliminates one of the most common causes of slow boot times.
Adjust Virtual Memory Settings
Virtual memory, or the paging file, is a portion of your storage that Windows uses as extra RAM. Poorly configured virtual memory can slow down system operations, including boot. Setting a custom size based on your physical RAM can streamline memory management and reduce startup lag.
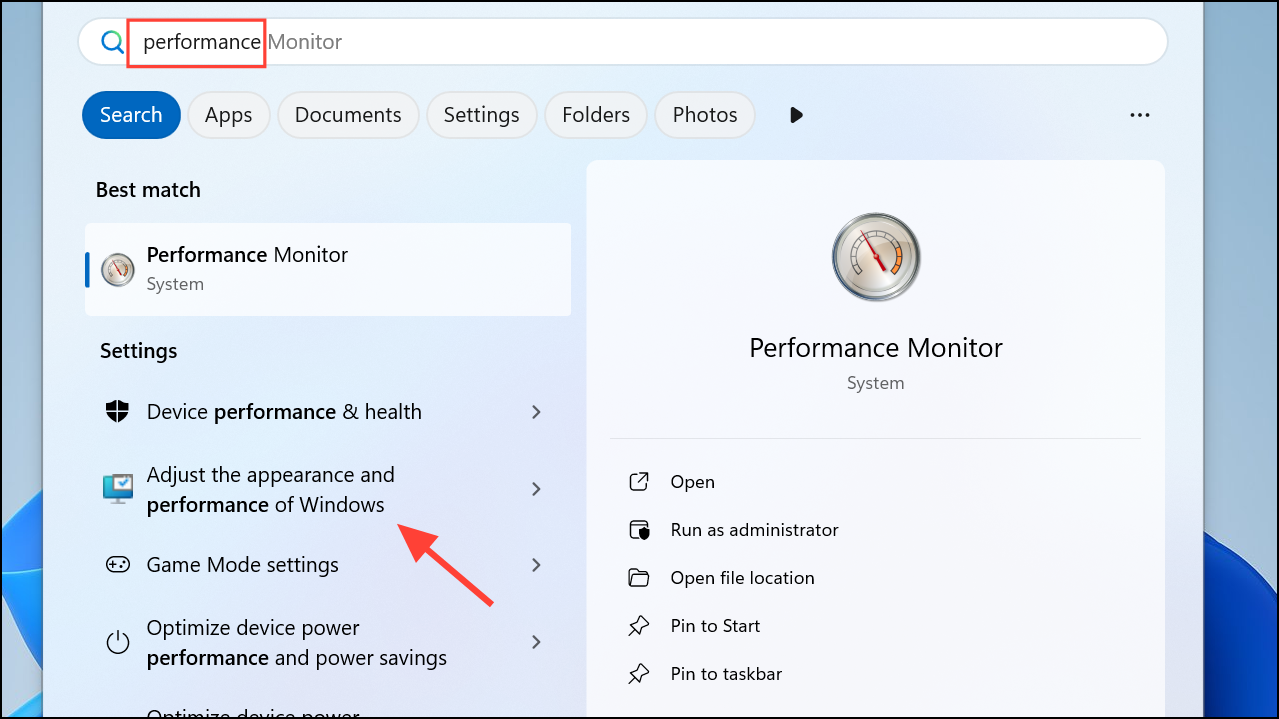
Step 1: Type performance in the Windows Search Box and select Adjust the appearance and performance of Windows.
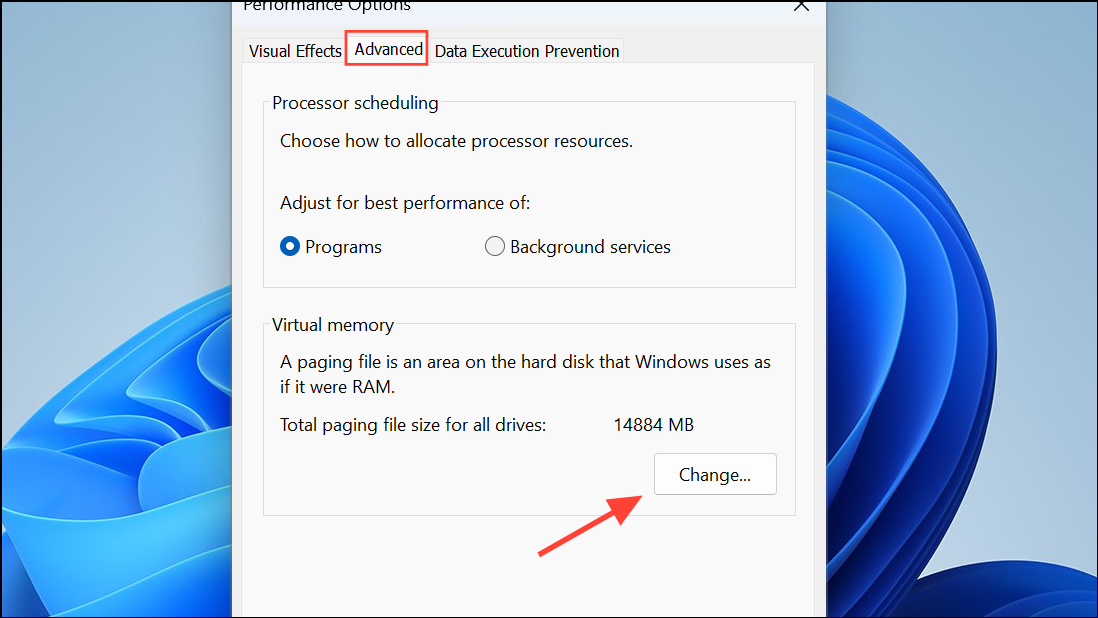
Step 2: Go to the Advanced tab and click Change under Virtual memory.
Step 3: Uncheck Automatically manage paging file size for all drives.
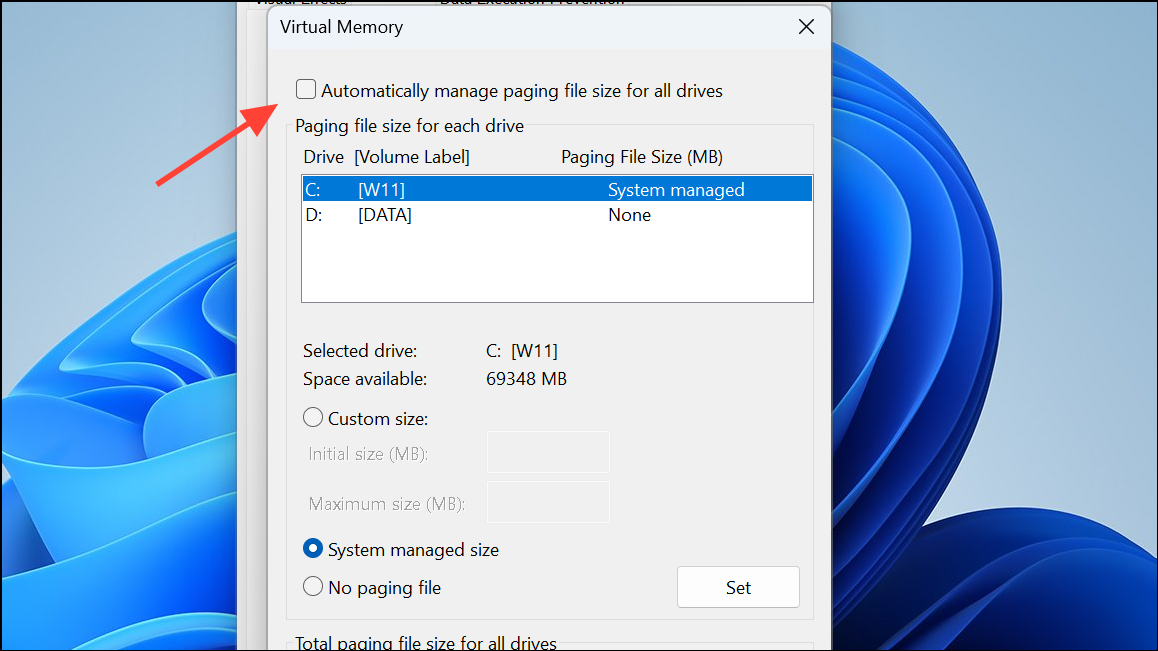
Step 4: Select your system drive, choose Custom size, and enter values for Initial size and Maximum size (typically 1.5 to 3 times your physical RAM).
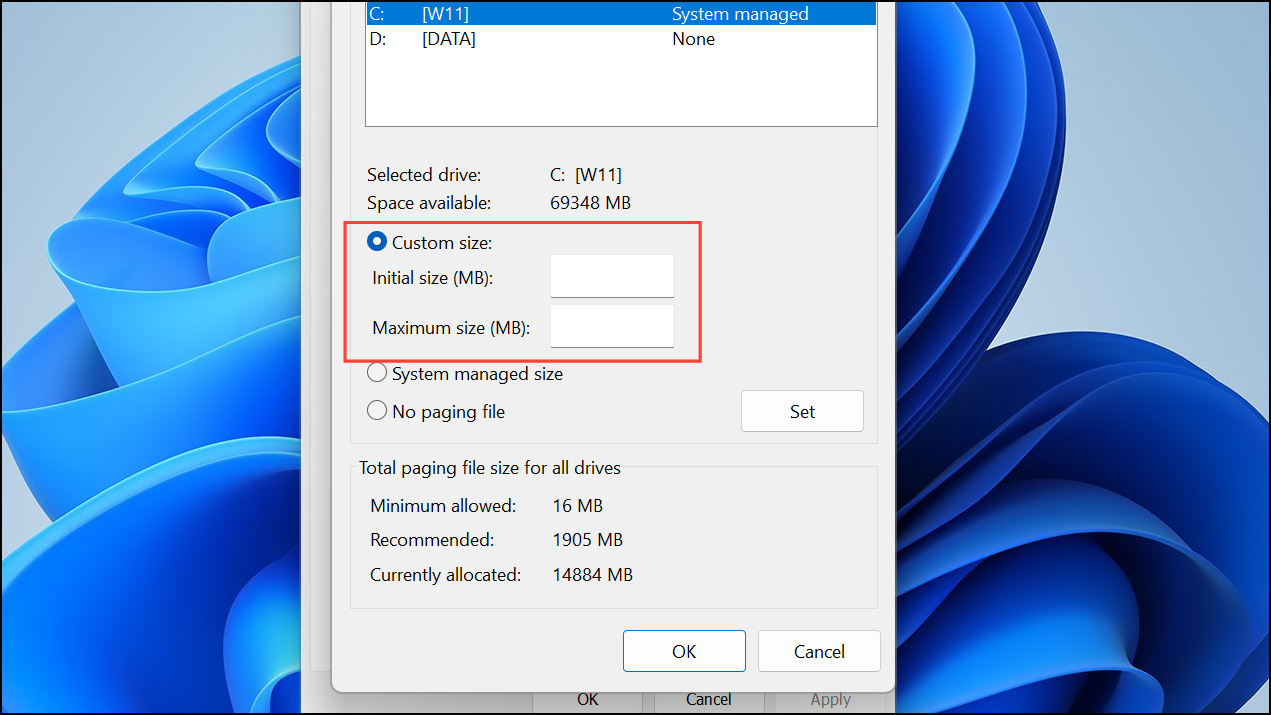
Step 5: Click Set and OK, then restart your PC for changes to take effect.
Optimal virtual memory settings prevent excessive disk swapping and improve boot speed, especially on systems with limited RAM.
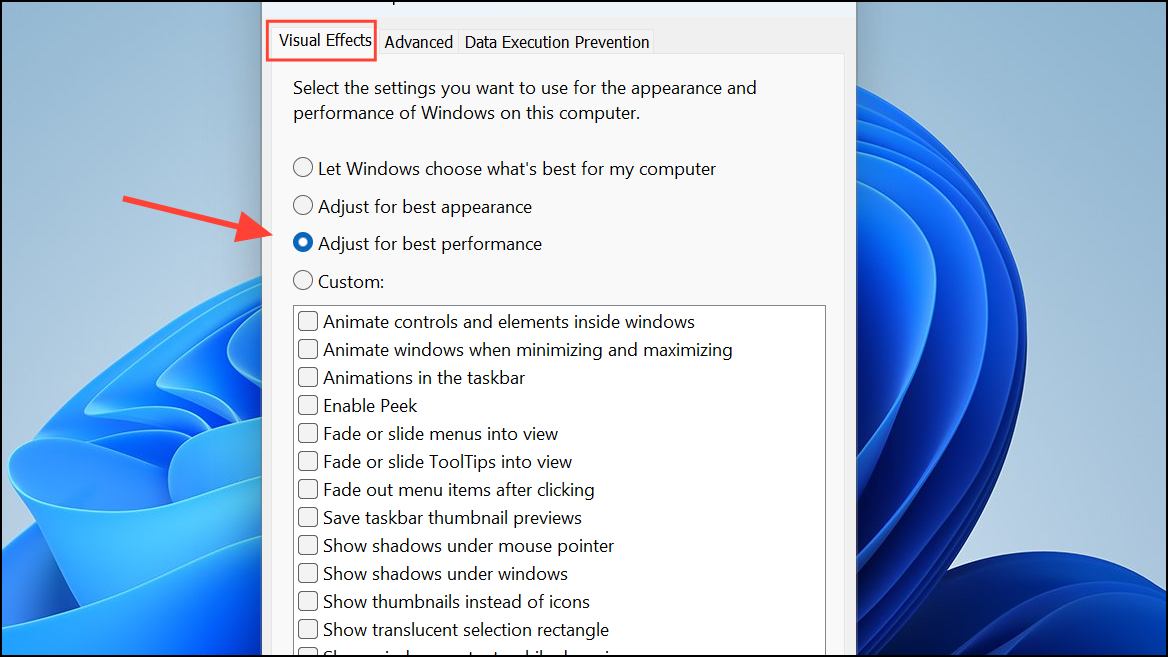
Disable Visual Effects for Faster Startup
Windows 11 includes visual effects like animations and transparency that, while visually appealing, can slow down system performance—particularly on older hardware. Disabling these effects prioritizes speed over appearance and can accelerate boot and login times.
Step 1: Search for performance in the Start menu and select Adjust the appearance and performance of Windows.
Step 2: In the Performance Options window, select Adjust for best performance to turn off all visual effects, or manually disable specific effects as desired.
Step 3: Click Apply and OK. Restart your PC to see the impact on boot and overall responsiveness.
Reducing visual effects is a quick way to reclaim speed on systems struggling with startup slowness.
Upgrade to an SSD
Solid State Drives (SSDs) offer much faster read and write speeds compared to traditional hard drives. Switching your system drive from an HDD to an SSD can reduce boot times from minutes to under 20 seconds, providing the most dramatic improvement for older PCs.
Step 1: Purchase a compatible SSD for your device. Use a SATA or NVMe SSD based on your motherboard support.
Step 2: Clone your existing Windows installation to the new SSD, or perform a clean installation of Windows 11 on the SSD.
Step 3: Set the SSD as the primary boot device in your BIOS or UEFI firmware settings.
Step 4: Restart your PC and verify that Windows boots from the SSD. You should notice a substantial reduction in startup time and faster system response overall.
Upgrading to an SSD is the most effective hardware solution for persistent slow boot times on Windows 11.
Fine-tuning startup apps, keeping drivers and Windows updated, and considering an SSD upgrade can transform slow Windows 11 boot times into a streamlined, frustration-free experience. Regular maintenance keeps your system running at top speed.