
When the Task Scheduler in Windows 11 fails to operate correctly, it can disrupt essential system functions like storage optimization and prevent custom scripts or applications from running as scheduled. This issue often stems from the Task Scheduler service being disabled, misconfigured task settings, or underlying system file corruption. By systematically checking the service's status and the configuration of individual tasks, you can typically identify and resolve the root cause.
Verify Service Status and Task Configuration
The most direct approach is to ensure the Task Scheduler service is running and that the specific task you want to execute is configured correctly. A disabled service or incorrect task condition can prevent any scheduled action from starting.
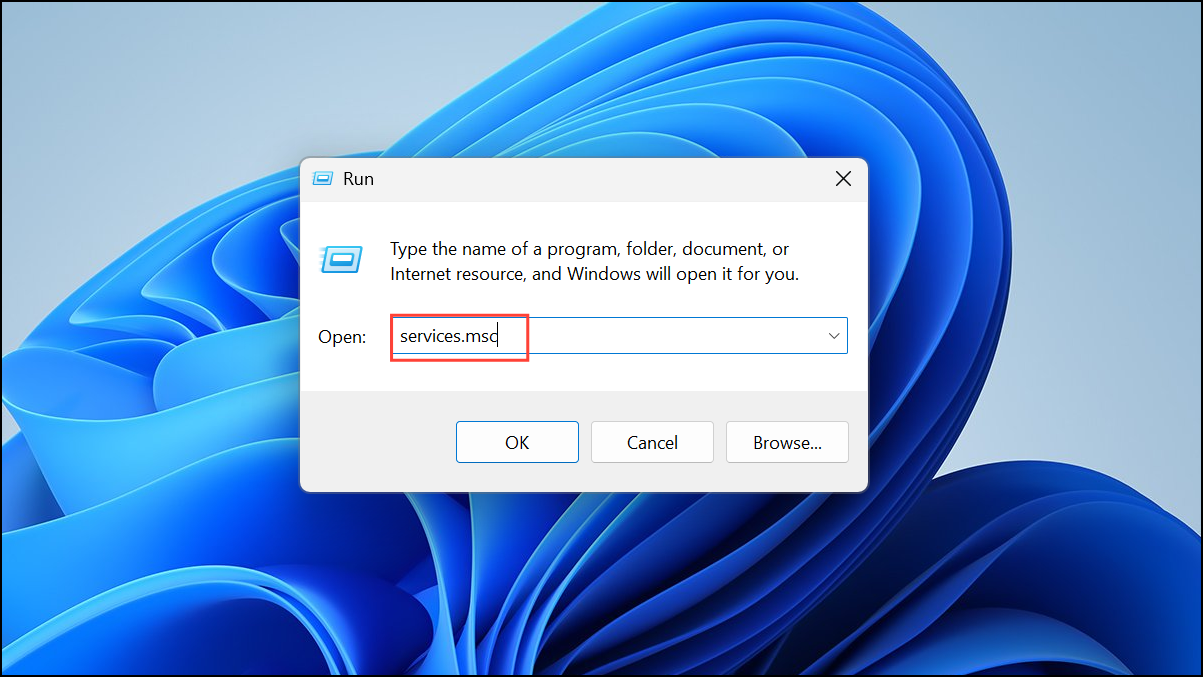
Step 1: Open the Services window by pressing the Windows Key + R to launch the Run dialog. Type services.msc and press Enter. This tool lists all background services on your system.
Step 2: In the Services window, scroll down to locate the Task Scheduler service. Double-click it to open its Properties dialog box.
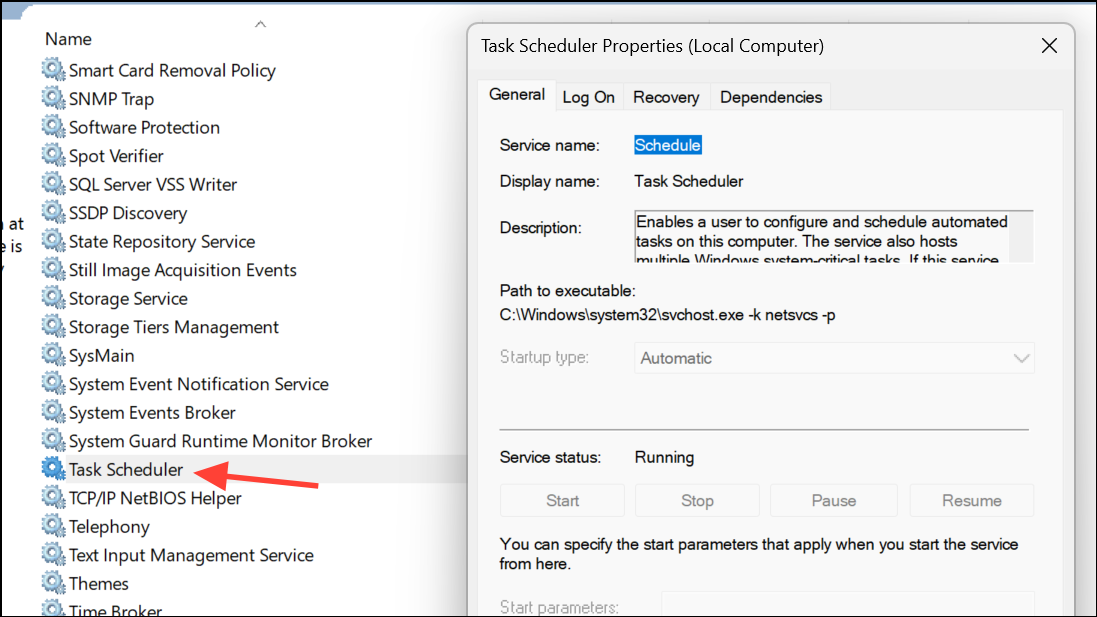
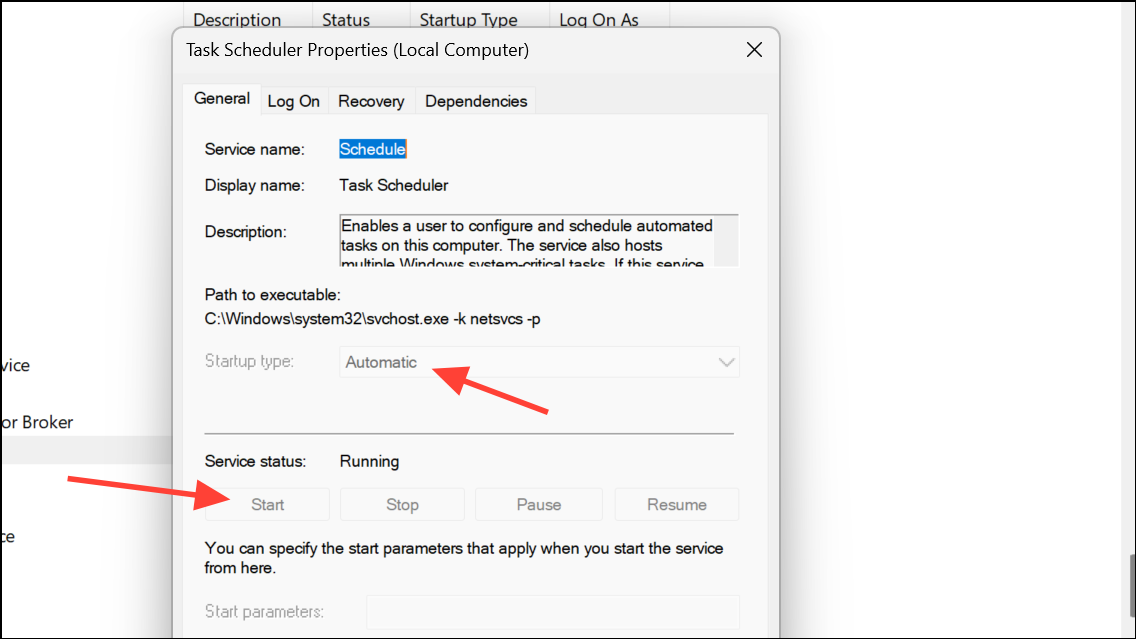
Step 3: Here, confirm that the Startup type is set to Automatic. If it is not, select "Automatic" from the dropdown menu. If the Service status shows as "Stopped," click the Start button to run it. Click Apply and then OK to save the changes.
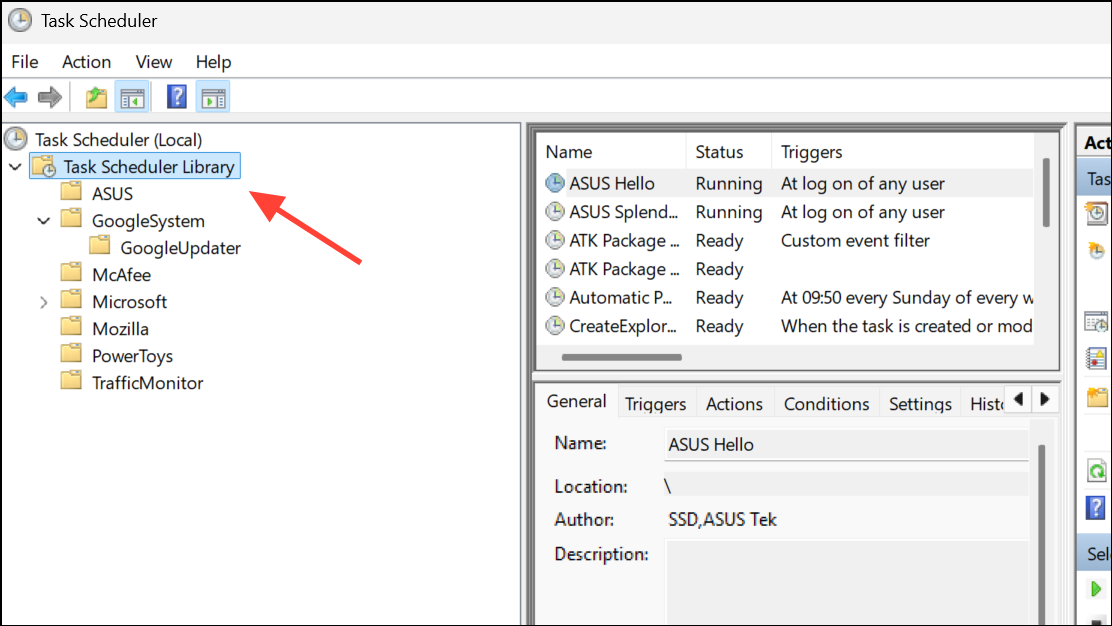
Step 4: Next, open the Task Scheduler application by searching for it in the Start Menu. In the Task Scheduler Library, find the task that is failing to run. Right-click it and select Properties.
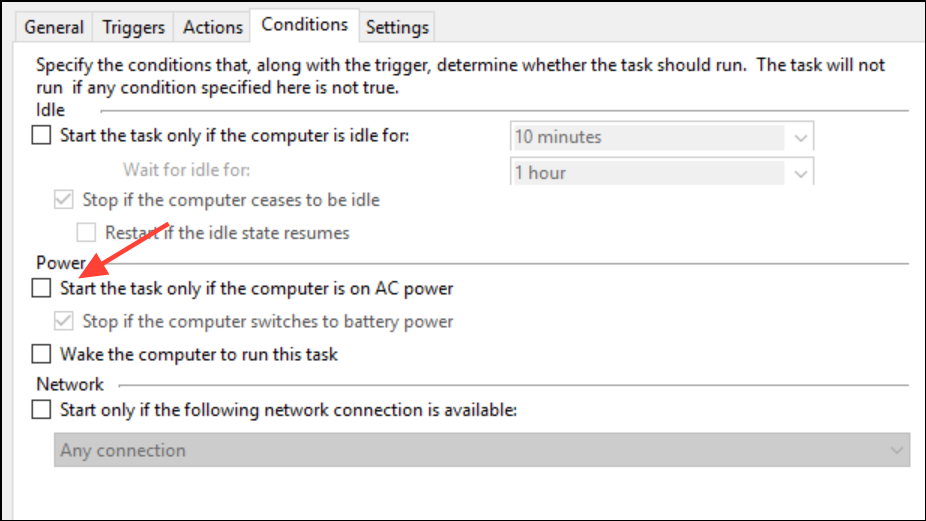
Step 5: In the task's Properties window, navigate to the Conditions tab. Review the settings here, as they can prevent a task from running. For example, if you are using a laptop, uncheck the box for Start the task only if the computer is on AC power. You may also want to uncheck other conditions related to the computer being idle or network availability if they are not relevant to your task.
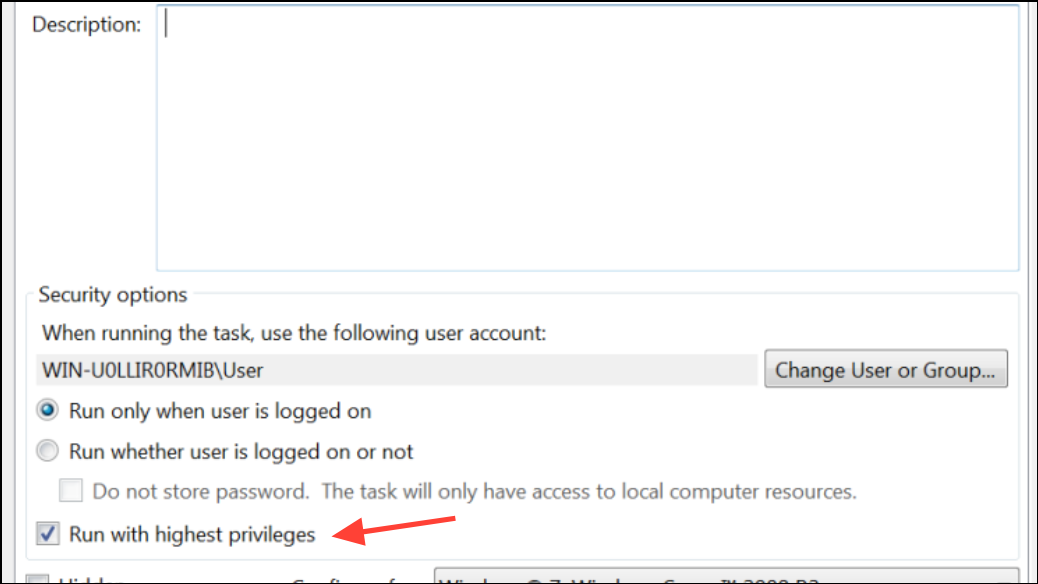
Step 6: Go to the Actions tab and ensure the path to the program or script is correct. An incorrect path is a common reason for failure. Finally, on the General tab, ensure the task is configured to run with the appropriate user account and consider selecting Run with highest privileges if the task requires administrative rights.
Repair the Task Scheduler Service via Registry Editor
If the service fails to start even after being configured correctly in the Services window, a corrupted or incorrect registry entry might be the cause. You can manually correct the service's startup value in the Windows Registry Editor.
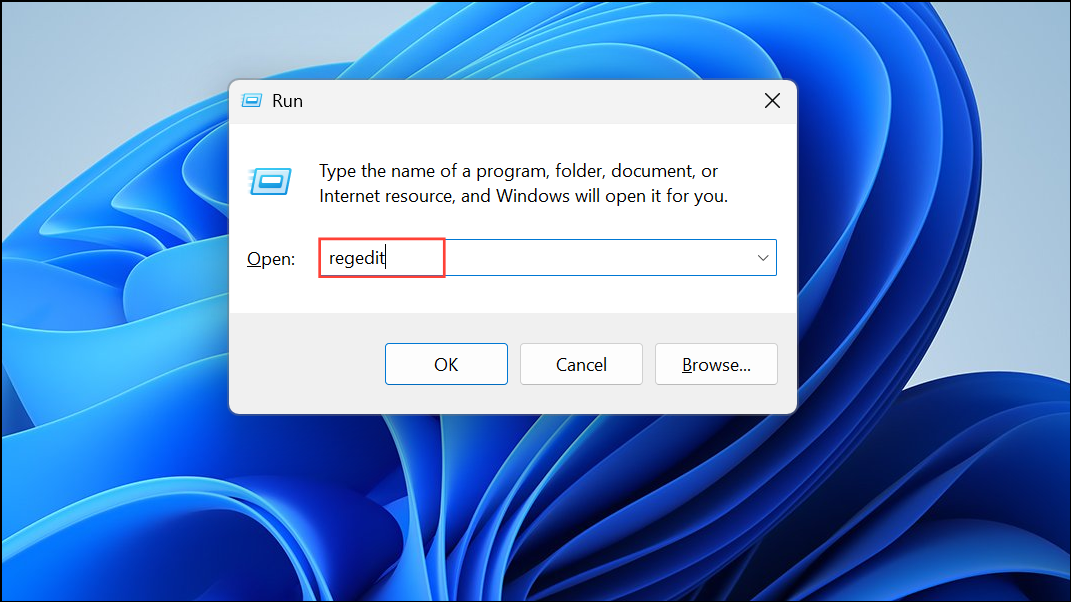
Step 1: Press Windows Key + R, type regedit into the Run dialog, and press Enter to open the Registry Editor. You may need to provide administrator permission.
Step 2: In the Registry Editor, use the left-hand pane to navigate to the following key, or copy and paste the path into the address bar at the top:
HKEY_LOCAL_MACHINE\SYSTEM\CurrentControlSet\Services\Schedule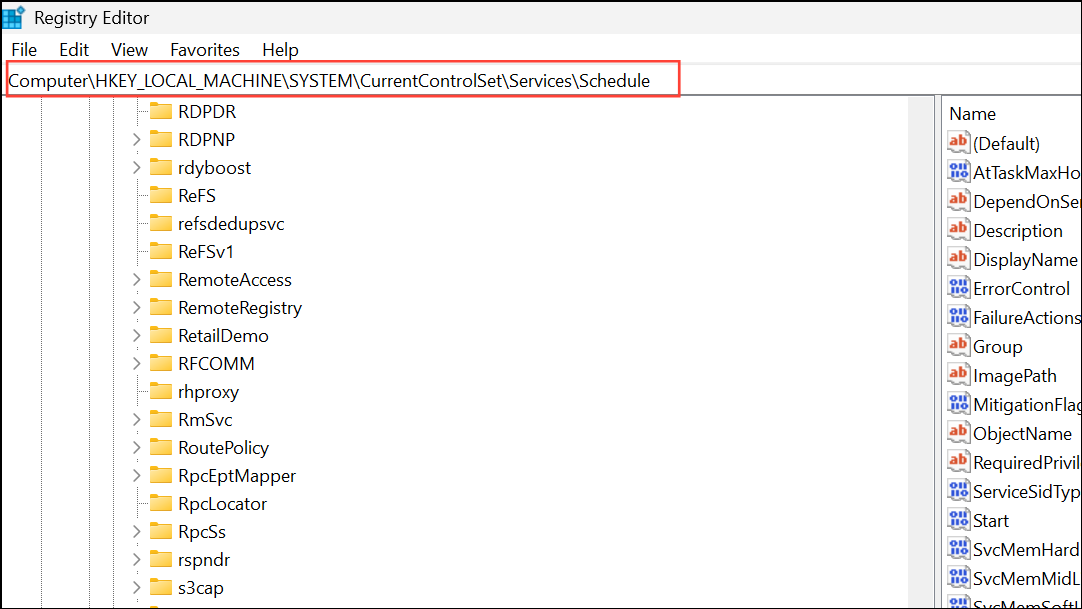
Step 3: With the Schedule key selected, look for a value named Start in the right-hand pane. Double-click this value to modify it.
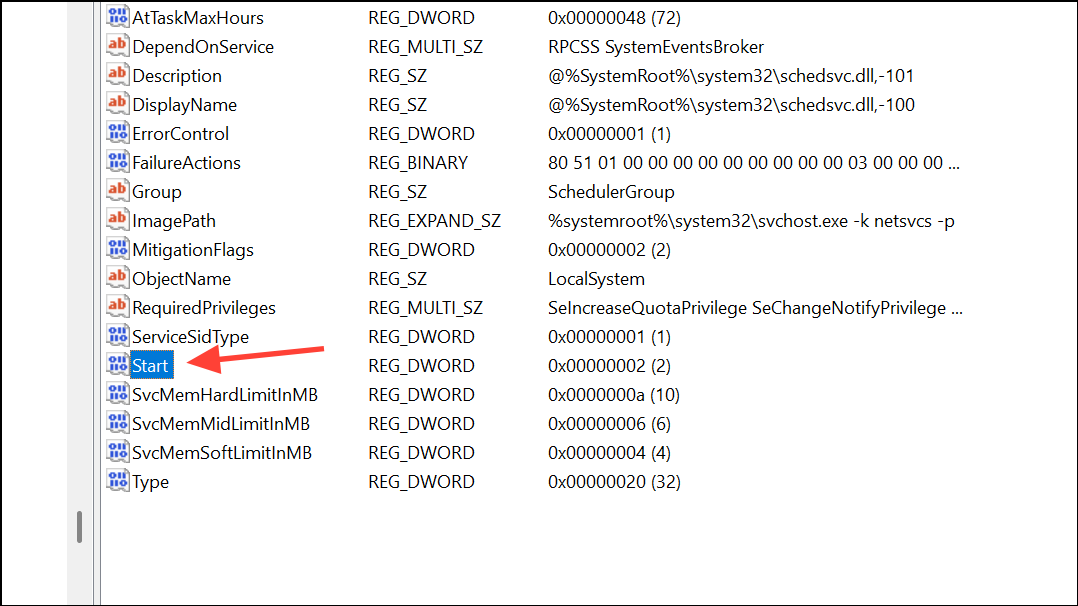
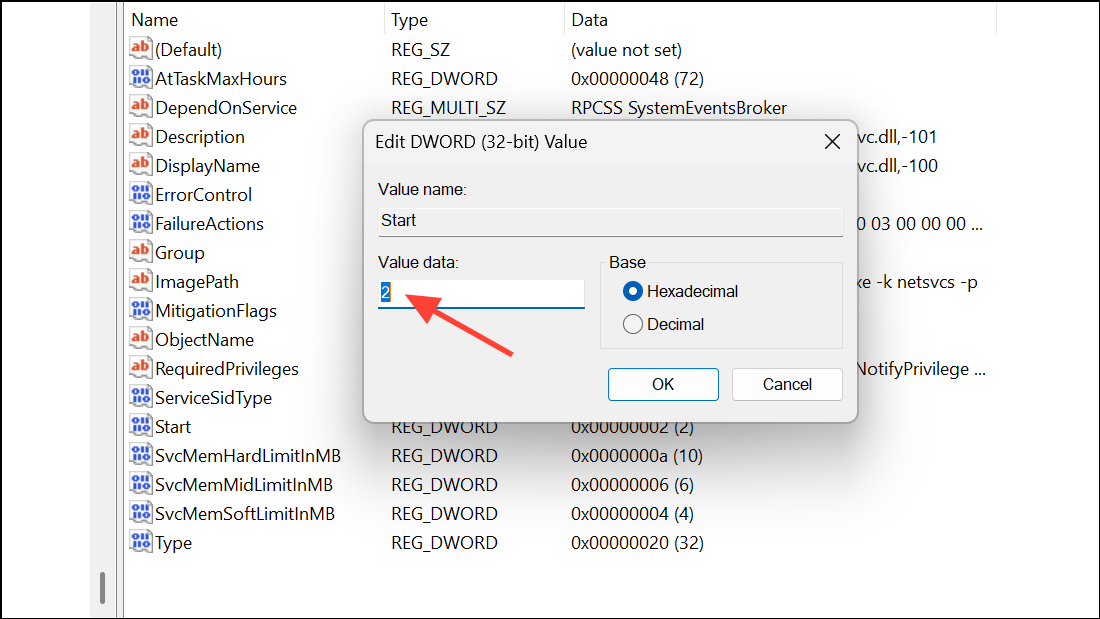
Step 4: In the Edit DWORD (32-bit) Value window, change the Value data to 2. This value corresponds to an "Automatic" startup type for the service. Click OK to save the change.
Step 5: Close the Registry Editor and restart your computer. After rebooting, Windows will attempt to start the Task Scheduler service automatically.
Scan and Repair System Files
Corrupted system files can interfere with core Windows components like the Task Scheduler. Windows includes built-in tools, System File Checker (SFC) and Deployment Image Servicing and Management (DISM), to find and repair these files.
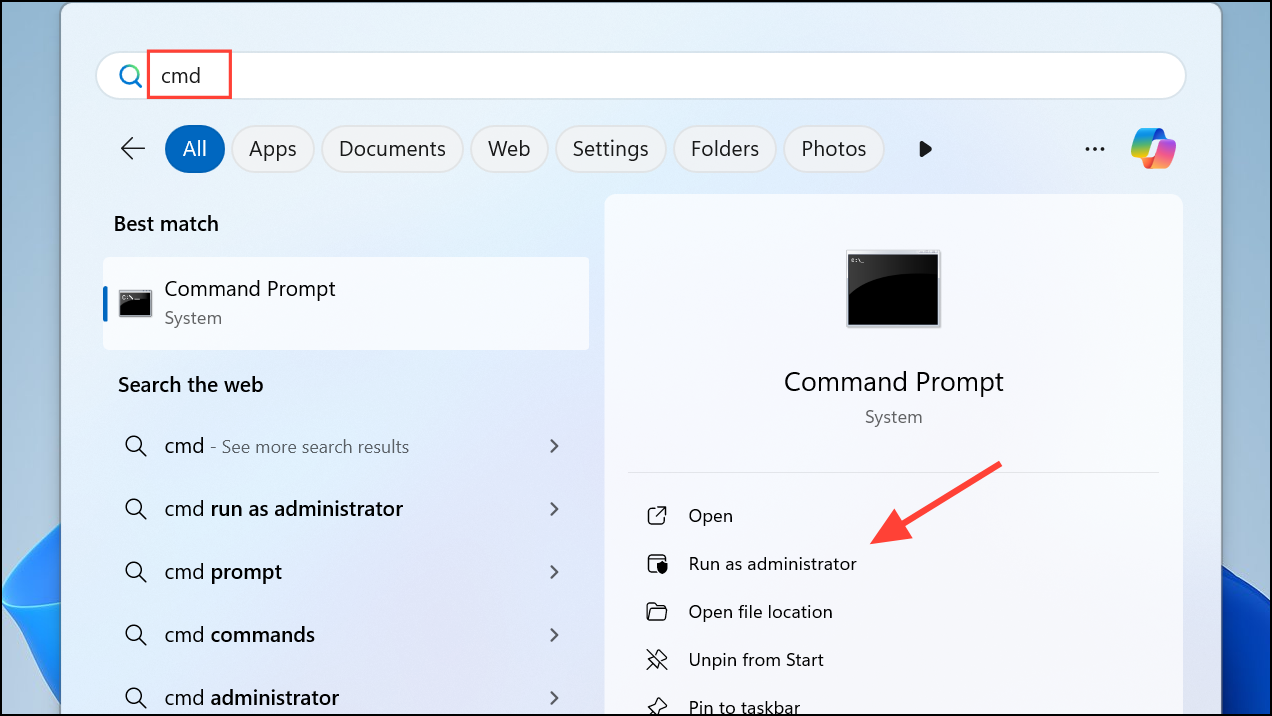
Step 1: Open an elevated Command Prompt by searching for "cmd" in the Start Menu, right-clicking Command Prompt, and selecting Run as administrator.
Step 2: In the Command Prompt window, type the following command and press Enter. This will initiate the System File Checker, which scans for and attempts to repair corrupted Windows system files.
sfc /scannow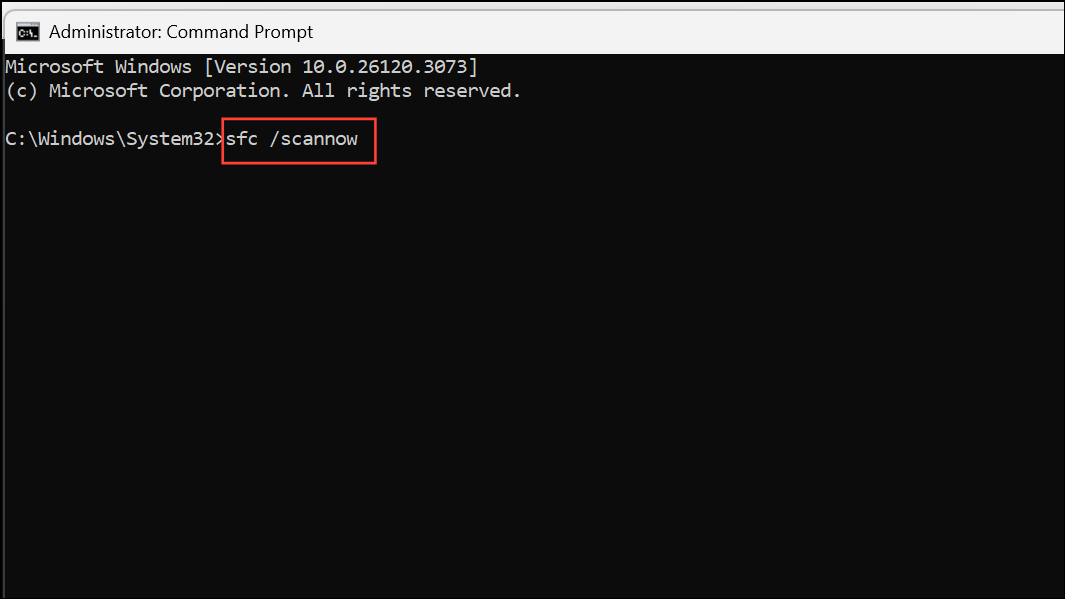
Step 3: If the SFC scan completes but reports that it could not fix all the issues it found, you will need to run the DISM tool. The DISM command repairs the underlying component store that SFC uses for its repairs. Execute the following command:
dism /online /cleanup-image /restorehealth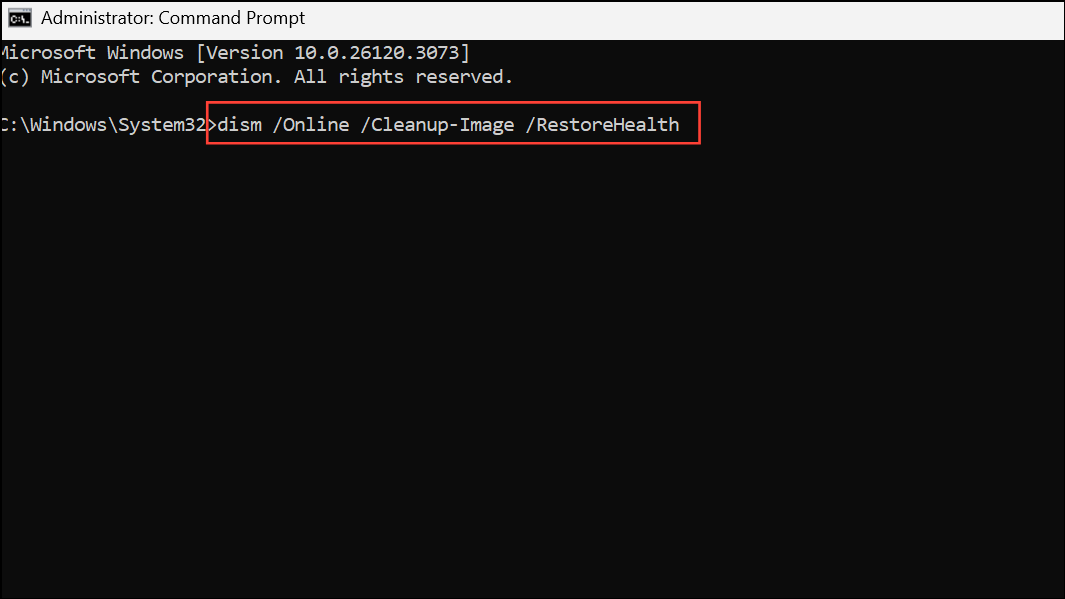
Step 4: Once the DISM operation is complete, restart your computer. It is a good practice to run the sfc /scannow command again after the reboot to ensure all integrity violations have been resolved.
Perform a Clean Boot to Isolate Conflicts
Sometimes, a third-party application or background service can interfere with the Task Scheduler. A clean boot starts Windows with a minimal set of drivers and startup programs, which can help you identify if an external program is causing the conflict.
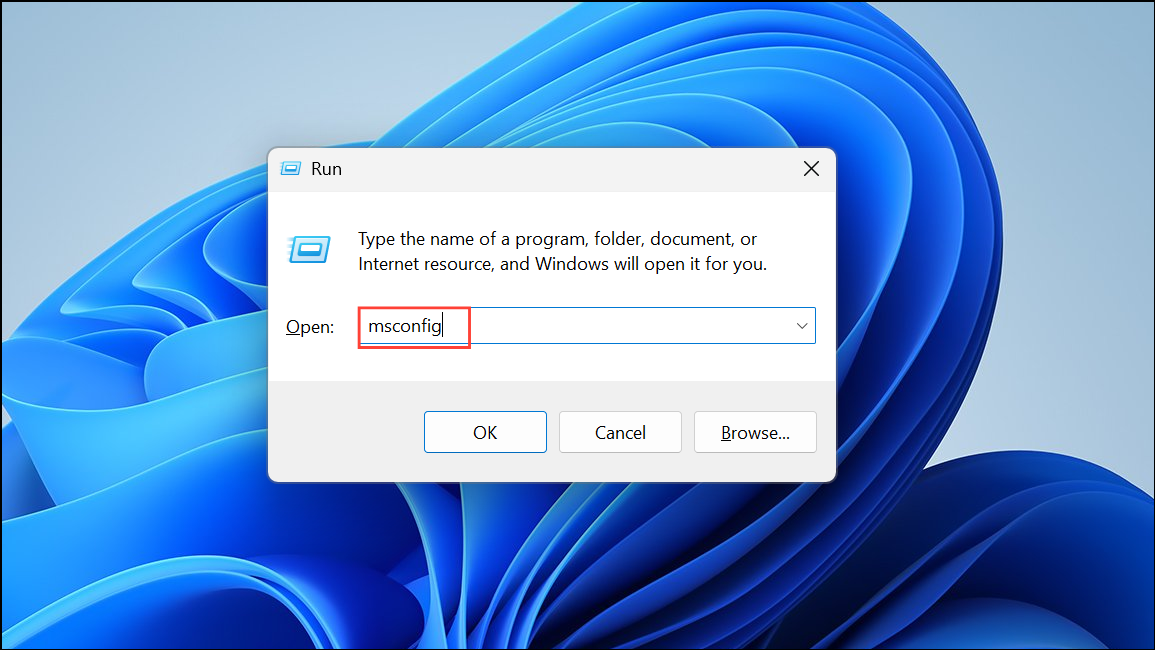
Step 1: Open the System Configuration tool by pressing Windows Key + R, typing msconfig, and pressing Enter.
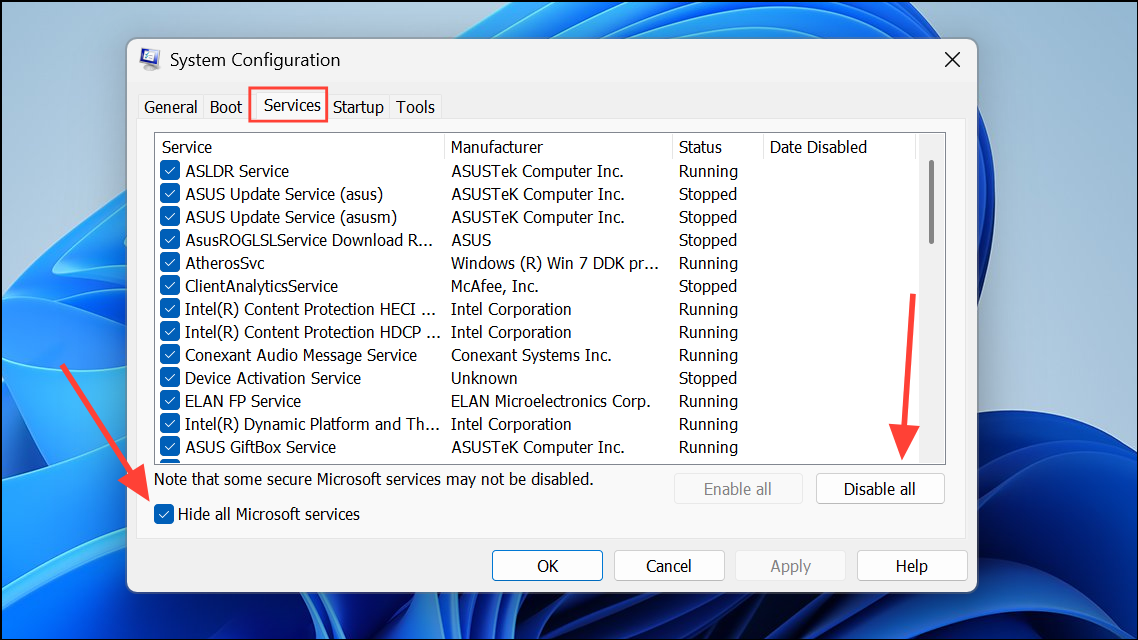
Step 2: Go to the Services tab. Check the box for Hide all Microsoft services, and then click the Disable all button. This prevents essential Windows services from being turned off.
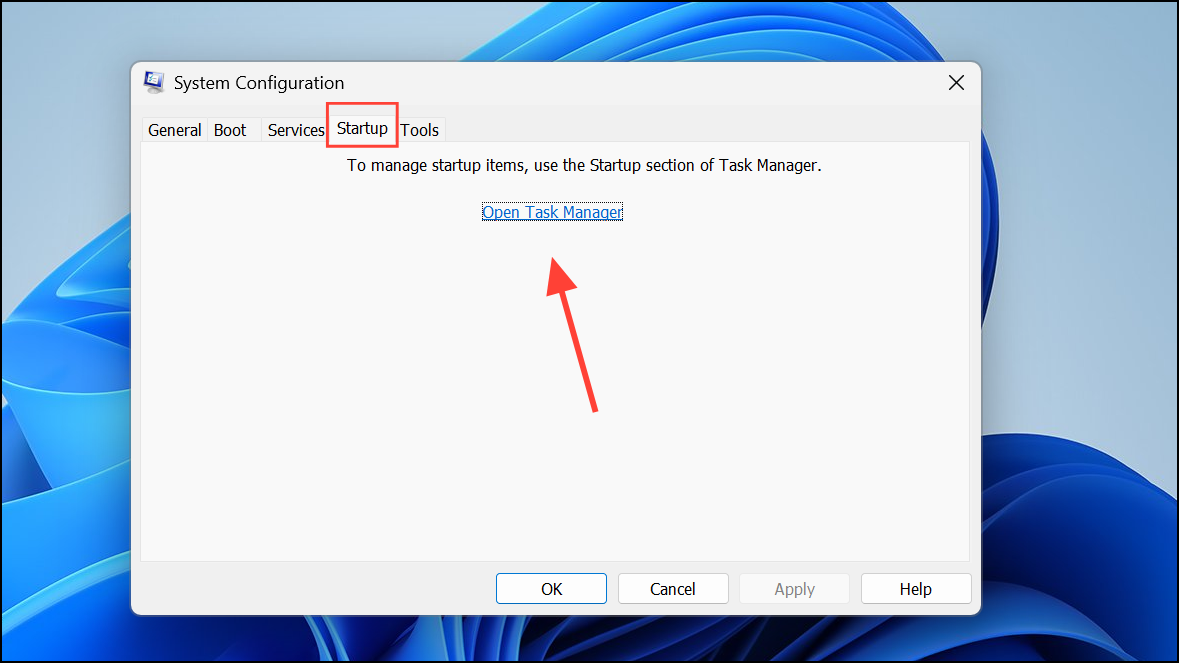
Step 3: Switch to the Startup tab and click on Open Task Manager. In the Task Manager's Startup tab, disable all enabled startup applications by right-clicking each one and selecting Disable.
Step 4: Close the Task Manager and click OK in the System Configuration window. Restart your computer. Once rebooted, check if the Task Scheduler is working. If it is, the issue is caused by one of the disabled services or startup applications. You can then re-enable them in small groups to isolate the problematic software.
Repair Windows with an In-place Upgrade
If all other methods fail, the Windows installation itself may be severely corrupted. An in-place upgrade, also known as a repair install, reinstalls the Windows operating system files without deleting your personal files or applications. This can resolve deep-seated issues that other tools cannot fix.
Step 1: Navigate to the official Microsoft website and download the Windows 11 Media Creation Tool.
Step 2: Run the downloaded tool and accept the license terms. When prompted, select Upgrade this PC now.
Step 3: Follow the on-screen instructions. On the "Ready to install" screen, ensure that the option Keep personal files and apps is selected. This is crucial to prevent data loss.
Step 4: Click Install to begin the process. Your computer will restart several times as it reinstalls the operating system. Once complete, your system should have a fresh set of system files, which often resolves persistent Task Scheduler problems.
By systematically checking the service settings, repairing system files, and ruling out software conflicts, you can typically get your automated tasks running smoothly again.