
Windows 11 includes a feature called Archive apps that helps manage storage by automatically offloading applications you seldom use. When an app is archived, its core files are removed to save disk space, but your settings and data are preserved locally. The next time you try to launch the app, Windows will redownload and restore it, provided the application is still available in the Microsoft Store. If an app has been removed from the Store by its developer, it cannot be restored.
This functionality is enabled by default as part of Windows 11’s storage management tools. However, you can easily turn this feature on or off to suit your preferences. Here are the different ways to control the Archive apps setting.
Use the Settings App
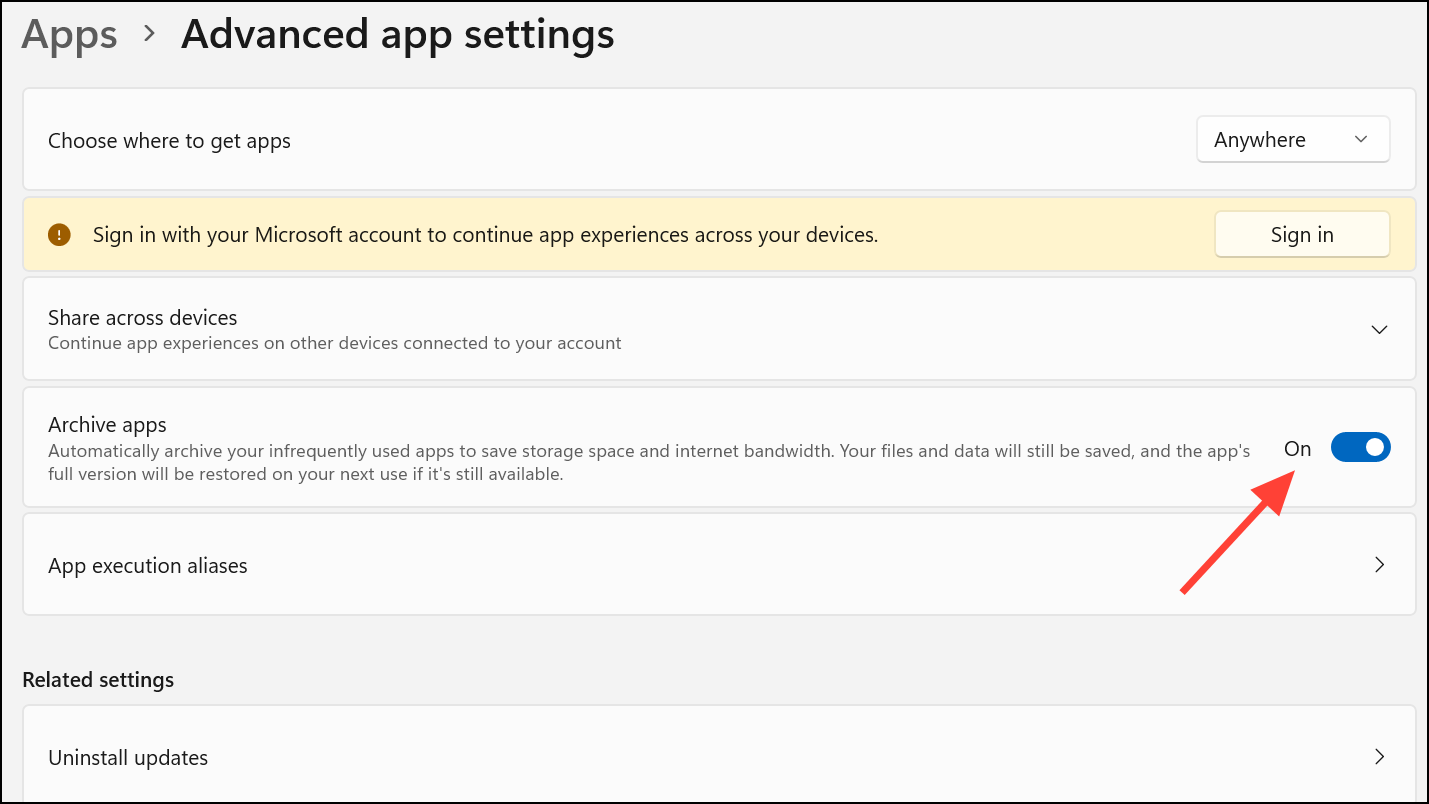
The most direct way to manage the app archiving feature is through the Windows Settings application. This method is suitable for all users and allows you to toggle the setting for your user account.
Windows Key + I on your keyboard or by right-clicking the Start button and selecting “Settings” from the menu.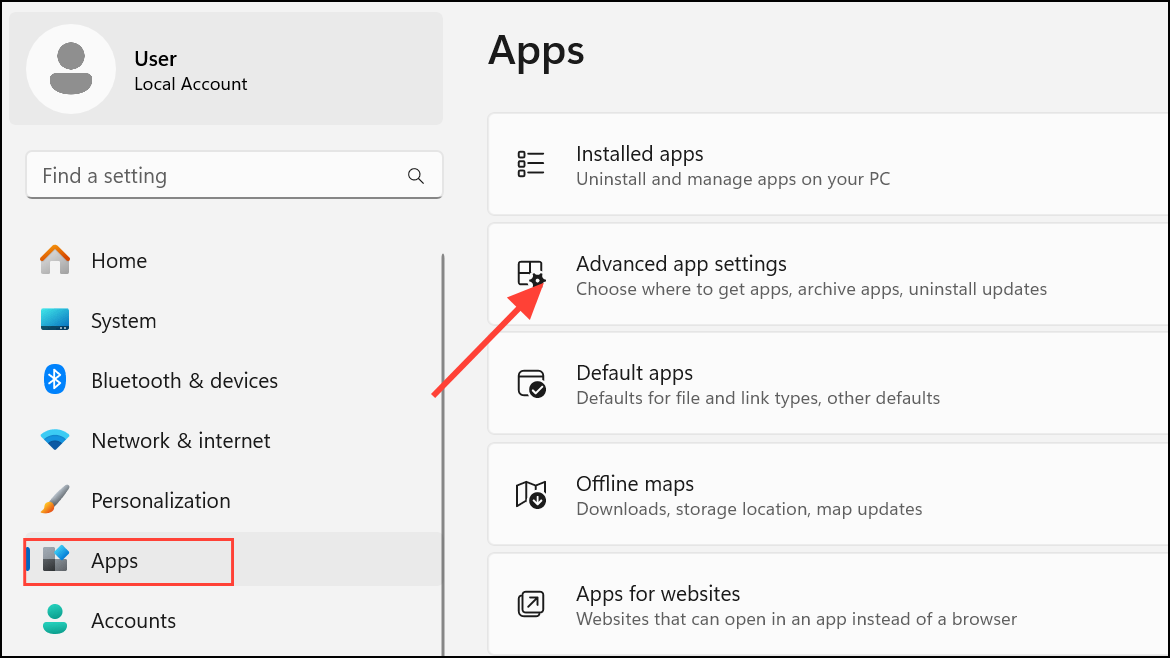
Use the Local Group Policy Editor
For users running Windows 11 Pro, Enterprise, or Education editions, the Local Group Policy Editor provides a way to enforce the Archive apps setting for all users on the computer. This method overrides the individual user setting in the Settings app.
Windows Key + R. Type gpedit.msc and press Enter or click OK to launch the Local Group Policy Editor.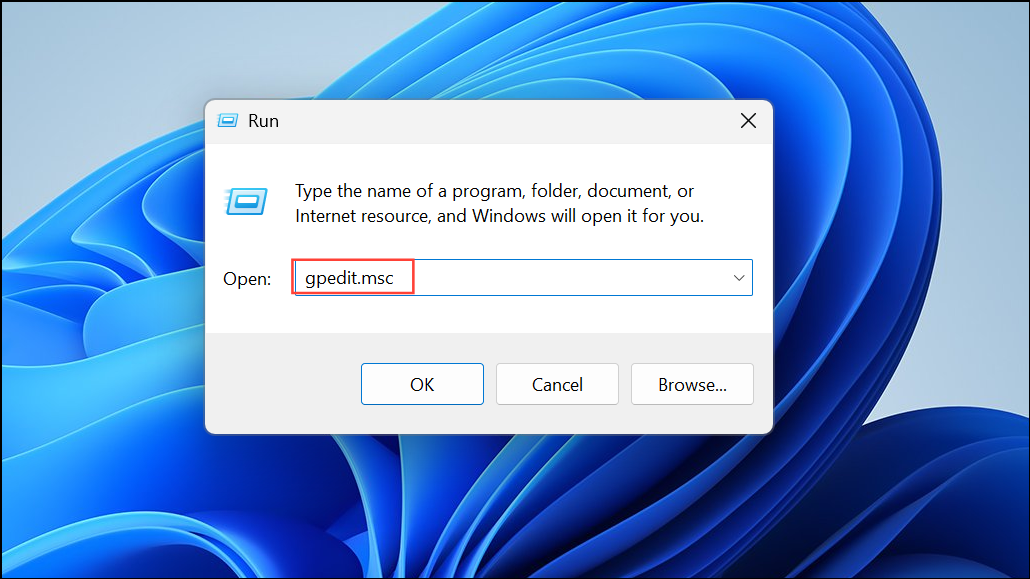
Computer Configuration > Administrative Templates > Windows Components > App Package Deployment.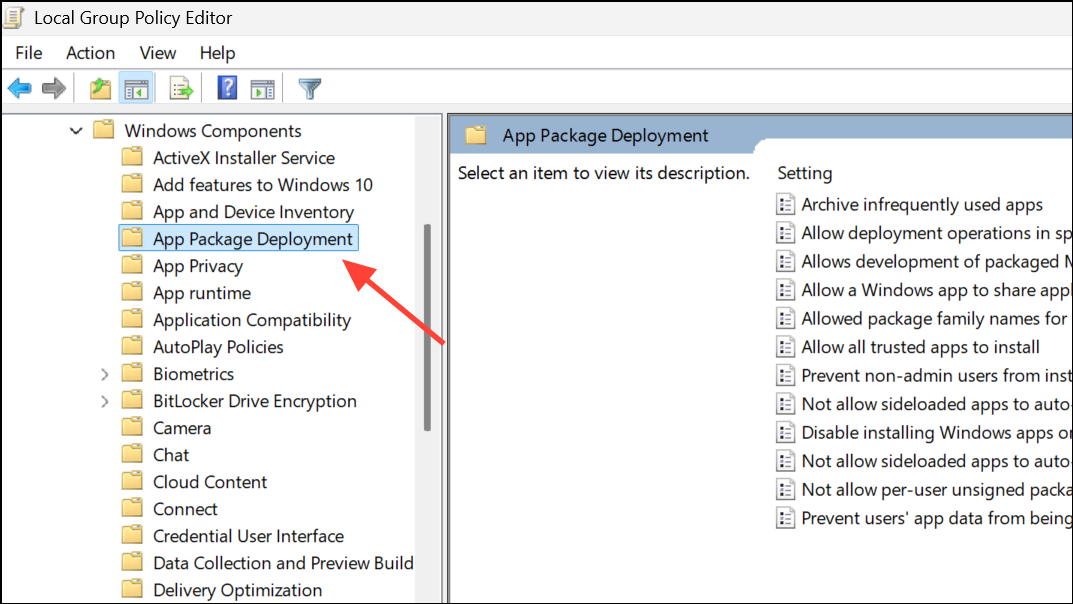
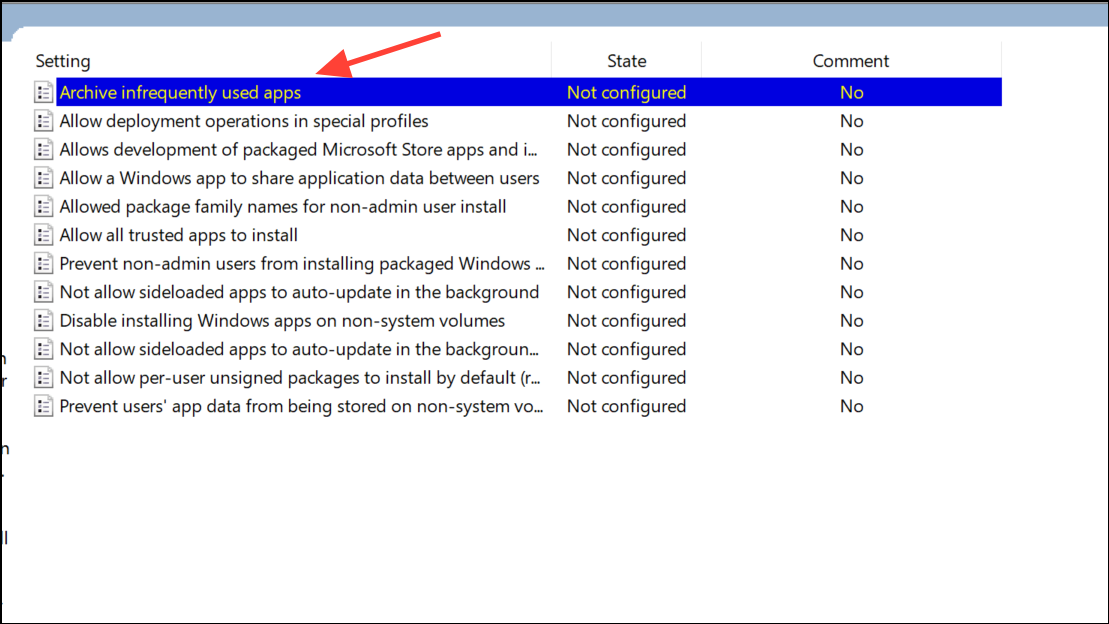
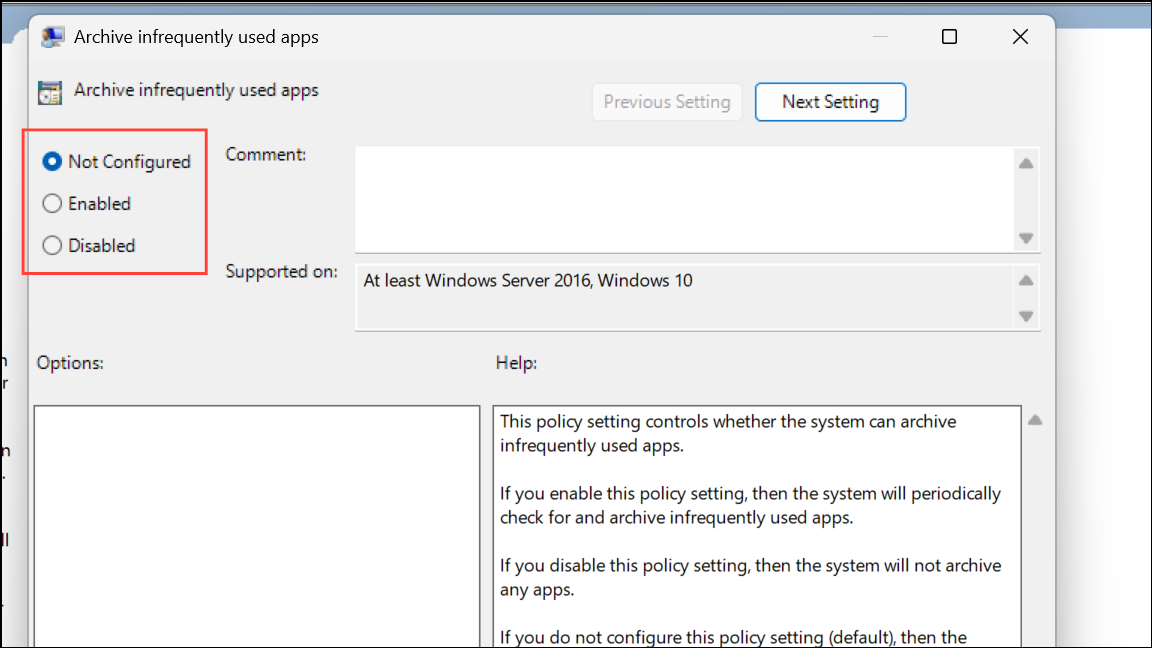
- Enabled: Forces the Archive apps feature to be on for all users. Users will not be able to disable it from the Settings app.
- Disabled: Forces the Archive apps feature to be off for all users. The toggle in the Settings app will be grayed out.
- Not Configured: This is the default state. It allows individual users to control the feature through the Settings app.
Use the Registry Editor
If you are using Windows 11 Home or prefer using the Registry Editor, you can achieve the same system-wide control as the Group Policy Editor. Modifying the registry should be done with caution, as incorrect changes can cause system instability.
Windows Key + R to open the Run dialog. Type regedit and click OK or press Enter to open the Registry Editor. If prompted by User Account Control (UAC), click Yes.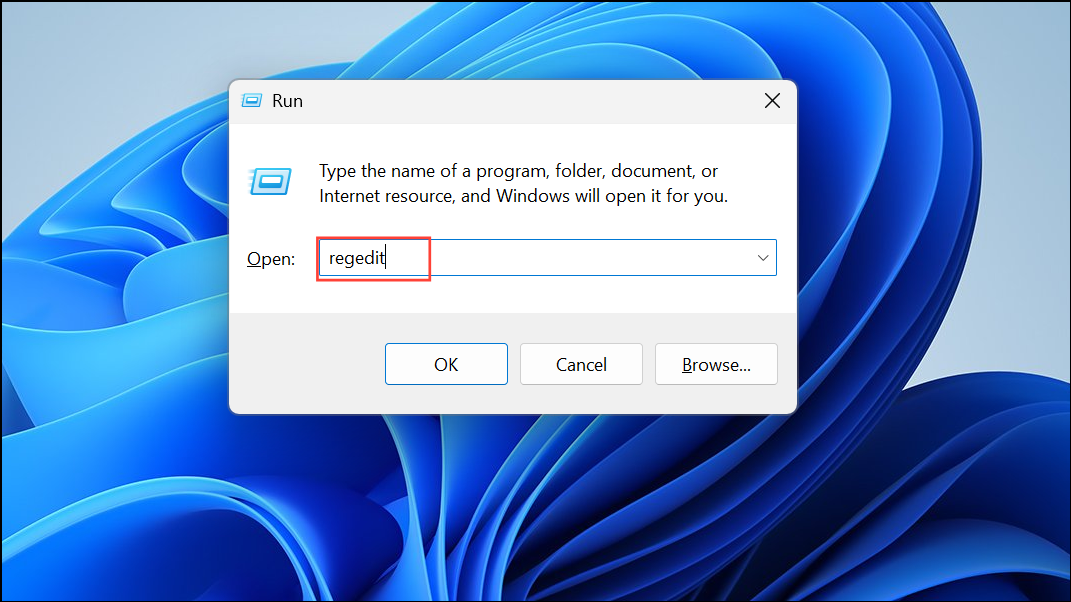
HKEY_LOCAL_MACHINE\SOFTWARE\Policies\Microsoft\Windows\Appx. If the Appx key does not exist, you will need to create it by right-clicking the Windows key, selecting New > Key, and naming it Appx.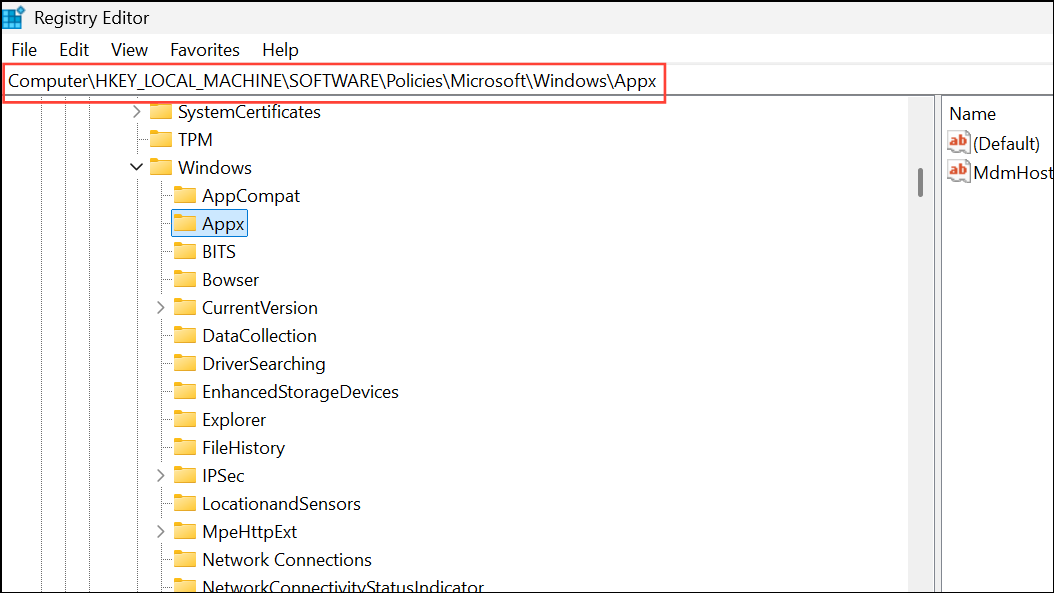
Appx key, right-click on an empty space, select New > DWORD (32-bit) Value, and name it AllowAutomaticAppArchiving.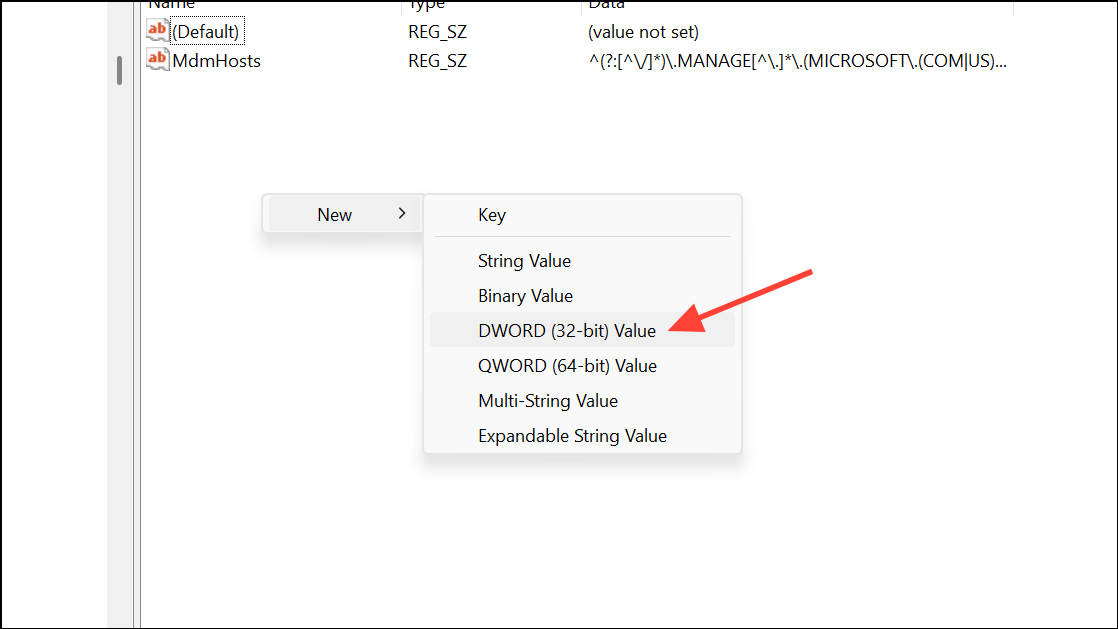
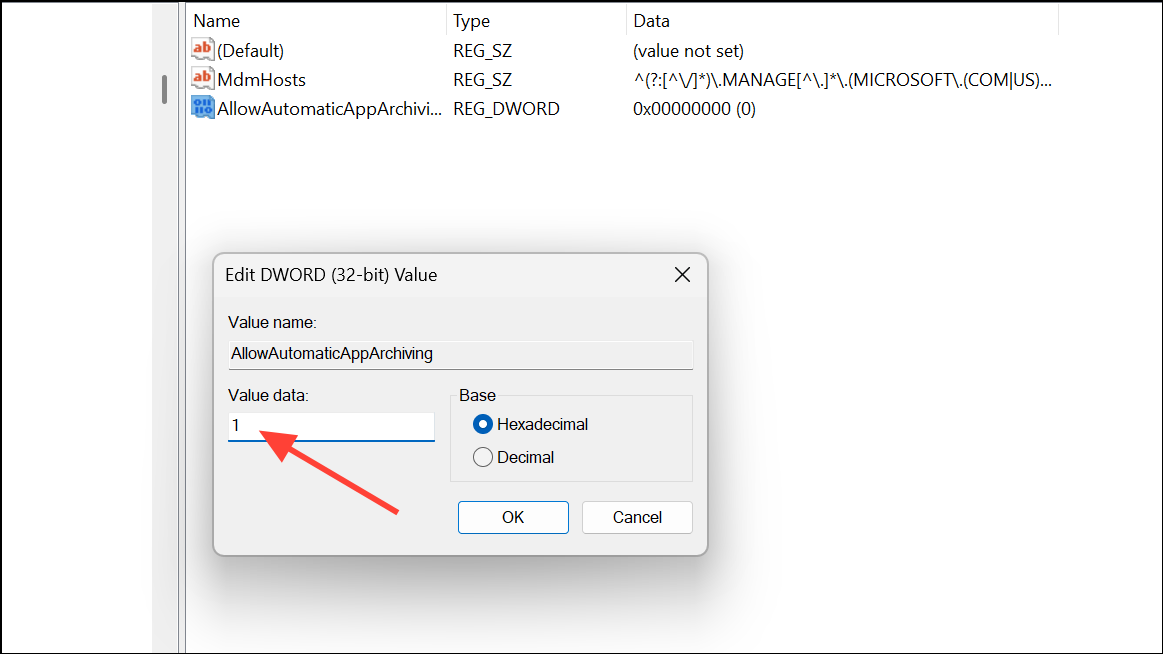
AllowAutomaticAppArchiving value to modify it. In the “Value data” field, enter one of the following numbers:- 1: To force-enable app archiving for all users.
- 0: To disable app archiving for all users.
AllowAutomaticAppArchiving value.Whether you want to maximize your storage or ensure all your apps are always available, Windows 11 gives you the flexibility to control how app archiving works on your system.


