
Receiving a “USB device not recognized” message in Windows 11 can disrupt your workflow, prevent access to files, and block the use of essential peripherals like keyboards, mice, or storage drives. Addressing this problem requires a systematic approach that targets both software and hardware factors influencing USB connectivity.
Update or Reinstall USB Drivers
Outdated or corrupted USB drivers frequently cause recognition errors. Updating or reinstalling these drivers can restore device functionality and resolve persistent connection problems.
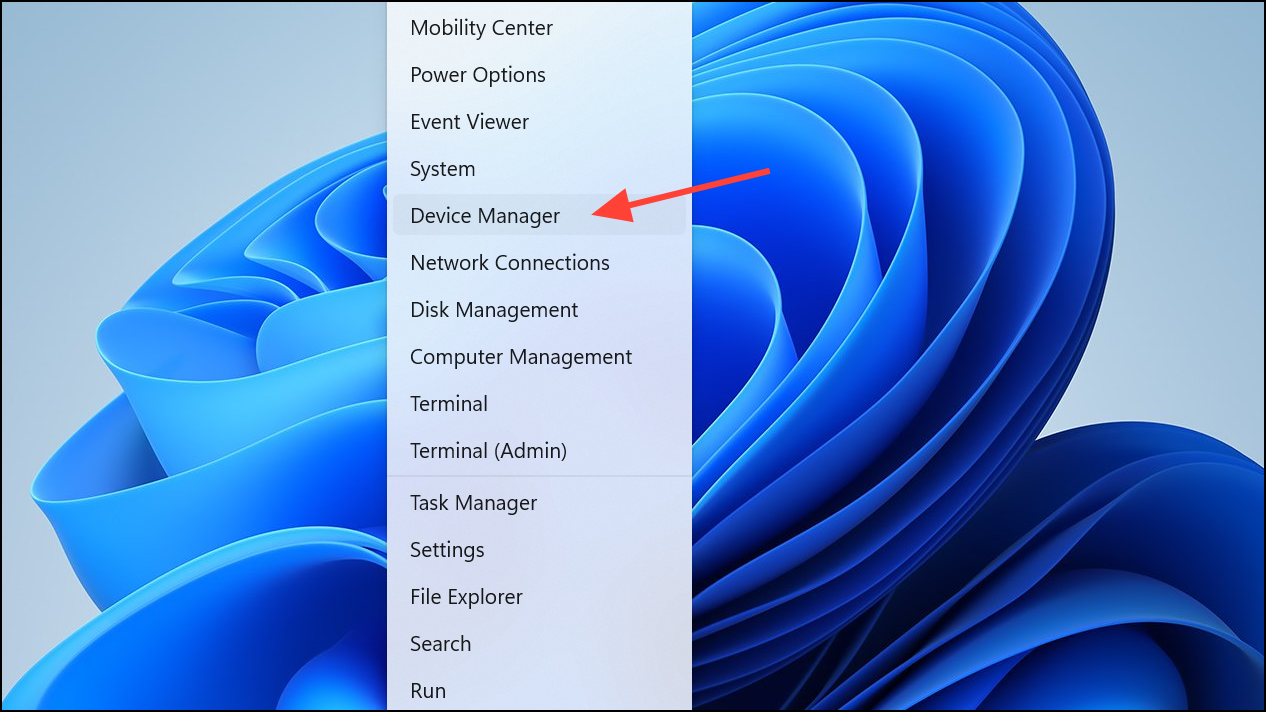
Step 1: Open Device Manager by right-clicking the Start menu and selecting Device Manager.
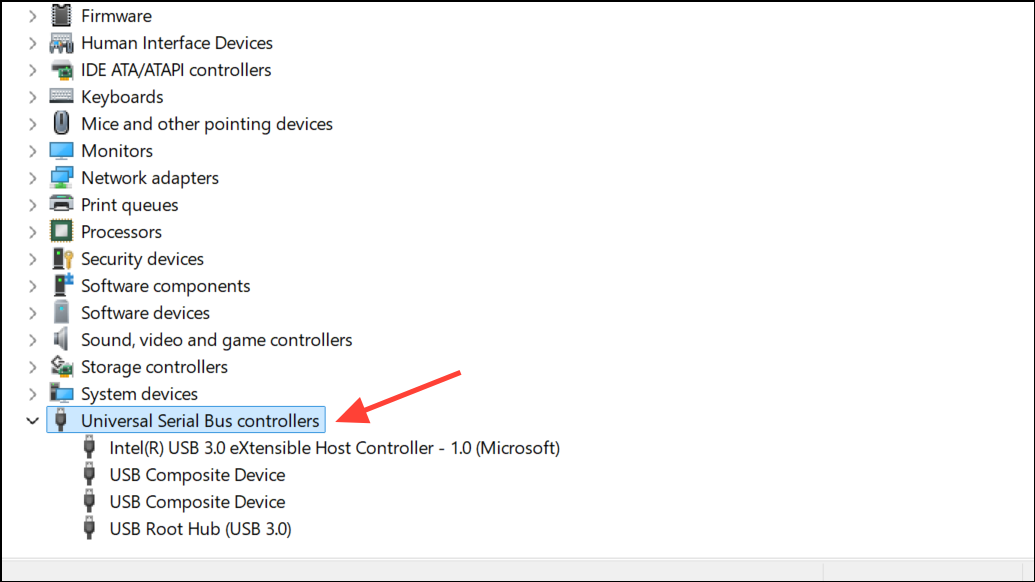
Step 2: Expand the Universal Serial Bus controllers section to view all USB-related devices.
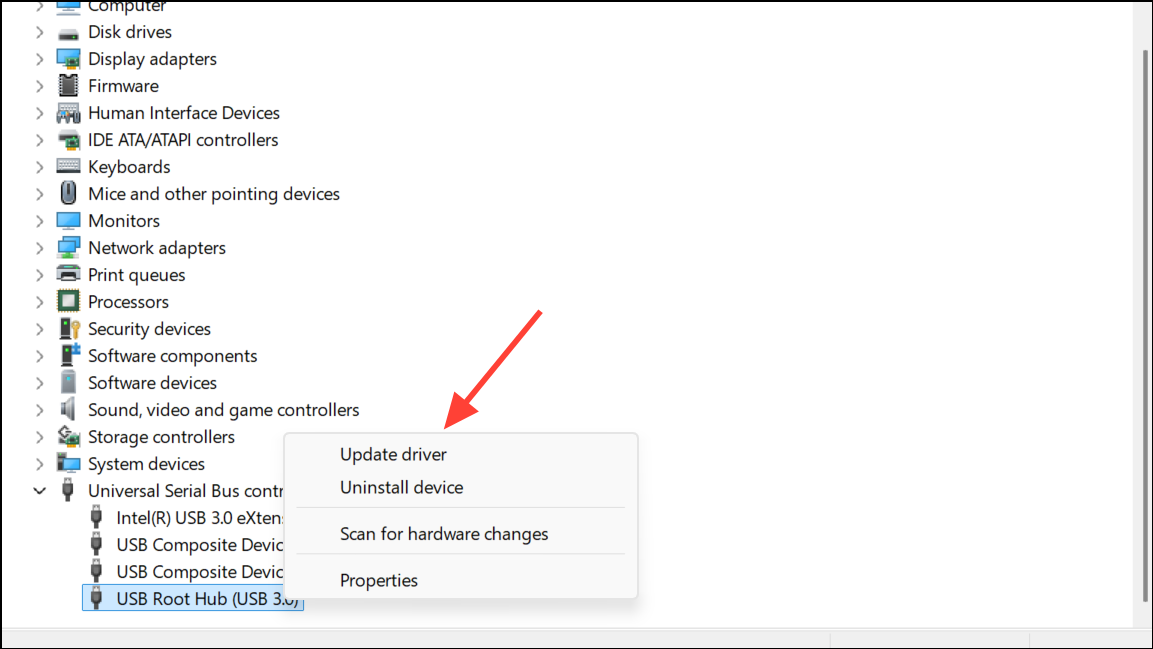
Step 3: Right-click each entry labeled as USB Root Hub, Host Controller, or any device with a warning icon. Select Update driver and choose Search automatically for drivers. Allow Windows to search for and install available updates.
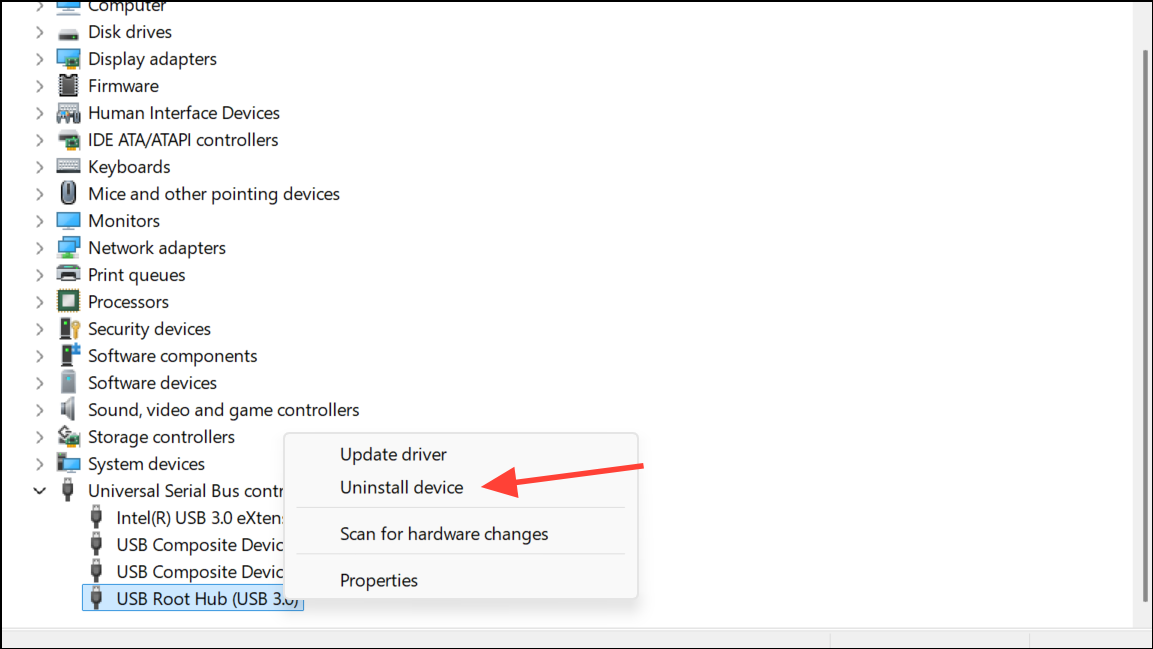
Step 4: If updating does not resolve the issue, right-click the problematic device and choose Uninstall device. After uninstalling, restart your computer; Windows will attempt to reinstall the correct driver automatically.
Step 5: For persistent issues, visit your computer or motherboard manufacturer's support website. Download and install the latest chipset and USB controller drivers specific to your model.
Adjust Power Management Settings
Windows 11 power-saving features can disable USB ports to reduce energy consumption, sometimes disconnecting devices unexpectedly. Adjusting these settings can keep your USB ports active and reliable.
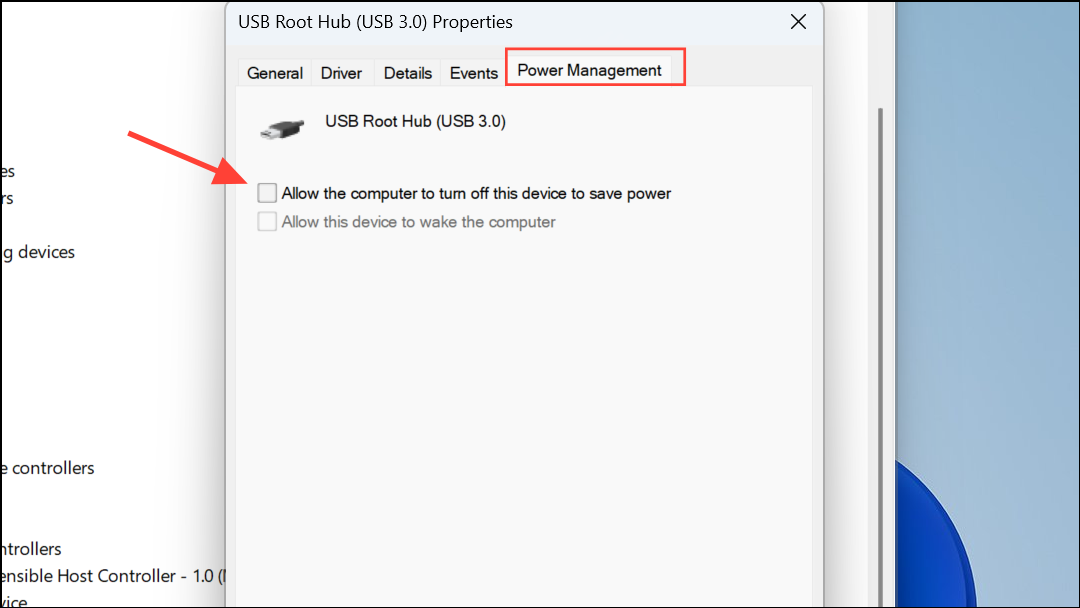
Step 1: In Device Manager, expand Universal Serial Bus controllers. Right-click each USB Root Hub and select Properties.

Step 2: Go to the Power Management tab. Uncheck Allow the computer to turn off this device to save power. Click OK and repeat for all USB Root Hubs.
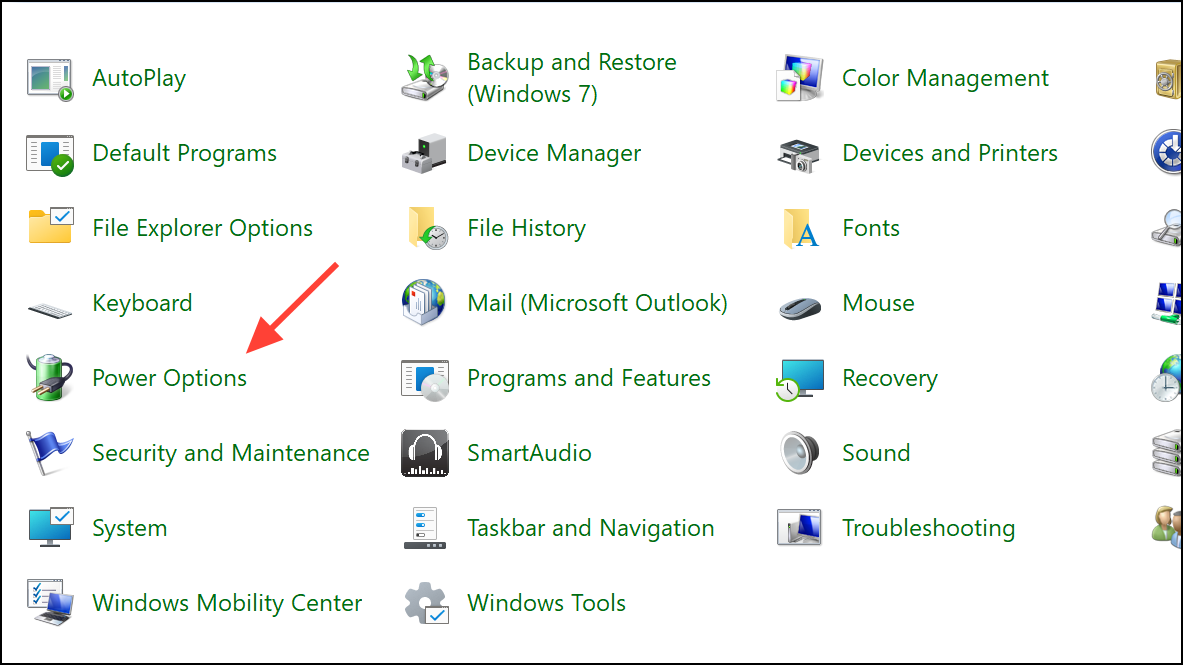
Step 3: Open Control Panel from the Start menu and click `Power Options.
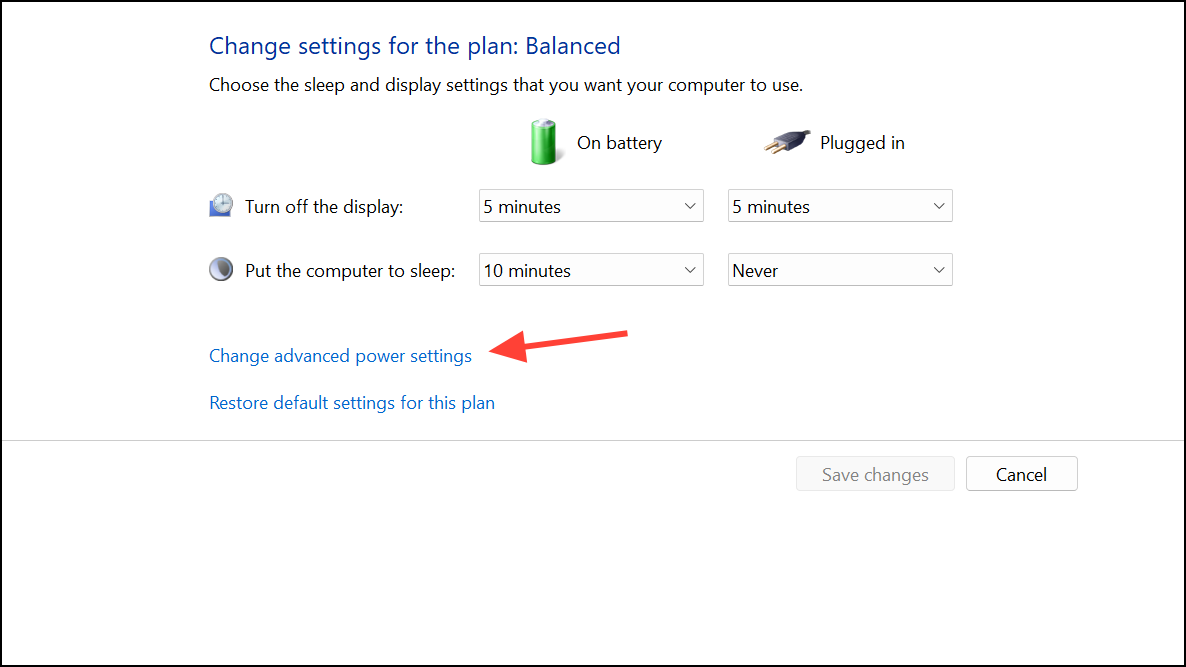
Step 4: Click Change plan settings and then select Change advanced power settings.
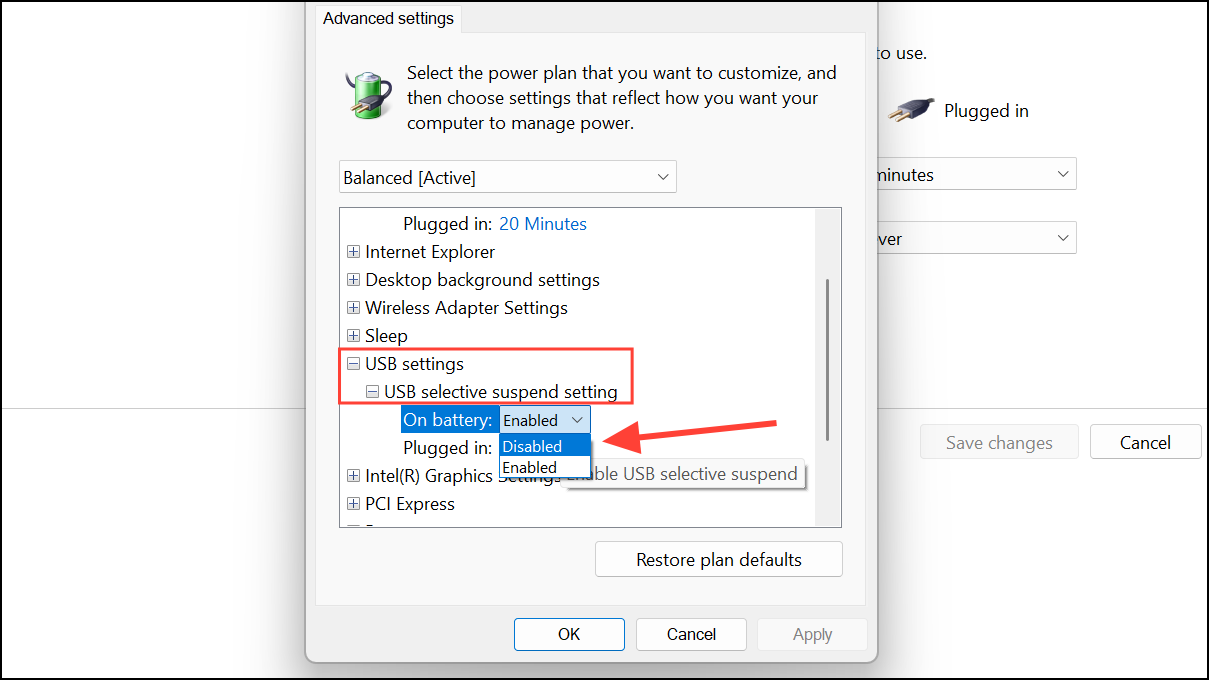
Step 5: In the dialogue box that appears, expand USB settings, and set USB selective suspend setting to Disabled.
Test and Switch USB Ports or Cables
Physical faults in ports or cables can prevent device recognition, even when drivers and settings are correct. Testing alternative hardware helps identify or rule out these issues.
Step 1: Disconnect the device from its current USB port and plug it into a different port on your computer. Use both front and rear ports if available.
Step 2: If the device still fails, try a different cable—especially for devices with detachable cords, like external drives or headphones. A faulty or low-quality cable often interrupts communication.
Step 3: Connect the USB device to another computer. If it works elsewhere, the problem likely lies with your original PC’s hardware or configuration.
Reset USB Controllers
Resetting USB controllers can clear residual errors and force Windows to reinitialize hardware connections.
Step 1: In Device Manager, expand Universal Serial Bus controllers. Right-click each USB Root Hub, Host Controller, or Hub and select Uninstall device for each one.
Step 2: Restart your computer. Windows will detect the missing controllers and reinstall them automatically, potentially clearing the error state.
Scan for Malware or System Corruption
Malware or corrupted system files can disrupt device detection and USB operations. Running built-in diagnostic tools can repair these issues.
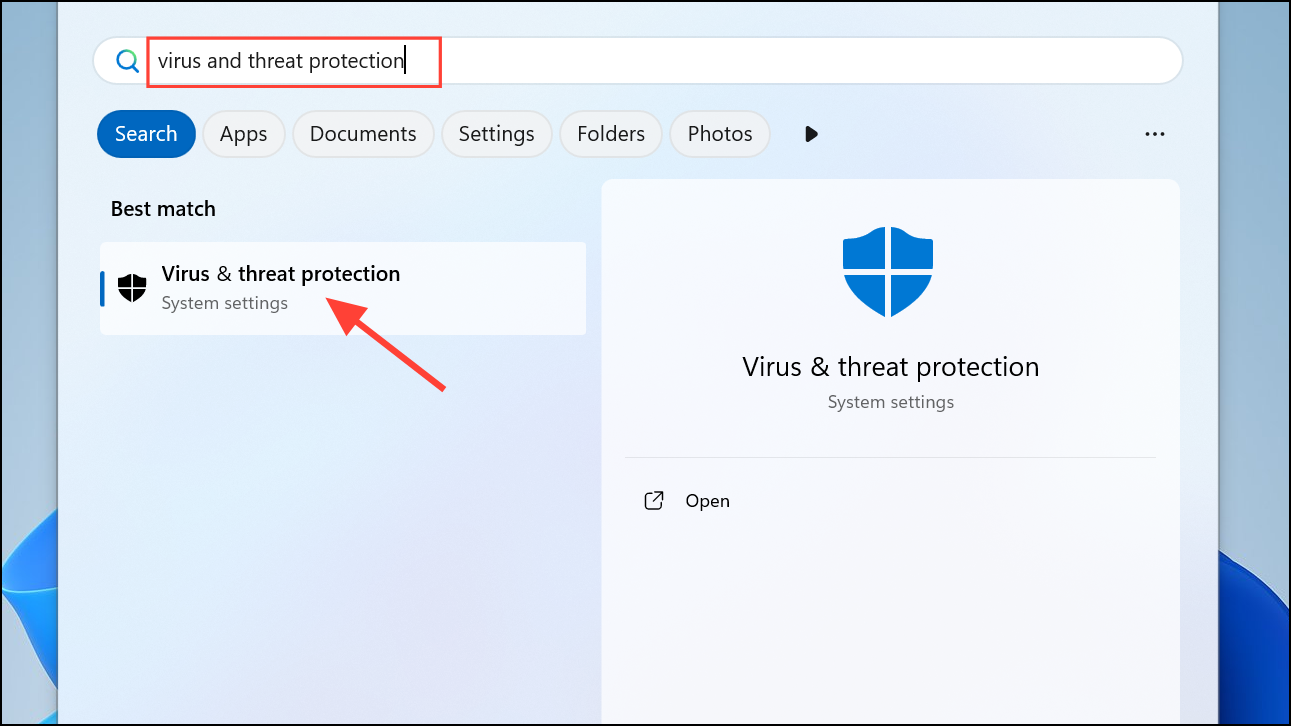
Step 1: Open the Start menu, type Virus & threat protection, and launch the Windows Security app.
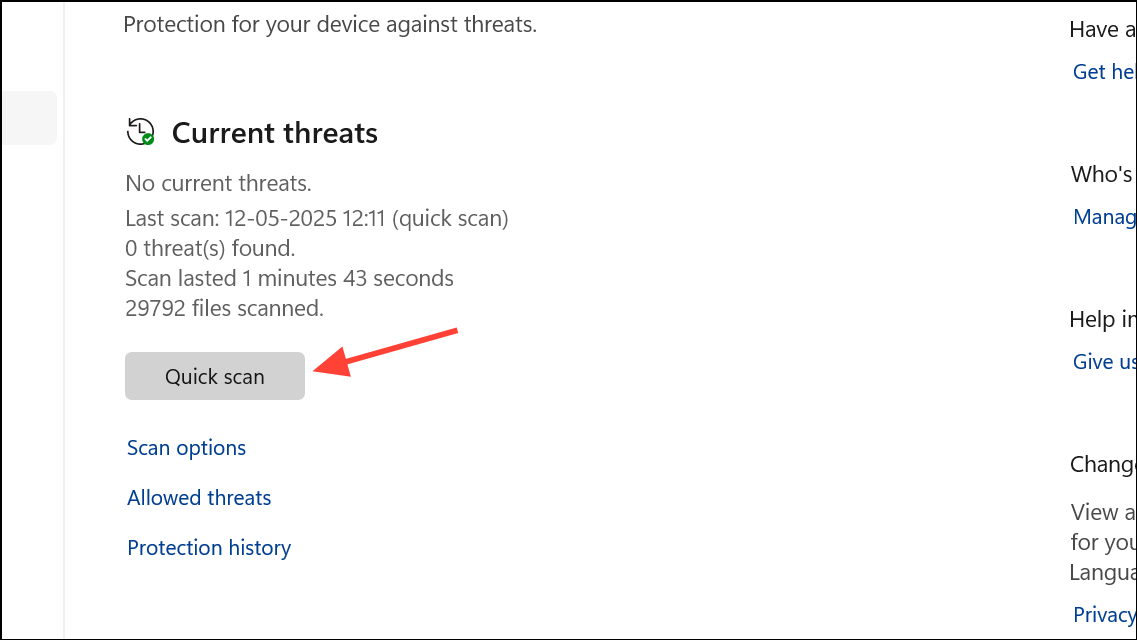
Step 2: Click Quick scan to check for malware.
Step 3: For system file repairs, open Command Prompt as administrator and run:
sfc /scannow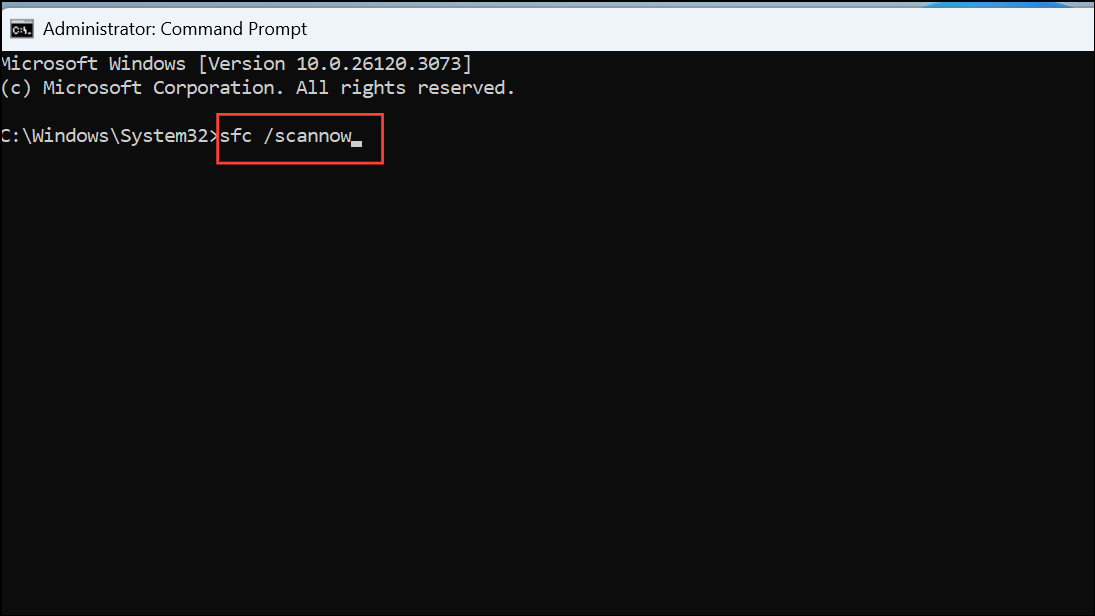
Wait for the scan to complete and follow any repair prompts.
Step 4: If issues persist, run the Deployment Imaging Service and Management Tool (DISM) with:
DISM /Online /Cleanup-Image /RestoreHealth
This command checks for deeper system corruption and attempts to restore damaged files.
Use System Restore or Repair Install
If USB recognition stopped after a recent update or software installation, restoring your system to an earlier state can reverse the issue. For persistent failures, a repair install refreshes Windows 11 while preserving your files and apps.
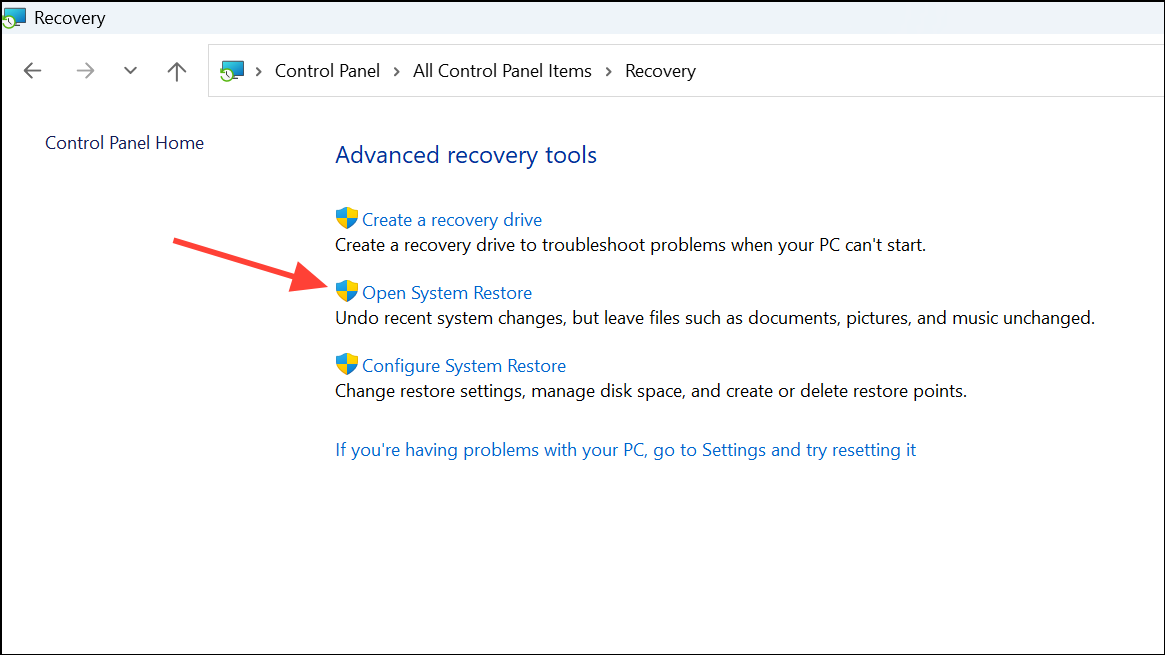
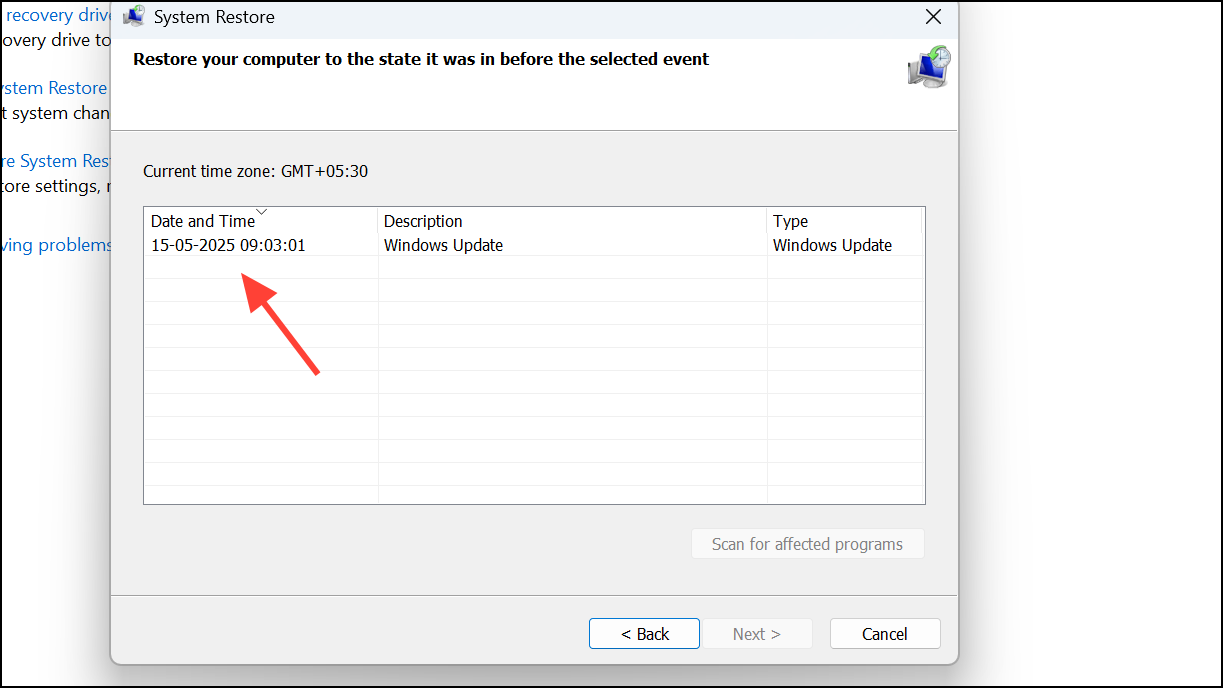
Step 1: Open Control Panel and go to Recovery, then select Open System Restore.
Step 2: Choose a restore point from before the problem started and follow the prompts.
Step 3: If System Restore is unavailable or ineffective, back up important files. Download the Windows 11 Media Creation Tool from Microsoft’s website, create installation media, and launch the setup. Choose the option to keep your files and apps during the repair install.
Check BIOS and Hardware Issues
Incorrect BIOS settings or hardware faults can block USB device access. Verifying BIOS options and testing hardware isolates these scenarios.
Step 1: Restart your computer and enter the BIOS or UEFI firmware interface (usually by pressing F2, DEL, or ESC during boot). Confirm that USB ports are enabled and not restricted by security settings.
Step 2: If USB devices remain unrecognized after all software fixes, consider hardware inspection. Test the device on another system or consult a technician to assess possible motherboard or port failures.
Resolving USB device recognition errors in Windows 11 often comes down to updating drivers, adjusting system settings, and methodically ruling out hardware faults. With these steps, most users regain steady access to their USB devices and avoid recurring disruptions.