
A Windows 11 update can get stuck during the download or installation phase due to corrupted temporary files or issues with the update services themselves. The most direct way to resolve this is by manually resetting the components responsible for managing updates, which clears out old data and allows the process to start fresh.
Reset Windows Update Components
This method involves using the command line to stop the services related to Windows Update, renaming the folders where update files are stored, and then restarting the services. This forces Windows to recreate the necessary folders and redownload the update files, resolving most corruption-related issues.
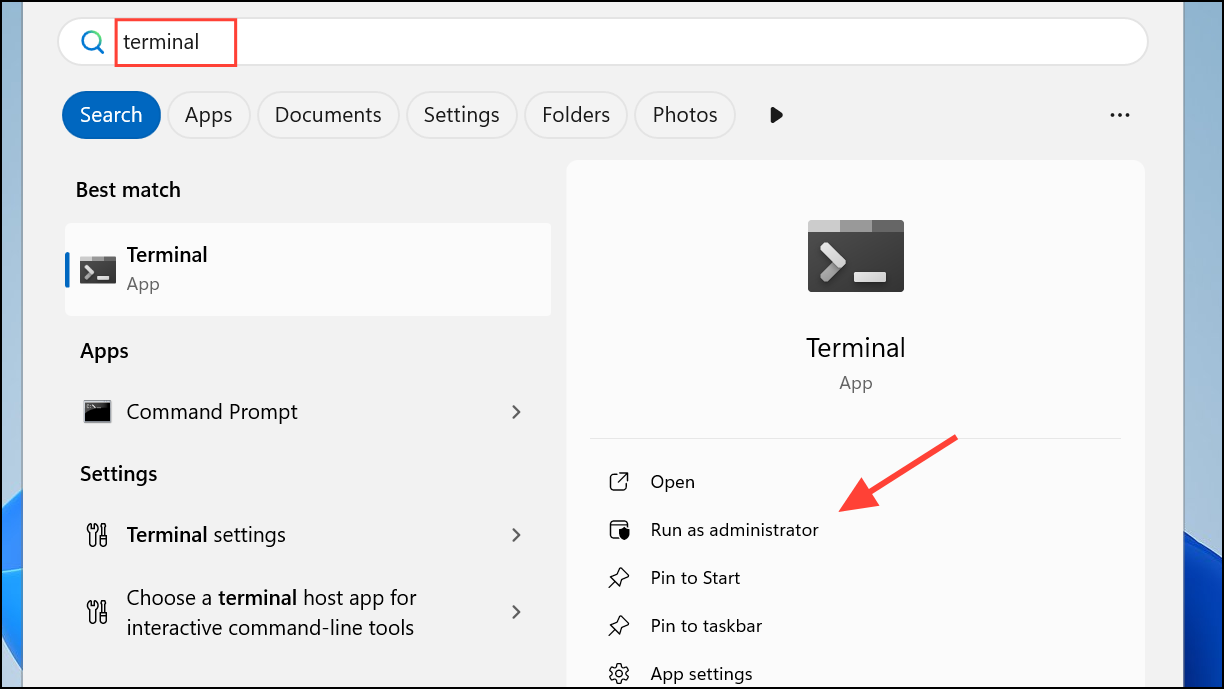
Step 1: Open the Start menu, type Terminal, right-click the result, and select "Run as administrator." If you see Command Prompt or PowerShell, you can use those as well, as long as they are run with administrative privileges.
Step 2: In the Terminal window, you need to stop the essential update services. Type each of the following commands one by one, pressing Enter after each command. These services include the Windows Update Service (wuauserv), Cryptographic Services (cryptSvc), Background Intelligent Transfer Service (bits), and the Windows Installer (msiserver).
net stop wuauserv
net stop cryptSvc
net stop bits
net stop msiserver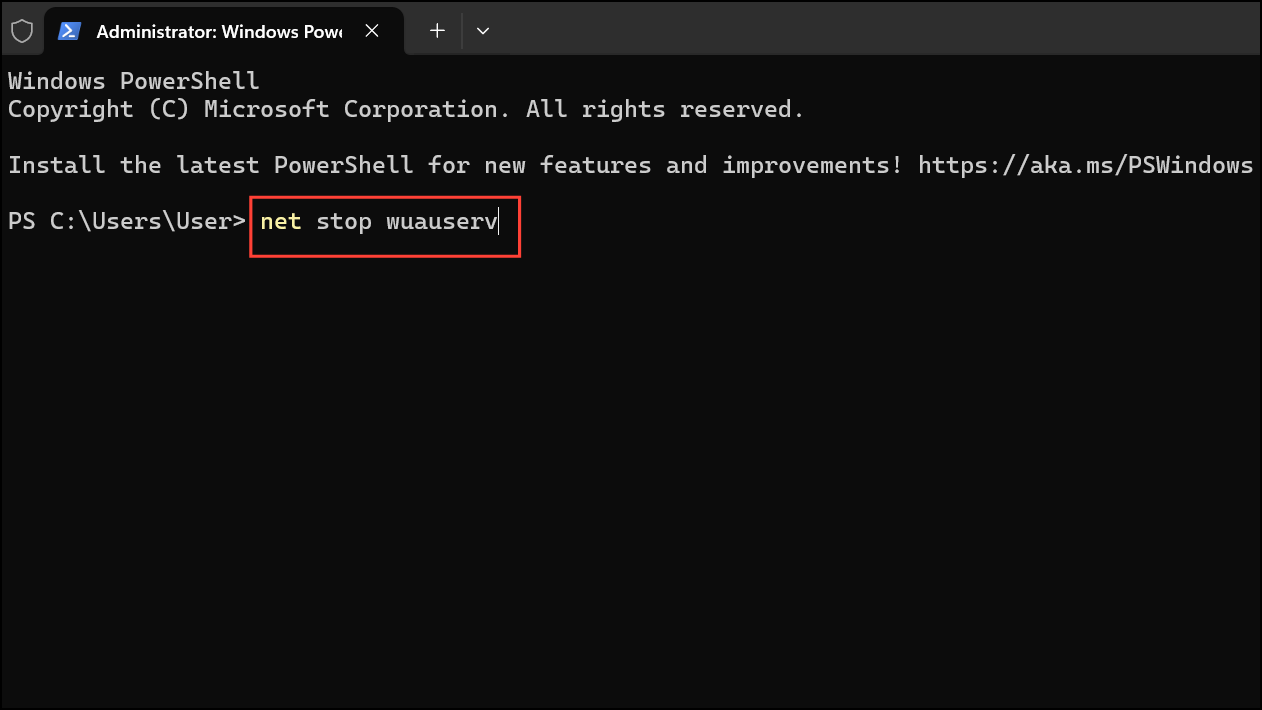
Step 3: Next, rename the folders that store the update files. This effectively archives the old, potentially corrupt data and forces Windows to create new ones. Enter the following commands, pressing Enter after each one. The SoftwareDistribution folder stores temporary update files, while catroot2 stores the signatures of the update packages.
ren C:\Windows\SoftwareDistribution SoftwareDistribution.old
ren C:\Windows\System32\catroot2 Catroot2.old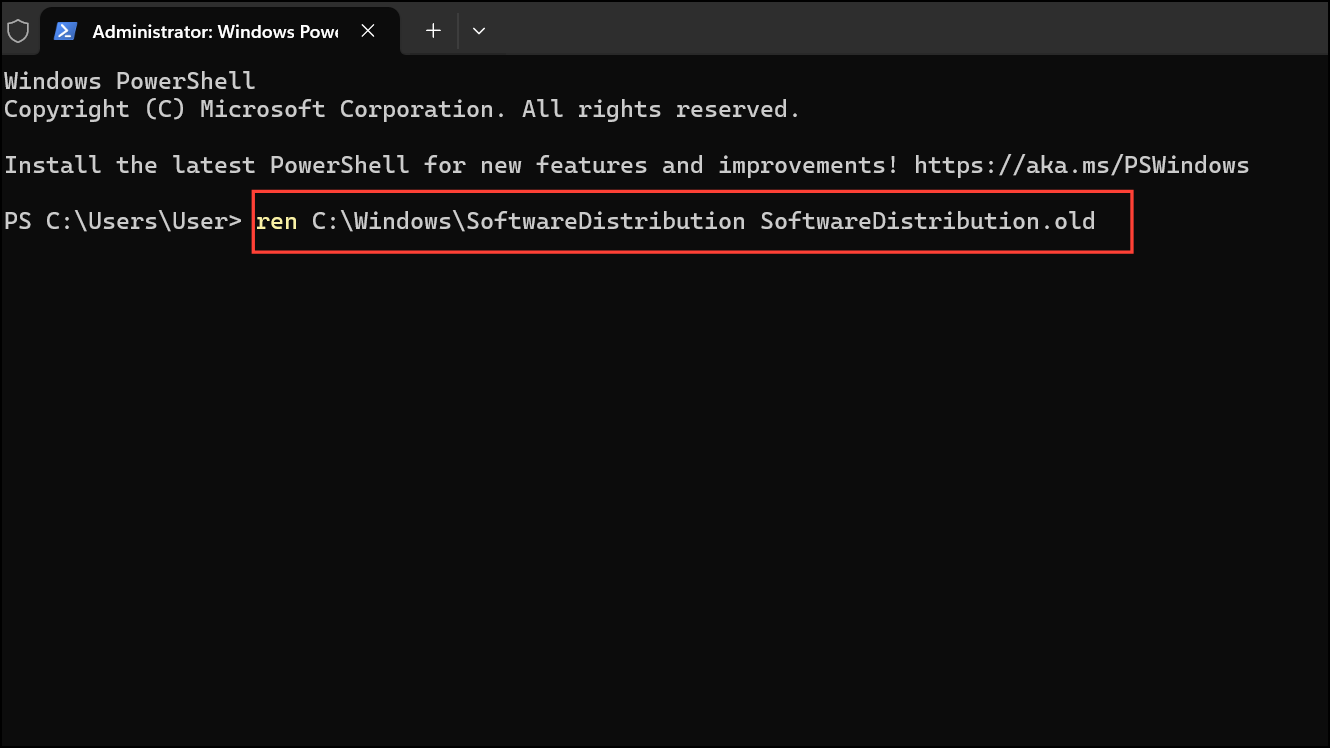
Step 4: With the folders renamed, restart the services you previously stopped. Type each of these commands and press Enter after each one to get the update system running again.
net start wuauserv
net start cryptSvc
net start bits
net start msiserver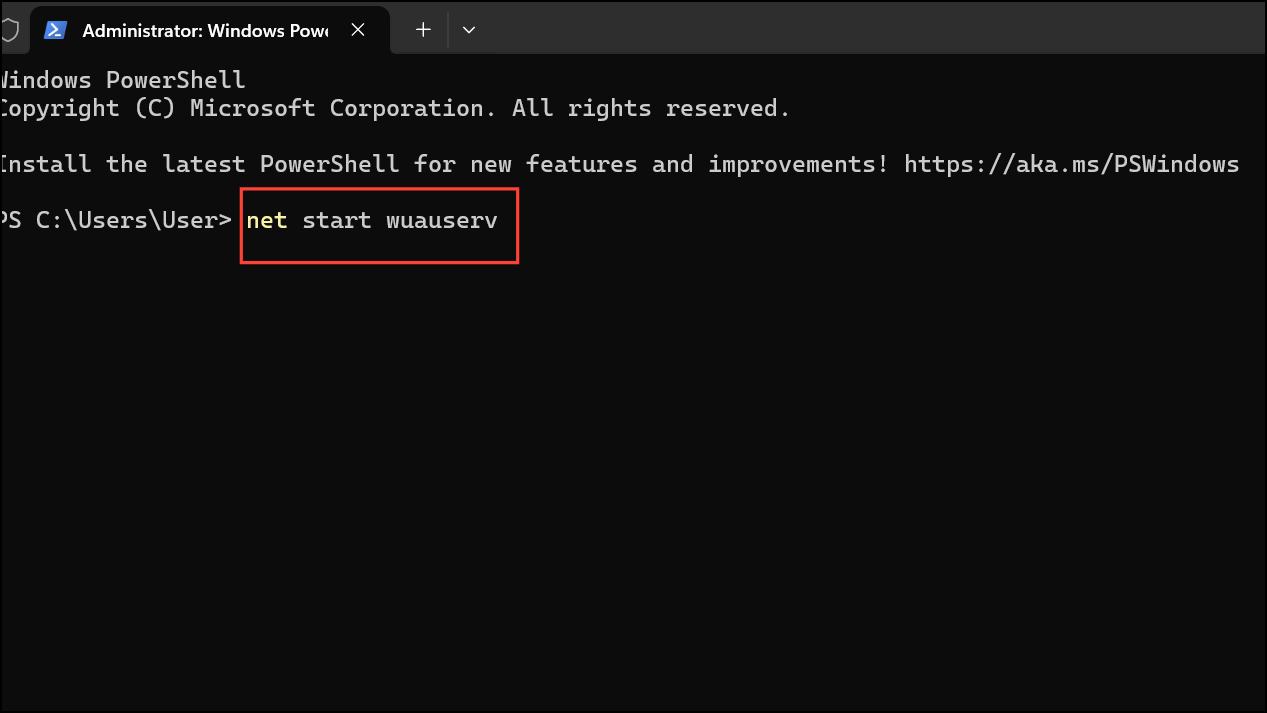
Step 5: Close the Terminal window and restart your computer. Once your PC is back on, navigate to Settings > Windows Update and click "Check for updates" to try the download again.
Run the Windows Update Troubleshooter
If you prefer a less manual approach, Windows 11 has a built-in troubleshooter designed to automatically diagnose and fix common update problems. It checks for issues with services, file integrity, and network connections.
Step 1: Open the Settings app by pressing Windows Key + I or finding it in your Start menu.
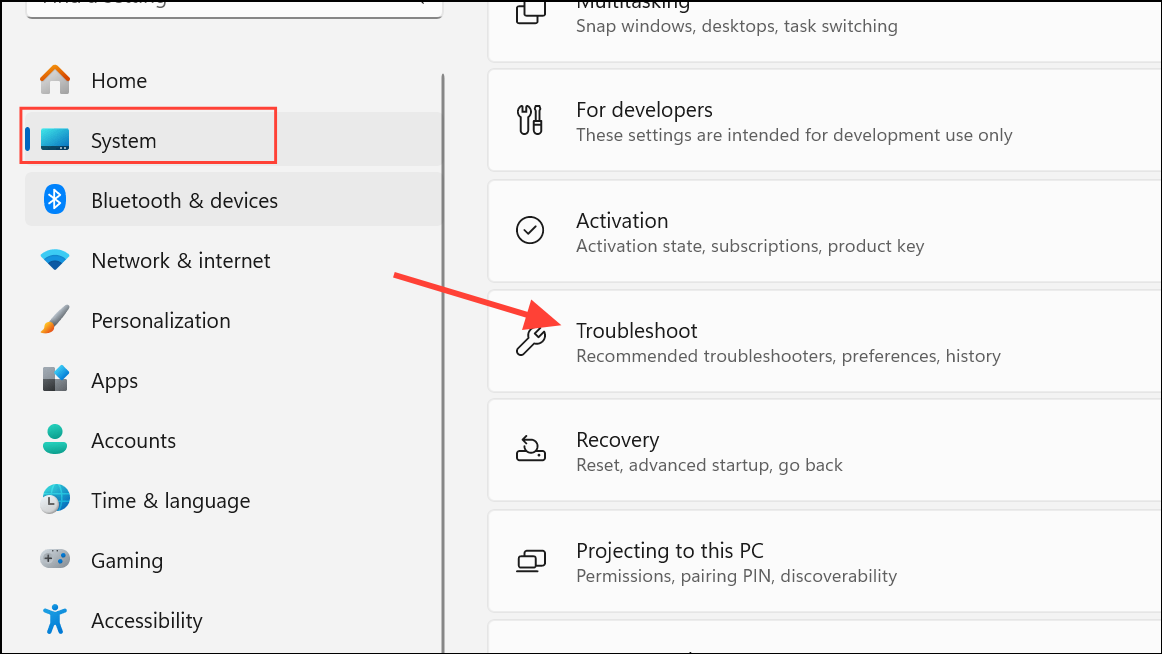
Step 2: In the left-hand pane, select the "System" tab. On the right, scroll down and click on "Troubleshoot."
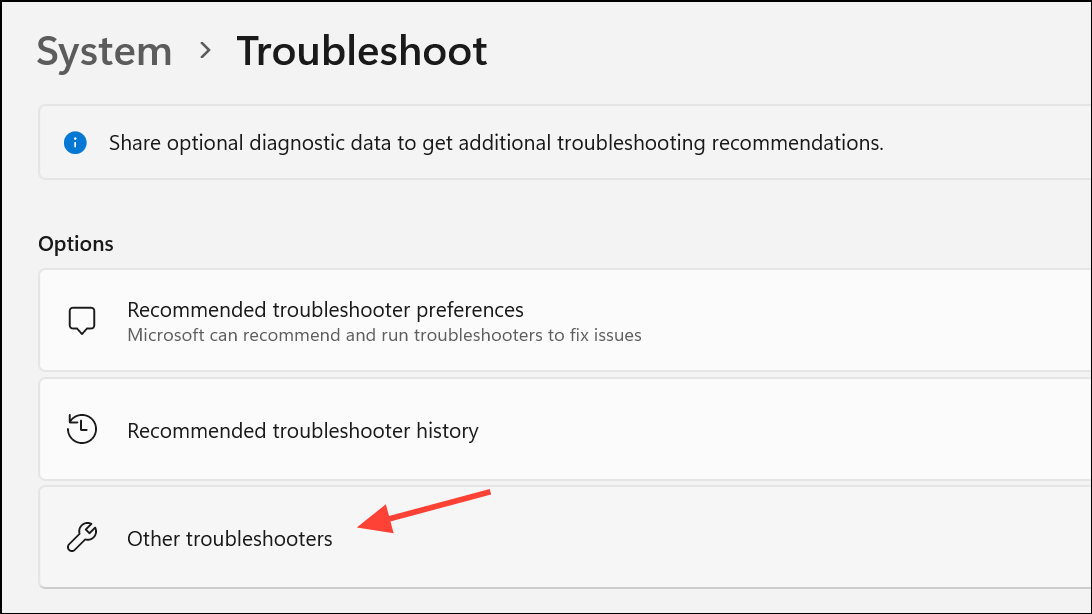
Step 3: Click on "Other troubleshooters." This will display a list of available diagnostic tools for various system components.
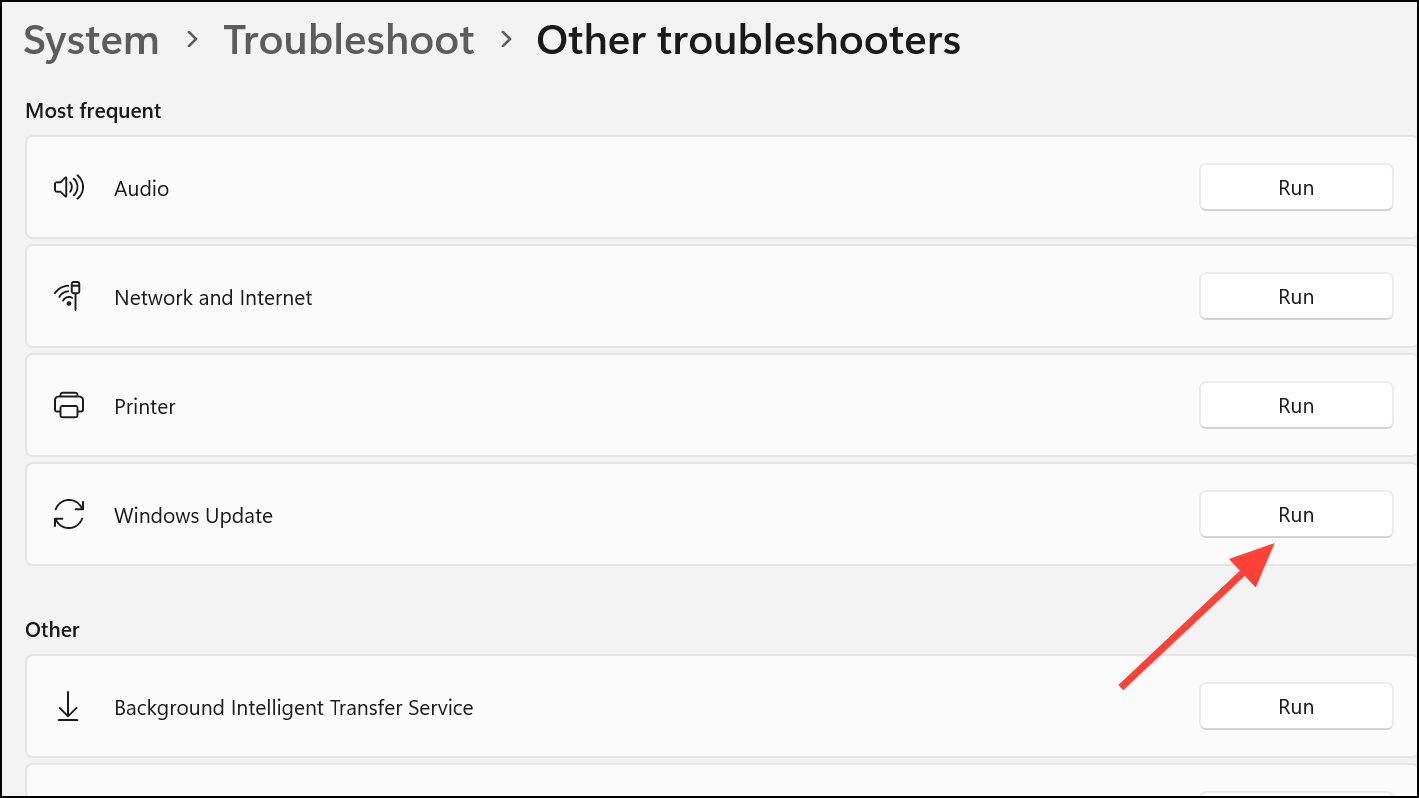
Step 4: Find "Windows Update" in the list and click the "Run" button next to it. The troubleshooter will begin scanning your system for problems. Follow any on-screen instructions it provides to apply fixes. Once it completes, try running the update again.
Scan and Repair System Files
Sometimes, the problem isn't with the update files but with the core Windows operating system files. Damaged or corrupt system files can interfere with the update process. Windows provides two powerful command-line tools, System File Checker (SFC) and Deployment Imaging Service and Management Tool (DISM), to find and repair these issues.
Step 1: Open Terminal with administrative privileges, as described in the first method.
Step 2: First, run the DISM tool to ensure the component store health, which SFC uses for repairs. Type the following command and press Enter. This scan may take several minutes.
DISM.exe /Online /Cleanup-image /Scanhealth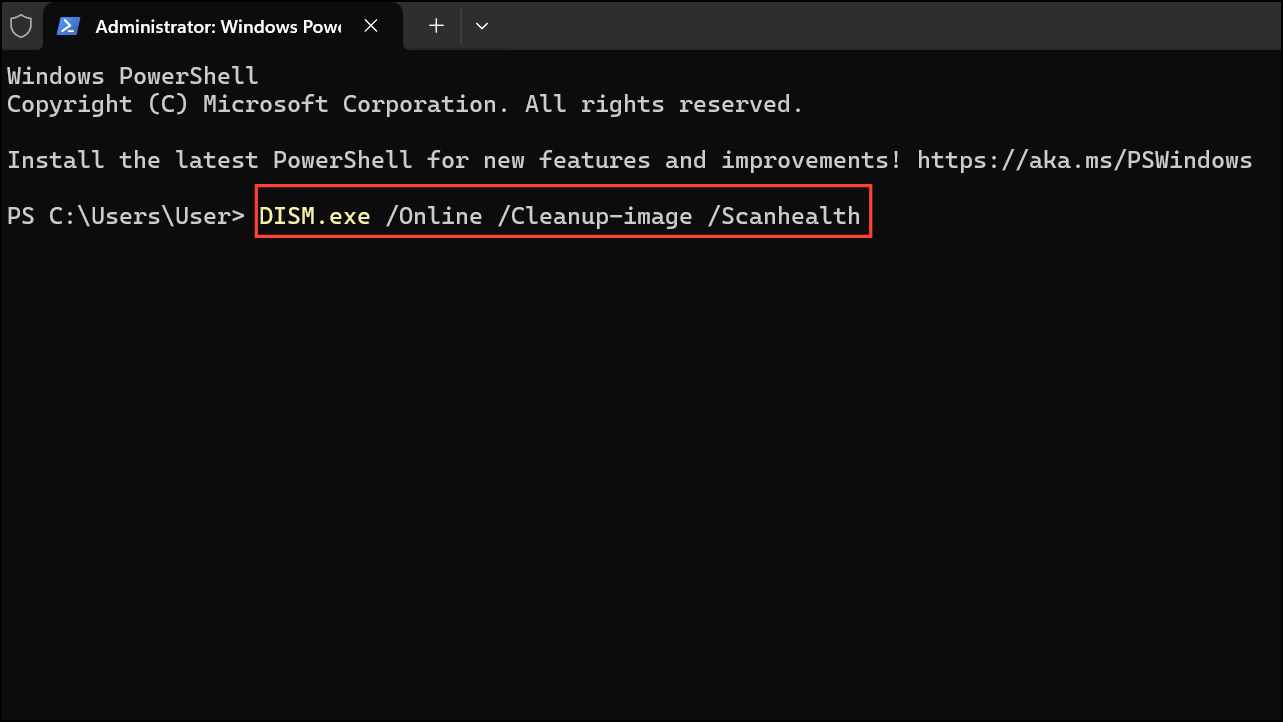
Step 3: After the DISM scan is complete, run the System File Checker. This tool will scan all protected system files and replace any corrupted ones with a cached copy. Type the command below and press Enter.
sfc /scannow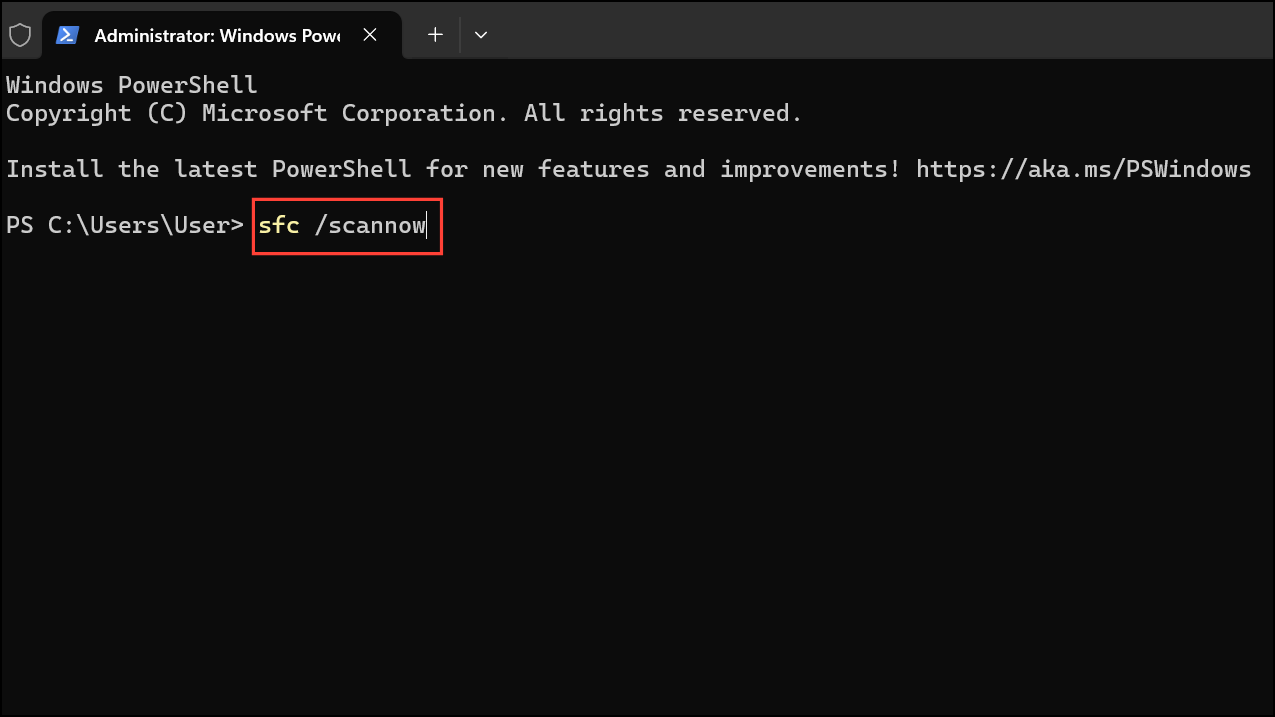
Step 4: Wait for the verification process to reach 100%. Once both scans are finished, restart your PC and check for updates again.
Free Up Disk Space
Windows updates, especially major ones, require a significant amount of free storage space to download and unpack files. If your primary drive is nearly full, the update process can stall or fail without a clear error message.
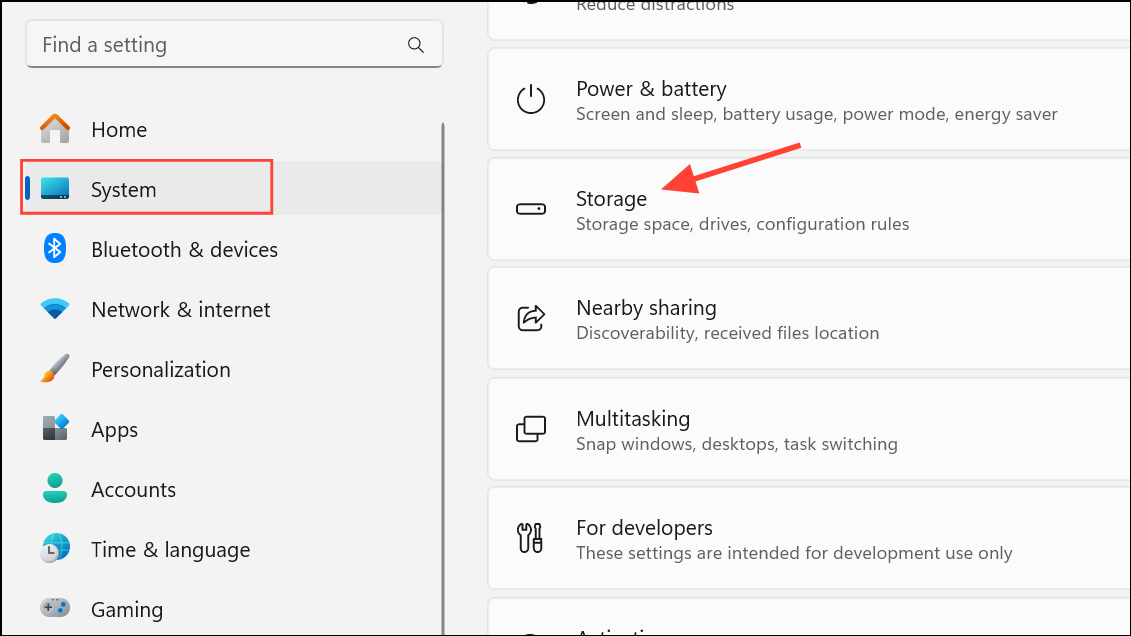
Step 1: Open Settings and navigate to System > Storage.
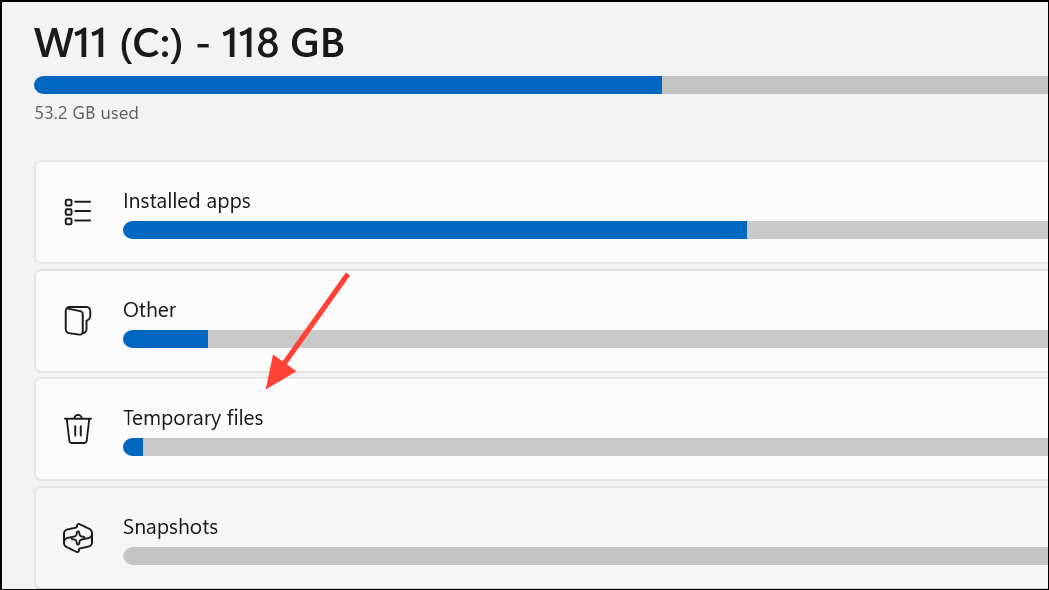
Step 2: Wait for your system to calculate storage usage. Click on "Temporary files."
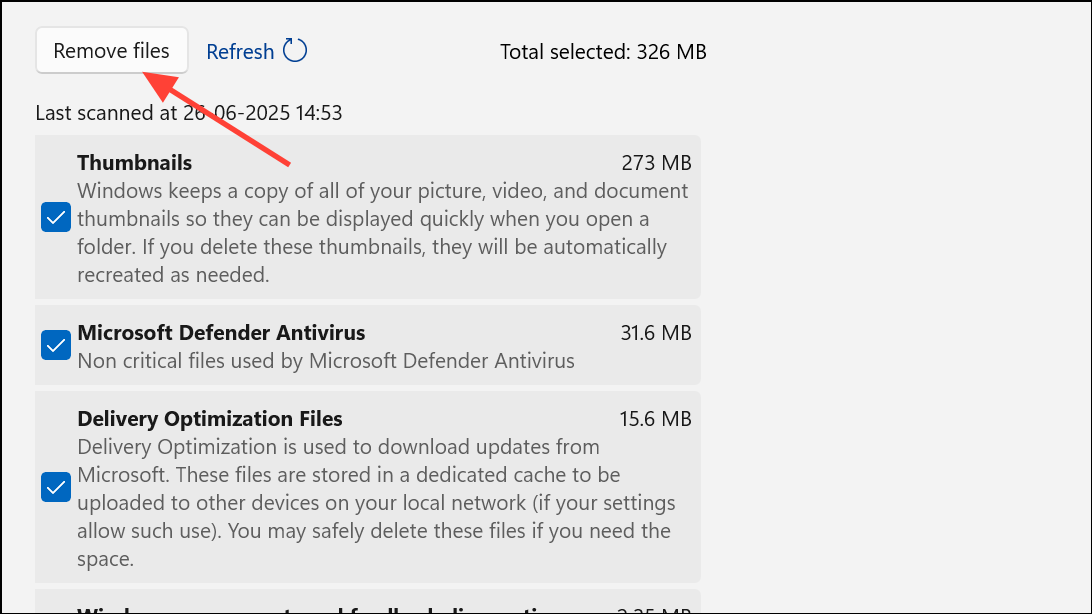
Step 3: Review the list of files that can be removed. You can safely check most boxes, such as "Thumbnails," "Windows update cleanup," and "Temporary Internet Files." Be cautious with the "Downloads" folder, as this will delete all files in your user Downloads folder. Uncheck it if you have important files there.
Step 4: Click the "Remove files" button at the top to clear the selected data. After freeing up space, try the Windows Update process again.
Restart Your Computer
While it may seem overly simple, a basic restart can often resolve temporary glitches or processes that are hanging in the background. Sometimes, a previous update requires a reboot to finalize its installation before a new one can begin. If your update has been stuck for a while, a clean restart is a quick and easy troubleshooting step before moving on to more complex solutions.
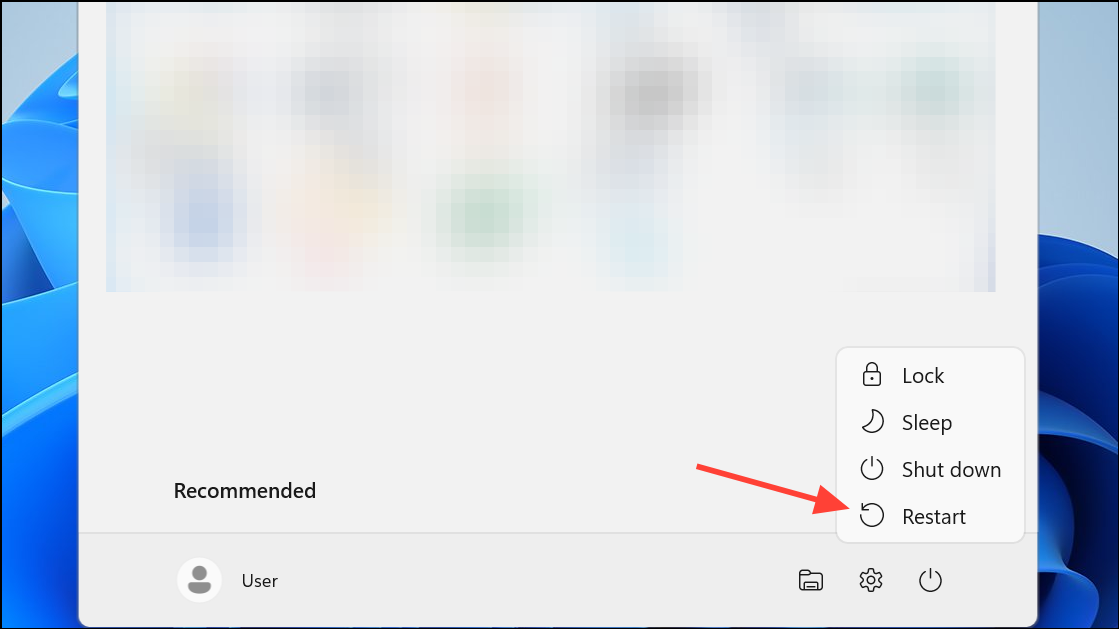
Step 1: Go to the Start menu, click the Power icon, and select "Restart."
Step 2: If the system is unresponsive or the update screen prevents access to the Start menu, press and hold the physical power button on your computer until it shuts down completely. Wait about 30 seconds before turning it back on.
Manually Install the Update Using an ISO
If the Windows Update service continues to fail, you can bypass it entirely by downloading the latest version of Windows 11 as an ISO file and performing an in-place upgrade. This process reinstalls Windows over your existing installation, keeping your files and applications intact while applying the latest updates.
Step 1: Go to the official Microsoft Windows 11 download page.
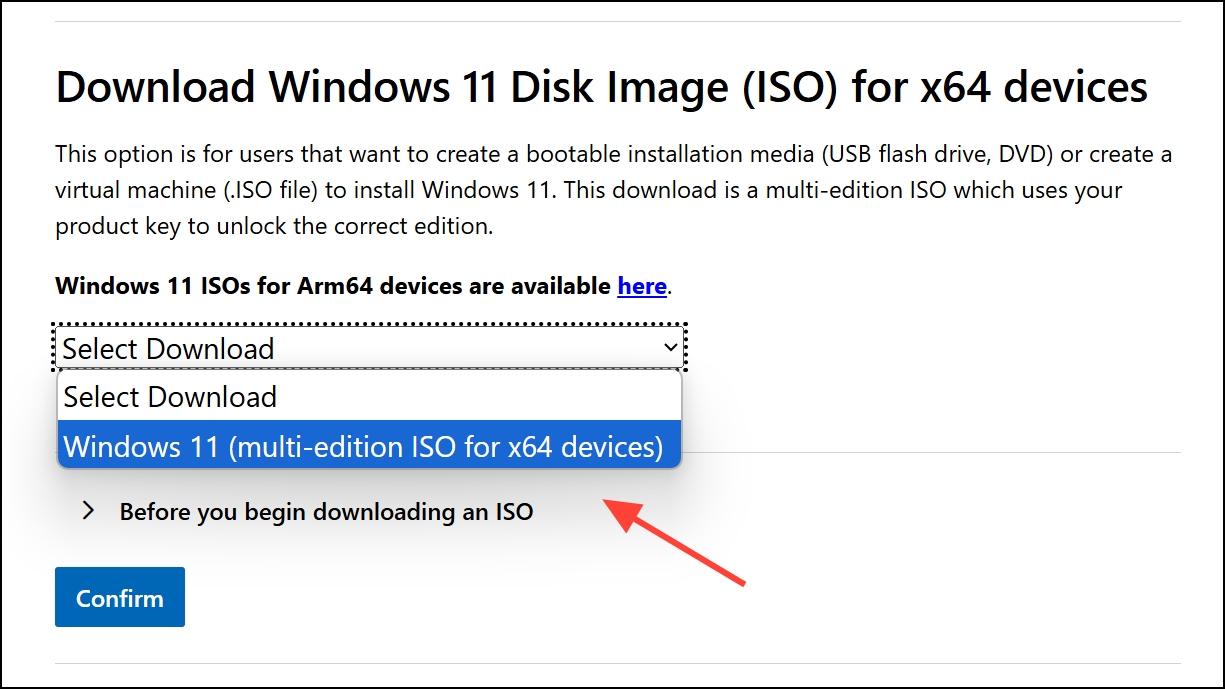
Step 2: Under the "Download Windows 11 Disk Image (ISO)" section, select "Windows 11 (multi-edition ISO)" from the dropdown menu and click "Confirm."
Step 3: Once the ISO file is downloaded, right-click it and select "Mount." This will create a virtual DVD drive in File Explorer.
Step 4: Open the new virtual drive and double-click the `setup.exe` file to launch the installer. When prompted, choose to "Keep personal files and apps." Follow the on-screen instructions to complete the installation. This will upgrade your system to the latest version, effectively resolving the stuck update.
With these methods, you should be able to get your Windows updates running smoothly again, ensuring your PC remains secure and up-to-date.