The Luna VII rotation of Stygian Onslaught runs from May 27 to June 30, 2026, and pits you against three bosses: the Battle-Hardened Glacial Wolf, the Hydro Tulpa, and The Open-Eyed. Each one locks behind a specific mechanic, so raw damage alone will not clear the higher difficulties. The teams that work are built around the exact elements and reactions each fight demands.
From Menacing (Difficulty 4) and up, you cannot reuse the same character across different battlefields, so plan your roster across all three stages before you commit. The first 10 days also include the Disturbance Outbreak window, which ends June 6, 2026, and lets you spend Resin to farm artifacts from Difficulty 3 or higher.
Battlefield 1: Battle-Hardened Glacial Wolf teams
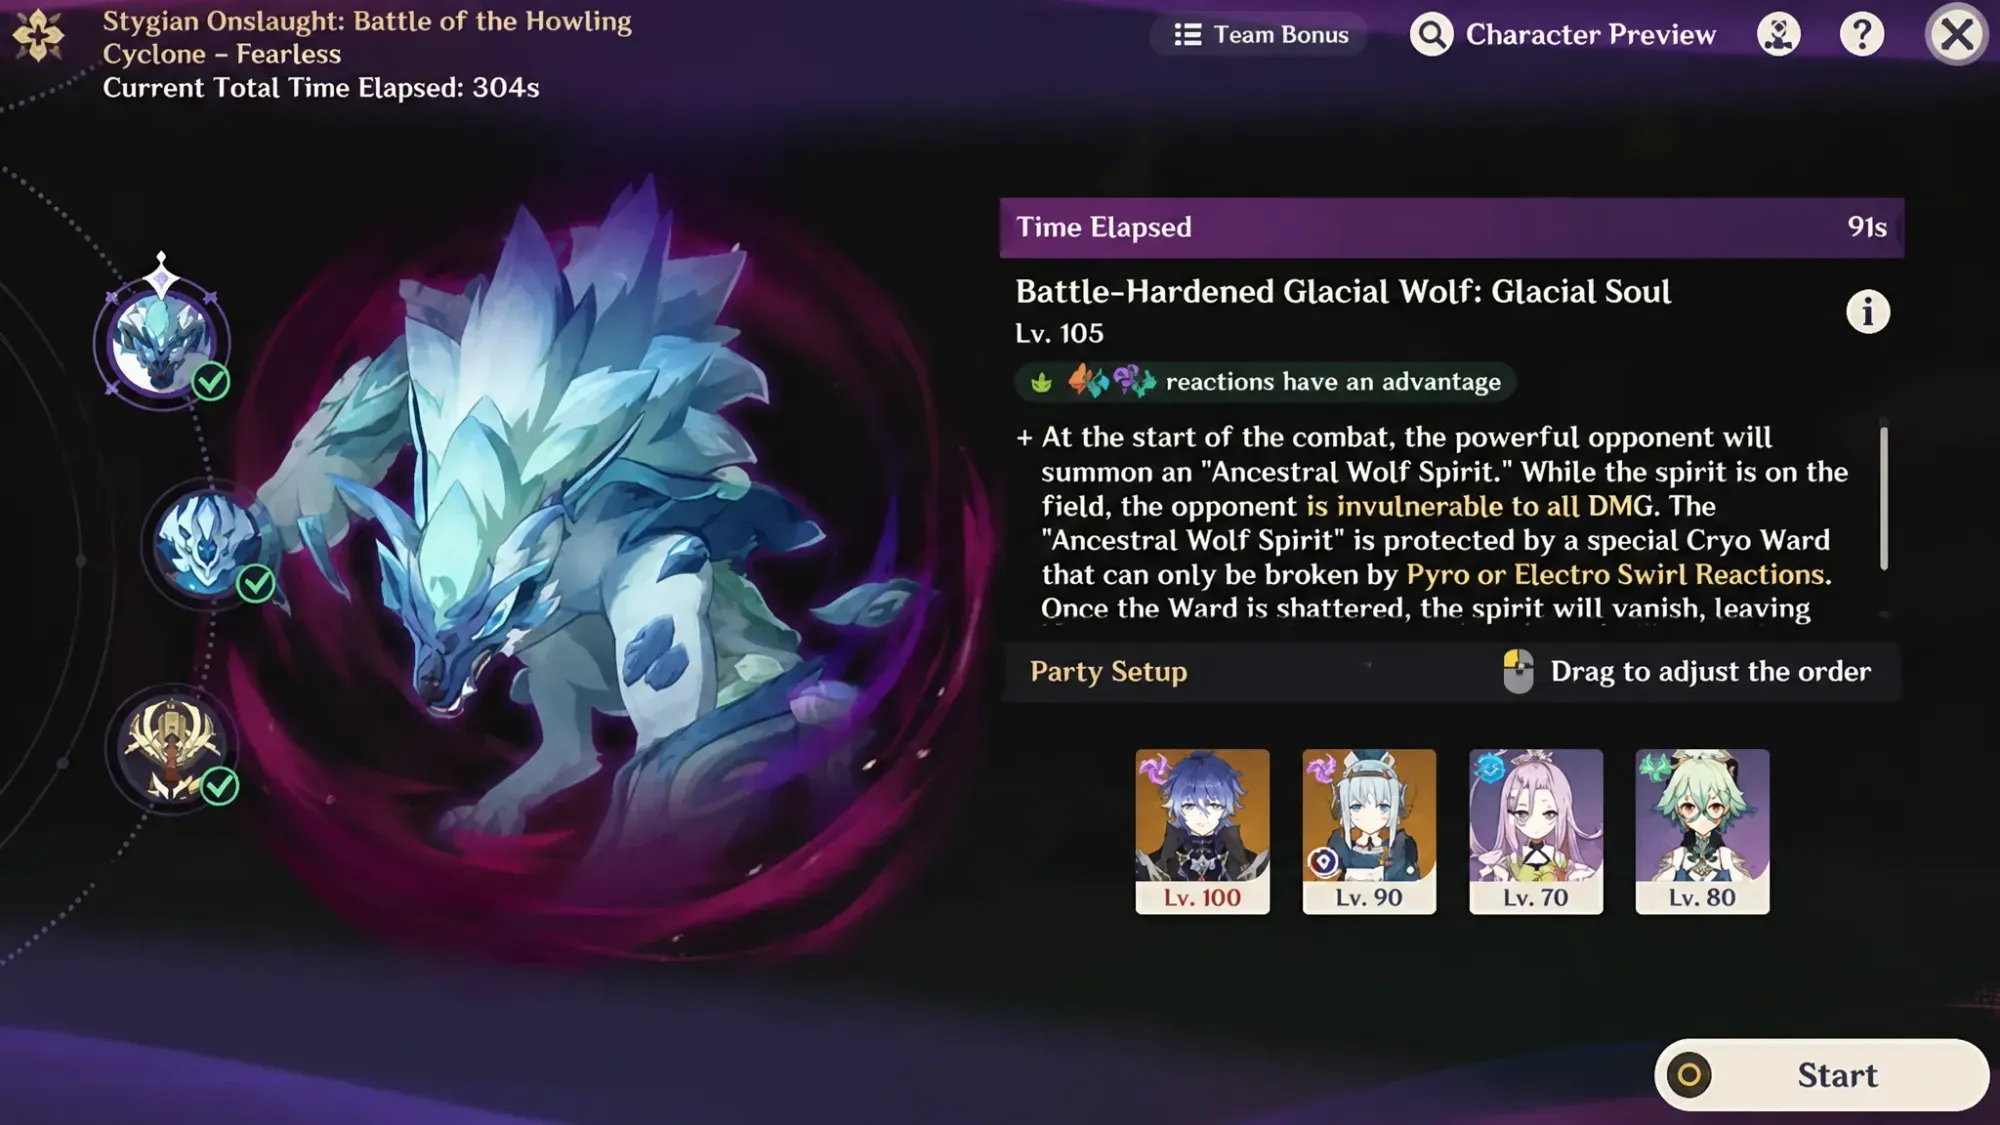
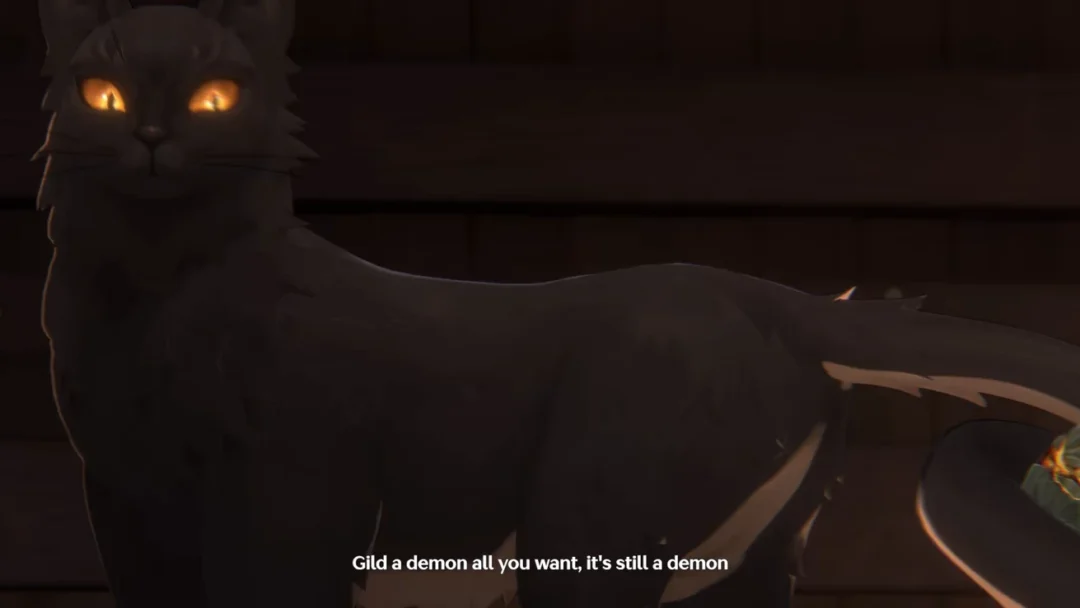
This fight copies the Nod-Krai Glacial Wolf Local Legend. At the start of combat the wolf summons an Ancestral Wolf Spirit, and while that spirit is alive the boss takes greatly reduced damage. On Fearless and above, the boss is fully invulnerable until the spirit is gone.
The spirit is protected by a Cryo Ward that only breaks from Pyro or Electro Swirl reactions. Regular Pyro or Electro hits do nothing to it. You must run an Anemo unit that swirls Pyro or Electro onto the spirit to chip the ward. Once it shatters, the spirit vanishes, the boss is paralyzed, and it eats backlash damage. Leaning into Pyro increases the chunk of HP the wolf loses from that backlash.
The structure every team needs here is simple: one Anemo for the Swirl, plus a Pyro or Electro applicator to feed the reaction.
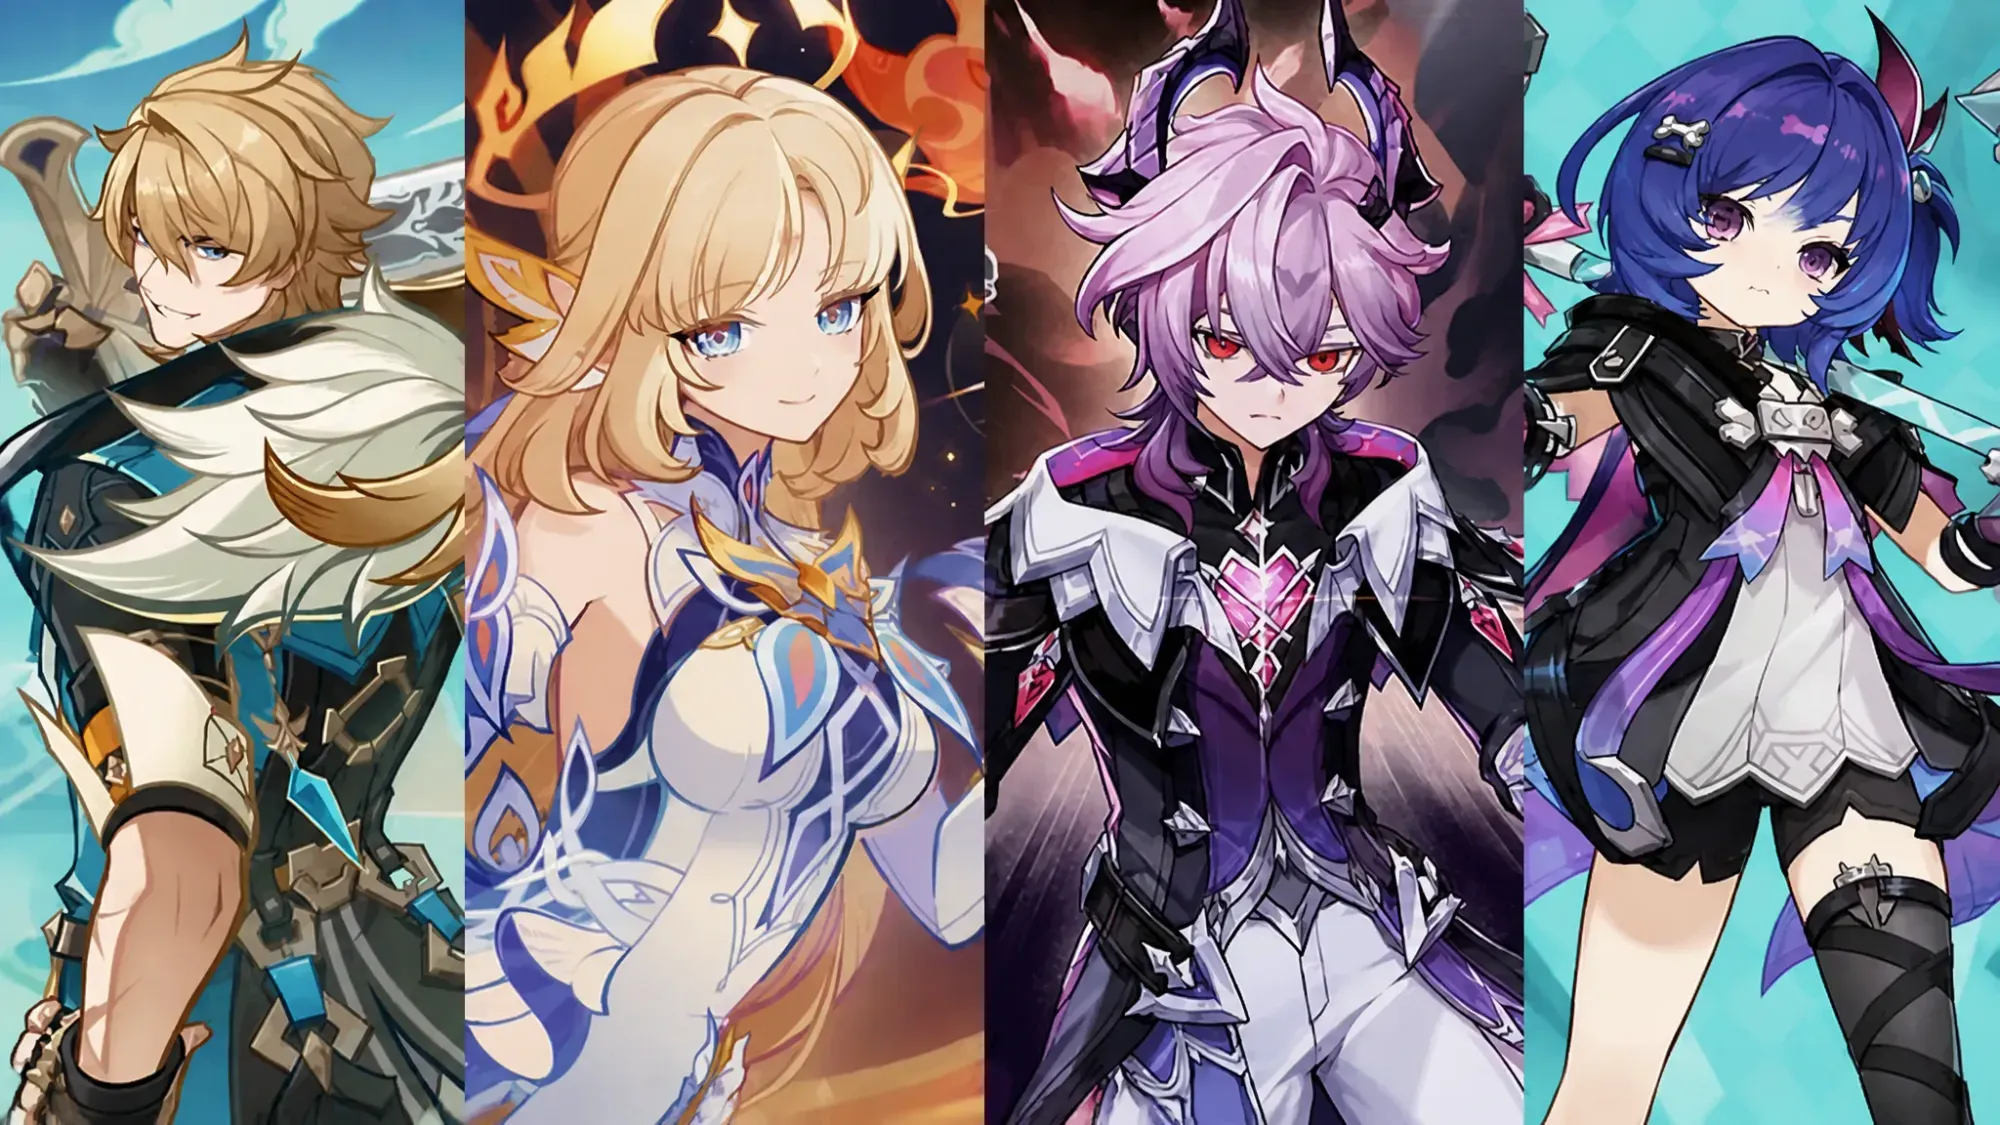
Varka’s premium lineup is the cleanest answer. Durin’s off-field Pyro makes the Swirl trivial, and once the ward drops you funnel everything into Varka. A Chasca Overload team is the next-best option since it provides both Pyro and Electro to swirl. Electro hypercarries like Flins and Varesa work too, as long as you slot a strong Anemo such as Sucrose or Kazuha to handle the spirit.
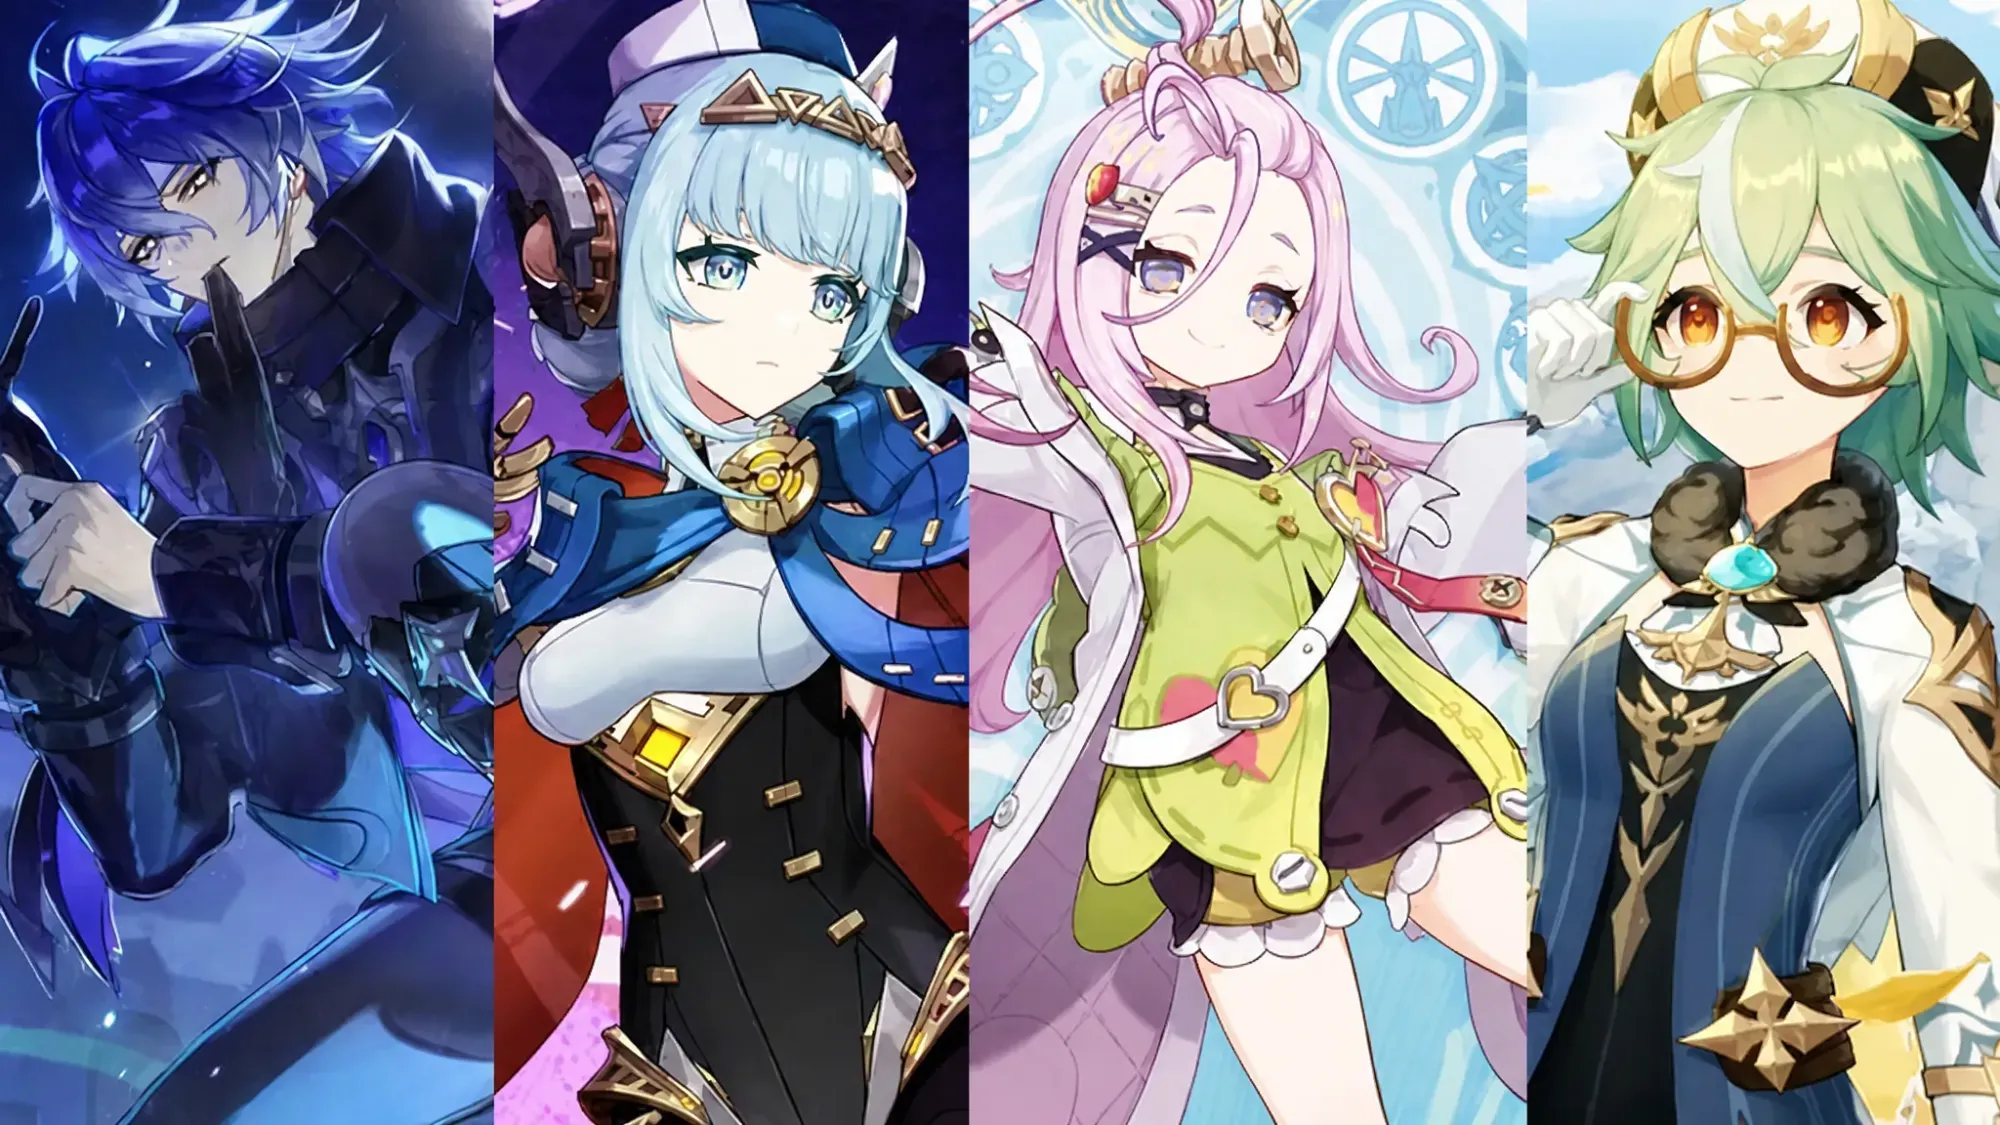
| Team | Members | Reaction |
|---|---|---|
| Varka Premium | Varka / Durin / Nicole / Prune | Pyro Swirl |
| Varka (alt) | Varka / Durin / Bennett / Venti | Pyro Swirl |
| Flins Lunar-Charged | Flins / Ineffa / Aino / Sucrose | Electro Swirl |
| Chasca Overload | Chasca / Chevreuse / Bennett / Iansan | Pyro/Electro Swirl |
| Mavuika Melt/Vape | Mavuika / Citlali / Sucrose / Bennett | Pyro Swirl |
| Varesa Overload | Varesa / Chevreuse / Iansan / Kazuha | Electro Swirl |
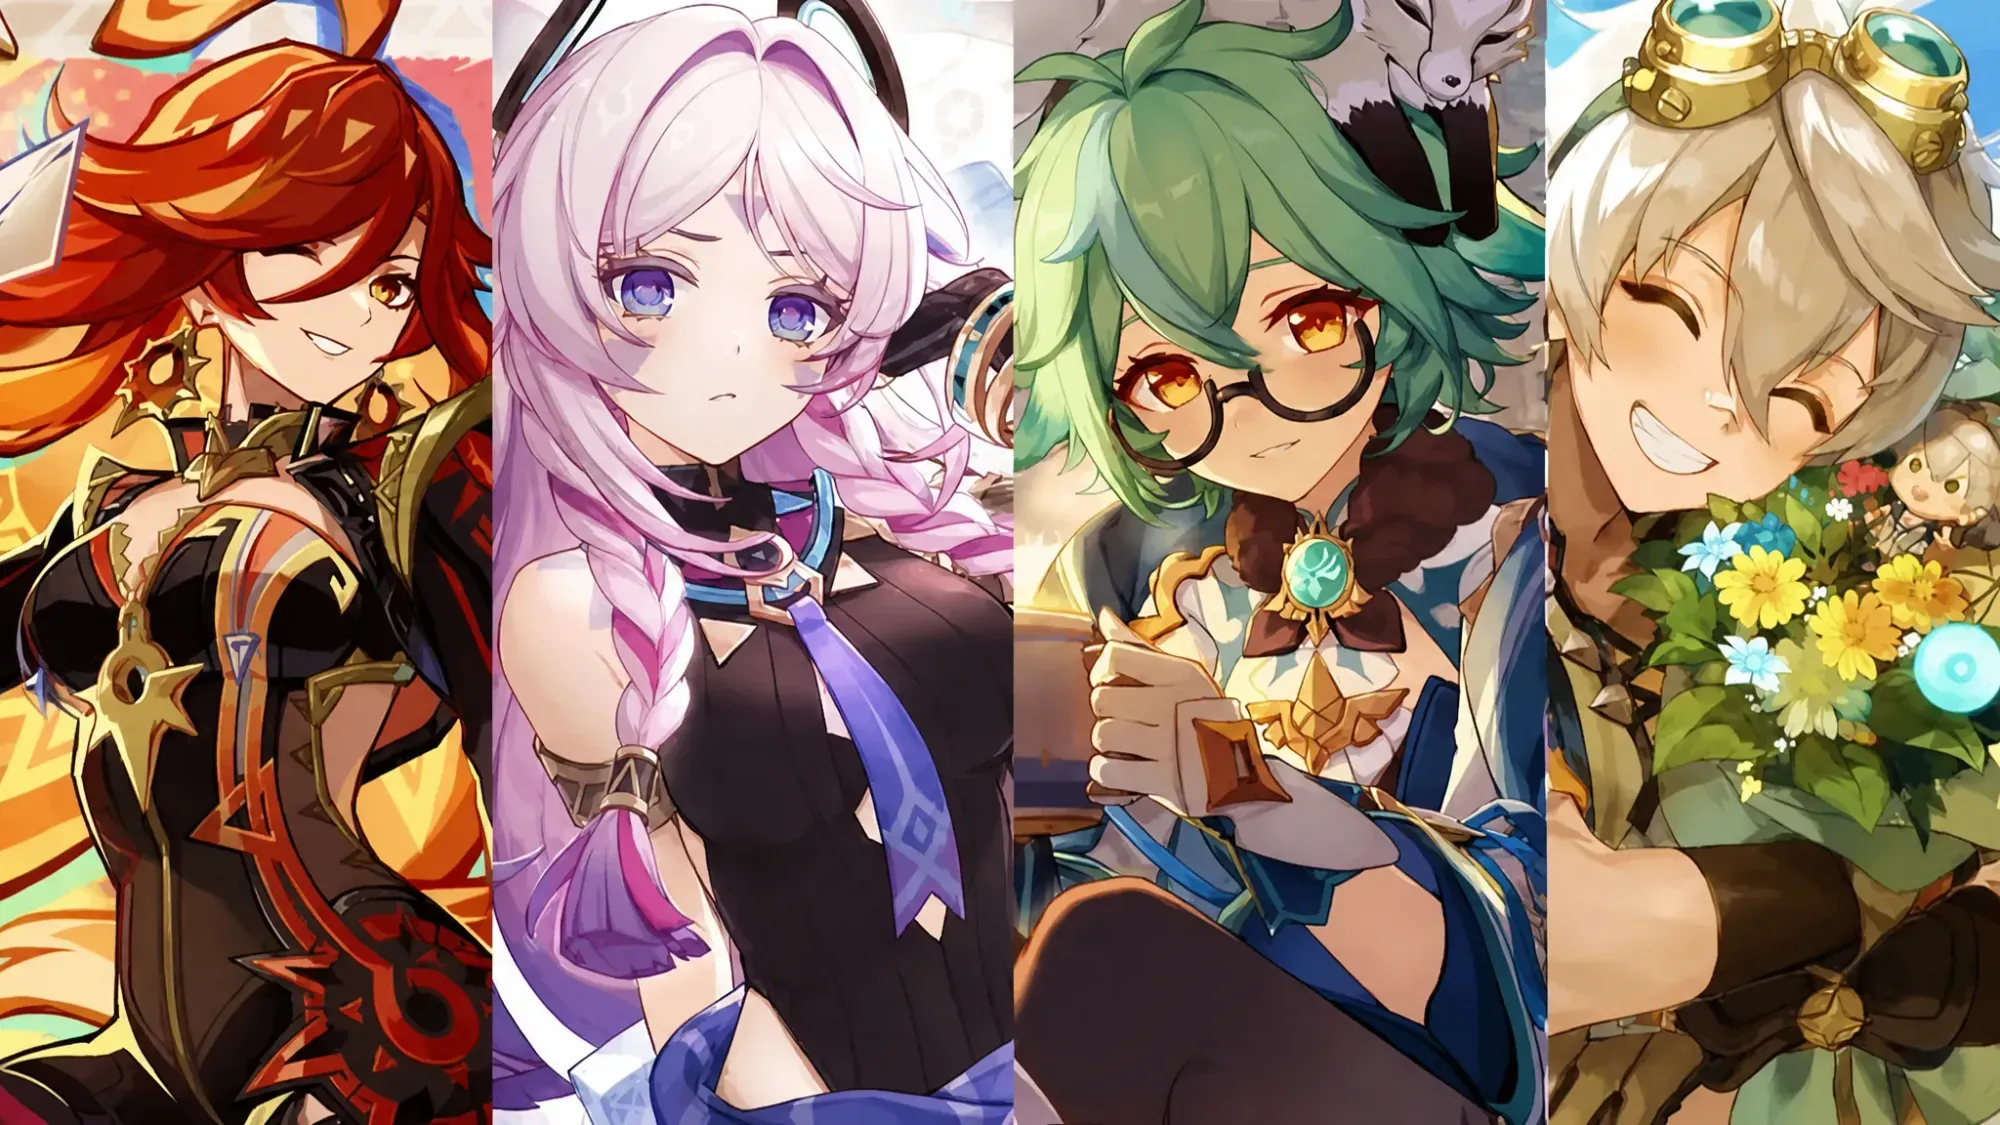
You know it worked when the wolf spirit disappears and the boss drops into a paralyzed, damage-vulnerable state. If your damage feels like it does nothing, you are almost certainly hitting the spirit with raw Pyro or Electro instead of a Swirl reaction.
Battlefield 2: Hydro Tulpa teams
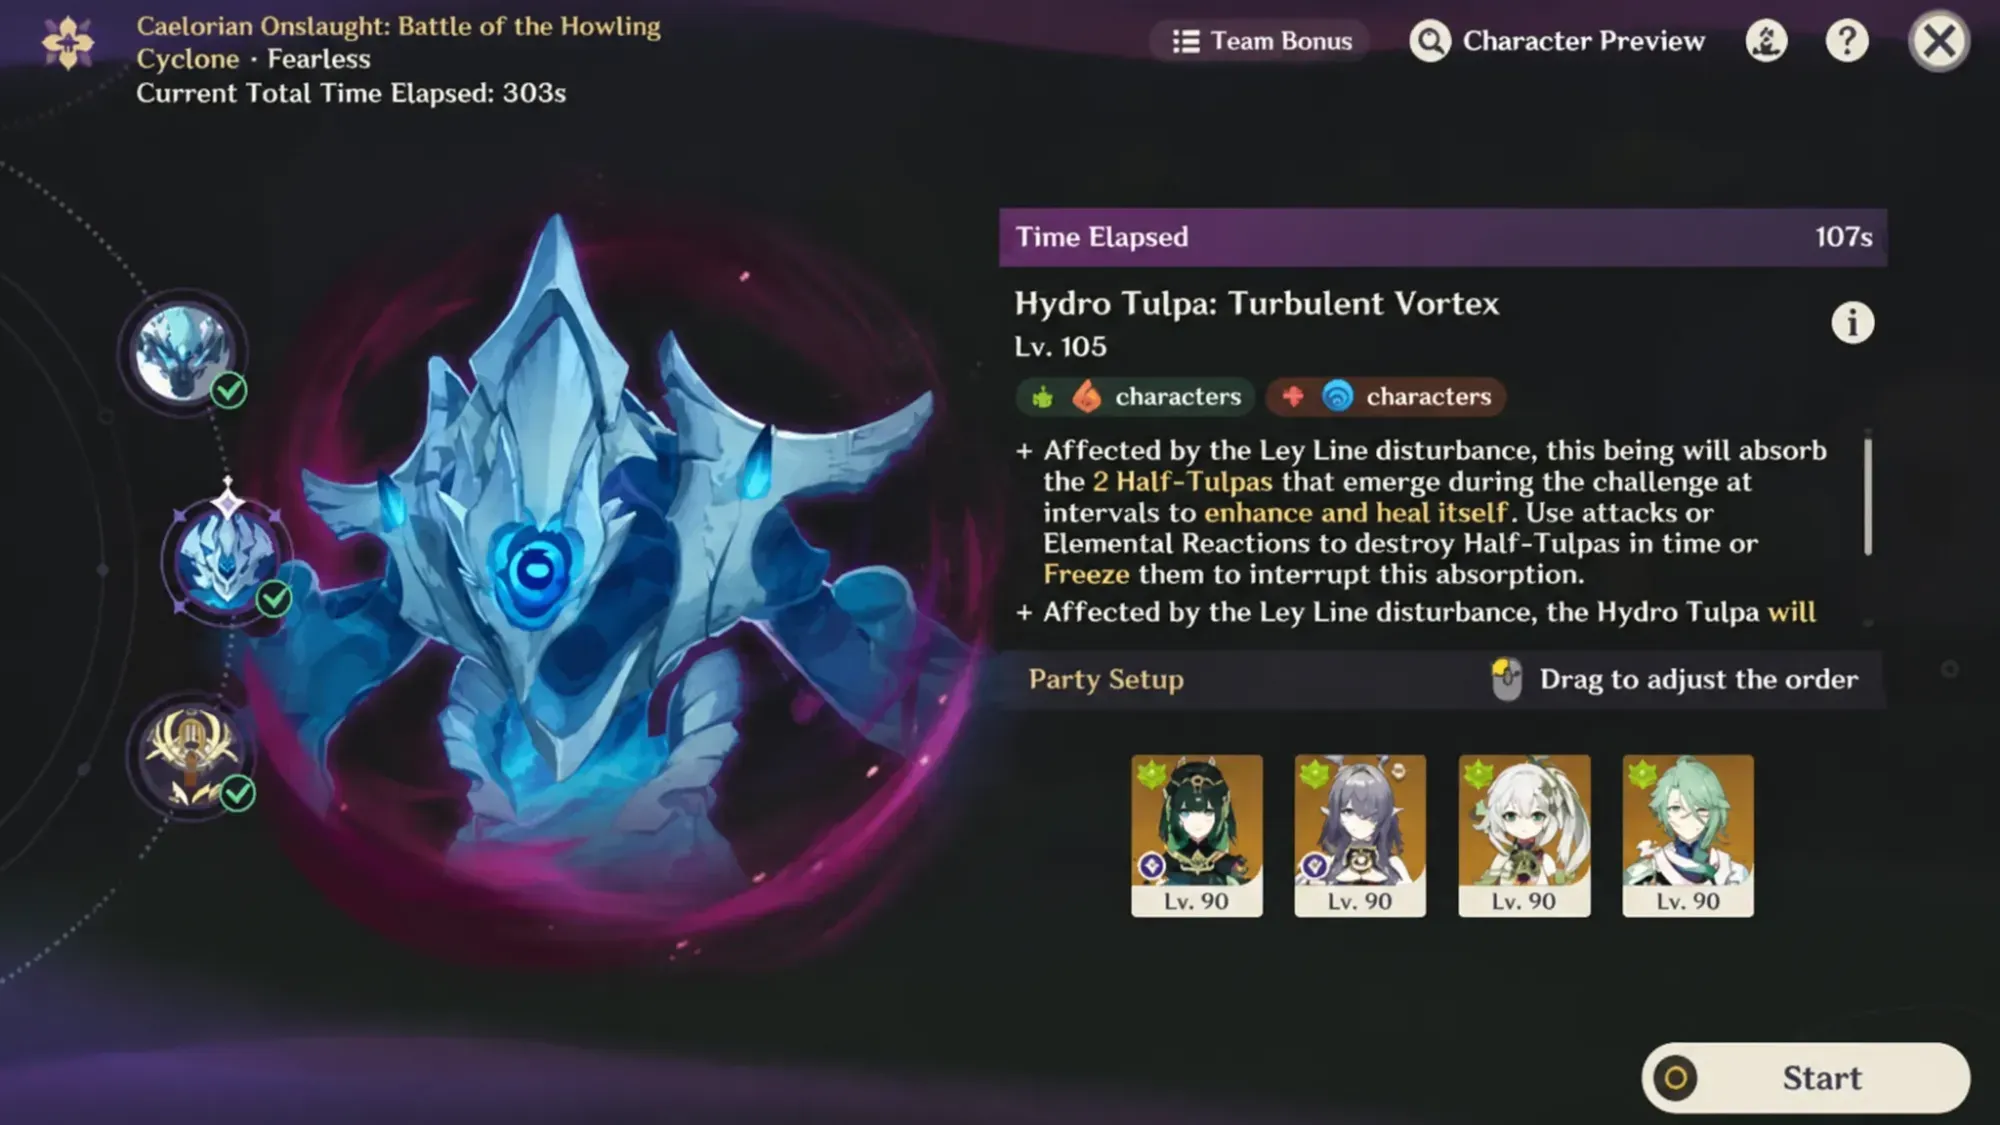
This is the most flexible stage of the rotation. The Hydro Tulpa keeps a permanent Hydro aura, so you never need a Hydro applicator. Pyro, Cryo, Electro, Dendro, and all Lunar reactions trigger freely. Anemo is the one element that struggles here, since there is nothing useful for Viridescent Venerer to shred.
The real job is managing the mini-Tulpas. The boss periodically spawns two of them, also carrying Hydro, and absorbs them after a short delay to heal and grow stronger. Kill them on time and the boss never recovers. A single Cryo hit one-shots them, which is why one Cryo unit makes this fight much smoother. Pyro and Dendro can also clear them but need more elemental application.
On Fearless and above, the Tulpa adds a shield phase. It takes a stance, gains an element-neutral shield, and resets your Skill and Burst cooldowns along with your Energy. If you do not break the shield in time, it unleashes Torrential Flurry, which immediately downs your active character. The shield depletes purely from damage dealt, so burst it down with whatever hits hardest before the charge finishes.
| Team | Members | Reaction |
|---|---|---|
| Mavuika Overload/Vape | Mavuika / Xilonen / Citlali / Bennett | Vaporize / Overload |
| Skirk Freeze | Skirk / Escoffier / Furina / Shenhe | Freeze |
| Nefer Lunar-Bloom | Nefer / Lauma / Nahida / Kuki Shinobu | Lunar-Bloom |
| Flins Lunar-Charged | Flins / Ineffa / Chevreuse / Bennett | Lunar-Charged |
| Hyperbloom (Menacing) | Alhaitham / Nahida / Raiden / Ineffa | Hyperbloom |
With a Bloom team, use Nahida’s Skill to link the boss and the mini-Tulpas so you clear the adds without chasing them. With Skirk, the off-field Cryo from Escoffier and Shenhe freezes the spawns the moment they appear, so you never break your normal rotation.
Battlefield 3: The Open-Eyed teams
The final boss is the toughest of the three. It periodically stops attacking and enters an observation state, recording the most-used element twice. Only Pyro, Hydro, Electro, and Cryo count toward the recording. If you only feed it Anemo, Geo, Dendro, or raw physical hits during that window, nothing gets recorded.
After recording, it summons two crystals matching the recorded elements. The crystals can be the same element, two different elements, or null. Null crystals are extremely tanky, so avoid recording nothing or recording off-element. Destroying the crystals deals a large chunk of the boss’s HP, and the boss repeats the process with a higher recording requirement the second time. Failing to break the crystals mostly costs you damage rather than killing you, so the priority is keeping your two reactable elements consistent.
That means you want a dual-element team where two of your elements react well together. Workable pairings include Pyro and Hydro, Pyro and Cryo, Cryo and Hydro, or Electro and Pyro. You can also run Anemo or Geo alongside two of the four recordable elements.
| Team | Members | Elements to record |
|---|---|---|
| Zibai Lunar-Crystallize | Zibai / Linnea / Columbina / Yanfei | Pyro + Hydro |
| Skirk Freeze | Skirk / Escoffier / Furina / Mona | Hydro (both gauges) |
| Mavuika-Varesa Dual DPS | Mavuika / Varesa / Chevreuse / Iansan | Electro + Pyro |
| Nefer Lunar-Bloom | Nefer / Columbina / Lauma / Ineffa | Hydro + Electro |
With the Zibai team, fill the gauges with Pyro and Hydro in any order, then break the resulting crystals using Lunar-Crystallize damage. With a Mavuika-Varesa pairing, put one gauge on Electro and the other on Pyro, then alternate carries to take down each matching crystal. Watch your rotation so the boss does not record the same element twice when you wanted two different ones.
Clearing all three battlefields completes the difficulty. Dire (Difficulty 6) must be done solo and rewards a weapon skin, while finishing the full run within 180 seconds unlocks the Sublimation variant with extra glow. If you are struggling, lower difficulties down to Hard support matchmaking Co-Op, which makes the mechanic-heavy fights far easier to manage with four players covering the elements.