Solo runs in Search For the Needle live or die on two things: how much cash each armful of hay is worth, and how fast you can delete large chunks of the stack. Hand-clearing flakes into the cow works, but it is slow. Explosives are the shortcut, and one class is built entirely around them.
Quick answer: Run the Demolitionist class, max the Hay Value perk before you load in, then spend in this order — Speed, one level of Lucky Blast, max Power, then max Speed — while detonating the outer edges and the top of the haystack until the needle drops out.
Set up before the run: Demolitionist class and Hay Value
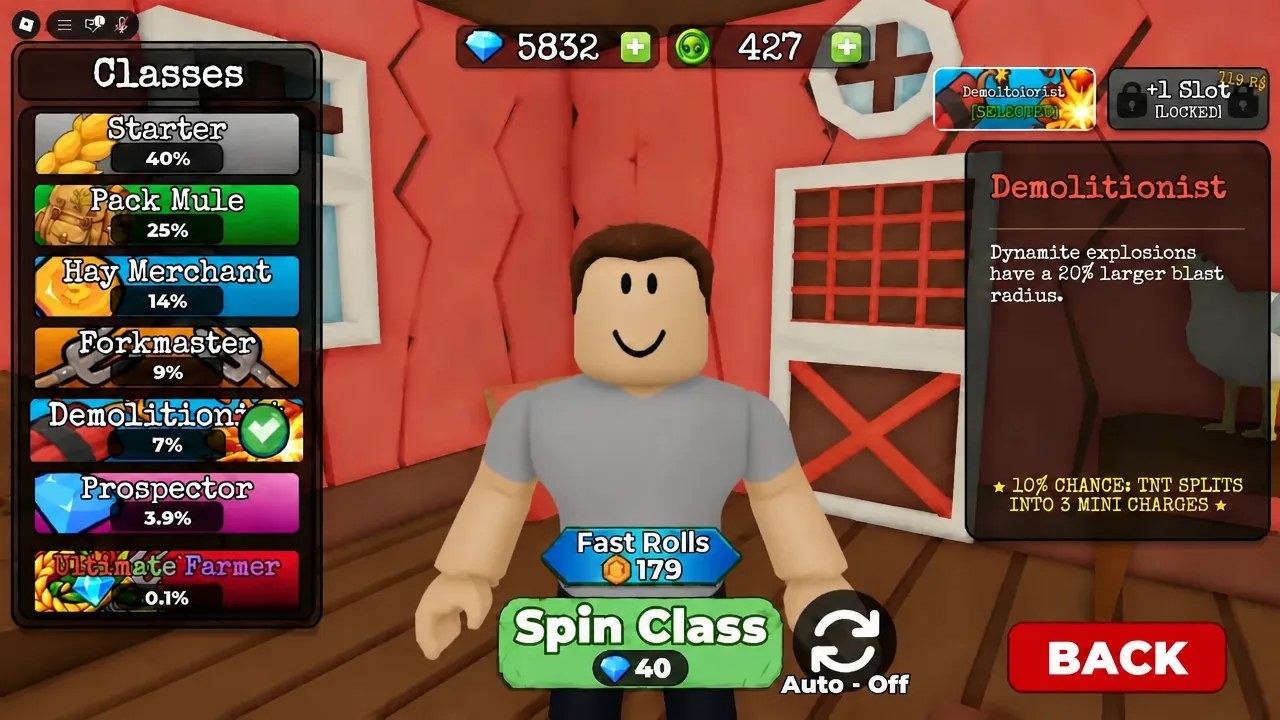
Two decisions happen before you ever touch the haystack. The first is the class. Demolitionist is the one that matters here because its passive widens every explosion you set off, so each bomb removes noticeably more hay per charge than it would on any other class.
| Demolitionist perk | Effect |
|---|---|
| Blast radius | Dynamite explosions have a 20% larger blast radius |
| TNT split | 10% chance TNT splits into 3 mini charges |
The second decision is your permanent perks. Those are bought with Gems and carry into every run, so they are the closest thing to free speed the game offers. Open the perks menu and push Hay Value to max first. Bag Size, Hand Grab Amount, and Gem Value all help eventually, but Hay Value is what makes the opening minutes of a solo run pay for the upgrades you need.
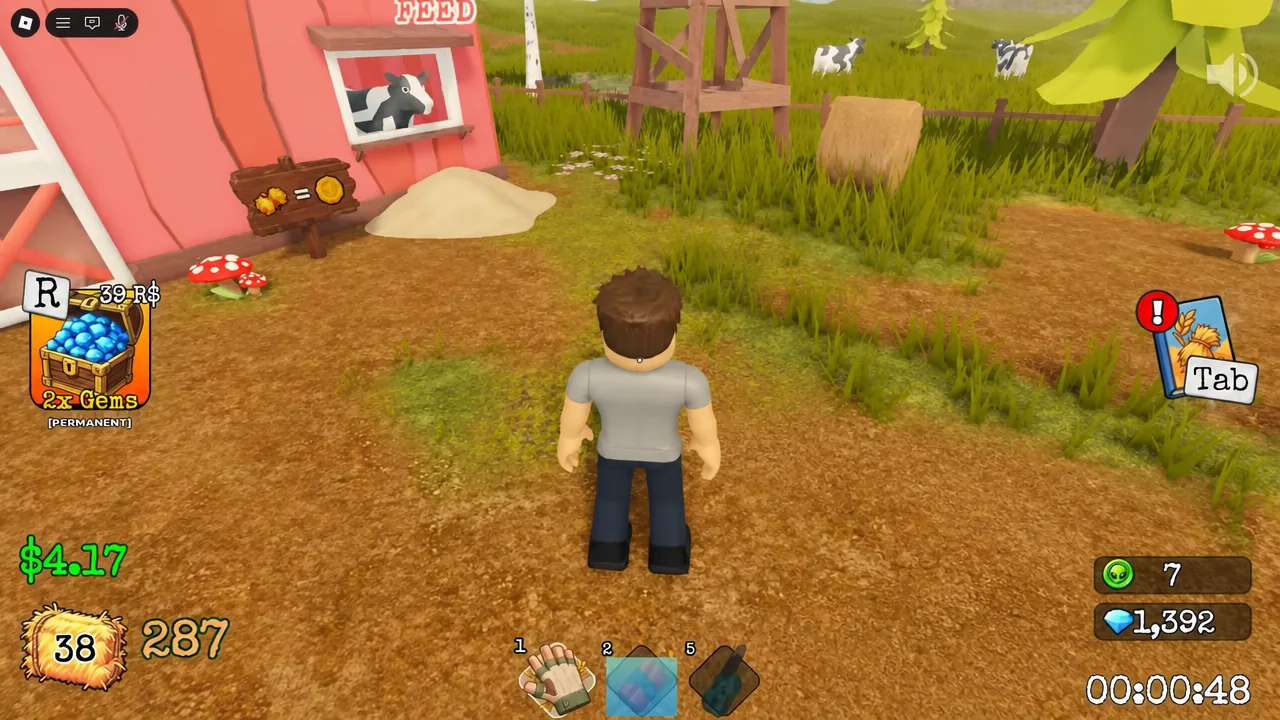
You also need a bomb in hand at the start. If you own the bomb gamepass, you begin the run with one. Without it, plan on roughly three minutes of ordinary hay farming — collect flakes, feed the cow, and grab any rainbow flakes you see, since those count as multiple flakes and sell for double.
Upgrade order for a fast solo run
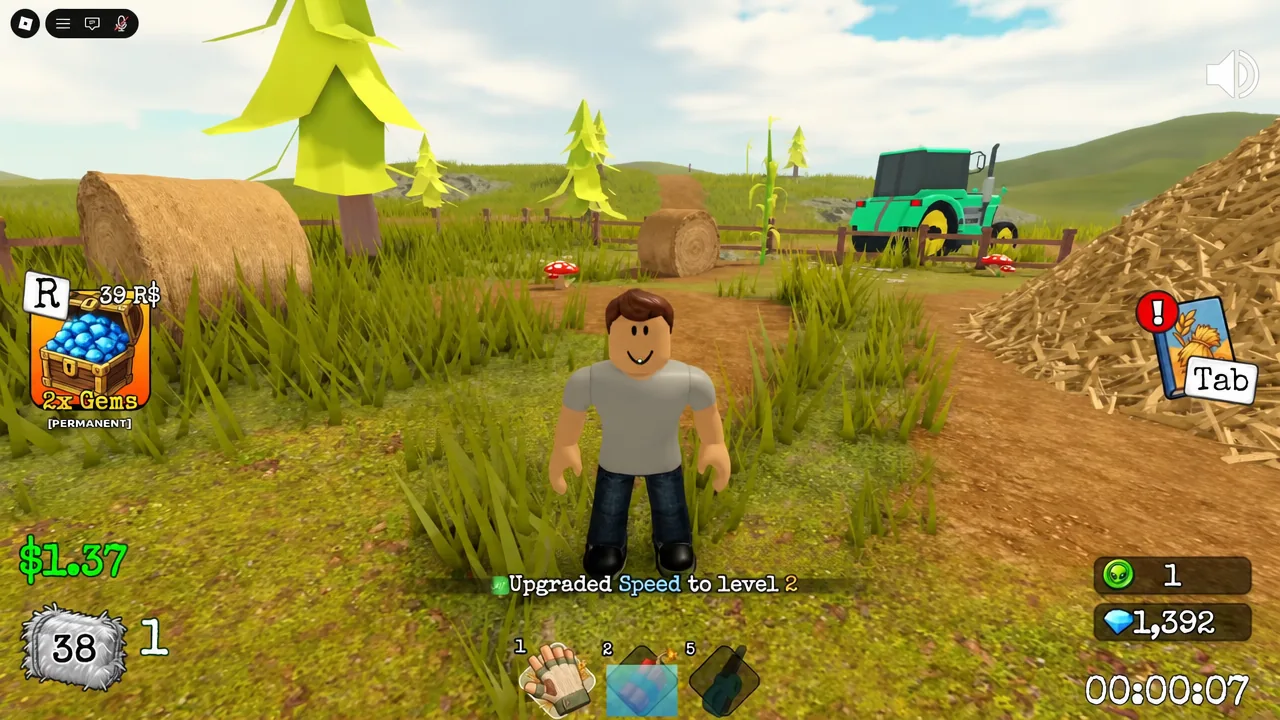
Note: the Pitchfork and the more expensive tools are viable in a normal progression run, but they are not part of this route. Cash spent on them is cash not going into Power.
Where to place bombs on the haystack
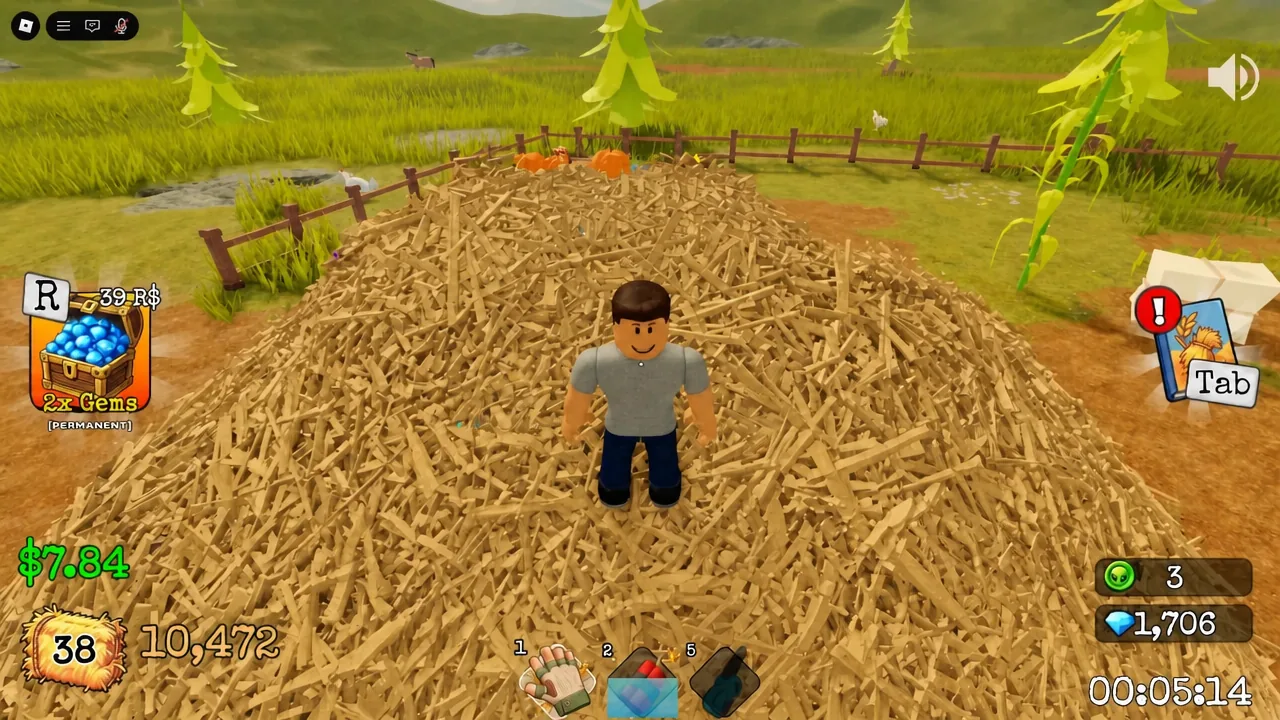
Blast placement is where most solo attempts leak minutes. The exact center of the stack is the worst target — the needle rarely sits there, and center detonations bury hay rather than exposing anything. Work the perimeter instead and let the pile collapse inward.
| Target | Why it works |
|---|---|
| Outer edges | Common needle territory and fast to clear in sequence |
| Top of the stack | Frequent spawn area; check it repeatedly through the run |
| Cone-shaped protrusions | Leftover spikes hide the needle and vanish in one charge |
| Exact center | Skip it — low spawn odds and poor hay removal |
Move around the stack in one direction rather than jumping between sides. Clear the edges systematically, then knock down the cone-shaped bumps that survive each blast, since those pointed leftovers are exactly the kind of cover a small object hides under.
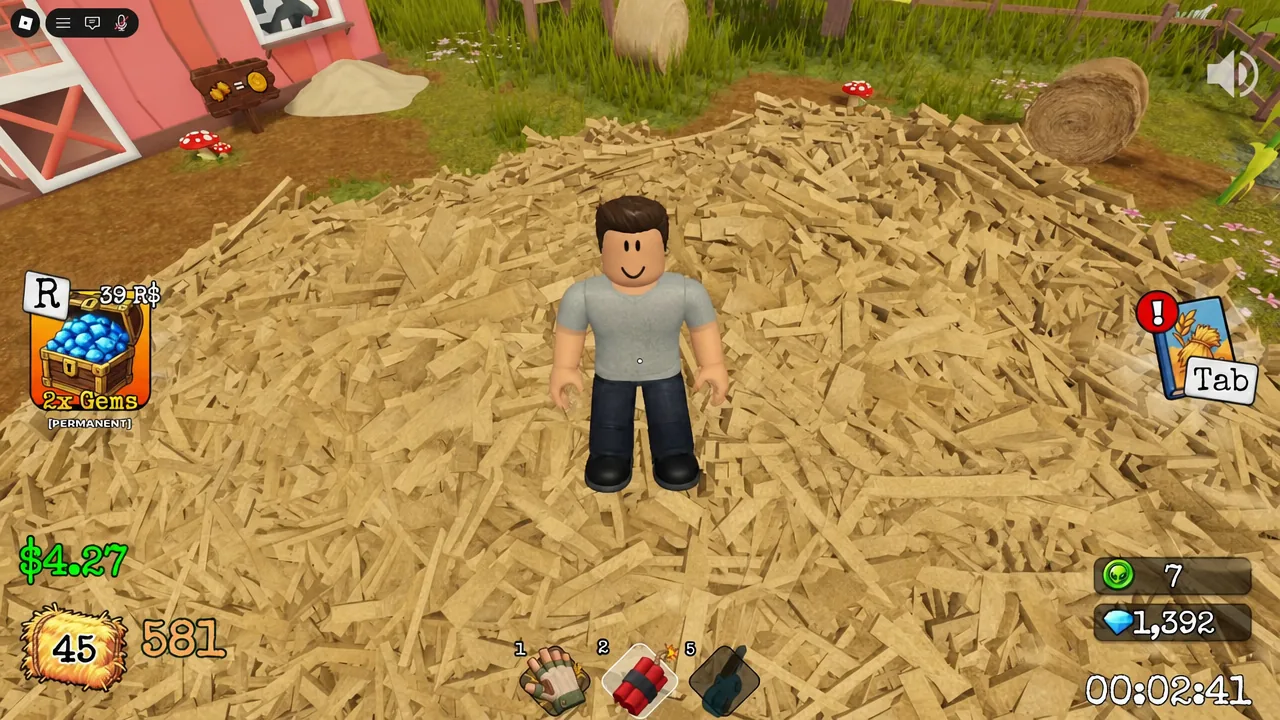
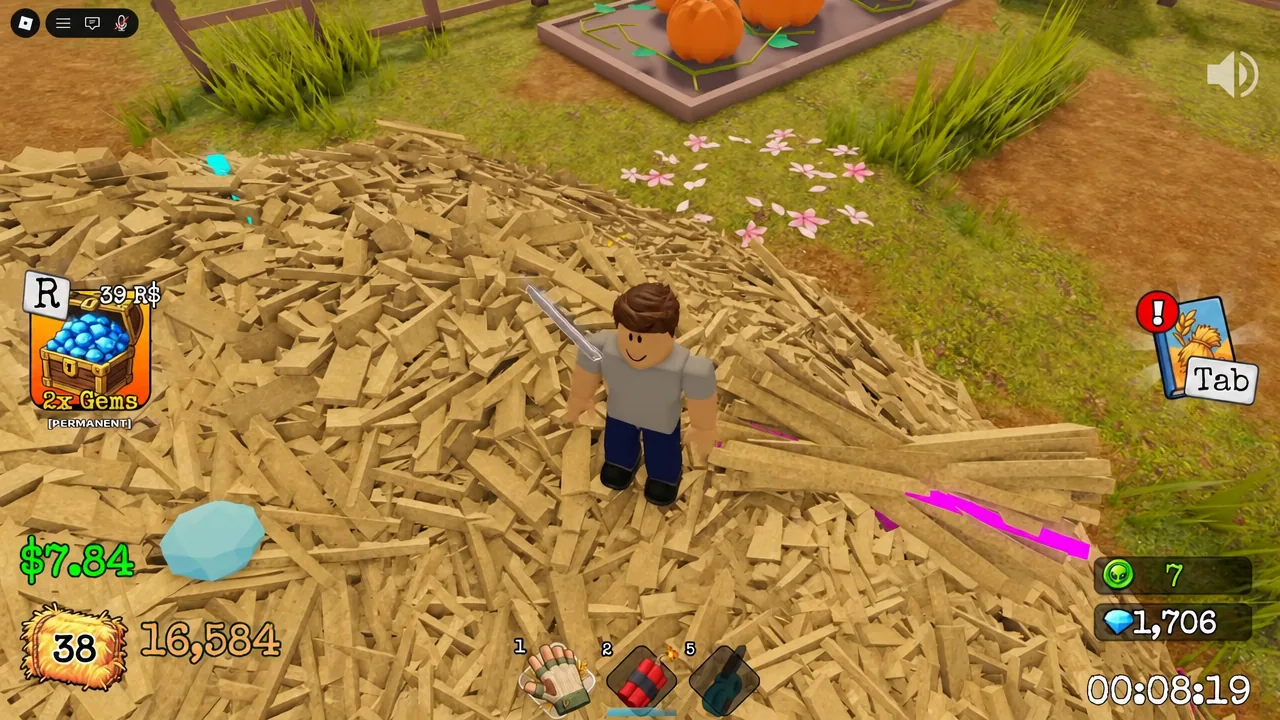
Explosions can shove the needle away from where it originally sat, so a spot you already cleared is not permanently cleared. Return to the top of the stack every few detonations and scan it again before committing more bombs to the edges.
Finish the run: equip the needle and deliver it to the farmer
Finding the needle is not the end of the run. The game confirms the discovery with a “YOU FOUND THE NEEDLE!” banner and the instruction to “Equip it and take it to the farmer.” Until you hand it over, the run is not logged.
Equip the needle from your hotbar, walk it to the farmer, and turn it in. Your completion time appears afterward along with the Gems you earned, and those Gems go straight back into permanent stat upgrades and additional classes for the next attempt.
Expected clear times for this route
| Setup | Typical completion |
|---|---|
| Solo, bomb gamepass | 6–10 minutes |
| Solo, no gamepass | 9–13 minutes |
| Four players, bomb gamepass | Around 2 minutes |
The gap between the two solo figures is almost entirely the three-minute farming window needed to afford a first bomb. Everything after that point plays identically.
Why solo runs go long
Three mistakes account for most overtime. Spreading cash across several upgrade lines instead of pushing Power to max leaves every blast underpowered for the whole run. Aiming charges at the middle of the pile burns bombs on the least likely spawn area. And treating the top of the stack as searched once, rather than checking it after each round of detonations, means walking past a needle that a blast already moved.
Keep the loop tight and the route holds up: sell, upgrade in order, blast the edges, sweep the top. Gems from each finish make the permanent perks stronger, and a maxed Hay Value shortens the opening phase of the next run before you have thrown a single charge.