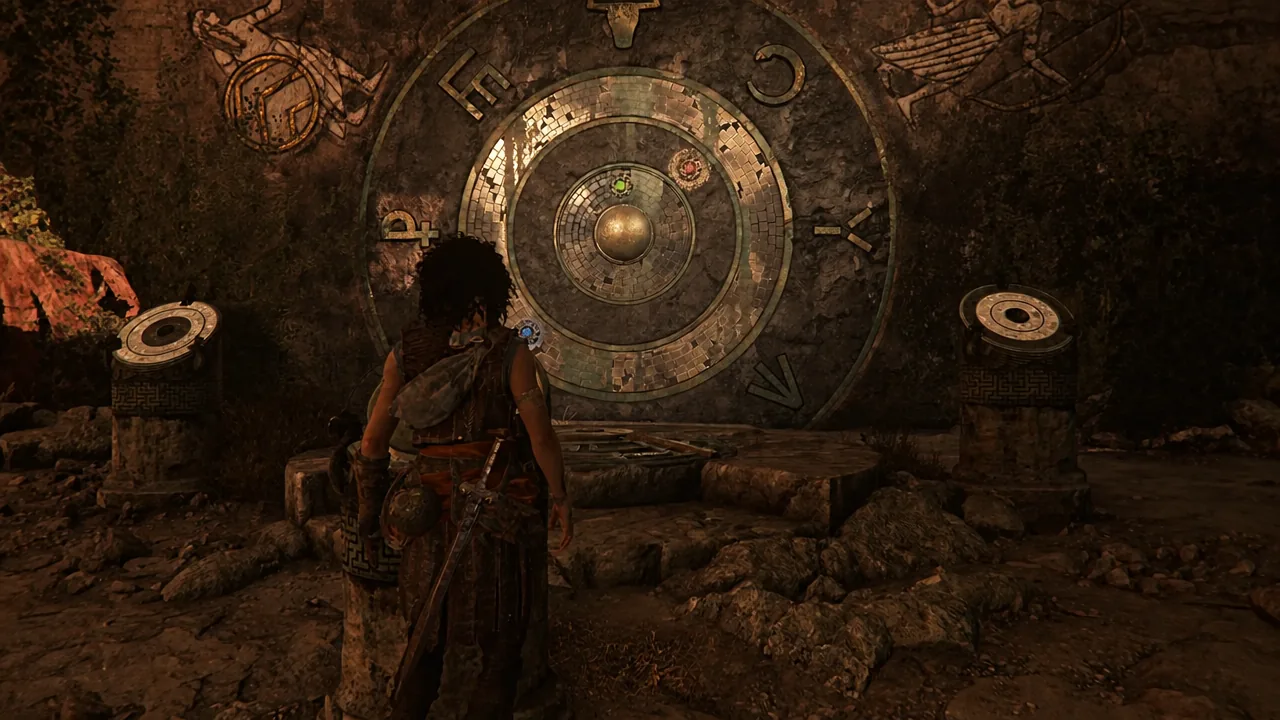
Chapter X: Parallel Paths ends its outdoor stretch with a sealed circular door and no obvious way through it. Sophia and Faro need a beam of light bounced across the whole canyon, mirror by mirror, before the door will even respond. Once the light lands, the door becomes a three-ring lock that only opens when each colored node sits on the correct symbol.
Quick answer: Light the mirror inside the waterfall cave, bounce the beam through the mirror behind the cave, the mirror on the scaffolding, and the mirror on the central platform, then boost Faro up. At the door, set the inner ring (green) to the coiled serpent, the middle ring (red) to the arrow, and the outer ring (blue) to the angular M-shaped symbol, then stand on the lit floor plate and align the tri-colored beam.
Where the mirror light puzzle starts in Chapter 10
The puzzle sits in sub-chapter 2, In the plunderers’ wake, right after you squeeze out of the symbol-marked mine and into the open ruins. The objective marker still reads “Find a way inside the mountain.” Directly ahead is the large circular door with three pedestals in front of it, and Faro will comment that he never worked out how the crystals function.
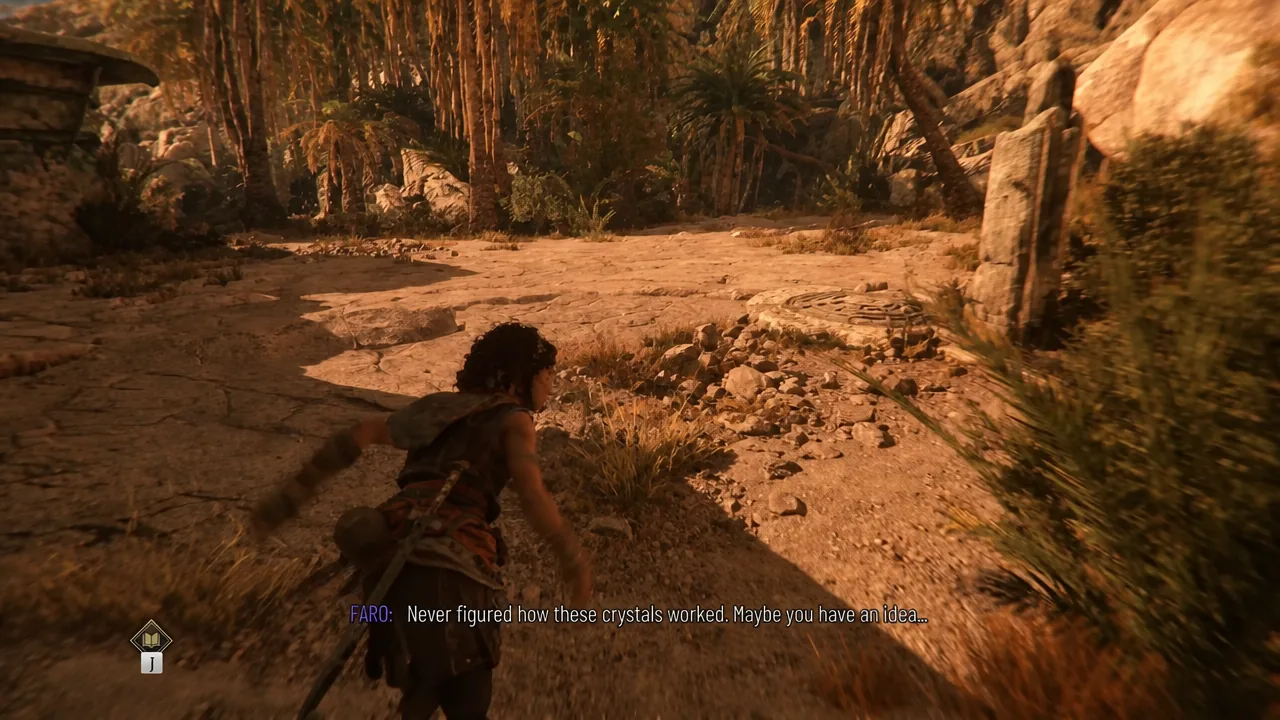
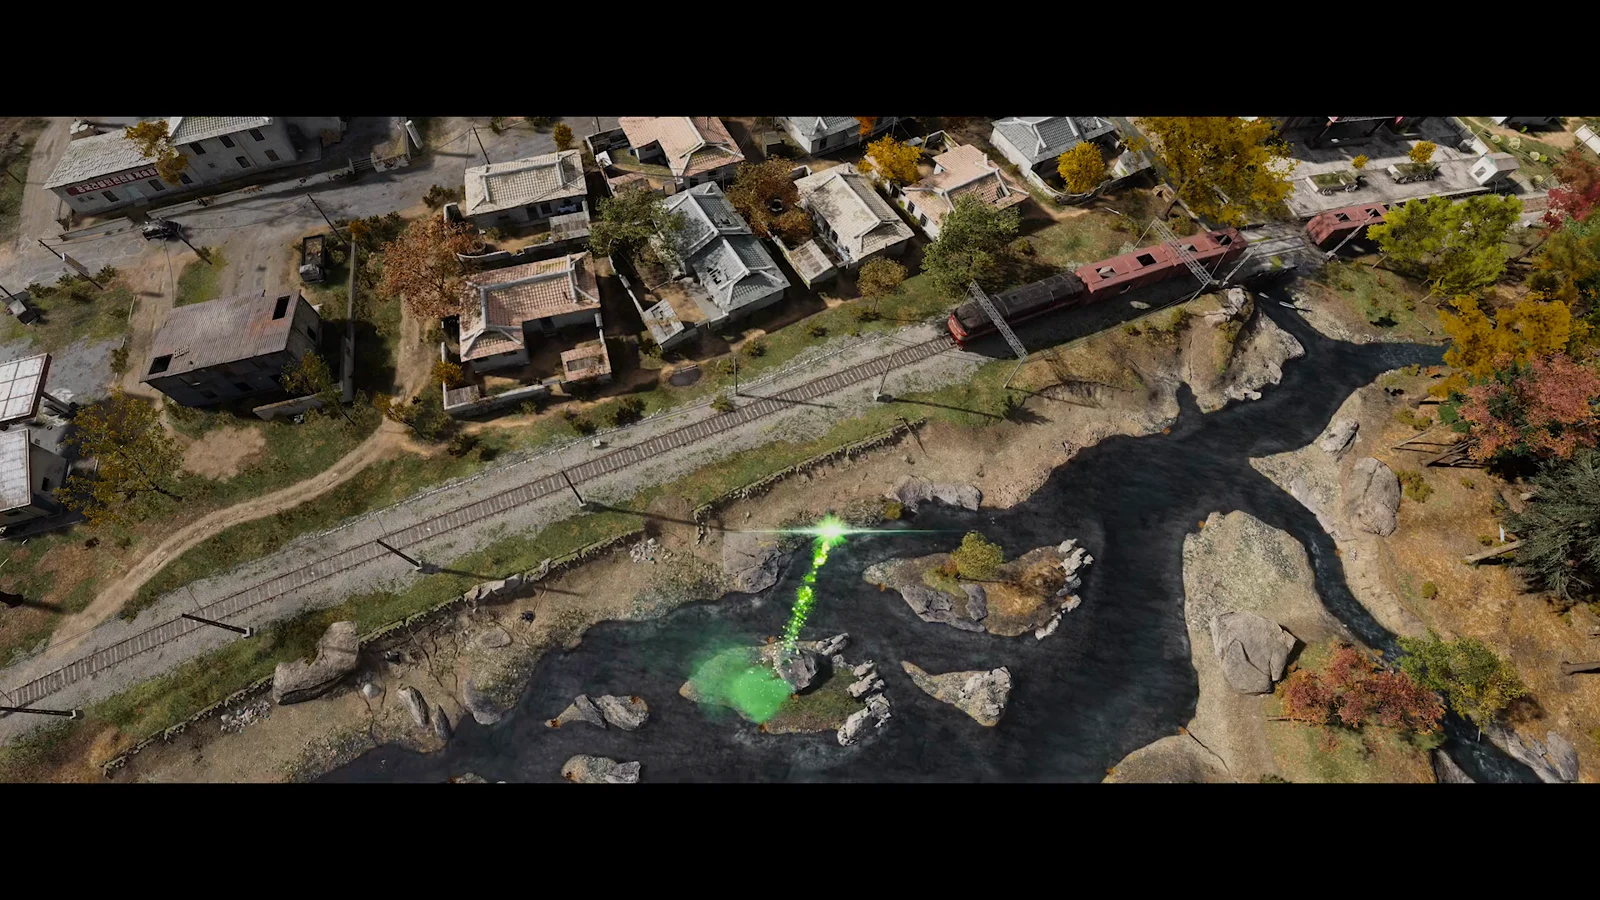
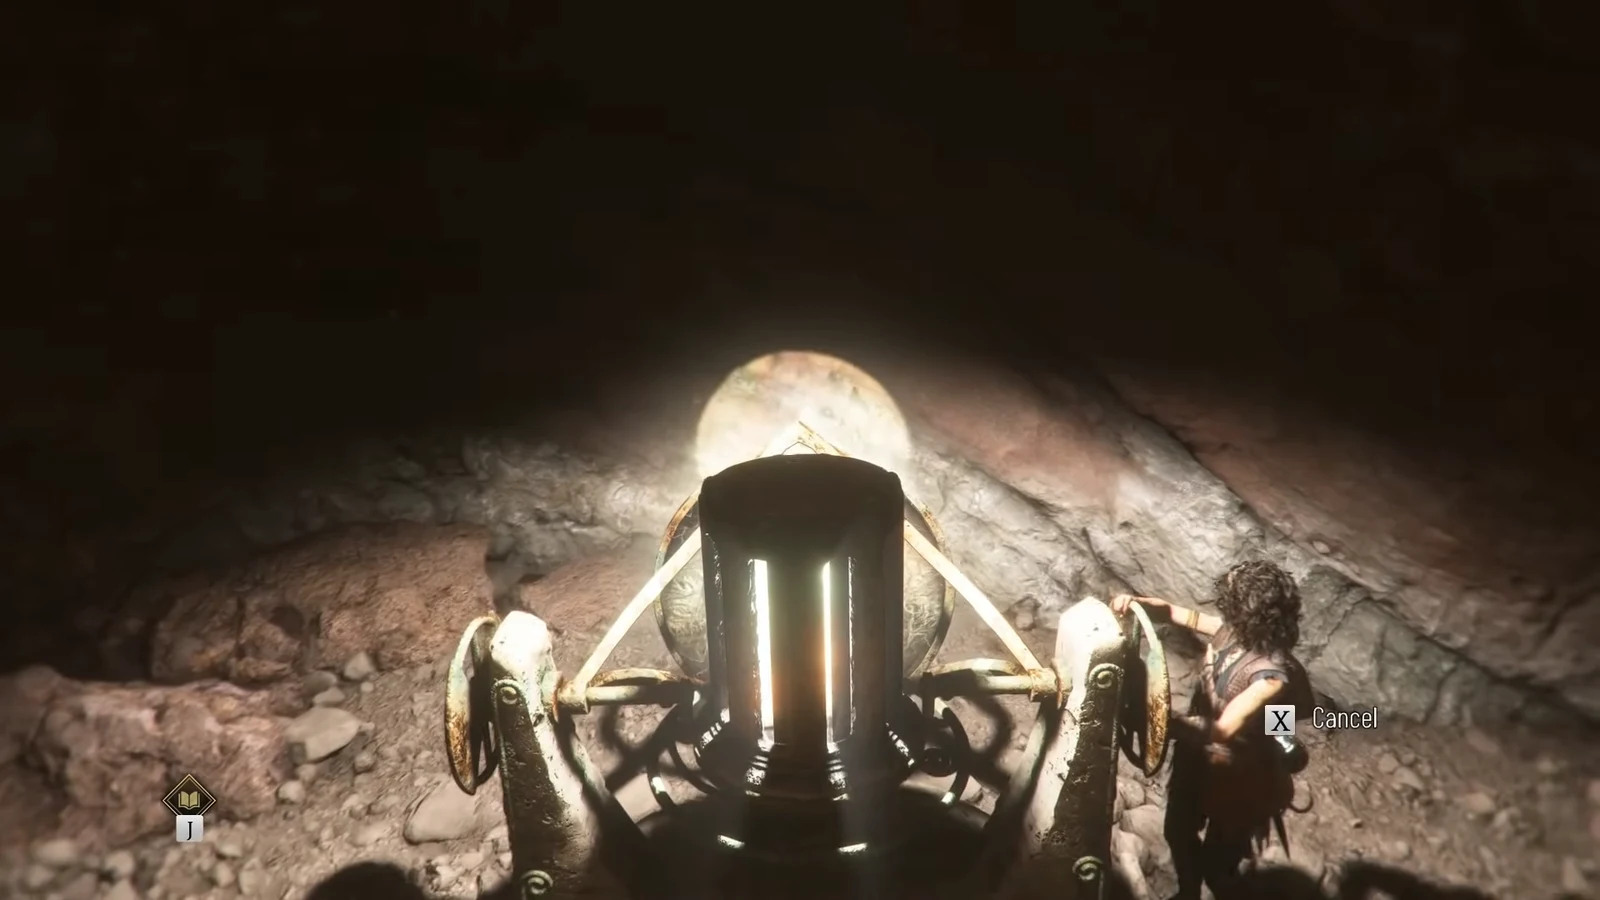
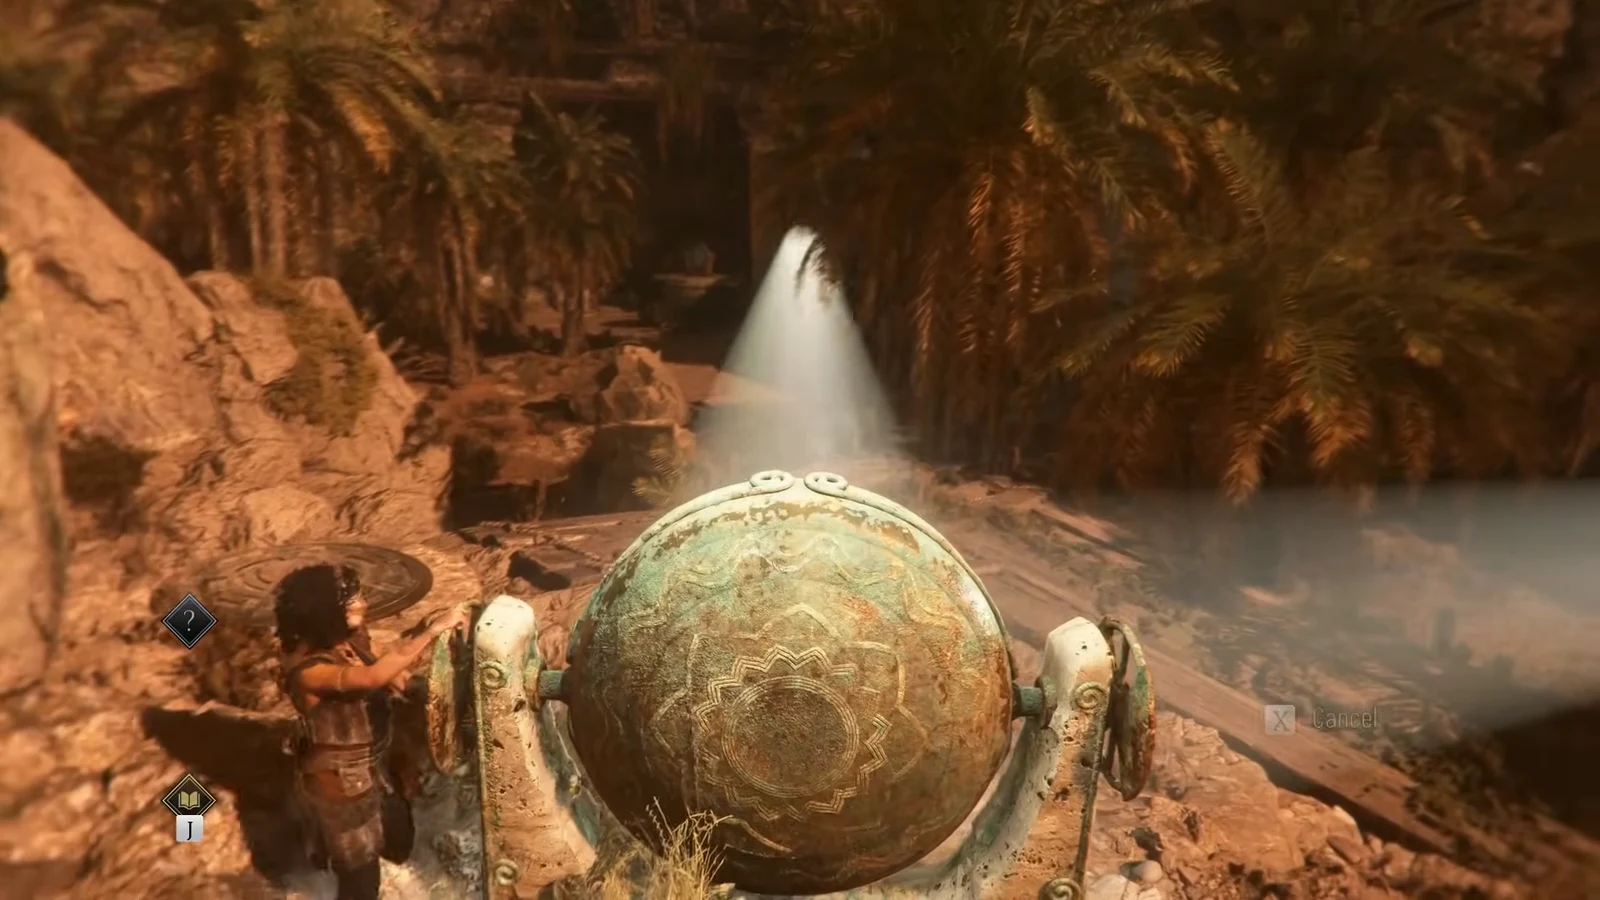
Everything you need is in this one arena. The light source is a mirror rig tucked inside a cave on the far side, behind the waterfall, and three more mirrors sit between it and the door. There is no timer and nothing here can be missed permanently, so you can walk the whole area first and work out the sightlines before touching anything.
Collectibles on the way to the light source
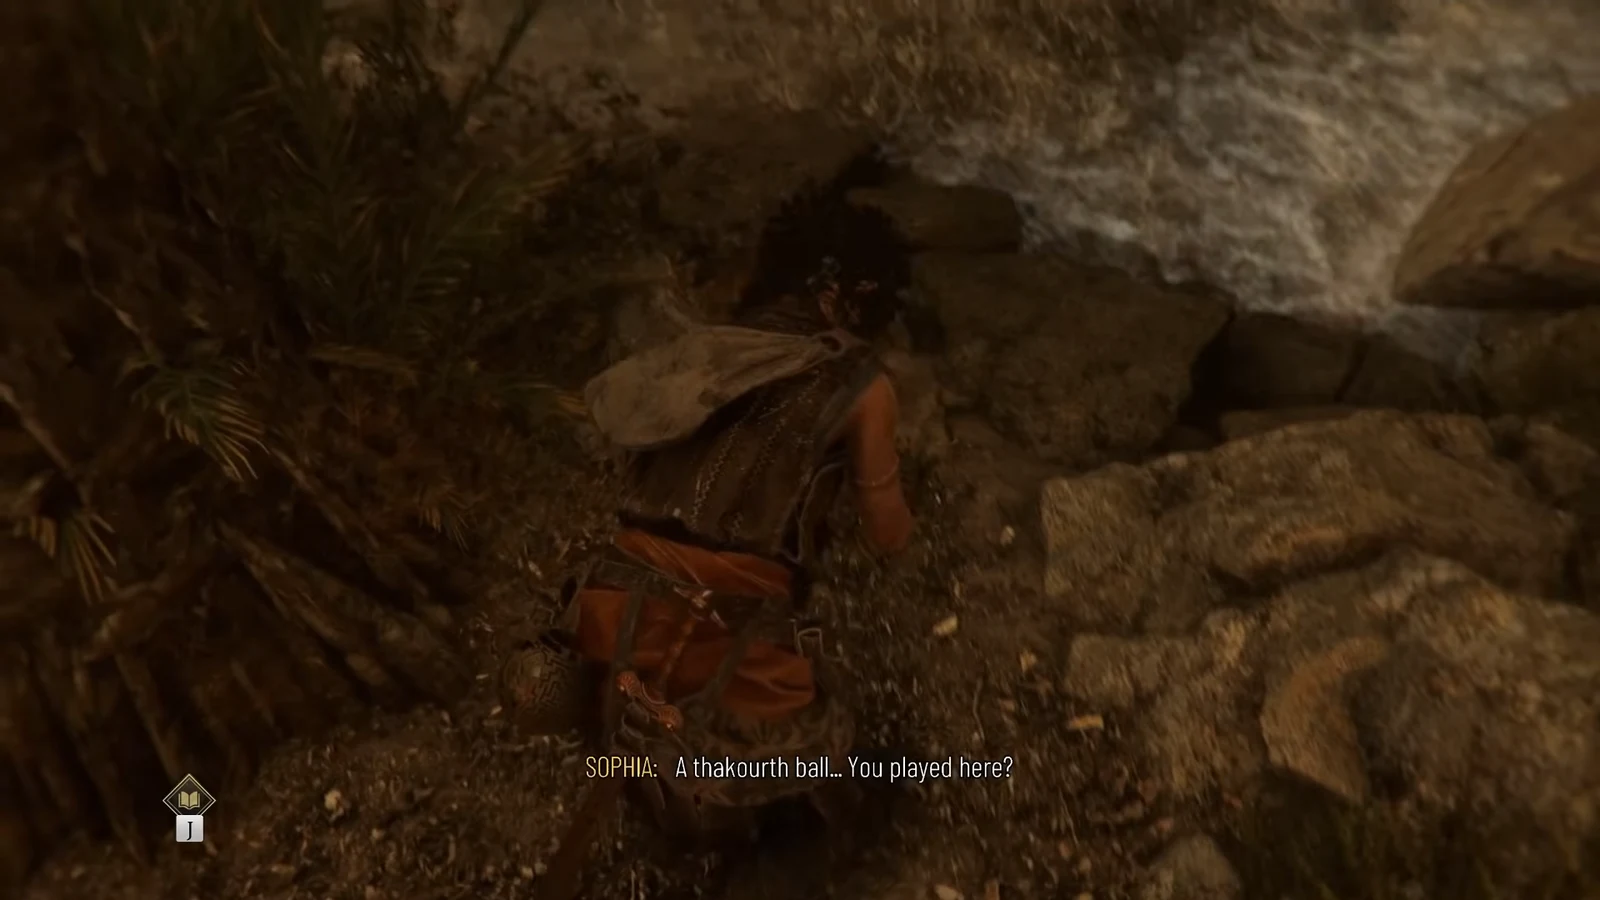
Two pickups sit directly on the path you will walk anyway. Climb the wooden crate and stone ledges on the right side of the area for a Resonance Point, then keep following the right bank of the stream to the water’s edge for the Thakourth Ball relic. Resonance Points do not carry over through chapter select, so grabbing them on this run is worth the detour.
A third Resonance Point comes automatically later, from the fight that breaks out partway through the mirror chain.
Route the beam from the cave to the door lens
Reveal the six symbols with the sphere
Scattered around the ruins are six statues, each carrying a visible symbol. Standing in the light and shining the sphere at one reveals a second, hidden symbol underneath. That second symbol is either one of the marks around the rim of the door or a pointer to which of the three rings the statue refers to. Sophia notes each one down as you find it, so you can pull up the book at the door instead of memorizing them.
The book also shows three warriors carrying weapons, which is the key for pairing the marks. The arrow goes with the bow, the sword with the round shield, and the spear with the large shield. You do not have to scan every statue to open the door, but doing so is the only way to derive the answer yourself.
Note: some statues are only readable once you have light on you. If a medallion refuses to respond, walk back to a lit spot or the beacon at the rear of the area and try again from there.
Door ring and symbol solution
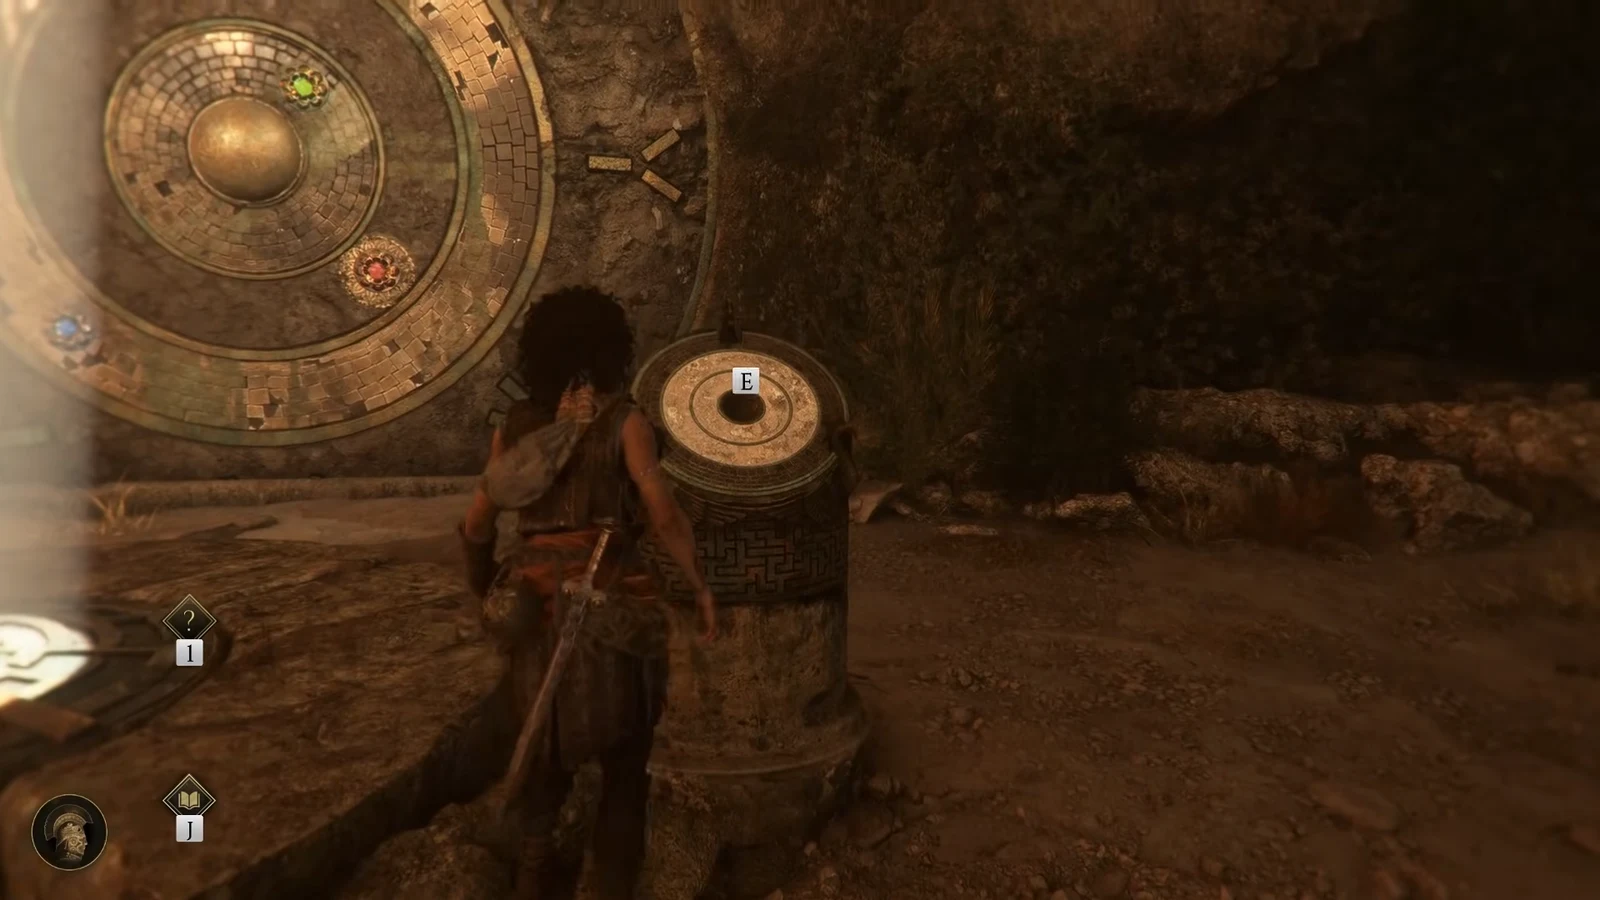
Each of the three pedestals in front of the door rotates one ring, moving that ring’s colored node around the face. Check the gem color on a pedestal before turning it, then match the node to the symbol below.
| Ring | Node | Symbol | Position |
|---|---|---|---|
| Inner | Green | Coiled serpent / snake | 2 o’clock |
| Middle | Red | Arrow or arrowhead | 5 o’clock |
| Outer | Blue | Angular M-shaped mark | 11 o’clock |
The blue symbol is the awkward one to identify. It reads as a squared-off M or H depending on the angle you look at it from, with hard right-angled corners rather than curves. The green serpent is the only rounded, curling mark on the rim, so lock that one in first and use it to orient yourself.
Align the tri-colored beam and open the door
If the puzzle will not trigger
There are only a few reasons the door stays shut. The most common is the cave mirror never actually lighting, which happens when you turn the small aiming wheels instead of the wheel in the middle of the rig. Turn the central one until the beam ignites, then aim.
- The beam stops short at one of the four mirrors. Walk the chain back from the door and check that each mirror is pointing at the next one, not past it.
- Soldiers are still alive. Faro will not climb the central platform until the area is clear.
- You are not standing on the floor plate. The sphere only projects the three colored beams while light is falling on you there.
- A ring is one notch off. Rotate that pedestal again and re-check the node against the mark on the rim rather than the gap next to it.
Past the door, the first room holds another Resonance Point in the left corner at the far end, behind a pillar, before the path leads on into Daedalus’ workshop.